Storytelling, Two Ways

Tell Story (4)

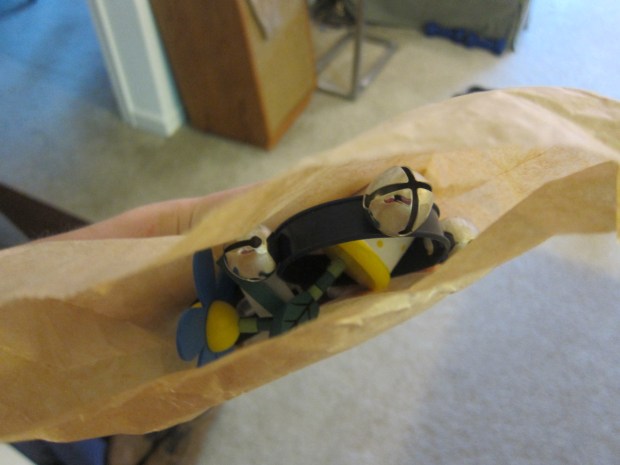
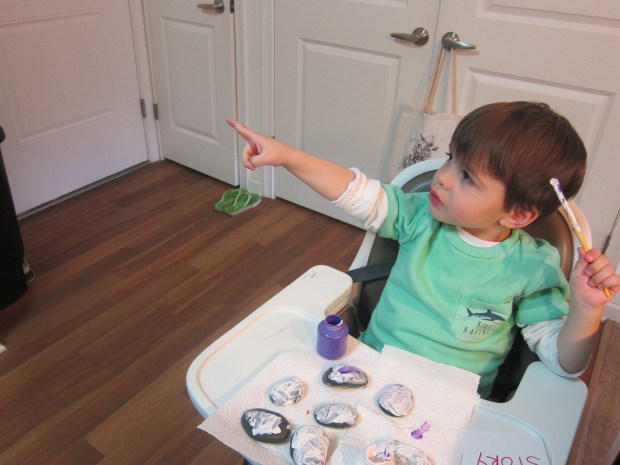
We followed up our game of storytelling stones with two more neat games that will help activate your budding storyteller’s creativity, as well as foster a sense of narration and plot.

The first involved using index cards with pictures to fill in a line and change familiar stories in silly ways!

Fill In Story (1)

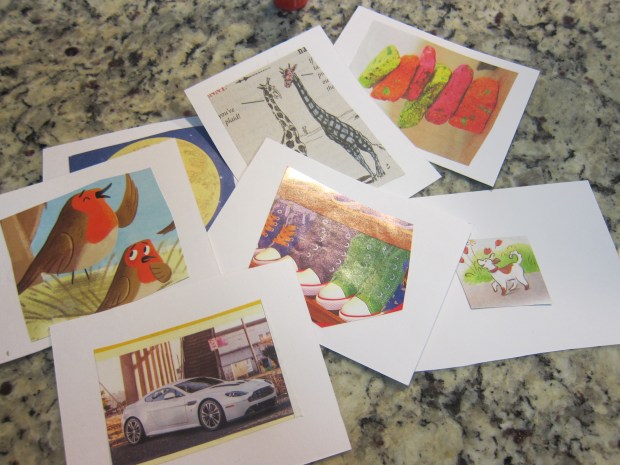
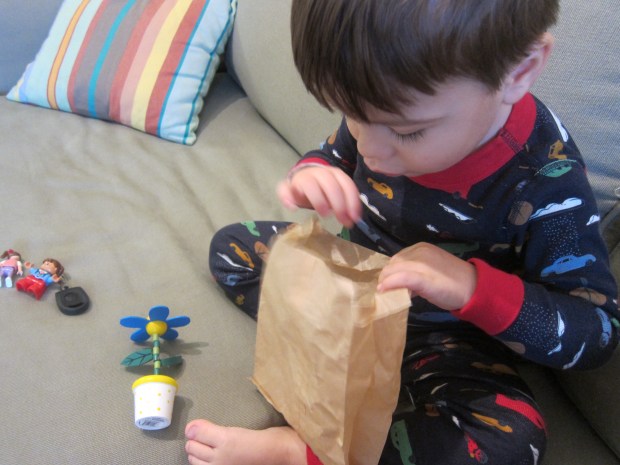
I cut pictures from magazines and glued to index cards. You can add the word on the other side of the card, for preschoolers who are beginning to read.

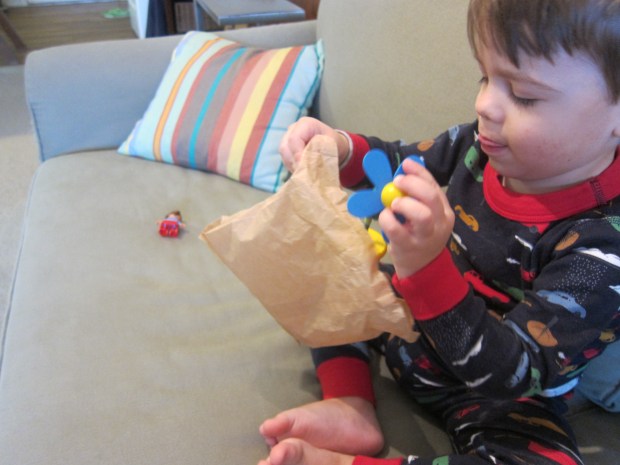
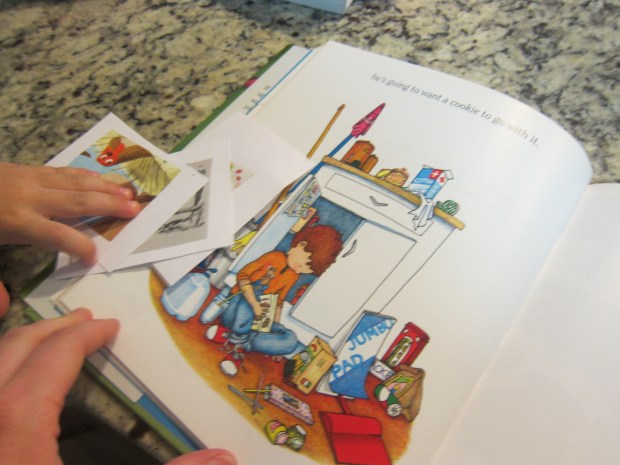
Place the cards in a hat, and then pull out a favorite book – it helps if it is a story your child knows well, so they can anticipate the next word or line.

Fill In Story (3)

At various points in the story, stop and pull a card from the hat, changing the story as needed. For example, “If you give a mouse a cookie…” might become “If you give a mouse a car…”

Fill In Story (2)

Travis couldn’t stop laughing, and requested several books in a row.

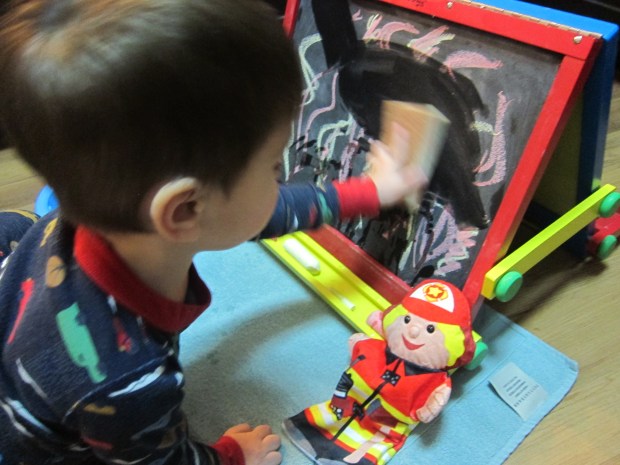
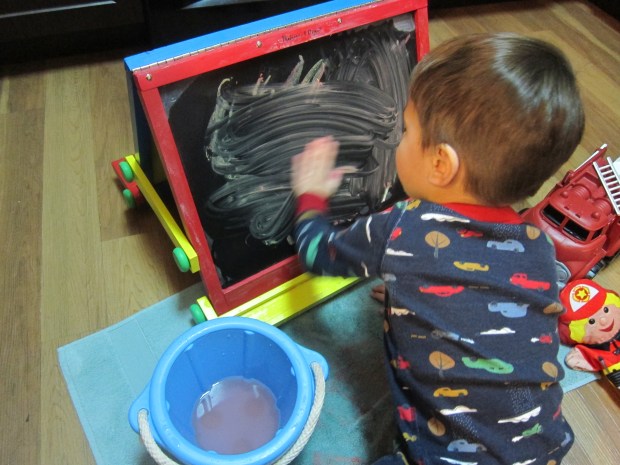
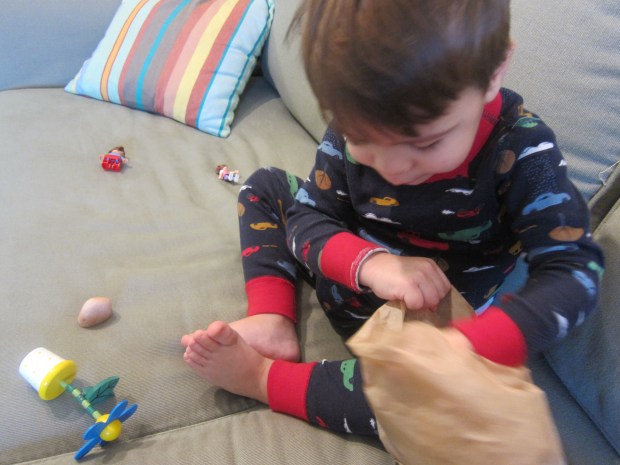
Next we started a tag-team style story. I prompted Travis with a sentence, and then asked him what he thought might happen next. The first few times I attempted the game, he didn’t get it… until I presented him with a little booklet to draw what was happening.


Tell Story (3)

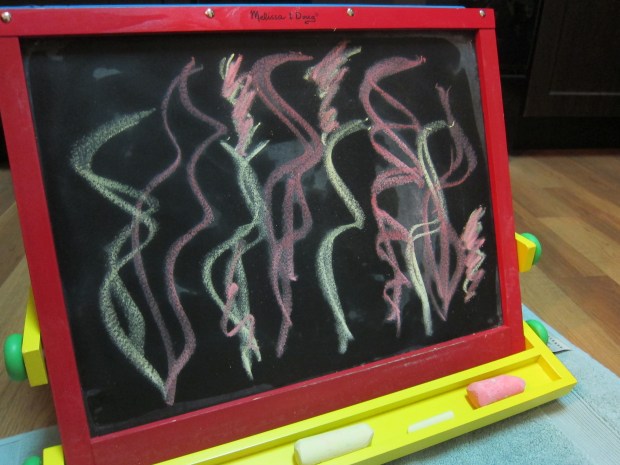
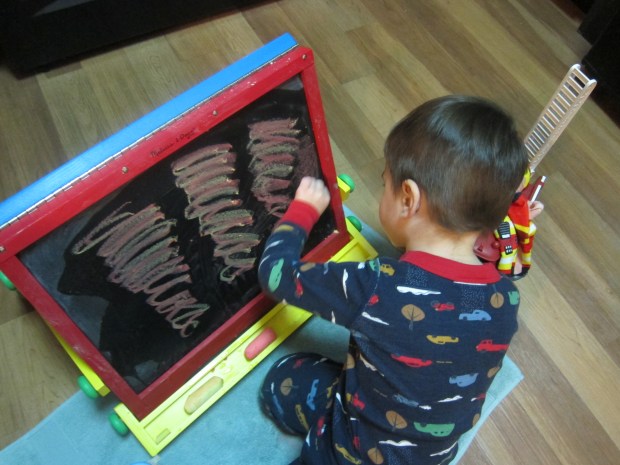
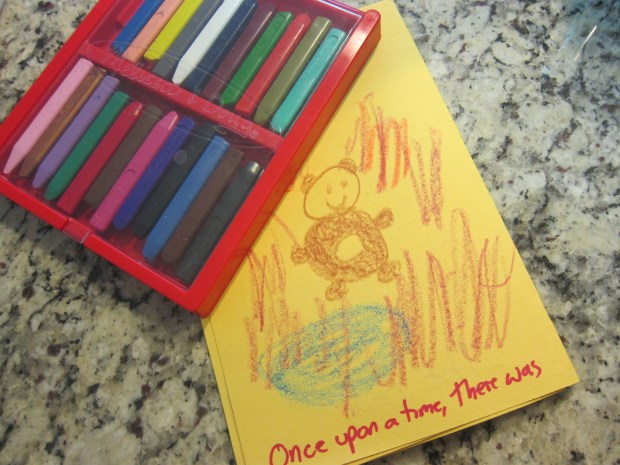
Don’t be surprised or dismayed if the story doesn’t go how you had planned. I started what I thought might be a sweet story about a bear, and Travis said the bear had fire coming from him!

Tell Story (1)

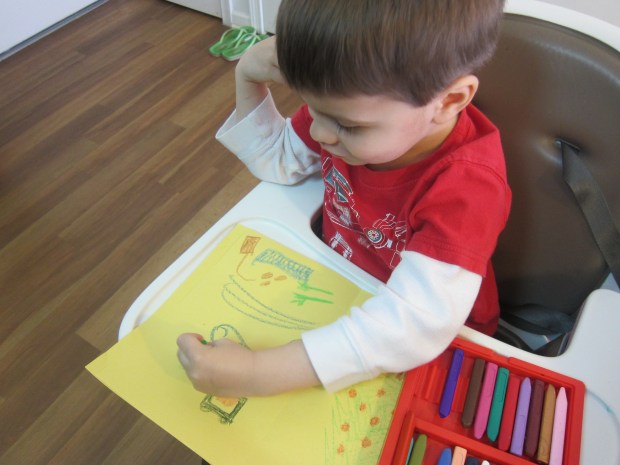
Hey, at least it was creative! He wanted to keep drawing and making up stories (some nonsensical, others more clearly in story format) until all the yellow paper had been colored in.

Fill In Story (5)

I will definitely continue both these games as Travis gets older.


Storytelling Stones

Story stones (1)

I loved this beautiful storytelling idea I found, drawing on Native American symbols to tell stories, especially because it’s a way for pre-readers to weave sentences together and understand that different places and characters are the building blocks of a narrative.

I looked up a few easy Native American symbols online (based on my limited artistic ability!) and painted them on stones, and then let them dry before showing Travis. Together we looked at the website at what some of the symbols meant, and I arranged the stones for him.

Story stones (2)

I put together our first story in a random order that popped into my head. He was quite intrigued, and asked for a few variations. With easy words like “sun”, “day”, “mountain”, “butterfly”, and “eagle”, it was easy to make up cute stories with simple plots.

Travis hasn’t been much into painting lately, so to my surprised then asked if he could paint the rocks! I asked if he’d like to make up symbols of his own.

Story stones (3)

His “symbols” really meant covering the entire rock in white, but I asked him what “story” was happening on each rock, and he made up cute answers, drawing on the items that were around us in the kitchen.

Story stones (5)A great early intro to creative writing!

Shoes for Sale

Shoe Shop (2)

This idea from High Five magazine was too adorable not to play! Use any blocks or boxes you have on hand to create the racks for your shoe store – ideally, I wish we’d had bigger blocks to utilize!

Once we had our “shelves” arrayed, I asked Travis to help gather shoes, and he was so excited to bring pair after pair from his closet. The game became even more exciting when we added in mommy and daddy shoes.

Shoe Shop (3)

Now all you need is a little imagination (though a toy register helps too!). Travis loved “beeping” shoes at checkout, and helping me try on pairs before we reversed roles.

Shoe Shop (1)

What would you construct your shoe store out of? Please share in the comments!

Play Dough Cupcake Shop

Cupcake Shop (1)

With leftover play dough from a goodie bag, we decided to open up our own birthday cupcake shop this morning! All you need are cupcake wrappers, a few jeweled embellishments, and your imagination.

I shaped our play dough into cupcakes and added to the liners to get Travis started, after which he loved pressing in star beads and jeweled stickers from our craft bin as the “frosting.”

Cupcake Shop (5)

Of course we needed to add a few candles for authenticity!

Cupcake Shop (4)

After a while he wanted to bake his cupcakes, so I pulled out his play oven.

Cupcake Shop (6)

When the cupcakes were finished, he decided they were for daddy, so that got to be dad’s morning surprise!

Cupcake Shop (3)

What imaginative food play have you tried with your play dough? Please share in the comments!

Heart Crowns

Heart Crowns (3)

These adorable homemade crowns will turn your son or daughter into a king or queen in dress-up play!

First, have your child paint on a blank sheet of paper and let dry – Travis chose predominantly brown tones for his painting.

Heart Crowns (1)

Once dry, I cut hearts from the painting. Glue two pieces of construction paper together to be the base of the crown, and glue on the hearts at intervals; let dry again.

Heart Crowns (2)

I traced the zig zag of a crown about halfway up the paper, and then cut out. Glue the two ends of the crown together and let dry one final time.

Heart Crowns (5)

It’s time for make believe!

Heart Crowns (4)

Tea-Stained Treasure Map

tea-map-10

Every morning my husband brews a cup of tea, an endless point of fascination for Travis. So today, I set up a game that would give him ample time to play with tea!

First, I gathered all the different teas in the house and brewed a small cup of each – as luck would have it, we had quite a variety, from black tea to turmeric tea to chamomile, which made for a nice variety of colors.

tea-map-1

Once the cups had cooled enough, I removed the tea bags and set Travis up with heavy paper. First we squeezed the tea bags directly over the paper to observe what happened…

tea-map-2

But then he much preferred to spoon on the tea liquid. This went on for quite some time!

tea-map-3

I offered him an eye dropper, thinking it might be nice practice, but the spoon was the definite favorite.

tea-map-4

Towards the end, we returned to rubbing the bags directly on the paper, resulting in little flakes of tea leaf left behind, which gave it a cool look!

tea-map-6

I set the paper aside to dry, but the fun didn’t end there! Travis wanted to play with the leftover tea water and tea leaves for a while. We talked a lot about what we could smell, and why some of the teas were a lighter color than others.

tea-map-9

My favorite look was the slightly yellowed-paper effect from the turmeric tea.

tea-map-8

After our “maps” had dried, I drew a sample treasure map for Travis, and explained to him what maps are used for, and he decorated another.

tea-map-11

If you want, make your map lead to real treasure, like a little toy or snack hidden around the house! We would definitely do this activity again.

tea-map-5

DIY Frog Pond

frog-pond-5

With a few rubber frog bath toys and lily pads cut from craft foam, you can turn your child’s bathtub into a magical frog pond!

I set the game up shortly before bath time, with Travis in a bathing suit just in case things got splashy!

frog-pond-1

Fill your tub with water and add the “lily pads”, frogs, and a few other fun toys that fit the theme – we also added a rubber turtle, a cup for pouring, and a net. Consider adding other pond elements you have at home, like rocks or rubber snakes!

frog-pond-3

Travis immediately grabbed the net and began fishing the frogs and lily pads from the water, which he thought was pretty much the best game ever.

frog-pond-6

He also used a beach rake to skim among the lily pads. I thought he would be more into hopping the frogs from lily pad to lily pad, but he preferred simply to catch them or swish them around in the water.

frog-pond-4

He also liked filling a plastic cup with water to rain down over the frogs.

frog-pond-8

And perhaps the biggest delight of all: after we drained the water, he lined them all up on the side of the bath and then had them jump into the empty tub – a feat we had to repeat several times!

frog-pond-9

I definitely want to try this activity again with an outdoor water table in the summer. Having access to all four sides, rather than just one side of the bathtub, would no doubt make it even more enjoyable.

Shaving Cream Bakery

shaving-cream-bakery-6

With leftover shaving cream in the can from our shaving cream paint earlier this week, today we turned our kitchen into a shaving cream bakery!

All you need to set up a bake shop for your tot are large kitchen sponges, a few kitchen utensils, and a dose of imagination.

shaving-cream-bakery-2

Travis really enjoyed smearing the shaving cream onto the sponges with a plastic utensil:

shaving-cream-bakery-4

Then I showed him how to layer two sponges together to create a layer cake.

shaving-cream-bakery-5

For an extra realistic effect, I added a drop of red food coloring to sea salt and put it in an old spice shaker, which meant Travis could add sprinkles!

shaving-cream-bakery-1

After he made a couple of “cakes,” he simply enjoyed shaking the sprinkles directly into the tray of shaving cream I had set out, and stirring all that together into a big mess.

shaving-cream-bakery-8

Other than layer cakes, what would you make in your bakery? I’d love to hear about any cupcakes or frosted cookies that your kids create! Please share in the comments.

shaving-cream-bakery-7

Firefighters

firefighter-2

Engage your child’s imagination and help him or her learn about what firefighters do with this adorable game.

To set up, paint “flames” in red, orange, or yellow chalk on a chalkboard easel. Note: If you’re playing the game in the summer, you can go bigger, and apply chalk to sidewalks or driveways!

firefighter-1

I told Travis we had a fire to put out and needed to race to the scene like firemen, then provided him with a squirt bottle (hose), bucket, and sponge.

firefighter-4

He couldn’t wait to help “put out the fire,” and I think it helped him understand what firetrucks and firefighters do for the first time; it’s a rather abstract concept just to see a firetruck racing quickly around town.

firefighter-7

He asked me to add more chalk flames again and again, and then started drawing on flames himself toward the end.

firefighter-6

In total, he played for nearly 45 minutes before growing bored – a big hit!

firefighter-3

Story in a Bag

story-in-bag-3

You can engage your child’s imagination and storytelling ability long before he or she can read – you just need a few props to help along the way! This delightful game engages multiple senses, and helps foster storytelling.

Fill a brown paper bag with 5 or 6 simple objects from around the house. I used a bell, toy flower, candle, car key, and rock, filling the bag when Travis wasn’t looking so that the items would be a surprise.

story-in-bag-1

Prompting him to close his eyes, he reached in and selected one object at a time. We used the item to begin a story. After introducing the first item, he would select a second item, and so forth, each leading to the next action or character in the story.

story-in-bag-5

Admittedly I had to do a lot of the making up on this first go, but Travis was very into the idea and played with the items while we fabricated our tale. No sooner done than he started stuffing the bag and said, “Let’s do it again!”

story-in-bag-4