Gourmet Food Lessons

Gourmet Food (2)

Raddish Kids‘ lesson plan to go with the Gourmet Gobble recipes was all about introducing gourmet food, using Julia Child’s life and cooking show as a guiding theme. Much of the activities were too advanced for Travis as a first grader, but we had fun with the following:

We started with a very basic overview of who Julia Child was. Check out Bon Appetit: The Delicious Life of Julia Child from your library, which makes her life accessible in cartoon format.

We moved on to some of her video clips from The French Chef; kids might like silly ones where she burns sauce or drops a bowl! It’s nice to show the lack of perfection.

Gourmet Food (1)

Next Travis watched a read-aloud of Minette’s Feast, which is a good way to contrast fiction and non-fiction since this one fictionalizes Julia’s life.

As we read the books, Travis kept a tally of which foods he has eaten, for a little math work. Older kids can fill in a whole sheet on “Julia Child By the Numbers” (provided by Raddish).

Gourmet Food (3)

Other extensions for older kids include polling friends on which Julia Child recipes they’ve tasted; estimating how many foods Julia wrote about in her lifetime; or finding a foodie pen pal to write to.

Travis and I moved on to discussing what makes a food qualify as gourmet. Raddish had lots of links, including how foods have been renamed to improve their marketing, or how Thanksgiving dishes have altered over the eras.

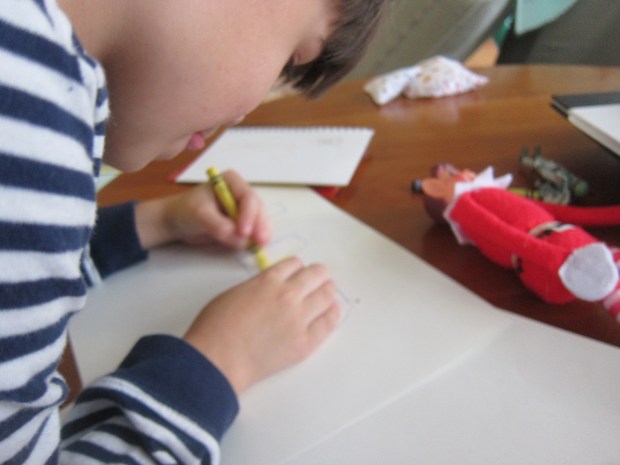
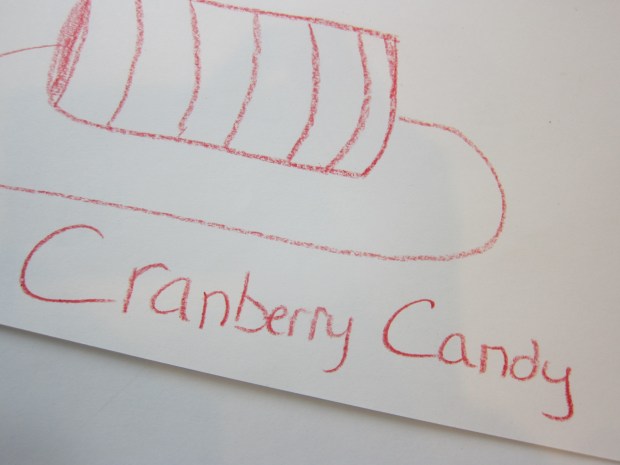
So we tried to come up with new branding for Travis’s favorite Thanksgiving food (canned cranberry sauce!) to make it a best seller. What if it was called… Cranberry Candy?

Gourmet Food (4)

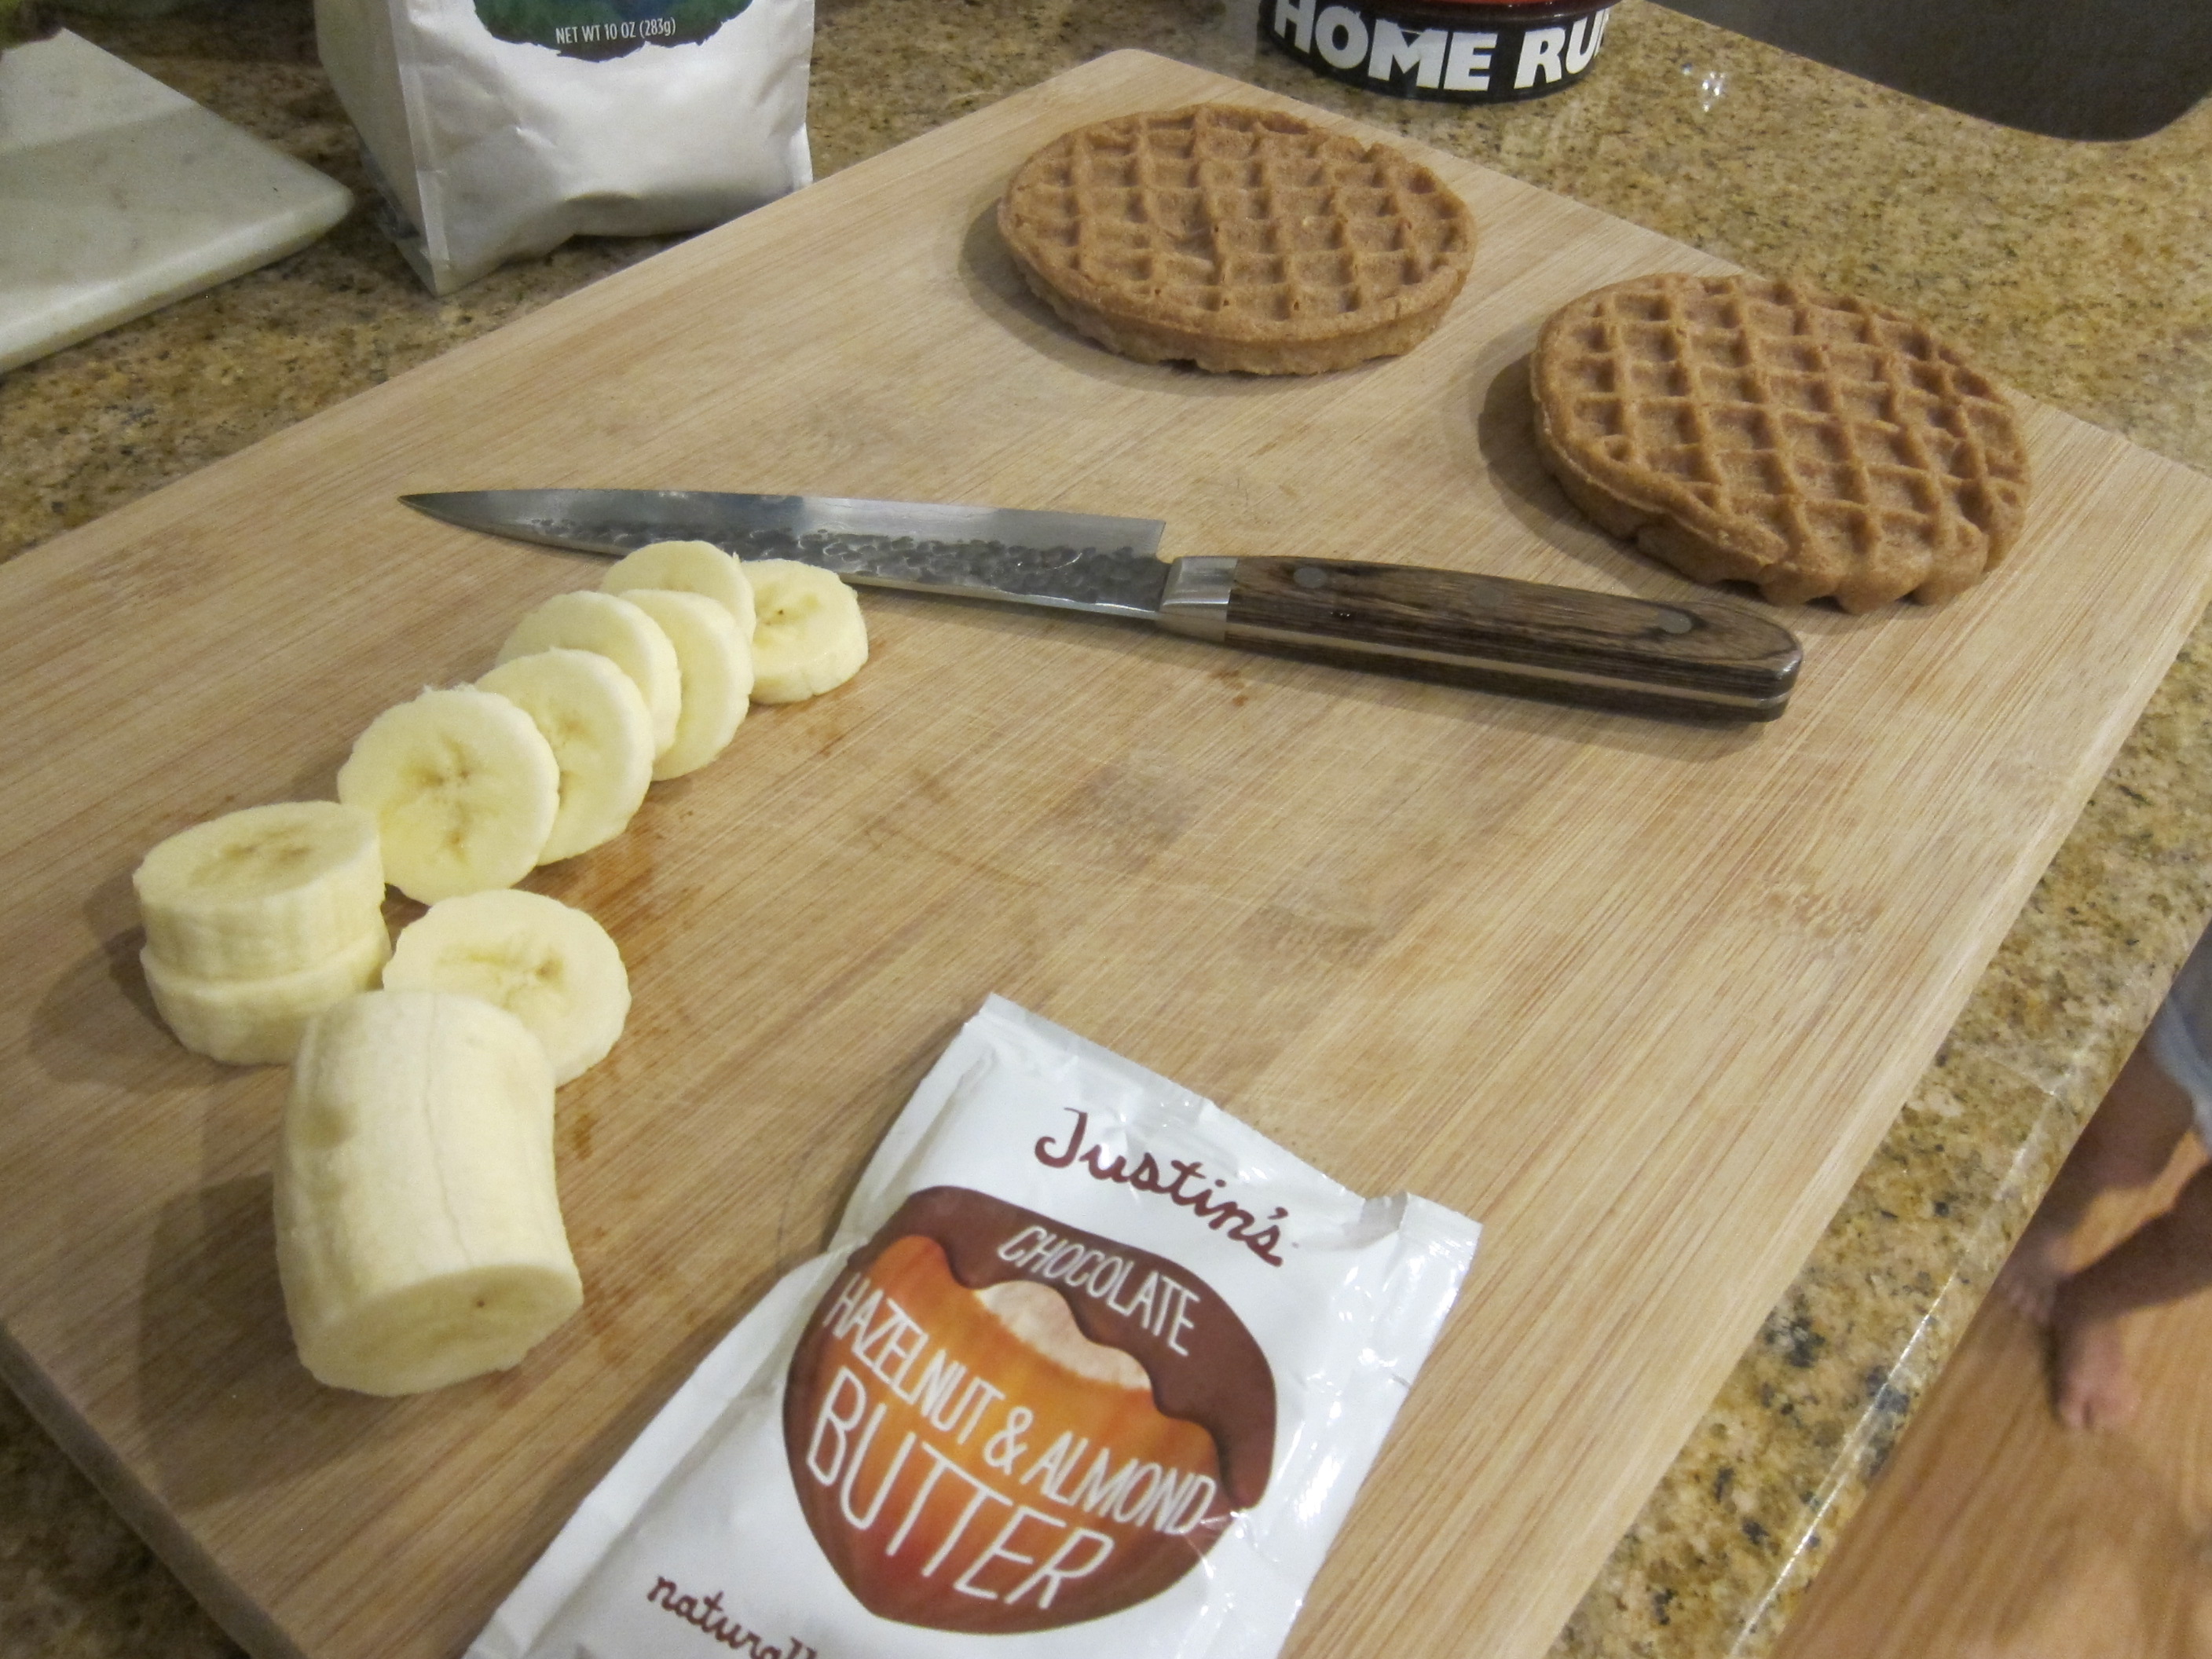
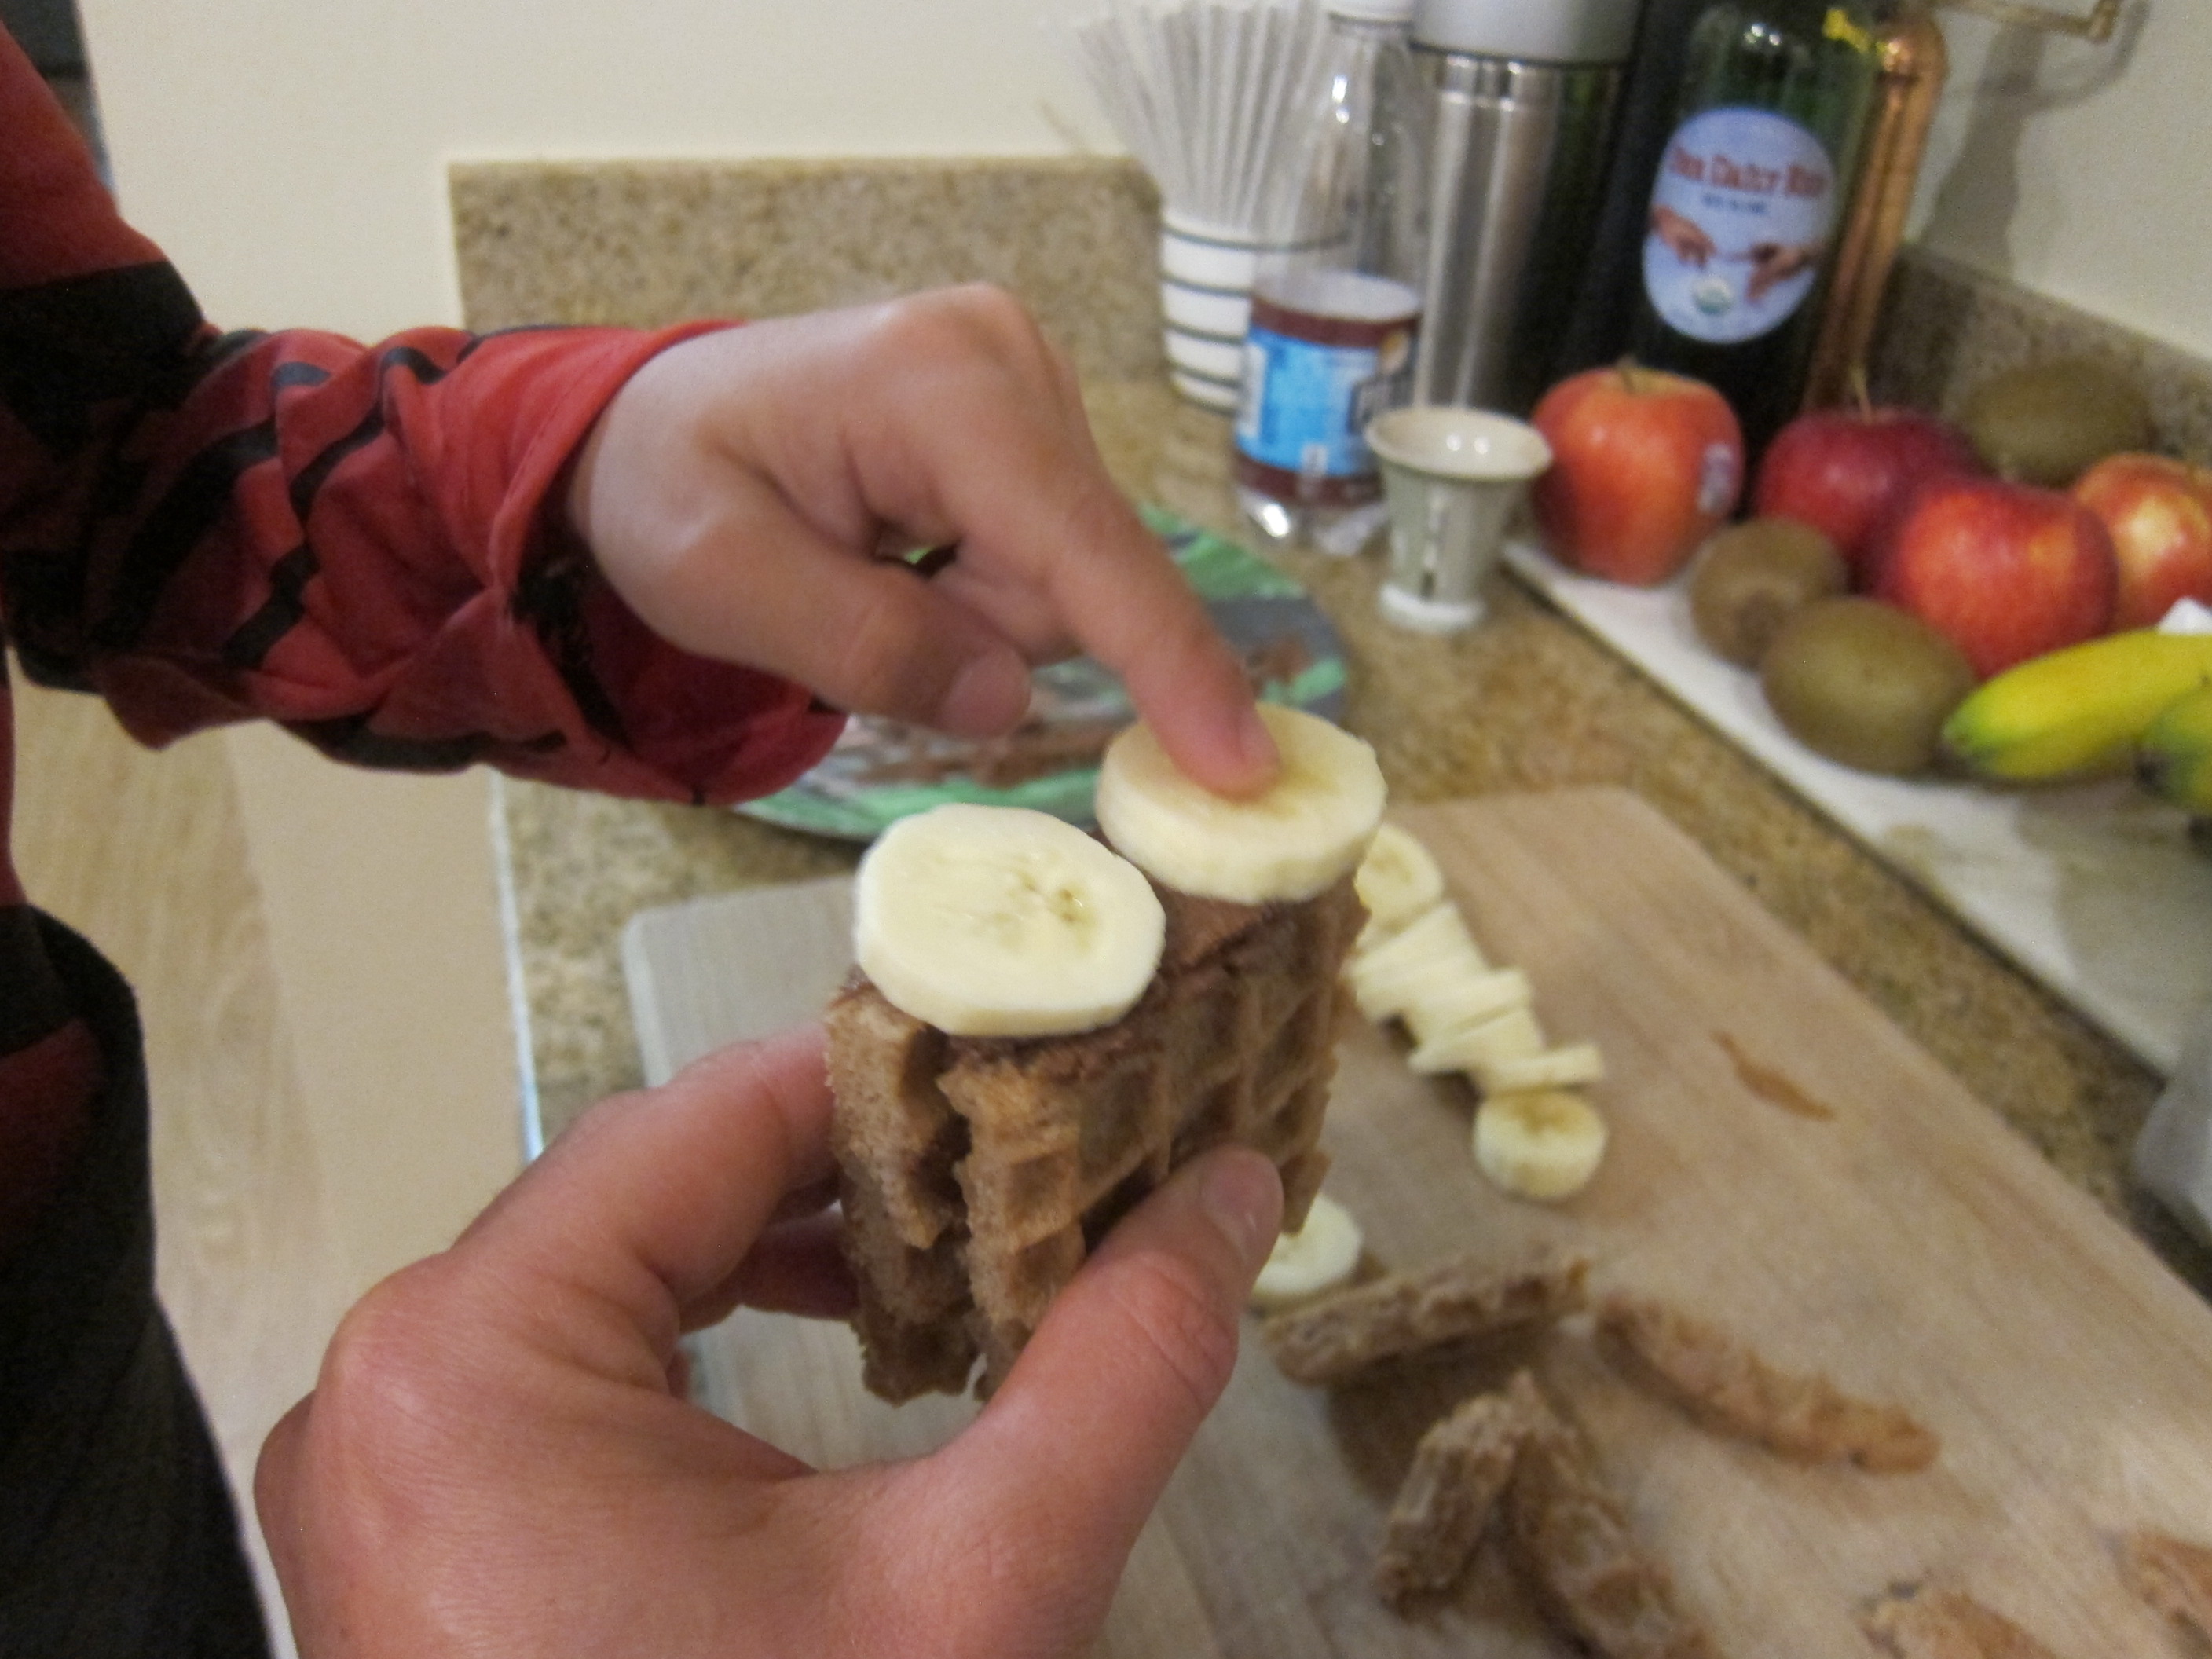
Now it was time for the grand finale: let your kid star in his or her own cooking show segment! For his starring moment, I wanted Travis to prepare a recipe he could tackle himself from start to finish. So, we chose… toast!

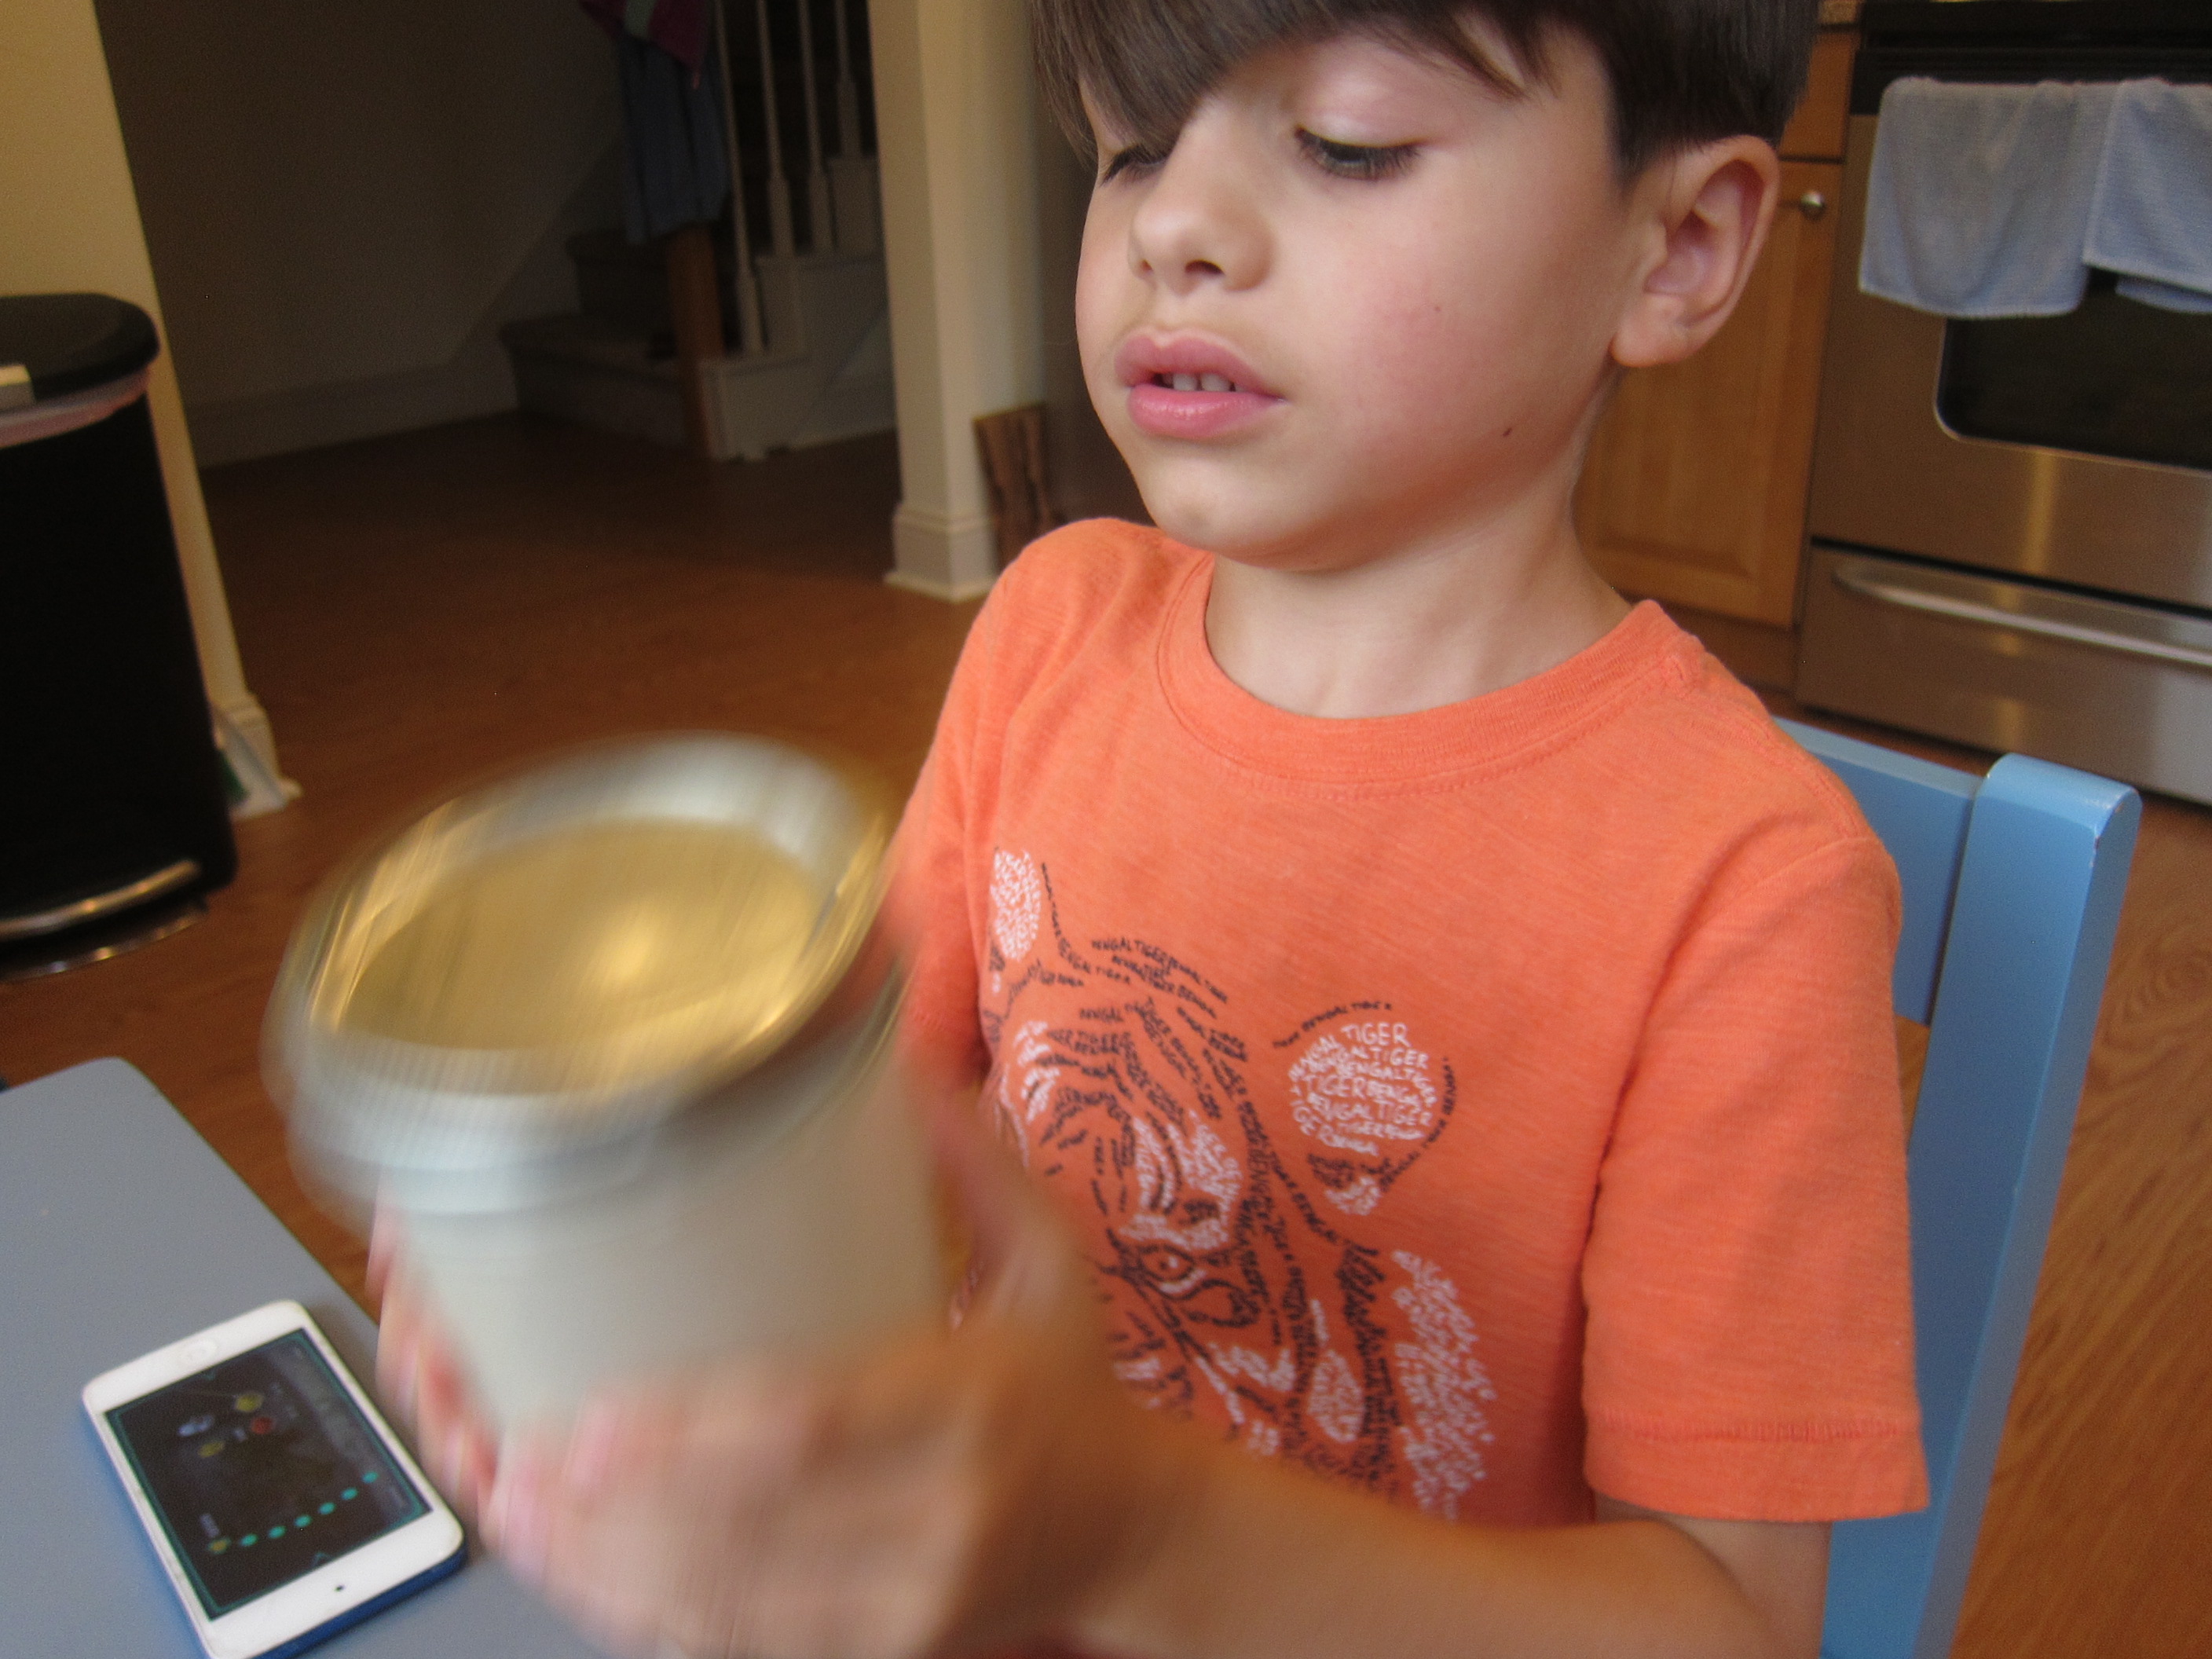
He was so proud to use the toaster.

We waited two minutes.

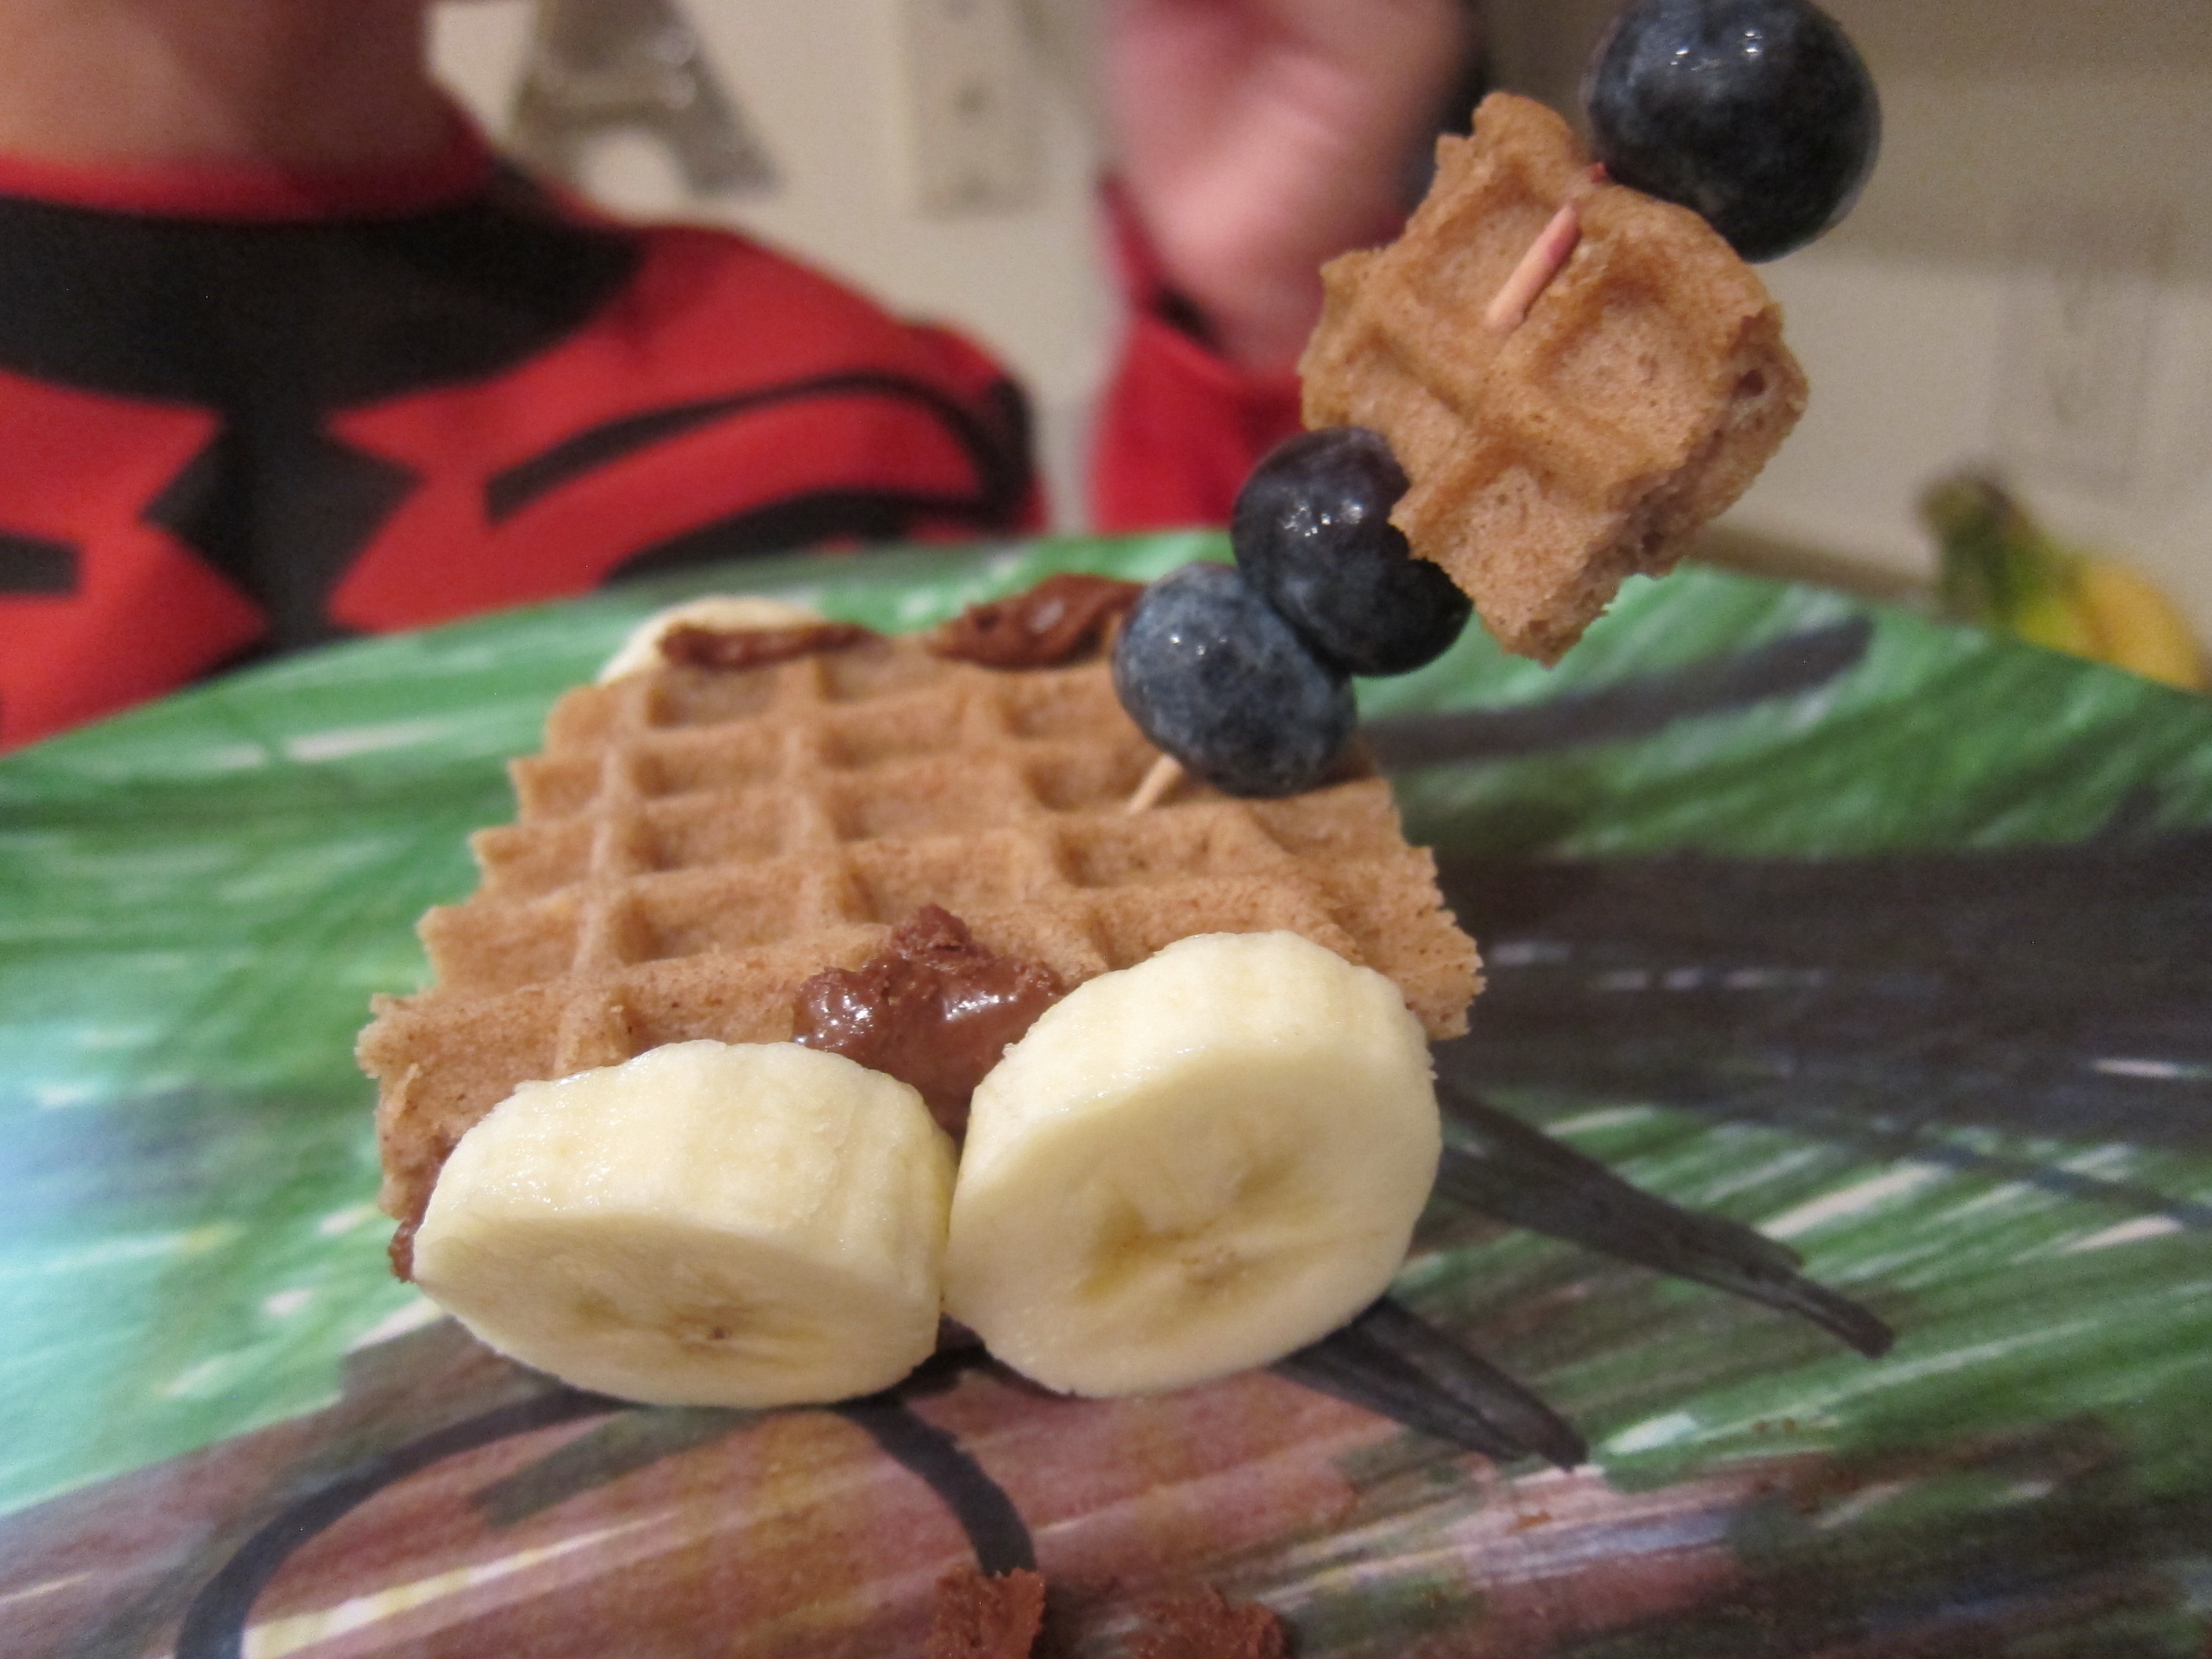
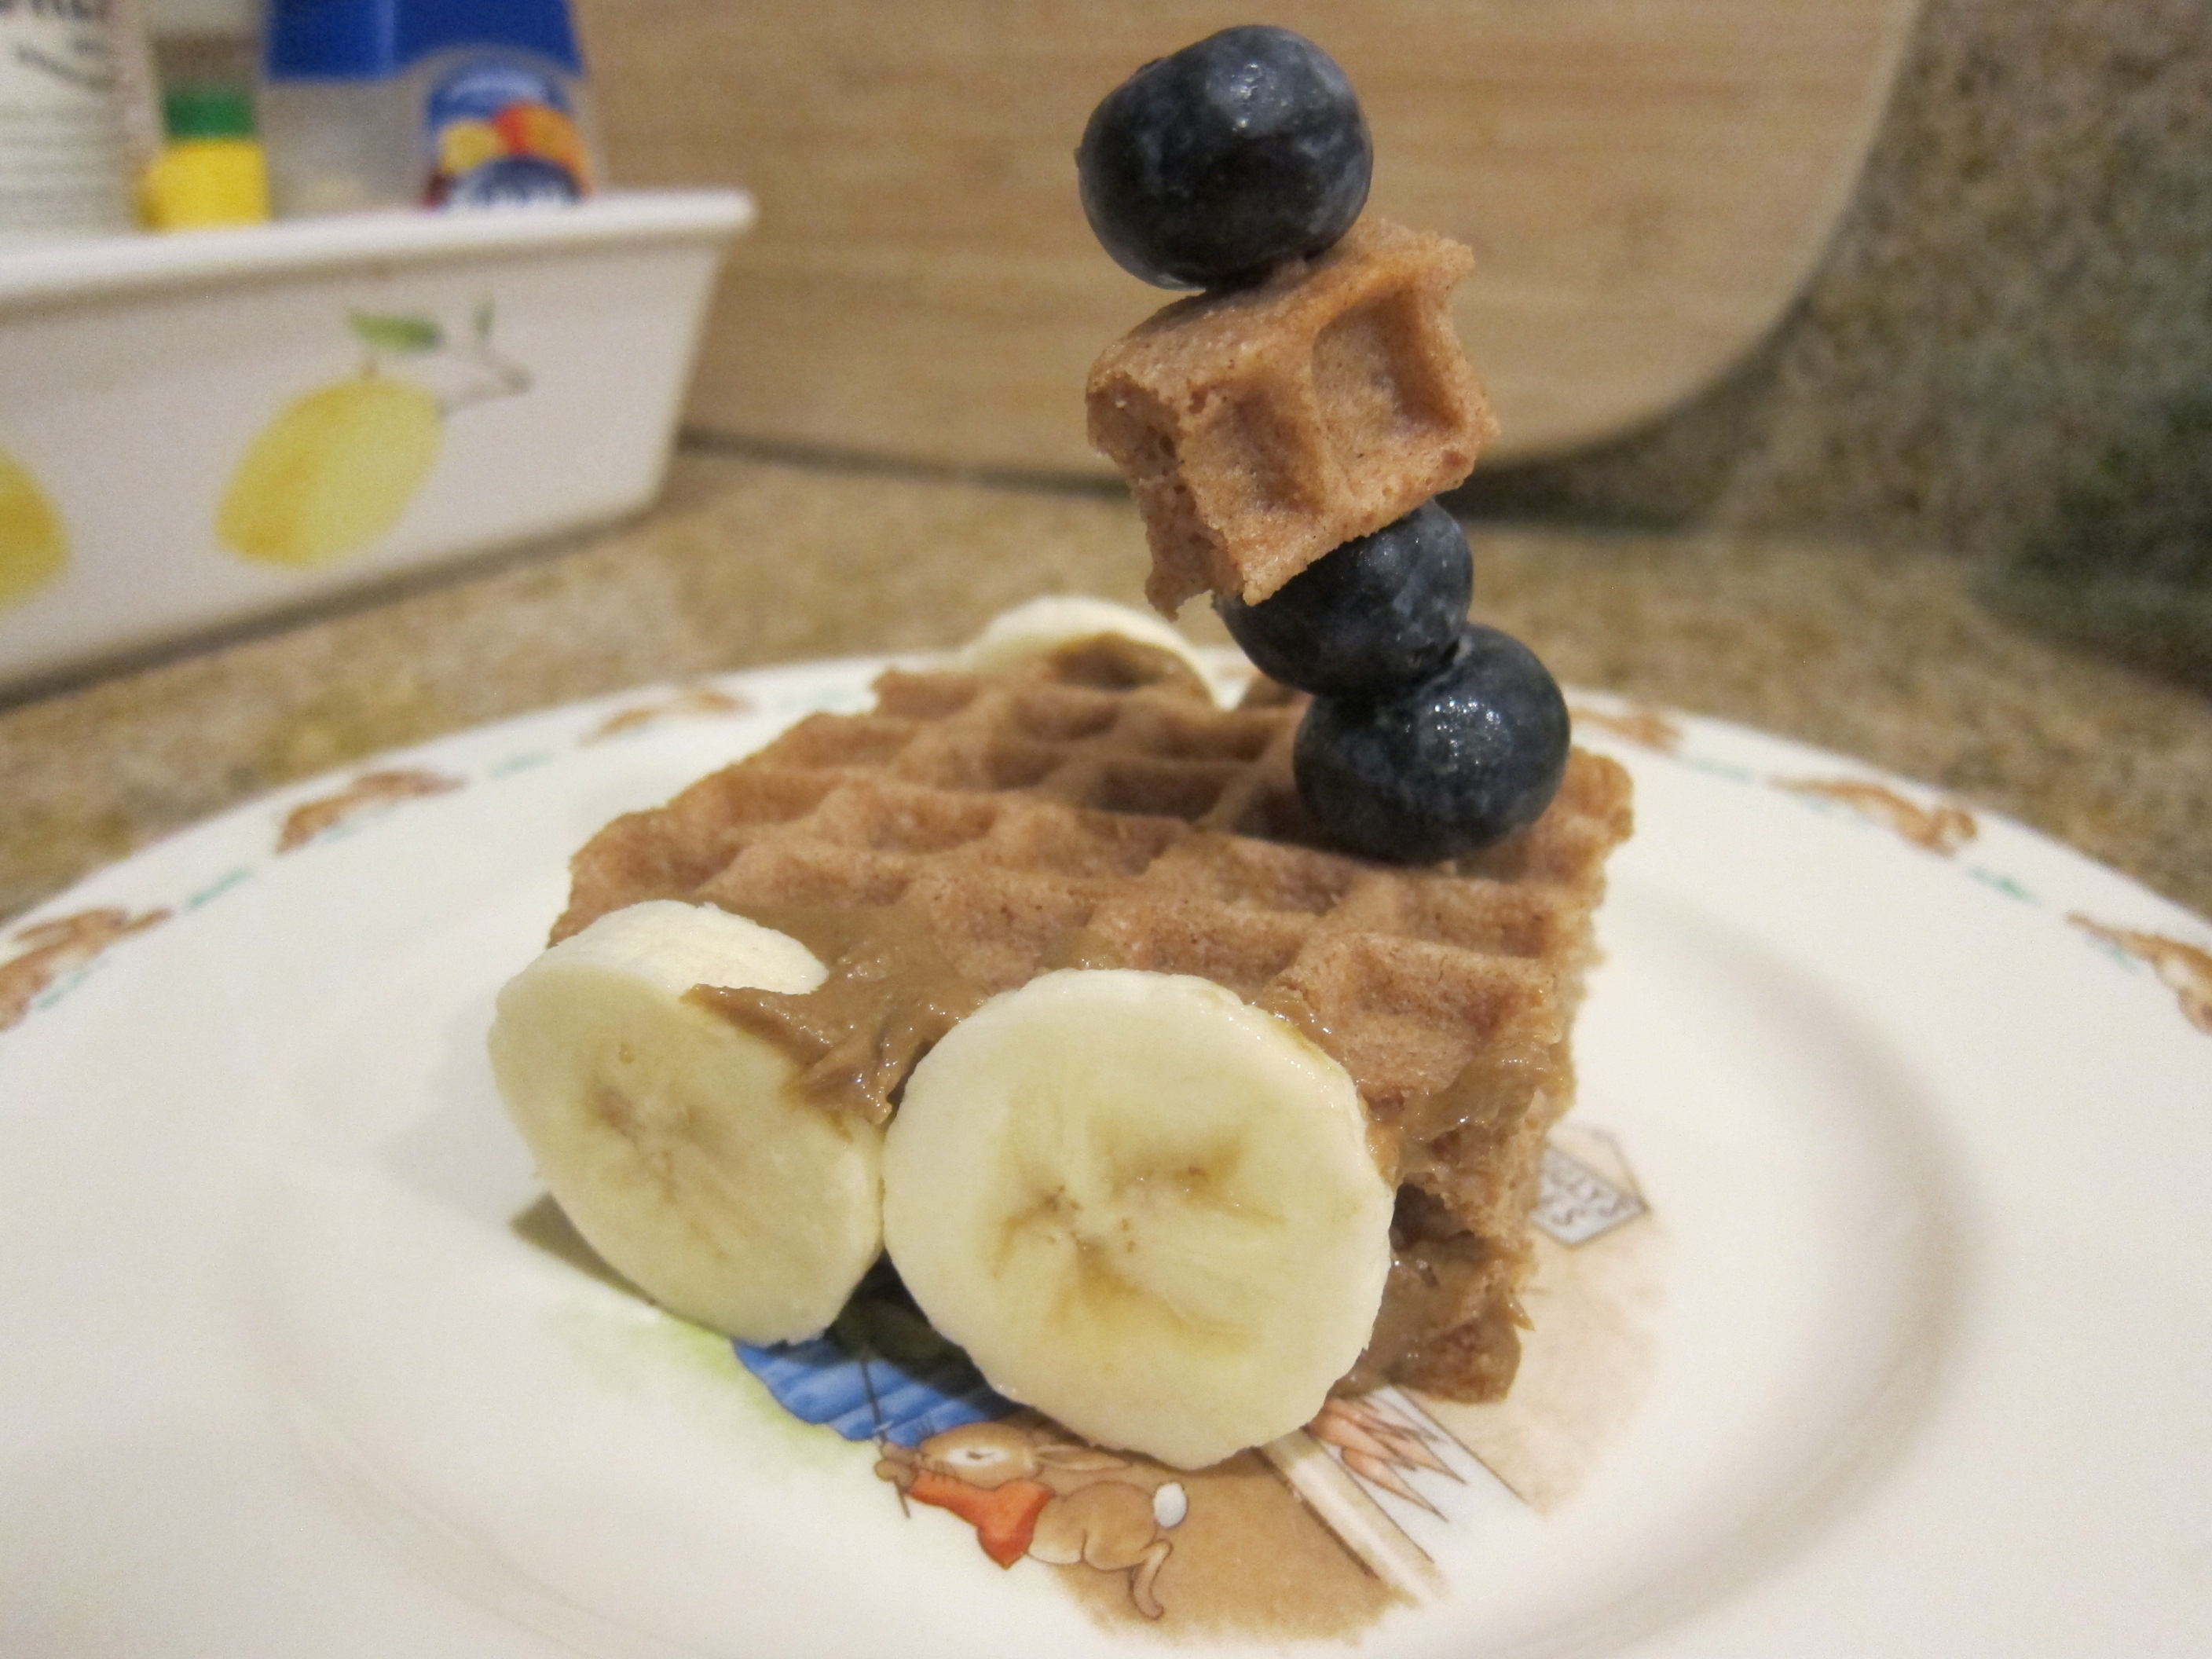
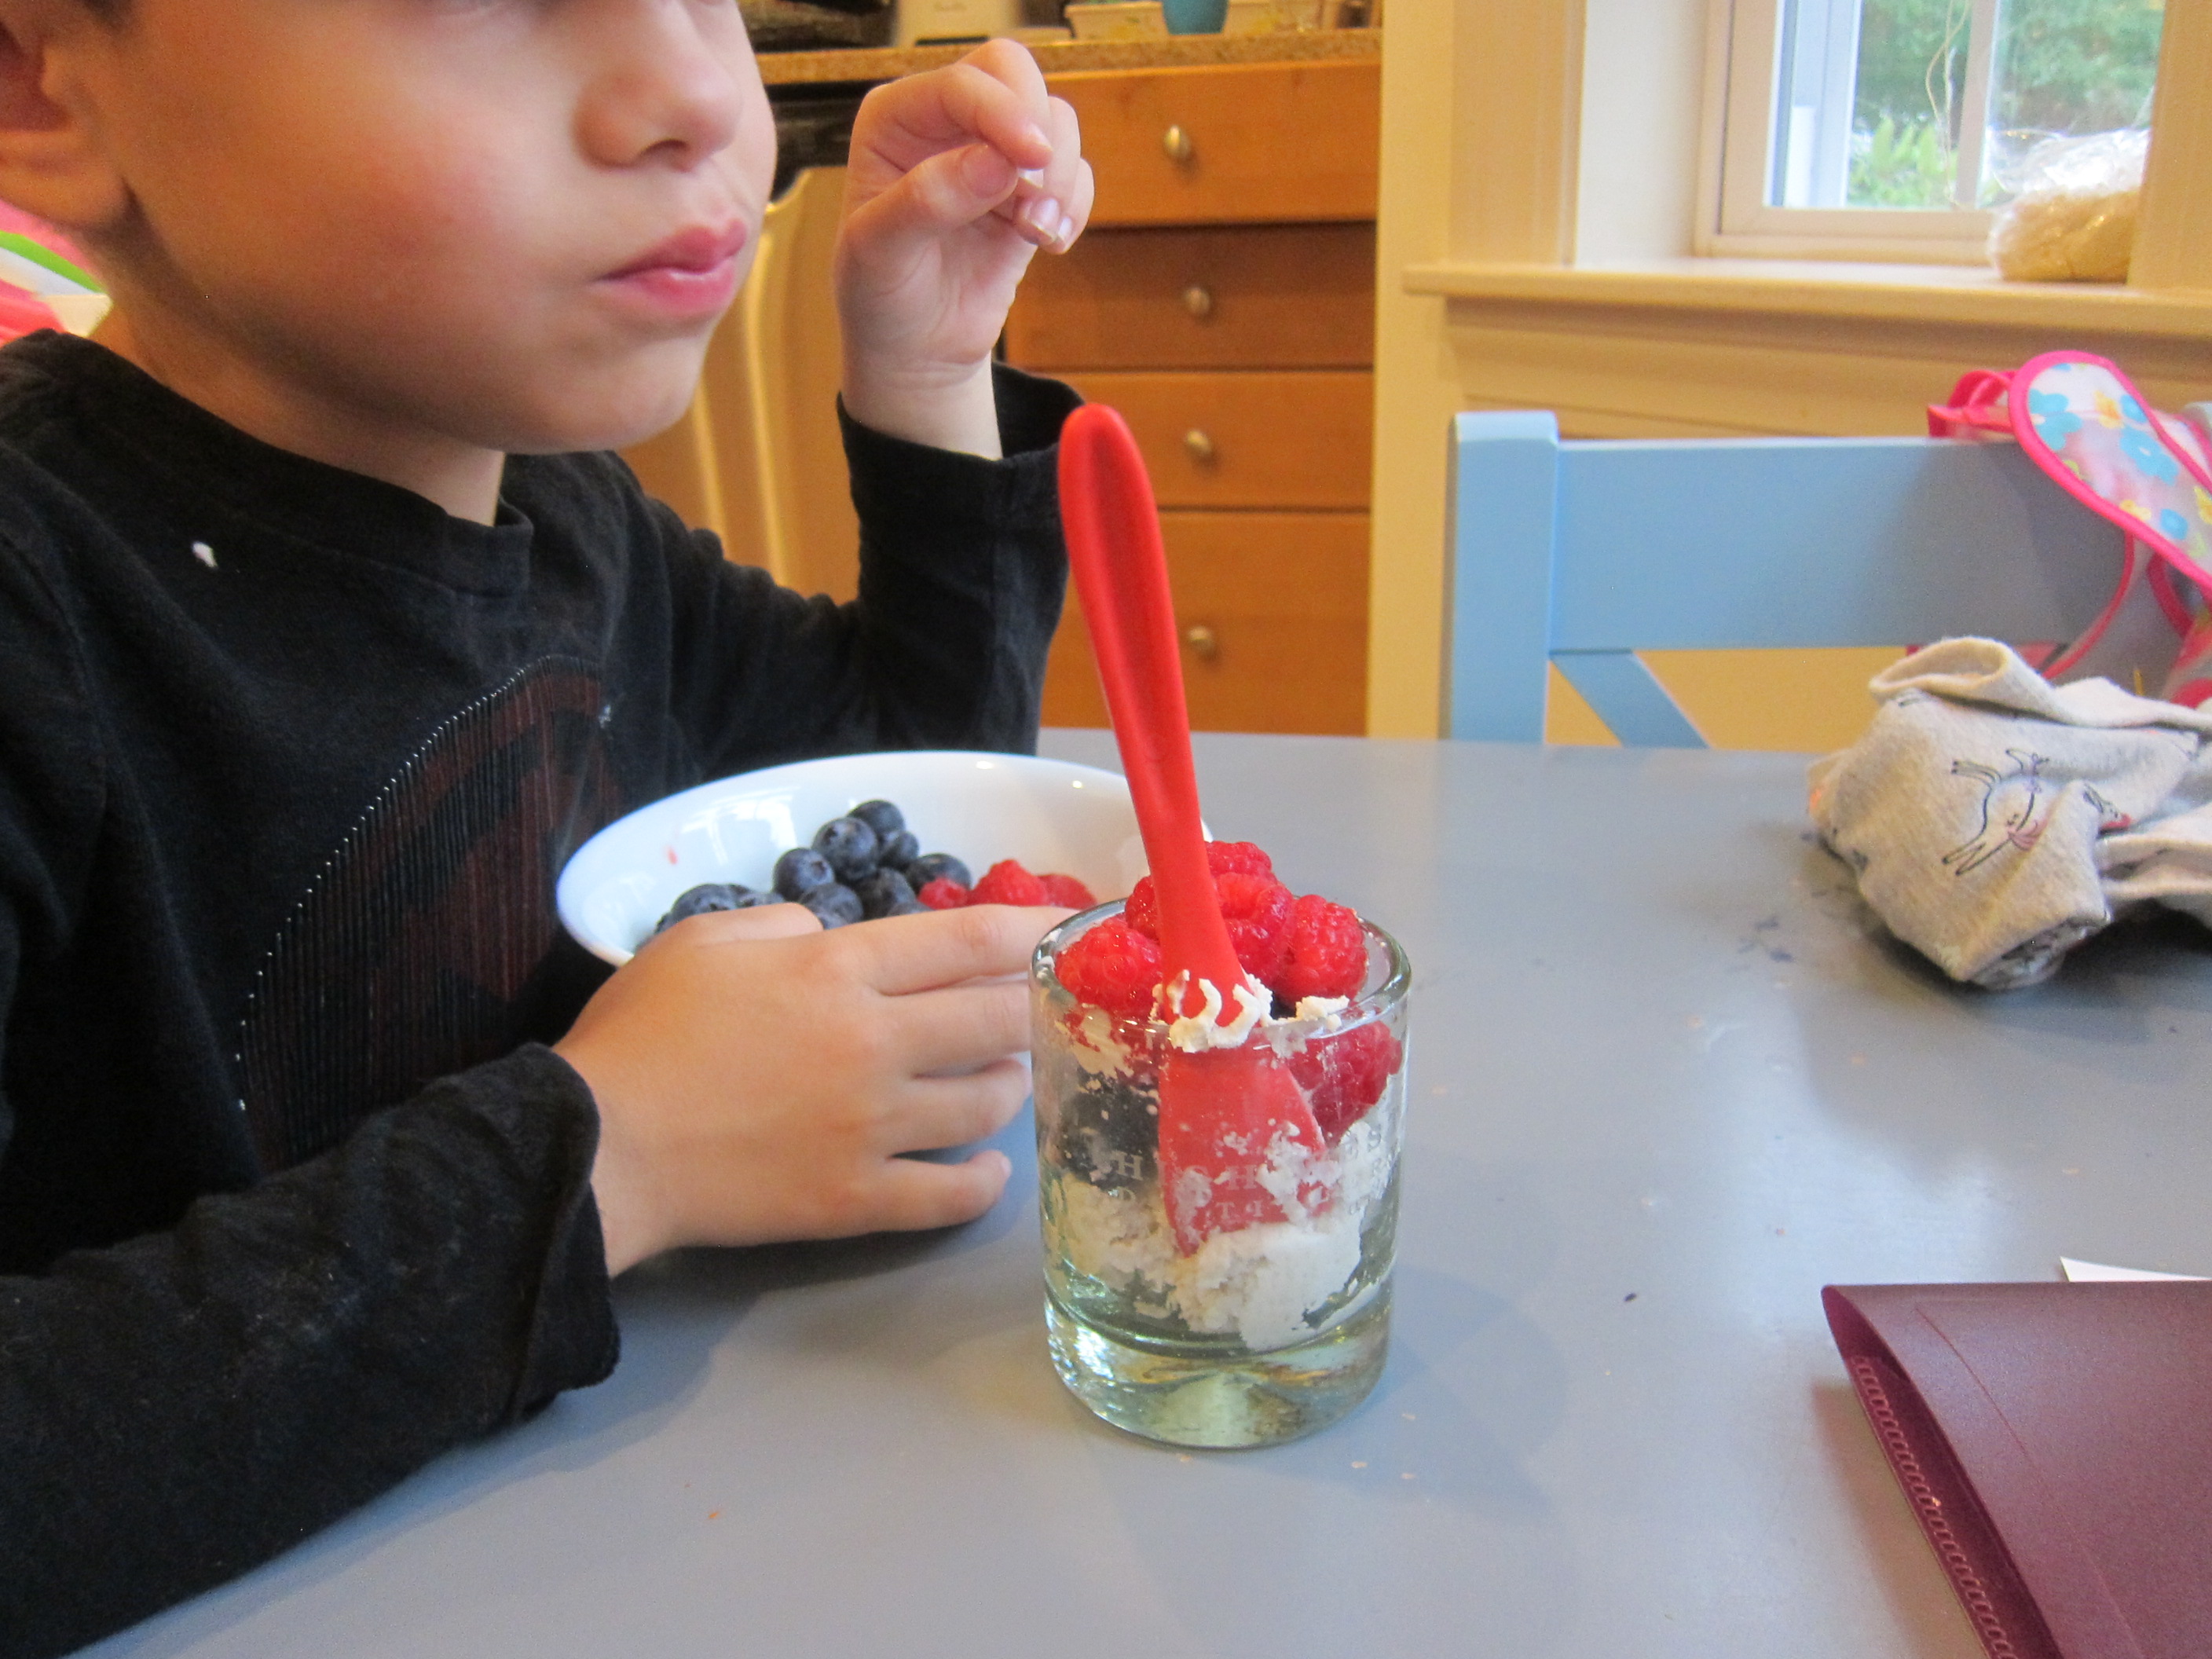
And of course, we needed the final taste test.
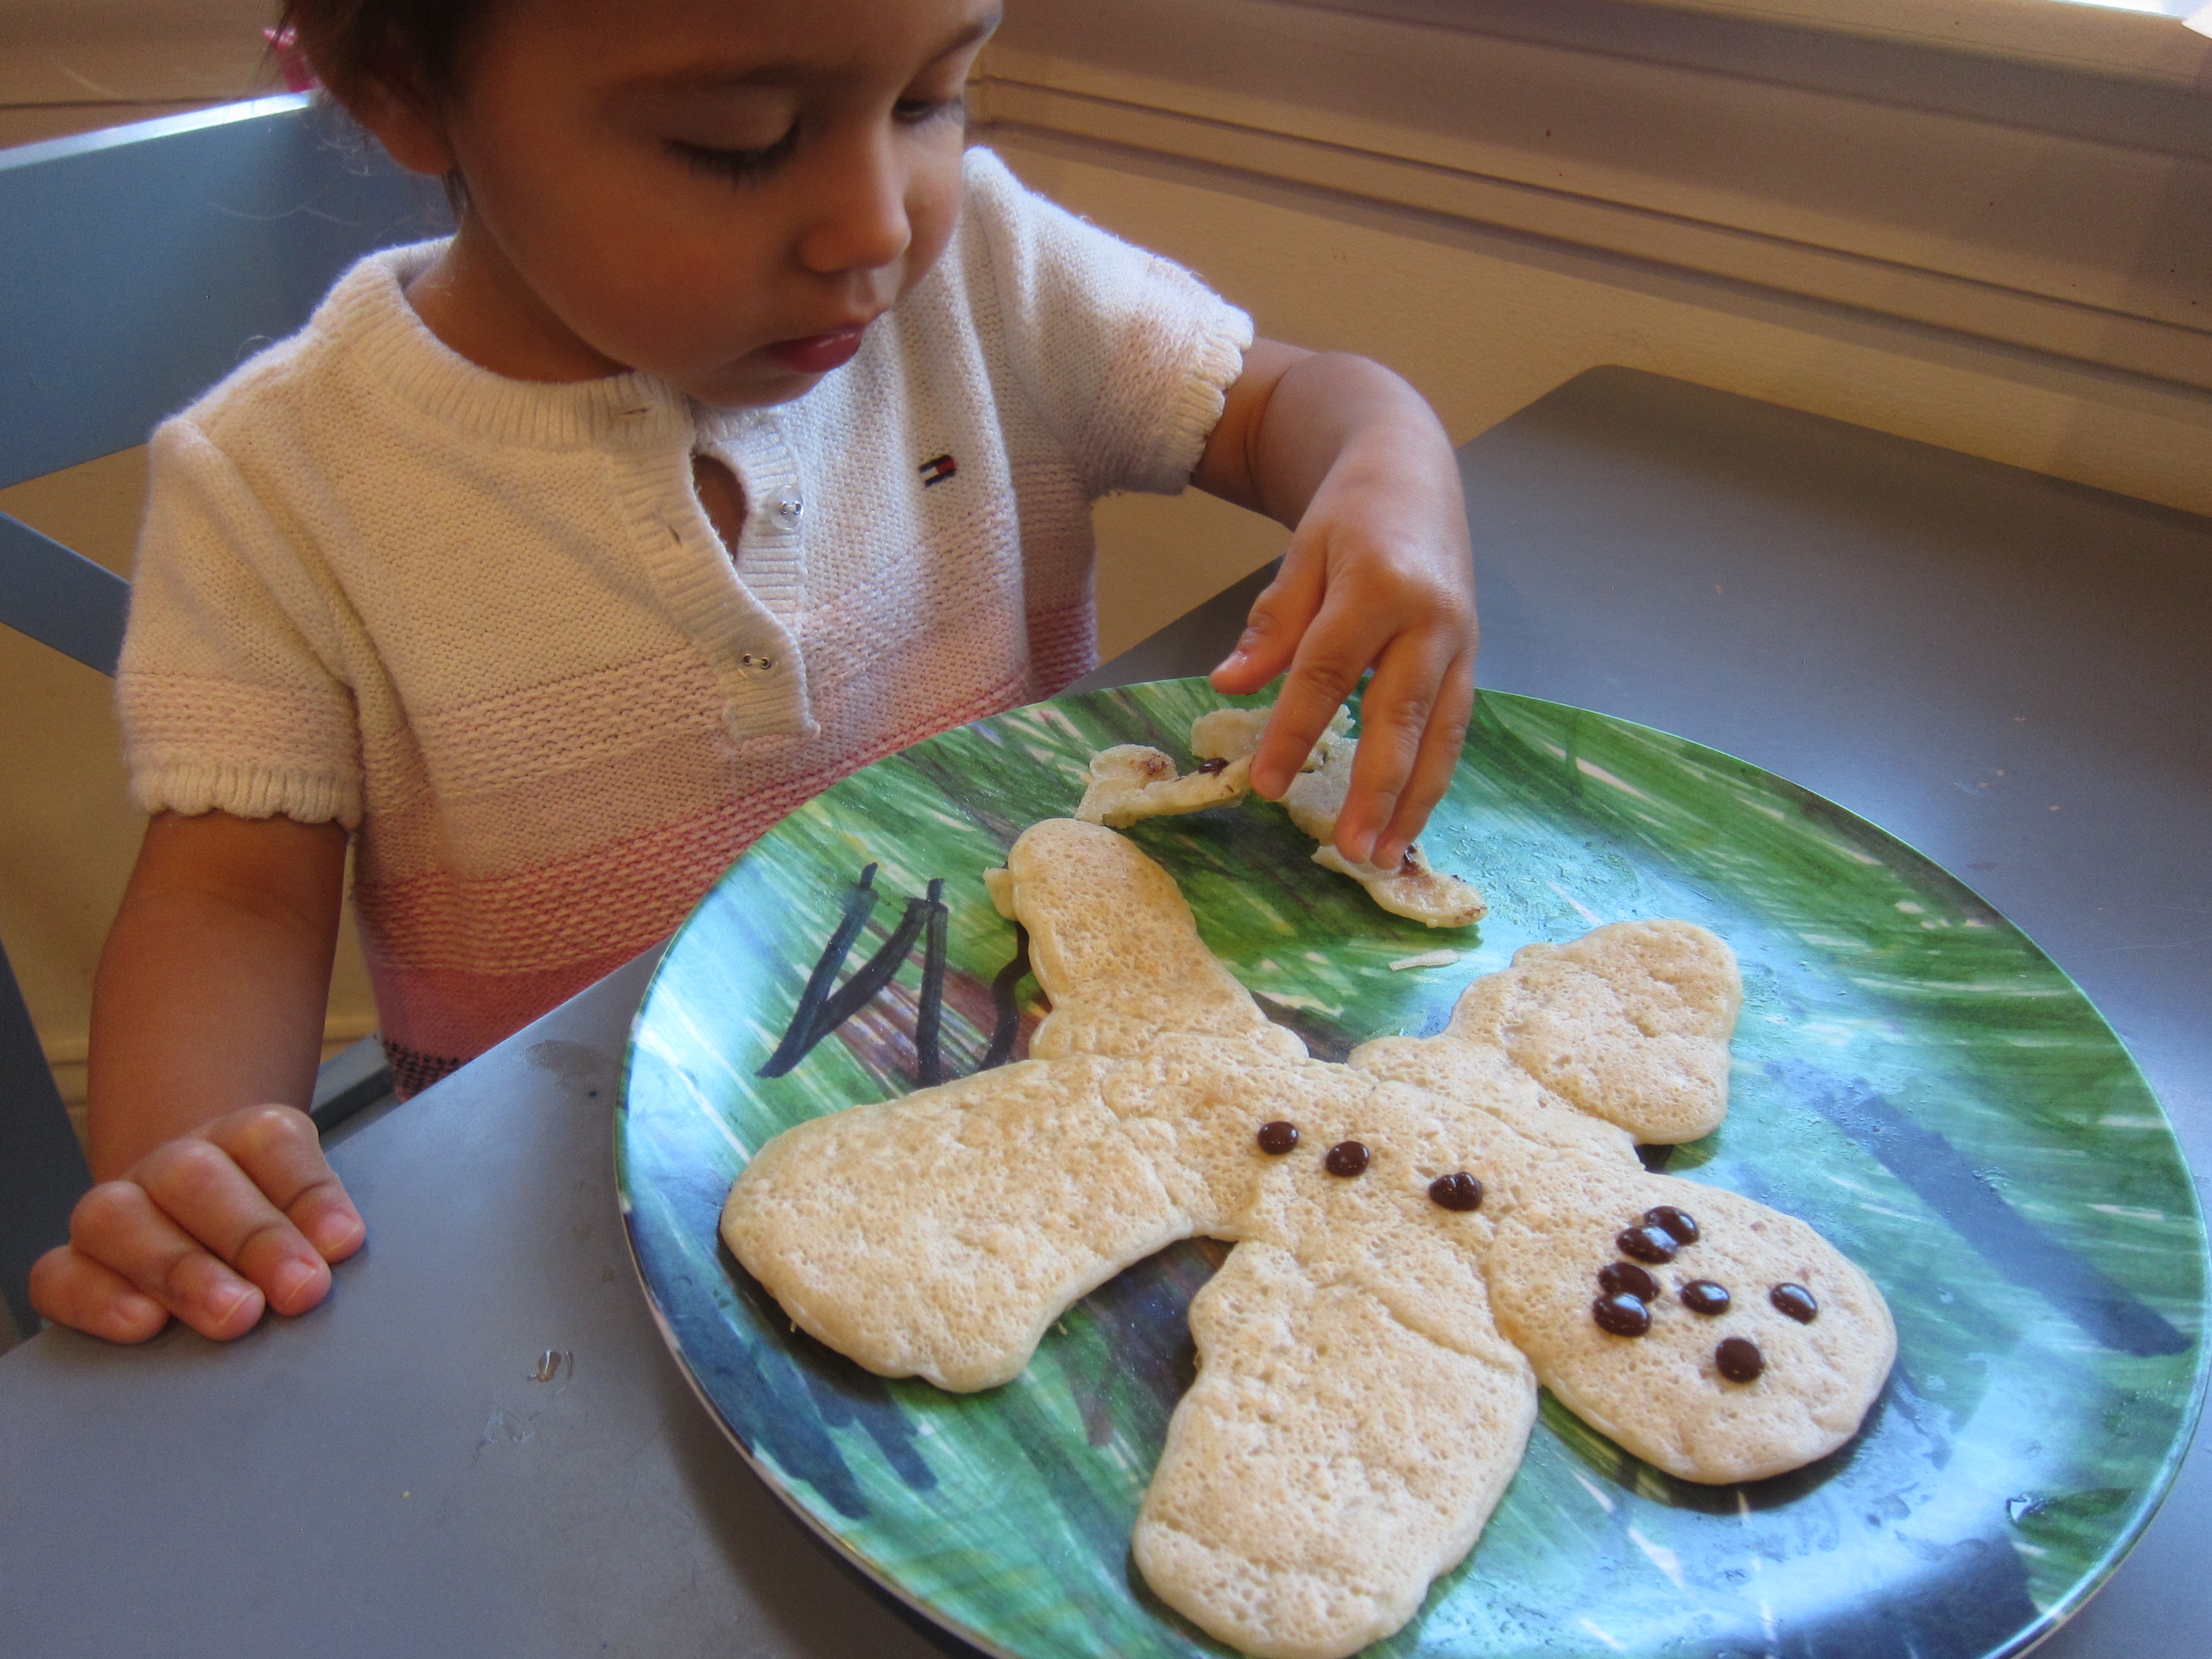
My proud chef!

Popcorn Reef

Popcorn Reef (2)

If your kids like to play with their food, permission is granted with this fun food-art-meets-snack.

To start, pop 4 cups plain popcorn; set aside in a large bowl.

Meanwhile, melt 1 tablespoon Earth Balance butter in the microwave. Add 1 and 1/2 cups mini marshmallows (such as Dandies) to the bowl. Microwave for 1 minute until the marshmallows are melting, and whisk to combine.

Pour the marshmallow mixture over the plain popcorn. Add a few drops of food coloring for pink coral! Once the mixture cools enough to handle, turn out onto wax paper and shape into mini coral reefs. We had some big blobs that looked a bit like brain coral, and some that was more like branched coral!

Popcorn Reef (1)

For fish, place an orange slice on each plate. Add slices of carrot for tail fins and a mouth, and blueberries for the fish’s eye (plus a few extra bubbles!).

Little Passports: Argentina

LP Argentina alt

Travis quite enjoyed his Argentina package from Little Passports, particular how hands-on this particular country’s activities were.

LP Argentina (1)

He dove right into the usual fare (a passport stamp, a sticker for his suitcase). The booklet had a few activities that were right at his grade level (learning colors in Spanish, a dot-to-dot) and some that were tricky to grasp as a first grader (adding team scores for Argentina’s national game of Pato).

LP Argentina (9)

Souvenir:

Travis always wants to know what “Sam and Sofia” have sent right away, and this one did not disappoint. After learning that some of the world’s largest dinosaurs have been found in Argentina, kids will have a little fossil kit to dig up their own Gigantosaurus.

LP Argentina (4)

Travis loved alternating between the pick and the brush until he had carefully unearthed the skeleton.

LP Argentina (3)

Further Activities:

The optional add-on for Argentina was a Weather Lab kit, based on Argentina’s active Andean volcanoes and snowfall in Patagonia. We’re so glad we opted for it! First we made instant snow, which little sister Veronika loved playing with even more than Travis.

LP Argentina (6)

I read them facts about how ice crystals form as the kids played with the neat mixture. Next was a tornado jar which Travis could spin to watch a funnel cloud form.

LP Argentina (11)

But best of all were the provided materials to make a volcano. We mixed warm water into powdered clay (I was proud of Travis getting his hands in there!) and then shaped a little volcano around the provided plastic cups.

LP Argentina (7)

To be honest, this clay was hard to work with, but we got something vaguely resembling a volcano. Once it dried (which may take a few days), Travis painted it with the provided watercolors.

LP Argentina (12)

Time for an explosion! Fill that central plastic cup with 1 tablespoon baking soda. Add a few drops of red food coloring and liquid dish soap, then pour in 1/4 cup vinegar.

LP Argentina (15)

Whoa!

LP Argentina (17)

Online, the fun continued with an Argentine flag to color and a picture-search based on the prehistoric paintings in Cueva de las Manos. The latter was definitely aimed at older subscribers, requiring multiplication, but Travis still a learned a little something.

The final website activity was a bonus recipe for empanadas, yum!

LP Argentina (21)

Recipe:

At last it was time for dessert. The dulce de leche-filled cookies called alfajores were tough to make vegan, but we did our best.

Alfajores (2)

Ingredients:

  • 1 and 1/2 cups flour
  • 1/2 teaspoon baking soda
  • 2 teaspoons baking powder
  • 2 and 1/2 cups cornstarch
  • 1 and 1/2 cups Earth Balance butter, softened
  • 1 cup sugar
  • 3 tablespoon ground flaxseed
  • 8 tablespoons warm water
  • 1/2 teaspoon vanilla extract
  • 1 (14-ounce) can sweetened condensed coconut milk
  • Shredded coconut
  1. To prepare the dough, combine the flour, baking soda, baking powder, and cornstarch in a bowl ;set aside.
  2. In the bowl of a stand mixer, beat the butter and sugar until combined. Whisk the flaxseed into the warm water to make vegan egg yolks. Add to the butter mixture, along with the vanilla and beat until combined.
  3. Stir  the dry ingredients into the wet ingredients to form a soft dough. Wrap the dough in plastic wrap and refrigerate for 30 minutes.
  4. Roll the dough to about 1/4-inch thick and use a 2-inch round cookie cutter to make circles. Bake at 350 degrees F for 10 minutes; transfer to a wire rack to cool.
  5. Once cool, spread half of the cookies with a little of the sweetened coconut milk and top with the remaining cookies. Roll the edges in shredded coconut before serving.

Alfajores (5)

Empanadas

LP Argentina (23)

Frozen pie crust means these empanadas are easy enough for even a busy night!

LP Argentina (20)

Ingredients:

  • 2 tablespoons olive oil
  • 1 (12-ounce) package meatless crumbles
  • 1 chopped onion
  • 1 chopped red bell pepper
  • 3 minced garlic cloves
  • 1/2 teaspoon oregano
  • 1 teaspoon cumin
  • 1 teaspoon paprika
  • 1 teaspoon chili powder
  • 1 cup vegetable broth
  • 1 tablespoon brown sugar
  • 1/4 cup raisins
  • 2 (9-inch) prepared vegan pie crusts (Such as Wholly Wholesome)
  1. To prepare the filling, heat the olive oil in a large skillet over medium-high heat. Add the meatless crumbles and cook for 6 minutes.
  2. Add the onion, bell pepper, and garlic to the pan; continue to cook for about 5 minutes, until the onion is soft.
  3. Add the oregano, cumin, paprika, and chili powder; cook for 1 minute, then stir in the broth and brown sugar. Continue to cook for about 5 minutes, or until the liquid is nearly all evaporated.
  4. Stir in the raisins and remove from heat.
  5. Meanwhile, use a 4-inch round cookie cutter to cut circles from the pie dough. (Note: you’ll need to gather and re-roll your scraps several times).
  6. Spoon a heaping tablespoon filling into the center of each circle. Fold the dough over the filling and crimp the edges with a fork to seal.
  7. Transfer to a baking sheet and repeat with the remaining dough and filling. Bake at 375 degrees F for 20 minutes.

LP Argentina (22)

Waffle Rover

Waffle Rover (7)

What’s better than a little Mars Rover your kids can steer around the house? One they can eat, of course!

Waffle Rover (1)

This cute recipe comes together in mere moments. Toast two waffles and then trim the edges so you have 2 squares instead of 2 circles. Reserve one of the cut pieces and trim into a small rectangle (this will later be the rover’s head).

Waffle Rover (3)

Spread one waffle square with any sweet sticky spread. We tried one version with chocolate-hazelnut butter and a second with sunflower seed butter. Place the second waffle square on top. Spread additional sticky spread along two sides of the square and attach banana slices as wheels.

Waffle Rover (4)

To build the head of the rover, thread 2 blueberries onto a toothpick, followed by the small waffle rectangle and a final blueberry.

Waffle Rover (5)

We found that our rover head stood up better if we used two toothpicks instead of one.

Waffle Rover (6)

Chances are your rovers won’t have long to explore before they’re gobbled up!

Halloween Countdown Day 8: No-Bake Pumpkin Pie

Halloween 8 No Bake Pumpkin Pie (7)

What better way to wait out the anticipation before you can carve your pumpkins… than to eat them! This pie should successfully tide everybody over until jack o’ lantern time. Bonus points: the recipe is easy enough that even my two-year-old can help!

First, combine 1/2 cup non-dairy milk and 1 packet instant vanilla pudding mix in a container with a lid. Seal and shake. Fun!

Halloween 8 No Bake Pumpkin Pie (1)

Pour the pudding mixture into a large bowl. Stir in 1 cup canned pumpkin pie filling. Fold in half a container of non-dairy whipped topping (such as So Delicious Coco Whip).

Halloween 8 No Bake Pumpkin Pie (3)

Spoon the mixture into a prepared graham cracker crust (such as Mi-Del), then spread the remaining whipped topping on top. Veronika was eager to hold the spatula and help smooth out the top!

Halloween 8 No Bake Pumpkin Pie (4)

But mostly, she wanted to taste-test every step of the way. She earns an A plus for making sure every step of the recipe was delicious.

Halloween 8 No Bake Pumpkin Pie (2)

Pop the pie in the freezer for at least 2 hours and voila, a pie that never needs to bake.

Halloween 8 No Bake Pumpkin Pie (6)

Your kids might think it’s Halloween magic!

Halloween 8 No Bake Pumpkin Pie (9)

Light-as-Air Parfait

Light as Air Parfait (5)

Here’s a snack with some science behind it! Travis read that shaking dairy cream rapidly would result in whipped cream, thanks to the addition of air. Could we achieve the same with non-dairy creamer? We had to try two times before we were successful, so read on!

First, we tried a liquid non-dairy creamer, and opted for oat milk. Pour 1/2 cup into a jar with a lid, along with 2 teaspoons sugar and 1/2 teaspoon vanilla extract. Shake for a few minutes (take turns so your arms don’t get tired!) and see if it turns from liquid to solid.

Light as Air Parfait (1)

Well, it turned out that the oat milk didn’t work. For a surer bet, we next turned to full-fat coconut cream. Chill a can of coconut milk in the fridge overnight. Scoop off the solid portion of cream; stop scooping when you hit the watery liquid underneath. Repeat with the same process as the oat milk above, adding the sugar and vanilla, and then shaking.

Well, this time the creamer was firm after just moments of shaking! So the answer is yes, it does work if you choose the right non-dairy alternative.

Light as Air Parfait (6)

To enjoy the fruits of our labor, we spooned some of the coconut whipped cream into parfait glasses and topped each serving with fresh berries. The perfect reward.

Can you shake other non-dairy creamers into whipped cream? Please share in the comments if you find a successful method!

Designer Pancakes

Designer Pancakes (8)

Today was Veronika’s first time at the stove! She’s not quite yet 2, so needless to say I supervised this activity very closely. But dripping pancake better is an excellent first stove-top activity, and will make toddlers feel like big helpers in the kitchen.

First up was whipping up a super simple pancake recipe, by whisking the following together in a big bowl:

1 and 1/2 cups almond milk

2 Ener-G eggs

4 tablespoons canola oil

2 teaspoons baking powder

1 and 1/2 cups flour

Toddlers can help with this part, too!

Designer Pancakes (1)

I poured the batter into a liquid measuring cup and helped Veronika climb on a stool by the stove. Together, we held a big ladle and dripped the batter into a heated pan coated with cooking spray.

Designer Pancakes (2)

When it’s your toddler’s turn, chances are the “design” of the pancakes will be completely random. But Veronika loved that she made “baby pancakes”, and we thought one looked like a caterpillar.

Designer Pancakes (3)

Some of the small ones looked like little clouds in the sky.

Designer Pancakes (5)

While she enjoyed sampling the first batch, I prepared a slightly more deliberate design: a pancake gingerbread man! Chocolate chips made eyes, a nose, and buttons.

Designer Pancakes (7)

Veronika absolutely loved this activity, both the cooking and the eating of it.

Designer Pancakes (6)

Make Your Own Oat Milk

Homemade Oat Milk (6)

As an extension to his Lunchtime Love recipes from Raddish Kids, Travis was excited to learn how to make his own oat milk today!

The idea here was to show a child how food goes from raw ingredients to finished product. Of course we had to skip the growing and harvesting of the oats, but we came home from the store with a bag of organic rolled oats that certainly didn’t look like milk yet.

Homemade Oat Milk (1)

We first watched a few how-tos online to see if we could make the best oat milk possible. Tips include using the coldest water possible and blending for the least amount of time possible. Armed with that knowledge, Travis combined the following in a blender:

4 cups cold water

1 cup rolled oats

1 teaspoon vanilla extract

Skip the vanilla if you don’t want the milk sweetened. We ran the blender for about 30 seconds.

Homemade Oat Milk (2)

Travis was ecstatic that now it was white like milk!

Homemade Oat Milk (3)

I don’t have cheesecloth, so the best we could do was strain it through a fine-mesh sieve. He immediately needed a big glass and a straw. Little sister wanted a taste, too!

Homemade Oat Milk (5)

Well, he turned to me and said, “Actually… it’s not that good.”

Homemade Oat Milk (4)

Bonus points for honesty! I guess we’ll stick to almond milk as a family. But now Travis is determined that we should make a homemade batch. Thanks Raddish!

School Milk Flipbook

Milk Flipbook (6)

Travis helped make several lunches this month thanks to his Raddish Kids Lunchtime Love crate, a perfect theme for back-to-school in September. We finished up with this lesson plan.

To start, we played “I’m going on a picnic” to get thinking about different foods in a lunchbox, particularly those that travel well. A basket of toy food as prompts helped initially, but Travis was bored after a few rounds of back-and-forth. Instead, we turned to the web for the next part of the lesson.

Milk Flipbook (1)

Raddish provided links for a read-aloud about how common lunch foods get on the plate. Because the book was heavy on dairy, we also watched vegan-friendly videos about almond milk and soy milk.

Milk Flipbook (2)

Next Travis got to be an author! The assignment was to make a flipbook about the journey of an almond from the tree to the carton at the store. I encouraged him to put on his imaginative cap and pretend the story was from the point of view of the almond, although this was a bit of a stretch for my first grader.

Milk Flipbook (4)

He concentrated more on just drawing the pictures, and I added words.

Milk Flipbook (5)

There were also fun videos to watch on school lunches around the world. Big kids can extend the lesson much further, here, perhaps by designing an international menu for their school cafeteria

For a hands-on extension, we returned to an old favorite: growing new vegetables from kitchen scraps. This works fantastically with green onions, so after we used a bunch from the store, we placed the bulbs in a small dish of fresh water. You should see new growth by morning!

Regrow Food Scraps

Finally, Travis was in charge of designing his own perfect after-school snack in Raddish’s Create-a-Snack Challenge. I showed him the list of possible ingredients, and he selected: hummus, cheese slices, tortillas, strawberries, and tomatoes. The possibilities were growing already.

Snack Challenge (1)

After a trip to the store, he created the following: Hummus-Cheese-Tortilla Bites.

Snack Challenge (2)

I loved watching him turn into a little chef as we layered hummus on small squares of tortilla, topped each with a piece of Violife cheddar, and then topped that off with tomato.

Snack Challenge (4)

He got fancy and added strawberries to a few. An interesting flavor combination!

Snack Challenge (3)

I haven’t seen him enjoy snack so much in ages, so this was a great activity on the part of Raddish.