My Tree Journal

Today, Travis embarked on a project that will actually be a year-long process: To find a tree to follow and document the changes and differences across the seasons. This beautiful project truly teaches children to feel the wonder of nature, connect with a living natural thing, and become observant little scientists!

It all started with a picnic lunch at our local arboretum. I let Travis lead the way to the tree he deemed worthy of our picnic in the shade, and that sealed the deal of which tree he’d be observing.

The next step was to check out the label under the tree; he’d chosen a sweet cherry! This was exciting, since not as familiar to him as a maple or oak. If you’re not at an arboretum with labeled signs, consider taking along a nature guide or check out websites to identify your child’s tree.

He immediately decided the tree’s name was Chersie and drew Chersie’s picture on the front of his journal. We also made sure to snap the first of what would be our seasonal pics, in this case Chersie verdantly green in summer.

Travis went over to the tree with wonder. “It spoke to me!” he said. I asked him what the tree had told him. “It said, ‘I love you’,” he reported seriously. My tree whisperer! We marveled at how the bark was rough in patches, but smooth in others, and at all the bugs that were making Chersie their home. Travis said he missed the tree already on the drive home.

Once home, we printed the Summer photo using our Zink printer, which he then glued into the tree journal.

I will update this post with pictures from the fall, winter, and spring, so stay tuned!

Fun Ways to Play with Sticks

There’s a fantastic nature playground near our home, where the only “structures” are those found in nature (think balance beam tree trunks, stepping stones made of rocks, a pebble sandbox, and more). I love the space because here, imagination is king! To wit, today Veronika and I set out to see how many different ways we could play with sticks we found in the area.

First, she designed a little hut for her toy kitty cat. Depending on what your child loves, the tiny house could be for a fairy or a gnome, instead!

Keeping up the whimsical theme, I tied a scarf around one stick and it became a streamer that she could wave through the air.

Or perhaps it was a magical wand in my big fairy’s hand.

The sticks were also great for drumming (on tree stump drums, naturally), leading to an impromptu jam session!

Of course sticks are great for learning, too. Collect a few and then sort them by some attribute, whether length, color, or another feature. We then decided to take a few favorite sticks home, where they were perfect for arts & crafts!

Veronika loved painting directly on the sticks with silver and gold. She decided another should be black with pink spots.

There are so many tried-and-true sticks games that we didn’t even get to today, like drawing in the dirt, forming alphabet letters, stacking sticks into towers, and stirring up some nature soup. As long as you’re careful, sticks can even be used for a quick game of Jedi lightsaber battling.

What’s your child’s favorite way to play with sticks? Please share in the comments!

Fun Flower Garden Containers

Flower Garden (3)

I’ve long wanted to get the kids into gardening (beyond the plastic cup seeds we’ve planted!) but I hesitate to buy planters since I have no green thumb myself. Enter this adorable upcycling idea for garden containers, made from empty soy milk cartons. They’re just right for kids to plant flowers or herbs, with no commitment.

To start, I cut one side flap off each of two empty soy milk cartons, then thoroughly washed with soap and water and let dry.

We headed outside with our containers on a hot morning. I had a new set of garden toys for the kids, to add to the fun, including a mini wheelbarrow, gardening tools, and even pretend flower pots. These will be fun to mime garden play even when we’re not actually planting!

Flower Garden (10)

But now to set up our real containers, Veronika helped scoop potting soil into each of the cleaned out cartons.

Flower Garden (1)

Pat down the dirt and then water until moist. Our elephant watering can is always a big hit.

Flower Garden (2)

Next, we made small holes in the dirt with our fingers to about 1/4-inch deep, and dropped in seeds. Big brother Travis loved this part! We used one carton for flowers (you could even plant homemade paper seed bombs)…

Flower Garden (4)

… and the second carton for herbs.

Flower Garden (6)

Of course we’ll have to wait a while to see the fruits of our labor, but for this morning, the kids weren’t done yet! First there was fun to be had planting the fake flowers in real dirt.

Flower Garden (7)

Then they wanted to water the grass and clover in the yard.

Flower Garden (5)

Gardening is such a beautiful way to get kids outside and interacting with nature, even when it’s as simple as beginner gardening like this.

Flower Garden (8)

Update: We have growth! It’s been just over two weeks since we planted the herbs, and now they are just starting to pop up. Travis in particular is so excited for when the plants are large enough to snip off some and use in our kitchen.

Planter var

Press Homemade Paper

The idea for this messy hands-on play came from Parents magazine, although I had to adapt the activity slightly based on materials in our house. Still, it filled a morning of play for Veronika in the best, messiest way!

To start, Veronika helped tear up sheets of colored construction paper. Even better was pouring water from the watering can over the pieces until covered. Let soak for at least a few hours.

We headed out for a few activities, then came home to check on the paper. Nice and soggy! We transferred it to a blender, along with a little extra water. Blend until you have a thick paste. I didn’t measure the water, so just eyeball this until it seems right; you don’t want the mixture to be soupy, but you also don’t want it to seem too dry.

Transfer back to a bowl and stir in a packet of flower seeds, then head outside! Here’s where I needed to improvise; ideally, I would have set out the paper mush on an old window screen (or in a pinch, even a nylon stocking stretched over a hanger frame. Having neither, we just worked on a piece of cardboard, which I hoped would absorb the excess water as our paper dried.

I set out cookie cutters to press the paper pulp into, and Veronika briefly scooped some of the mush into them. But she was much too interested in this goopy mixture for it to stay in the cookie cutters for long! She loved scooping the mixture in and out of the bucket. At first she was hesitant to get her hands in it, but I demonstrated that you could pick up handfuls, squeeze it, and yet still have remarkably clean hands.

“I did it with my hands!” she said, and that’s exactly what she did for the next half hour. She picked up the paper pulp, squihsed it, filled the bucket, dumped it, and began all over again.

Luckily, I did manage to salvage two cookie cutter shapes: one star and one circle, and left these to dry in the sun. After about 5 hours, we checked on the shapes. They weren’t completely dry, but had set enough that we could remove the cookie cutters and then finish the drying process inside.

Veronika marveled at the texture as she touched the paper she had made!

Even better, we plan to actually plant these later in the summer, and see if the flowers grow. Stay tuned!

Dirt Day!


Armed with a giant bag of potting soil, Veronika and I had a day all about dirt! Here are three ways we played.

We started out inside, with a giant Mud and Dirt Sensory Box. Pour in dirt (or the above-mentioned potting soil), and add a few items that are fun to get, well, dirty! That meant a few of Veronika’s toy construction trucks, plastic cups for scooping and dumping, and some marbles.

First she explored with the trucks. She loved digging through the dirt with the bulldozer and then dumping into one of the cups.

We then pretended that the marbles were little seeds for planting, perfect imaginative play for springtime! She loved digging holes with a spade and pressing the marbles down in the dirt. Then we decided to make some of the dirt into mud; simply pour in a few cups of water and stir. Veronika marveled at the new consistency, as well as the earthy smell that resulted right away! When you’re done, take that sensory bin outside for a rinse down with a hose.

But we weren’t done yet with the dirt! I made a few circles with chalk on the back patio, labeled with point values. Older kids can play a classic game of bullseye, with concentric circles. For Veronika, I spaced the circles all over the patio with different point values based on their size.

Now we needed mud! I scooped some potting soil into a cup and we poured in water. Veronika was in charge of stirring until it was thick and goopy.

Big kids can now stand back, pick up handfuls, and take aim!

Veronika preferred to scoop up the mud with our spade and dribble it over the point values, delighting in the splat of the mud hitting the patio.

Bullseye!

Finally, we took some of that mud and decided to make art! I divided the mixture among 4 plastic cups and we squirted a generous amount of food coloring into each.

Dip in paintbrushes, and brush onto thick white paper. This made surprisingly beautiful colors, from vivid yellow…

…to a deep blue.

Veronika loved pouring and mixing the “paints”, too, or sometimes pouring them directly over the paper and then scribbling through with a paintbrush.

Older kids (and grown-ups!) can have fun making artistic paintings, like this little fishy fellow.

In sum, we had fantastic fun on this dirt-y day!

Building a Bird’s Nest

This beautiful activity can help toddlers (or older kids!) engage with nature in springtime, in particular the way birds build their nests. After gathering nature treasures, seal the whole “nest” together with mud, talking all the while about the amazing way birds construct their homes with just beaks and feet…no thumbs!

Of course first up is the chance for a nature walk, collecting items that a bird might use for a nest like twigs, grasses, and flower stems. Once home, we arranged all these in a couple of shallow cardboard boxes.

I told Veronika that birds also used mud for the walls of their nests, to hold everything together, and that now it was her turn to make mud! You can use dirt from the yard, but we actually used potting soil mixed with water until it was nice a goopy. Veronika loved stirring with a stick!

We poured the mud all along our sticks and flowers, resulting in beautiful little nests.

It turns out these nests didn’t just stay for the birds! It wasn’t long before Legos and other toys were playing in their springtime nests, too.

Outdoor Obstacle Course

A gorgeous spring day was the perfect chance to test all those gross motor skills in the backyard. For this game, we pulled out just about everything we could think of, including the following:

First up was a slide to climb up and go down.

Next, I stretched a jump rope between two cones for the kids to hop over.

Next, we arranged stepping stones (we have a great set made to look like turtle shells!) in a wavy line.

This area was by far the biggest hit of the whole set-up, and the kids often just played back and forth along the “turtles” for a while!

Next they had to land in hula hoops…

…before crawling through our play tunnel. At the end were a few pool noodles to jump over.

The kids loved completing the course, then racing back to start it again!

We ended the day’s “competition” with an Animal Run relay game! Place stuffed animals in a pile in one hula hoop (or similar target area).

Each kid picked a stuffed animal and placed it between their knees, then made their way to a second hula hoop to drop it down.

First one to clear all the animals in his or her pile wins!

Earth Day Art: Caterpillars, Snakes, and Worms


Earth Day is just around the corner, and I wanted the kids to engage with the Earth using land art to mark the holiday. We needed an activity that would be simple enough for Veronika as a toddler to follow along, and what could be easier than lines in the dirt? We set off on a walk looking for ways to turn items into nature’s creatures that also come in long linear form: think caterpillars, snakes, and worms.

The game is great because kids can make long lines out of almost anything. First we tried pine cones. Veronika loved helping gather and arrange these.

Big brother Travis pitched in, too!

Next up we made a snake, and for this one we gathered sticks. We left it on a rock to greet the next family that wandered by!

Rocks looked a bit like a cute caterpillar, with a furry tail made from pine needles.

Sometimes, we found elements of nature that already looked like snakes or caterpillars, as with this root. We simply decorated it with some pine needles!

What will your kids use to make earth art this holiday? Please share your in the comments, and happy Earth Day!

Red, Red, Red

Do you ever have to coax your little ones into getting started on a nature walk? My kids love the woods once we’re in them, but sometimes getting going can feel like a slog. Here’s a fun game (based on an idea from the Toddler’s Busy Book) that gets those feet moving!

The concept is a bit like Simon Says, in that children get to move only if you give them the correct cue. If you say a word three times (“red, red, red”), players advance. If you trick them (“red, red, blue” or “mouse, mouse, cat”), everyone stays frozen. Ready, set… “Red, red, red!” I called out.

And they were off!

Instead of regular words, we also like to play this game with silly ones. “Kablooie kablooie… ice cream!” I said next. They stayed frozen and cracked up.

“Kablooie, kablooie, kablooie!” Three times was the charm, and they were off and running!

Shout out freeze and then repeat as many times as your kids want to play. By the time they tire of the game, we’re usually deep in the woods for exploration. Note: If you’re playing the game in a backyard instead, have kids race to a specific point (like a fence or tree) and then back again every time you say the three words correctly.

Making Faces, Five Ways

It can sometimes feel uncomfortable to talk with toddlers about emotions. In particular, I always worry that showing angry or sad faces will make my children mirror those “negative” feelings. But it’s also incredibly important to give toddlers the emotional vocabulary to understand their own feelings, and those of others.

Here are five fun ways to play around with faces and expressions – including those sad ones – to help demystify all those big toddler emotions.

Felt Faces:

For the first game, I relied on a felt set that we own to make round faces and pieces to mix and match as facial features. If you don’t own such a set, glue felt onto cardboard circles for each face, and cut additional pieces of felt into various shapes for eyes, noses, and mouths.

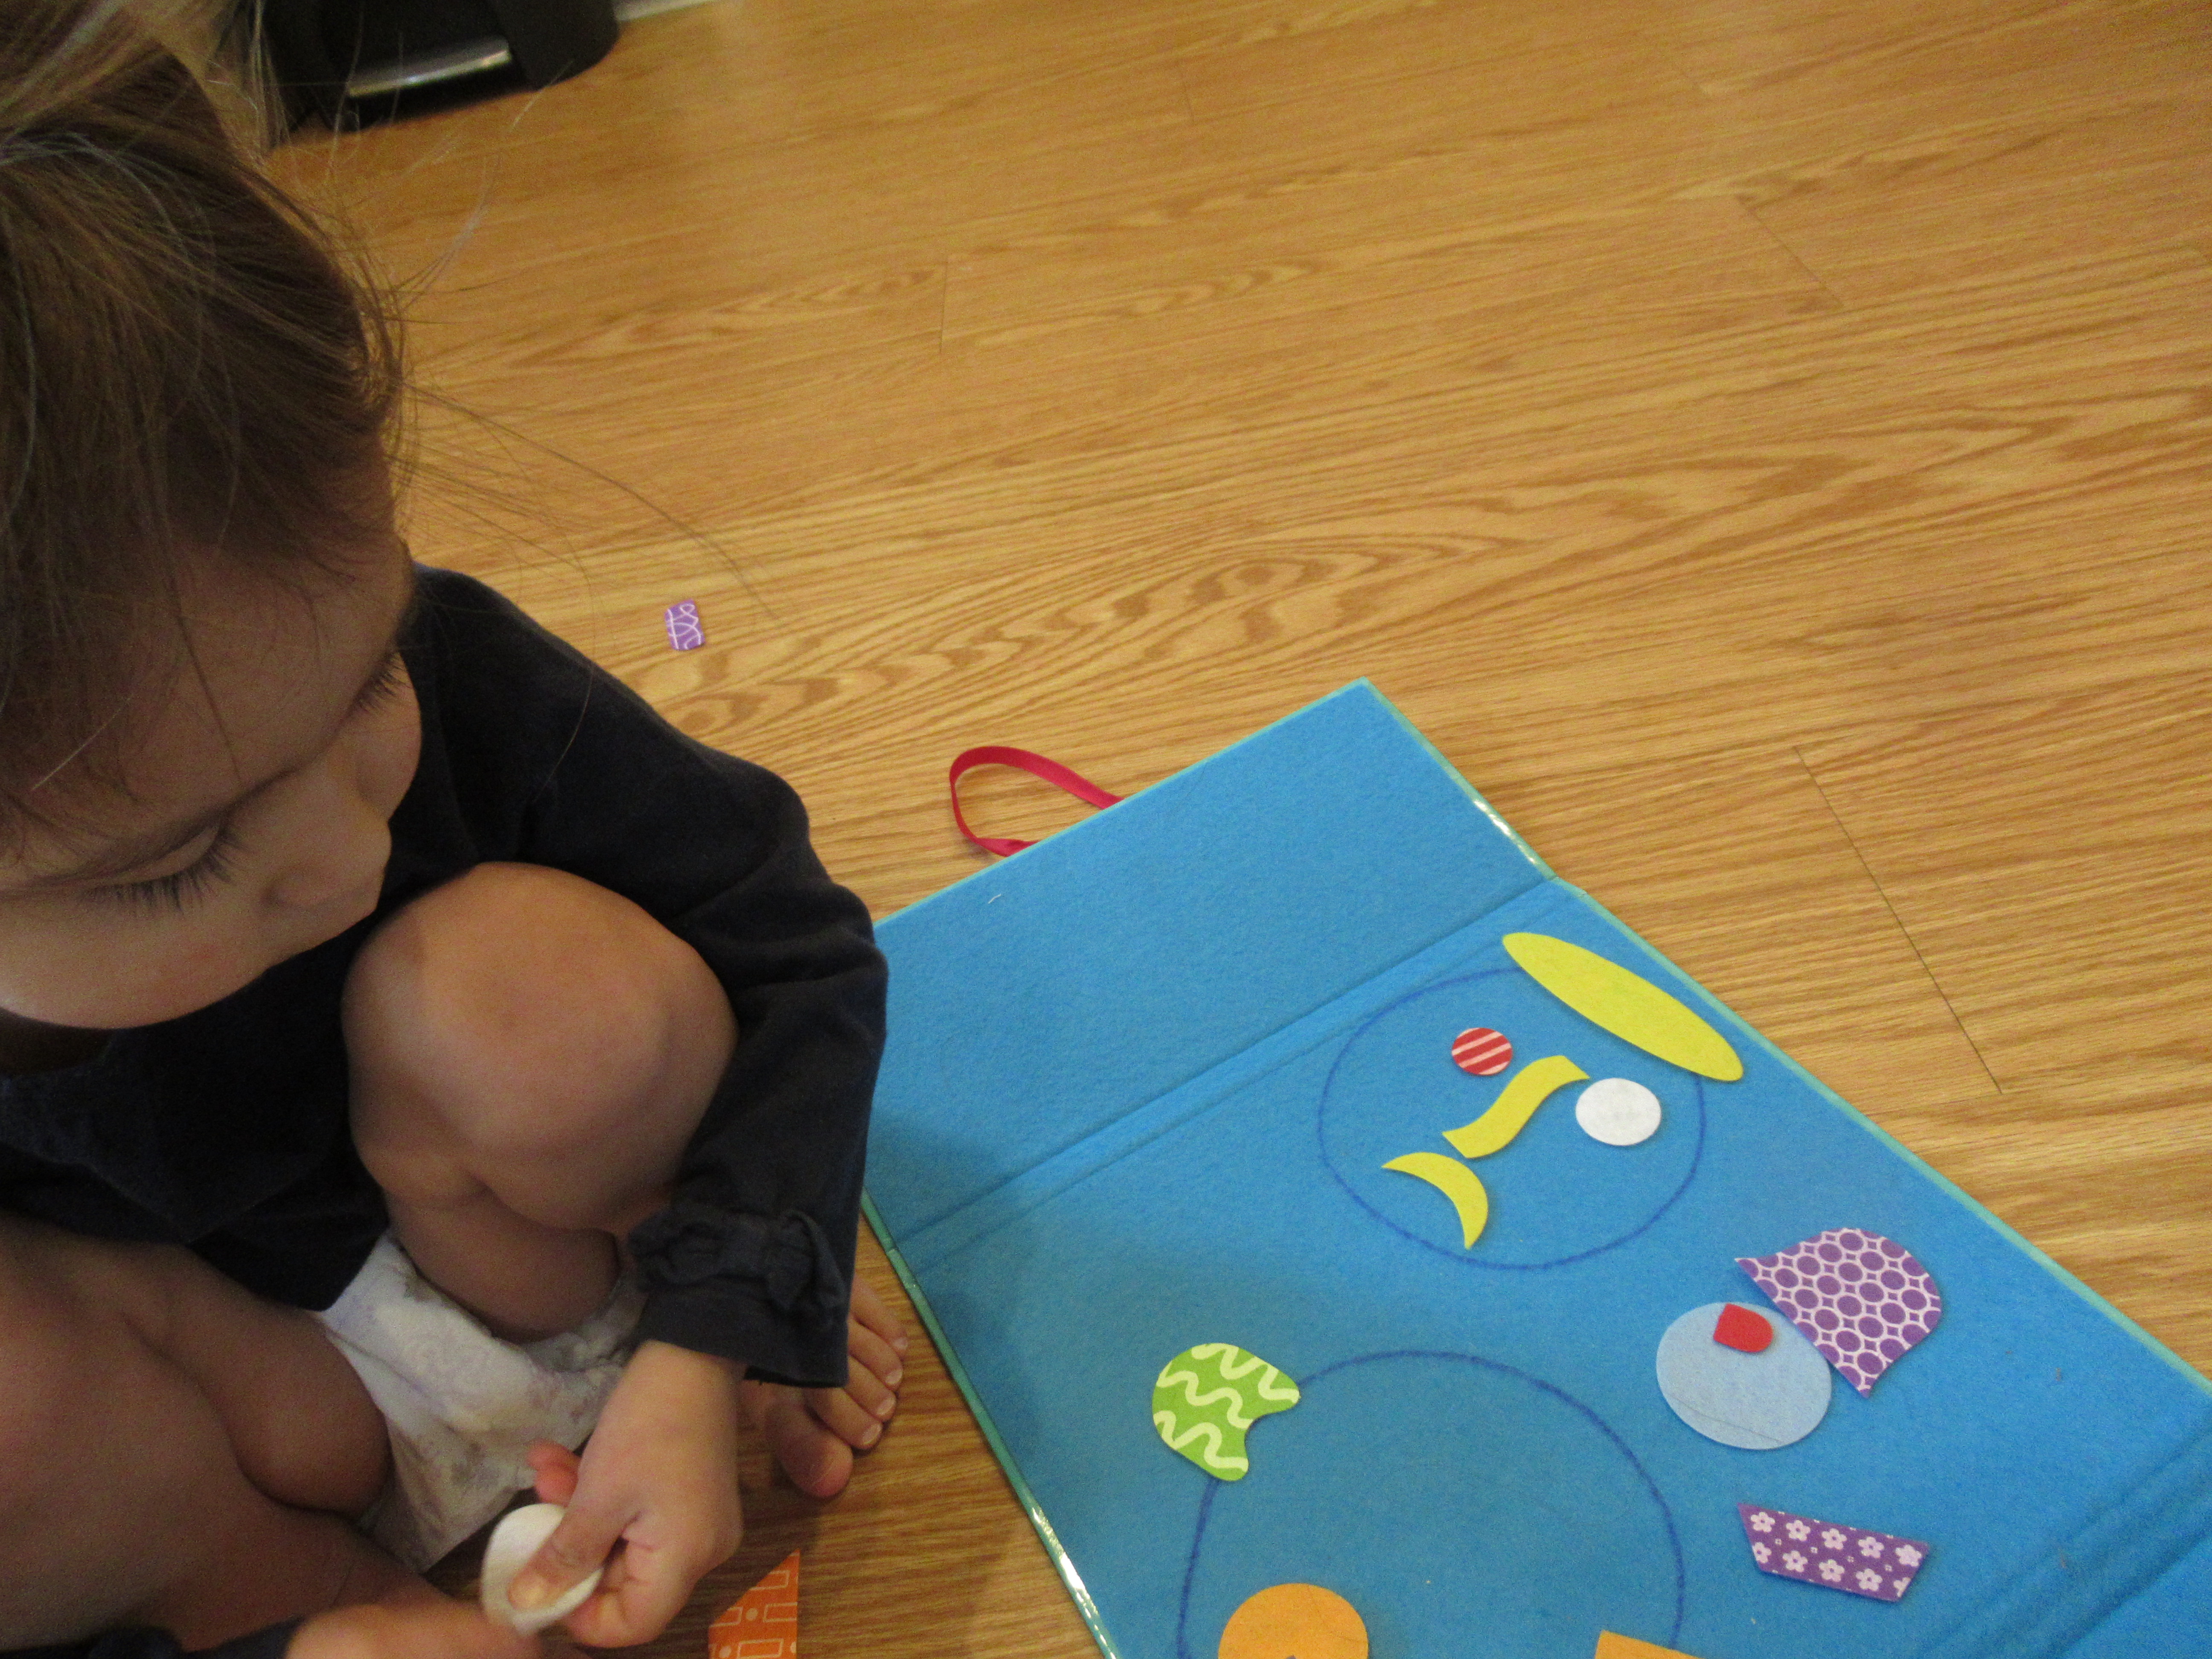
Ovals and circles were great for eyes or open-mouthed surprise. A crescent moon was a perfect smile, and then immediately became a frown once turned upside down!

After showing Veronika a few examples, I encouraged her to design her own faces. Of course hers weren’t always recognizable, but she had the idea. She said this one was wearing a hat:

Funny Faces:

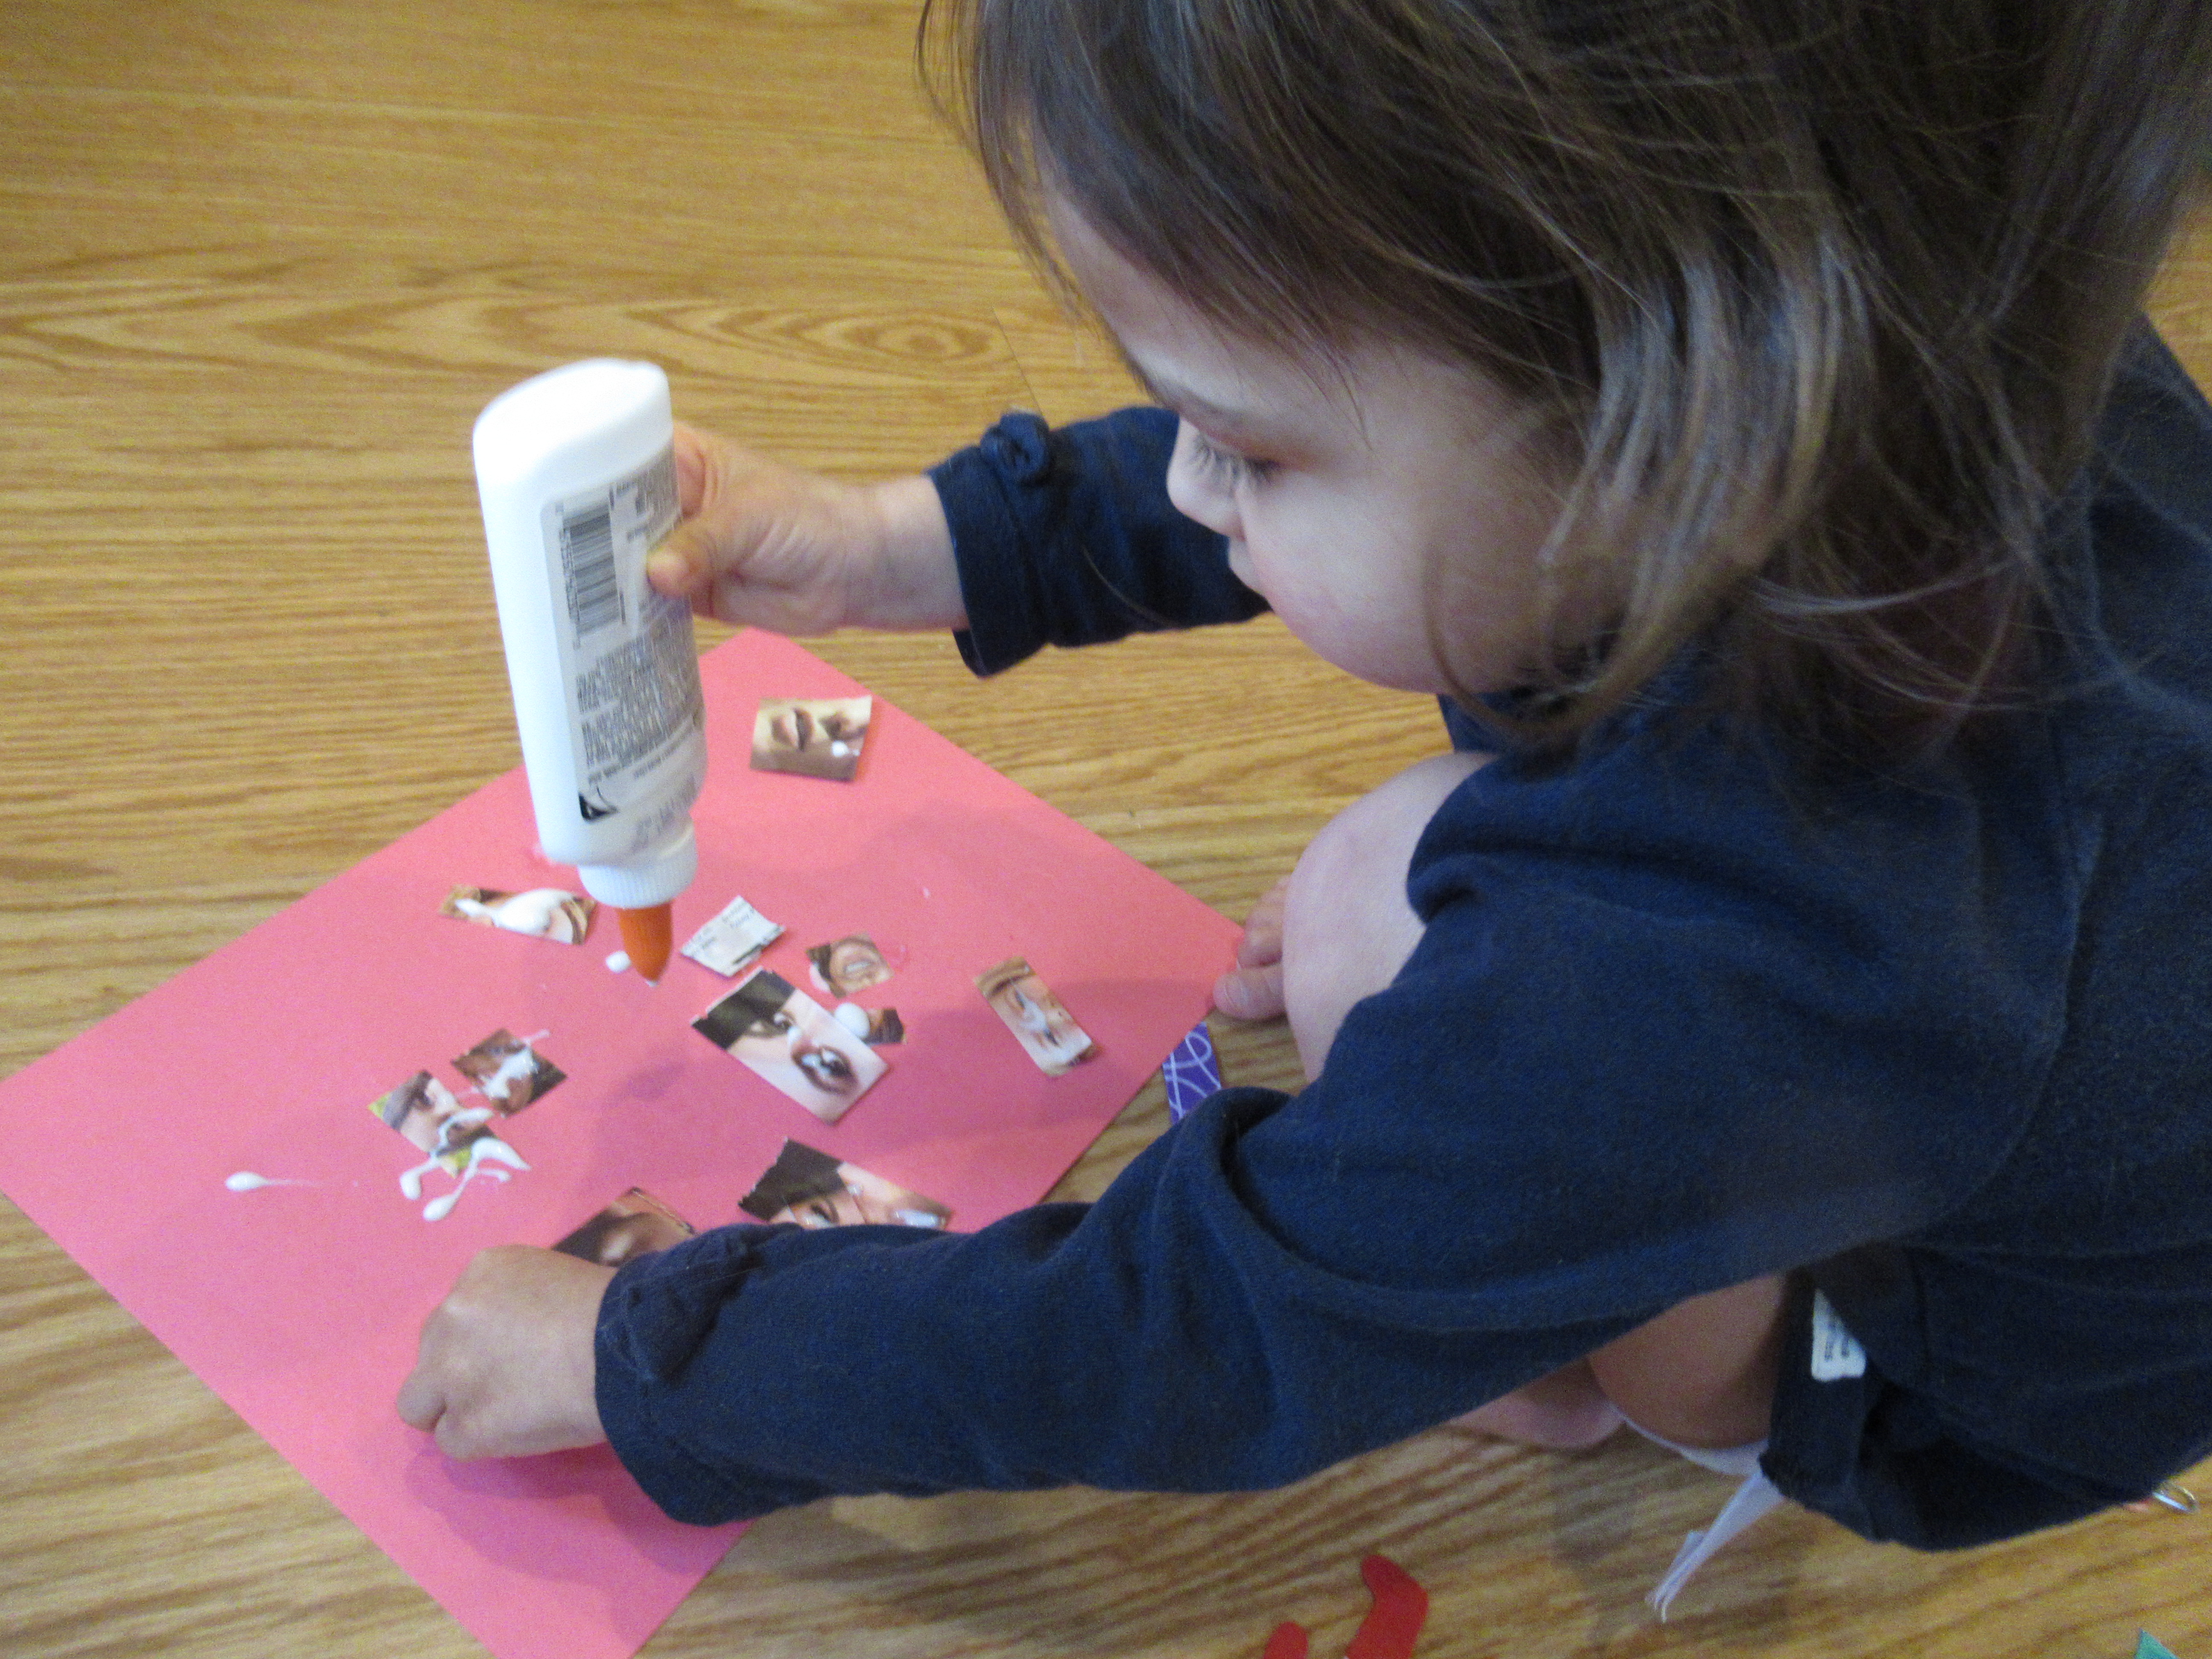
For the next version, I cut eyes, noses, and mouths from a magazine until I had a varied collection. Ideally the images would have been larger, but even with small pieces, Veronika enjoyed starting to mix and match them.

I showed her how to combine the features into faces that sometimes showed multiple emotions, often with silly results. This one looked quite surprised!

She also enjoyed turning the game into sensory play, helping glue them down and then lifting them up again for lots of sticky mixing and matching.

Nature Masks:

For the next version, we first needed to head outside to gather some nature treasures. Once home, I cut two eye holes into a paper plate and then invited Veronika to arrange her treasures any which way.

We ended up with something vaguely human (and perhaps on the spectrum between happy and creepy!). Your child might also enjoy making an animal face for this craft, instead of a human one, thanks to all those fluffy furry nature bits.

Nature Mirror:

Mirrors are a fantastic way to let kids explore their emotions, so for the next round of face play we headed to the bathroom with our nature treasures. First, I invited Veronika to try out her expressions. Could she be happy and silly? Yes!

How about “slumpy” (her word for a mix of grumpy and sleepy)? Yup.

Now we made faces right over our reflections with shaving cream (you could also use washable paint). Now she could either play around with the shaving cream by hand or add a few more nature treasures to it, to alter the expressions.

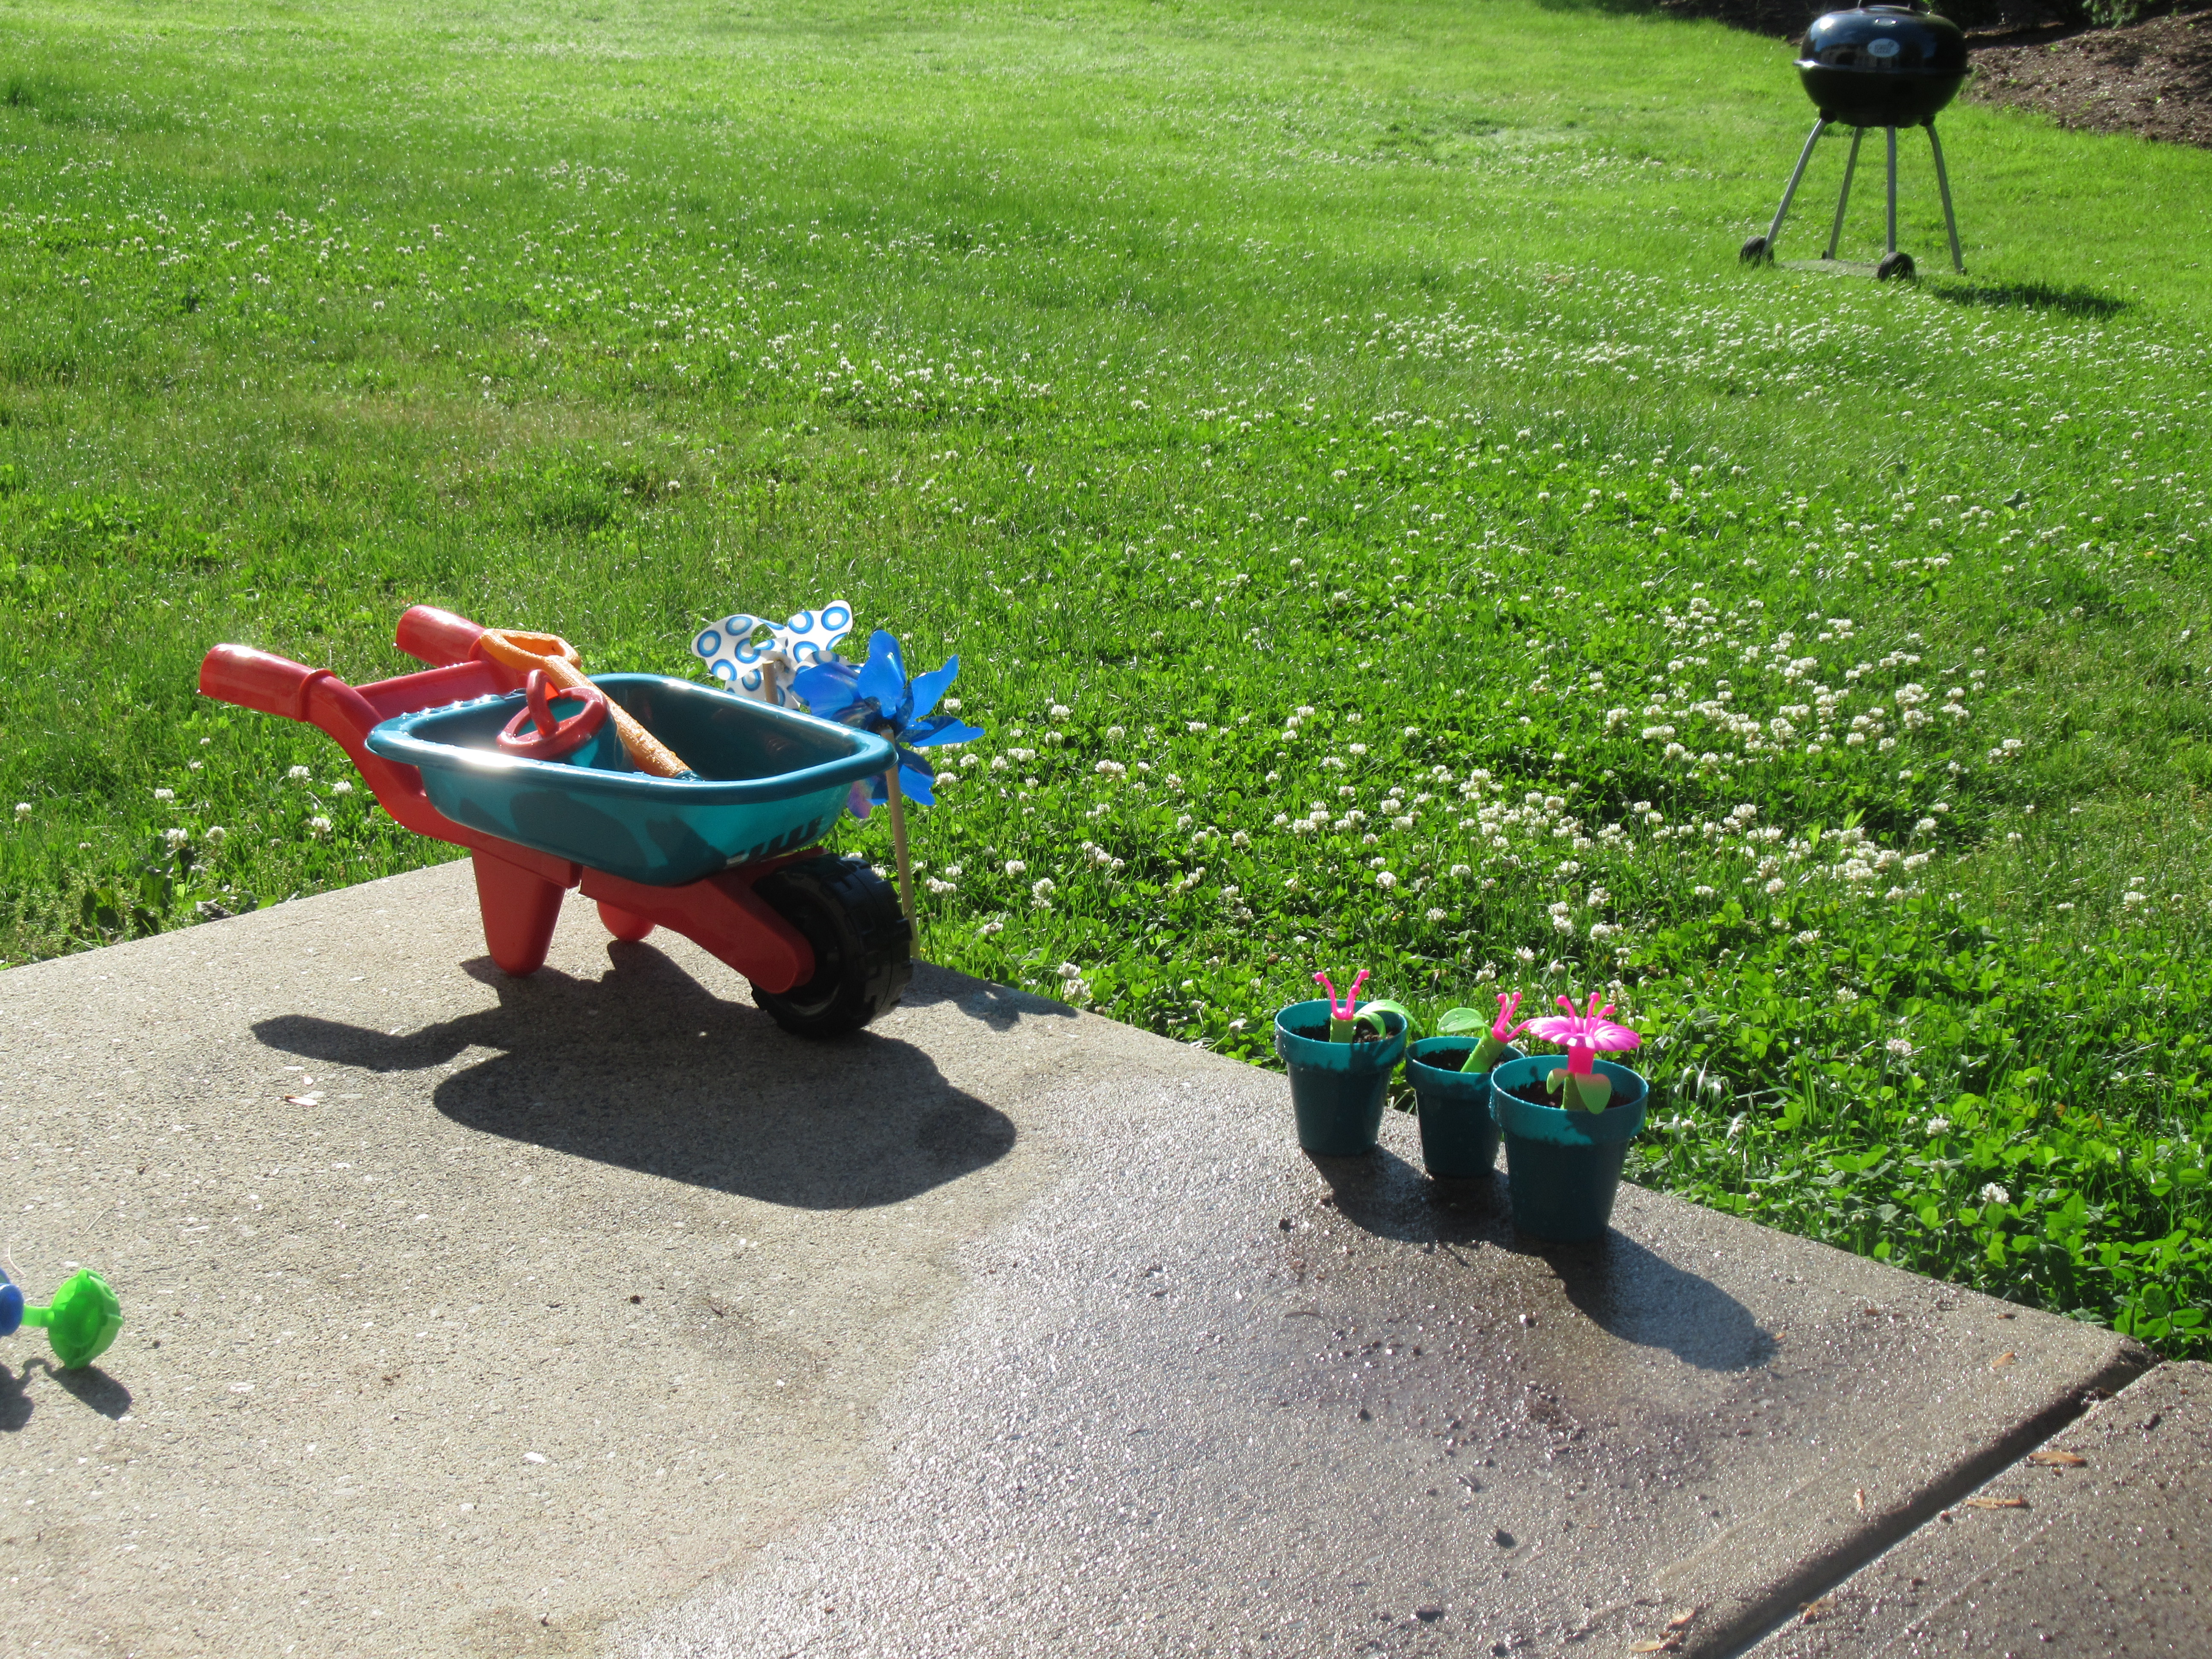
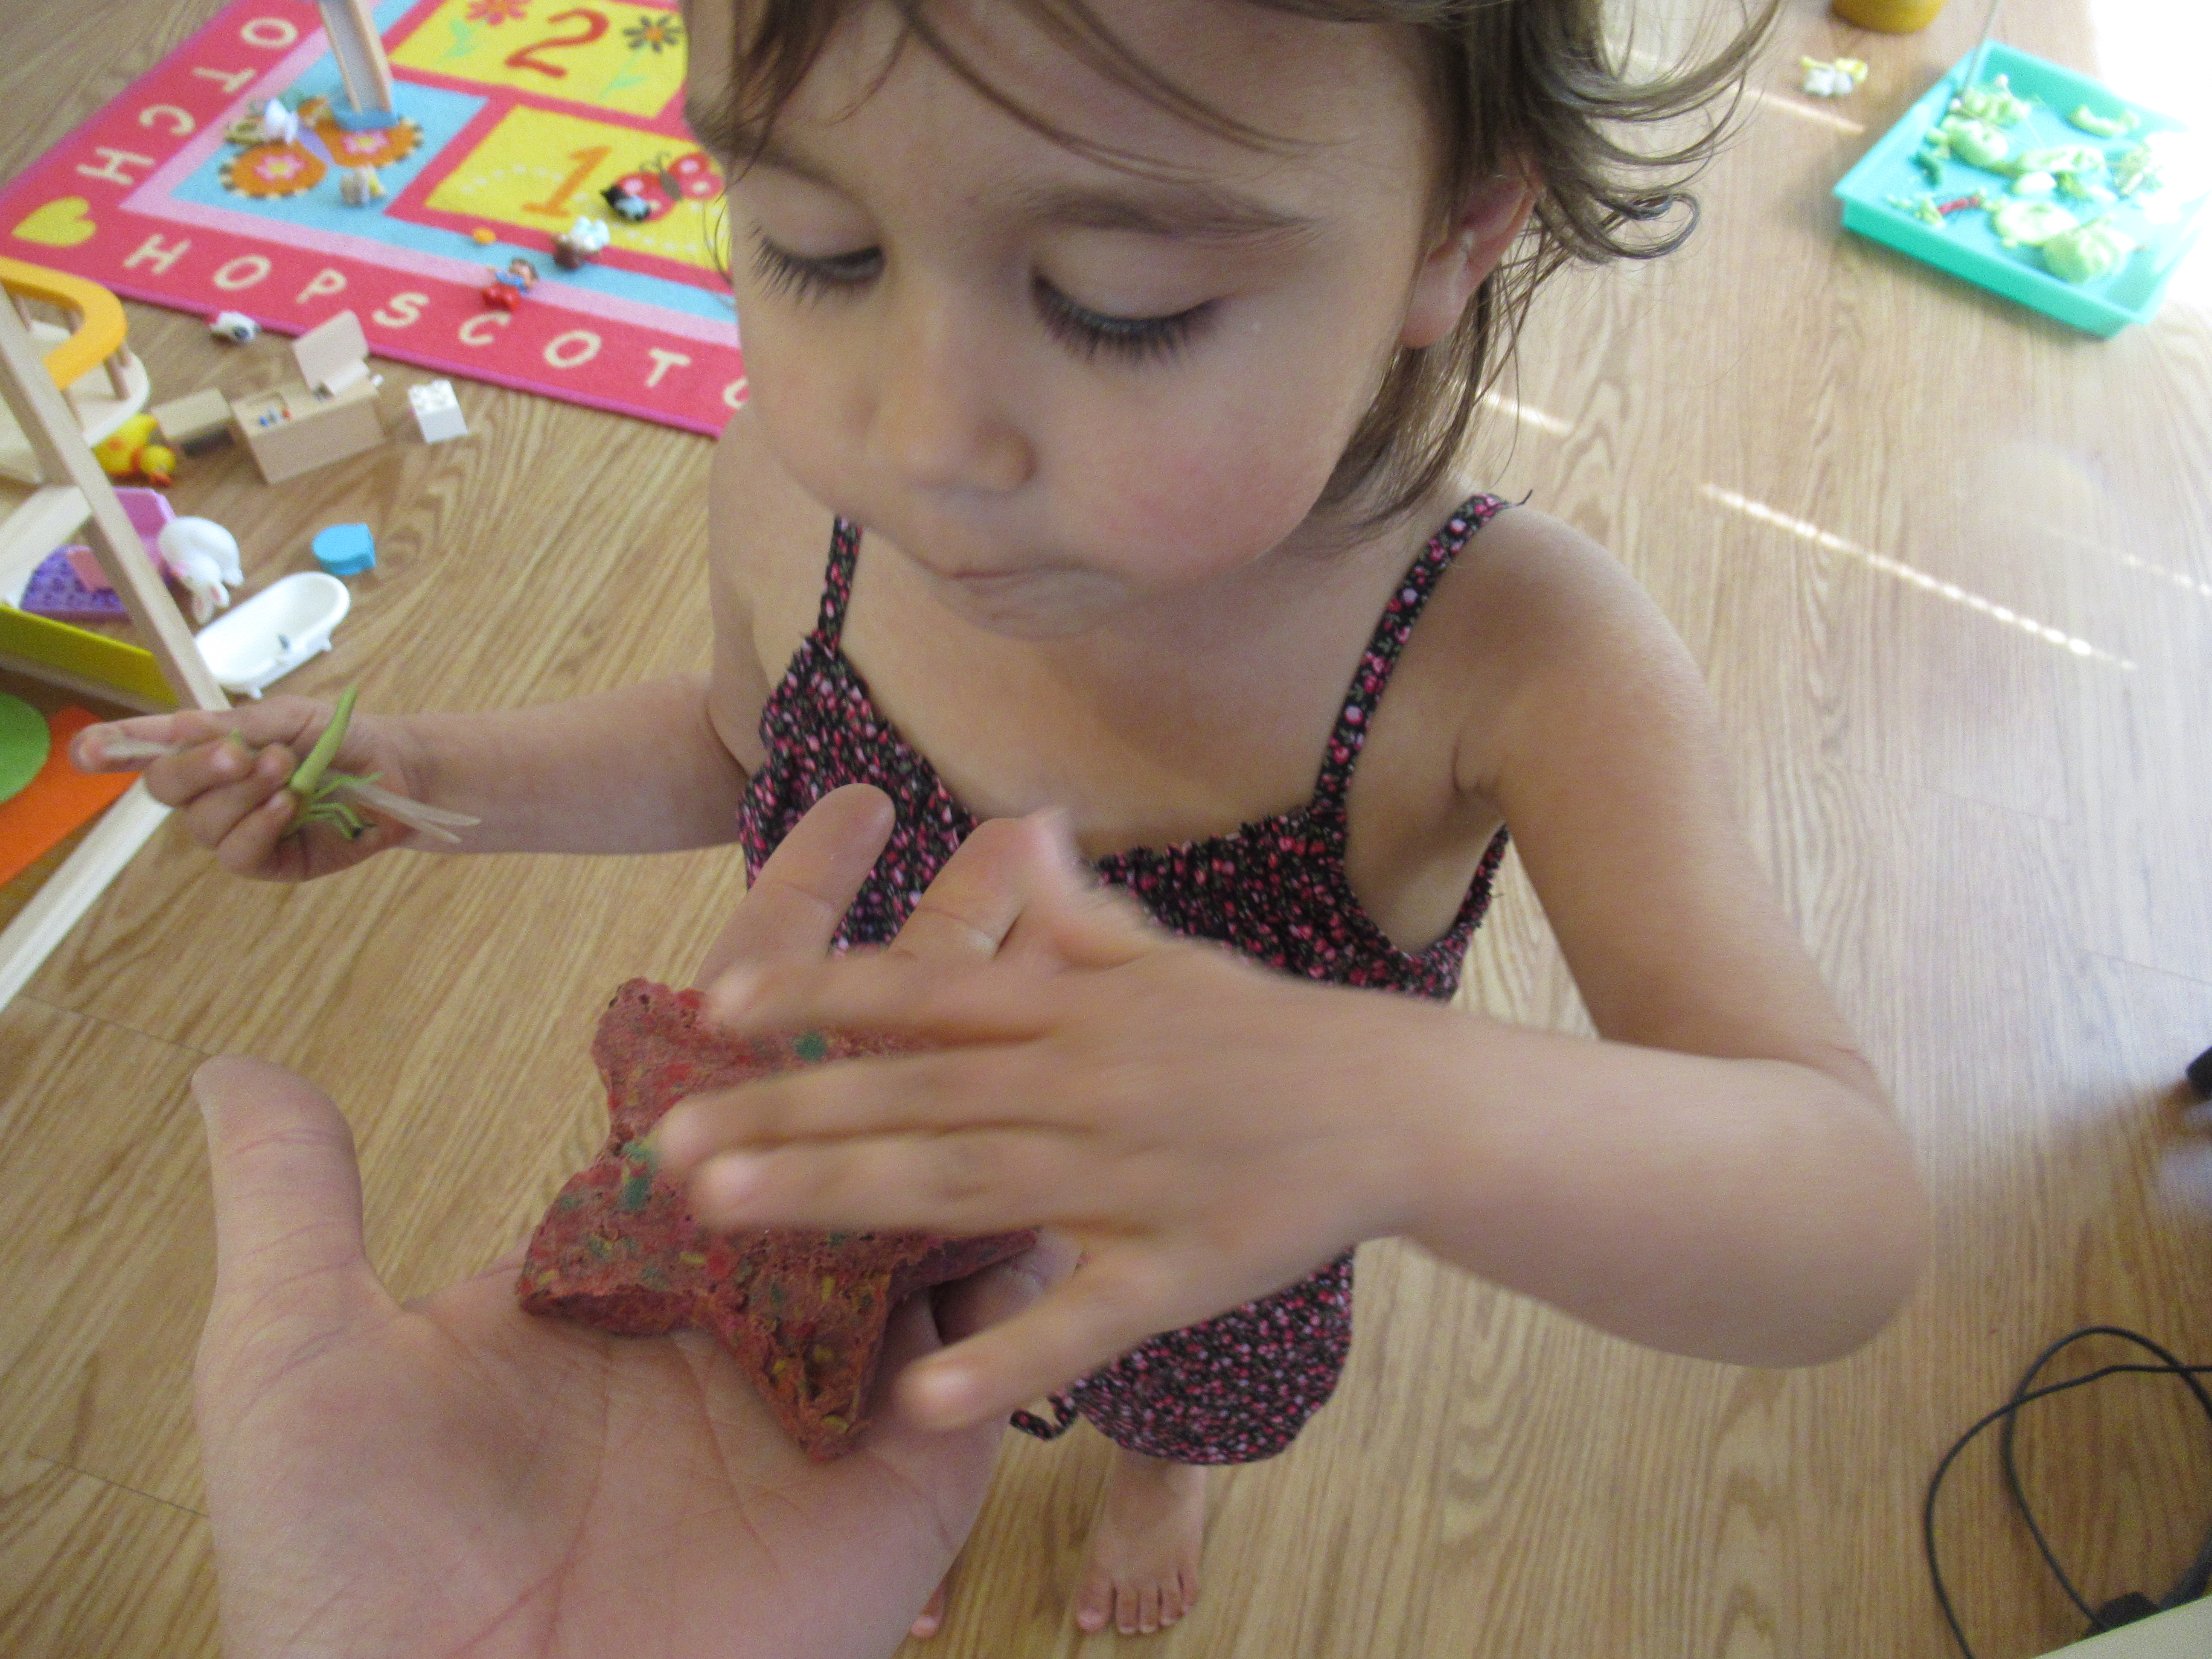
Faces for the Trees:

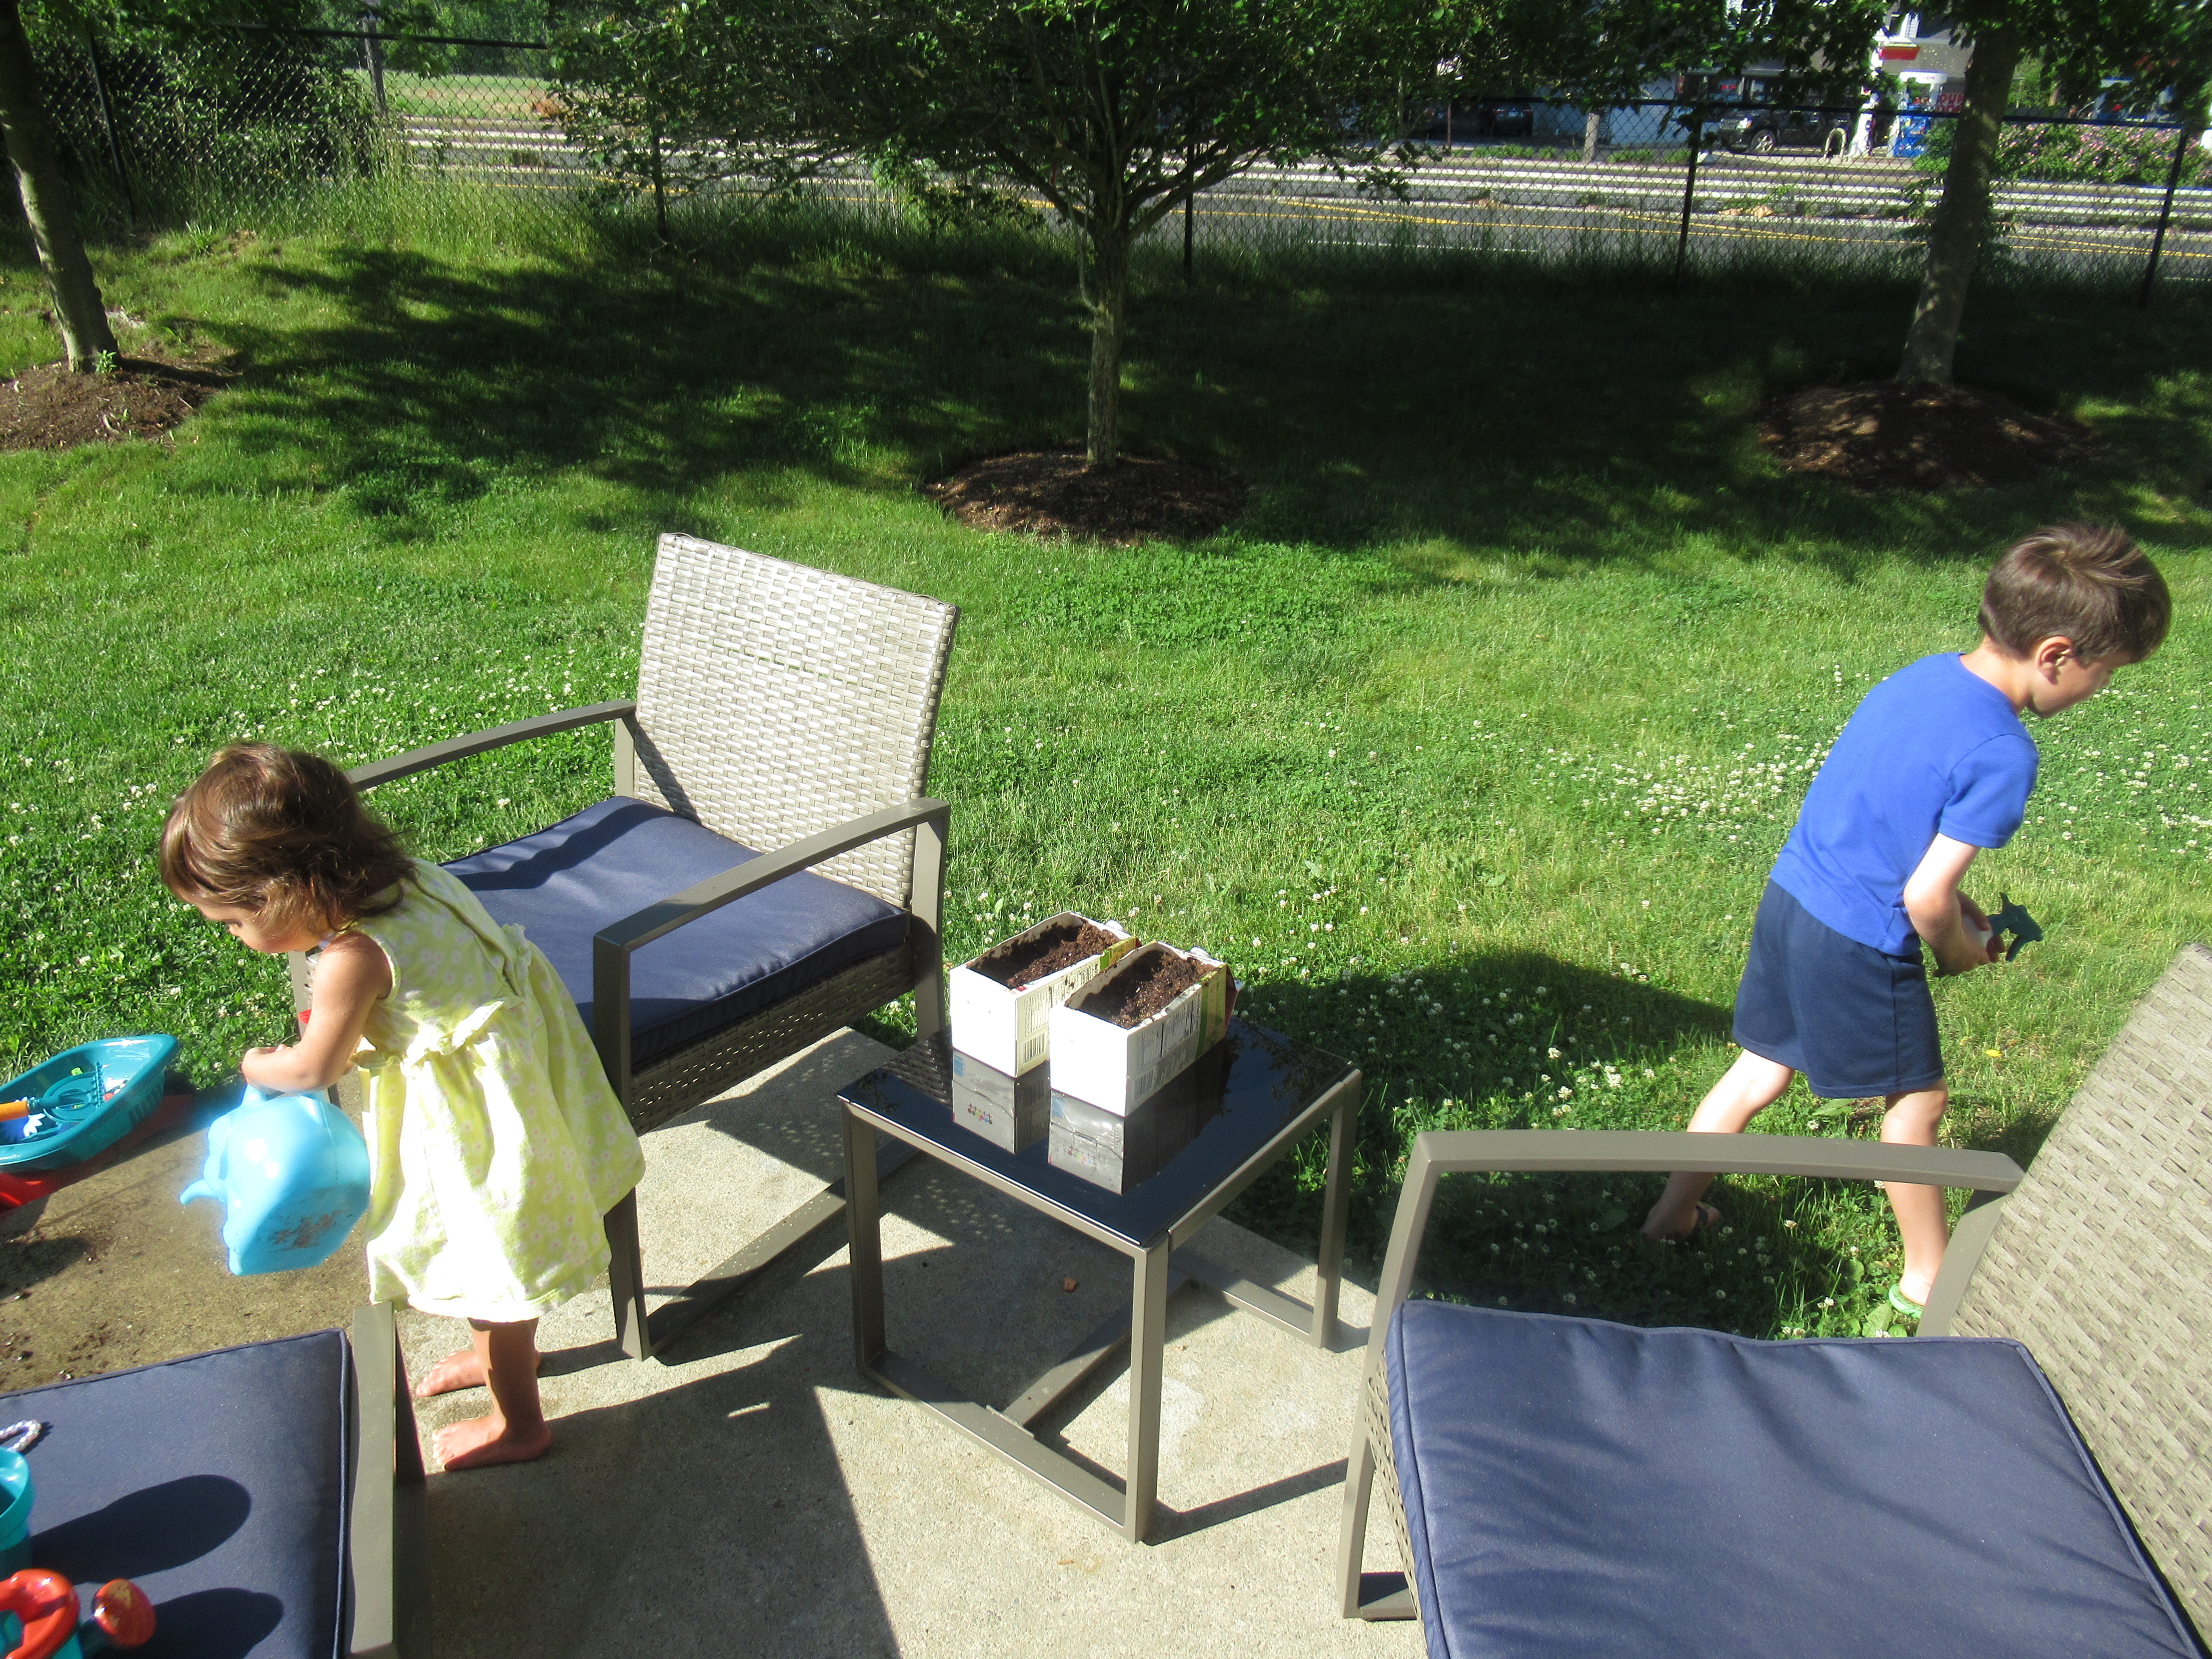
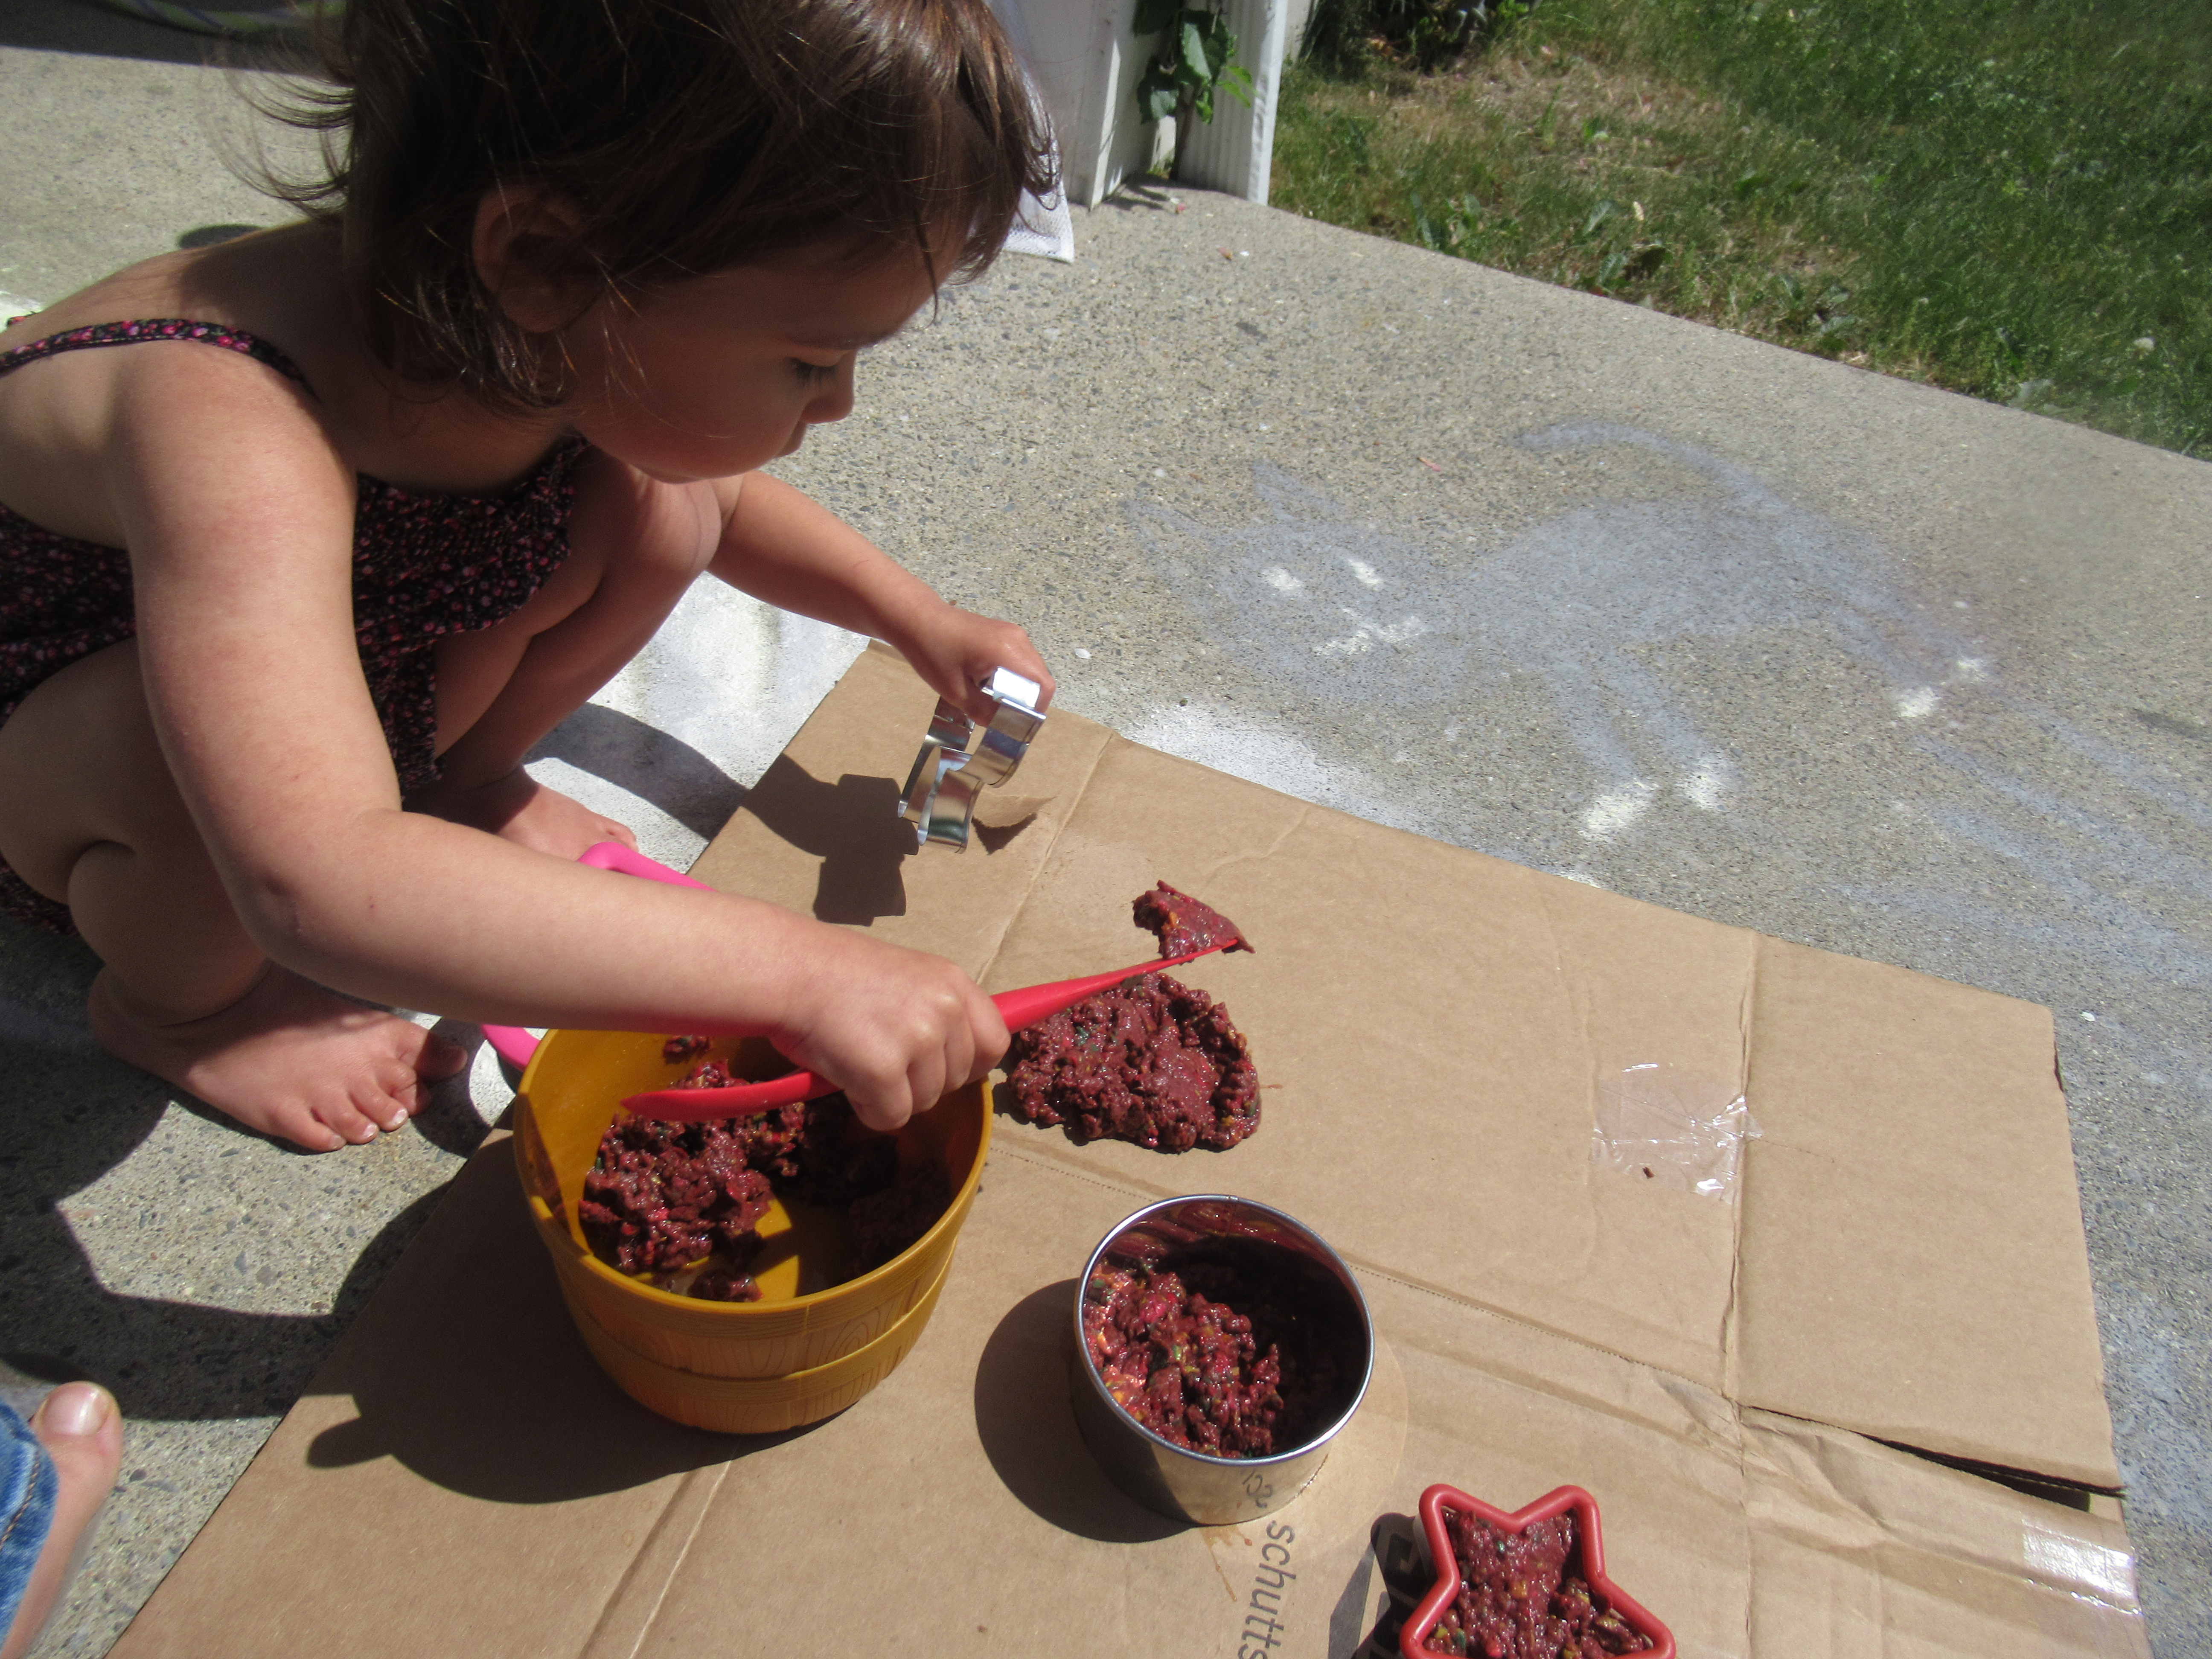
Our final emotion game used nature, too, and this time we needed to make “forest putty” a.k.a. dirt mixed with water. We shoveled some dirt into a bucket and then Veronika watered it. Stir with a shovel or stick until your mixture looks a bit like brownie batter.

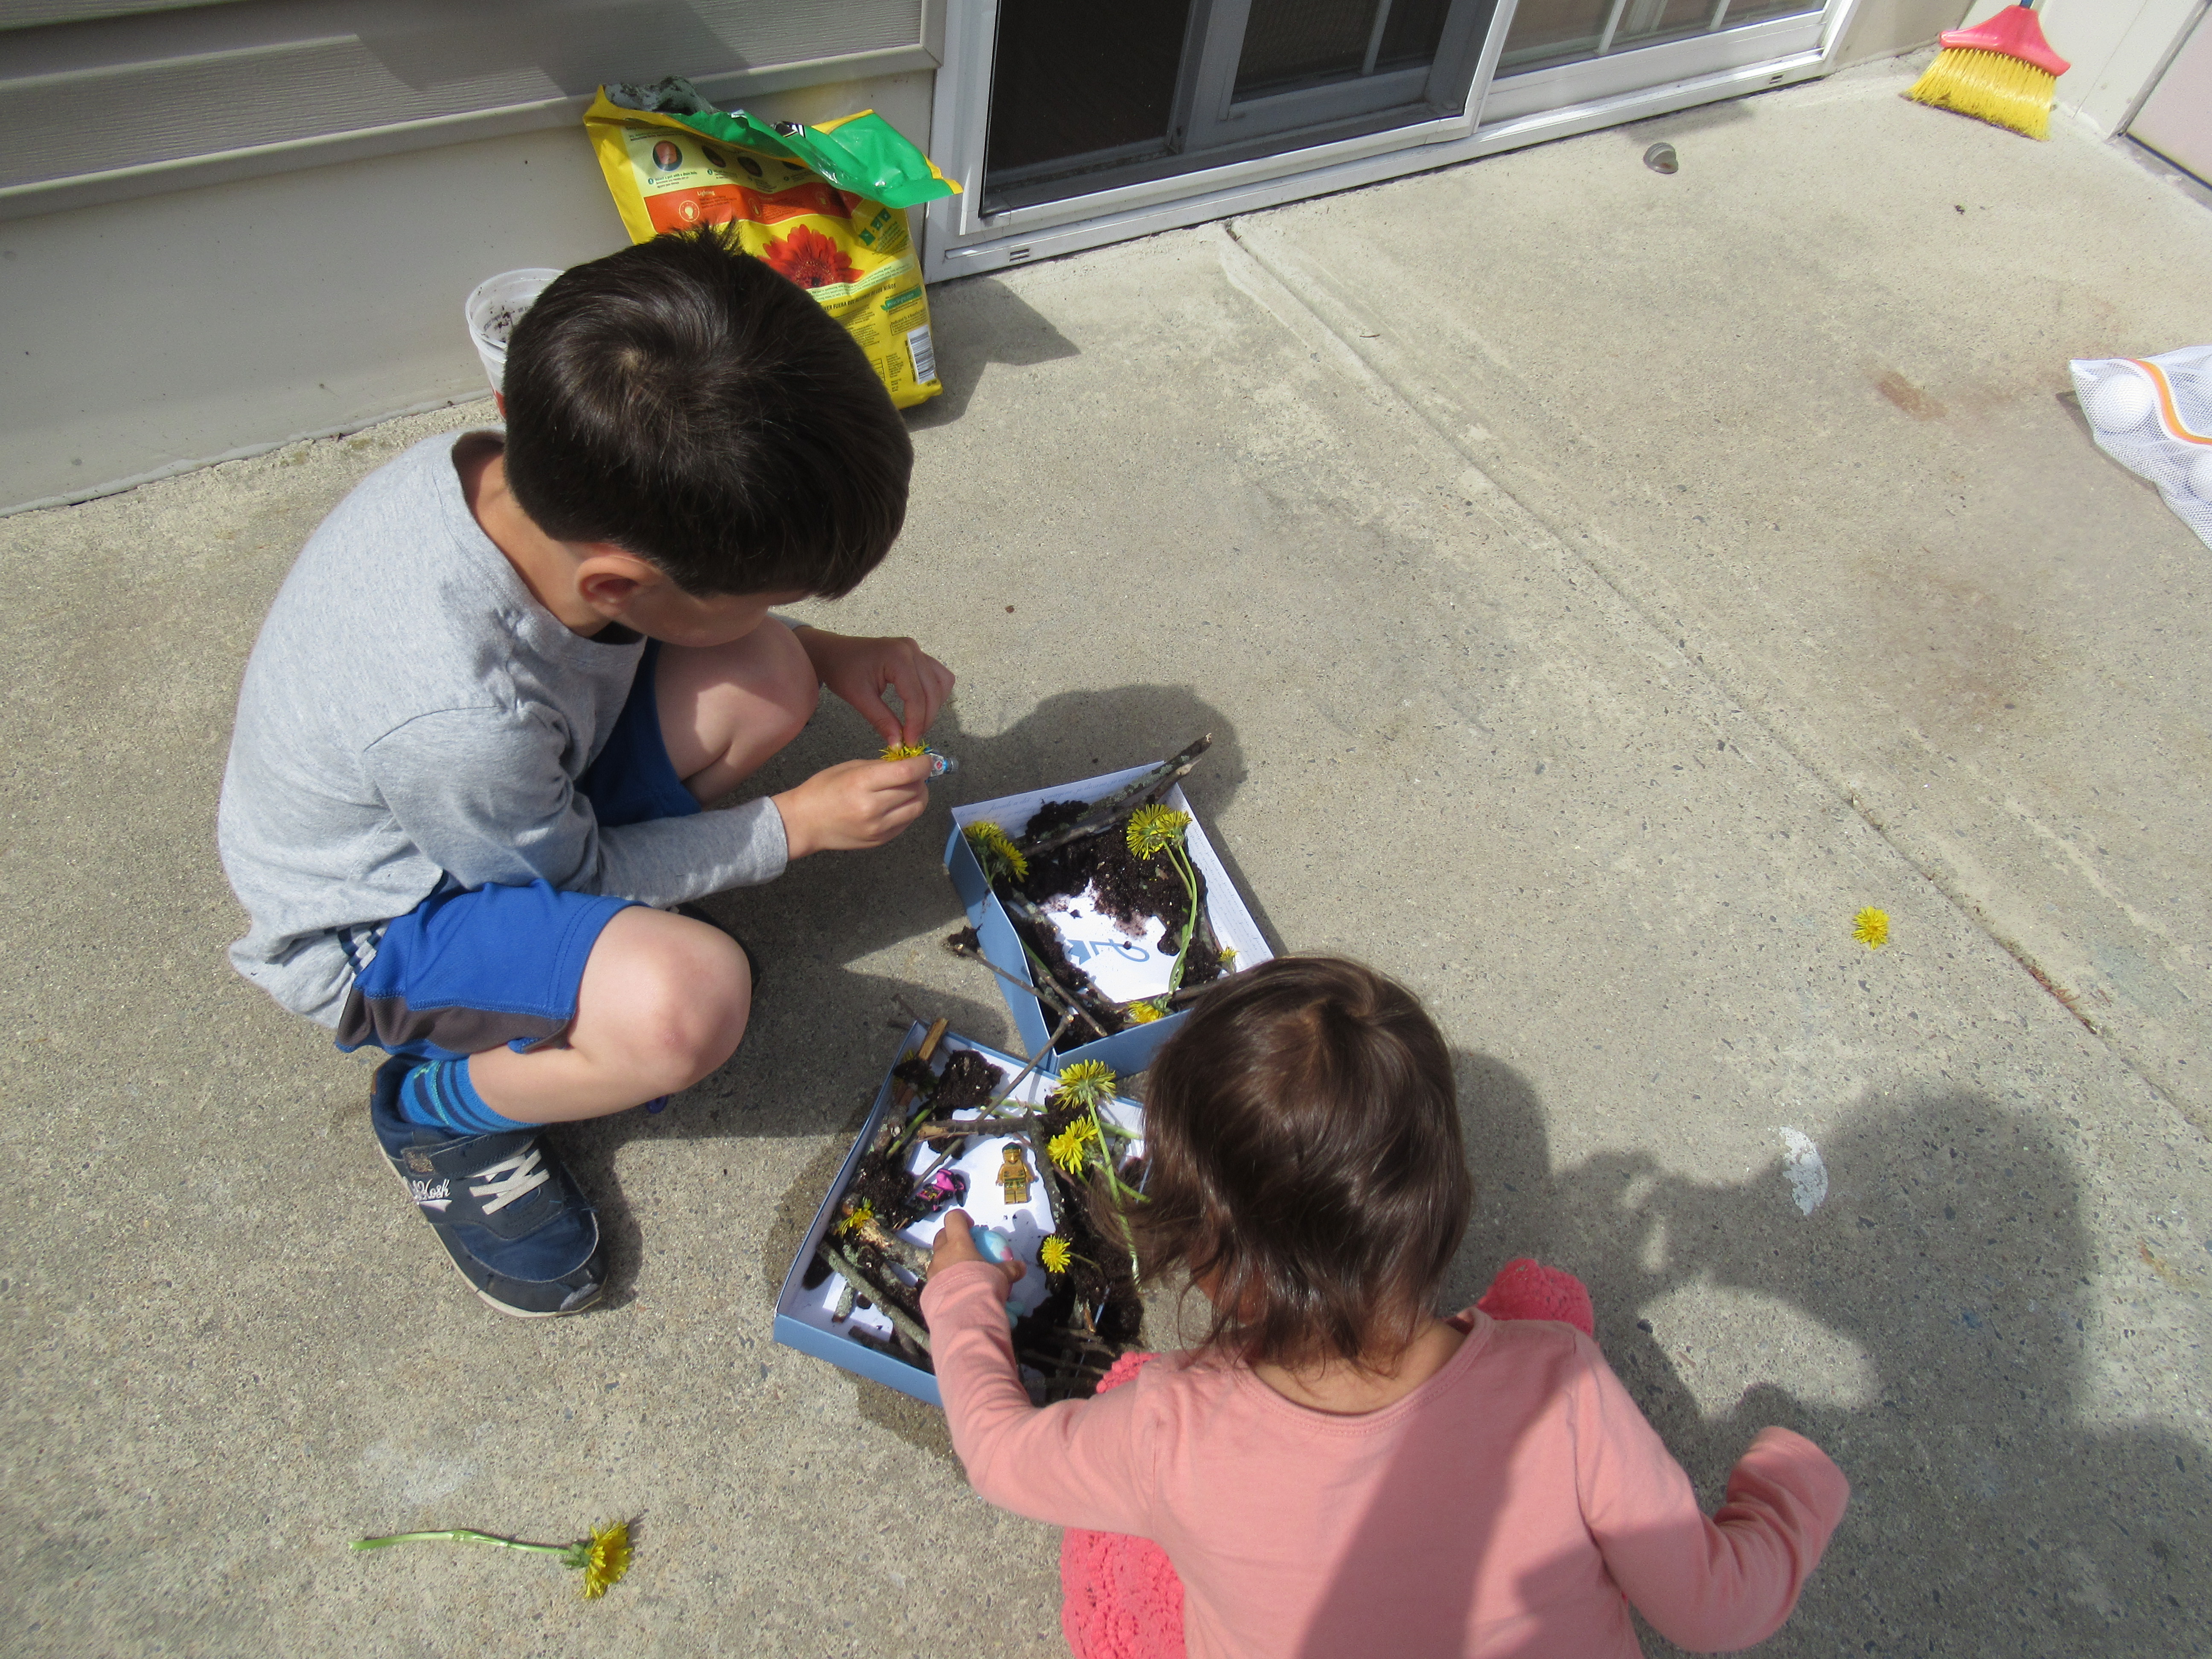
Now I asked Veronika if the trees had feelings, too! She decided yes, this tree was happy. We smeared on some of our forest putty, then gathered up treasures like dandelions and pine branches to give it a face. Our putty was a bit runny, so we had to make the face down low on the trunk, but if your mixture is more like clay, it might stick higher up on the trunk.

What expression will your favorite tree have? Please share in the comments!