Jellyfish Lantern

jellyfish lantern (8)

It’s getting hard to impress Travis with crafts these days; let’s be honest, we’ve done a lot of them! It seemed like time for new materials – hence this awesome paper lantern jellyfish. It is by far the coolest jellyfish we’ve made together, and we’ve done a few in the past.

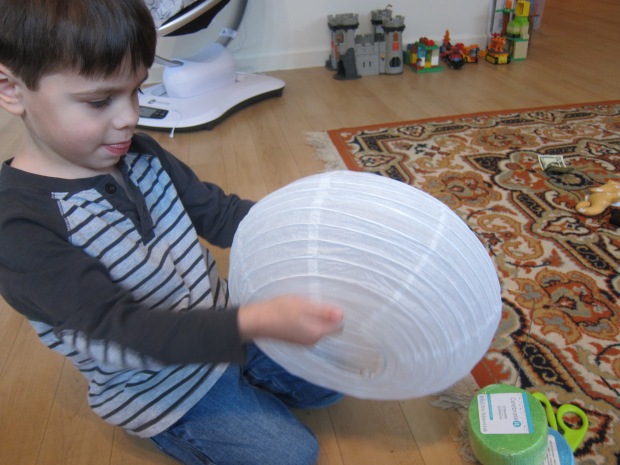
Travis remembered seeing paper lanterns from a summer festival back in August, and was so excited when I announced I had one for our craft. He needed to play with it first, of course!

jellyfish lantern (1)
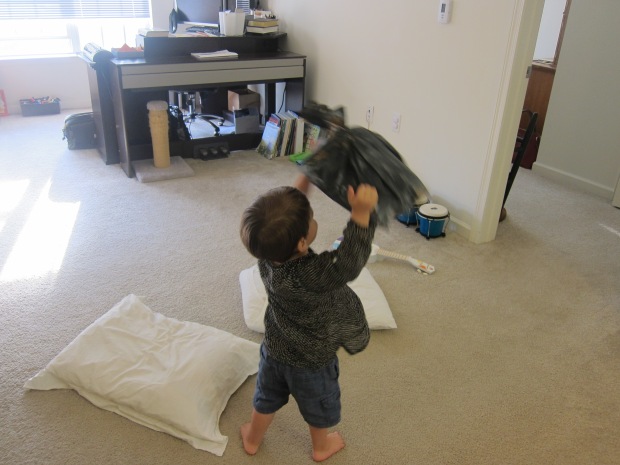
Next we needed crepe paper for the tentacles… It wasn’t long before we had crepe paper madness in the house, too!

jellyfish lantern (2)

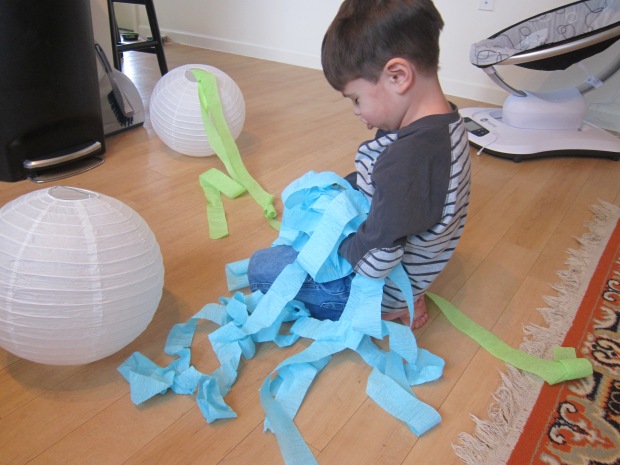
I was happy to see him have so much fun, while I made sure to save enough pieces of equal length to be the tentacles.

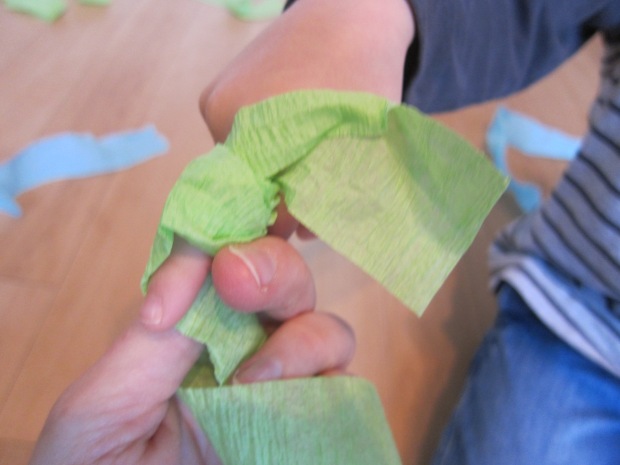
Next I showed him how we could change the look of the crepe paper by wrapping around a finger. This gave the tentacles great texture!

jellyfish lantern (3)

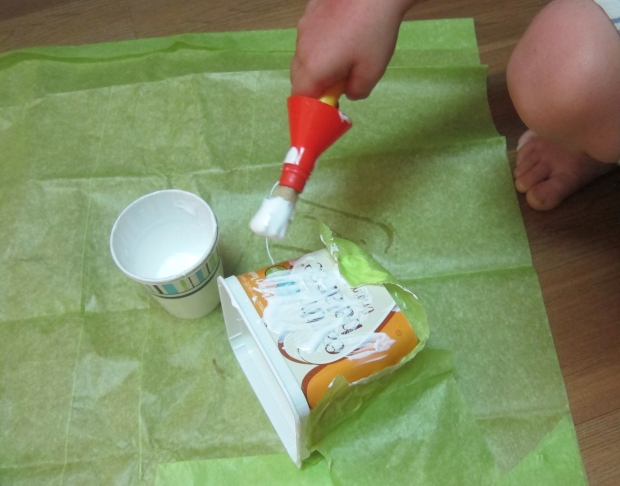
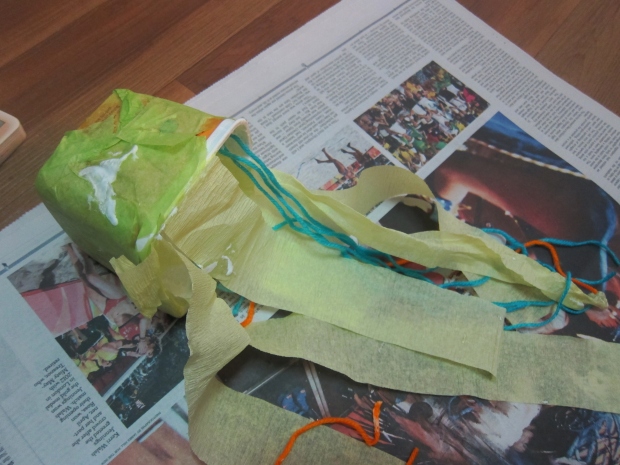
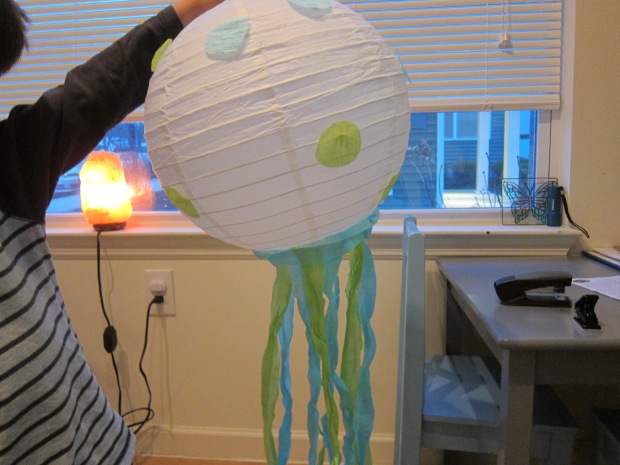
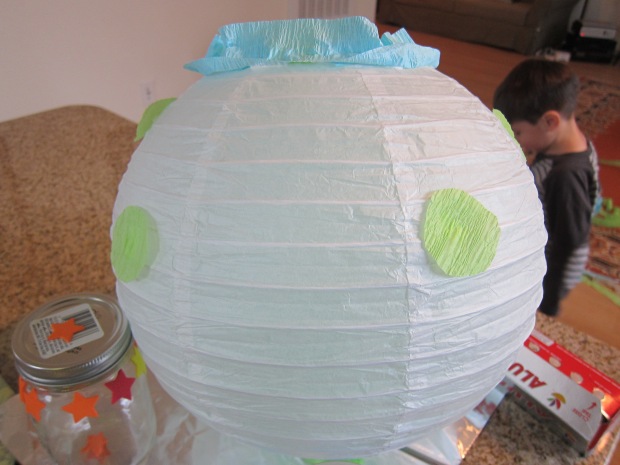
Glue the tentacles around the bottom rim of the lantern. Add a final piece of crepe paper in a circle around the rim, to hide all the edges. Let dry.

jellyfish lantern (4)

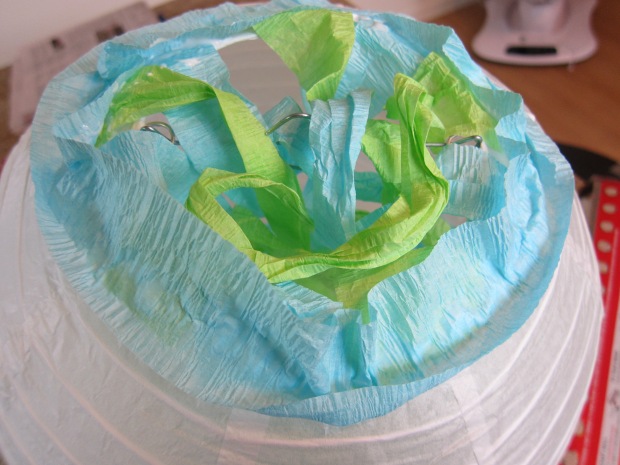
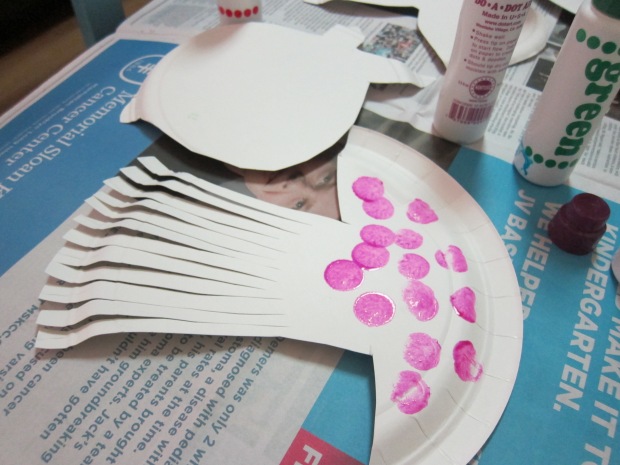
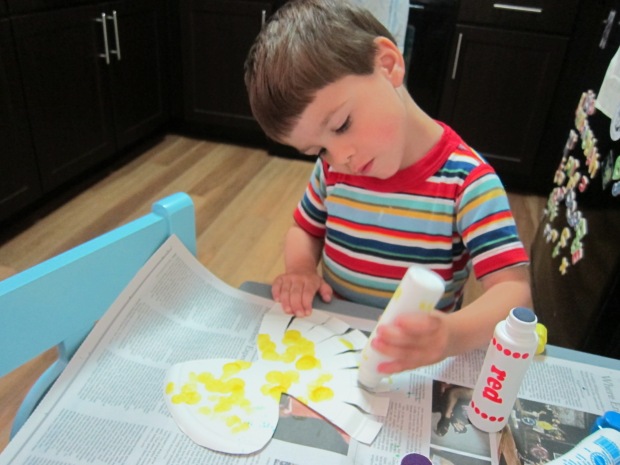
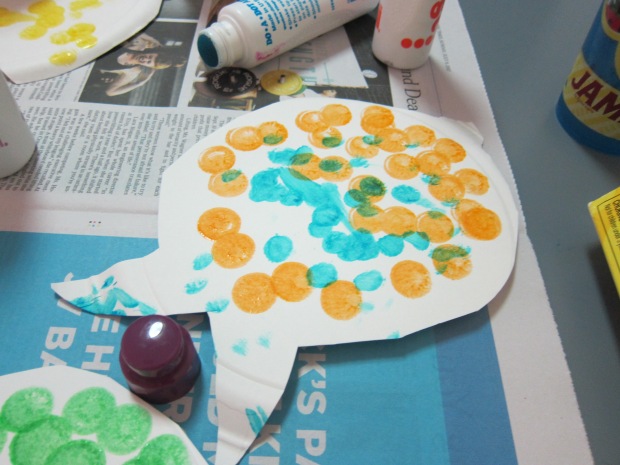
We also cut a few circles from additional crepe paper to be spots on the jellyfish. So pretty!

jellyfish lantern (5)

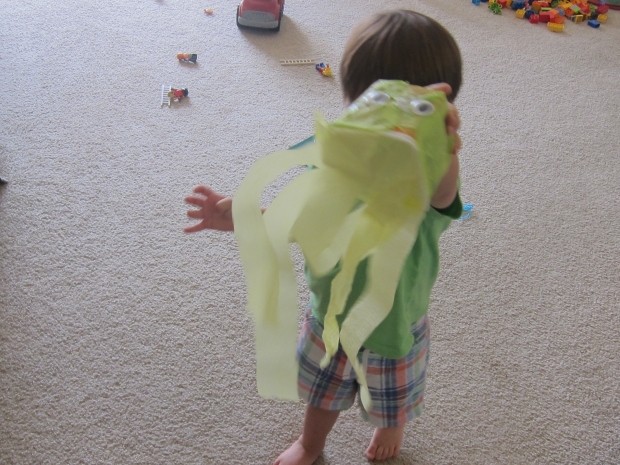
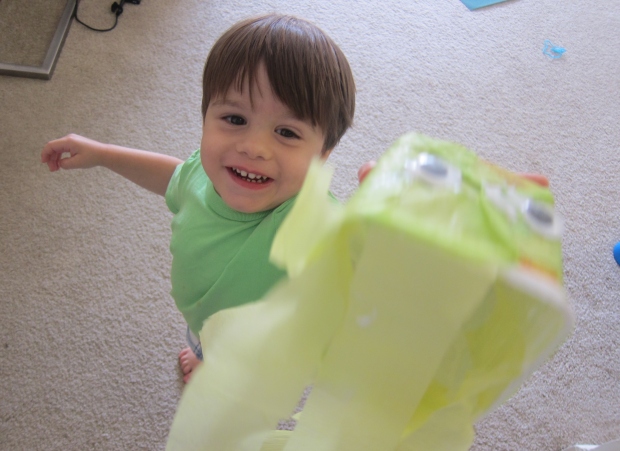
Travis couldn’t wait for it to dry, after which the jellyfish was instantly a prop in his games.

jellyfish lantern (7)

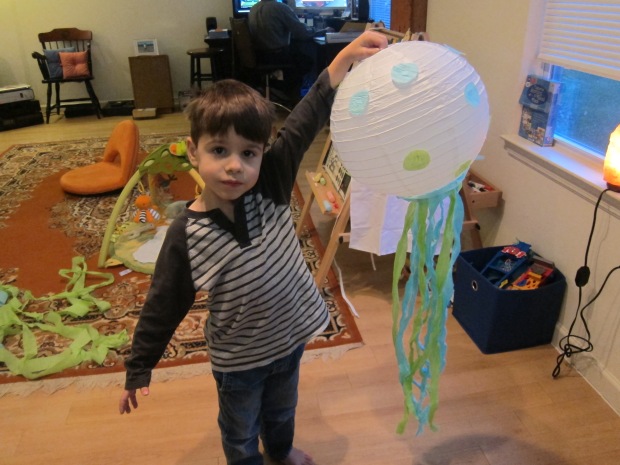
Once he lets go, we’ll hang it from the ceiling for a beautiful ocean corner of his bedroom.

jellyfish lantern (6)

Underwater Felt Board

Underwater Felt (3)

I always joke that I haven’t a crafty bone in my body, and that before my son was born, I never would have believed it had you told me I’d one day create so many toys and games with him at home (much less have something in my home labeled a “craft bin”!).

With this craft, I feel like I’ve moved up from the minor leagues to – if not the majors – at least Triple-A status because… I finally purchased a hot glue gun. I’ve had a hot glue gun phobia for years (which dates back to witnessing the sticky dangerous mess they made in childhood theatre productions), but the time felt right to make the leap.

Travis couldn’t have been more excited; he didn’t even care what new projects this tool would allow us to create together, he just thought the whole apparatus was fascinating!

Once I was certain he understood that the glue gun and glue sticks were for mom’s hands only, we embarked upon our first glue gun craft, and I was thrilled with the results.

Underwater Felt (1)

I really only needed the glue gun for a simple purpose this time, but was glad to have it. To create the ocean backdrop for our Underwater Felt Board, I glued together two pieces of blue felt (one dark, one light) on three edges, leaving the fourth side open. This leaves a pocket so you can store all the other pieces of felt inside when you’re finished.

Underwater Felt (9)

Travis was quite literally shaking with glee as he watched me work, and equally loved watching me cut out additional felt shapes to populate our ocean.

Underwater Felt (2)
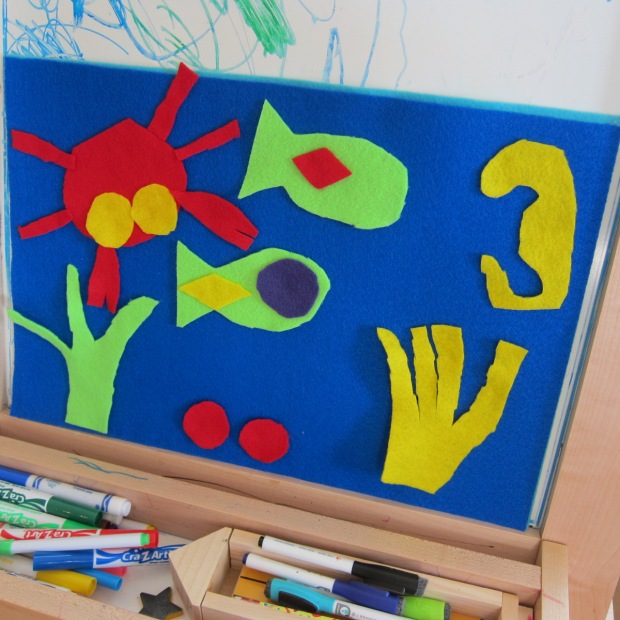
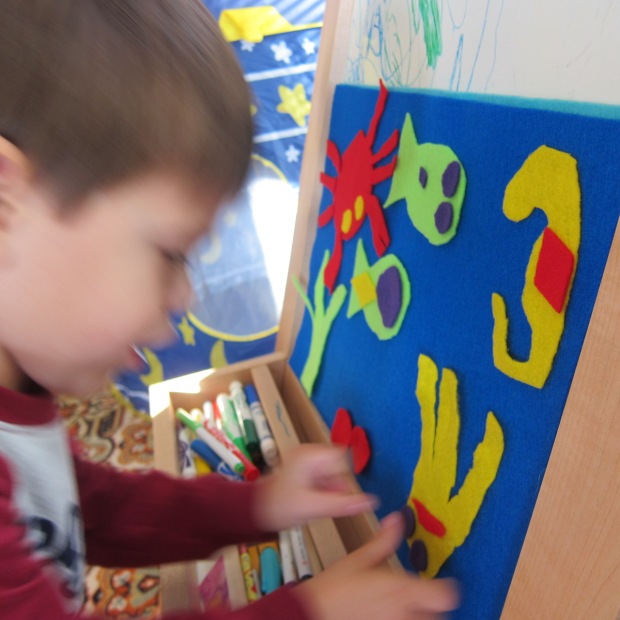
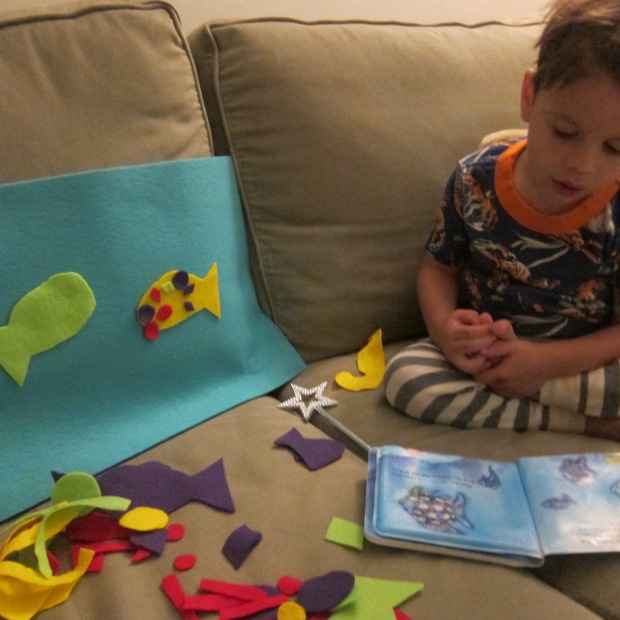
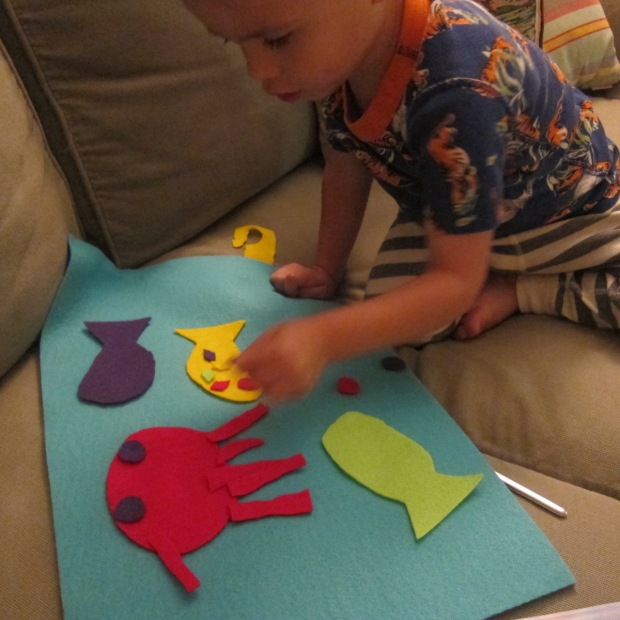
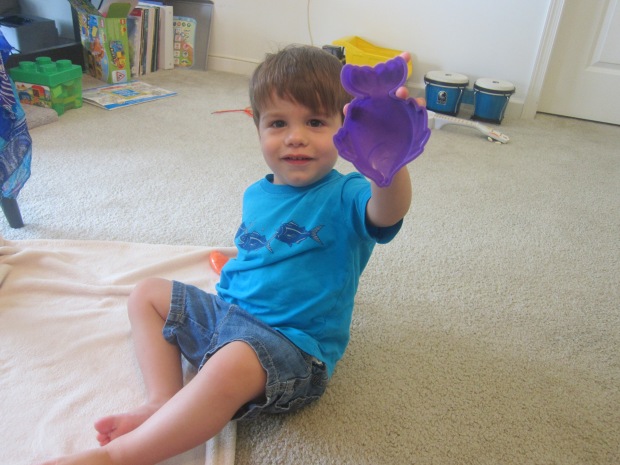
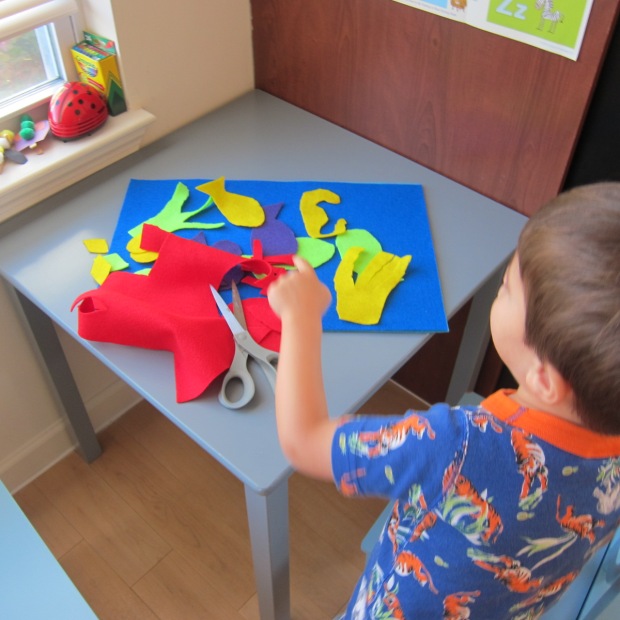
With my very amateur crafting skills, I cut out fish, anemone, shells, and a little crab with legs we could attach and unattach.

Underwater Felt (5)

The biggest hit was cutting lots of circles and diamonds, which could be added to our sea friends as scales or eyes.

Underwater Felt (4)

Travis decided even our anemone needed eyes and a smile!

Underwater Felt (6)

You can of course just build playful and colorful scenes, but you can also use the felt board as a prop to narrate any books about the sea. We used it at bedtime for a rendition of Rainbow Fish which had Travis enthralled with the story in a new way.

Rainbow Fish needed beautiful scales of course…

Underwater Felt (7)

And a little imagination helped our crab become the octopus!

Underwater Felt (8)

What ocean stories would you tell with your felt board? Please do share in the comments, and here’s to many more glue gun projects to come!

Paper Plate Sea Creatures

Paper Plate Sea (8)

Travis is enamored with sea creatures now that we’ve returned from the shore. Luckily I had paper plates on hand upon our arrival home, which was all we needed to bring the sea to us!

Paper Plate Sea (1)

To start, I cut out several sea animal shapes from the plates. Travis was eager to help with the scissors, so with some adult guidance he helped cut the snips for jellyfish tentacles and octopus legs.

Paper Plate Sea (2)

Then it was time to decorate! Dot markers were a mess-free and perfect way to make our sea creatures colorful.

Paper Plate Sea (4)

Travis declared his orange and blue fish a clownfish without any prompting!

Paper Plate Sea (3)

Mommy added the smile and eyes onto our jolly octopus after Travis had dotted him all over with yellow.

Paper Plate Sea (5)

Let the paint dry, and then turn your living room into a giant ocean full of swimming sea creatures.

Paper Plate Sea (6)


Ocean Sensory Tray

Ocean Tray (4)

What do you do on a summer day when you plan to go to the ocean, but the weather doesn’t cooperate? Bring the ocean to you of course!

Arguably the best part of this game for Travis was dyeing the water blue, so food coloring is a must. I set up a bin of water in the bathroom, and he loved dumping in the blue color, swirling it around until we had ocean water.

Ocean Tray (1)

Now it was time to add all our ocean toys!

If you have shells from a recent excursion to the shore, be sure to add those as well. Since we didn’t have any, large pasta shells worked in a pinch!

Ocean Tray (2)

Travis loved putting all our sea treasures in and out of the bin several times.

Ocean Tray (5)

He also loved filling a baster up with the ocean water and creating ocean storms and waves.

Ocean Tray (3)

Overall, this was a nice diversion indoors – and you could certainly play it outside on a hot day, too!

Paper Bag Whale

Whale (5)

On the heels of our jellyfish, Travis and I wondered what other sea creatures we could make at home. Would it be possible to turn this plain brown bag into a … great big gray-blue humpback whale?

Whale (1)

The first order of business was to stuff the bag with crumpled newspaper – a sure hit for any toddler. Leave a little room at the end of the bag so you can cinch it closed, tying it shut with string. Give the “tail” a slight rip so it looks even more like a whale’s tail.

Whale (2)

Travis didn’t quite understand what we were aiming at while stuffing the newspaper, thinking he was helping with the trash, but once I presented him with the closed bag and paint, he was so excited to discover we were making a whale. I set out one cup of white paint and one of black, and together we produced a wonderfully gray “humpback.”

Whale (3)

This was by far the largest surface Travis has ever had to cover with paint, and he loved every moment, especially seeing how the white and black interacted.

Whale (4)

I took us off to the park, knowing he’d be impatient for the whale to dry. Once we were home, Mr. Whale had quite a lot of swimming to around the apartment!

Whale (6)

Between the whale and the jellyfish, we’ve certainly had a lot of sea creatures in the house! To continue the fun, I staged a “deep sea dive,” placing blue blankets across two stools as the ocean.

Deep Sea (1)

Underneath, I set up his various bath and beach toys in the shape of sea animals – and then Travis was the scuba diver, diving in to see what treasures he came up with! He was very proud to surface with a fish:

Deep Sea (2)

And, of course, whale. This makes for a great game on summer days when you can’t make it to the actual beach!

Deep Sea (3)

Jellyfish

Jellyfish (4)

An empty Earth Balance tub needs only a little creativity (and lots of glue!) to become a whirling and twirling jellyfish. We’ve had fun recently reading Pout-Pout Fish, and Travis is intrigued by the creatures in the story, a jellyfish among them, so it seemed an opportune time to try this craft.

One caveat: making this project is a MESS. Be prepared to be very gluey, but also to have lots of fun. From experience, however, I recommend not mixing this much mess with a half-naked toddler…

Let your (preferably clothed!) toddler brush glue over the entire outside of the empty tub – Travis loved this assignment, since he becomes frustrated sometimes at class art projects where glue is “supposed” to be applied to only a small area.

Jellyish (1)

Once completely gluey, stick torn construction paper over the tub, until it is covered. Let dry.

Next up, have your child brush glue all around the inside edge of the tub. Now it’s time to add the tentacles! We tried both streamers (a success) and yarn, but alas the latter came off in clumps since I had a son who was over-eager to use his jellyfish before the glue was completely dry. But the streamers held up great!

Jellyfish (3)

As a final touch, add too big dabs of glue on the outside and press on googly eyes. In an ideal world, you’ll let the jellyfish dry before your child takes it for a “swim” around the apartment – but I confess we were not ideal today! Travis couldn’t wait to play with our creation, a sure sign of a hit.

Jellyfish (5)

What story books have inspired you to create crafts at home? Please share in the comments!

Jellyfish (6)