Sensory “Salads”

Sensory Salad (11)

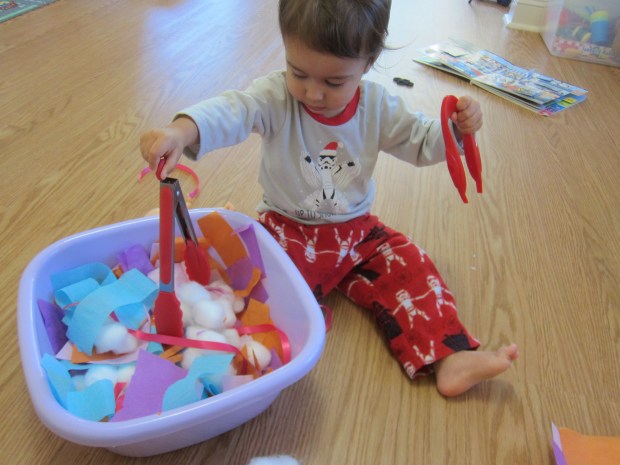
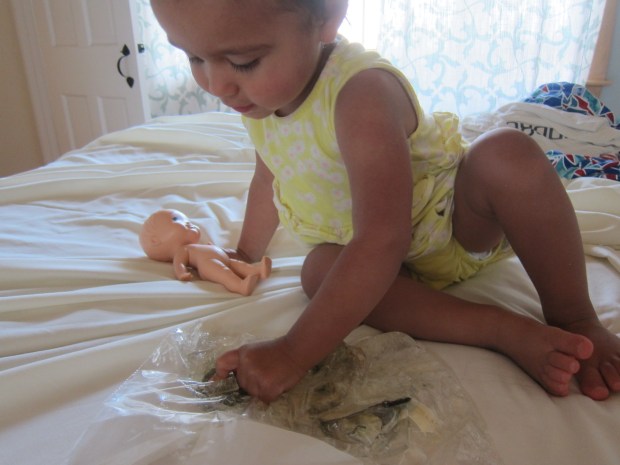
We found an old play set with components to make a pretend salad: fake lettuce, croutons, olives, etc. Veronika loved it so much I thought it would be fun to help her make a few more “salads”. These two methods were quite different, but both so enjoyable.

Sensory Salad (3)

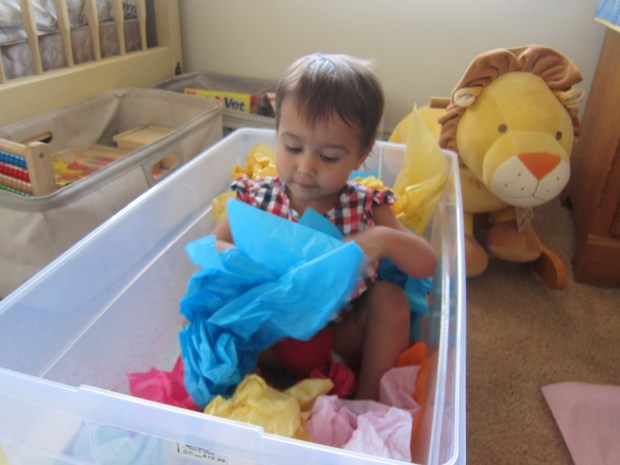
For the first version, I put together odds and ends from the craft bin that she could toss like the ingredients of a salad. We had tissue paper “lettuce”, cotton ball “croutons”, strips of ribbon (bell peppers perhaps?) and pieces of crepe paper.

Sensory Salad (4)

I gave her toy tongs as well as real tongs to toss the ingredients around. The tongs were arguably as interesting as the sensory materials!

Sensory Salad (7)

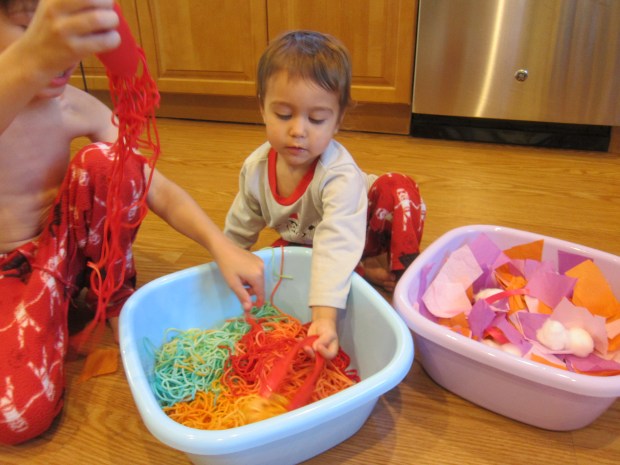
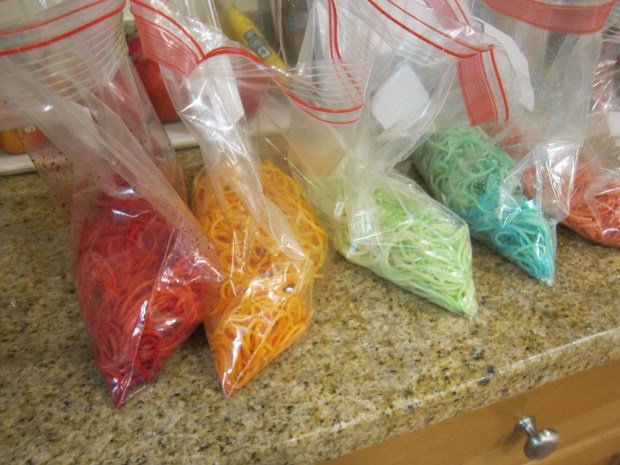
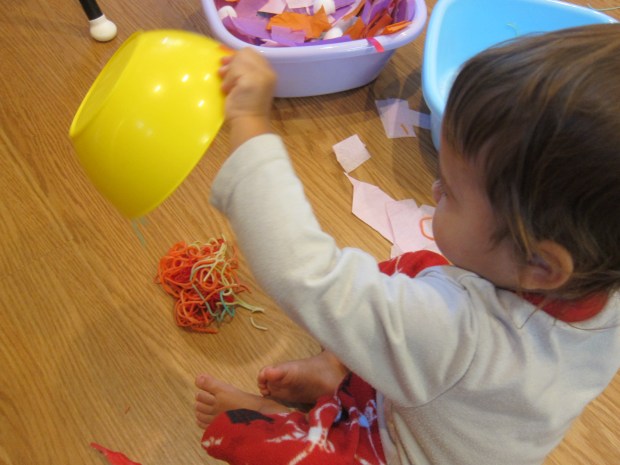
Then we moved on to an edible sensory version. The night before, I made a batch of Kool-Aid dyed pasta. To keep it edible, just in case Veronika wanted to take a nibble, I diluted each pack of Kool-Aid in 2 tablespoons hot water (as opposed to rubbing alcohol). Place 1 cup of cooked spaghetti in a gallon-sized zip-top bag for each color that you’ve prepared. Pour in, seal, and shake to distribute the color evenly. Open the bags and let the pasta dry out overnight.

Sensory Salad (2)

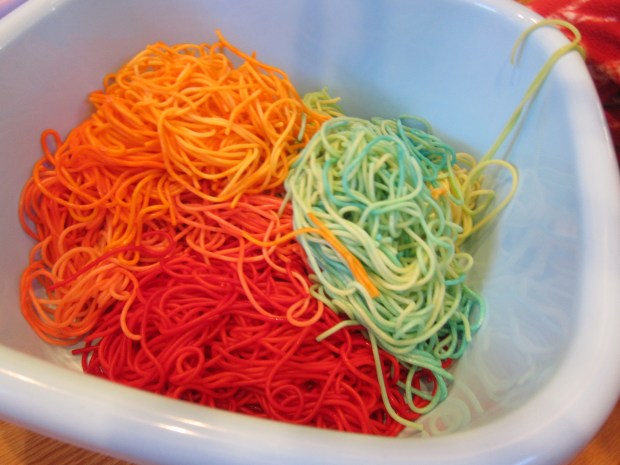
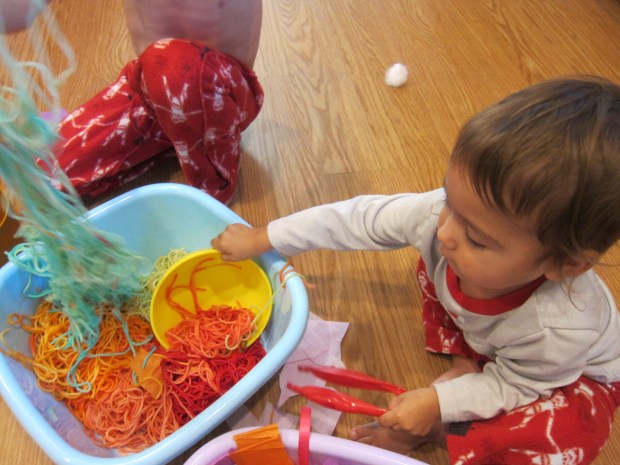
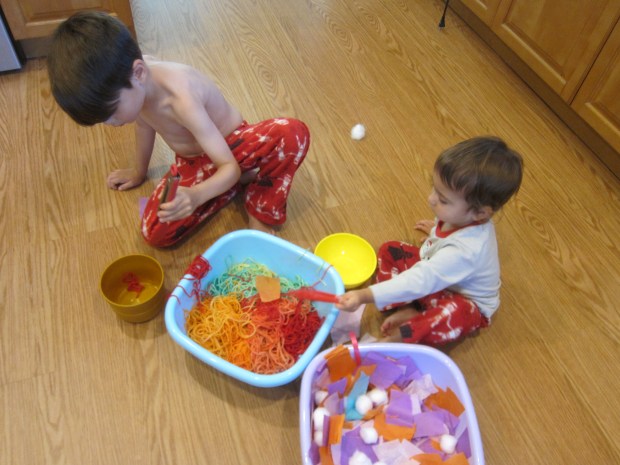
In the morning, I heaped together all the colors of noodles in a craft bin for a big “salad”, and once again handed over the tongs.

Sensory Salad (9)

This was an instant hit! She needed a little help at first since the noodles were sticky, but then loved scooping them into a smaller bowl.

Sensory Salad (14)

Big brother immediately needed in on the action, too. He soon had created a big spaghetti “cake”!

Sensory Salad (15)

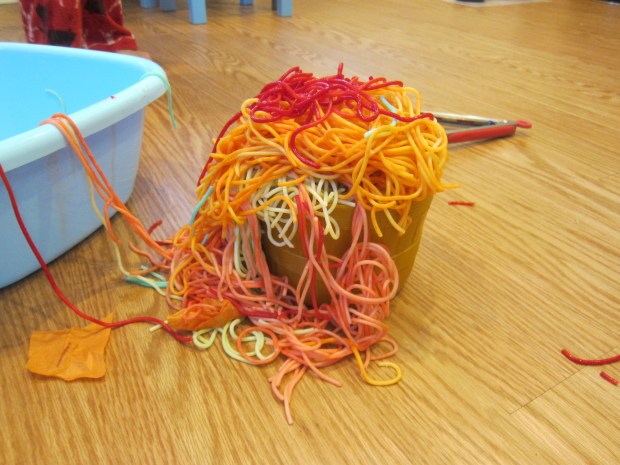
Then he wanted to try snipping the spaghetti with scissors, which is how bits began ending up all over the floor.

Sensory Salad (11)

Veronika, meanwhile, was narrating her play, something about trucks and cars. She was pleased as punch with whatever she thought she was “making”.

Sensory Salad (16)

And then she discovered the joy of simply throwing the spaghetti on the floor to make it go splat.

Sensory Salad (17)

My two crazy sous-chefs did then decide to sample the salad. “It’s tasty!” Veronika announced. They told me blue was the yummiest. I was glad it was just a few nibbles.

Sensory Salad (18)

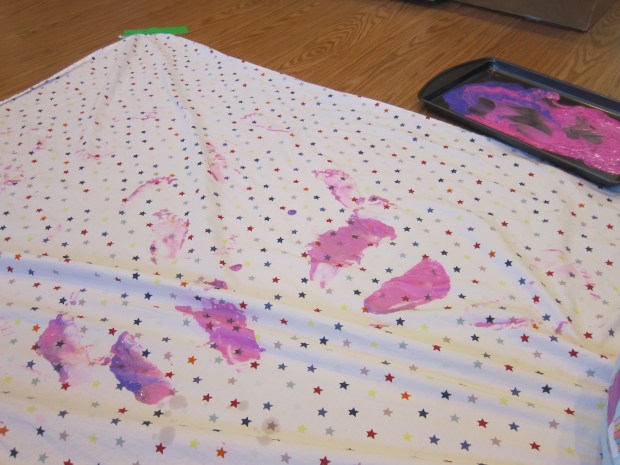
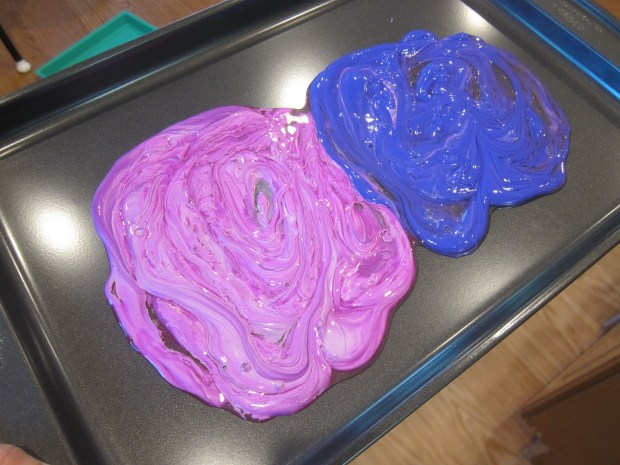
Clean-up was a bit more of a pain than usual. Next time I would probably do this activity outside and hose down the patio afterward, or lay an old shower curtain liner on the floor if doing it indoors. But worth it? Yes!

Sensory Salad (13)


Shredded Paper Sensory Play

Shredded Paper Party (3)

A recent tub of tissue paper was a fun sensory hit for Veronika, so today we tried it with shredded paper instead! We don’t own a shredder, but I actually wasn’t aiming for the small crinkles of paper that those machines produce. Instead, I use a roll of craft paper and just ripped up tons of it. Because the paper is so thin, I could quadruple layers of it and cut through with scissors, meaning it actually didn’t take long to get a big pile.

Shredded Paper Party (1)

I pondered which container to use (something large enough for Veronika to sit in!) and decided the laundry bin would be most fun. Once it was filled, in went Veronika!

Shredded Paper Party (2)

For the youngest toddlers, simply the sensory experience of all those paper shreds will be enough. Kids can crinkle it, stomp on it…

Shredded Paper Party (5)

…or toss it in the air to make it rain down.

Shredded Paper Party (4)

For older toddlers, consider encouraging a little imaginative play. To wit, Veronika happened to have little astronaut toys in her hands, so we decided this was a far away planet and the astronauts were brave explorers.

Shredded Paper Party (6)

She loved sifting through it with curious fingers.

Shredded Paper Party (8)

We also discovered we could thread bits of shredded paper through the holes of the laundry basket. So it turned out to be a great activity for fine motor skills, too.

Shredded Paper Party (9)

Don’t be surprised if it looks so fun that older siblings steal the bin for a few of their own games! Yes, big brother Travis’s Legos have taken over, in the image below.

Shredded Paper Party (11)

Water Beads Sensory Bin for Boats

Water Bead Boats (1)

How had I possibly forgotten about water beads? They’re one of the greatest ways to keep a toddler busy plus engage them in sensory play, but I literally had forgotten they exist. Well, a friend happened to remind me, and it was high time for Veronika to get her first experience with this awesome material.

If you’re not familiar with water beads, they start out the size of about a mustard seed, but expand overnight into marble-sized squishy balls. Look for them in the floral section of craft stores. As with all small, round objects, supervise play closely to avoid choking.

I soaked the water beads in a bin and then in the morning we added… boats! I thought the maritime theme would be perfect for summer.

Water Bead Boats (2)

Veronika loved that she could sail the boats through the beads. She also loved loading the beads into one boat and then pouring them into another.

Water Bead Boats (4)

At first our bin didn’t exactly look like an ocean since I had all the colors of the rainbow. I started to separate out just the blues and greens. It was starting to look a bit more like the Atlantic…

Water Bead Boats (5)

I didn’t finish the task, though, because then Veronika wanted the cup I was filling with the non-ocean colors so she could practice her pouring and scooping.

Water Bead Boats (6)

She then started carrying some of the beads around in the cups, at which point I had to direct her back to the bin. Because yes, the one problem with water beads is that they get real messy if you let them escape!

Water Bead Boats (3)

Giant Tissue Paper Sensory Bin

Tissue Paper Sensory (4)

Sure, you can give a baby a bag filled with tissue paper and consider that a sensory activity. But you’re not going to impress your toddler with something so mundane! Nope: today I made tissue paper play on a giant scale for Veronika!

I emptied out one of our toy storage containers, then took out a bulk package of tissue paper. Veronika was immediately delighted by all the thick piles of color.

Tissue Paper Sensory (2)

I showed her how to separate out a thin sheet of tissue paper and crumple it up, then toss it into the bin. This was of course a delight. “Clean up clean up!” she started to sing, which made me laugh since we were of course just making a mess.

Tissue Paper Sensory (3)

Once we had filled the bin deep with crumpled paper, I lifted her up and set her right inside.

Tissue Paper Sensory (5)

She looked so surprised! She kicked her feet and ran her fingers through the pieces. But then surprisingly she preferred to be back on the other side, tossing sheets of tissue paper in.

Tissue Paper Sensory (6)

We set aside sheets of tissue paper just to crumple and kept them out of the container so we could toss them in the air.

Tissue Paper Sensory (8)

Whether in the bin or out, this game was a delight!

Wave Bottles, Three Ways

Wave Bottle (8)

Summer means lots of empty sparkling water bottles in our house, and before recycling them I wanted to turn a few into fun sensory bottles for Veronika. There are so many ways to do this, and here were three I put together as a set this morning. She loved going back and forth between them all day!

For version number one, I filled a bottle 1/3 of the way with water. Add a drop or two of food coloring, then some fun items to swirl around; we used large glitter and small pony beads. Fill the rest of the way with baby oil. Seal the cap with hot glue.

Wave Bottle (1)

She loved this one, immediately delighted by the colors and shine.

Wave Bottle (2)

“Look at the beads!” she said, watching things swirl around.

Wave Bottle (3)

For version number two, I used a larger 1.5 L bottle. Fill the bottle 1/3 of the way with water. Add a few spoonfuls of tempera paint (we used red), then add 1/3 cup dish detergent. Seal the lid with hot glue. Shake it up and watch the colored bubbles!

Wave Bottle (4)

She loved how bubbly this one was.

Wave Bottle (5)

It was also fun to roll it on the floor and give chase!

Wave Bottle (6)

For the final version, I snipped a few pieces of brightly colored yarn to about 6 inches in length. Add to an empty bottle, add water, and seal the cap with hot glue. Now the yarn lengths dance and swirl in the bottle. They almost look like jellyfish!

Wave Bottle (7)

She loved watching this one. The more you swirl it, the better the yarn “dances”. I loved watching her move the bottles around all day, sometimes rearranging them on shelves, or shaking them, or just picking them up in her playroom and looking at them. A great way to fill those summer hours!

Wave Bottle (9)


Wet and Dry Sensory Play

Wet and Dry Sensory (4)

Veronika is at the age where’s she’s starting to understand opposites: empty and full, tall and short, loud and soft, etc. Here was a fun pair to play with in a sensory way: wet and dry!

We started with a shallow tray of dry oatmeal on the kitchen floor. She immediately ran curious fingers through the flakes of oats and loved the sensation. We talked about how the material was very dry and soft.

Wet and Dry Sensory (1)

I asked her to help me pour a little water from a measuring cup onto the oats. Whoops, the first cup went all over the floor! So I carefully poured a second cup of water into the oats without toddler “assistance”.

Wet and Dry Sensory (2)

Now they began to clump together and grow softer. But oh no, she didn’t like how it stuck to her fingers!

Wet and Dry Sensory (3)

We rinsed her off, dumped that batch, and then poured in a new dry material. I had intended to use cornmeal, but was all out. Dry breadcrumbs worked in a pinch! Again, she was immediately digging through, as we talked about the dry coarse crumbs.

Wet and Dry Sensory (5)

Again I poured in some water. Now the bread crumbs expanded and grew softer. Again she preferred dry to wet!

Wet and Dry Sensory (7)

Another clean off and another dump. For the final experiment, I poured dry cornstarch into the tray. She loved stirring through this with a giant spoon!

Wet and Dry Sensory (8)

I added water and of course now we had classic ooblek. She didn’t want to touch it, but she sure liked watching the way I could grab a solid clump and it would drip down through my fingers.

Wet and Dry Sensory (9)

I would definitely repeat this activity with other materials in the future (even wet and dry paper!), because it was a great way to teach the concepts of wet and dry.

Wet and Dry Sensory (10)

Jars, Marbles, and Pom Poms

Jars Pom Pom Marble (2)

As long as your toddler is old enough not to put marbles in his or her mouth, they make a great addition to sensory play. Although this particular game lends itself well to solo play, do keep an eye on things because of those marbles.

I used four leftover jars of baby food (cleaned and dried), and set them on a baking sheet. (Note: this is to catch the items as the spill out or roll around). I filled one jar with marbles and two with pom poms (sorted by color), and then left the fourth jar empty.

Jars Pom Pom Marble (1)

Beyond the set-up, I truly had no agenda for Veronika with this game; I just wanted to see how she would play with the materials! First she said, “I want to dump!” The filled jars were just begging to be upended. The marbles made a big clatter as they rolled across the baking sheet.

Jars Pom Pom Marble (3)

Then I showed her that the pom poms were (shhhh) quiet as they rolled out.

Jars Pom Pom Marble (4)

She then was busy transferring items back and forth for a while.

Jars Pom Pom Marble (5)

I had included the jar lids, so she also enjoyed putting those on and taking them off again.

Jars Pom Pom Marble (7)

The marbles were of much greater interest to her than the pom poms. She loved the plink they made as they want back into the jars, and I think she also just loved the smooth feel of them. She carried a few around the apartment all day!

Jars Pom Pom Marble (9)

Then it was back to lots more filling the jars, dumping them out, watching things roll, and having fun!

Jars Pom Pom Marble (8)

Shaker Bottle

Shaker Bottle (5)

When you need to occupy a toddler quickly, it’s useful to have something on hand that’s both visually stimulating and makes noise, a double-dose of sensory play. This one ticks both boxes!

The toy is simple as can be: an empty plastic bottle filled with colored pasta and rice. To color the rice and pasta, fill a cup with 1/2 cup rubbing alcohol. Add the food coloring of your choice, then add the rice or pasta. Let soak, then transfer to wax paper to dry.

Shaker Bottle (2)

This method worked great on the rice, but not so much on the pasta, probably because I used a dark, whole-wheat variety. So I do recommend standard white pasta (and rice) for this project.

Once dry, add the pasta and rice to a clear, empty water bottle. Use hot glue to secure the cap.

Shaker Bottle (3)

Then just store the bottle in a cabinet and hand it over as soon as your toddler needs an activity! Veronika had seen the pink rice as I was pouring it into the bottle (a funnel makes this step much easier), and so she was eager to get her hands on the bottle and investigate. As I hoped, she loved the sound this made. It was like a giant maraca.

Shaker Bottle (4)

And then there was the visual stimulation, as she watched all the colored bits shake around inside.

Shaker Bottle (6)

Needless to say, this easy toy is a winner.

Shaker Bottle (7)

Beach-Themed Sensory Bag

Beach-Themed Bag (6)
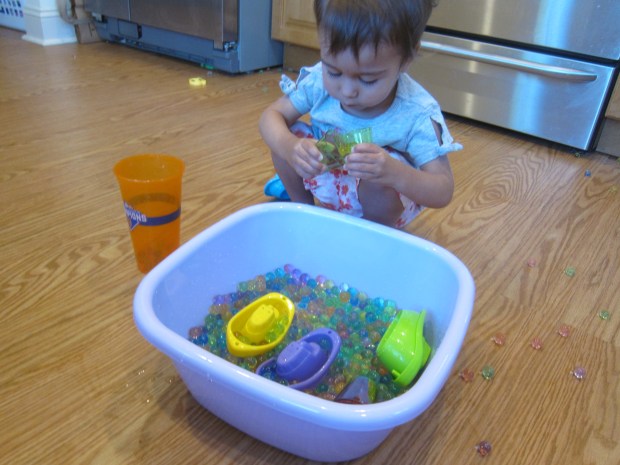
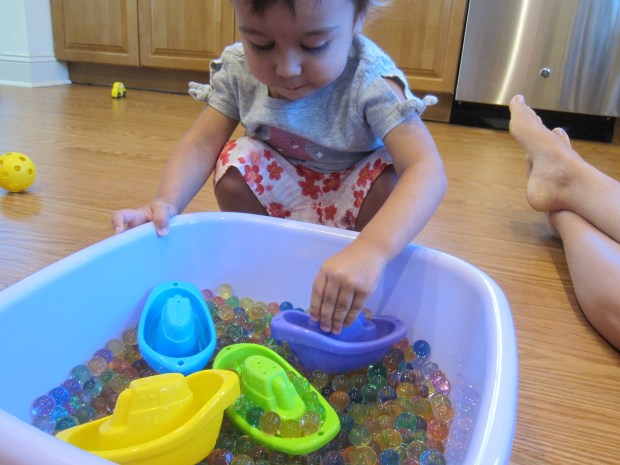
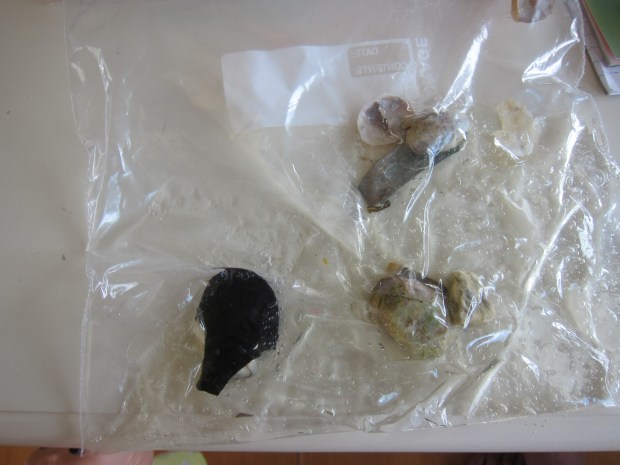
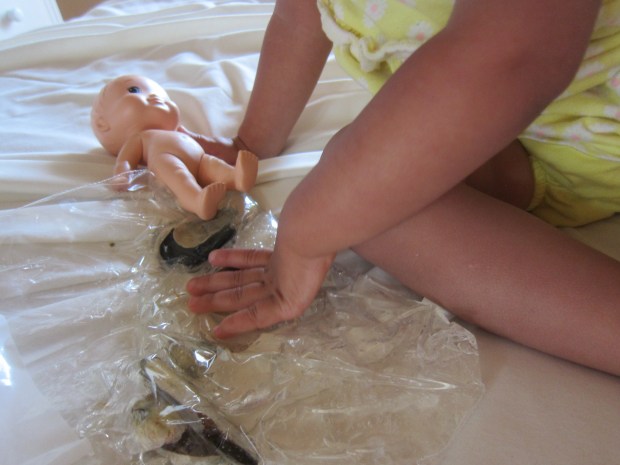
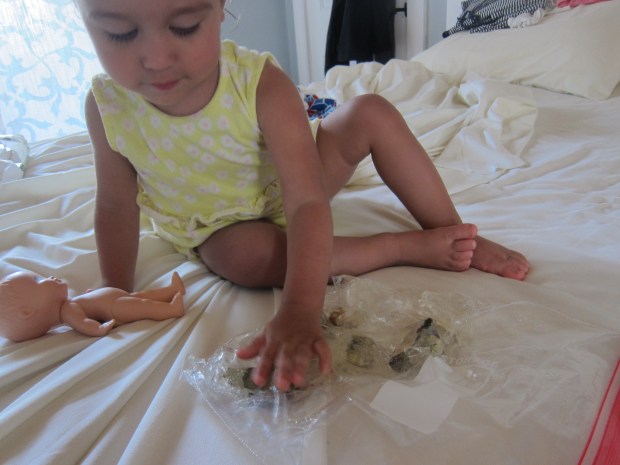
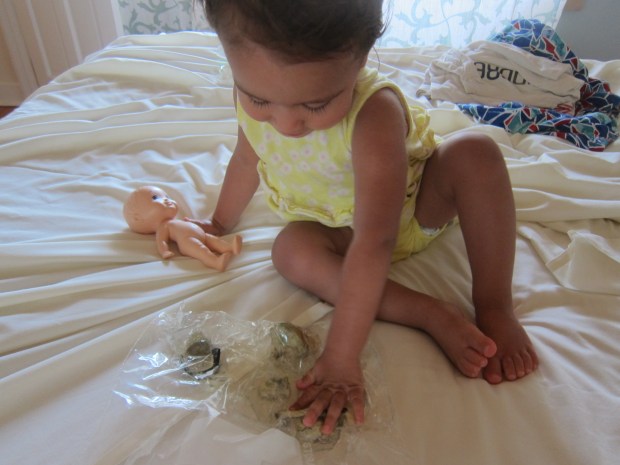
Here’s the perfect way to bring a bit of the beach home for your toddler after a day at the real thing. It’s a great way to extend the sensory play while remembering a day of fun in the sun!

While you’re at the beach, make sure to tuck aside shells or other little treasures.

cape (12)

Once home, I filled a gallon-sized zip-top bag with hair gel. Either leave the gel clear, or add a few drops of yellow food coloring, if desired. Then add your beachy treasures!

Beach-Themed Bag (2)

We had some beautiful finds, including a mussel shell, a razor clam, snail shells, and one that was nearly translucent gold. Veronika loved the contrast between the shells and the gel. “Bumpy!” she said first, followed by “squishy”!”

Beach-Themed Bag (4)

It was fun to watch her move the shells around within the bag. Next time, I might bring home a little bit of the beach itself and add sand, too!

Beach-Themed Bag (8)

Perfect beach house fun.

Beach-Themed Bag (7)

Paint Dancing

Paint Dancing (8)

I love throwing in a sensory project for the feet now and then, such a different experience for toddlers than working with their hands! All you need for this project is an old crib sheet (or similar large piece of fabric), and a willing pair of toddler feet.

I squirted two colors of washable paint onto a baking tray and added a little dish soap to each color, which will make clean up easier in case any paint goes off the fabric.

Paint Dancing (2)

Fill a second shallow tray with warm soapy water, and have a towel handy. Then tape your old sheet down to the floor securely at all four corners. I put on some tunes (Walking on Sunshine felt just right!) and Veronika immediately started bopping and dancing before the paint was even involved.

Paint Dancing (1)

Then I dipped her feet into the paint and set her painted soles down on the fabric. “Let’s dance!” I said.

Paint Dancing (3)

She was initially hesitant when the paint was thickest, but as she began to move around, a big smile formed.

Paint Dancing (5)

We dipped her toes and repeated a few times, and mixed up the tempo for a little music lesson, too!

Paint Dancing (6)

Arguably her favorite part was washing off in the sudsy water at the end. At first she just dipped in her toes, but then I turned around and found her sitting completely in the soapy tray like it was a mini bathtub. Well, time for an outfit change!

Paint Dancing (7)