Eggheads

Eggheads (5)

Got leftover plastic Easter eggs? We’ve got you covered! This cute little gardening project will use up any spares you have lying around.

We borrowed a real egg carton from the festivities at a relative’s house, and took it home to set up the project.

Twist plastic eggs until the top breaks off. Discard the tops and draw faces on the bottom. I gave Travis free reign for this part, and loved seeing the “expressions” he came up with.

Eggheads (1)

Next, we scooped potting soil into each egg. Cover your work surface because this part might get messy!

Eggheads (2)

Sprinkle a little grass seed into each egg.

Eggheads (3)

Now place them somewhere sunny and wait! Be sure to water daily. I’ll update this post when our “eggheads” sprout “hair”!

Eggheads (4)

Update: Our heads have hair! How adorable are these little eggheads?

Eggheads alt.JPG

Bird-Nest Salad

Bird-Nest Salad (1)

Tweet your way into spring with this cute little salad!

Ingredients:

  • 4 lettuce leaves
  • 1/4 cup shredded carrots
  • 2 tablespoons bean sprouts
  • 3 yellow tomatoes
  • Salad dressing of choice
  1. Arrange the lettuce leaves on a plate.
  2. Arrange the carrots and sprouts in the middle of the plate, so they look like a nest shape.
  3. Nest the tomatoes in the carrot bed as little eggs, and drizzle with your favorite dressing. We like this with a simple balsamic vinaigrette!

Happy spring!

Bird-Nest Salad (2)

Cotton Cherry Blossom Painting

Cherry Blossom (7)

We had a little fun exploring different tools that we could paint with about a week ago, and that turned into the idea for this quick springtime craft. Soft items like cotton balls or pom poms are perfect for making the delicate flowers of a cherry blossom tree!

To start, I drew the outline of tree trunks for me and Travis, with plenty of branches to fill in. Big kids will probably like to draw their own trunk!

Cherry Blossom (1)

Attach a clothespin to each cotton ball, and set out a big dish of pink paint – exciting!

Cherry Blossom (3)

I showed Travis how to dip in the cotton ball and then press and lift off the paper to recreate these pretty springtime blooms.

Cherry Blossom (2)

His was a bit more smeared, but he still liked the mechanics of the craft.

Cherry Blossom (4)

We ended up with two pretty cherry blossom trees, one by Travis and one by mama. Big kids may wind up with something closer to this:

Cherry Blossom (6)

We’ll have to cap things off with a visit to see the cherry blossom trees in the neighborhood!

Green Time: Plant a Vegetable Garden

Plant Garden (2)

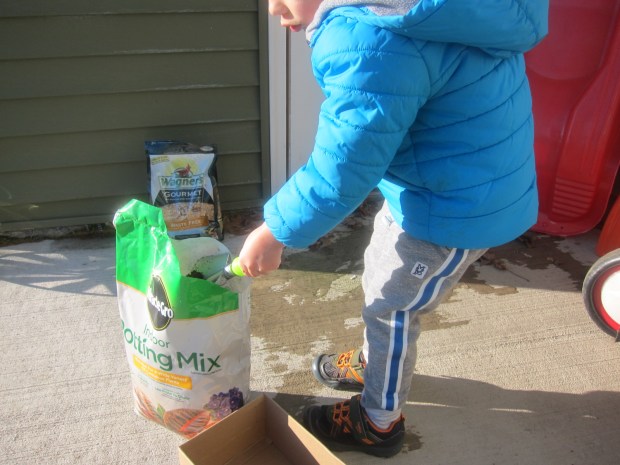
Yes, here we are planting seeds with our winter coats on. Hopefully from here on out April feels like April, not January! Needless to say, we were eager to turn to this month’s Green Time from Ranger Rick Jr. without waiting for the weather to cooperate!

Ideally, you’ll have a plot of land in which you can truly plant vegetable seeds. Those of you who have followed this blog for a long time know that we used to only have a balcony, and how excited I was when we graduated to a patio with access to a small patch of grass. We still have no true yard, so our “garden” for this project is in a shoebox… which means likely our plants will crowd one another and not grow very tall. Still, I wanted Travis simply to enjoy fresh air and the tactile feeling of dirt and seeds, even if we don’t end up with edible veggies. If you have a real garden, please share your results in the comments!

So, back to our shoebox garden… First we needed to buy seeds. We headed to the garden store for one pack each of the magazine’s suggestions: tomatoes, beans, carrots, zucchini, and peas.

Plant Garden (3)

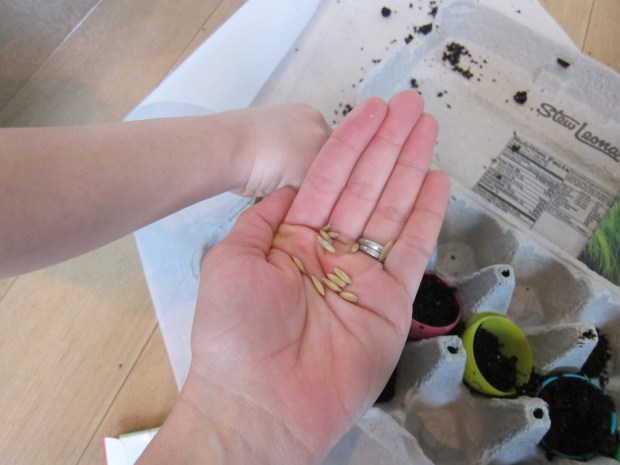
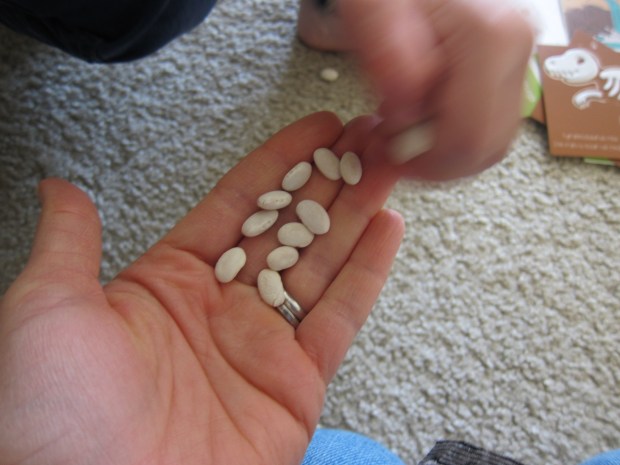
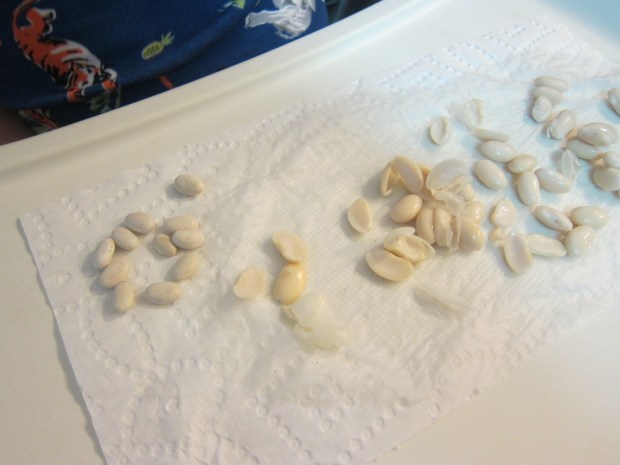
The first novelty for Travis was seeing the difference in size – pea seeds much bigger than tomato ones, for example.

Plant Garden (6)

Even mommy didn’t know what carrot seeds looked like!

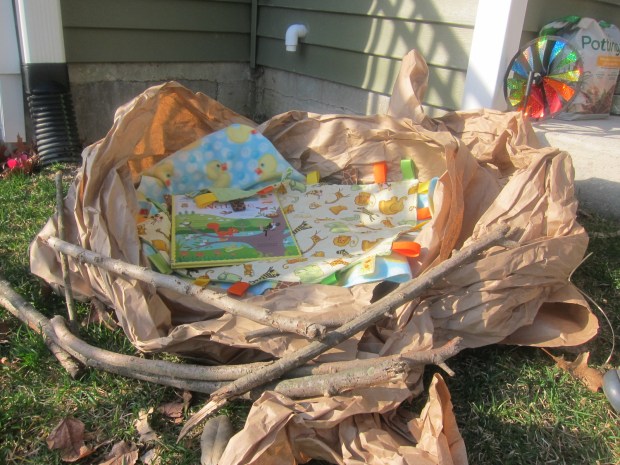
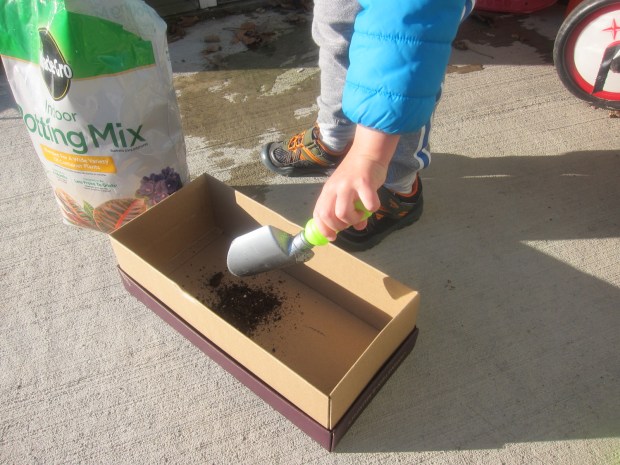
We filled our shoebox with a nice layer of soil.

Plant Garden (1)

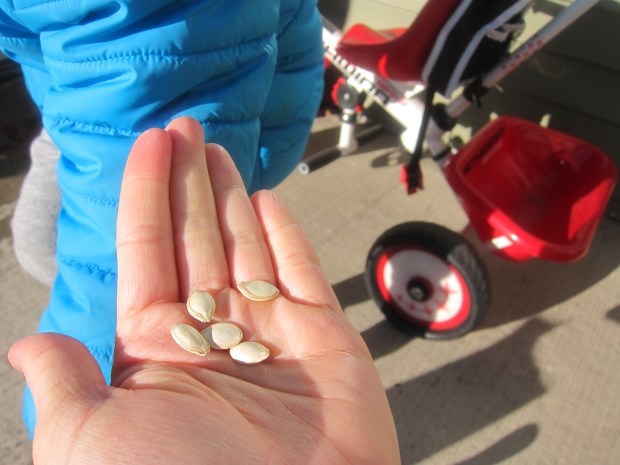
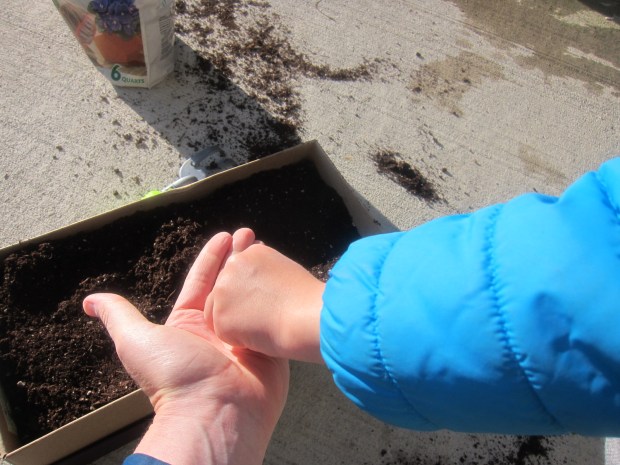
Next, we carefully dug a small hole for each veggie and placed two or three seeds in each hole.

Plant Garden (4)

Travis loved the planting, and patting the dirt back over the holes.

Plant Garden (5)

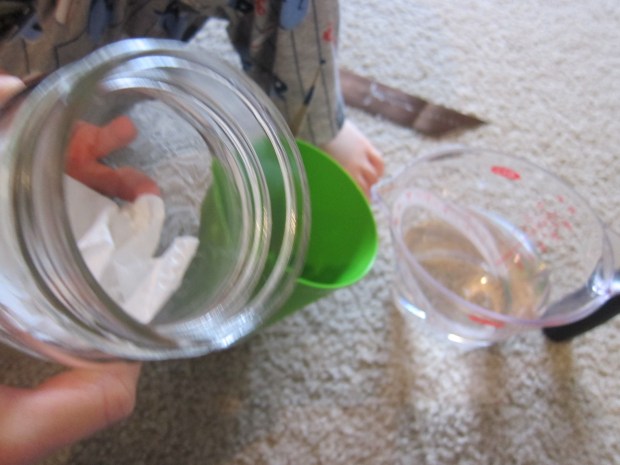
A little bit of water (which we’ll do each morning), and now we wait!

Plant Garden (7)

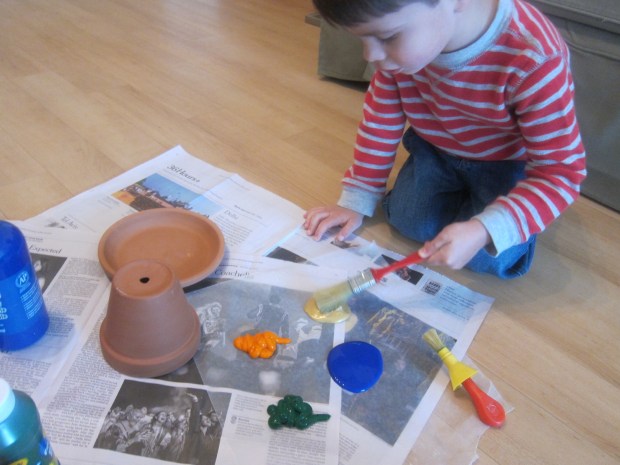
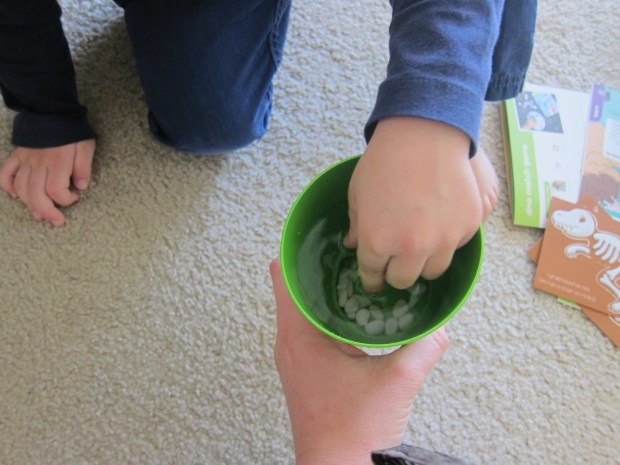
Travis had so much fun with it that I let him play indoors with the leftover bean seeds with his shovel and some old flower pots.

Plant Garden (8)

I’ll update this post if our veggies manage to sprout in their shoebox conditions!

Update: We have veggies! Travis is thrilled when we go out each morning now to water the plants, all of which our coming up – tiny zucchini leaves, tiny carrot tops, little bean curls… Exciting!

Plant a Garden alt


Splashy Birdbath

Birdbath (6)

We’re always hoping to attract birds to the yard, whether with bird feeders or a birdhouse constructed recently at a Home Depot workshop. So we loved this idea from our April Ranger Rick Jr.!

To make the birdbath, you need a clay pot and saucer from the craft store. Lay down old newspapers to cover your work surface and set up some paints – I like making Travis a “palette” on wax paper these days, so he can choose from multiple colors.

Birdbath (1)

He loved painting the clay base in gold the best!

Birdbath (2)

Meanwhile, we added simple stripes to the pot, which will be the bottom of the birdbath. But get as creative and decorative as you like, adding patterns or dots.

Leave the pot upside down to dry. Paint the bottom of the saucer as well, and position on top of the pot – this paint will actually help the two pieces fuse together as it dries.

Birdbath (3)

We waited out a couple rainy days, then headed out on a sunny morning to find the perfect spot for the birdbath.

BIrdbath (5)

Travis proudly added a small layer of water, and we added a decorative stone and shell.

Birdbath (4)

Can’t wait to see what visitors we attract!


Make a Nest

Nest (1)

Here’s just a quick little idea for the next time you’re out in the yard – make a springtime reading nest!

We wanted a well-defined base, so I saved some brown packing paper and wound that into a nest shape. If you prefer, even the outline of your nest can come from nature!

On top we added finds from nature – sticks, a few dandelions, and leaves. Add pine cones, pine needles, or anything else you can find as well.

Nest (3)

We lined our “nest” with blankets and added our favorite book about on nature. Now sit in the sun and enjoy!

Nest (2)

Egg Carton Baby Animals

Egg Chick (6)

We upcycled our relative’s Easter egg carton to make these cute spring-themed animals. In all honesty, Travis lost interest very quickly, but I still made the animals because we need signs of spring around here! (Yup, there’s more snow in the forecast for tomorrow…)

There are plenty of steps for kids to help out with – cutting out the carton sections and animal templates, gluing everything on, and adding marker decoration if they would like.

First, cut an egg carton into segments. Cut out as many as you’d like, to have a whole menagerie of baby spring animals!

Egg Chick (2)

I used pastel-colored paper and free-handed the shapes to add on to each animal – long ears and rounded paws for a baby bunny; pointed toes, a crest, and wings for a baby chick.

Glue on the paper pieces and let dry.

Egg Chick (4)

Finally, I used permanent marker to make eyes, a white pom-pom for the bunny’s nose, and a diamond shape cut from paper for the chick’s beak.

Egg Chick (5)

What animals would you and your kids make? Please share in the comments!

Egg Chick (7)

Toilet Paper Roll Binoculars

Binoculars (6)

At last! Spring has sprung, and we are eager to look for signs of it on these first warm days. It was the perfect chance to put together some easy homemade binoculars before setting off into the woods!

To make the binoculars, you’ll need three toilet paper tubes. Cut one of them open down the middle and leave the other two intact.

Binoculars (1)

Glue the two whole rolls together with hot glue. Affix the open tube on top with more hot glue (this is a grown-up step!).

Travis loved decorating his binocs since we had puffy bug stickers.

Binoculars (4)

Perfect for spring!

Binoculars (5)

All we needed as the finishing touch was a string for around his neck, which I affixed with a little more hot glue.

Then it was time to head out. Travis loved peering through the “lenses” for the first signs of spring!

Binoculars (10)

And look what we found – buds!

Binoculars (9)


Fingerprint Bird Painting

FIngerpaint Bird (6)

I originally planned this springtime-themed painting to be a fingerprint memento – I love capturing the size of Travis’s hands and fingers (and feet!) periodically. Turns out that Travis had different plans… but we still ended up with a great painting!

To make the project feel special, I purchased a real (small) canvas from the craft store – instantly things felt elevated above using regular paper!

Make the shape of a bird on the canvas using masking tape. Big kids will be able to tackle this step themselves, and little kids will like to play with leftover tape!

Fingerpaint Bird (1)

I set out fingerpaints for Travis and showed him how to dip in his fingertips and fill in the bird shape.

Fingerpaint Bird (2)

He very quickly decided he preferred a brush, and began filling in the bird that way. His brush strokes looked incredibly feathery, just like bird wings.

Fingerpaint Bird (3)

I loved the texture he was able to create!

Fingerpaint Bird (4)

So… not the fingerprint memento I had intended, but we still have a lovely work of art to welcome spring.

Fingerpaint Bird (5)

Exploring Seeds

Exploring Seeds (6)

My goal with this project was to show Travis the life cycle of a seed, from dried and hard, to sprouting its first green shoot. Alas, it didn’t entirely work out, but we still had fun!

We started out simple, feeling the bean seeds both before and after we soaked them in water for about an hour.

Exploring Seeds (2)

It was very cool how quickly the skins become wrinkly.

Exploring Seeds (1)

The next morning, the beans were soft enough to split apart with a finger. Travis was really interested in how the soaked beans looked compared to a new set of dried ones – much softer and nearly twice the size.

Exploring Seeds (4)

Select several of your soaked seeds to sprout (not any of the ones you have split in half). Line a mason jar with a paper towel on the bottom, and add about 1 inch of water, swirling to soak the paper towel. Repeat until the paper towel is completely wet and you have about 1 inch of water above it. Add your seeds, placing them between the wet paper towel and the side of the jar.

Exploring Seeds (5)

Now place it some place sunny and wait!

Whether because we’ve had very gray weather and little direct sunlight or because I have no green thumb and drowned our beans, I can’t say… but one way or another, our beans disintegrated instead of sprouting. I will try a different method next time, but this was still a neat nature lesson for a toddler!

Exploring Seeds (7)