New Household Sounds

New Sounds (7).JPG

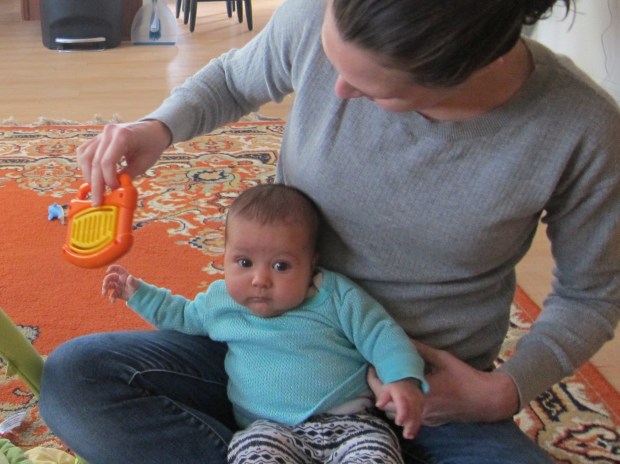
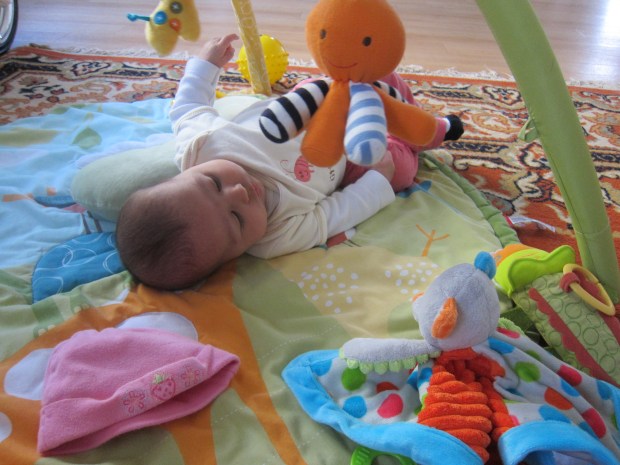
Today was all about the auditory for Veronika and me! I devoted our together-time today to exposing these cute little ears to a variety of sounds – it helped that big brother was at school, and the house was quiet!

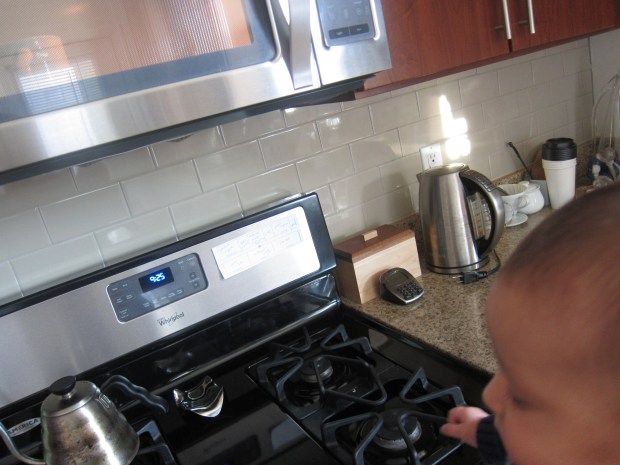
Even the most mundane sound will be new to your baby, so do a walk around the house and pause at anything that makes a noise. The kitchen was full of interesting examples, from the hum of the microwave…

new sounds (2)

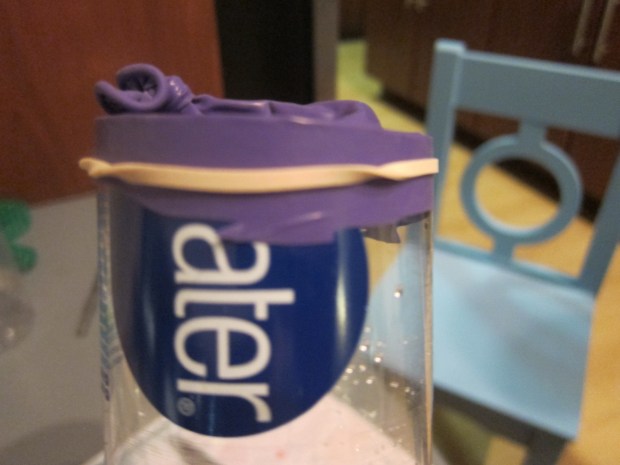
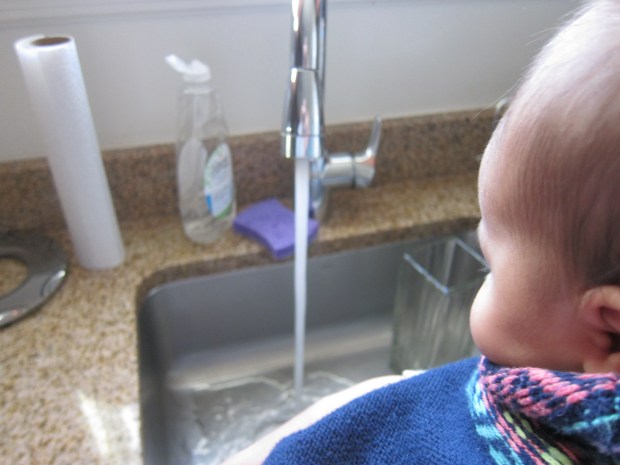
…to the splash of water from the faucet.

new sounds (4)

The kitchen timer startled her a little with its beep! Perhaps she would have preferred an old-fashioned ticking timer… I get nostalgic for childhood evenings whenever I hear that noise.

new sounds (3)

Other good noises include the hum of a dishwasher or fridge. Some won’t be as obvious, but tune in to sounds like the opening of a drawer…

new sounds (5)

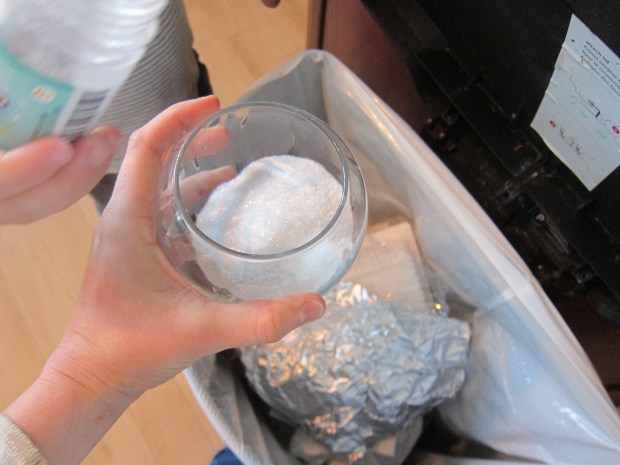
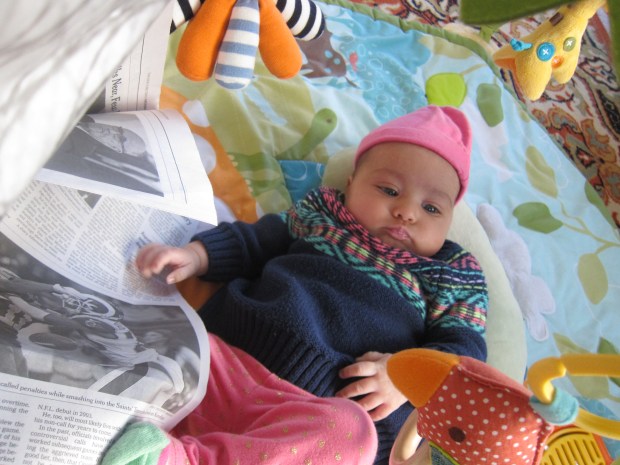
…or the crinkle of newspaper pages.

new sounds (8)

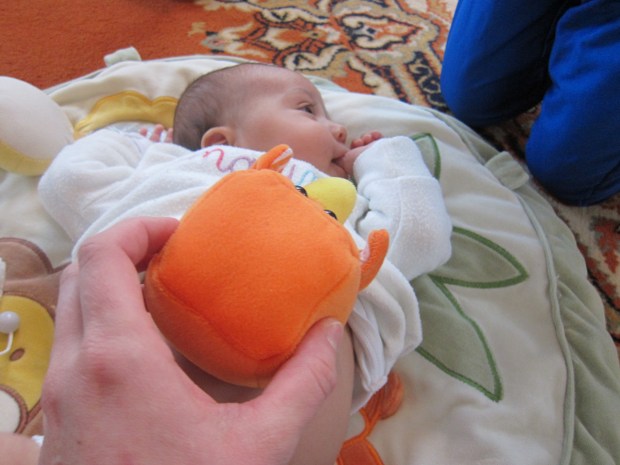
Even diapers make a cool noise, at changing time!

new sounds (6)

Veronika’s favorite seemed to be the ticking of Travis’s clock. We paused calmly together to listen to the second hand work its way around.

new sounds (1)

Overall, I liked taking a day to zero in on noises. I tend to be more tuned in to the visual than the auditory, but I could tel Veronika liked our emphasis today, too!

Musical “Hide-and-Seek”

Musical Hide (8).JPG

Our games are getting a bit more sophisticated with Veronika! When she was smaller, I tested her ability to locate a voice to either side of her head. Today we made the game… musical!

Small rattles with a variety of bells or other percussion sounds are perfect for this game. I feel like everyone has this classic quartet!

musical hide (1)

First, I let Veronika see and hear the rattles, so she knew what was making the sounds.

musical hide (2)

She wanted to reach out and hold one, great for practicing her grip!

musical hide (3)

Next I sat her on my lap, and shook the rattle just out of sight. As she turned her head, I would bring it closer, so she was rewarded with a full view. Photo credit to my four year old!

musical hide (5)

I gave each of the four rattles a turn, and she particularly responded to this one:

musical hide (7)

Big brother Travis loved being the one to hold the rattles, too. She loved turning to find where he was holding the musical bells.

musical hide (6)

All in all, this was great musical fun for a simple afternoon at home.

musical hide (4)

Make a Model Lung

model lung (6)

This neat visual of how a lung and diaphragm work together can be made with just a few simple household items. It was a great dose of STEM learning on a stormy day cooped up inside.

You’ll need to start with a sturdy plastic bottle. At first I assumed larger was better, and tried a family-sized club soda bottle… but our balloon wouldn’t fit in the next step, so be aware! You really need a single-serving bottle (16 ounces), either of water or soda.

Carefully cut the bottle in half. This was definitely a grown-up step, and I cautioned Travis that the edge of the bottle was a bit jagged. Keep the top half; recycle the bottom of the bottle.

Tie a knot in an uninflated balloon, and snip off the top of it. Stretch that top over the end of the bottle, and secure with a rubber band.

model lung (1)

Your bottle might squash a bit, but that’s fine as long as no air can get in.

model lung (2)

Now slide a straw into a second balloon. Secure them together with a rubber band, making sure the balloon is attached, but not so tight that air can’t get in. Travis tested with a few huffs!

model lung (4)

Now push the balloon into the neck of the bottle, and use a little clay around the straw to hold it in place.

model lung (5)

Holding the bottle firmly, pull down on the bottom balloon. The balloon inside will inflate!

model lung (7)

Explain to kids that this movement replicates what happens when you breathe: when your diaphragm moves down with each breath in, it makes room for your lungs, which then fill with air.

Travis’s favorite part of the activity was trying to get the balloon to “hiccup”, which you can do by pulling the bottom balloon a few times quickly. The balloon in the bottle will jump, which is what happens when you get a case of the hics.

All in all, this was a great addendum to the fun we had with our My Body crate from Kiwi Co.

Simple Hand- and Footprints

Simple Handprints (7).JPG

I tried making a handprint for Veronika when she was just home from the hospital, and quickly realized why my attempt was so difficult – newborns keep those fists curled up tight!

At two months old, you should be able to capture the size of those tiny fingers, now that your little one is keeping his or her fingers open. Veronika seemed to love the process behind this, her first little art project.

You can make the prints on almost any surface you choose. I used a small canvas from the craft store and a blank tea mug. Regular watercolor paper would work just fine, too! Make sure you are set up with all your supplies before you begin. You’ll need a safe, water-based paint, a paintbrush, and a pack of wipes ready to go for cleanup!

simple handprints (1)

I started with the feet, since that would involve less mess, tickling Veronika’s toes with the brush and then pressing gently against the canvas and the mug.

simple handprints (2)

We cleaned her foot off, then applied a coat of paint to one little hand. It was still a bit difficult to press her finger flat, and do so without her moving it side to side, so the hand prints were a bit smeared.

simple handprints (4)

But we still captured the adorable tiny size of her hands and feet at this age.

simple handprints (3)

This is sure to become a precious memento. Don’t forget to add baby’s name and date!

simple handprints (5)

Touch and Feel

touch and feel (6)

Today Veronika played around with new feelings and textures! Set out a little collection of toys, make sure baby’s tummy is bare, then have a little textured fun.

I collected a pile of different sensations: a woolly lamb toy, a squishy bird toy, a leather glove, and a rubber sensory ball.

touch and feel (1)

One by one, I rubbed each item on Veronika’s tummy. As I rubbed, I described the item, saying “woolly” or “soft” or whatever was appropriate to the item.

touch and feel (2)

Then I held it up, giving her the chance to see what the item was, and to reach with her fingers, if she wanted to.

touch and feel (5)

The leather glove was the most interesting to her, probably because she hasn’t encountered this material in toys before!

touch and feel (8)

I also let her try to hug the soft, squishy toy with both hands, although this type of grasp advanced for her age.

touch and feel (4)

Overall, her eyes were wide, and I could tell she liked the new sensations!

touch and feel (3)

Roly Poly Play

Roly Poly (6).JPG

It’s early for your baby to roll at two months old (although some might be able to!), but it’s not too early to introduce the sensation of rolling. Veronika is starting to get the idea – when her head is on a pillow, she can rotate her body off it to the left side, although she doesn’t get all the way around to the tummy. So it’s time to build those muscles and develop the idea!

roly poly (2)

Today, Veronika and I played around with rolling on a few different surfaces. First, I put her on her brother’s bed – a nice soft mattress to flip about on.

roly poly (3)

I started her on her back, then gently rolled her halfway…

roly poly (4)

…before finishing on her tummy. She looked quite surprised!

roly poly (5)

Then we tried the same game on a very soft mat on the floor. This time, I placed interesting toys on either side of her, as inspiration to roll. She loved rolling toward the mirror first.

roly poly (7)

Her favorite toy is a little soft octopus, so she was absolutely delighted when I set that off to her other side.

roly poly (8)

Got it!

Roly Poly (9).JPG

This game would be great fun for a baby if you did it outside on a soft bed of grass in warm weather… but we’re having snow today, so we kept the fun indoors!

At what age did your baby first roll solo? Please share in the comments!

Baking Powder vs. Baking Soda

baking powder (9)

Today Travis and I made potions!

The impetus for this little experiment came from Raddish Kid’s lesson plan attached to our Hot Cocoa Cupcakes. Kids can delve further into the world of leaveners and what makes baked goods rise. I knew some of the science was too advanced for Travis, but I culled out bits of the lesson that were appropriate to a preschooler.

baking powder (1)

First, I set out a dish of baking soda and baking powder, and invited Travis to explore them. We ran through the five senses: touch, taste, smell, sight, and sound. Could we hear the powders? We giggled at that, then moved on to the others.

baking powder (2)

He noticed that the baking soda was smoother and finer than the baking powder, although they felt similar. He declined the offer to taste, but in this case, it’s perfectly safe to do so!

A quick science lesson followed: baking soda is basically ground up rock, and it’s a base, which means it needs an acid to react.

Baking powder contains a base and two acids, and it will react in a recipe two times. Travis liked this idea, and that it means fluffier pancakes or cupcakes.

To start out experiment, I put out two test tubes of water. We added baking soda to one and baking powder to the other. Aha, only the baking powder reacted, so water was not an acid!

baking powder (3)

Now we tested each in four other liquids: vinegar, liquid soap, rubbing alcohol, and juice. The baking soda only reacted in the vinegar and juice – we found our two acids!

baking powder (5)

Baking powder, on the other hand, reacted in everything. That said, none of baking powder’s reactions were quite as spectacular as the classic baking soda/vinegar pairing.

baking powder (7)

Travis’s favorite? Baking soda in the vinegar of course; we had to do that a few times. The juice was quite fun too, bubbling up wildly to the top of the test tube.

baking powder (8)

In sum,this is a neat way for your kids to understand why baked goods are rising in the oven; you can really see that bubbling and rising action at work.

baking powder (6)

Another oldie but goodie? Show your kids that you can blow up a balloon with yeast! This is something Travis and I did when exploring the letter Y, back when he was only 2 years old, but it never grows old!

Calm Big Sibling Jealousy

curb jealousy (1)

I’m two and a half months into life with two, so it was time to take stock: how was the big sibling faring when it came to jealousy?

Taking my cue from a fantastic post at Hands on As we Grow, I assessed myself on a list of five tips to curb jealousy. Here’s my run down of what’s worked well for us:

First: Use of a feeding time activity basket. This was a huge hit when Veronika was first home from the hospital, instantly making Travis feel special. But quite honestly, Travis lost interest quickly. He’s old enough to play his own games (and she is a “snacker”, nursing for very short periods, which helps!). But if your child needs direction and you have a baby who nurses in marathon sessions, I highly recommend this fix.

Second: Wear a baby carrier. I honestly didn’t babywear much with Travis, but I’ve found it to be a life-saver with baby #2. When we grocery shop, Travis can help scan all the items and feel like we’re having one-on-one time, as Veronika snoozes away oblivious in the carrier. I even chaperoned for Travis’s school field trip – he felt so special to have his mom there, and people hardly noticed the little baby sleeping away in the carrier!

Third: Use a baby monitor. This is useful in a couple of ways. First, Travis just loves the technology, and can be the big helper moving the camera with the arrow buttons. It also means I don’t have to tell him to be quiet as often, if she is napping in another room instead of the middle of the living room!

curb jealousy (2)

Fourth: Involve big siblings in taking care of the baby. This can be everything from snuggling up for a story, or getting them a toy, or helping at diaper changes. Travis loves handing over a burp cloth whenever I need one, and he’s an expert at rearranging her blanket in the back seat of the car if it rides up.

curb jealousy (3)

Finally, for siblings who still nap, Hands On recommends scheduling naps at different times. I couldn’t agree more, as one-on-one time is key! But Travis has dropped his nap, so my self-appointed task was to make sure I made time for him during Veronika’s nap. Naptime for her is when I get in there with Travis: playing, doing a craft, or exploring something together – something you have to be a big kid to do, no babies allowed!

In sum, all five of these are useful tips, and thanks to Hands On for the original post!


Glow in the Dark Flower

glow flower (7)

Get ready: There is some serious wow factor to this project. You will need a few special supplies for it, including a black light, which you can purchase from sellers like Amazon, as well as a highlighter pen you don’t mind sacrificing (hint: you’re going to cut it open). But armed with those items, kids will adore this project!

First, I showed Travis the black light, and how it works. Keep exposure to a minimum, because as a reminder, black lights use UV rays.

glow flower (1)

Next, we filled a clear vase with water, and set aside a few white flowers from a bouquet we’d purchased.

I showed Travis how the highlighter pen would look in the black light. He couldn’t believe the way the yellow streaks glowed!

glow flower (6)

We returned to regular light, where I very carefully cut open the highlighter crosswise using a sharp knife; any box cutter should work; just go slowly and carefully.

Inside will be a strip of fibers that contain the highlighter ink. This was so neat to see!

glow flower (3)

We added the fibers to our vase of water, where the highlighter color seeped down.

glow flower (4)

Travis very seriously added our flowers. Now we had to wait, but were rewarded with glowing flowers a few hours later!

glow flower (5)

Glowing Fishbowl

Glowing Fishbowl (5).JPG

Although I don’t advocate keeping real fish as pets (it’s a sad existence to travel around and around a bowl for years on end), fake fish can make adorable companions! On a recent trip to a local fish hatchery, Travis picked up a plastic fish and turtle. We thought it would be cute to make them a little habitat to stay in. What’s better than a fishbowl home? A glowing fishbowl home!

First we squirted glue into the insides of the a clear glass bowl with a wide mouth, intending to make lines that looked like seaweed. Our glue was very runny, so didn’t work as well as we hoped, but we still then managed to dump in a whole can of glow-in-the-dark glitter and swirl the bowl until it coated the “seaweed.”

glowing fishbowl (2)

Definitely do this step over a trash can!

I then piped on a few fish with additional glow-in-the-dark paint and we set it aside to dry.

The glitter, disappointingly, didn’t show up as glowy as we hoped, but the fish were cute glowing in the dark.

glowing fishbowl (3)

Once we filled the bowl with water, it was the perfect home for our fish and turtle.

glowing fishbowl (4)