Bottle Sailboat

Bottle Sailboat (6)
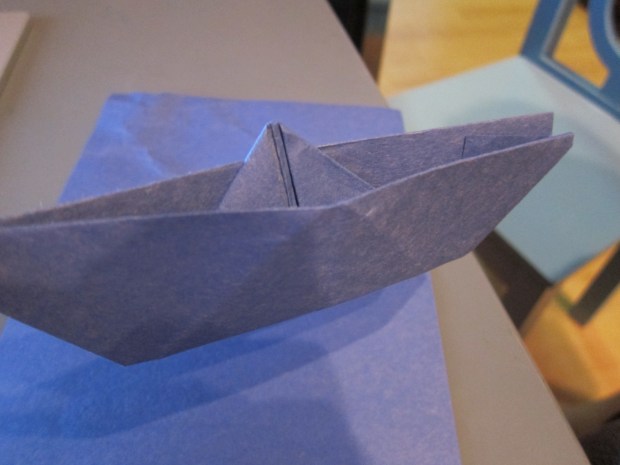
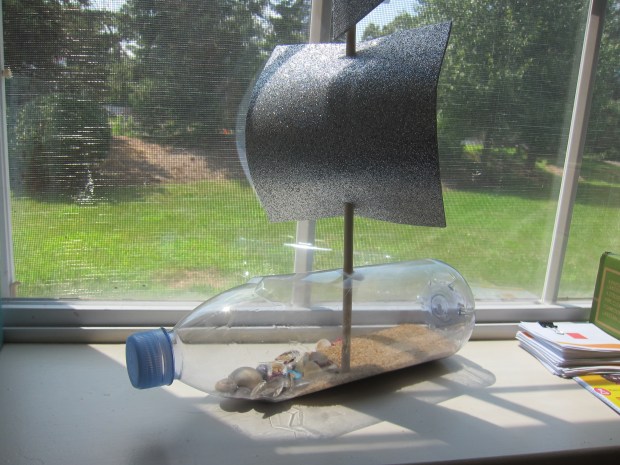
Although not nearly as expert or astonishing as a model ship in a bottle, this craft is a cute riff on the idea, and a version that kids can make all by themselves!

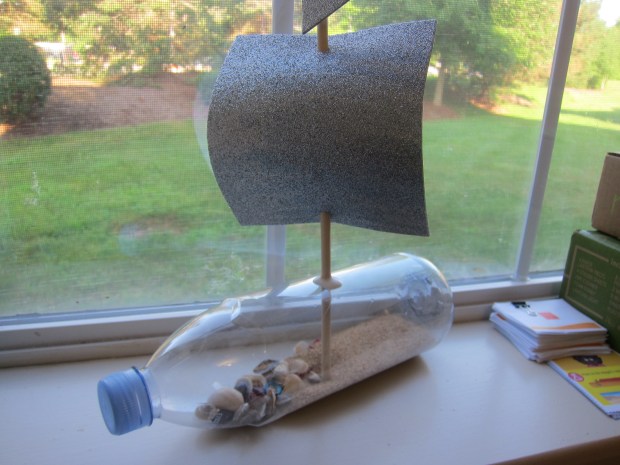
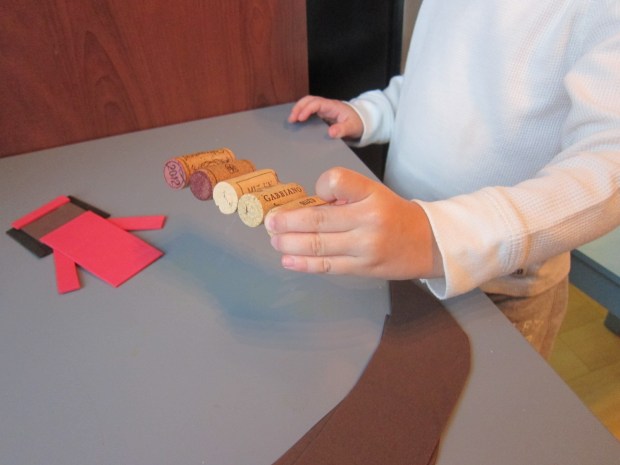
Remove any labels from a plastic water bottle and insert a funnel into the opening. Pour in about 1/2 cup sand; you can use some you’ve saved from the beach, or buy it at the craft store. Travis loved being the very important funnel holder while I poured.

Bottle Sailboat (1)

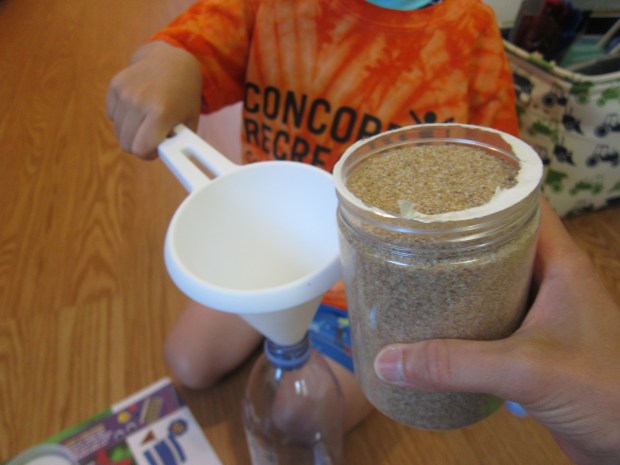
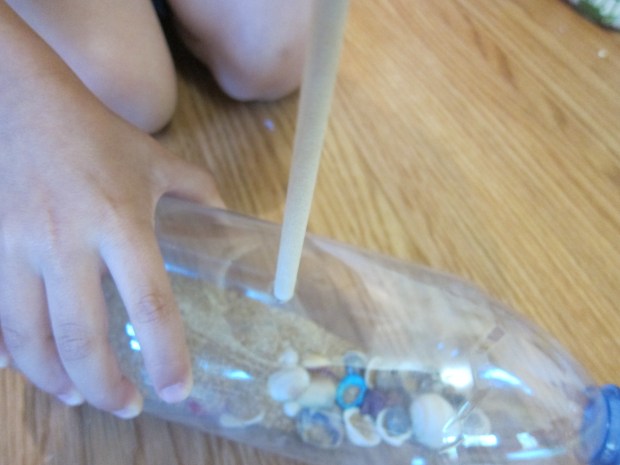
Sprinkle in a few small sea shells; again, these can either be ones you’ve collected, or store-bought in a pinch. Replace the cap on the bottle.

Bottle Sailboat (2)

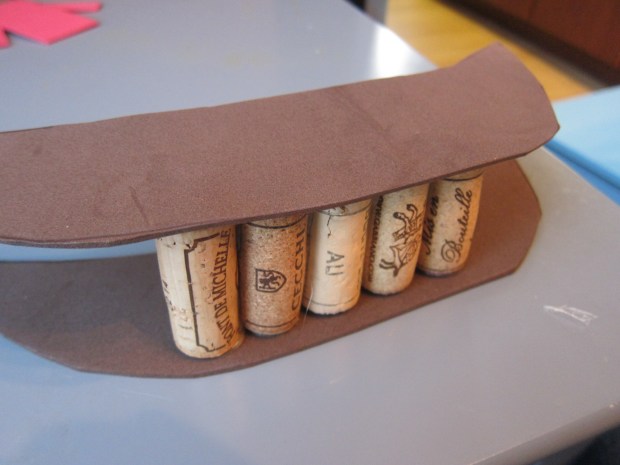
To make a sail, pinch the bottle slightly to cut a slit in the center. Insert a wooden dowel and secure with glue.

Bottle Sailboat (3)

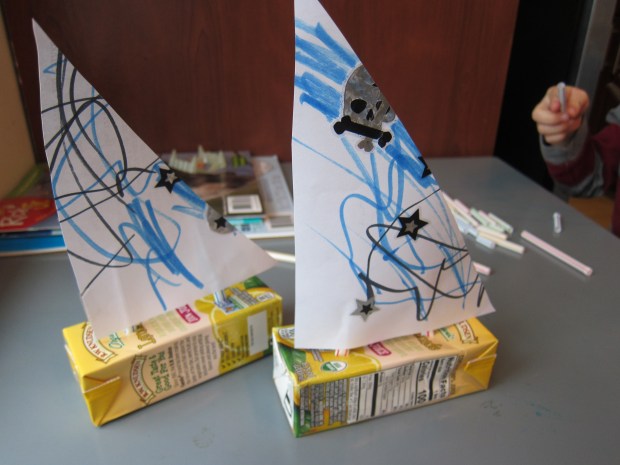
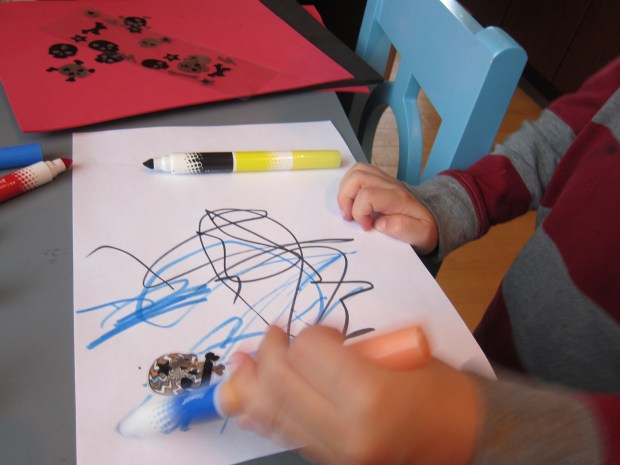
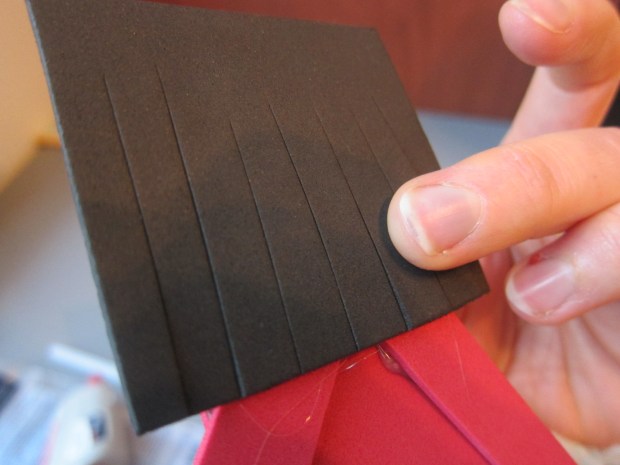
Cut out a square from craft foam for a sail, and a triangle from the foam for a flag. Because we used sparkly craft foam, Travis didn’t add much decoration. Your kids may want to decorate their flags with markers or stickers.

Bottle Sailboat (4)

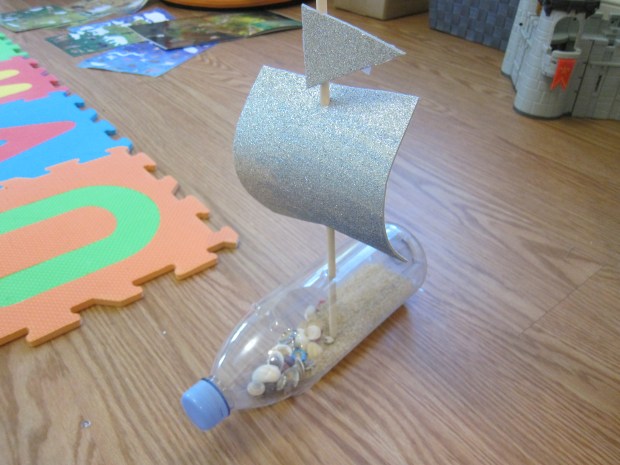
Punch two holes in the “sail” and insert onto the dowel mast. Tape on the flag.

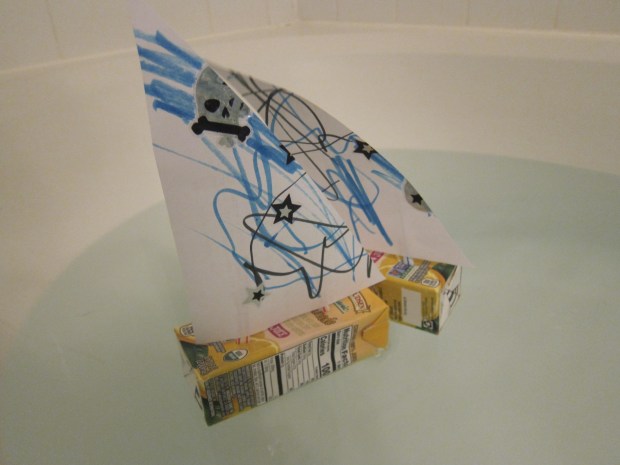
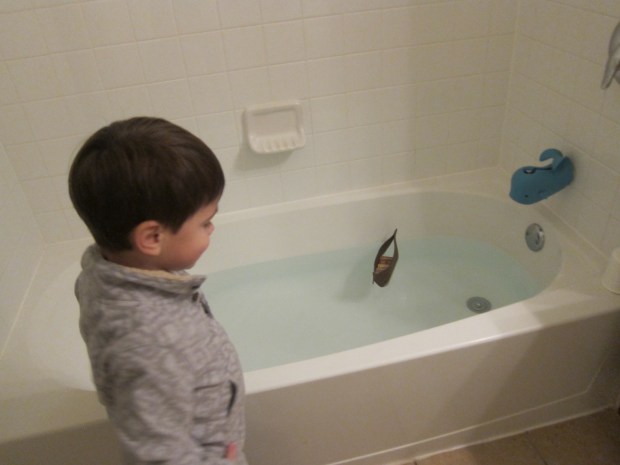
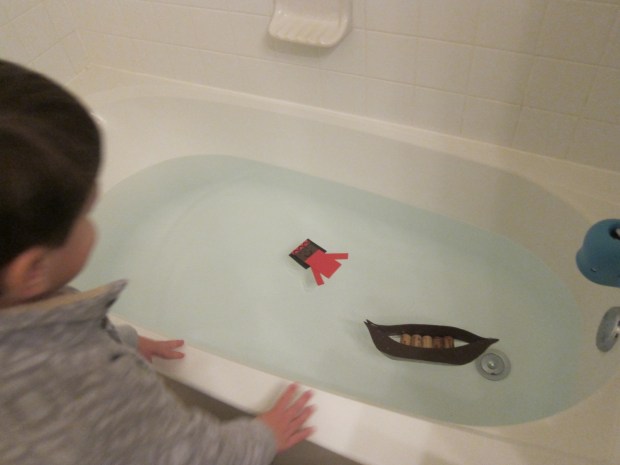
And now set sail! Although the bottle will really float in the tub or a pool, we thought it was prettier just to look at.

Bottle Sailboat (5)

Juice Box Pirate Ship and Flags

Juice Boat (6).JPG

This is likely the last of the boats Travis and I will make for a while, but a few lemonade juice boxes in the fridge made us decide to construct one last version before we put our pirate games to rest!

First, enjoy a juice box of course.

Juice Boat (2)

Once it’s empty, I recommend taping over the hole where the straw was, to avoid juice leaking out (or your boat filling with water in the tub).

Pierce two holes in the top of the juice box for the masts (grown-up step!).

You can use the juice box straw for the mast, but we found that thicker, regular plastic straws were sturdier. Snip these into thirds, and use two of the pieces for this project.

Juice Boat (4)

Travis loved snipping the straws so much, I had to redirect him for the rest of the boat!

Juice Boat (3)

Decorate a piece of paper with markers or stickers to make your sail, then cut into a triangle shape.

Juice Boat (1)

Tape onto the two masts, and you’re ready to set sail on the seven seas.

Juice Boat (5)

These are perfect little boats for bathtime, although they won’t hold up very long – the paper sails especially are only good for a short while.

Juice Boat (7)

Travis decided the paper sail was too flimsy. We had leftover pirate stickers, so decorated a big piece of red foam instead.

Pirate Flags (2)

Although not attached to the ship, he loved doing this, and waving it around. You could even teach a bit of the history behind pirate flags, often flown to scare merchant ships so they could take them over without ever having to fight.

Pretty scary!

Pirate Flags (4)


Origami Boat

Origami Boat (10)

Travis and I have been finding neat materials from which to make boats, now that we’re on a bit of a pirate kick. I found the instructions for this origami boat online, and thought it looked fun. It turned out to be quite tricky, but Travis and I had a ball, laughing at our gaffes, and cheering when we got it right!

Ideally use origami paper, but construction paper works in a pinch. Either way, begin by trimming into a rectangle. Fold the paper in half horizontally, and open back up. Fold in half down vertically and leave folded.

I was so proud Travis wanted to do his own folding!

Origami Boat (2)

Next fold the upper two corners into the center crease, forming two triangles.

Origami Boat (3)

Fold up the bottom of the paper on both the back and front – now it looks like a pirate hat!

Origami Boat (4)

But don’t stop there. Now you’re going to push the bottom two corners toward each other, a process that really only makes sense once you feel it intuitively. It will make the paper into a square that folds flat (hint: tuck in the excess flap on the front and back).

Origami Boat (5)

Now fold up the bottom of this diamond on both front and back, pressing flat.

Origami Boat (6)

Take the edges of this triangle toward the center – another tricky step! You’ll form another square. We had a good giggle over this one as we figured it out!

Origami Boat (7)

Finally, pull the top corners out, and press flat – now you have a boat!

Origami Boat (8)

It should hold pretty well, but for a little added security, I stuck masking tape on the edges.

Origami Boat (9)

Travis was SO proud, an loved his boats so much that he requested a fleet. I soon became pretty adept at making them, so he had lots of boats to fly around the apartment.

Happy folding!

Foam and Cork Canoe

Foam Canoe (11).JPG

This was not so much a craft that Travis and I did together, but more of a toy that I put together for him. It mainly involves scissors and hot glue, so definitely grown-up materials! If your kids are8 years old and up, they can help out with the hot glue under careful supervision.

I had actually hoped to put the little canoe together around Thanksgiving, when Travis learned about Native Americans and the holiday. But alas, at the time I didn’t have enough wine corks! With a trove of 5 corks now on hand, I finally got around to making the canoe. If you want a bigger boat, use up to 8 wine corks.

foam canoe (3)

To start, I drew a canoe shape on white paper, and traced that two times on brown craft foam. Cut out; these are the two sides of the canoe.

foam canoe (1)

To make your boat buoyant, hot glue together the wine corks in a row. Travis did venture over to see this stage, thinking it was pretty neat!

foam canoe (6)

Glue the corks near the bottom edge of one canoe half, then add drops of glue to each cork and press on the other half of the canoe.

foam canoe (7)

Seal the top edges of the canoe together with more hot glue.

foam canoe (8)

You can assemble your canoe’s passenger from additional shapes of craft foam. I snipped out red rectangles for body and arms, a brown square for the face, and a larger square of black foam for the hair, all of which I attached together with hot glue.

foam canoe (4)

Cut fringe in the black foam for a cute touch.

foam canoe (5)

Now we needed to test if he would float! To Travis’s delight, the canoe worked great.

Foam Canoe (10)

It wasn’t long before he grew impish and wanted to see if our little foam person could swim.

Foam Canoe (12)

This being closer to Christmas than Thanksgiving, he turned the canoe into Santa’s “sleigh” during his bath. Bath was nearly double its normal length because he was having so much fun. However you use it, a great floating toy.

Foam Canoe (13)