Musical Chalk

Musical Chalk (5)

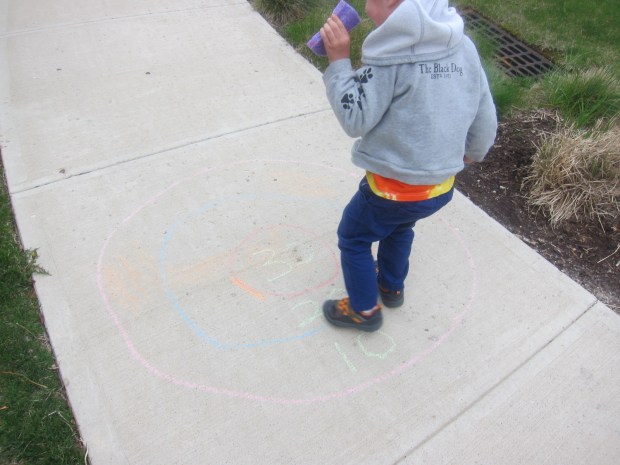
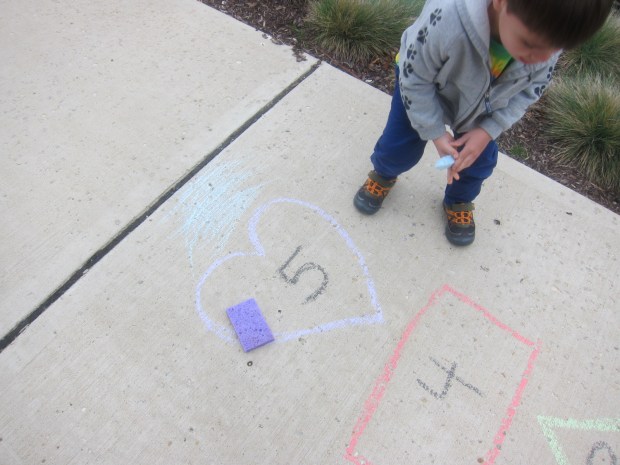
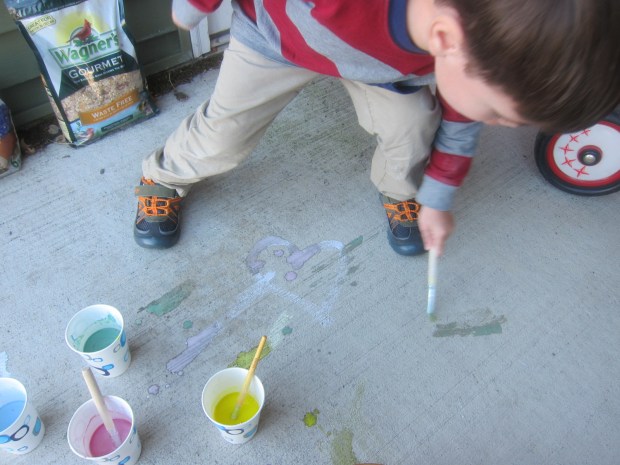
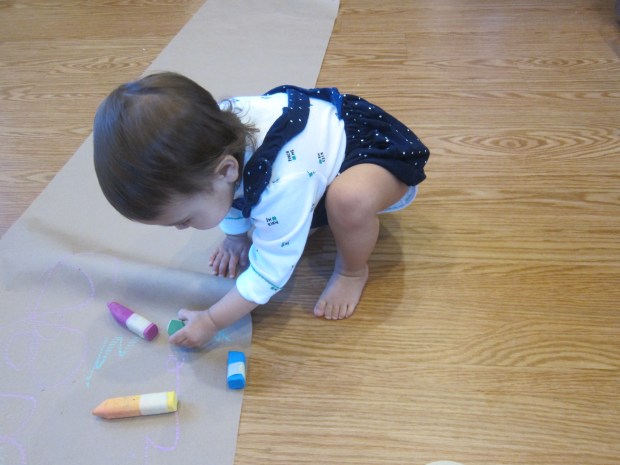
This game is the toddler version of a musical art project I recently did with big brother Travis. This time, I sat Veronika down with a long piece of craft paper on the kitchen floor… the bigger the better! I gave her pieces of chalk and turned on some upbeat music in the background.

Musical Chalk (2)

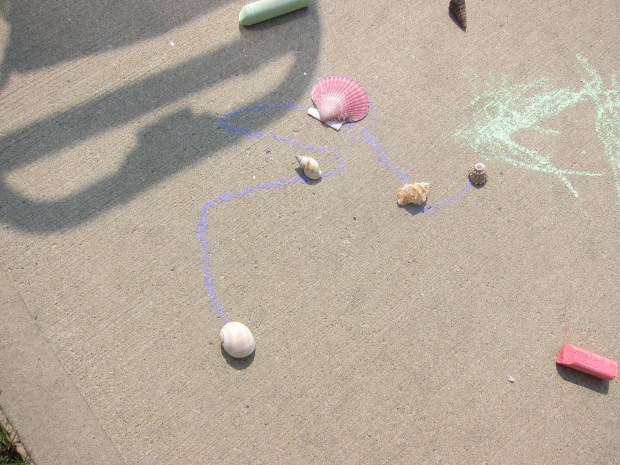
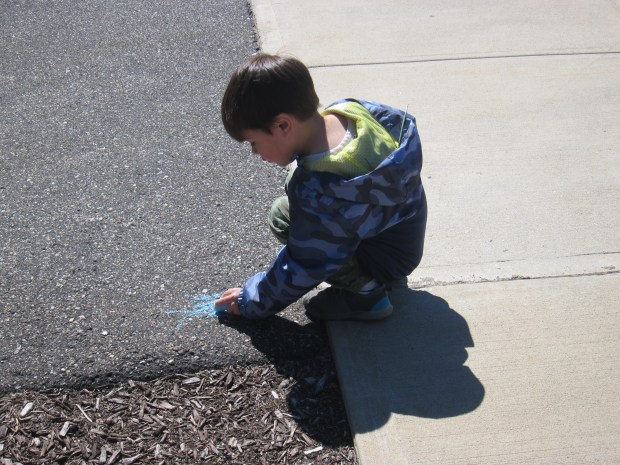
Then I invited Veronika to make the chalk “dance”. I showed her how to draw big loops and swirls to the happy music. Obviously toddlers will be too young to vocalize how a song makes them feel, but babies have an intuitive understanding of rhythm and will likely take on the tone of whatever is playing.

Musical Chalk (3)

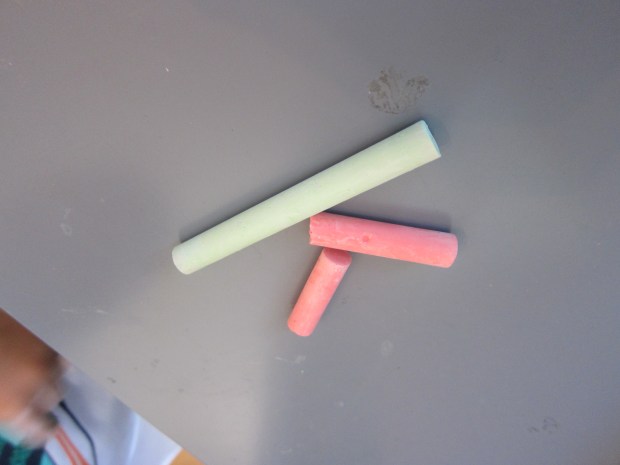
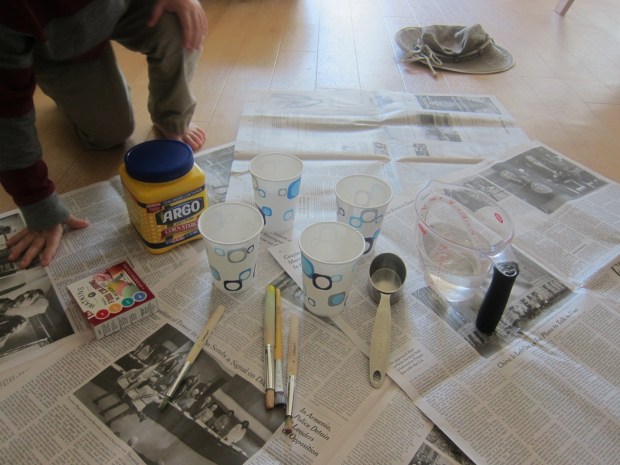
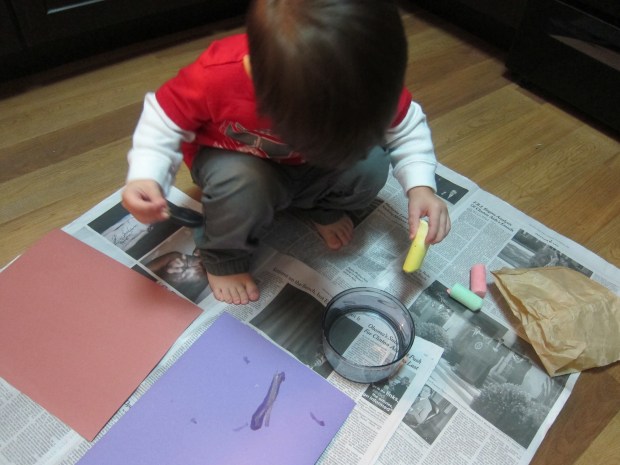
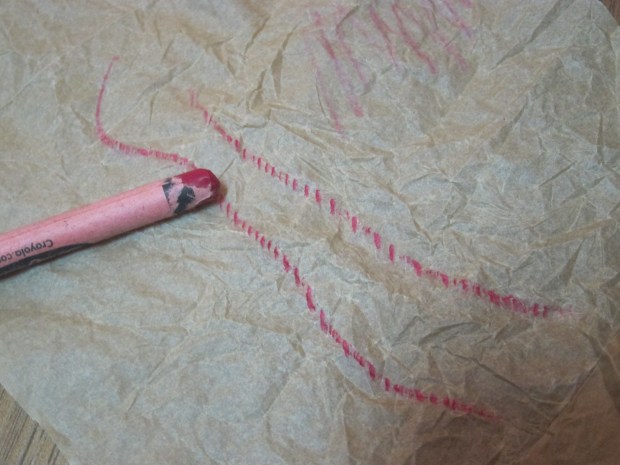
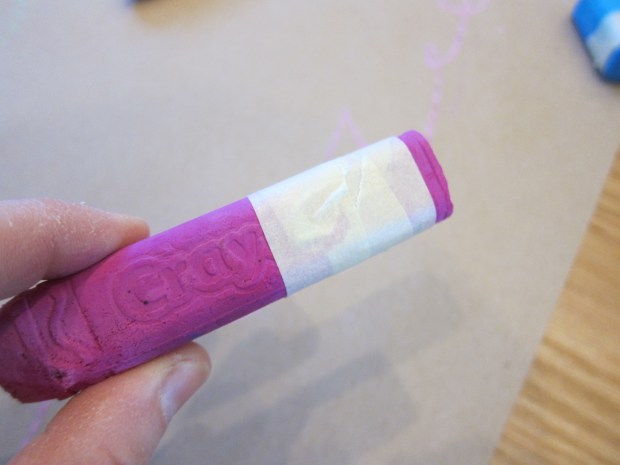
To make chalk less messy on little hands, try wrapping one end in masking tape. This definitely increased the amount of time she was happy to play with it.

Musical Chalk (4)

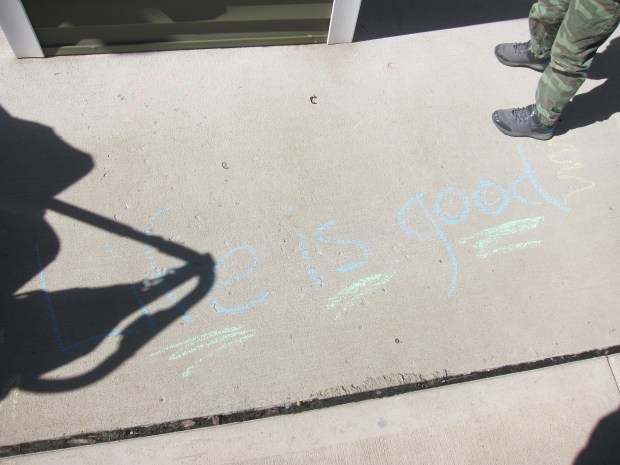
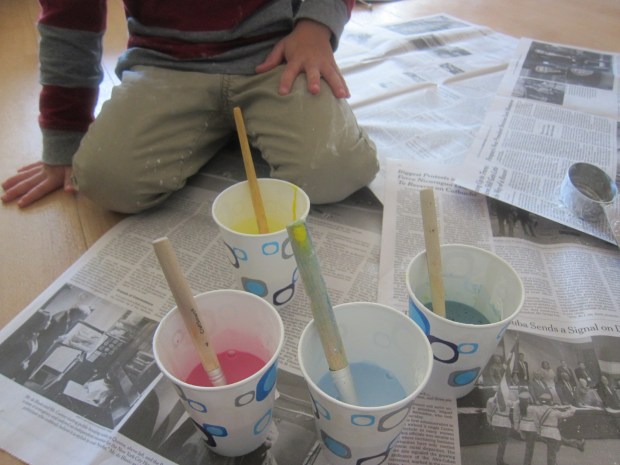
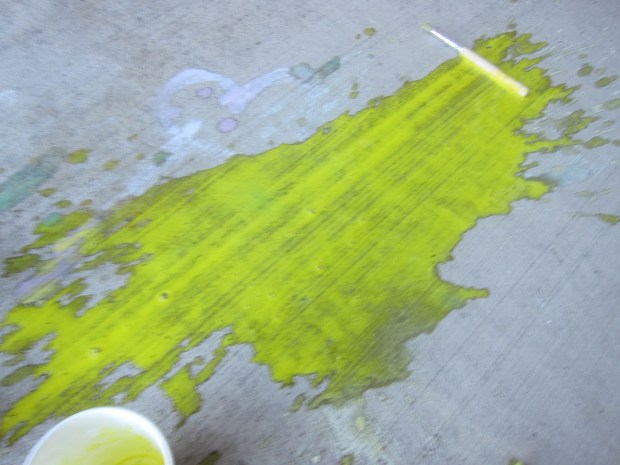
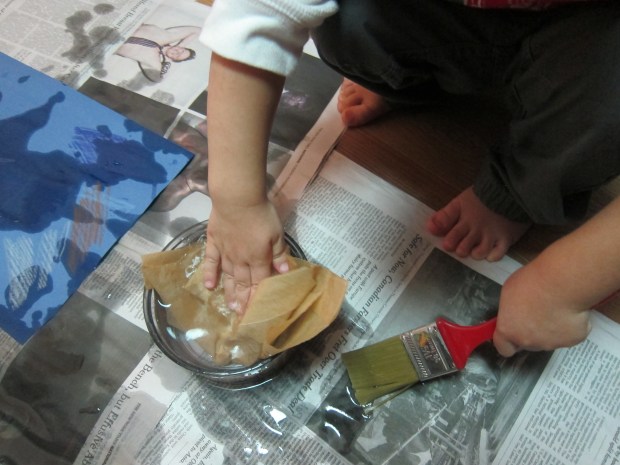
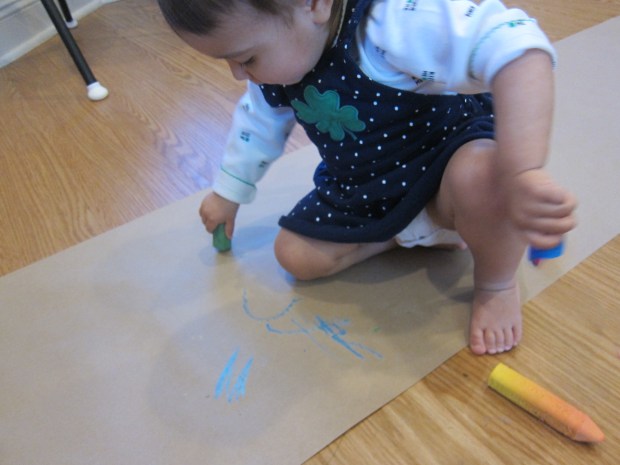
I set out a little dish of water about halfway through her play. Dipping chalk in water makes for bolder, smudgier colors, and she loved the way this looked.

Musical Chalk (6)

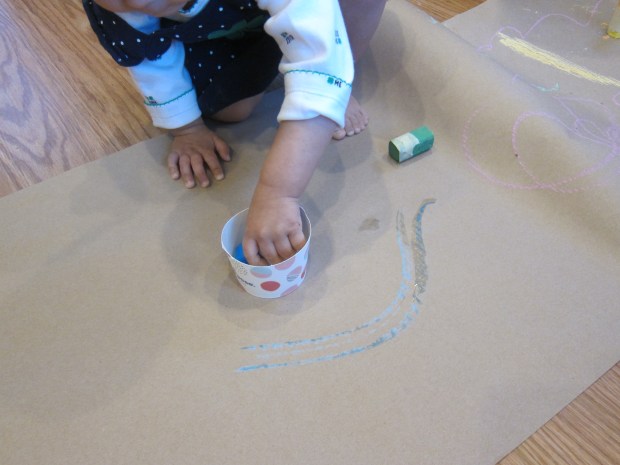
Of course don’t be surprised if your little dish of water gets upended, which is just fine, too.

Musical Chalk (7)

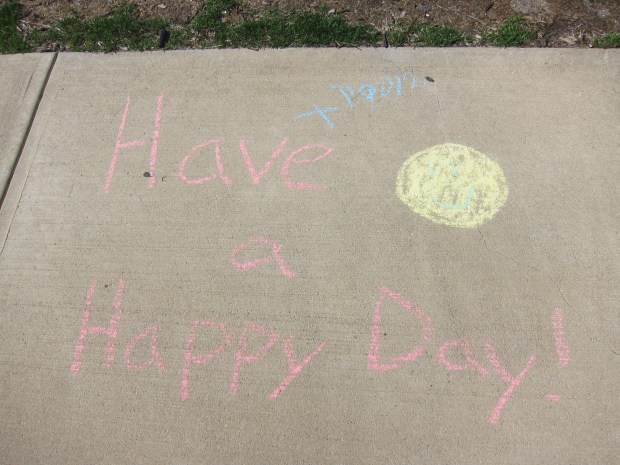
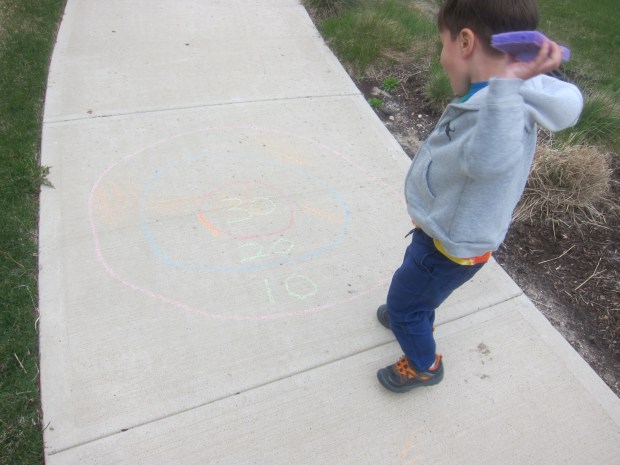
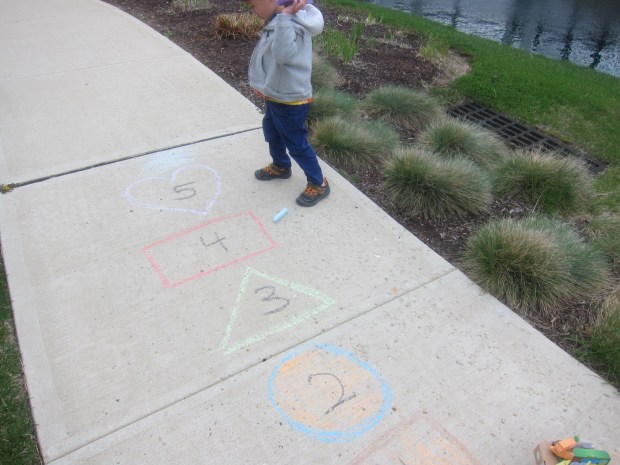
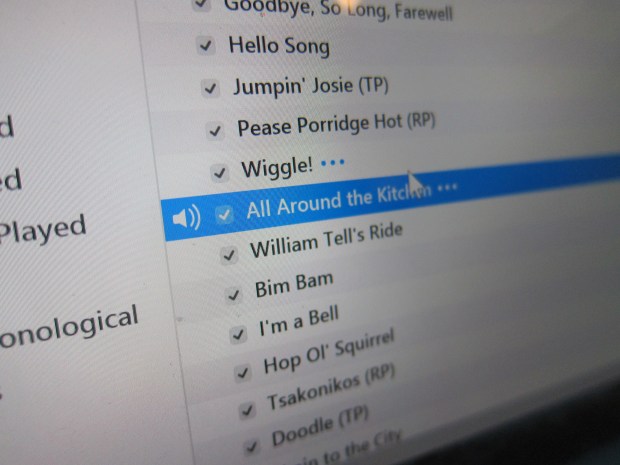
The music kept playing in the background, sometimes faster, sometimes slower. Did she alter her strokes because of it? It was hard to say, but the game was a great intro to emotional learning, while we made messy art in the meantime!

Chalk Drawings

Chalk Drawings (4)

I took advantage of some late warm weather to get out on the patio today! Since Veronika has shown she can make art with a crayon instead of putting it straight to her mouth, I dared to give her chalk.

She loved it! As soon as she saw me making colors on the pavement, she scribbled along in imitation.

Chalk Drawings (1)

Orange was a clear favorite.

Chalk Drawings (2)

Meanwhile, I made big strokes with the chalk pieces and talked about their colors. It’s also fun to draw shapes or letters for your baby. Veronika was happy just scribbling away next to me!

Chalk Drawings (3)

So pull out the chalk and enjoy a little art pause with your baby! I’d love to hear how it goes in the comments.

Chalk K

Chalk K (3).JPGFor today’s tracing letter, Travis and I only used one material, and one that ended with the letter’s sound rather than began with it: chalk, that is!

First he traced upper case K and lower case k on paper. Travis has a difficult time remembering where the two diagonal lines exit out from the straight line, so I knew our 3-D version would be very beneficial today.

I set out three pieces of chalk: 1 long and 2 short.

Chalk K (1)

I challenged him to make big K, angling the chalk pieces correctly. After just a brief pause, he mastered the upper case.

Chalk K (2)

Now for the real trick: could he convert it into lower-case k, moving the chalk pieces only slightly?

He didn’t miss a beat! Kudos, Travis!

Chalk K (4)

Sidewalk Constellations and Mini-Books

Sidewalk Constellation(5).JPG

It was a beautiful morning for sidewalk chalk art, and to add purpose to Travis’s art, I decided to throw in a little STEM learning, too!

We headed outside with our book of constellations, and I challenged him to lay out shells (rocks would work well, too) to represent each star in the pictures. We started with the Big Dipper.

Sidewalk Constellation (6)

Could he now connect the lines, following along with the picture in our book? This was a bit of a challenge for Travis, who had to consult the picture between each line, but he ended up with a great dipper.

Sidewalk Constellation (7)

The Southern Cross was next. He loved using big shells for two of the stars, and had an a-ha moment when he figured out which way he should draw his chalk lines.

Sidewalk Constellation (8)

Then we got silly and made up new constellations. I let his imagination run wild, and soon we had a snake constellation:

Sidewalk Constellation (1)

And a ninja constellation:

Sidewalk Constellation (9)

Make sure you take pictures of all your artwork before you head inside! I then had these printed so we could put them into a booklet.

Sidewalk Constellation(3)

Add one picture per page, along with a fact or two about that constellation.

Sidewalk Constellation (b)

We left a page blank, for future imaginative additions!

Sidewalk Constellation (c)

These mini-books will serve both as a memory capsule of your day and for storytime down the road.

Sidewalk Constellation (d)

Gallant Challenge: Secret Agents of Kindness

Agent of Kindness (1)

Travis was introduced to “Goofus and Gallant” in his welcome issue of Highlights magazine, a feature my husband remembers from his own childhood! For those who don’t know, Goofus is always messing up or erring on the side of rudeness, while Gallant always does the right thing. Each issue will feature a Gallant Challenge, and Travis was up for the first one – to do a secret and kind deed for a neighbor!

We talked about some nice things you can do (such as leaving cookies at someone’s door, or helping an elderly neighbor carry mail or groceries) and decided that today our task would be to make people smile – with cheerful chalk messages!

At various entrances around our apartment complex, Travis helped me think of kind messages to write, and I chalked them in (bigger kids can, of course, do this step themselves). Travis added scribbles and drawings around my messages, and loved signing his name at each stop, too!

Agent of Kindness (2)

Soon we had left behind happy missives like “Happy Spring!”

Agent of Kindness (3)

“You are wonderful!”

Agent of Kindness (4)

and “Life is Good!”

Agent of Kindness (5)

Near this last one, Travis decided to make X’s, which he said meant he was crossing out any bad days that people were having. I loved how into the project he was!

Agent of Kindness (6)

Some other suggestions included:

  • Bringing in trash cans
  • Leaving the newspaper at a neighbor’s door
  • Cleaning up trash

Whatever action your kids choose, the key is to do it in secret. Then hide and see if you can watch a person’s surprised and pleased reaction! How do your kids spread kindness? I’d love to hear in the comments.


Sign Your Name

SIgn Name (3)

Learning to read and write your name are key pre-K skills, and ones which I know Travis’s teachers are going to emphasize this year. He has name recognition down, but writing it himself is a bit harder. Before school starts tomorrow (!) we made writing practice fun, working on his name in three different ways.

First, tear two strips of paper – colored construction paper made this more exciting than standard white.

Sign Name (1)

Going one letter at a time, I spelled out Travis’s name, and had him copy each letter after me. This was really useful so I could see which letters came easier (T, v) and which were a bit of a struggle (a, s).

Sign Name (2)

Then we upped the ante with a little bit of sensory play. Squirt out fingerpaints (or shaving cream even!) onto paper or another surface, and make a nice smeared frame that you can write in.

Sign Name (4)

Travis used the handle of a paintbrush to trace each letter this time. He got a bit frustrated since not all of the letters showed up clearly, but here was my example version:

Sign Name (5)

Finally, chalk! This method was his favorite of the three, and once again I wrote each letter first, then had him fill in underneath.

SIgn Name (6)

Not only did this reinforce handwriting, but also the order that the letters of his name go in.

Sign Name (7)

What other fun ways does your preschooler practice writing his or her name? Please share in the comments!

Chalk Bullseye

Chalk Bullseye (4)

We’ve been having fun with chalk this week, whether traditional chalk or our own homemade version. For this game, we simply grabbed a piece of chalk and got drawing! You’ll combine a little exercise with a little math – always a bonus.

For the first variation, I drew a traditional bullseye, and labeled each inner circle ten points higher than the last. This is great for kids who are learning to count by tens.

Chalk Bullseye (2)

Dip a sponge in a bucket of water, than take your best shot at the bullseye. Bigger kids can even keep score over multiple rounds (make the sidewalk your scoresheet!) for addition practice.

Chalk Bullseye (3)

For something a little simpler, we also set up a shape and number review.  Write down numbers 1 through 5, each inside a different shape.

Chalk Bullseye (5)

As he threw, I had Travis shout out which one he was aiming for, i.e. rectangle 4 or heart 5.

Chalk Bullseye (6)

We lost our sunshine before we had very much time to play with these games, but we still had fun while the warm weather lasted!

Chalk Bullseye (7)

Homemade Sidewalk Chalk Paint

Chalk Paint (9)

Are your kids bored of regular chalk? Mix up a batch of this easy homemade paint and they’ll have a blast applying it with paintbrushes all over the pavement.

To make the paint was good messy fun… So make sure you set down some newspaper!

Chalk Paint (1)

First, have your child add 1/4 cup cornstarch to a cup for each color desired.

Chalk Paint (2)

Add 1/4 cup water to each cup.

Chalk Paint (3)

Stir with a paintbrush, and then stir in about 8 drops of food coloring. We like the all-natural colors from Watkins.

Chalk Paint (4)

Travis had so much fun with the mixing that he wanted to make a few extra batches just for fun – good thing I had a big bin of cornstarch on hand!

Then it was time to take the paints outside. The colors weren’t as vivid as they looked in the cups, but we still managed to make pretty flowers…

Chalk Paint (8)

….sunshine…

Chalk Paint (6)

…and general squiggles.

Chalk Paint (5)

Whoops, a spill! Luckily, this stuff will rinse off easily with a hose or in the rain.

Chalk Paint (7)

What are you doing outside with the kiddos now that the weather is warm? Please share in the comments!

Water Art

wet-art-7

Need to add a dose of novelty to your child’s art projects? Simply add water and stir to see new results!

First, Travis and I tested out water on chalk. Have your toddler dip chalk into water before scribbling on dark-colored construction paper. Travis was very interested in the way the chalk darkened when wet…

wet-art-1

…although not as interested in the result on paper, which, admittedly, dried quickly.

wet-art-2

Next we added salt to our water, resulting in a cloudy mixture that Travis loved. Scribble with crayons on dark construction paper, and then use a paintbrush to apply the salt water solution over the paper – don’t let it get too soggy!

wet-art-3

The crayon will show through because the wax resists the water, and the paper will become somewhat sparkly where the salt is left behind after it dries… although the result was not as sparkly as I hoped it would be.

Finally, we made a paper bag “batik”. Travis loved dunking a brown paper bag in his bowl of water (cut the bag open so it can dry flat), and then crumpling it and squeezing out the excess water. This step was easily his favorite part of our entire water-arts endeavor.

wet-art-5

Once the bag dries, color with crayons any way you like.

wet-art-8

What other art projects have you and your toddler added water to? Please share in the comments!