Sun-Melted Crayons

Sun Crayons (6)

You probably know that you can melt old crayons in the oven – but in the summer, you can also let the sun do the work!

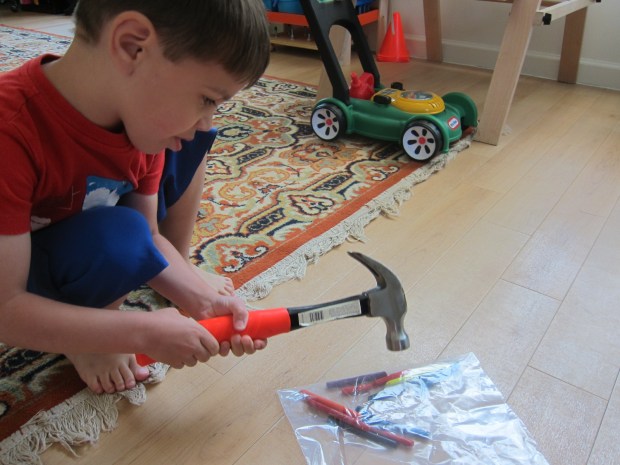
This craft is the perfect use for all those old or broken crayons in your house. Remove the paper liners and place the crayons in a zip-top bag. Smash into pieces with a hammer.

Sun Crayons (2)

Travis couldn’t believe he got to use the grown-up hammer!

Sun Crayons (1)

Select cookie cutters and place on a baking sheet lined with foil or parchment paper. Fill with the crayon pieces to about 1/2-inch deep.

Sun Crayons (3)

Place in a sunny spot for at least 6 hours, or until melted.

Sun Crayons (4)

Although our crayons got very soft, they never did melt together all the way (we ought to have taken advantage of last week’s 95 degree heat wave, instead of our 85 degrees today!) so we ultimately popped them in the oven to finish the process. This only took 5 minutes (at 170 degrees F) since they were already so soft.

Let cool before popping out of the cookie cutters.

Sun Crayons (7)


Snowman Wax Resist Painting

Snowman Wax (7)

It’s always fun to find new uses for that pesky white crayon in the crayon box… Sure you can draw on black paper, but this fun seasonal project has a magical feel for kids since it features a big “reveal” at the end.

First, you need to draw with white crayon on white paper, which hopefully won’t frustrate your kids. I told Travis to imagine he was drawing anything snowy – the snow fort we’ve made outside our patio, snowflakes in the air, etc.

Snowman Wax (1)

Because I wasn’t sure how much his white scribbles would turn up in the “reveal,” I made him a separate drawing with a white snowman and big puffy white snowflakes.

Snowman Wax (2)

Now the fun part: could we magically make our white pictures appear?

To prepare the paint, thin blue tempera paint with water; you want the consistency to be closer to watercolor. I actually would make ours even thinner next time, since it was a bit dark over our final result.

Snowman Wax (3)

Travis was very excited to see where the white crayon was on the paper!

Snowman Wax (4)

Then he grew impish and slathered on the paint quite thickly. A little thinning out on my part helped reveal the snowman’s three round layers a bit better.

Snowman Wax (5)

Overall, cute and nicely seasonal. Please share in the comments if you have other fun white crayon projects at your house!

Looking for more wintery indoor fun? Check out our recent shredded paper snowmen and pinecone snow owl projects!

Rainbow Coloring

Rainbow Crayons (2)

We’ve always loved rainbows around here, but now Travis is really starting to latch on to the idea that there is a rainbow order, instead of a random array of beautiful colors. This easy crayon trick will help your child remember which order the colors are in!

Ready for how easy the set up is? Adults: Use masking tape to make 2 batches of crayons – one red/orange/yellow and the second green/blue/purple.

Rainbow Coloring (1)

That’s all there is to it! Now use the red batch on top and the green batch on the bottom to make a beautiful arced rainbow.

Rainbow Crayons (4)

Travis loved the novelty of the crayons, which are also simply great for drawing pretty pictures and squiggles.

Rainbow Crayons (3)