Play with Finger Puppets

finger puppets (3)

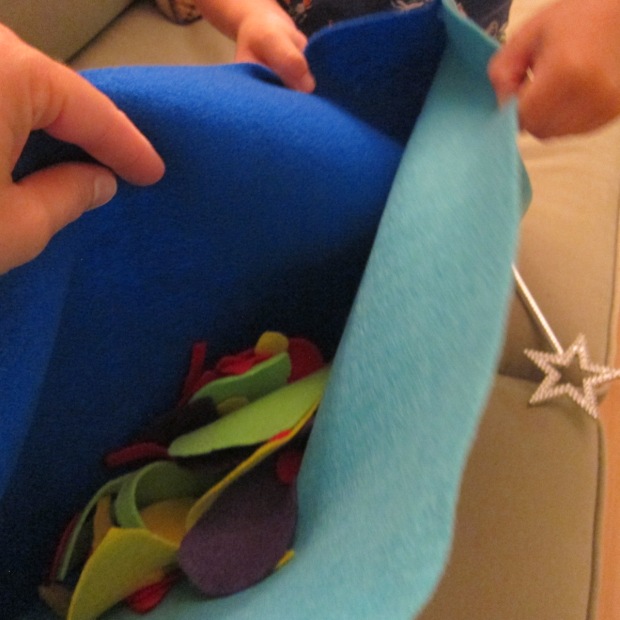
Today, I got crafty for Veronika! Travis and I wanted to make her a set of animal finger puppets, which I copied from a template. Technically, the felt pieces are meant to be sewn together. But I will be honest: I cannot sew to save my life. What I can do is hot glue, and that worked in a pinch!

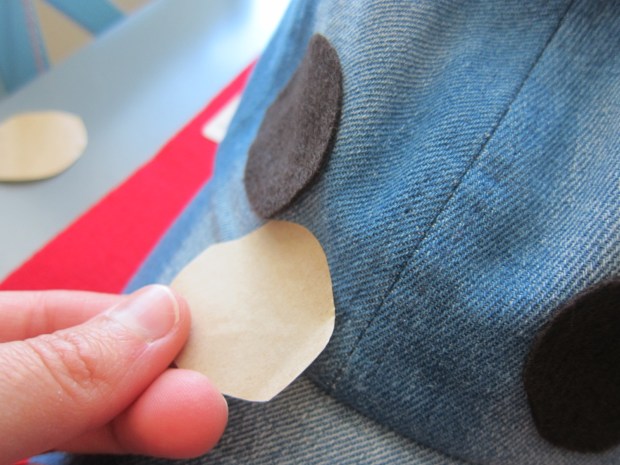
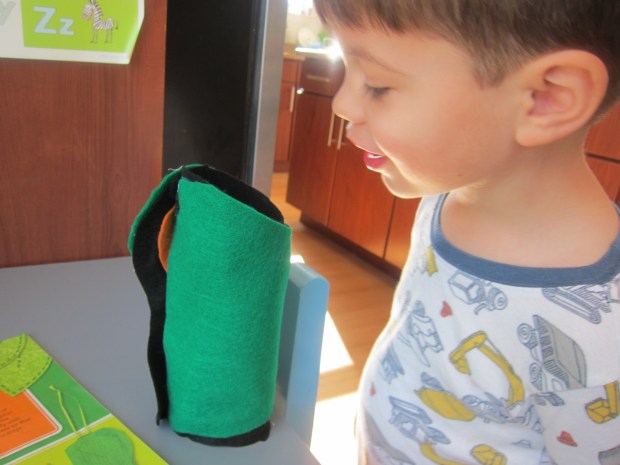
First, draw a template for the bodies of the animals on white paper. Pin the paper to a piece of felt, and cut out. You’ll need two for each animal, front and back. I used white felt for a zebra, green for a crocodile, yellow for a lion, and light blue for a hippo.

finger puppets (1)

Hot glue (or sew) the two pieces together.

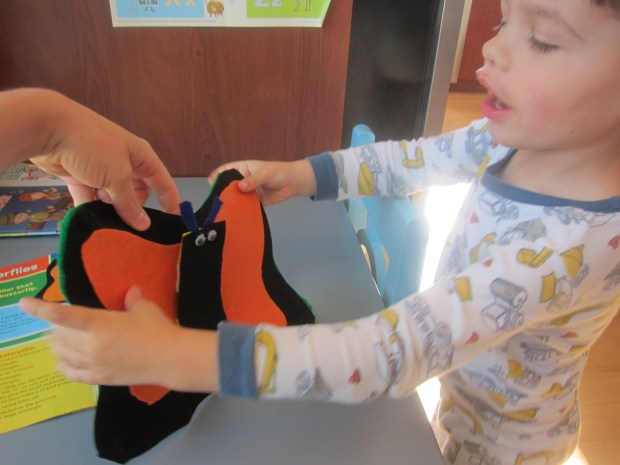
Next I added tiny bits of felt for each animal’s features. The zebra got black triangles for stripes, a black nose, and pink ears.

finger puppets (2)

The hippo had a piece going horizontally across for his nose in the same light blue, as well as pink ears and eyes. The lion got a brown mane, and a yellow circle glued over that for the face. The crocodile got big white eyes and itsy-bitsy white triangles for teeth.

finger puppets (4)

Add any final features with a pen or sharpie.

These came out so cute! You can hold them up for your little one to see. Veronika might have been slightly alarmed at first.

finger puppets (6)

I named each animal for her, and made their sounds, and had them act out silly hand plays.

finger puppets (8)

Big sibs will definitely want to take a turn with the puppets on!

finger puppets (7)

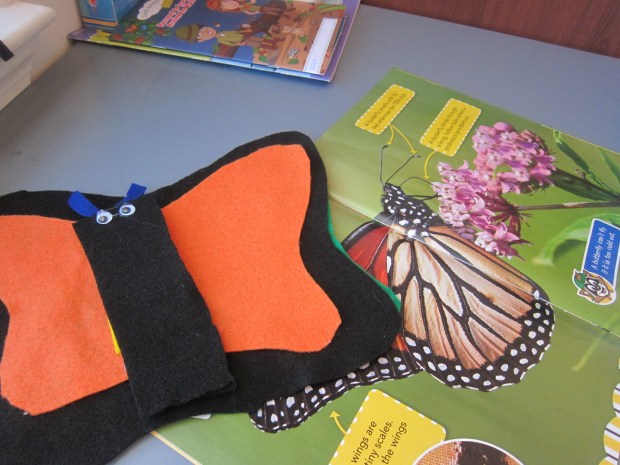
Finally, we used the animals at story time. If you have books featuring any of the animals you’ve made, trot out the puppet to help bring the story alive. Or choose which animal to make based on what books you have at home!

finger puppets (10)

We’ll be playing with these for a long time to come, I can already tell.

Pouch Present

Poudh Present (8)

We’ve loved the edible gift suggestions from High Five magazine in the past – perfect for teachers this time of year! The craft in Travis’s latest December issue was a bit different – the wrapping for the gift, instead of the gift itself. Put the pouch together now, and fill it with a little token of appreciation for teachers this holiday season.

There is a bit of adult prep-work for this one. Cut a circle from a 9×12-inch piece of felt. Green felt seasonably appropriate.

Pouch Present (1)

Punch about 12 holes around the edges of the felt. This is definitly a grown-up step, since felt is much tougher to hole punch than paper.

Pouch Present (2)

Finally, cut a piece of yarn that is 36 inches long, and tie to a paper clip; this will be your child’s “needle.”

Pouch Present (7)

Now it’s the kid’s turn! Encourage him or her to decorate the bottom of the felt with markers. Travis made scribbles, but your kids might prefer to draw something seasonable, like Christmas trees or ornaments.

Pouch Present (6)

Travis was so proud lacing all the way around the felt pieces with his needle and thread. He insisted he could do it all by himself, including knowing when to sew up and when to sew down.

Pouch Present (4)

Once you’ve gone all the way around, leave the two ends of yarn dangling. Pull the felt slightly, and it will cinch closed.

Pouch Present (5)

What will you gift your child’s teachers this year? Do share in the comments!

Acorn Owls

Acorn Owls (3)

It’s autumn, and for us that means the best time of year for nature walks. Some of the supplies we bring home are perfect to play with together, crafting into games or animals. But this one was more of a grown-up project that I put together for Travis, involving very fine fingerwork. He loved playing with the resulting toy! Bigger kids can, of course, help make the “owls” as well.

The longer and taller an acorn you can find for this project the better, and you’ll also want acorns without the caps. My acorns actually weren’t ideal, but I worked with what I had after a pretty stroll.

Acorn Owls (1)

Cut out tiny owl features from various colors of felt. We had pink wings and yellow beaks. If I had been patient enough, I would have cut small felt eyes, but instead used a sharpie for this final step.

Acorn Owls (2)

Glue on the details, and let dry completely. You can also cut out a felt tree or branch for the owls to hang out on. Travis delighted in these little creatures.

Acorn Owls (4)

Perhaps next time we’ll turn our acorns into different animals – what would you suggest? Please share in the comments!

Acorn Owls (5)

Dinosaur Hat

Dino Hat (5)

We’ve had so much fun with dinosaur projects lately that it was time to turn Travis into a dinosaur himself! Look for blank hats at the craft store, in whatever color your child prefers as the background. All you need is sheets of felt to complete the look. I recommend sticky-back felt for the easiest time putting this hat together, otherwise you’ll need to use hot glue or tacky glue.

First our dinosaur needed eyes. I cut two circles, as well as two smaller ones to be the irises.

Dino Hat (1)

Next up was circles to make dots on the dinosaur’s head, two teardrop shapes for the nostrils, and fangs glued on to the brim.

Dino Hat (3)

For the spikes, you’ll need to cut two pieces of felt for each size spike desired. Attach the pieces back to back, and then adhere the bottoms along the crown of the cap.

Dino Hat (2)

Roar! What a ferocious dinosaur.

Dino Hat (4)

Make a Changing Caterpillar

Butterfly (9)

After a recent documentary on Bugs, Travis is in love with caterpillars. It was perfect timing for a story unit on caterpillars turning into butterflies in our latest Ranger Rick Jr. We downloaded the template and put together this neat felt project that illustrates metamorphosis beautifully.

A note on the project: unless your kids are at the upper age range of Ranger Rick Jr., grown-ups will likely need to assemble the caterpillar and butterfly. But then the kids can play with it!

First, use the template to cut the large butterfly shape from black felt. Cut the small butterfly shape from orange felt, and glue onto the black. (You’ll need fabric glue or a hot glue gun). Set aside.

Butterfluy (1)

To make the caterpillar, cut a rectangle from black felt. Cut a long strip from felt for the antenna (Travis wanted blue instead of black). Fold the strip into a V and glue onto the top of the black body. Add two stripes each of yellow, white, and black felt. Glue on googly eyes (Travis wanted 3 eyes, not 2, hence the odd appearance!) and then 2 eyes onto the back.

Butterfly (2)

For the final component, cut the large butterfly shape from green felt. Glue onto the back of the black butterfly; this will be your chrysalis.

To put it all together, attach 2 Velcro dots to the body of the caterpillar on the black stripes, and line up with Velcro dots on the butterfly’s body.

Butterfly (4)

Place additional Velcro dots on the left top and bottom of the black butterfly wing, and then on the opposite sides of the green “chrysalis” so you can fold it closed.

Butterfly (5)

Now it was time for Mr. Caterpillar to crawl into his butterfly wings and fold himself up into a cozy chrysalis.

Butterfly (6)

Travis loved it! Note: You can also attach a string to the green felt so the chrysalis can hang.

Butterfly (7)

Open back up again for the butterfly transformation.

Butterfly (8)

Felt Play Mat

Felt Mat (7)

Felt play mats are a great way to occupy the kids while you’re getting work done around the house or cooking dinner. Set out a large sheet of felt for each child, along with customizable mix-and-match pieces, and let the entertainment begin!

My original plan for this game was to set Travis up with a Medieval castle scene, but he wasn’t that interested. Instead, we recreated objects from his current favorite show, Fireman Sam.

Felt Mat (1)

I let Travis decide which pieces he wanted, and cut them from corresponding felt colors – red firetrucks, yellow houses, green trees (“and we need brown trunks!” Travis made sure to add), blue water etc.

Felt Mat (2)

Kids who are 5 and up should be able to cut out their own felt pieces, but Travis was excited just watching me to so!

Forgive my lack of artistic skills, but here was our mountain rescue center with a radio and “flares.”

Felt Mat (4)

Once we had enough pieces, the play began! We had a little orange “fire” that could be moved around the scene, and his firetruck rushed in to the rescue.

Felt Mat (3)

We decided we did need a few people, so added Playmobil figures.

Felt Mat (10)

As he played, I added further shapes like a castle, a pond with fish, and a few more nature elements.

Felt Mat (9)

Now he could mix and match games and create imaginative tales to his heart’s content!

Felt Mat (8)


Fabulous Felt Fruit

Felt Fruit (9)

This adorable project from High Five magazine is the perfect centerpiece for your Thanksgiving table this coming Thursday! Kids will be so proud to tell relatives that they put it together (nearly) all by themselves.

To start, you’ll need sheets of adhesive-backed felt in red, green, brown, and orange. This item isn’t even something I knew existed, but it’s sold right by single sheets of felt at the craft store. I could not find orange with the adhesive backing, so read on for how I solved that dilemma.

To start, trace the shape of an apple and pumpkin onto paper and cut out. Those closer to age 5 can trace their own fruits, but I made the shapes for Travis and he worked with safety scissors to help cut.

We then traced the templates onto our felt sheets (great tracing practice!). You’ll need two of each shape for one finished piece of fruit.

Felt Fruit (1)

I cut the felt shapes out, since the material was tough for Travis’s hands. He wanted to try though!

Felt Fruit (2)

Finally, we cut out rectangles from the green felt to be apple stems and one bigger rectangle from the brown felt to be our pumpkin stem. Remove the adhesive backing from the stems and fold in half; set aside.

Felt Fruit (3)

To assemble a fruit, remove the backing from one apple shape. Place two cotton balls on top, and one green stem at the center.

Felt Fruit (4)

Remove the backing from a second apple shape and place the sticky sides together. Travis insisted on doing this step himself (which I loved!) which meant our edges didn’t always line up perfectly, but the sticky felt is very forgiving.

Felt Fruit (5)

He loved that we made a few green apples, since those are his dad’s favorite, and then he told me the red ones were for his grandparents.

Felt Fruit (6)

For the pumpkin, we followed the same method, but I used my hot glue gun to seal the two sheets of non-sticky orange felt together and to attach the brown stem at the top.

Finally, we nestled our adorable felt fruit into a straw basket, the perfect touch for our Thanksgiving table.

Felt Fruit (8)

Underwater Felt Board

Underwater Felt (3)

I always joke that I haven’t a crafty bone in my body, and that before my son was born, I never would have believed it had you told me I’d one day create so many toys and games with him at home (much less have something in my home labeled a “craft bin”!).

With this craft, I feel like I’ve moved up from the minor leagues to – if not the majors – at least Triple-A status because… I finally purchased a hot glue gun. I’ve had a hot glue gun phobia for years (which dates back to witnessing the sticky dangerous mess they made in childhood theatre productions), but the time felt right to make the leap.

Travis couldn’t have been more excited; he didn’t even care what new projects this tool would allow us to create together, he just thought the whole apparatus was fascinating!

Once I was certain he understood that the glue gun and glue sticks were for mom’s hands only, we embarked upon our first glue gun craft, and I was thrilled with the results.

Underwater Felt (1)

I really only needed the glue gun for a simple purpose this time, but was glad to have it. To create the ocean backdrop for our Underwater Felt Board, I glued together two pieces of blue felt (one dark, one light) on three edges, leaving the fourth side open. This leaves a pocket so you can store all the other pieces of felt inside when you’re finished.

Underwater Felt (9)

Travis was quite literally shaking with glee as he watched me work, and equally loved watching me cut out additional felt shapes to populate our ocean.

Underwater Felt (2)
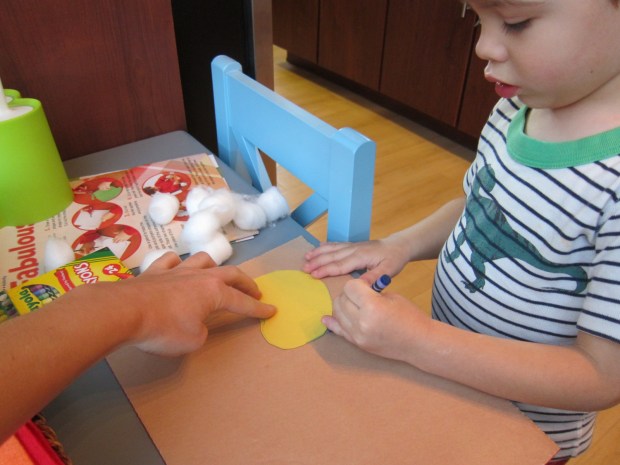
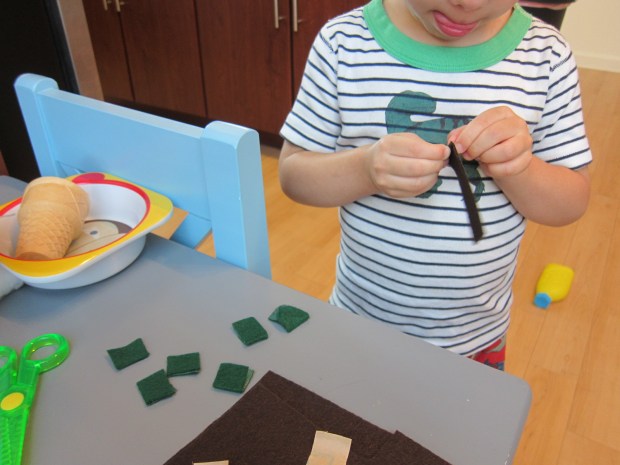
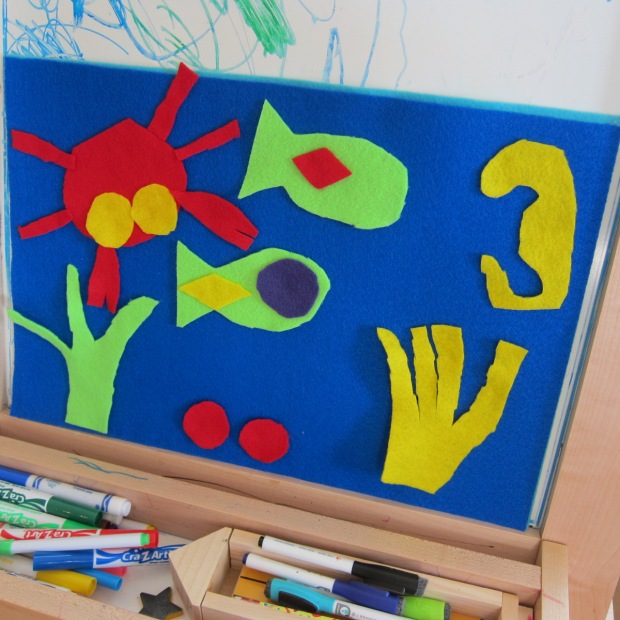
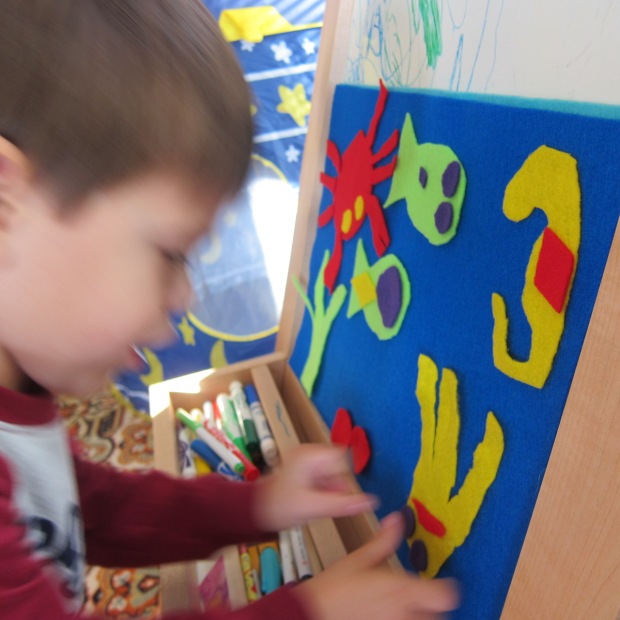
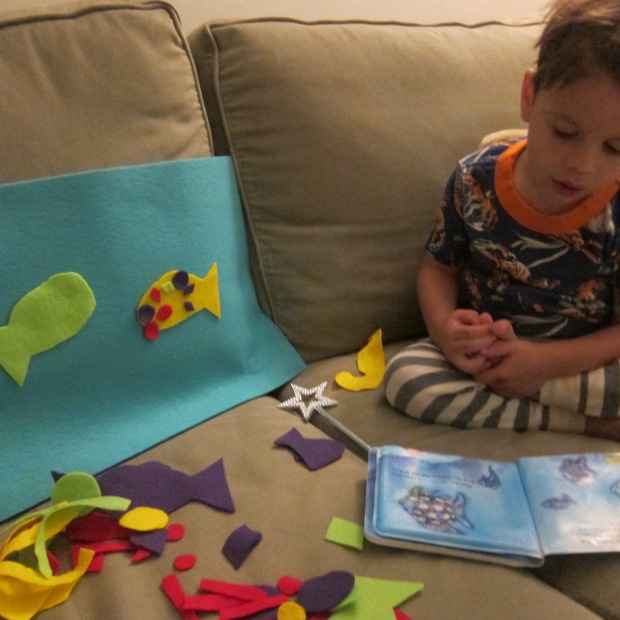
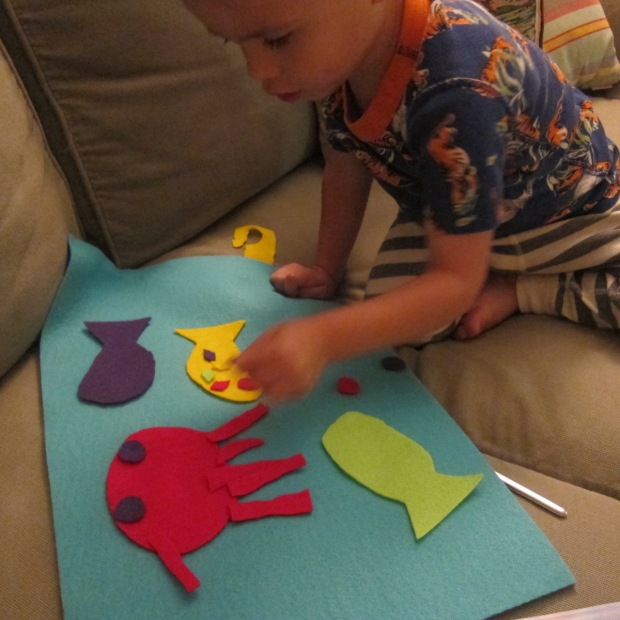
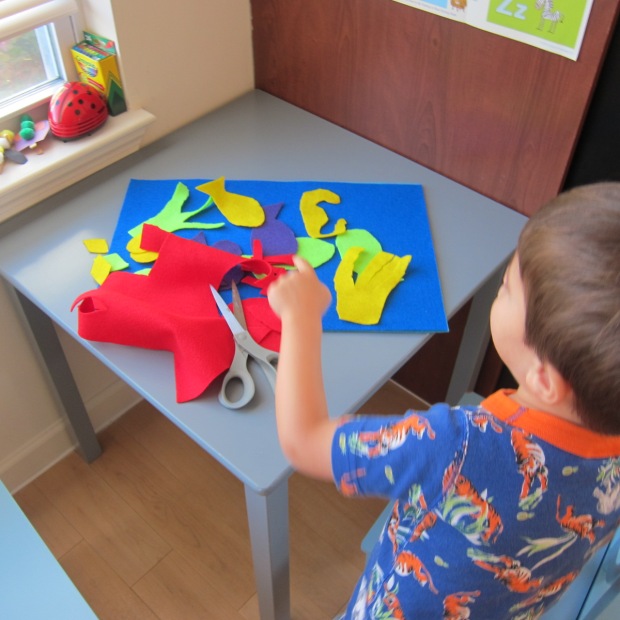
With my very amateur crafting skills, I cut out fish, anemone, shells, and a little crab with legs we could attach and unattach.

Underwater Felt (5)

The biggest hit was cutting lots of circles and diamonds, which could be added to our sea friends as scales or eyes.

Underwater Felt (4)

Travis decided even our anemone needed eyes and a smile!

Underwater Felt (6)

You can of course just build playful and colorful scenes, but you can also use the felt board as a prop to narrate any books about the sea. We used it at bedtime for a rendition of Rainbow Fish which had Travis enthralled with the story in a new way.

Rainbow Fish needed beautiful scales of course…

Underwater Felt (7)

And a little imagination helped our crab become the octopus!

Underwater Felt (8)

What ocean stories would you tell with your felt board? Please do share in the comments, and here’s to many more glue gun projects to come!