Simple Origami Jumping Frogs

These little folded frogs were too complicated for my kids to follow along with the steps, but they loved leaping about the final product!

Rather than attempt to explain instructions for folding, simply check out the step-by-step tutorial here. I cut green construction paper into squares to start, but you can also use standard origami paper. By the end it should look something like this from the bottom:

And like this from the top:

Once the little frogs were folded up, we drew on eyes and black spots. Kids can decorate however they choose, or even add long paper tongues!

Place a finger near the back legs, then release to watch the frogs hop hop hop.

The kids loved watching the frogs leap, making this well worth the folding effort.

Origami Fidget Spinner

Origami Fidget Spinner (9)

Travis can have a hard time concentrating during school Zoom sessions, and we’ve tested out a few kinds of fidget spinner as a solution. There’s more behind these spinners than just a fad; they really can help kids focus by keeping fingers busy. Here’s a way to make a beautiful fidget spinner at home that rivals any store-bought version!

To start, Travis selected two patterns from our pack of origami paper. Fold in half, then open up and tear each sheet in half (so you now have 4 pieces of paper). Set aside two of these and work with the remaining two.

Origami Fidget Spinner (1)

I loved how focused Travis was as we went through the first few steps together. Fold the pieces of paper in half again, so you have two skinny rectangles. Next bend down at the tops and bottoms so they look almost like Zs. From here, the fingerwork grew too tricky for Travis, and I took over.

Origami Fidget Spinner (2)

Rather than reinvent the wheel, check out the full instructions from Kiwi Co, where the steps for folding are described far better than I can. At the end, you’ll have one finished side of your fidget spinner, which looks like this:

Origami Fidget Spinner (4)

Repeat the folding steps with the two sheets of paper you set aside at the beginning, and both sides of the fidget spinner are now complete. Next, poke a push pin down through the center of each side. Using hot glue, add a small coin (like a dime or penny) to each of the four arms on one side of your spinner.

Origami Fidget Spinner (5)

Hot glue the second half of the spinner over the coins.

Origami Fidget Spinner (6)

Finally, straighten a paper clip and push through the holes you’ve made in the middle, then bend the ends so they provide finger holds.

Origami Fidget Spinner (7)

Give that fidget spinner a whirl! Thanks to the colorful origami paper, these look so beautiful as they spin.

Origami Fidget Spinner (8)

Little Passports: Japan

LP Japan (23)

Travis’s envelope this month from Little Passports took him to… Japan! There was lots to learn and great hands-on activities in this particular kit. First up was the booklet, full of inventive activities like how to write a Haiku (spoiler: Travis’s was about eating a cookie), and a pictorial three-in-a-row search that was a fantastic alternative to a word search for non-readers.

LP Japan (2)

Of course there was also a country coin for his coin chart, a stamp for his passport, and a push pin for his world map. Bonus features online included gorgeous photos of Japan, audio recordings of common Japanese words, and a Q&A with a Japanese “pen pal”.

Souvenir:

The adorable sushi erasers that came with the package were a big hit, particularly the fact that they could be disassembled and reassembled. Travis became a mini sushi chef!

LP Japan (3)

Activities:

The most involved project with this kit was to make a koinobari, a kite in the shape of a carp fish traditionally hung on homes during Japan’s Children’s Day holiday (which falls in May).

LP Japan (5)

Rather than use the suggested fabric pants, which I worried would be messy, I had Travis use fabric markers.

LP Japan (6)

We first drew two fish outlines on an old pillow case and colored with the markers, after which I cut them out and hot-glued together on three sides, leaving the top open (alternatively, use fabric glue).

Cut a piece of cardboard from an old cereal box and glue into a loop; attach this at the mouth of the fish with more glue. Punch two holes through the pillow and cardboard, and loop a string through.

LP Japan (8)

Finally, we glued on ribbons as tail streamers.

LP Japan (7)

It looked beautiful on our front door.

LP Japan (9)

Next up was to write in ema wishes on the provided template.

LP Japan (10)

These wooden tablets, traditionally hung at a Japanese shrine, came just in time for our new era COVID-19. We strung them up along our kitchen window for good luck!

LP Japan (17)

Of course we had to make origami, too. The package included fun instructions for penguins and jumping frogs.

LP Japan (12)

The frog could really jump!

LP Japan (15)

Travis wanted to make a whole army of penguins.

LP Japan (14)

Finally, he did a cute food match-up game which highlighted all four islands of Japan, and he colored in the flag for the garland begun with his Brazil package.

LP Japan (11)

Recipe:

The journey is never complete without a recipe, of course. Travis got to make dorayaki, a sweet Japanese pancake.

Ingredients:

  • 2 Ener-G eggs
  • 1/2 cup sugar
  • 1 tablespoon agave nectar
  • 1 cup sifted flour
  • 1/2 teaspoon baking powder
  • 1/2 cup water
  • Canola oil
  • Red bean paste
  • Jam
  1. To start, whisk together the Ener-G eggs, sugar, and agave in a bowl.LP Japan (18)
  2. Add the flour and baking powder to the bowl, stirring until smooth. Continue to stir while adding the water slowly.LP Japan (19)
  3. Heat a large skillet coated with a little canola oil over medium-high heat. Spoon 1/8 cup batter into the skillet per pancake and cook for about 2 minutes, until bubbles cover the tops. Flip and cook for an additional minute. Transfer cooked pancakes to a plate and repeat with the remaining batter.
  4. To serve, spread bean paste between two pancakes and eat sandwich-style! If the bean paste isn’t to your kids’ liking, try jam instead.

LP Japan (22)

Travis loved eating the dorayaki with a ramen noodle bowl, for a full Japanese meal.

LP Japan (21)

Early Explorers Art

LP Art (28)

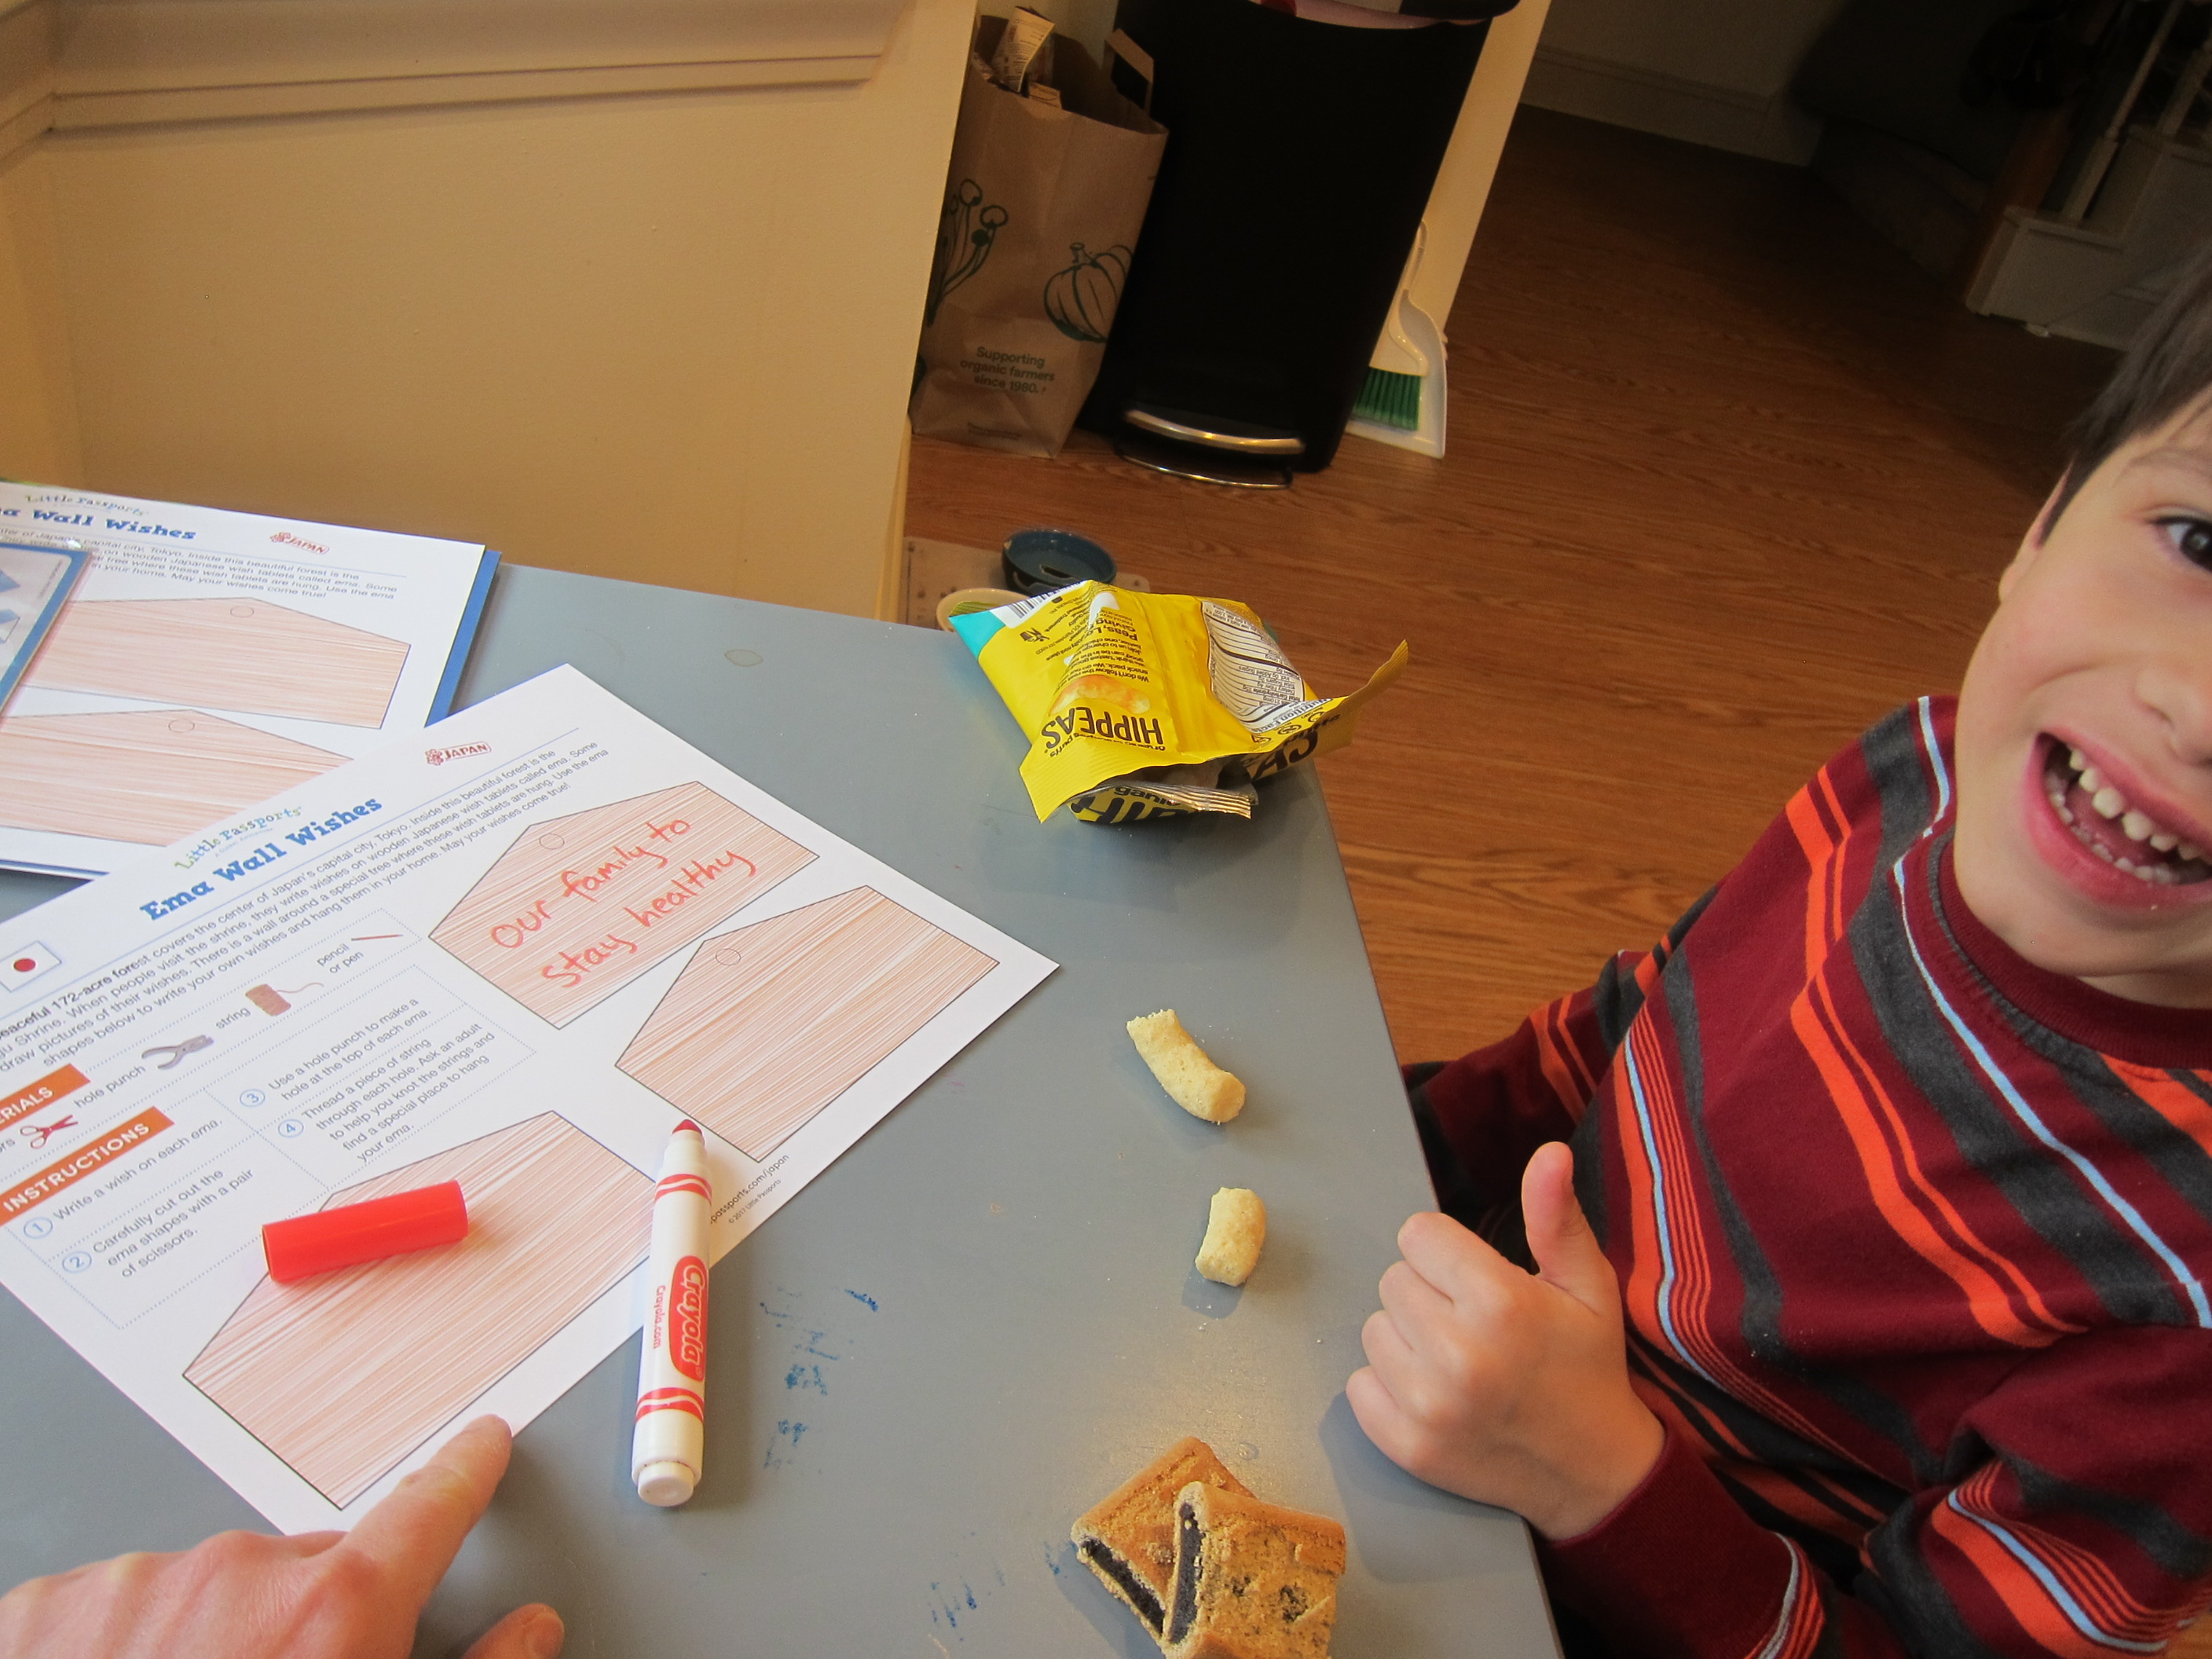
Travis’s latest package from Early Explorers was, in a word, fantastic. Based on art around the world, this month’s kit was so full of ways to craft, create, explore, and learn. As always, he was excited about the usual finds like stickers for his map, flash cards, the activity booklet, and a new tag for his suitcase.

LP Art (4)

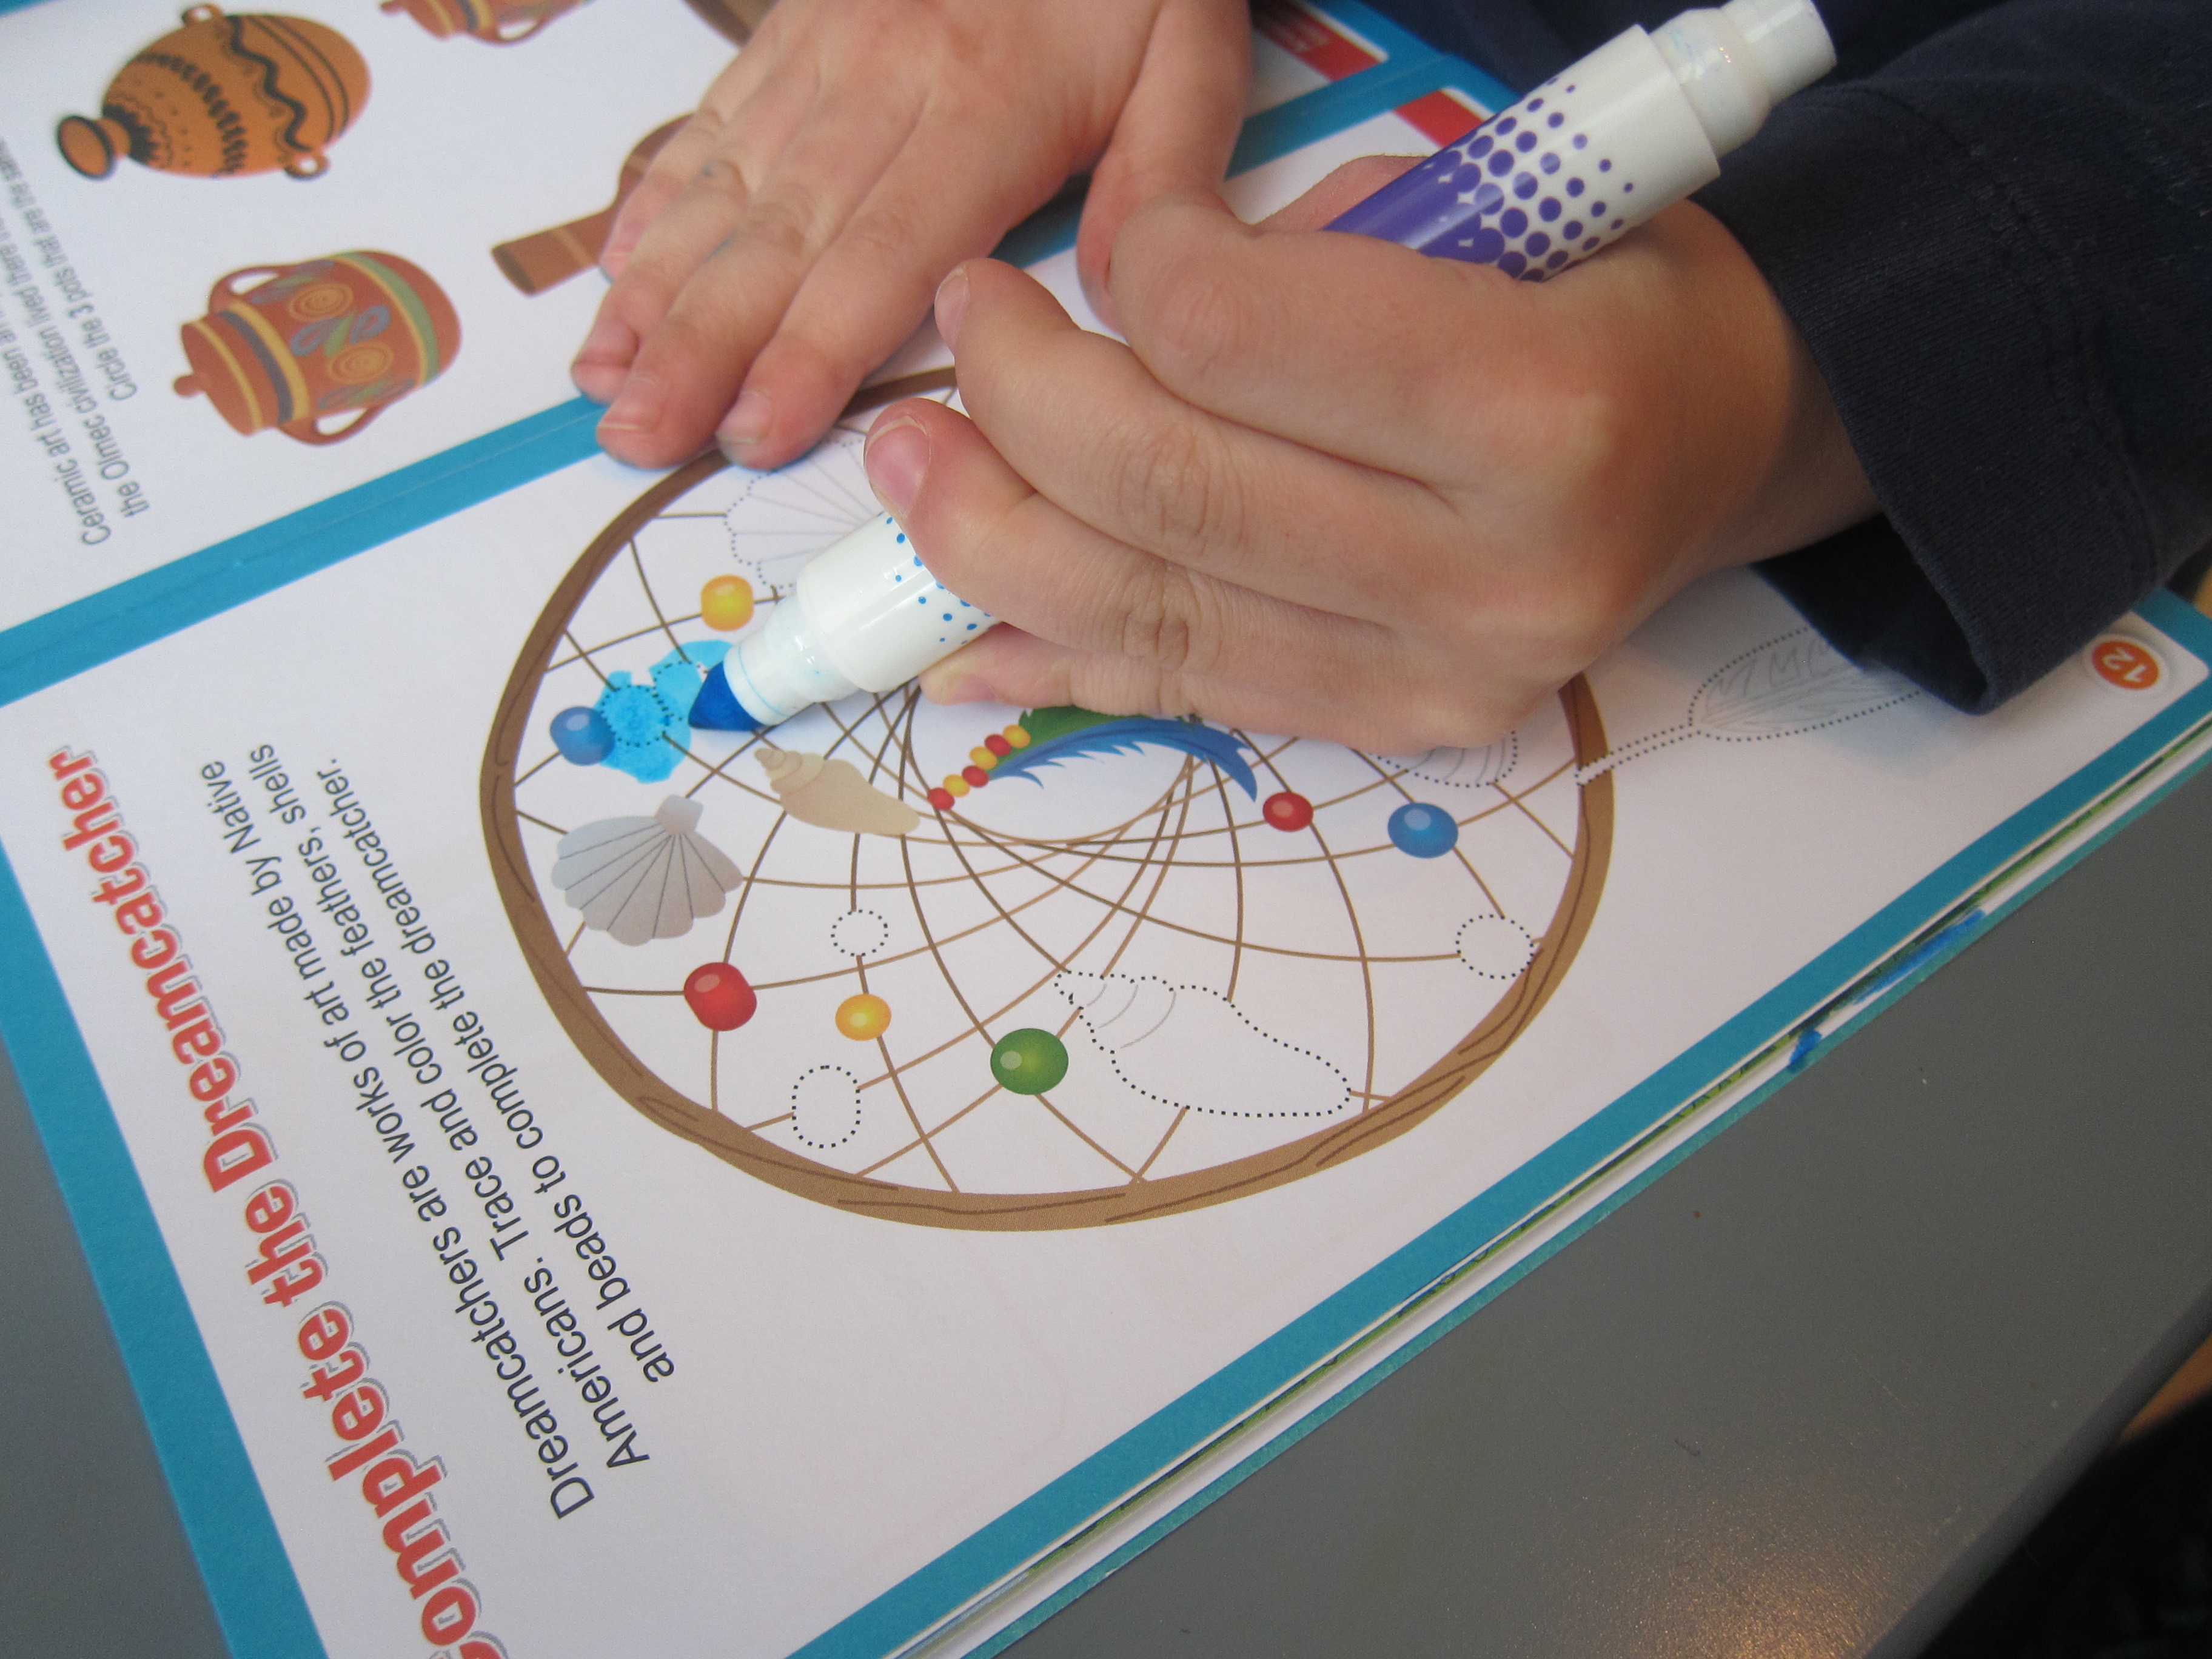
He especially loved coloring in images of Australian rock paintings and filling in the shapes on a Native American dream catcher.

LP Art (5)

Art Craft:

We couldn’t wait to try the booklet’s first activity: Paint Like Pollock. Wow did this make a splash, pun intended, of course. At first Travis seemed skeptical when he saw that I’d layered nearly the entire living room floor with newspapers. But when I told him we’d be splattering paint, he was intrigued.

LP Art (6)

Lay a large piece of poster board in the center of your newspapers, and set out plates with at least 2 or 3 colors of paint. A wide paintbrush will work best. Dip the brush in one color, and show your child how to flick their wrist so the paint splatters.

LP Art (8)

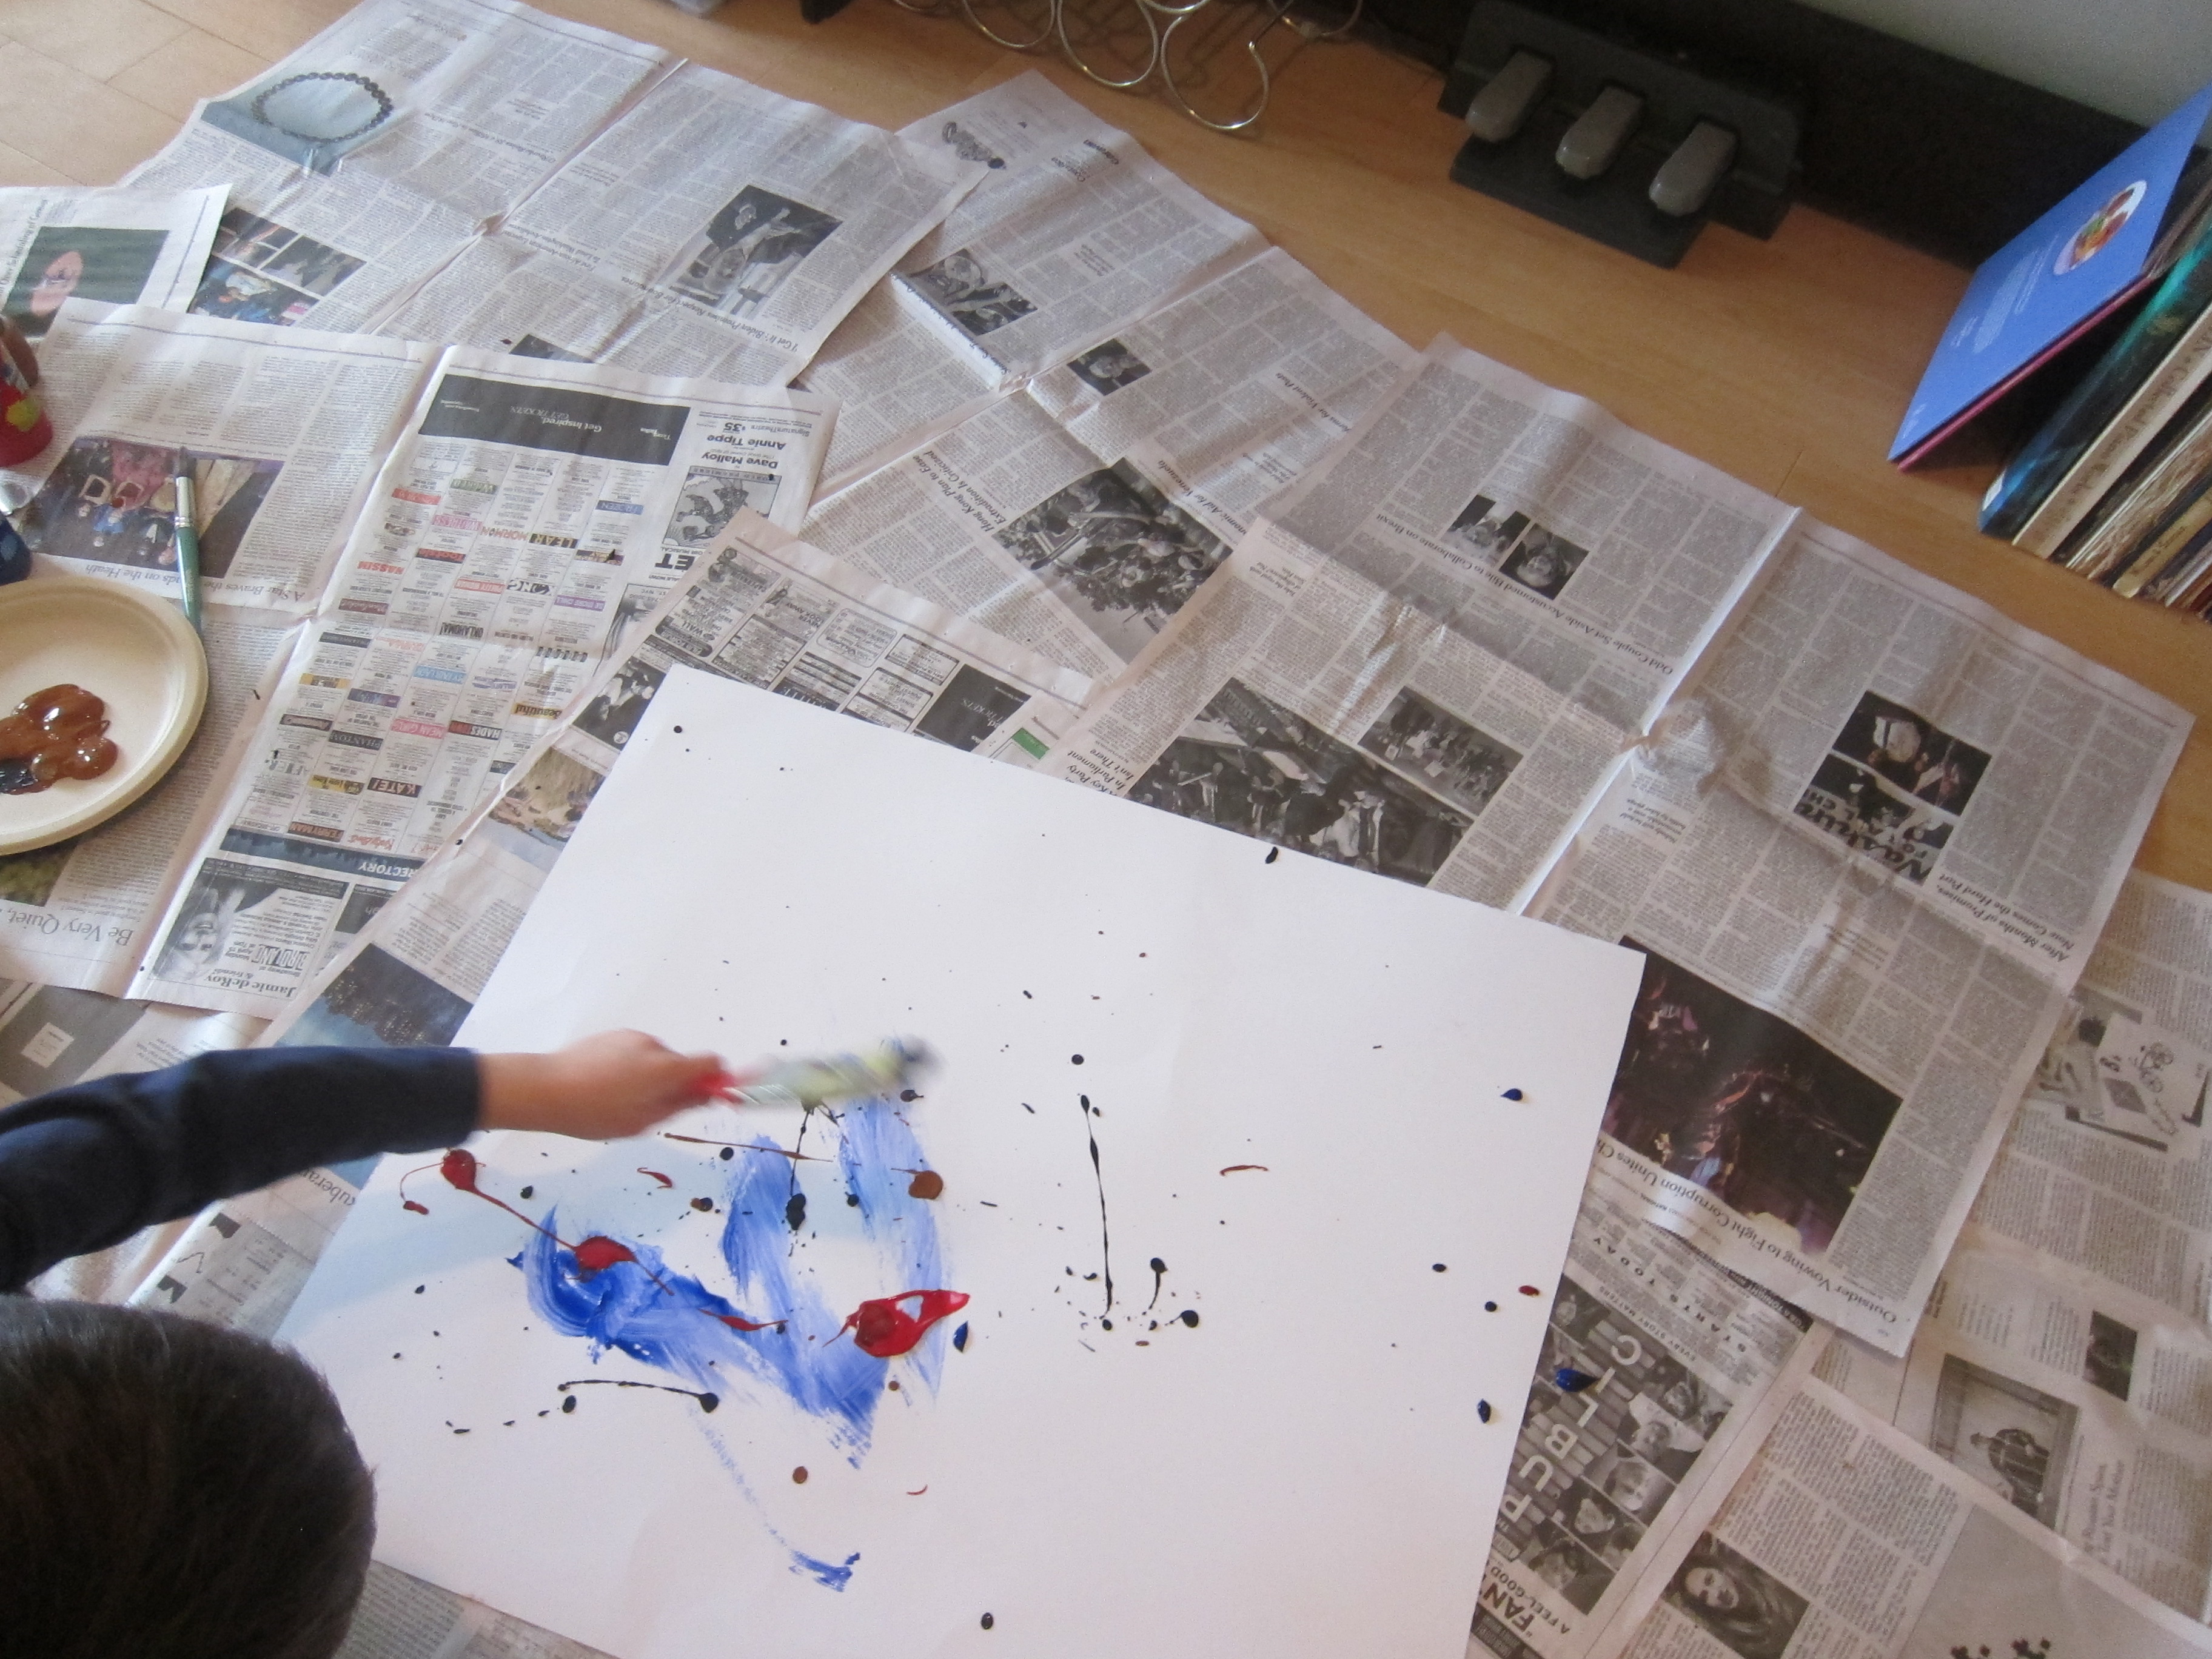
After a moment of smearing paint on normally, Travis understood, and was delighted. “Again!” he insisted, dipping in another color. We tried a few Pollock-esque tricks, like flicking the paint in a circle, seeing what happened if we flicked with more or less paint on the brush, and moving around the canvas.

The most fun though was getting up high!

LP Art (9)

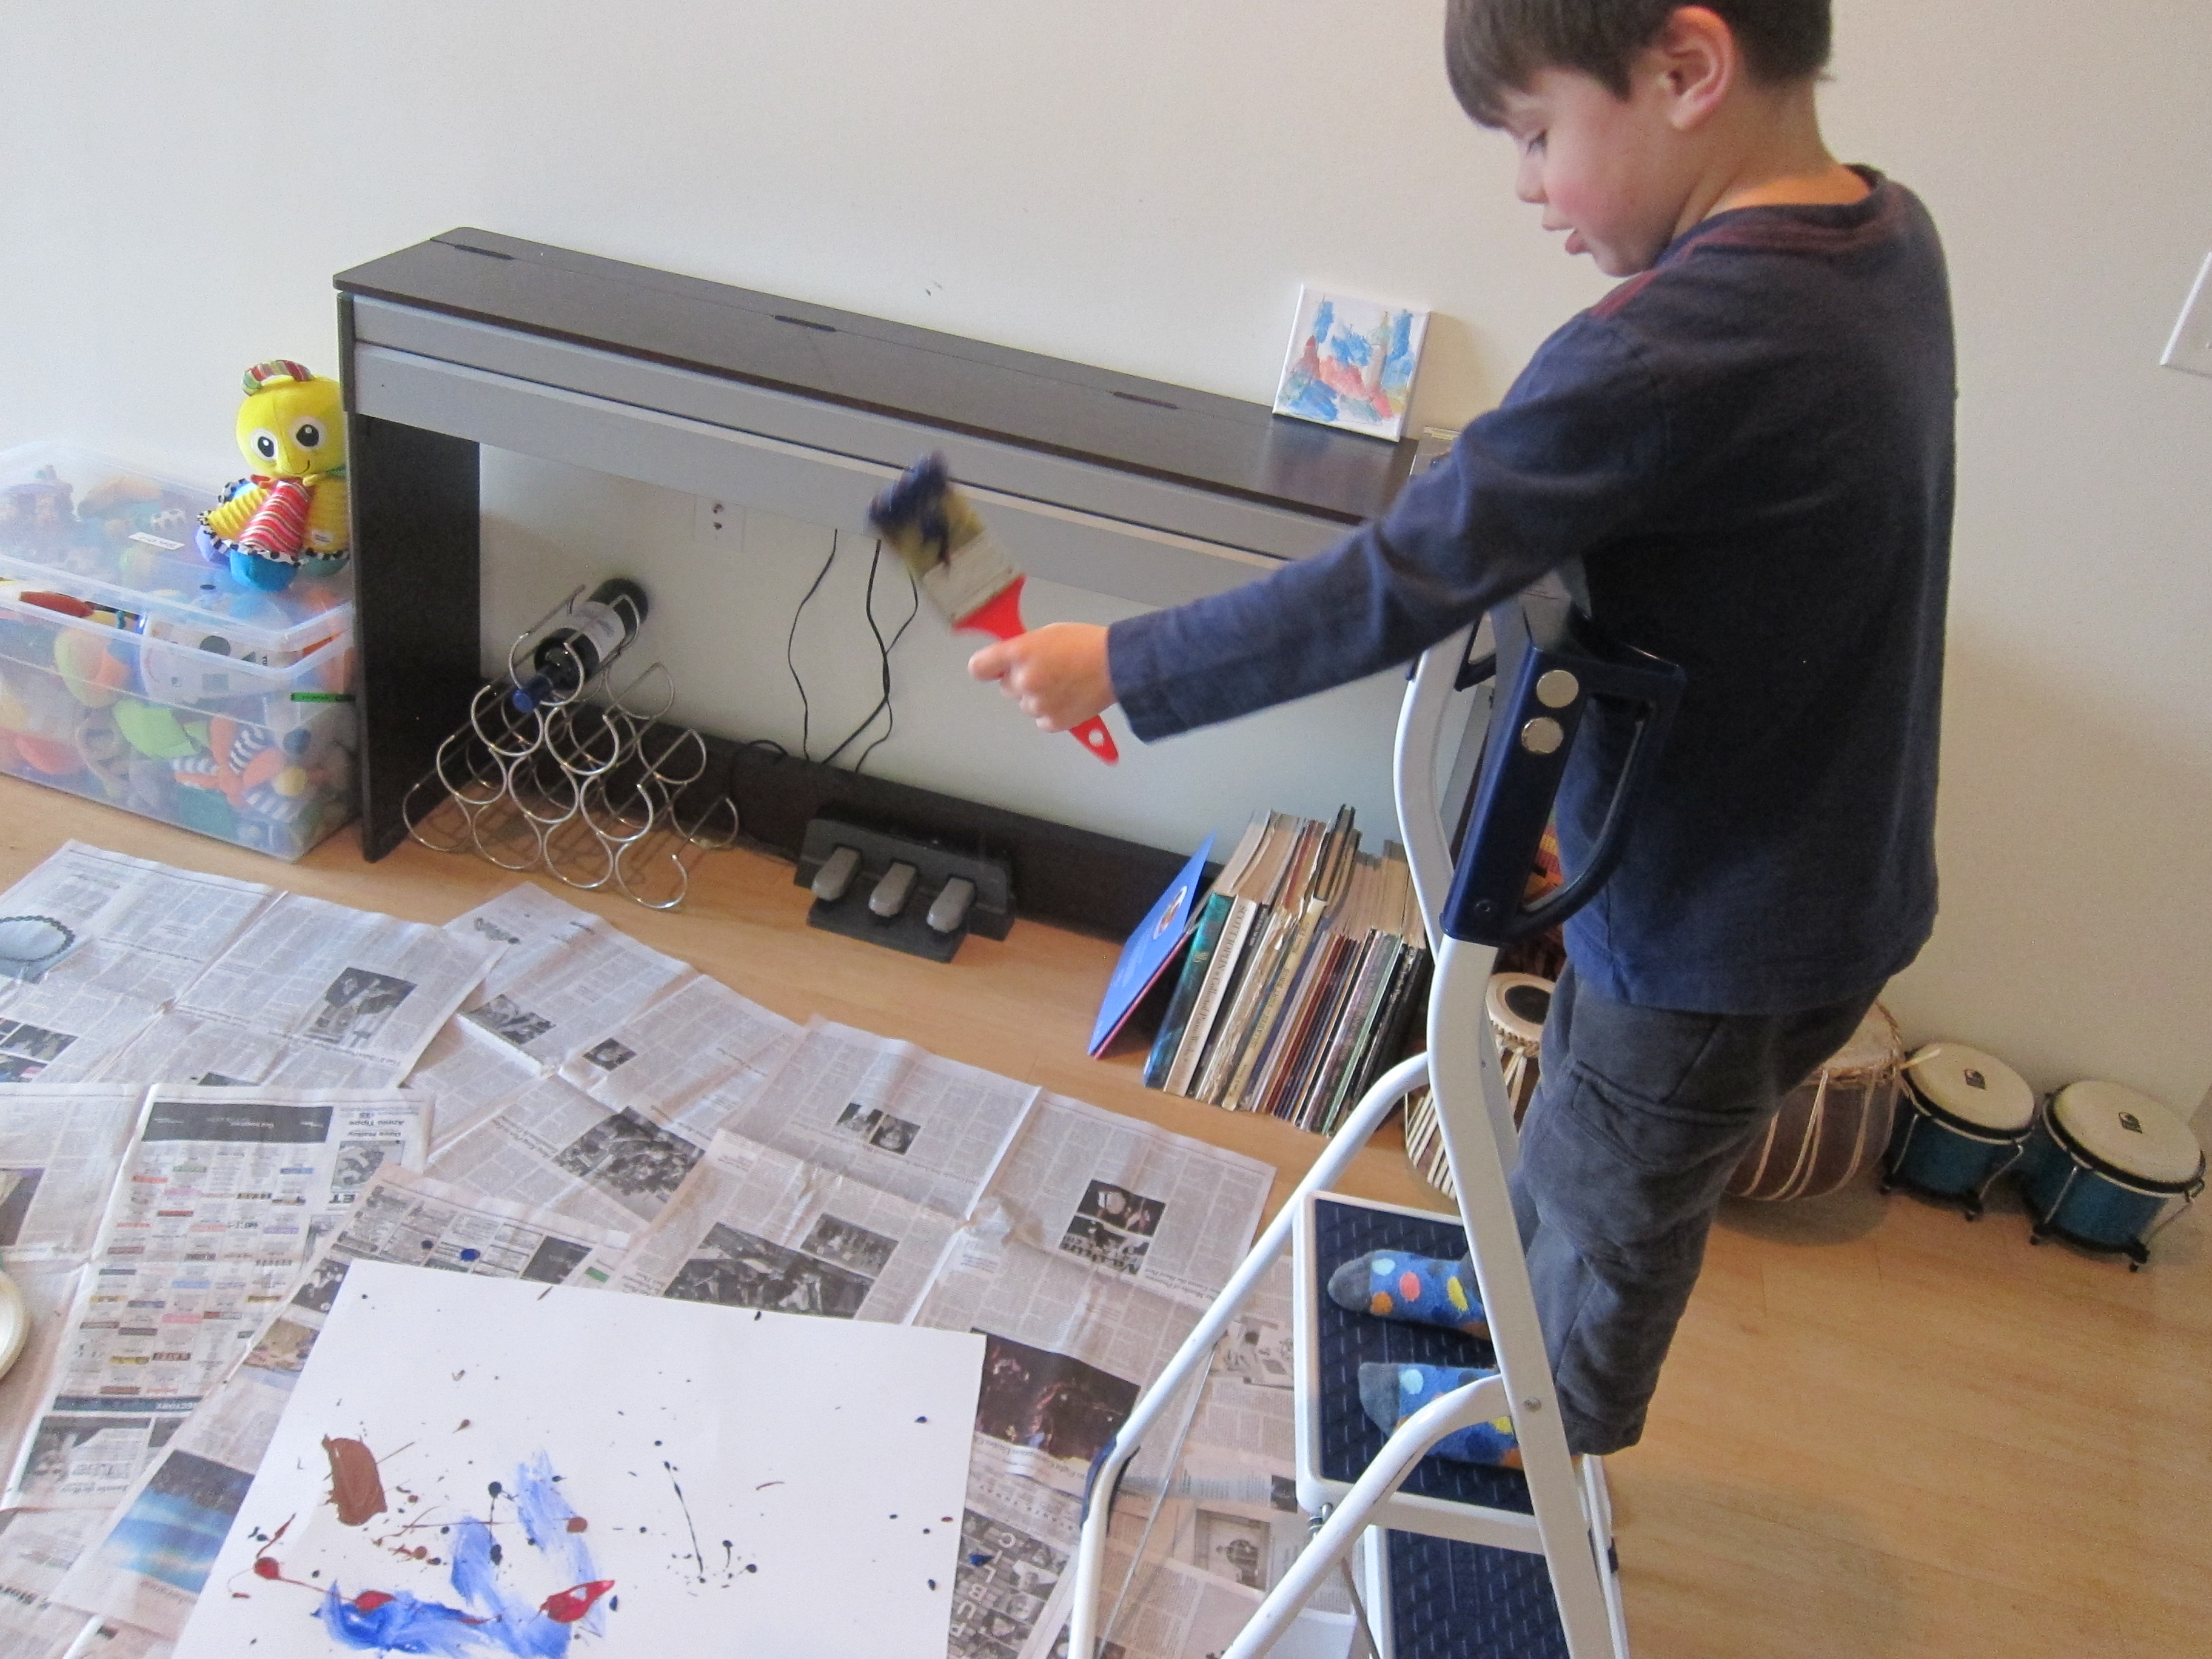
Travis climbed our step ladder, and I handed him the paint brush. Splat! He did almost the entire painting from up here.

LP Art (10)

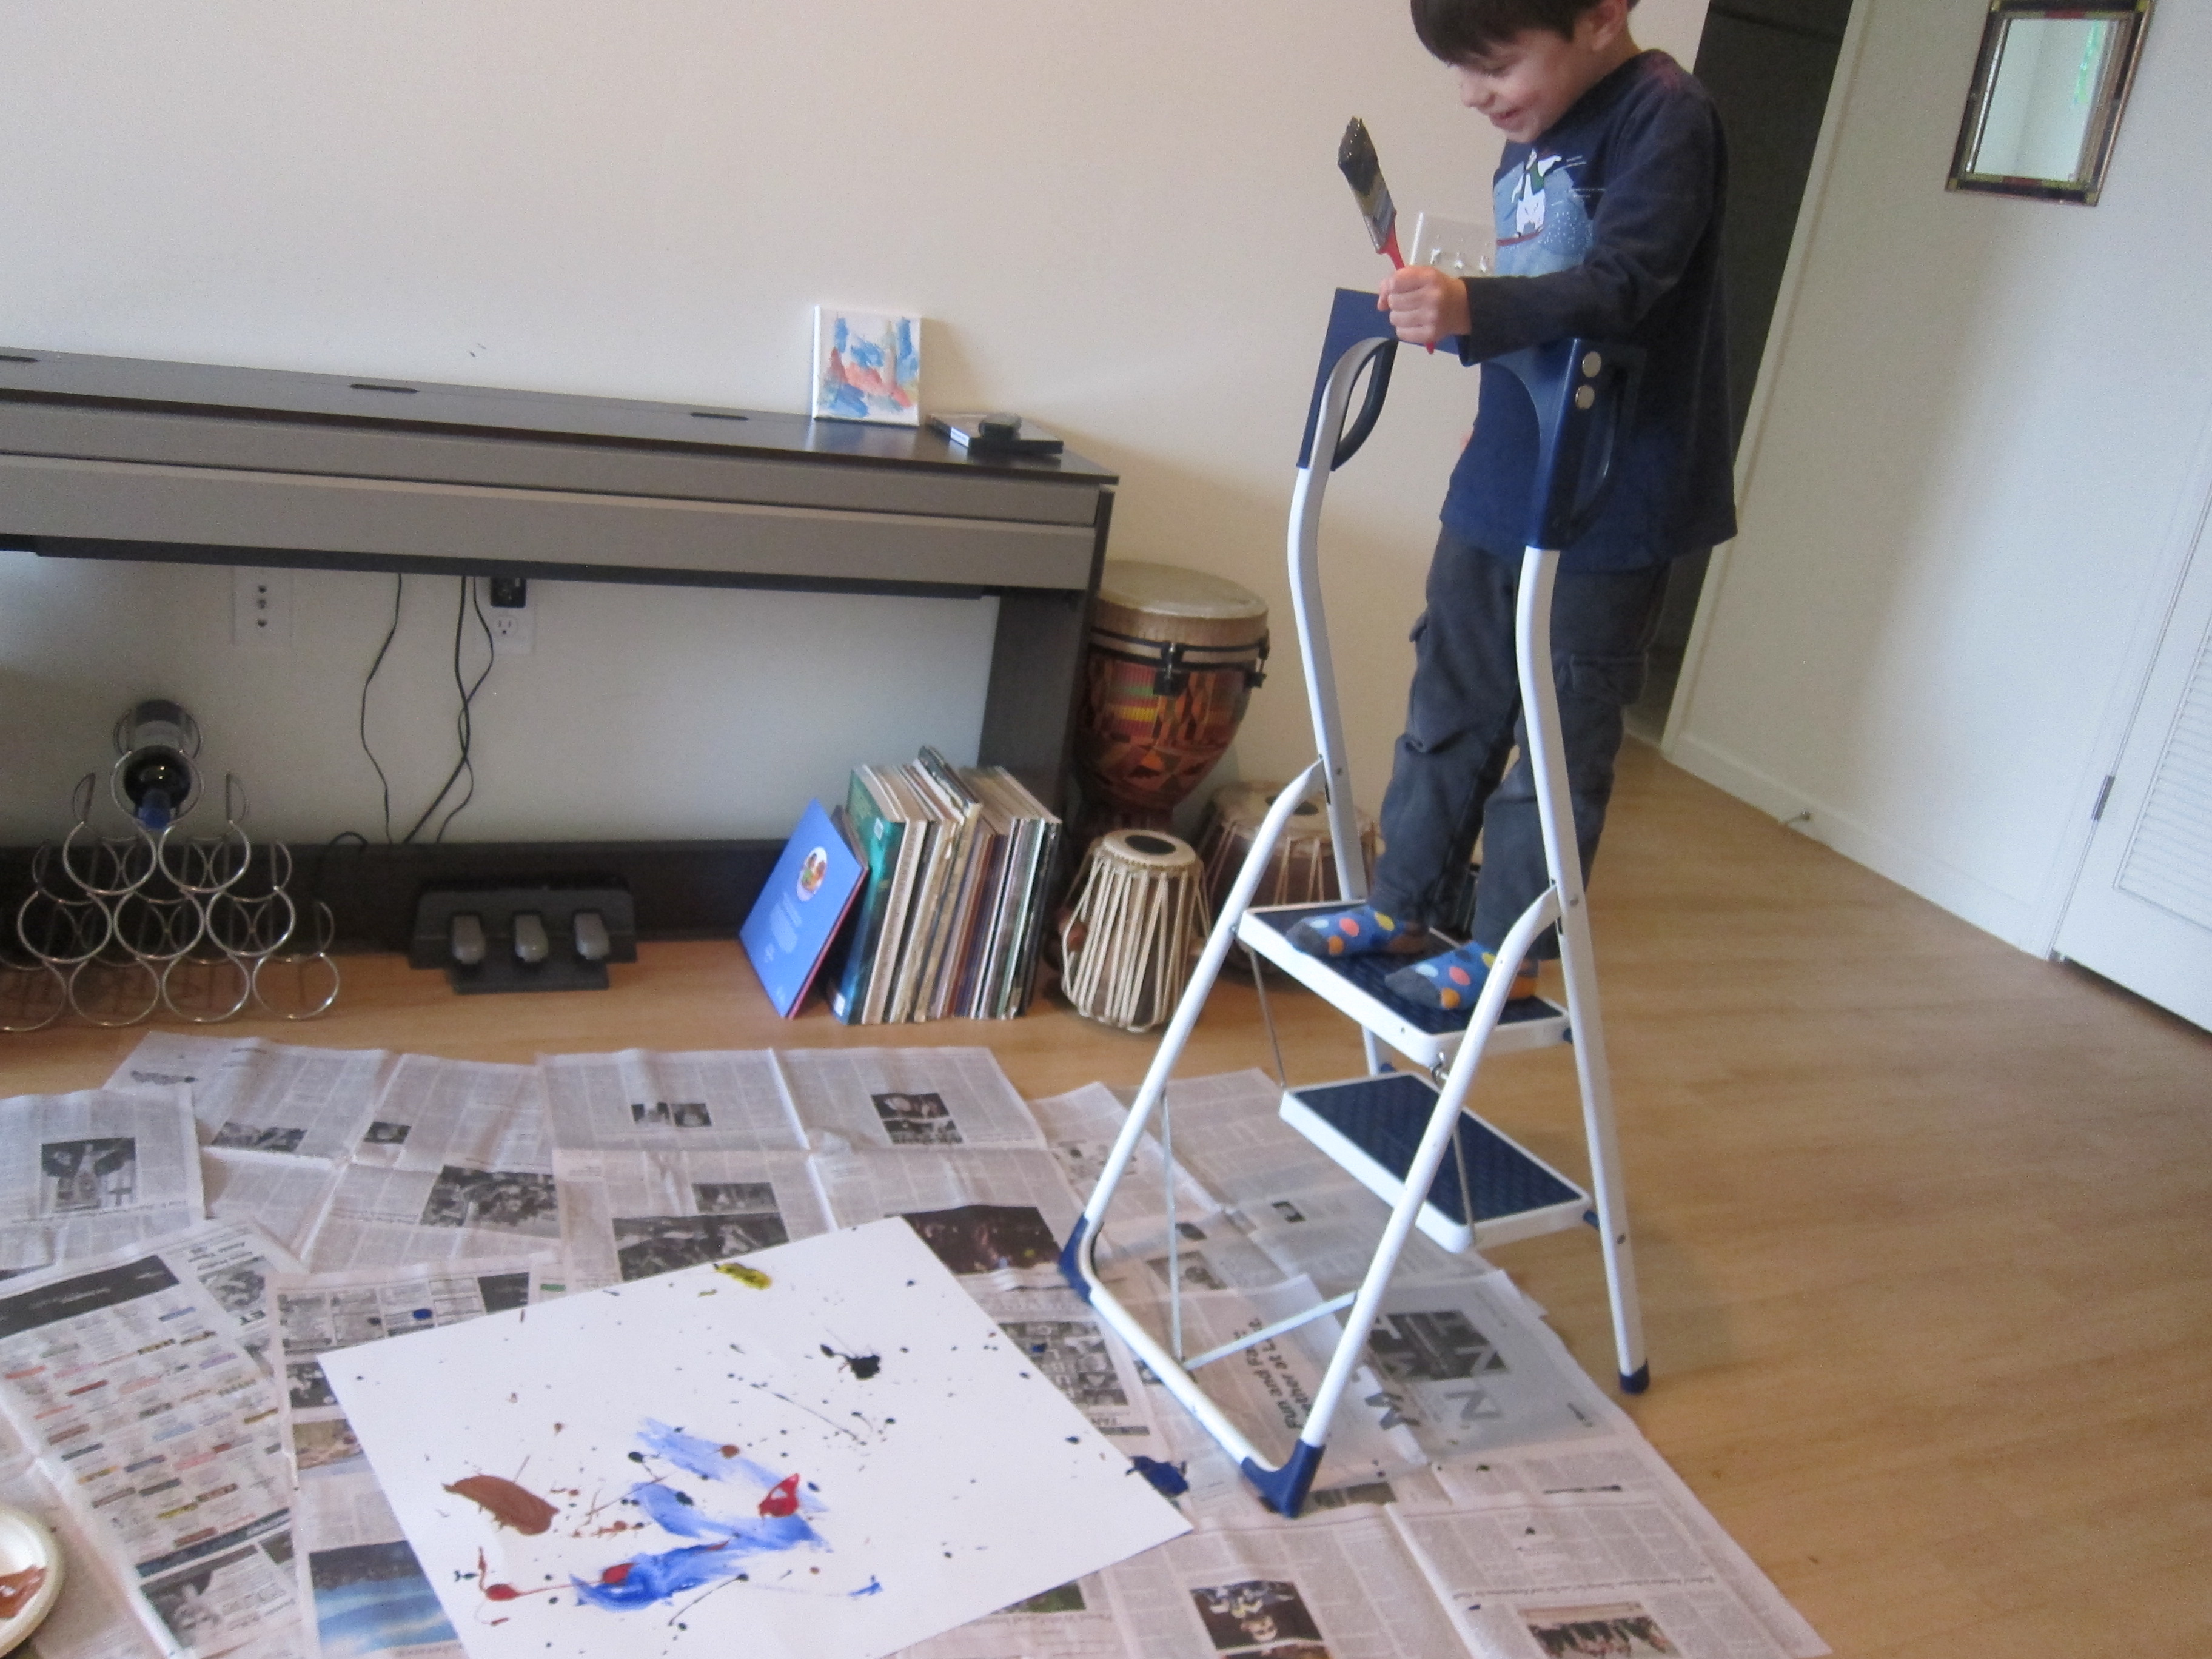
Messy but so worth it!

LP Art (11)

Art Science:

For wont of an actual “science” this month, I’m using this section for the suggested sculpture project. I simply set Travis loose with a bunch of air-dry clay, a few sculpting tools, and his imagination. Soon we were etching baleen onto clay whales.

LP Art (13)

Then: “Look mom, a three-legged turtle!” he declared, leaving this present for me on our counter.

LP Art (14)

Art Keepsake:

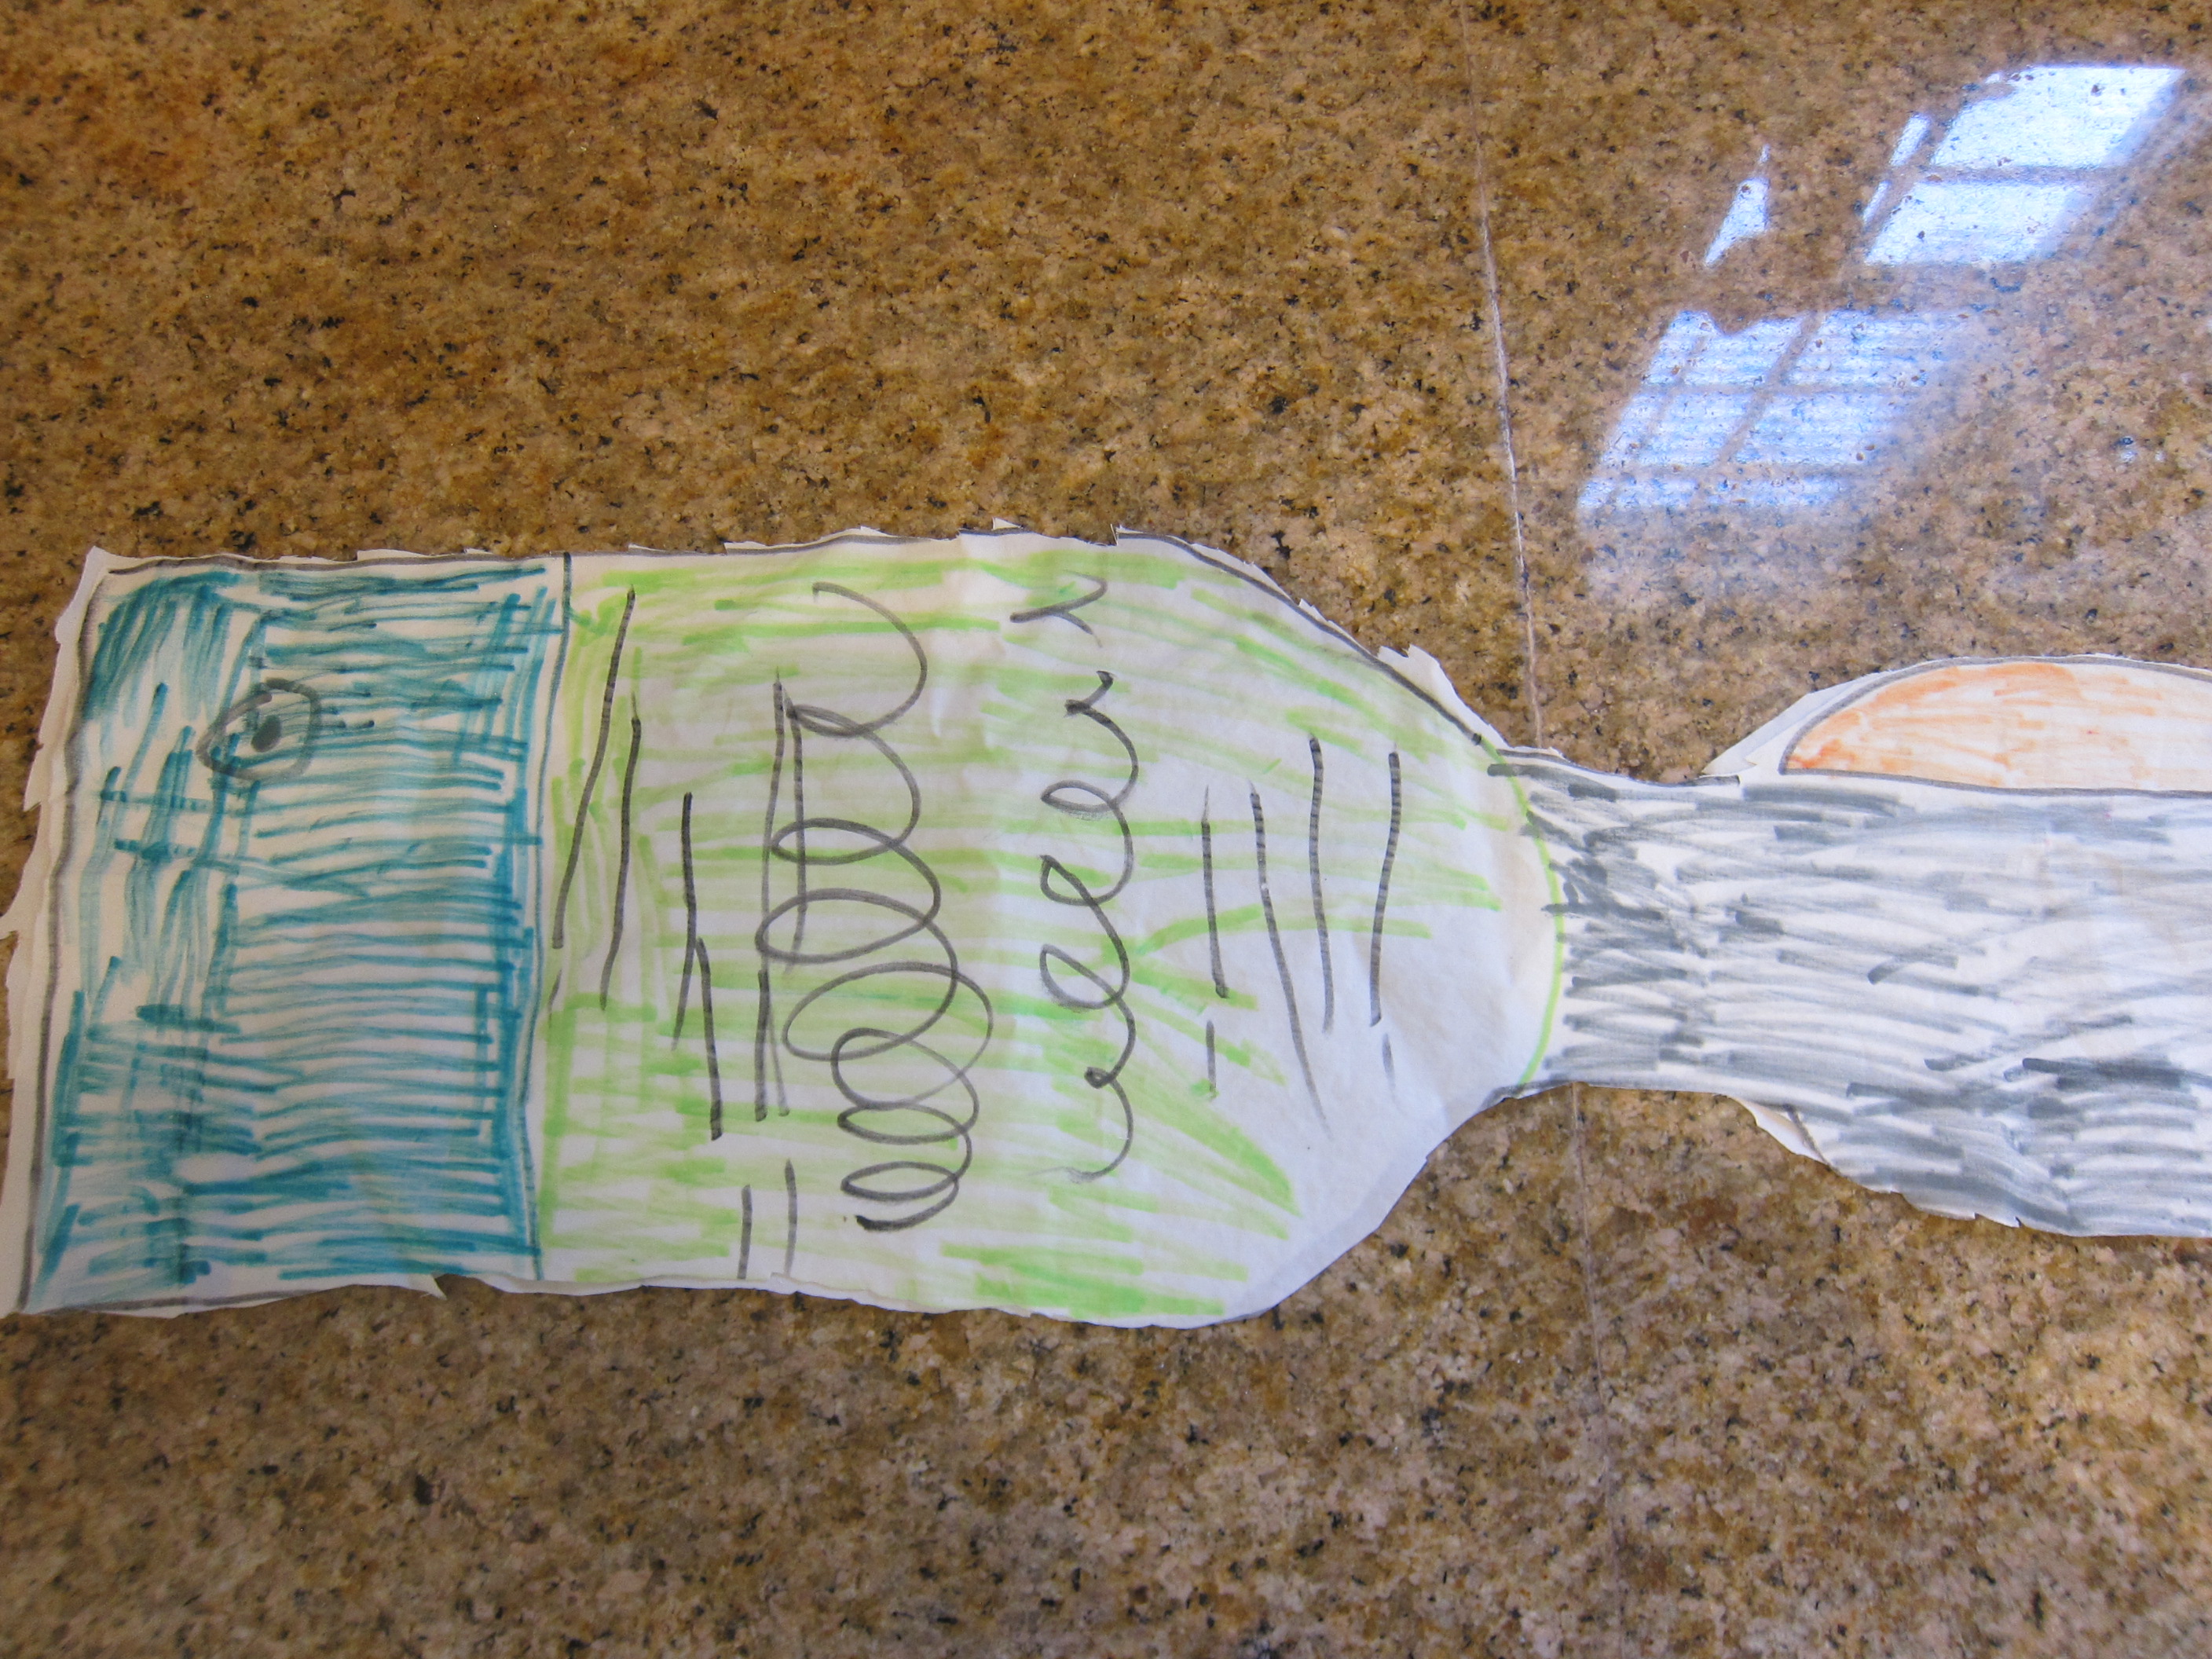
This was actually what we did first, since Travis couldn’t wait to find out what his present was from “Max and Mia”. The included canvas, mini watercolor palette, and mini paintbrush did not disappoint. Instantly he became my little Monet, painting in the three landmarks depicted on the canvas.

LP Art (1)

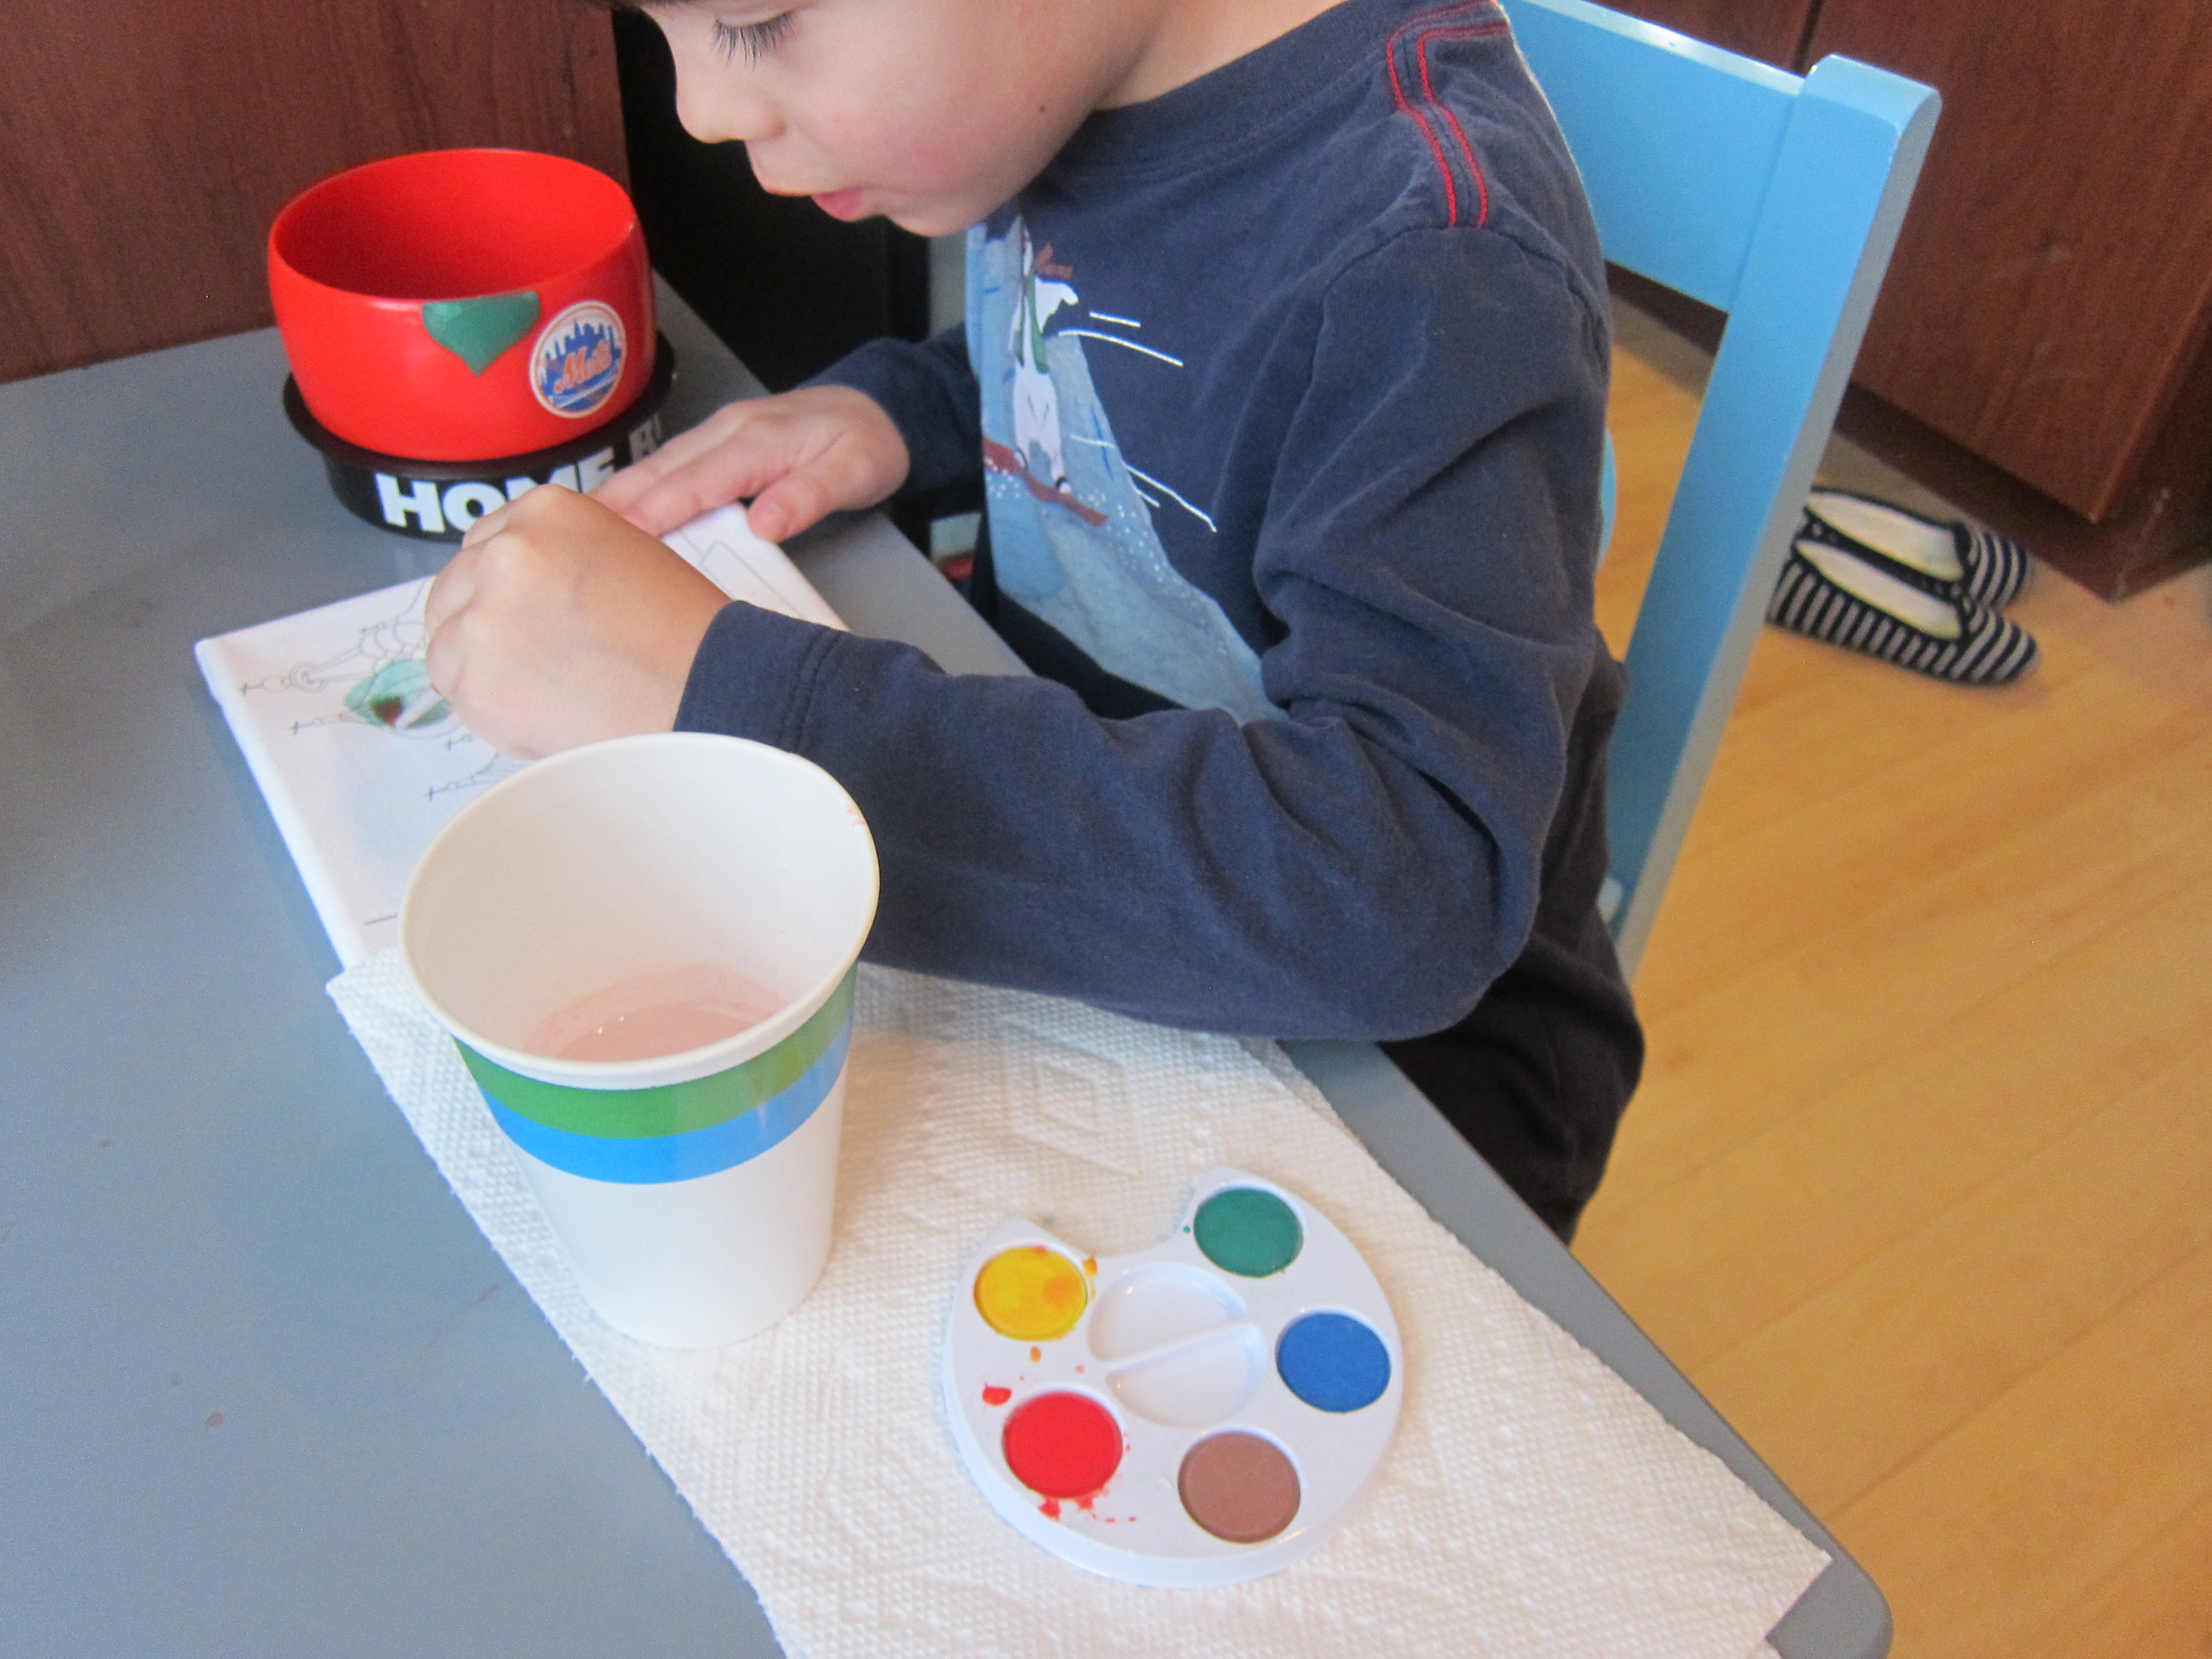
He loved learning a few new color combos to mix, like blue + brown = black. When the canvas was finished, he didn’t stop there.

LP Art (2)

He immediately painted another picture which he decided was a gift for a friend, and a third which became a map. I loved that he was off and running with art, no doubt exactly the kind of play Early Explorers hopes to inspire with their kits.

Art Field Trip:

Head to your nearest museum or art gallery, of course. This doesn’t need to be anywhere big or fancy, but do challenge your child to find their three favorite pieces in the museum.

We were just in time for an exhibit featuring the best of local youth art, mostly by 11th and 12th graders. Travis enjoyed seeking out the one that had won first prize.

LP Art final.jpg

And we couldn’t believe this one was done with yarn!

LP Art var

Art Further Activities:

Unlike last month’s topic on food, which felt a touch one-note, this topic lent itself easily to so many activities! First, we did an imitation of French “pointillism.” After looking at paintings by Seurat, we set out to make dot pictures. Inflate a balloon just slightly, and set out a paper plate with a few colors of paint.

LP Art (16)

Dip the balloon in the paint, then dab on the paper. I showed Travis how to make small dots by pressing the balloon on lightly, but he liked pressing hard for big dots. A very cool result! If you don’t have balloons, you could always just illustrate pointillism with some dot markers.

LP Art (18)

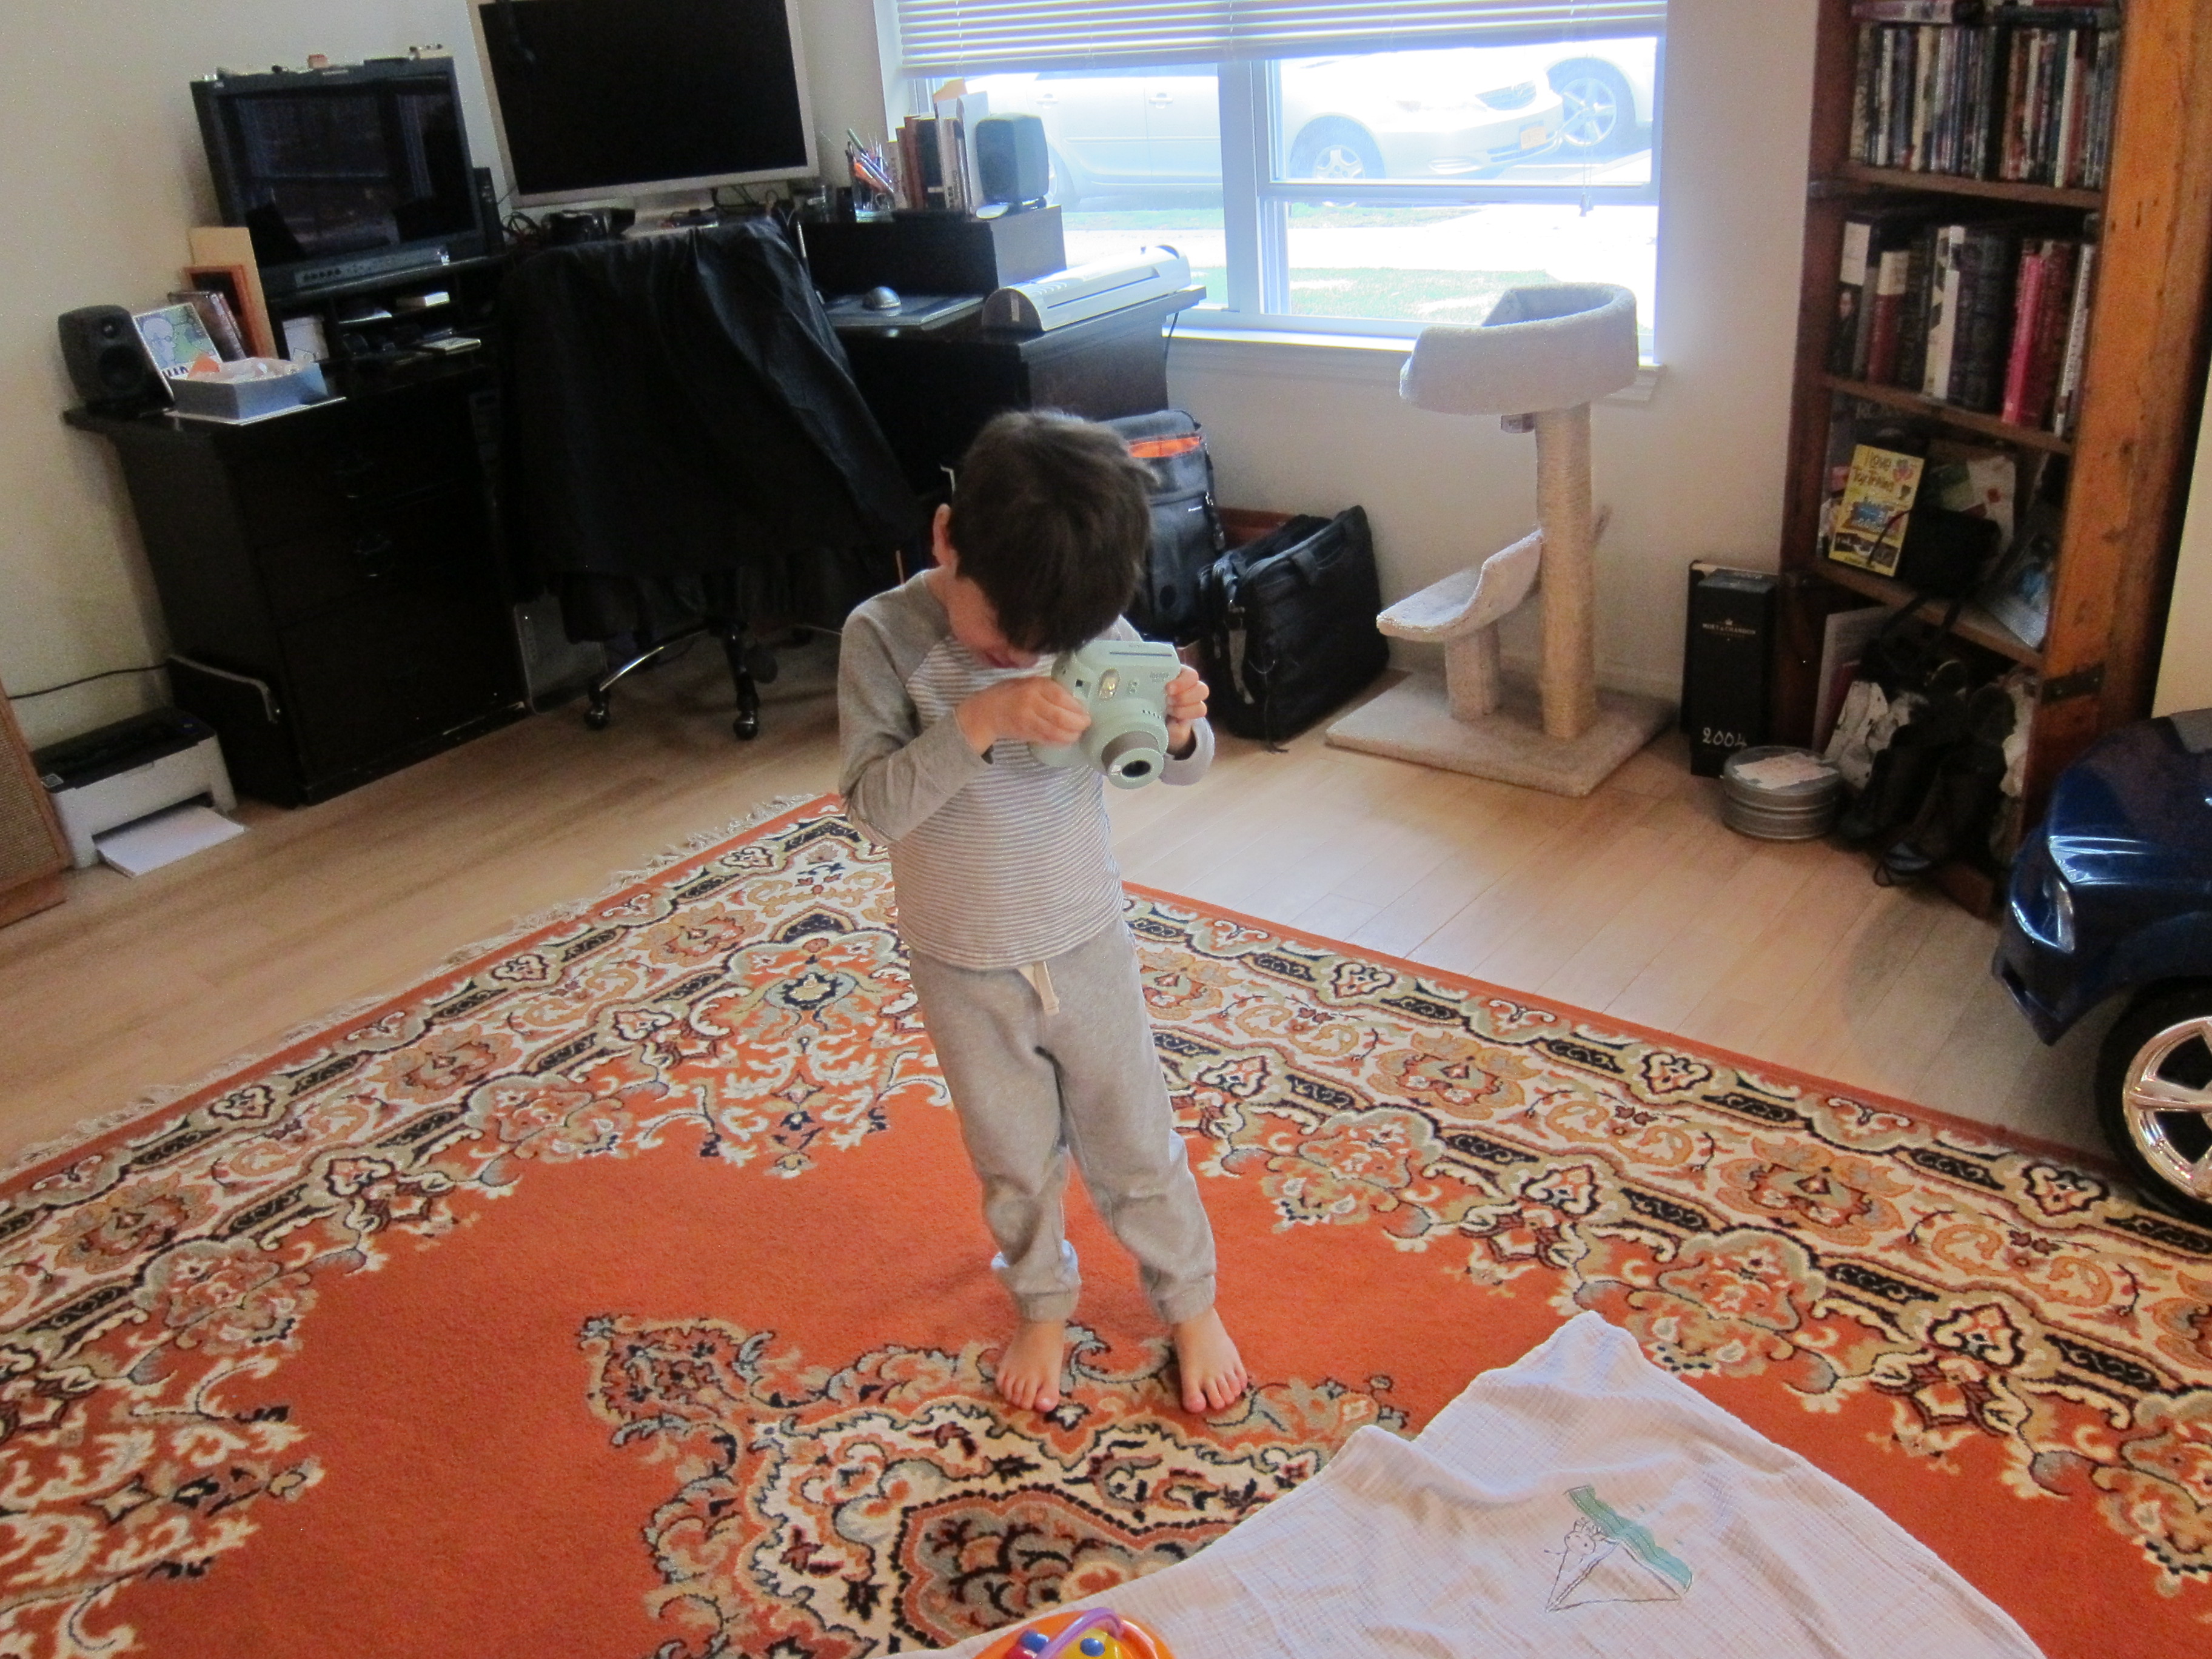
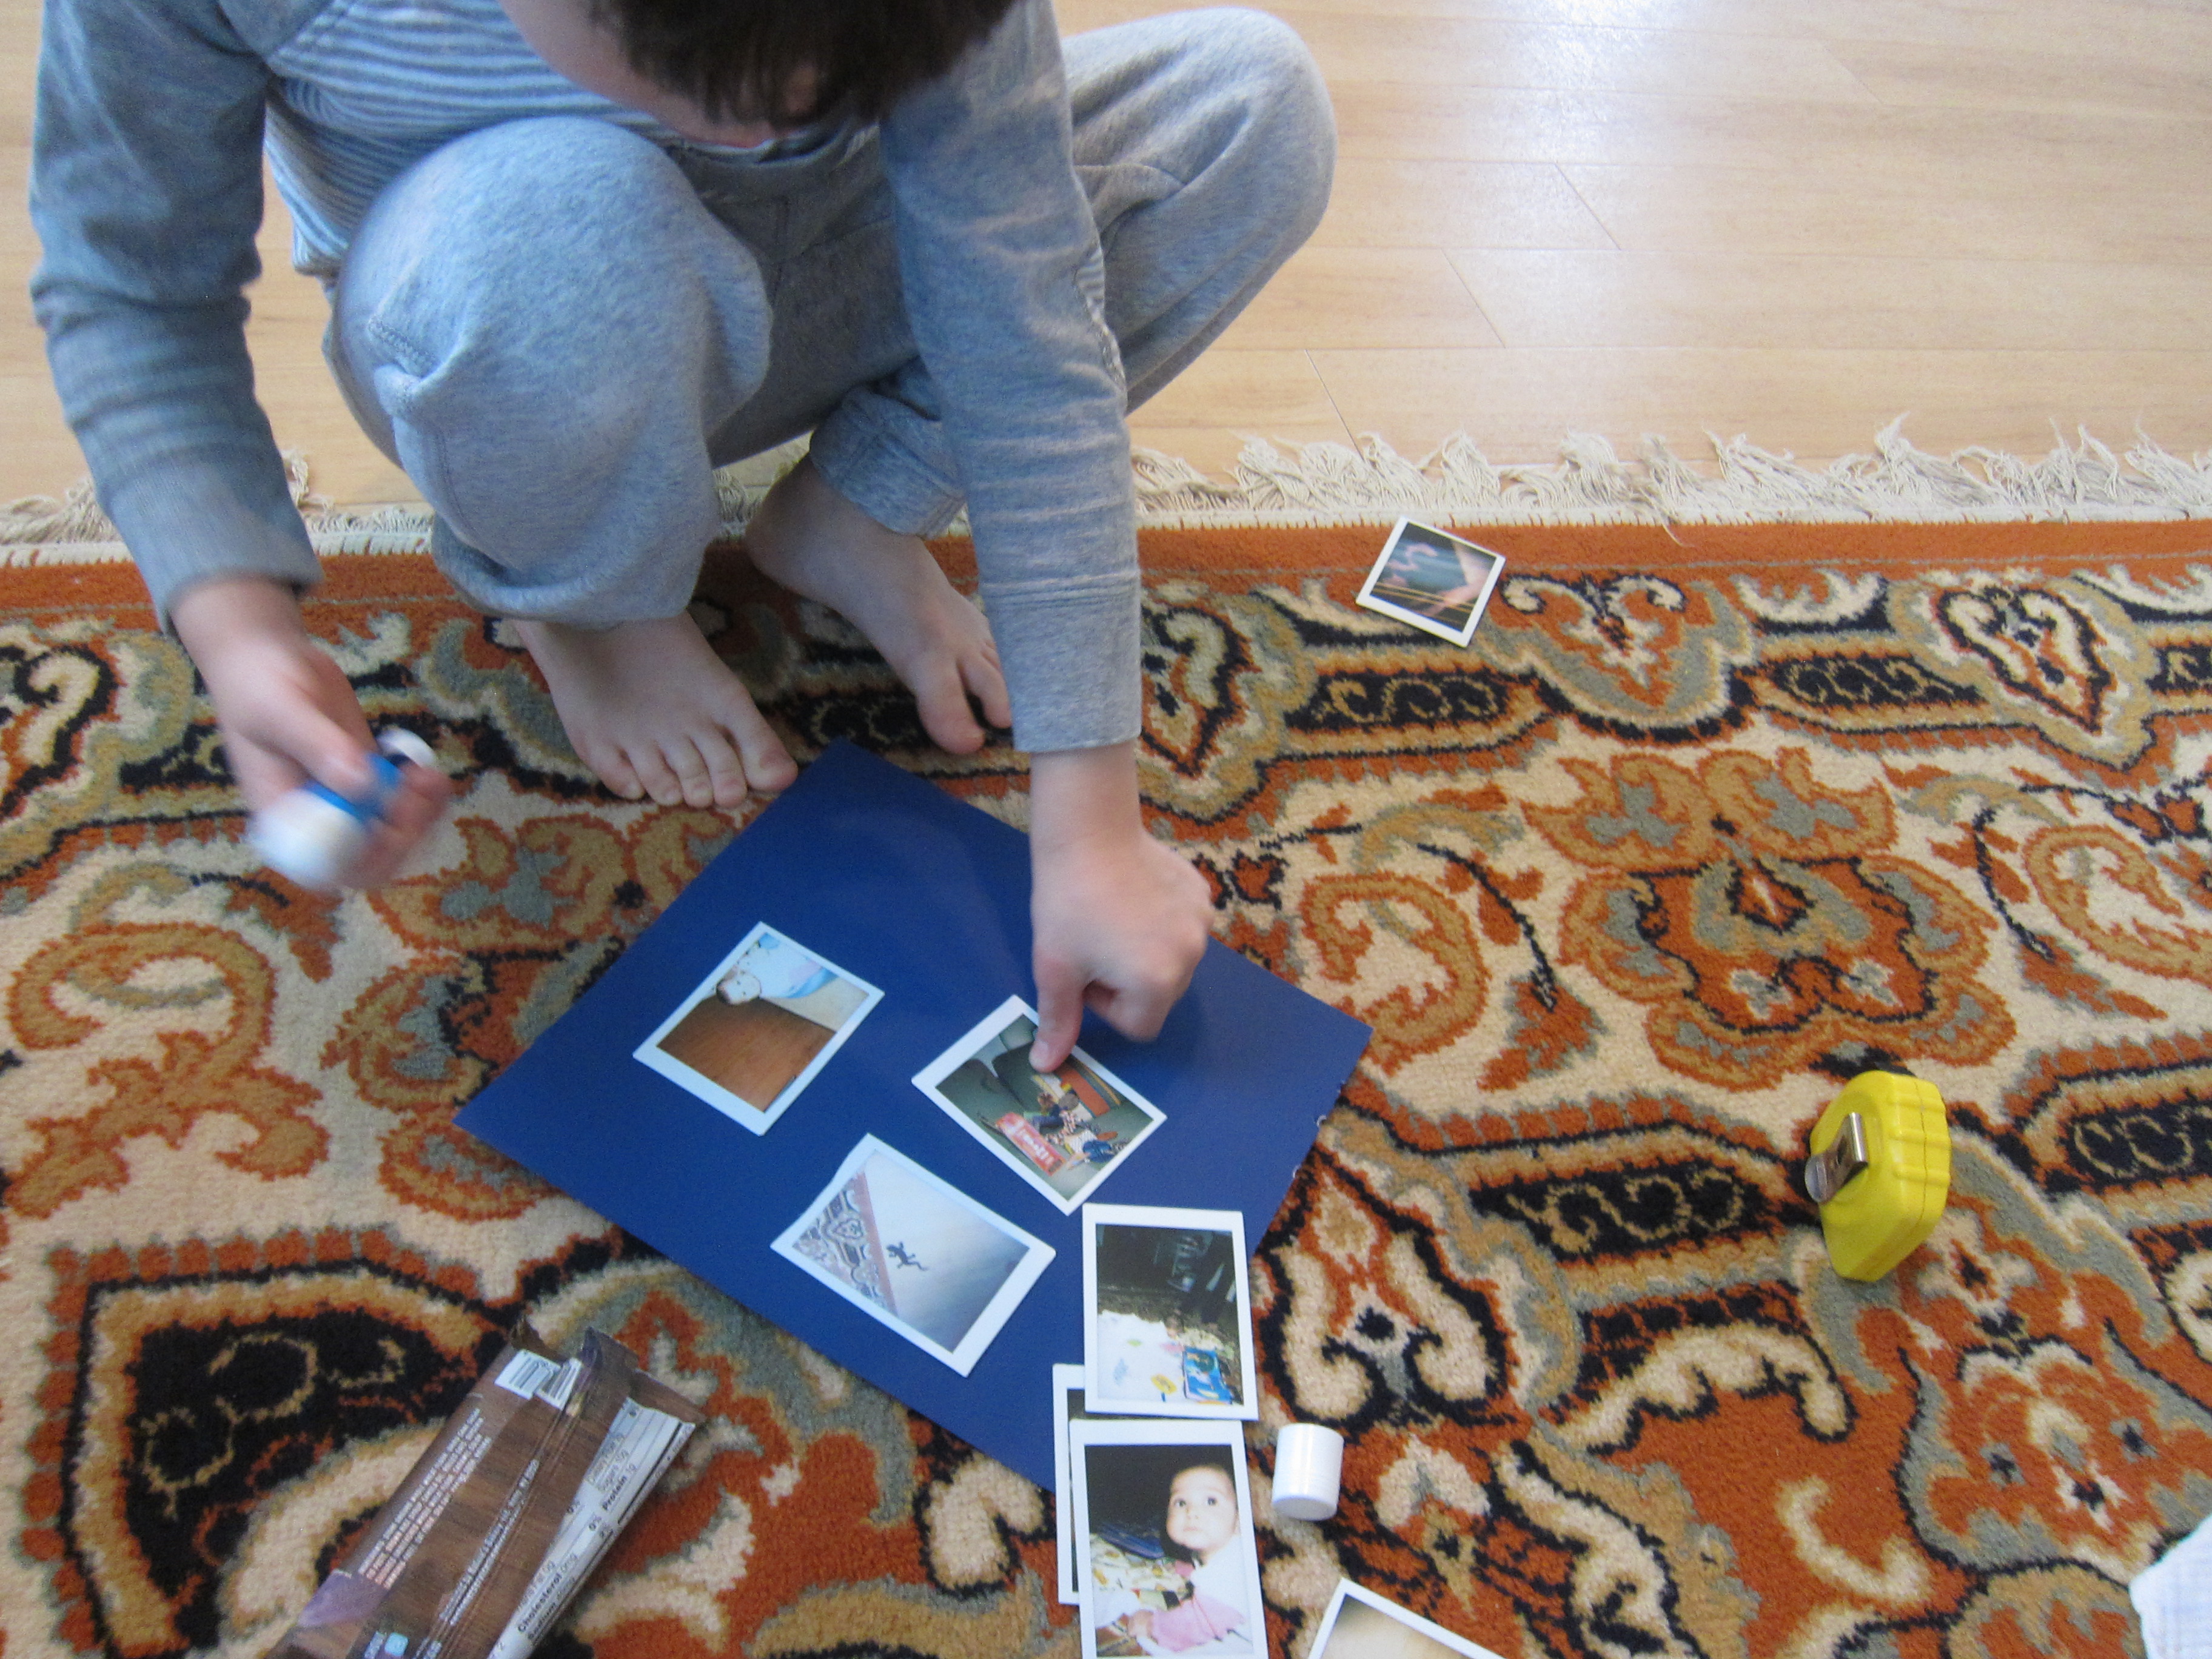
Next, we became photographers! I set Travis loose with the instant camera, and challenged him to find interesting scenes or to get right up close to patterns in the apartment, like those on the carpet or fabrics.

LP Art (21)

Then we glued them all down in a collage!

LP Art (22)

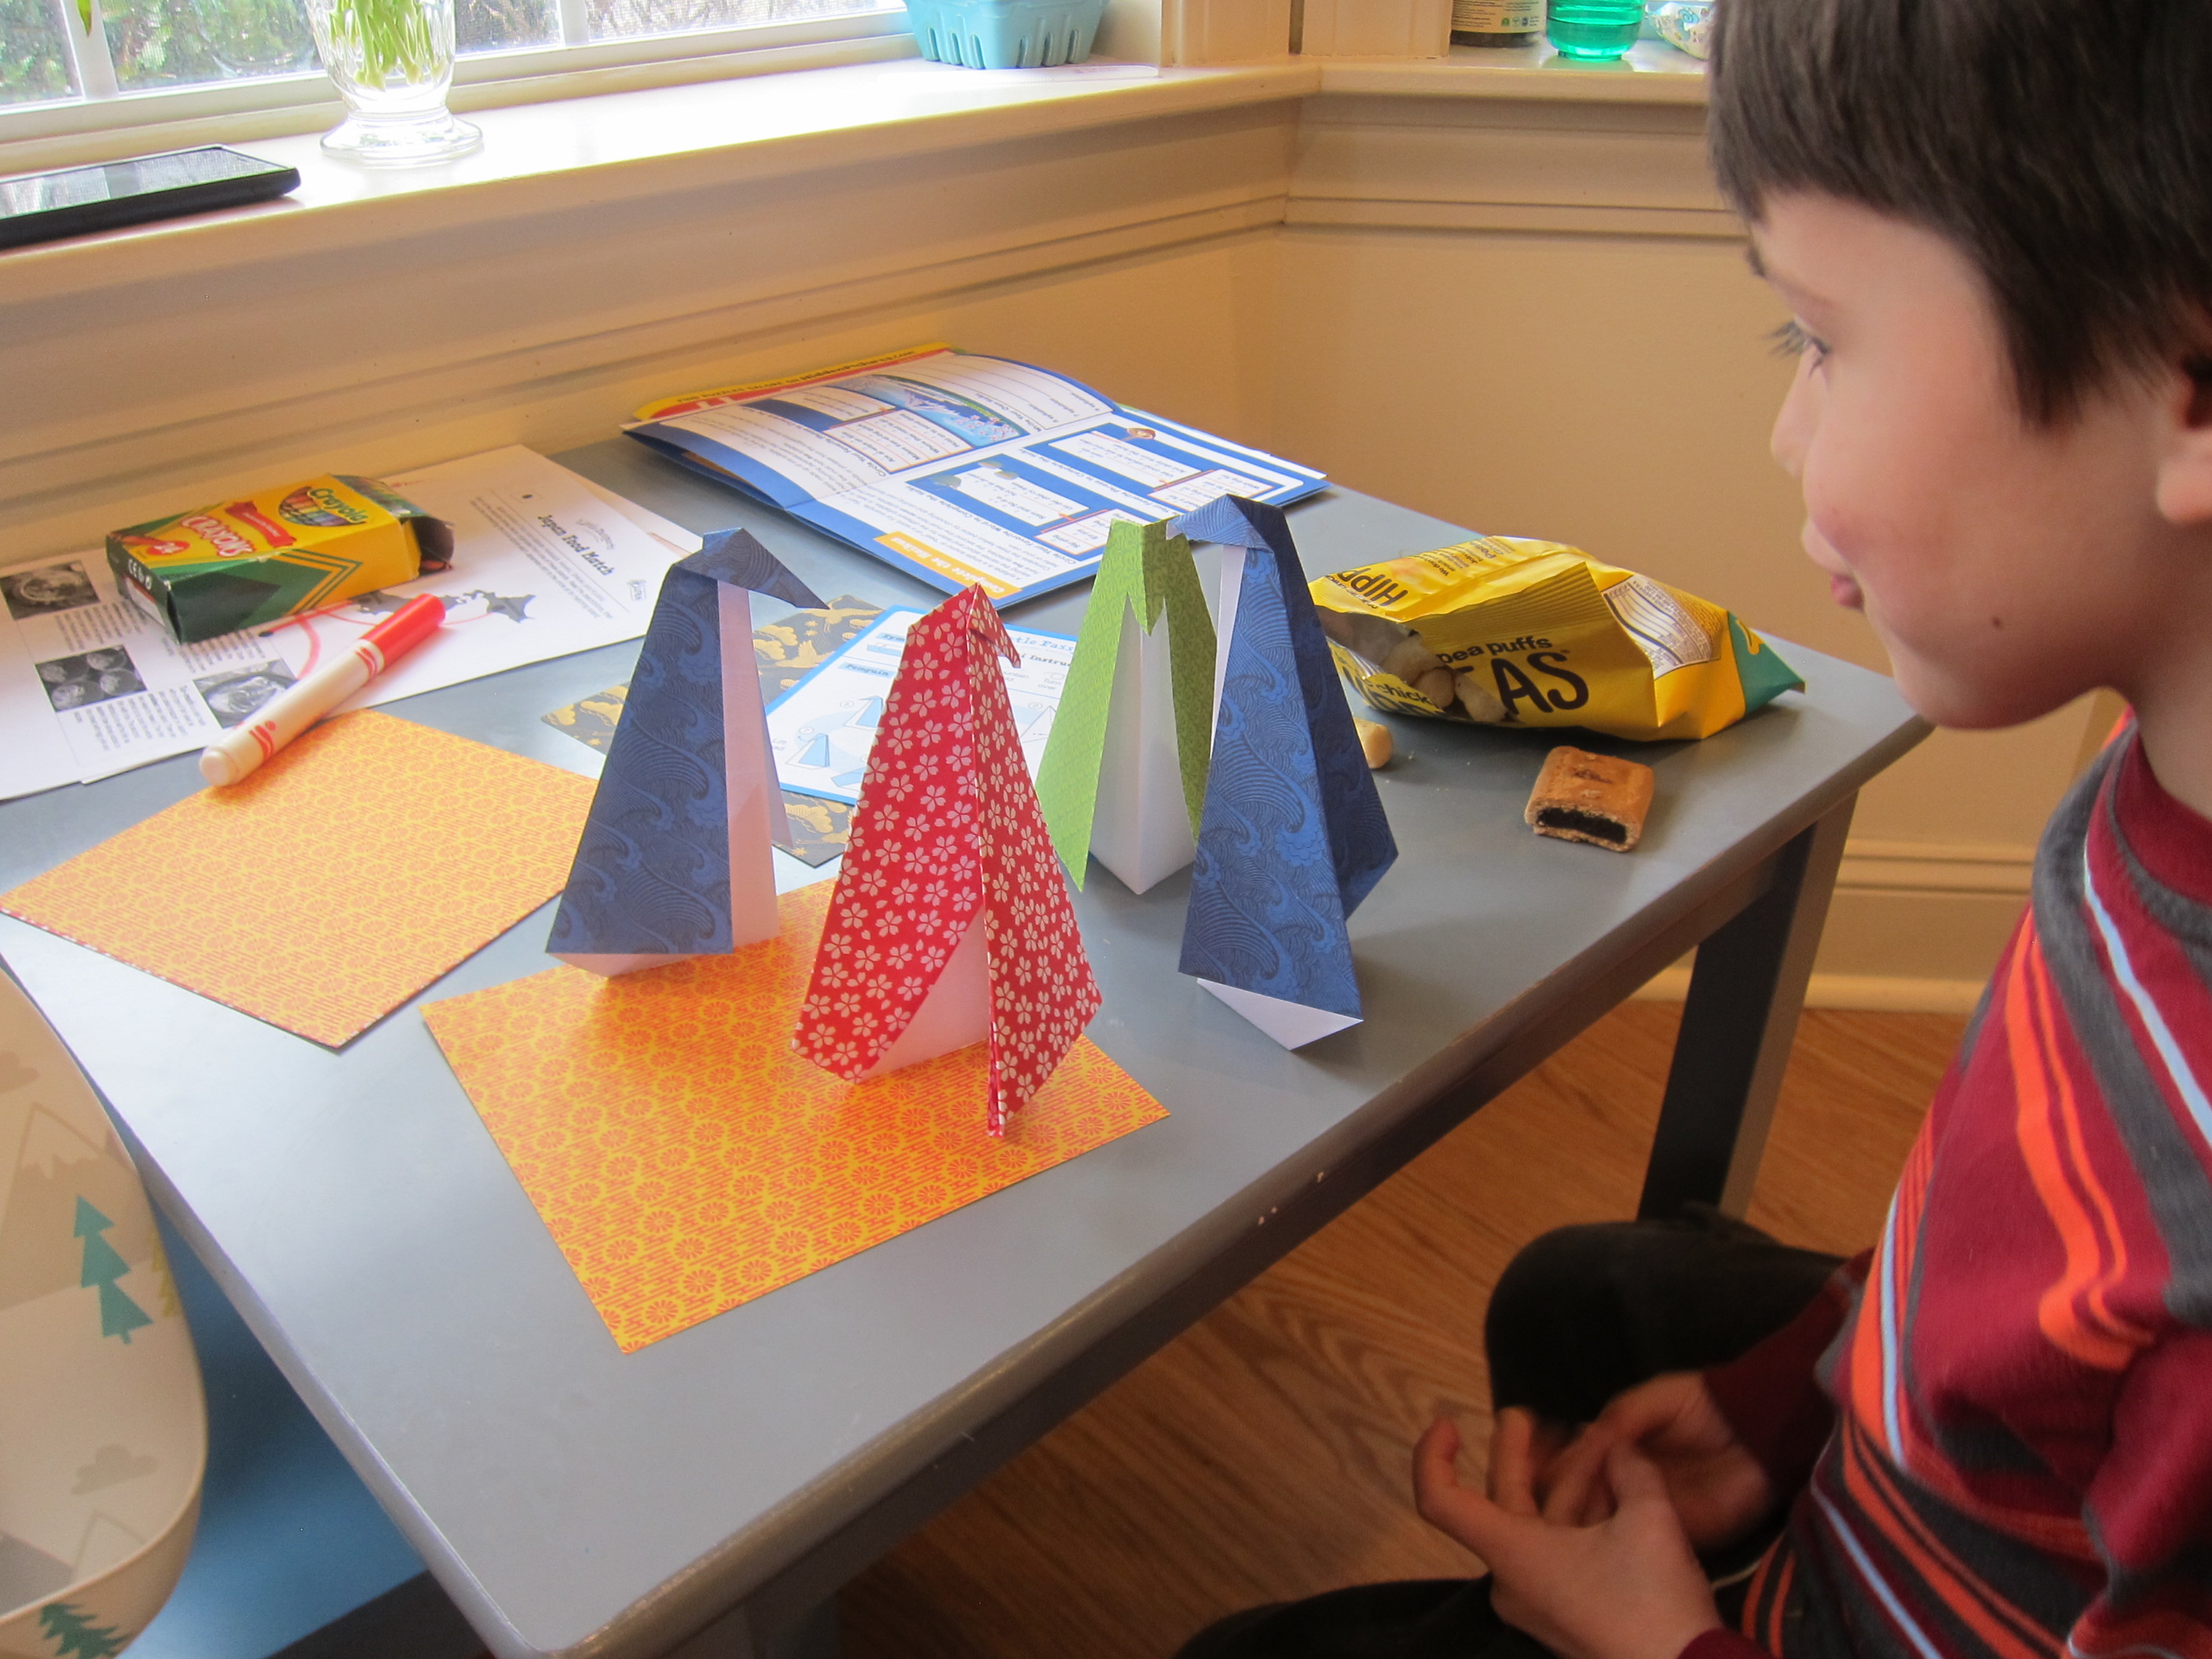
Next up, he played with the art Constructibles set from Little Passport’s online shop.

LP Art (17)

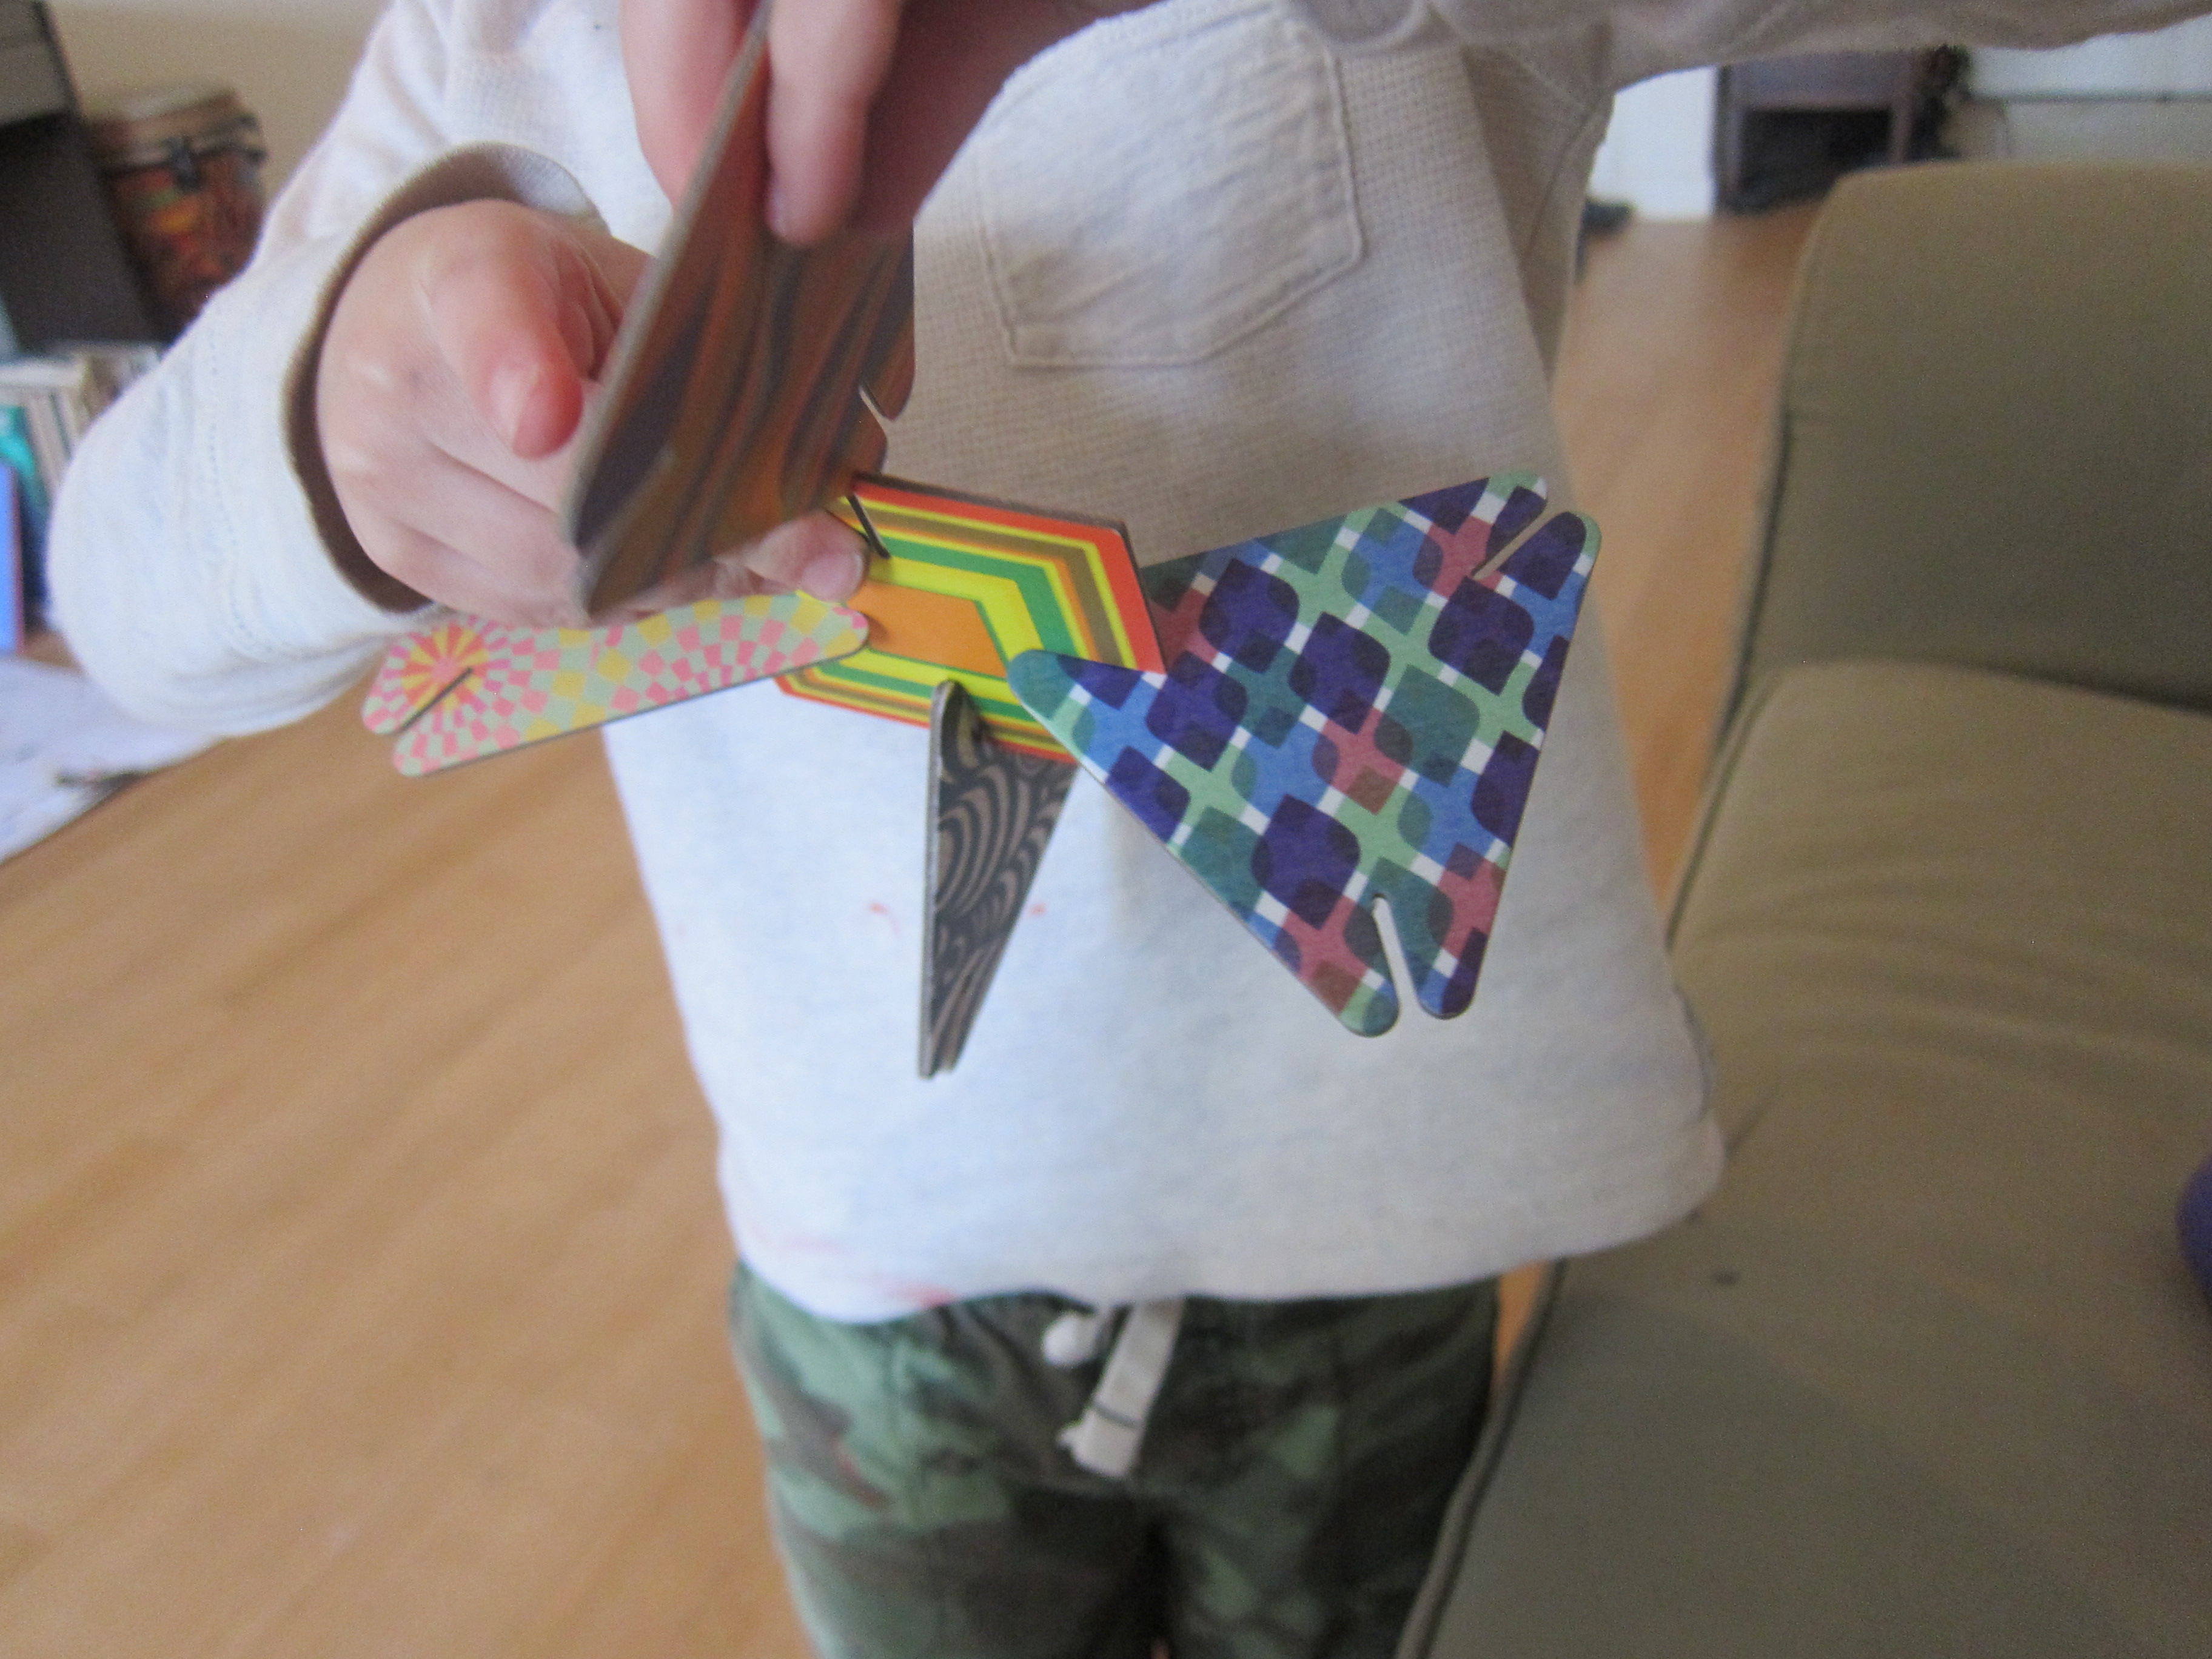
Travis immediately began slotting them together (each is based upon a specific textile pattern, for those interested in the designs), and soon he was building detailed creations.

LP Art (20)

These could be buildings, animals, sculptures – whatever your child thinks they are!

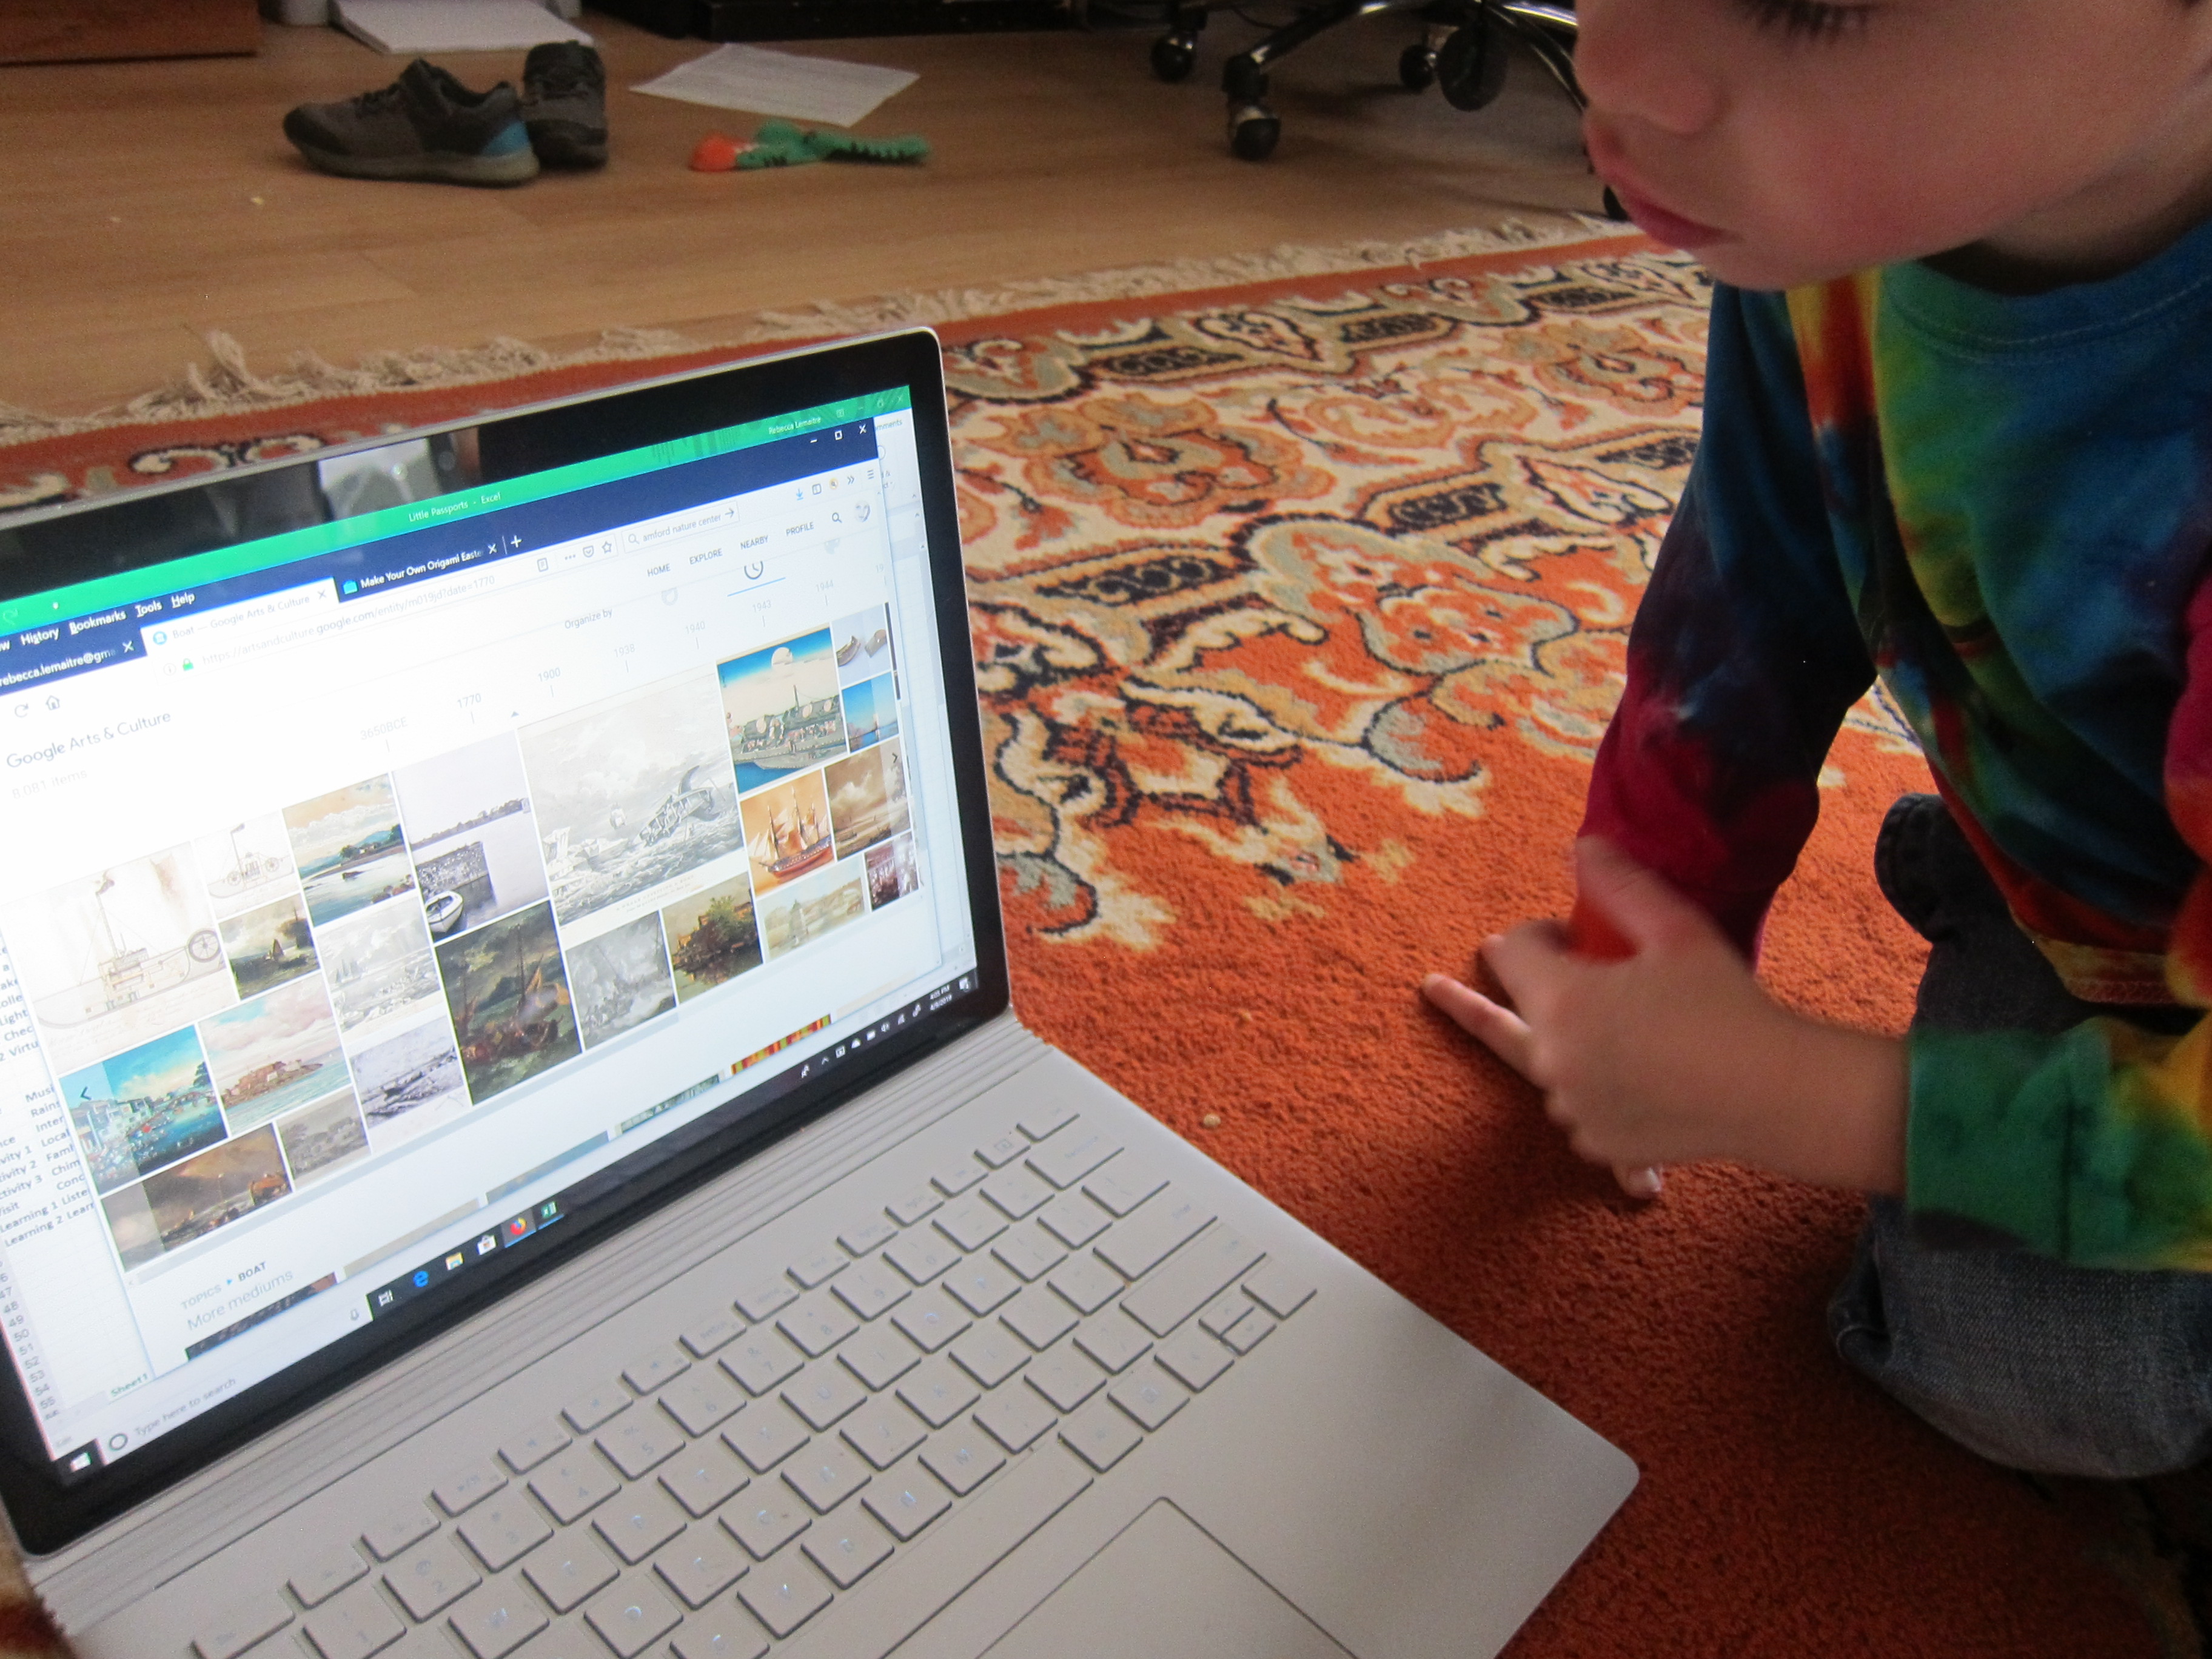
You can expand the fun with research online. We followed a link from Little Passport’s blog to the Google Art Project. I was so impressed when Travis immediately recognized a painting from a magnet on our fridge!

LP Art (25)

This is a great way to learn in depth about a specific artwork, theme, or artist.

LP Art (26)

The library had ample offerings on art to further our learning, almost too many. We particularly liked the projects in a book about Impressionism.

LP Art (29)

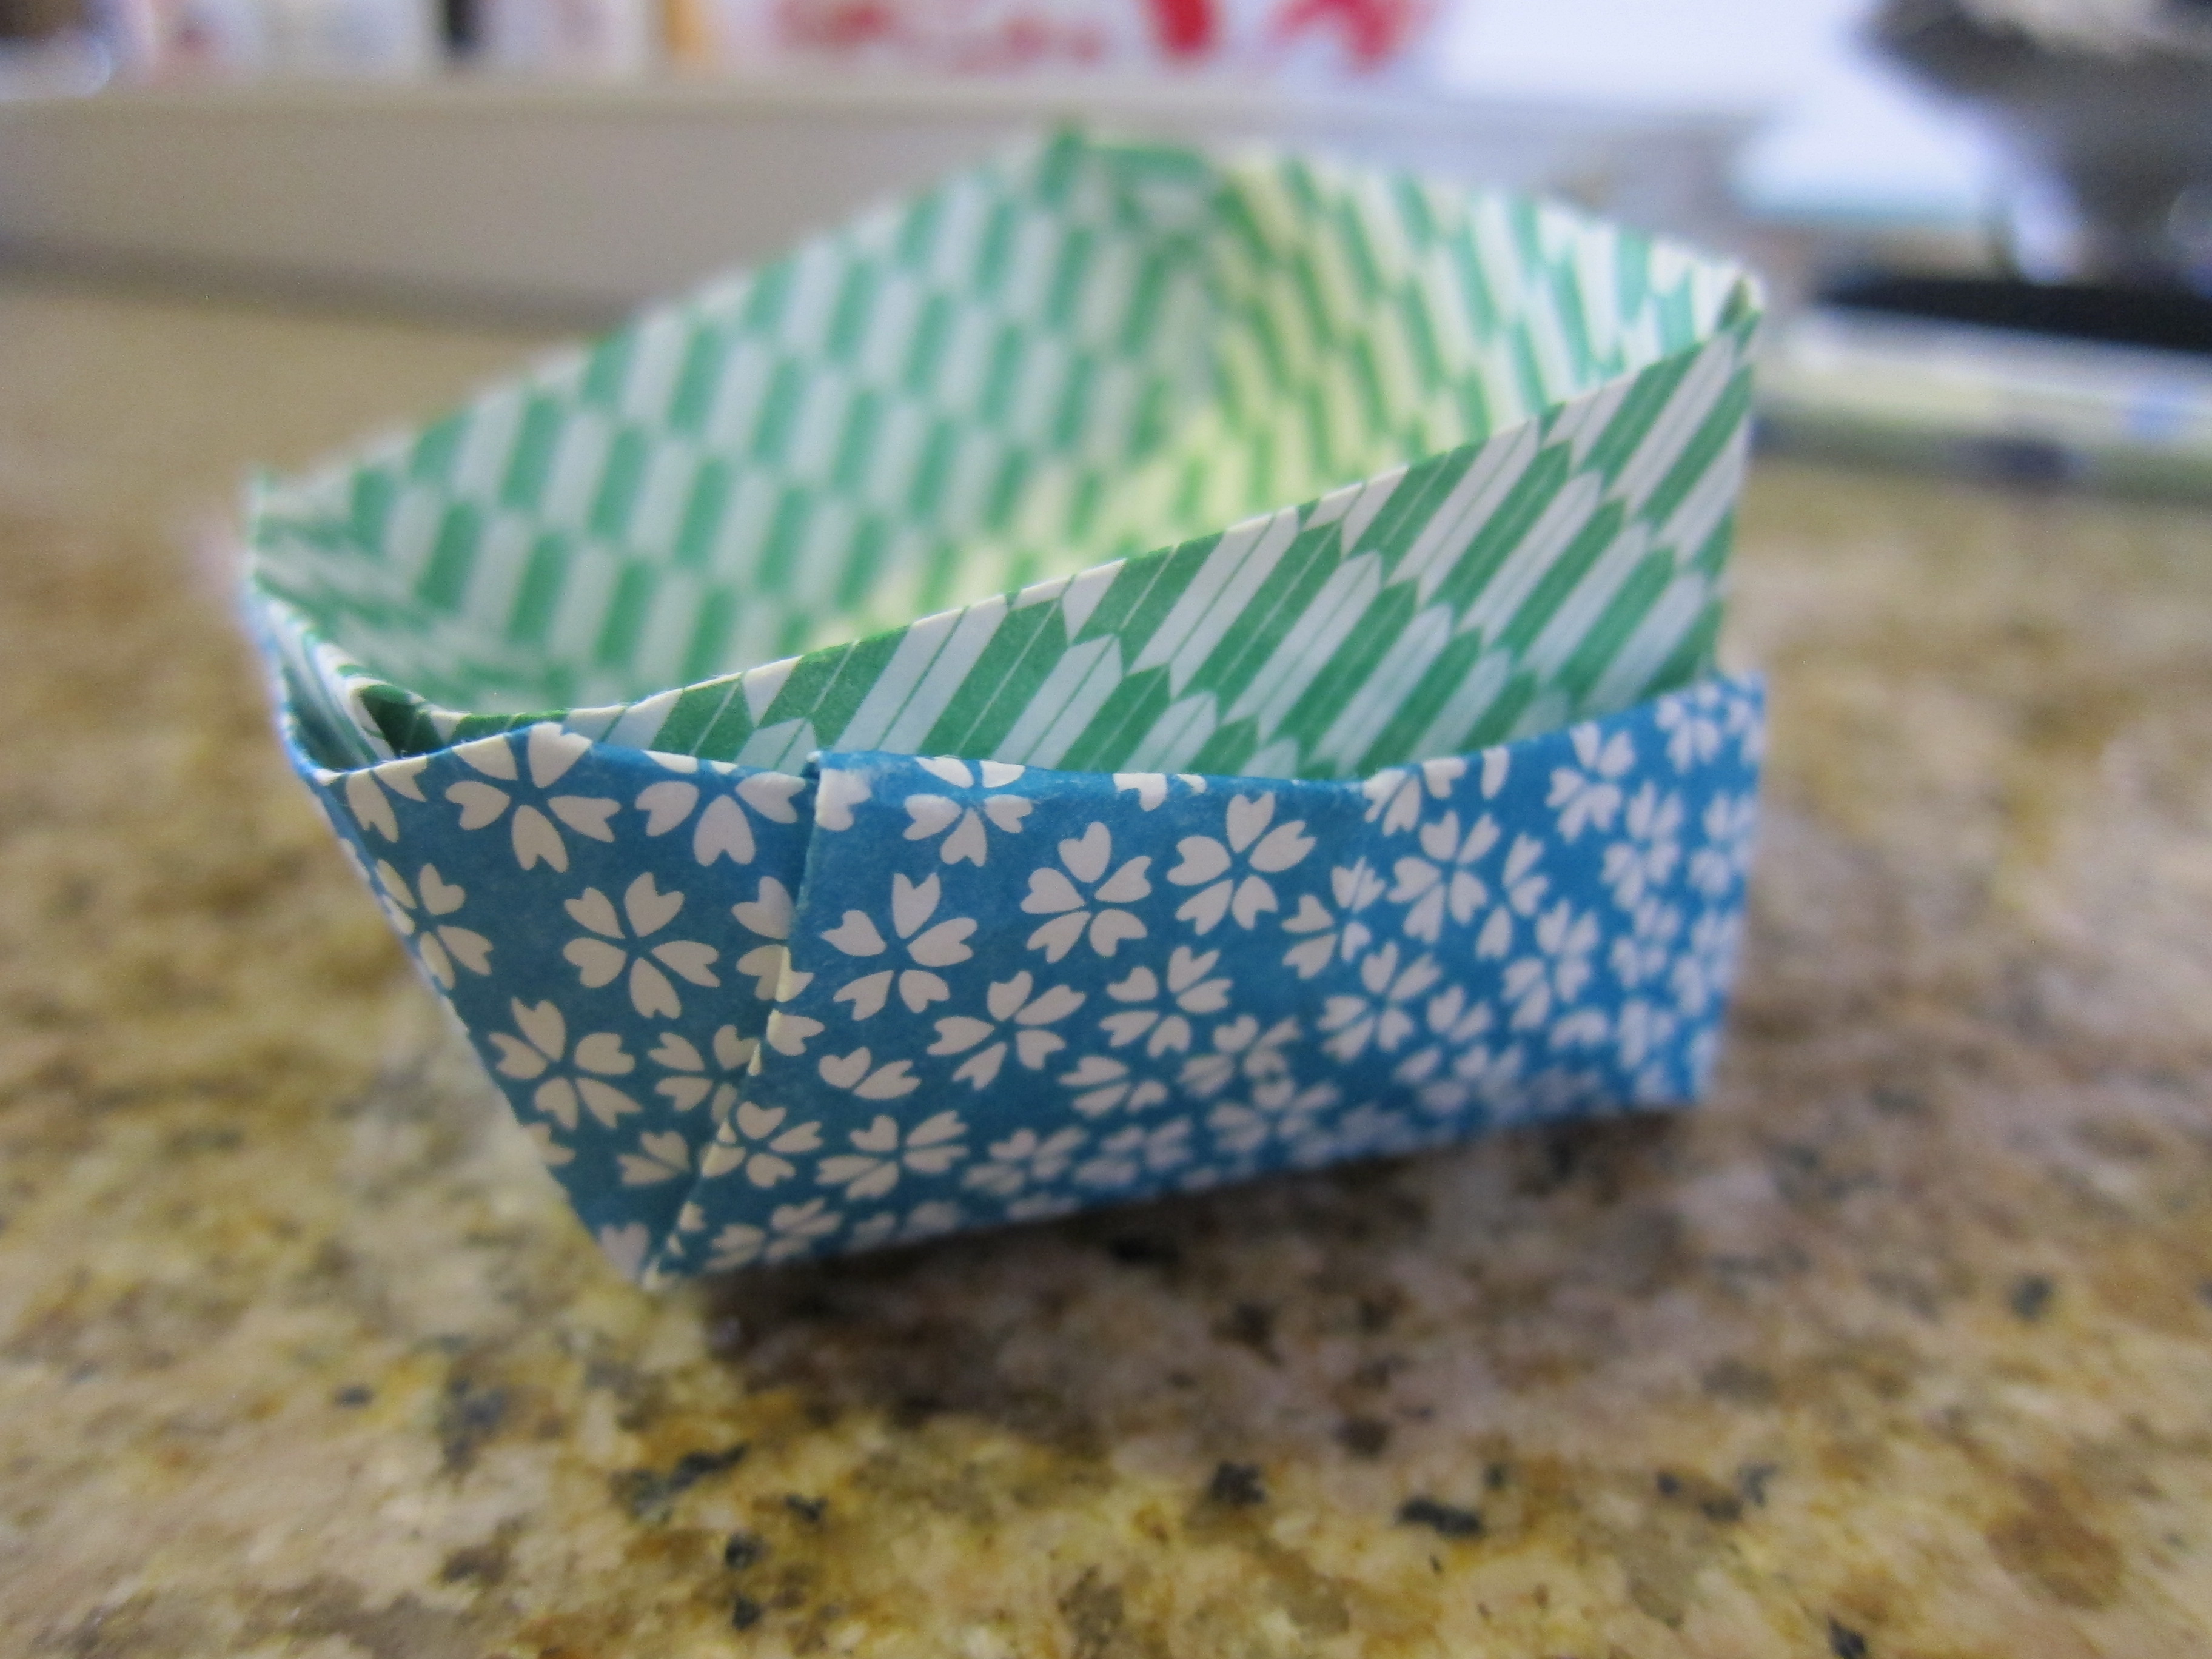
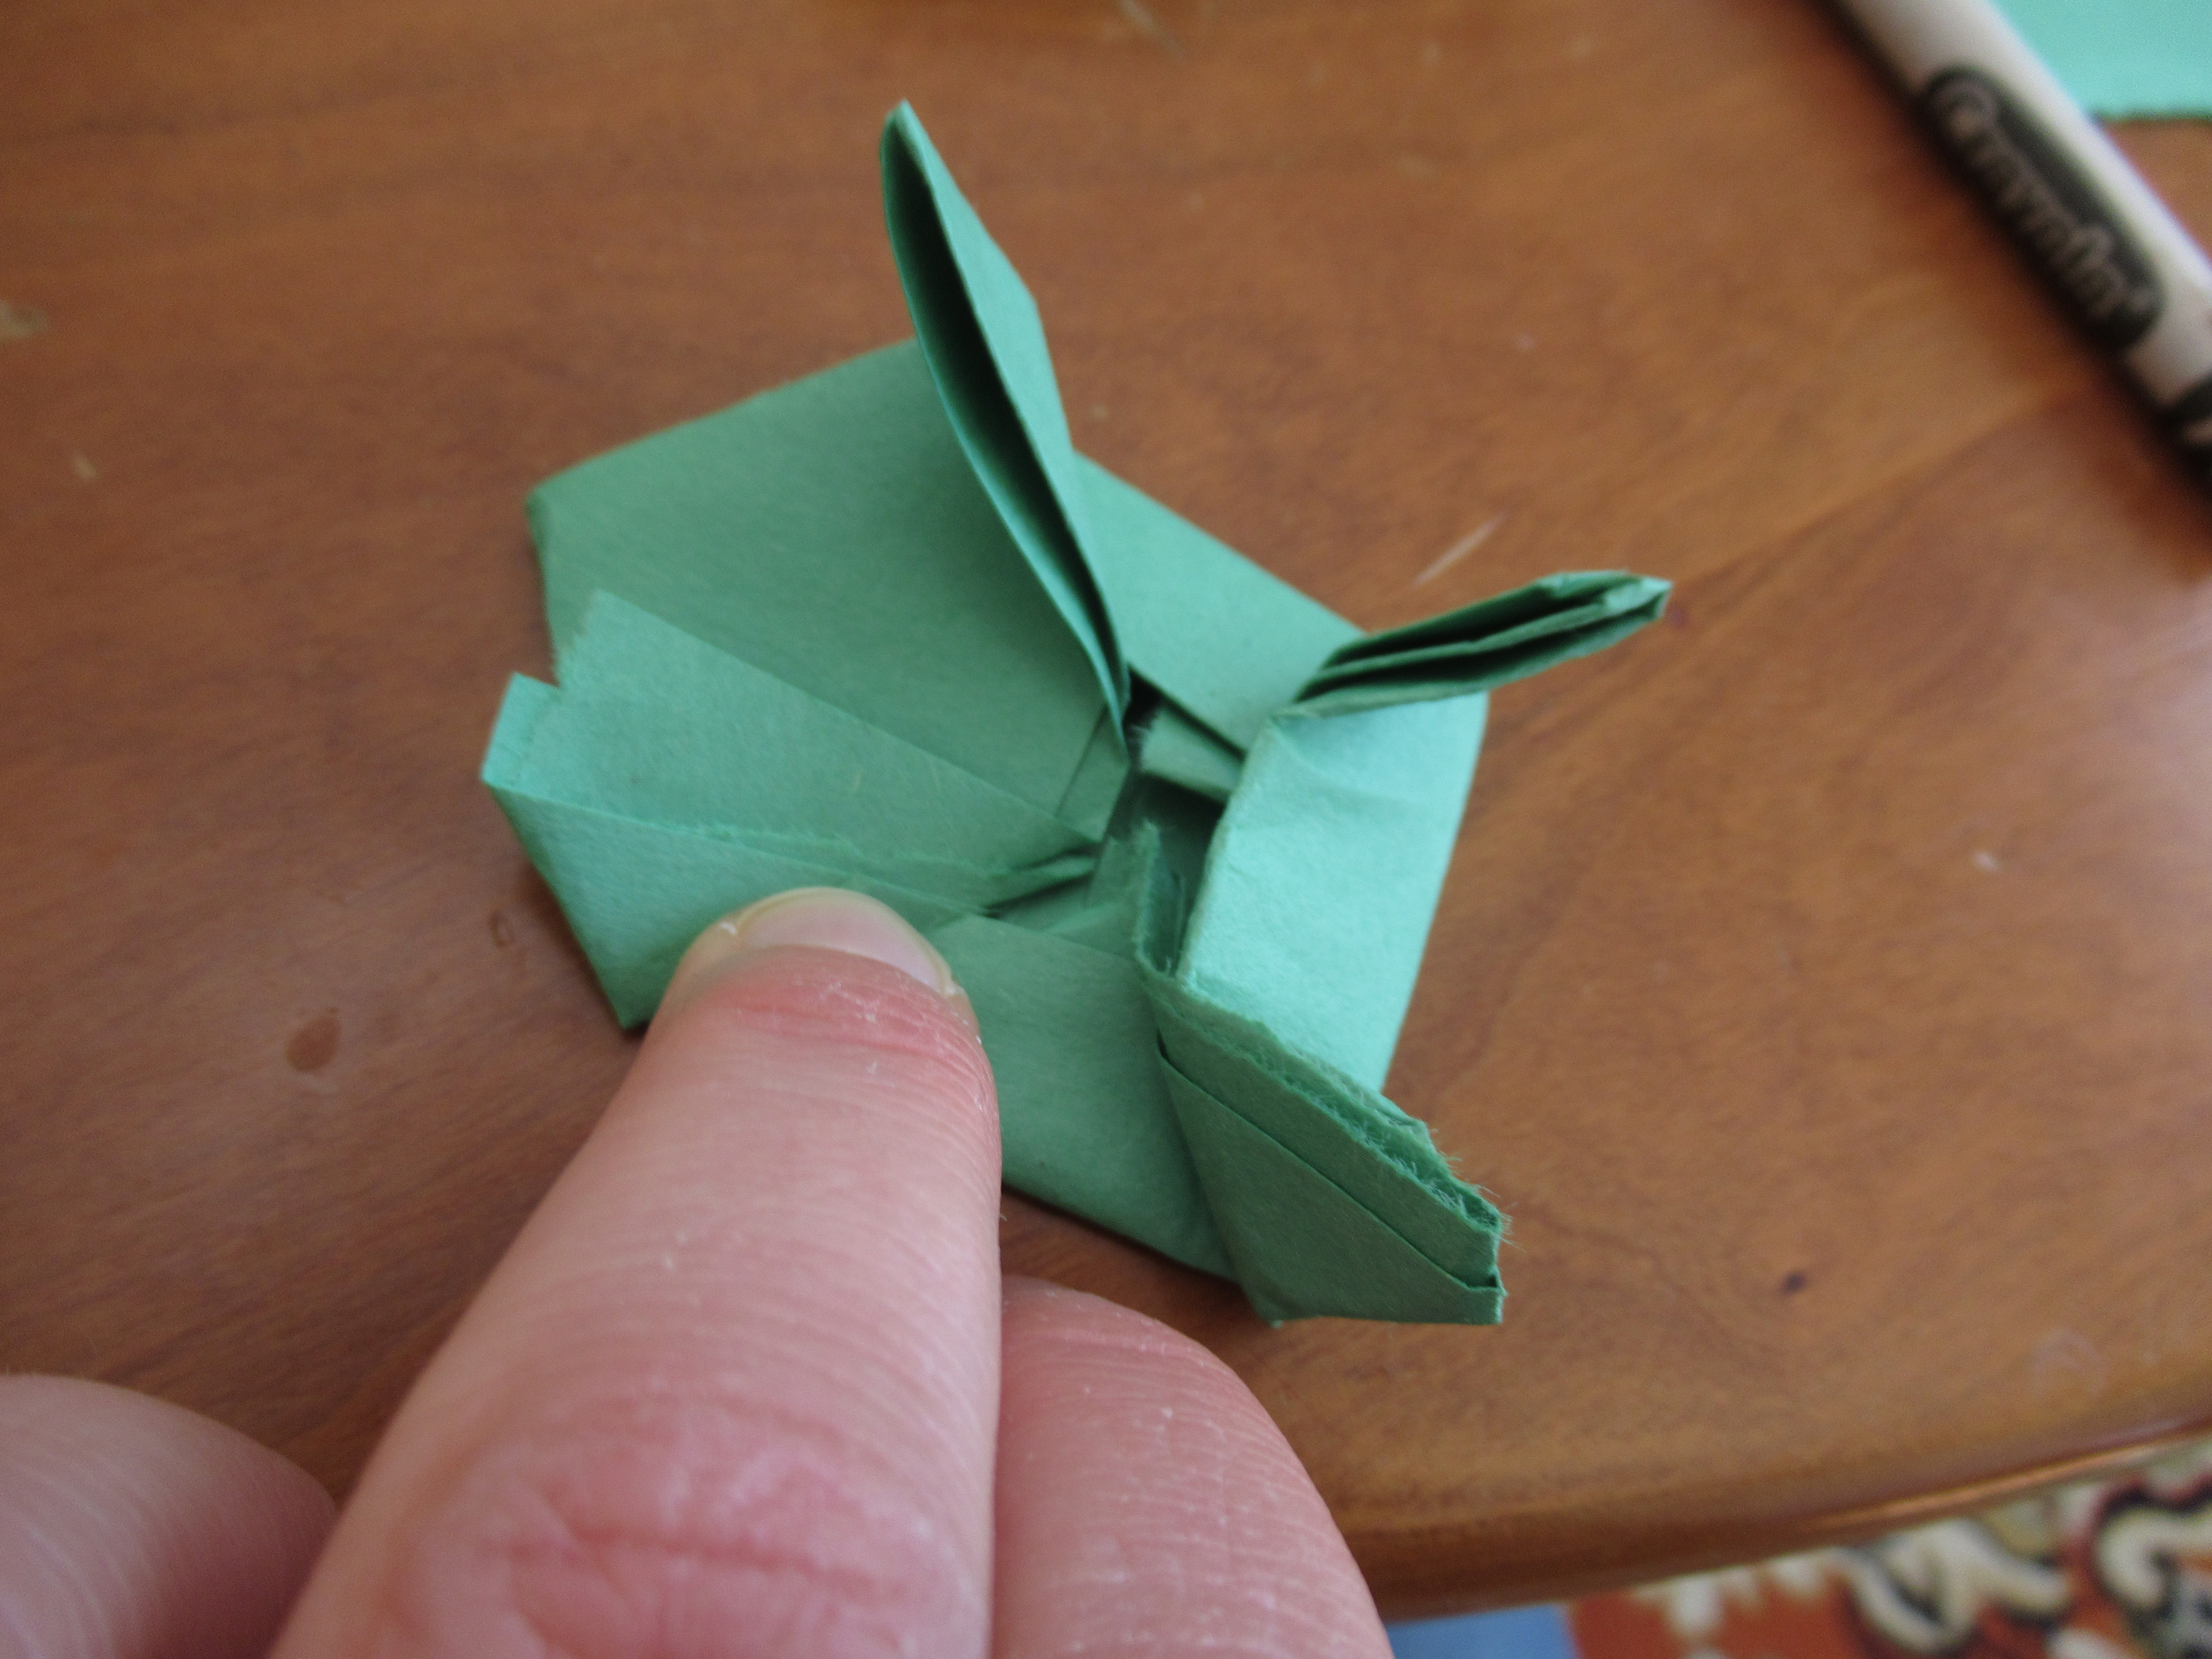
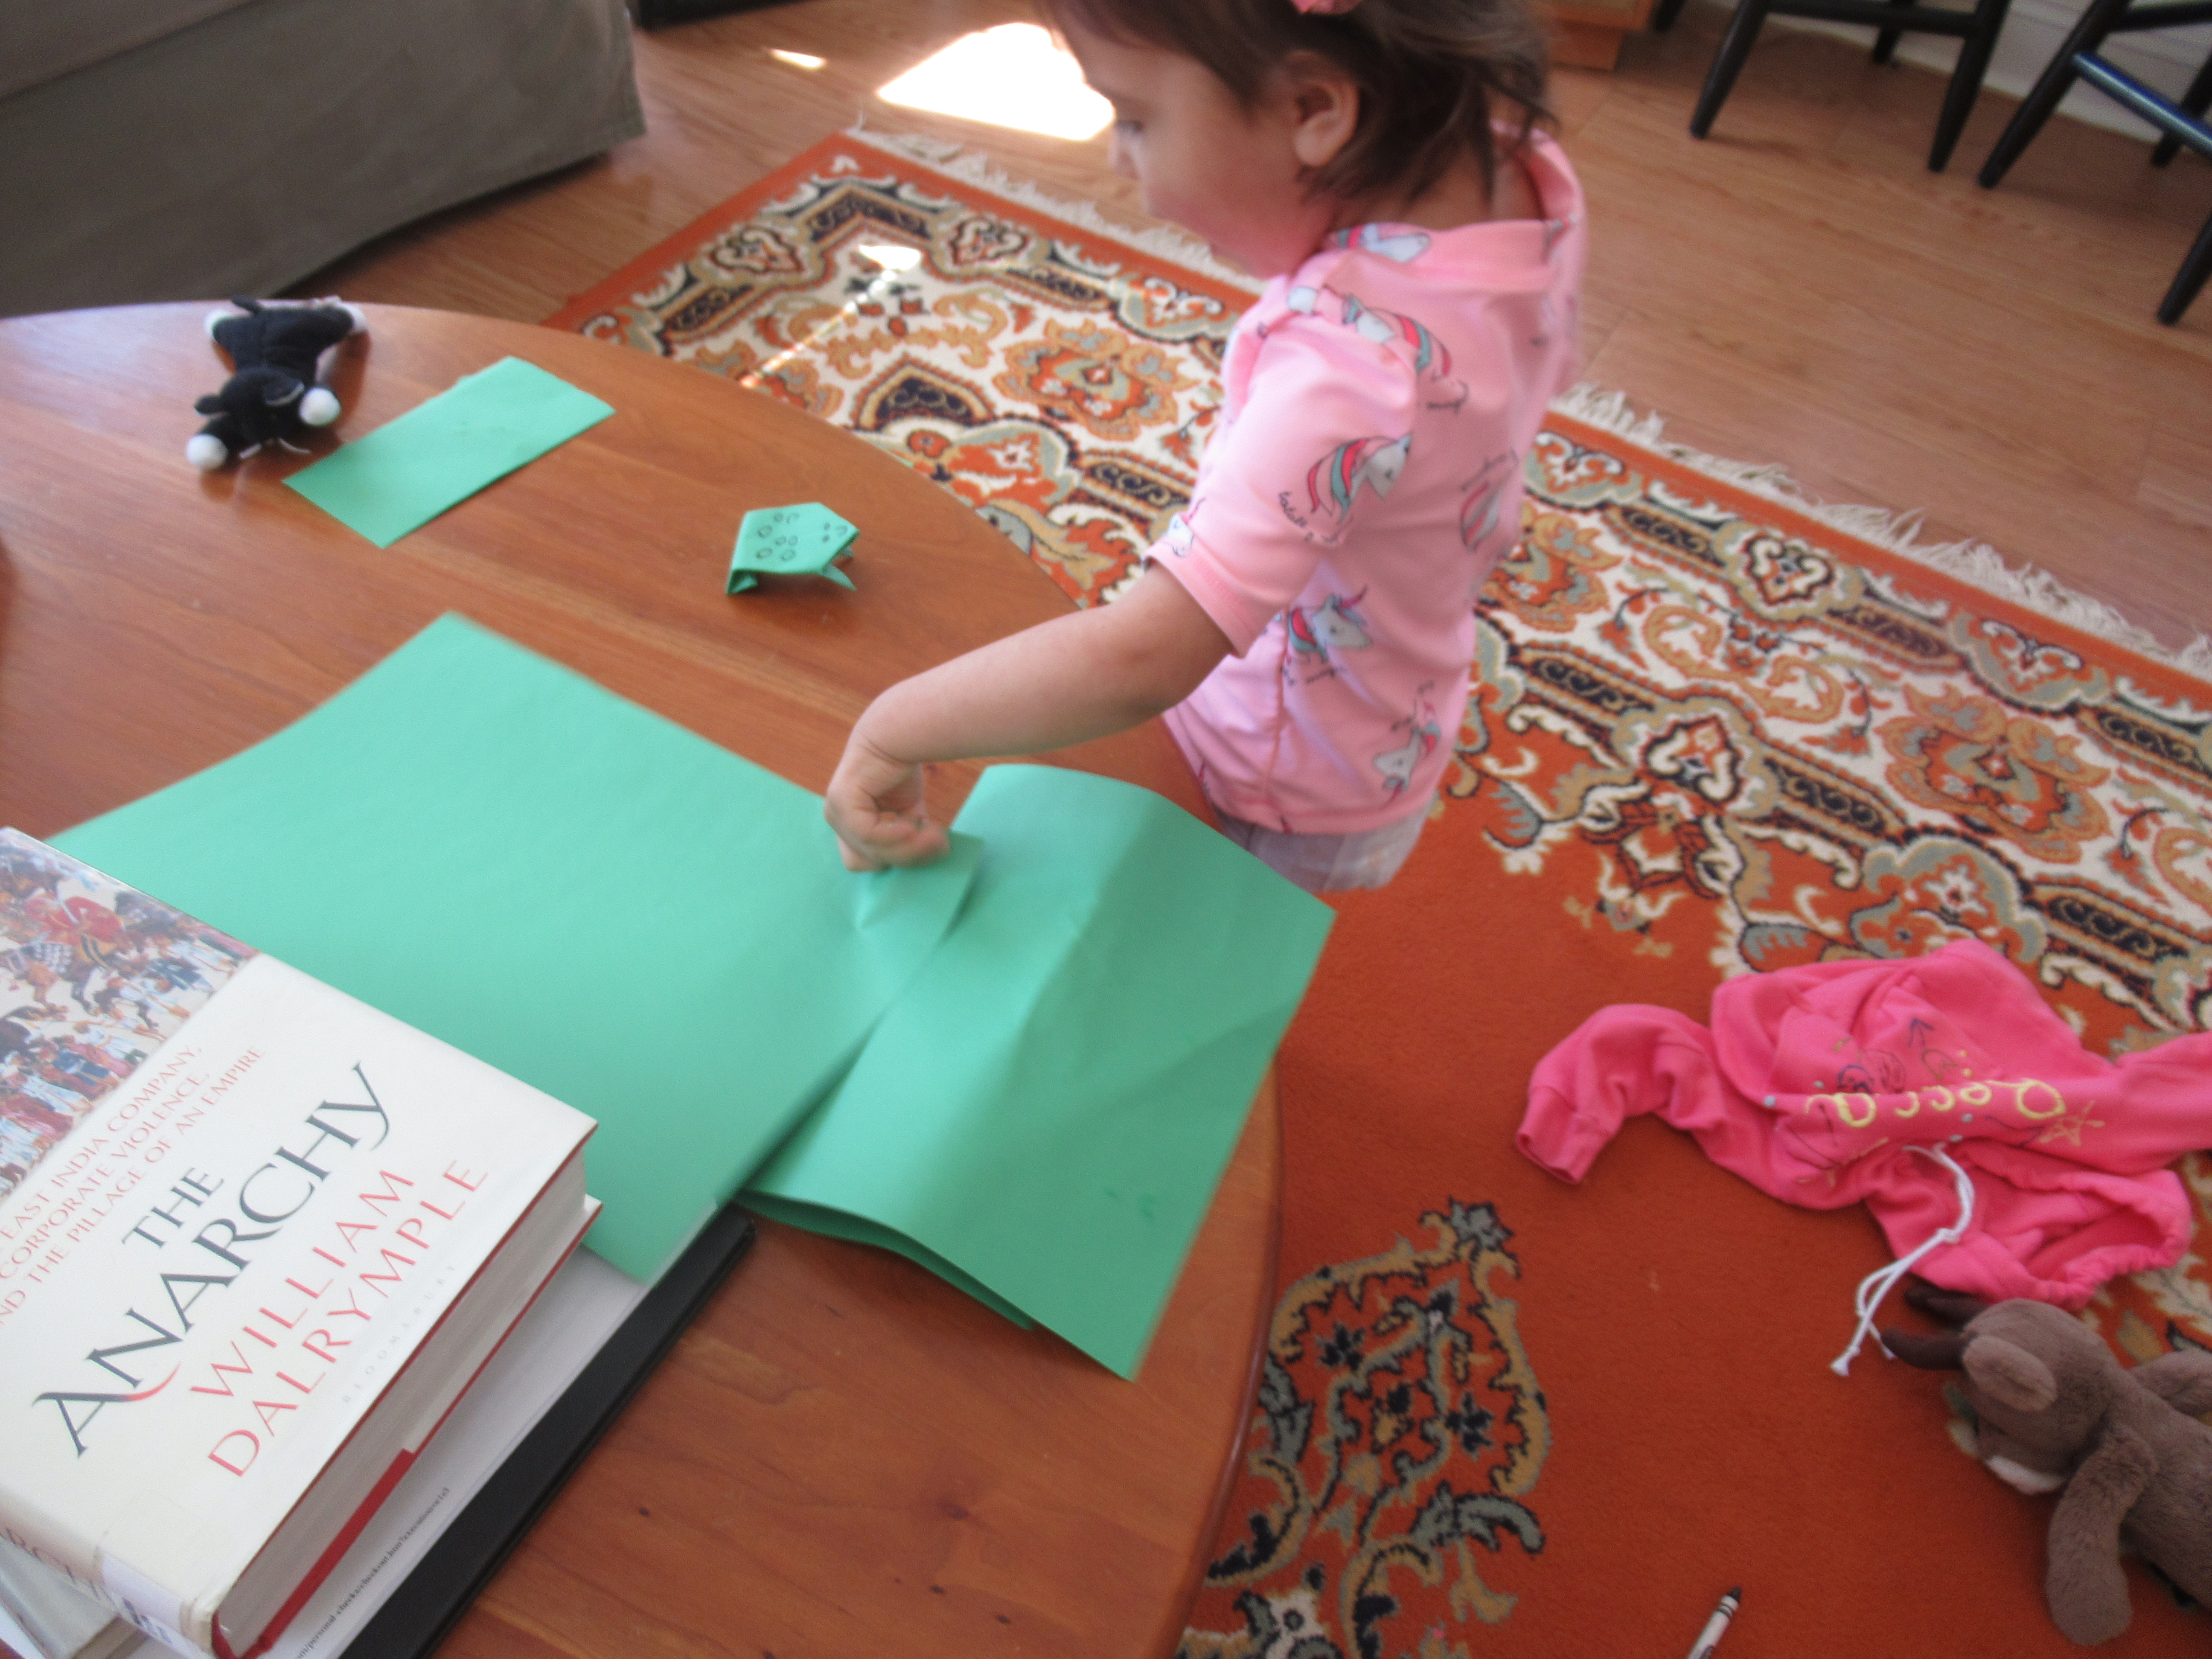
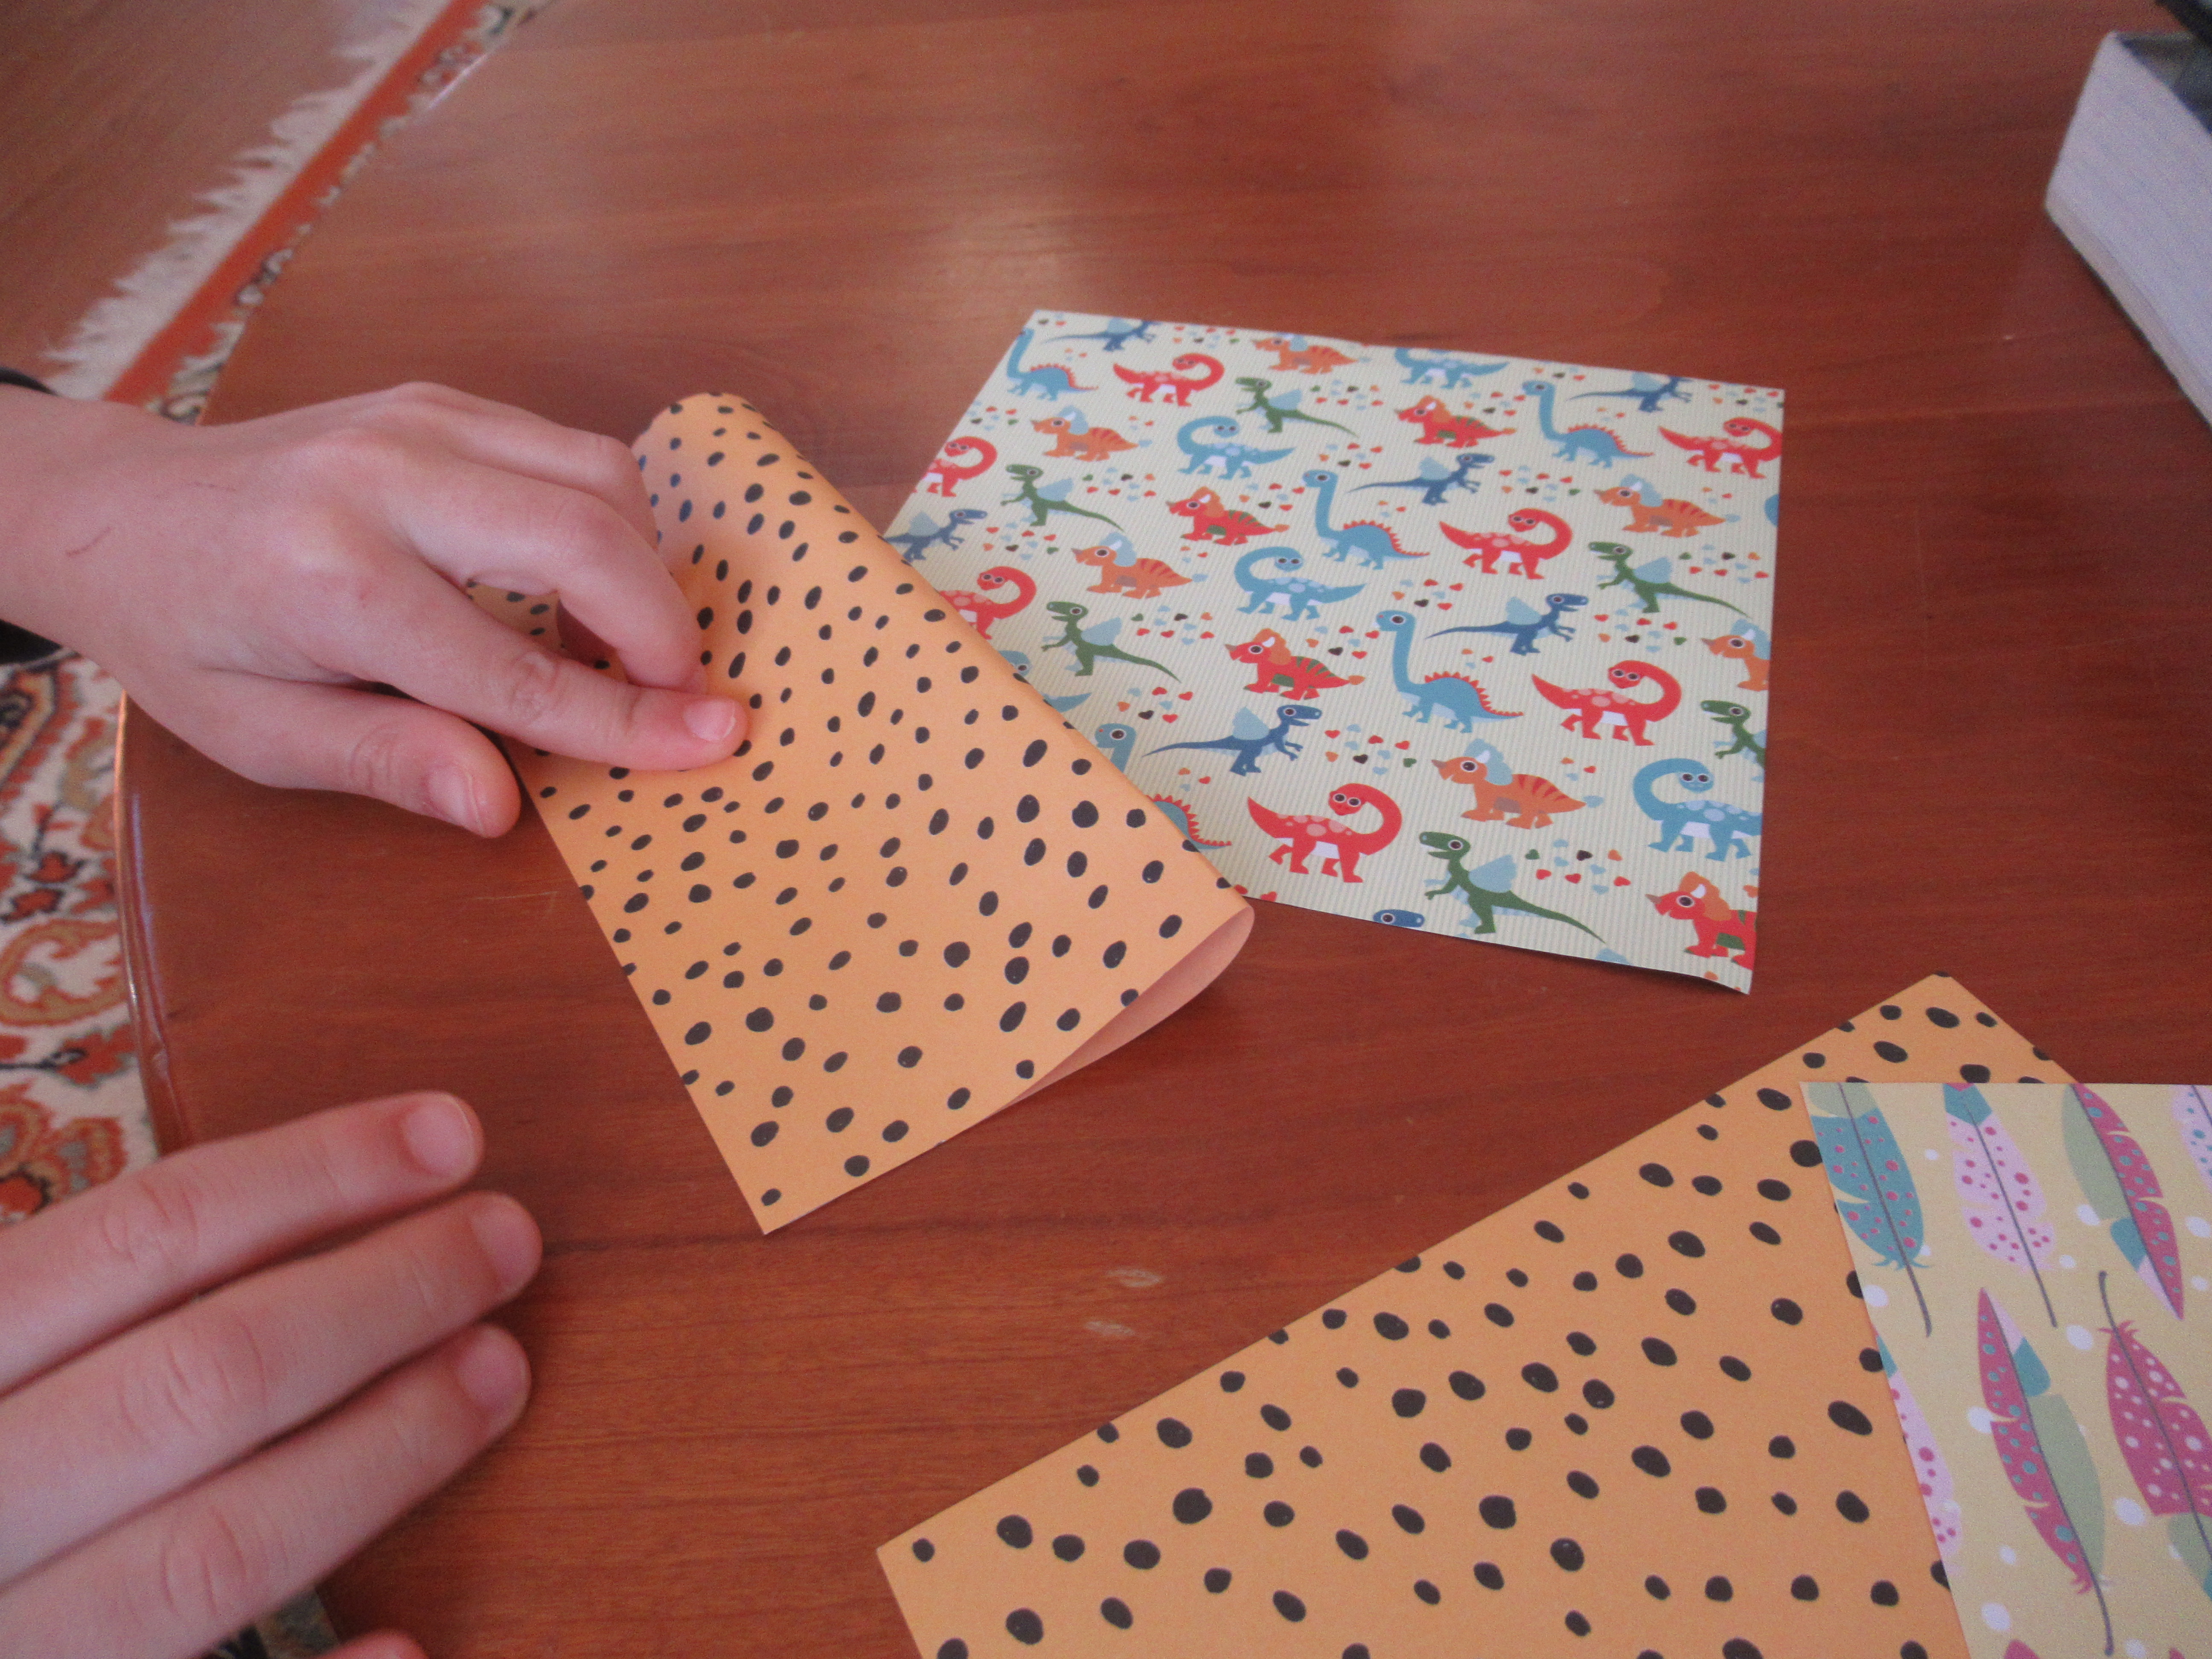
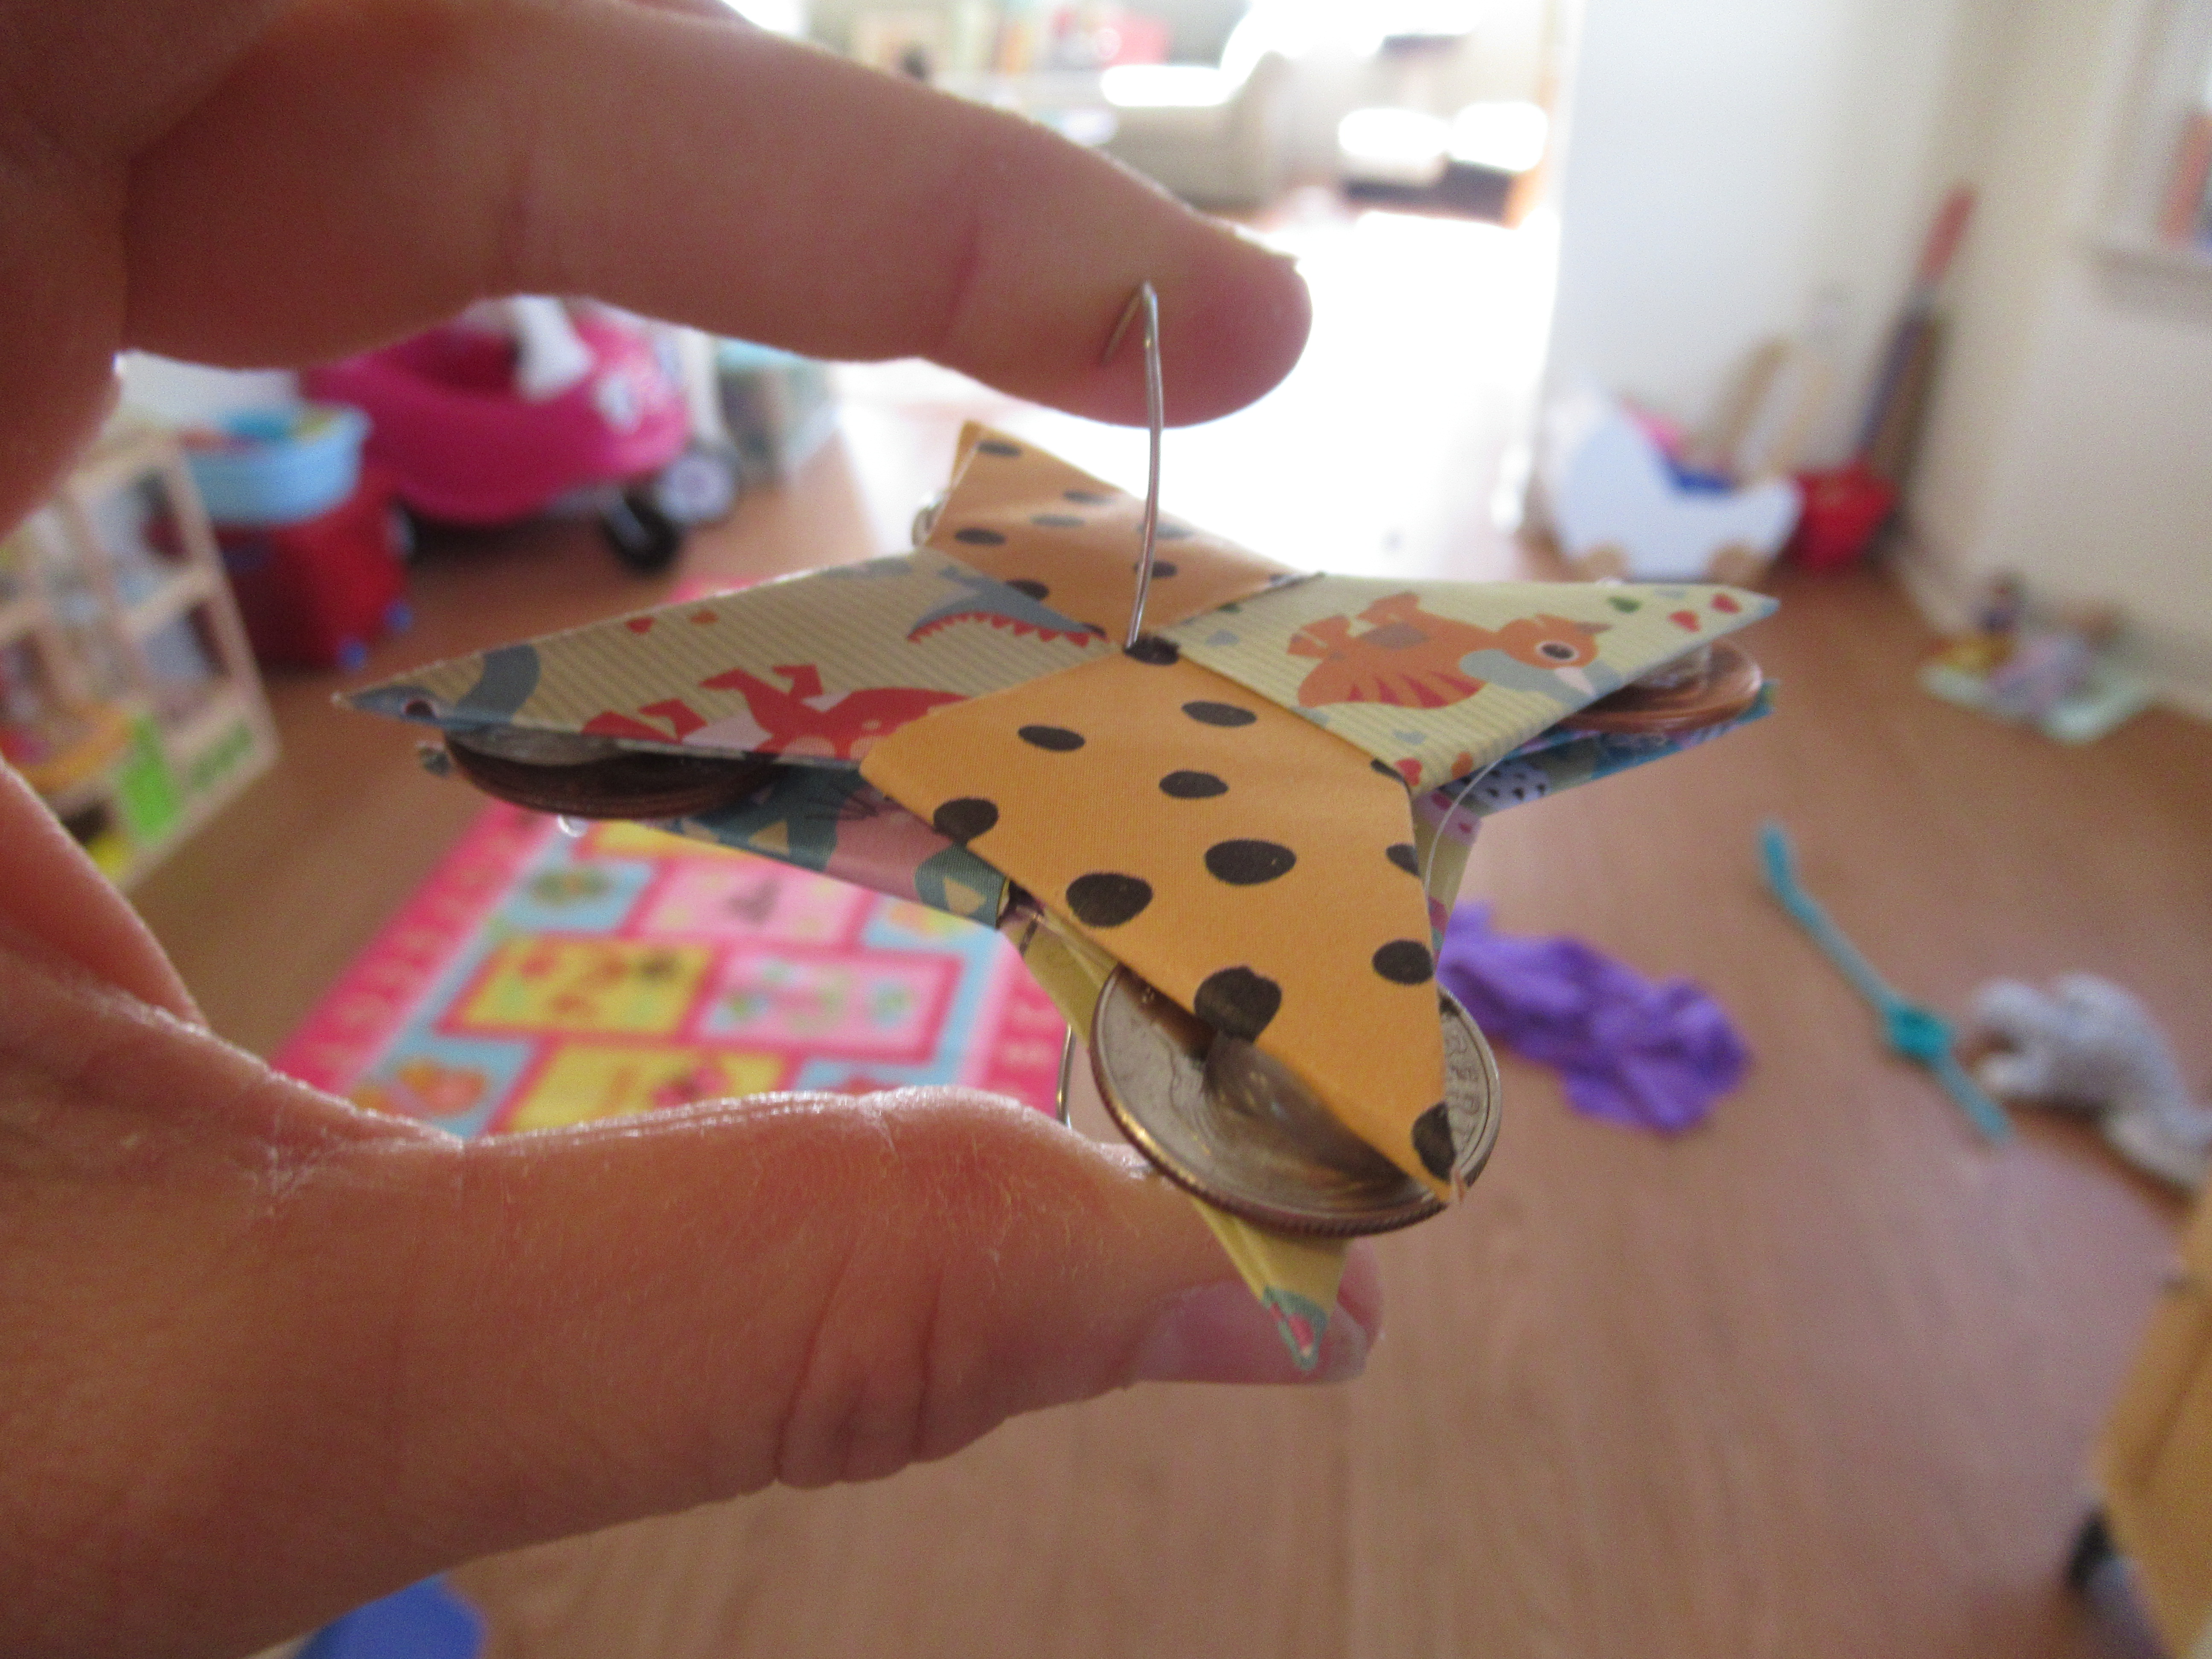
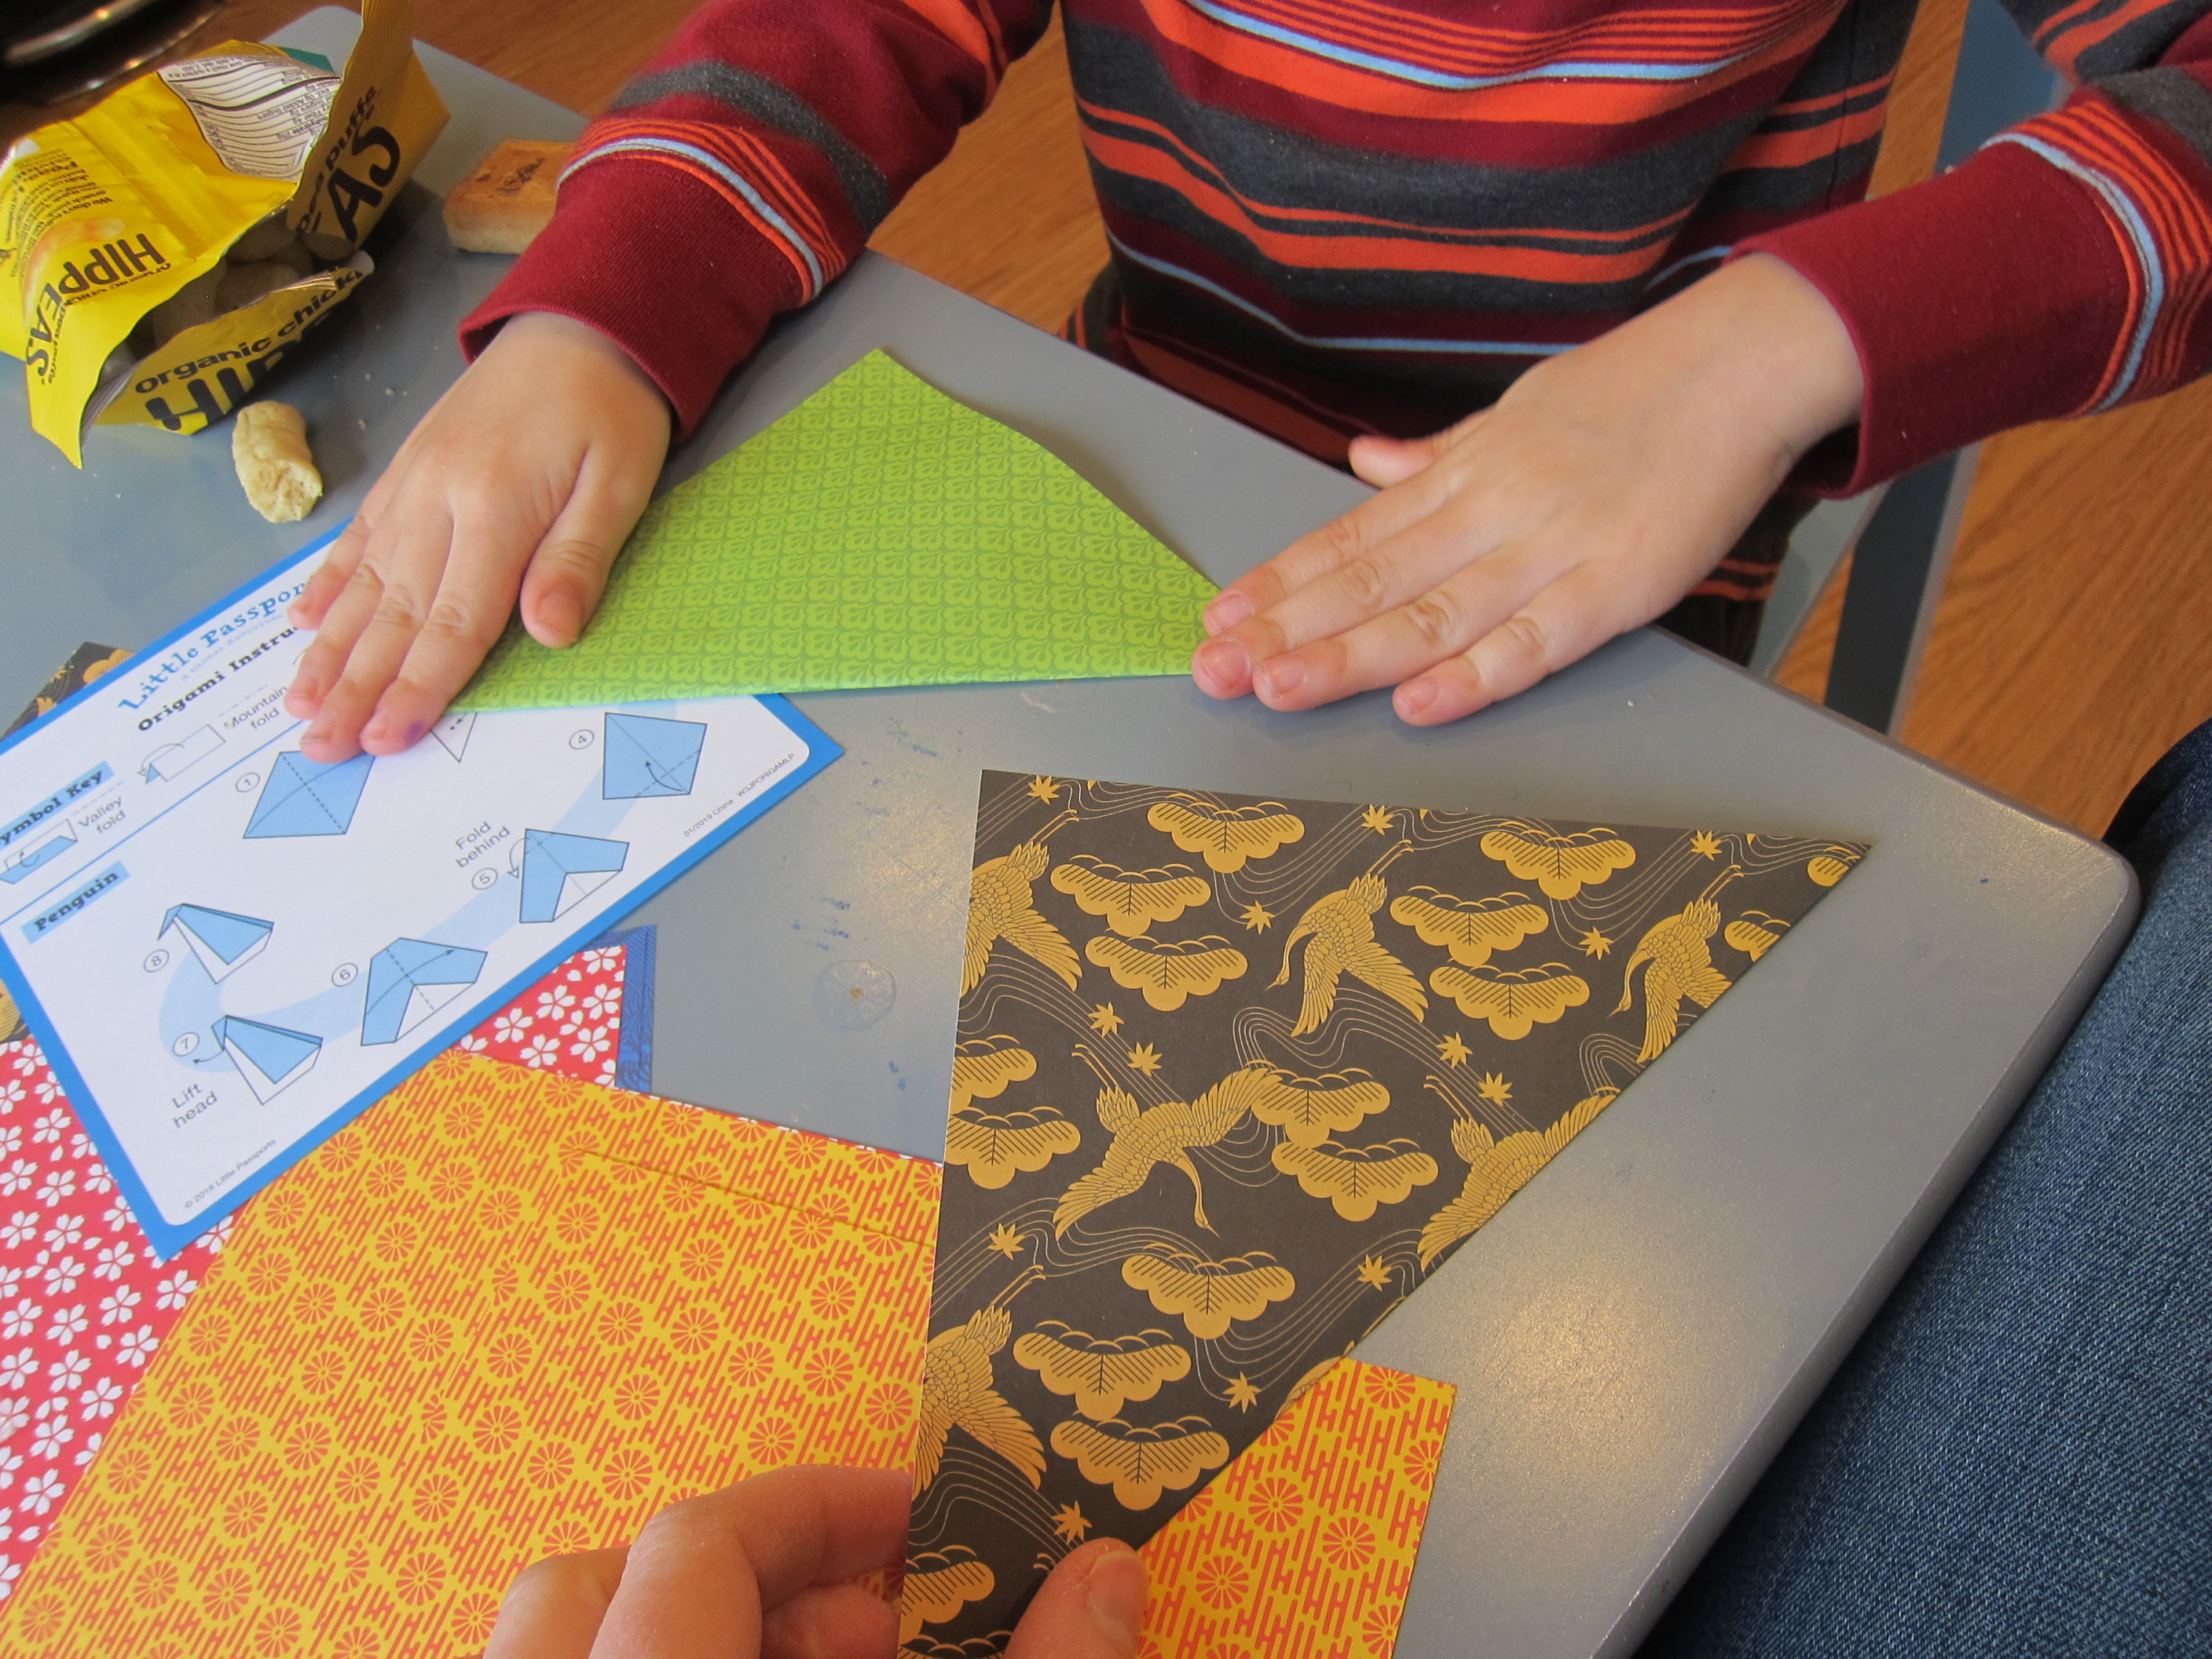
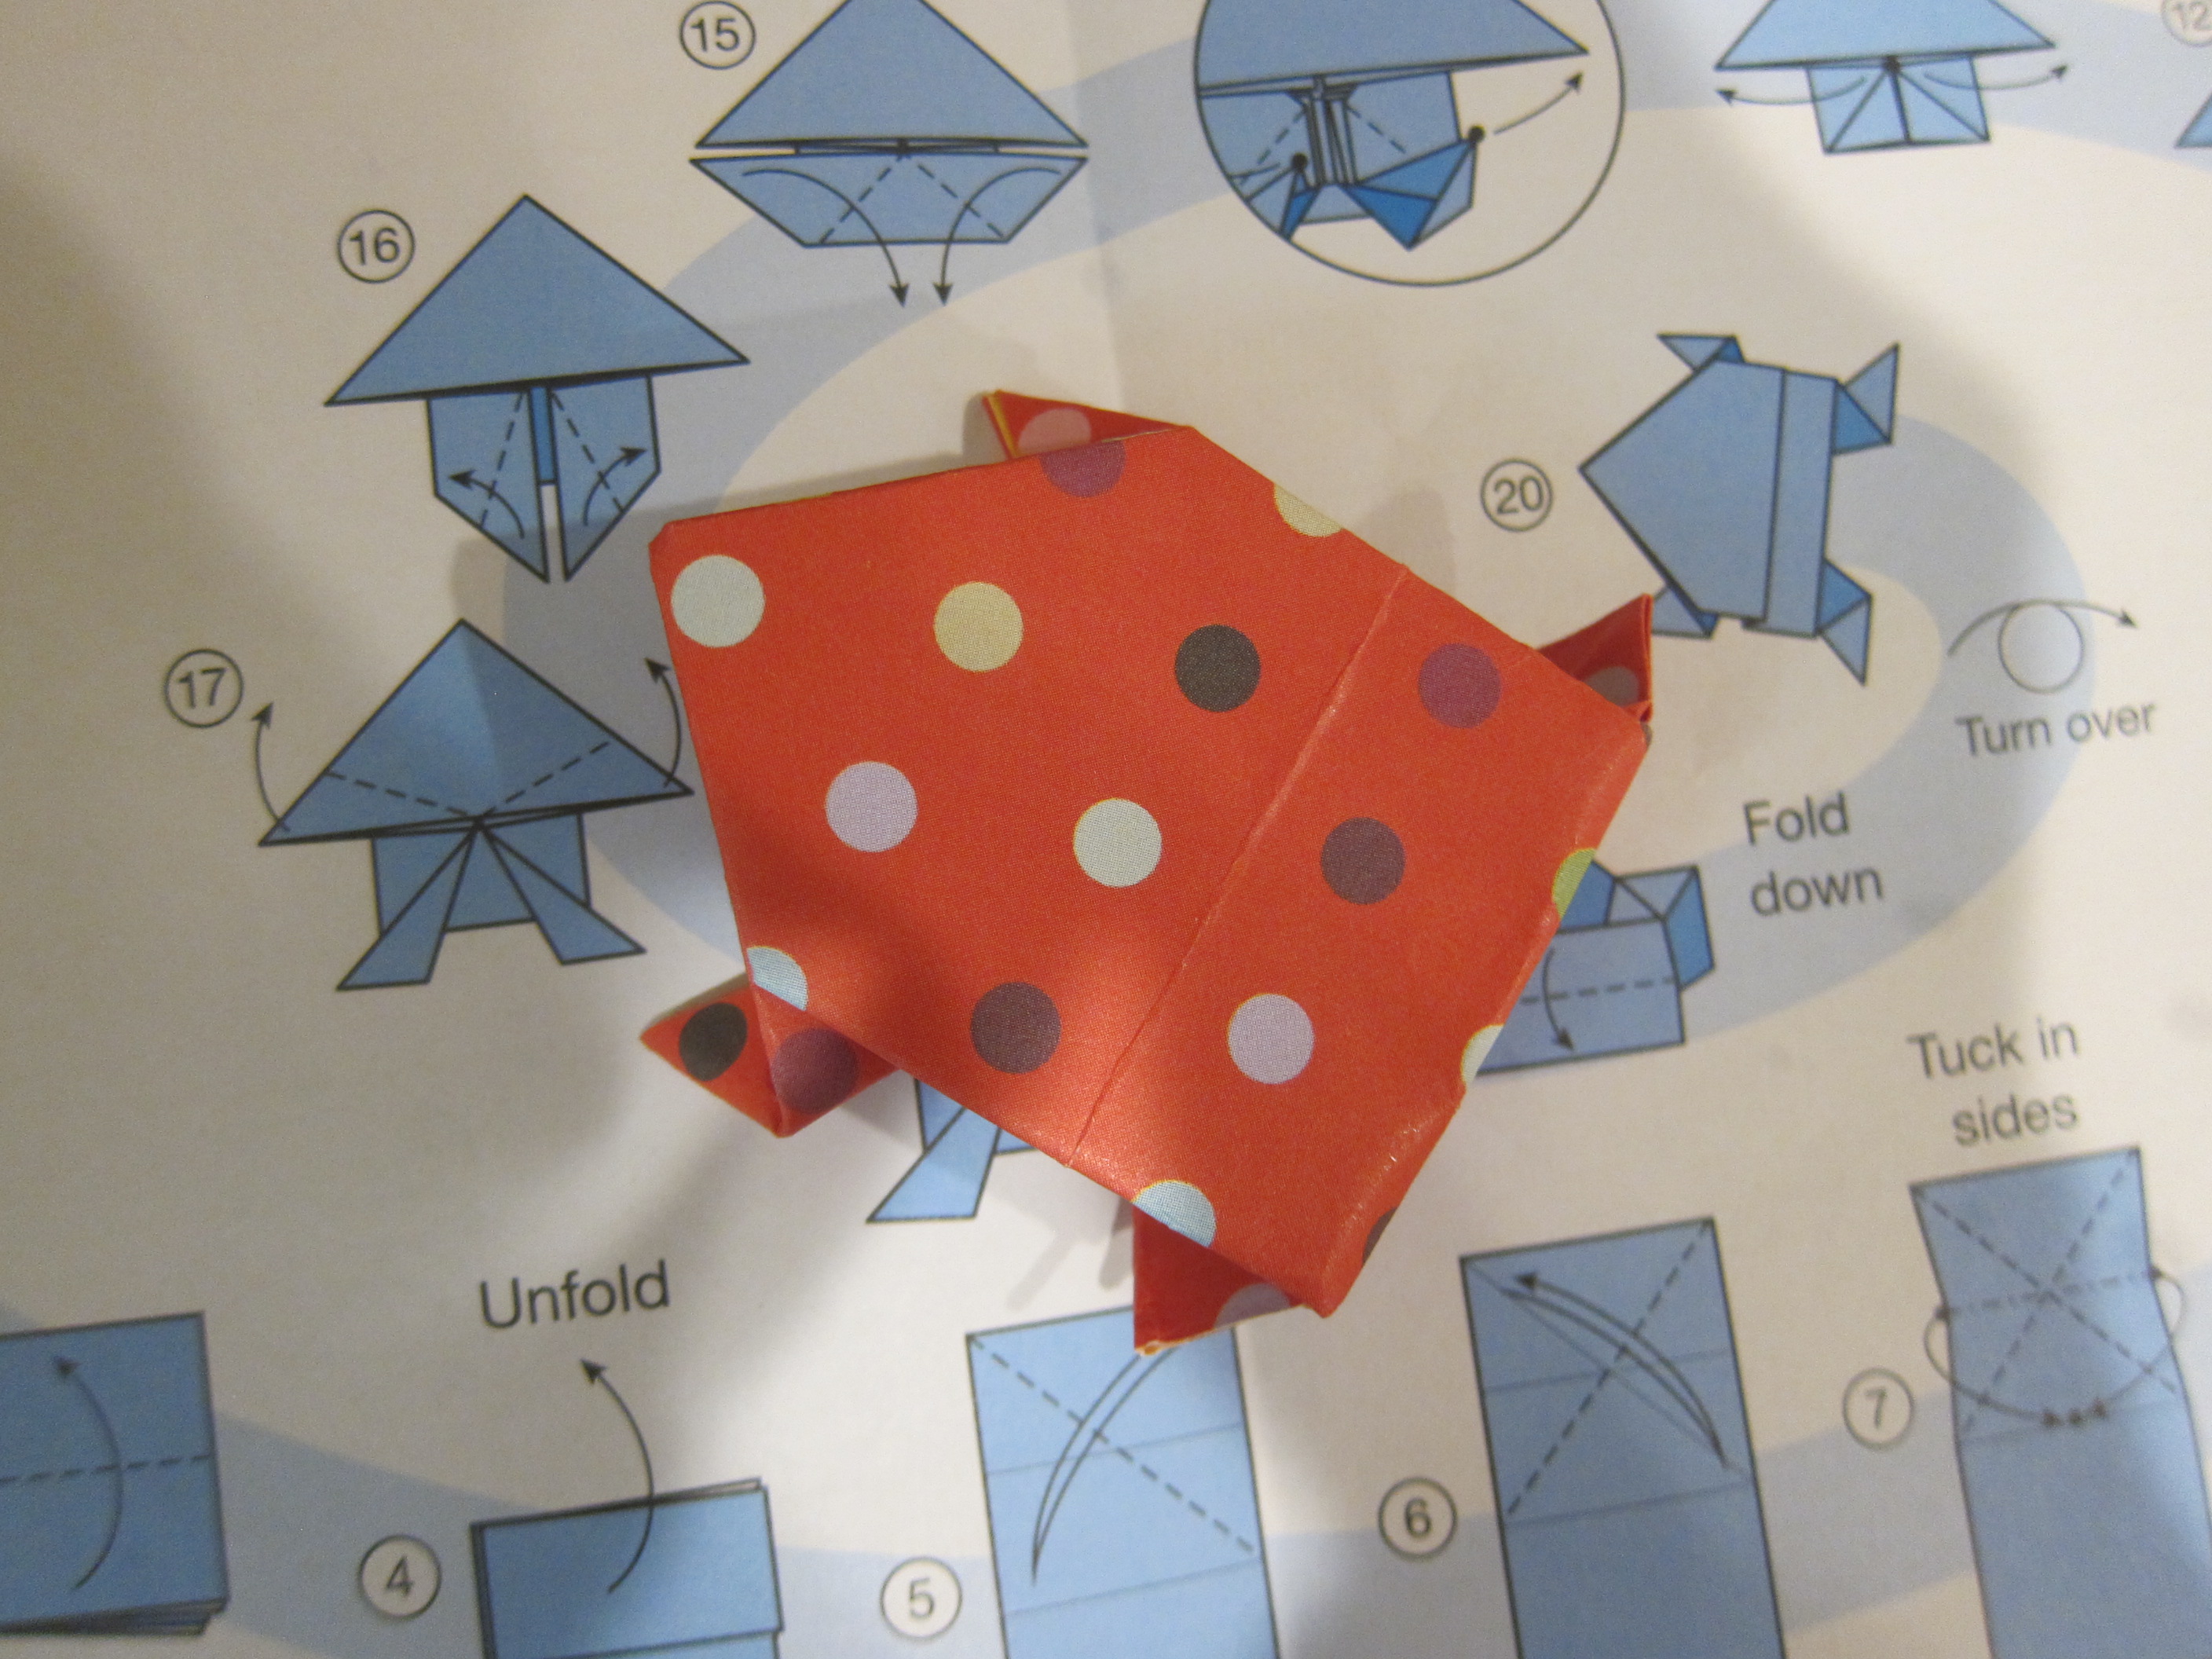
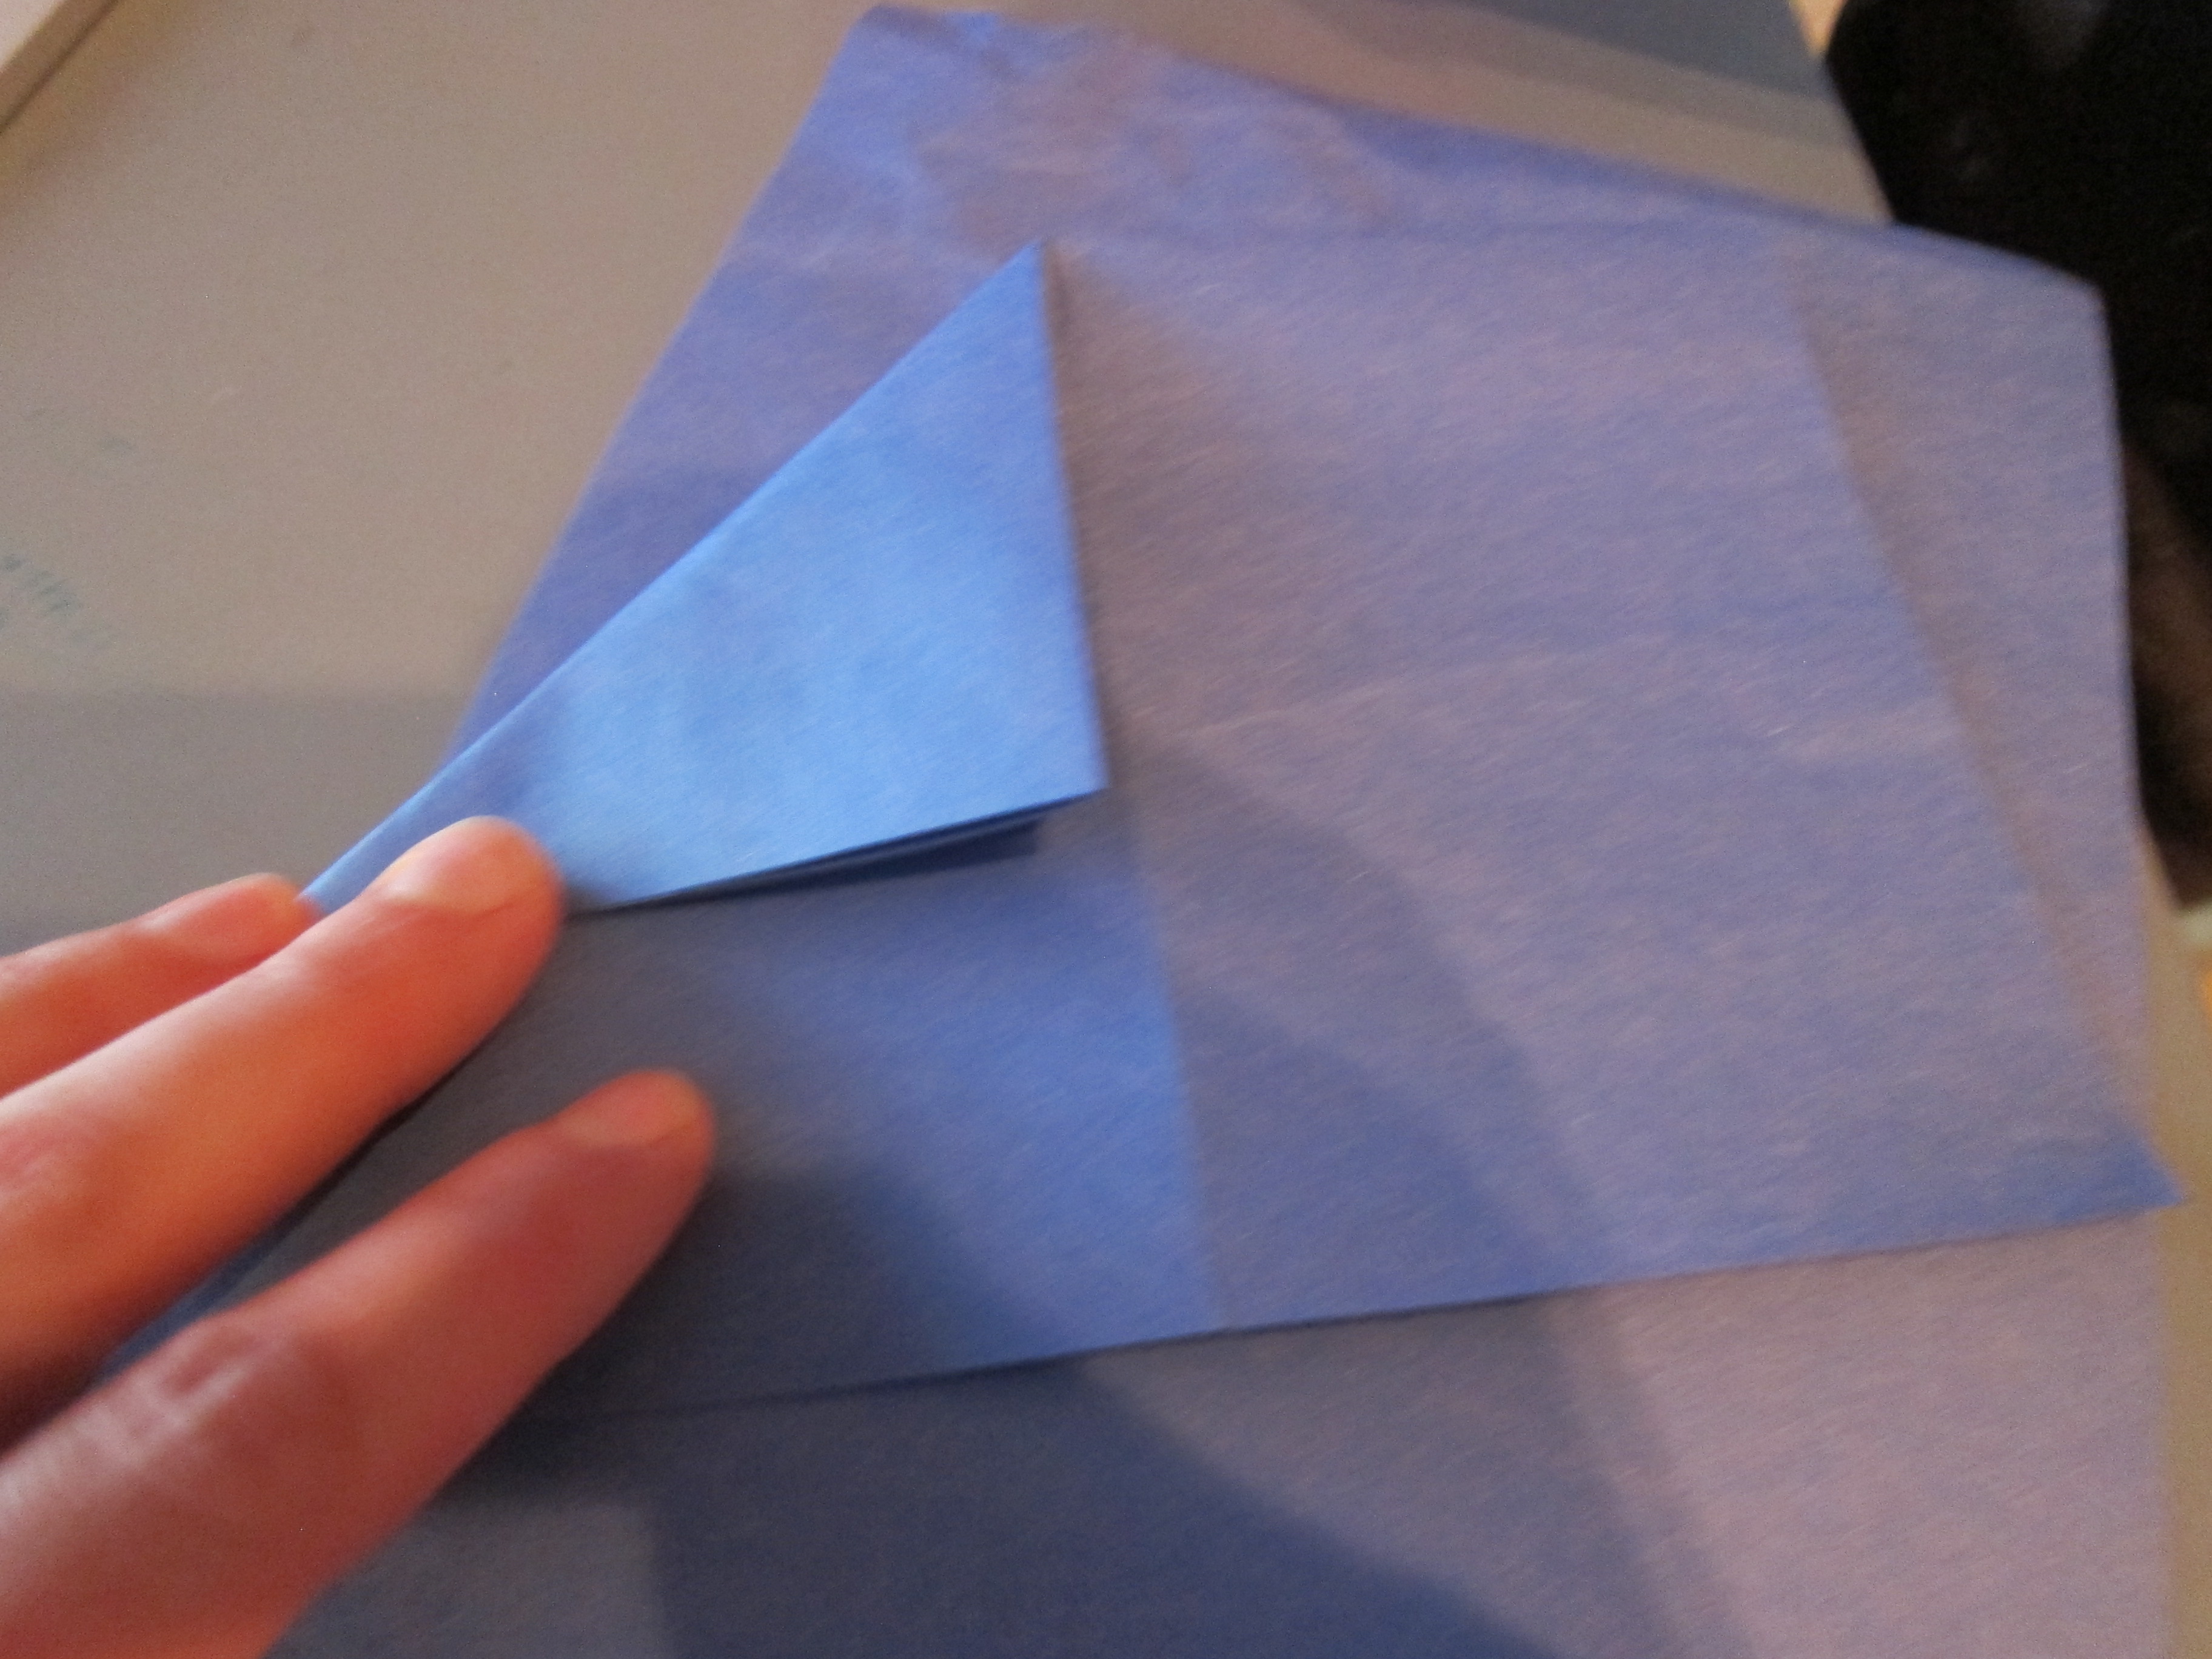
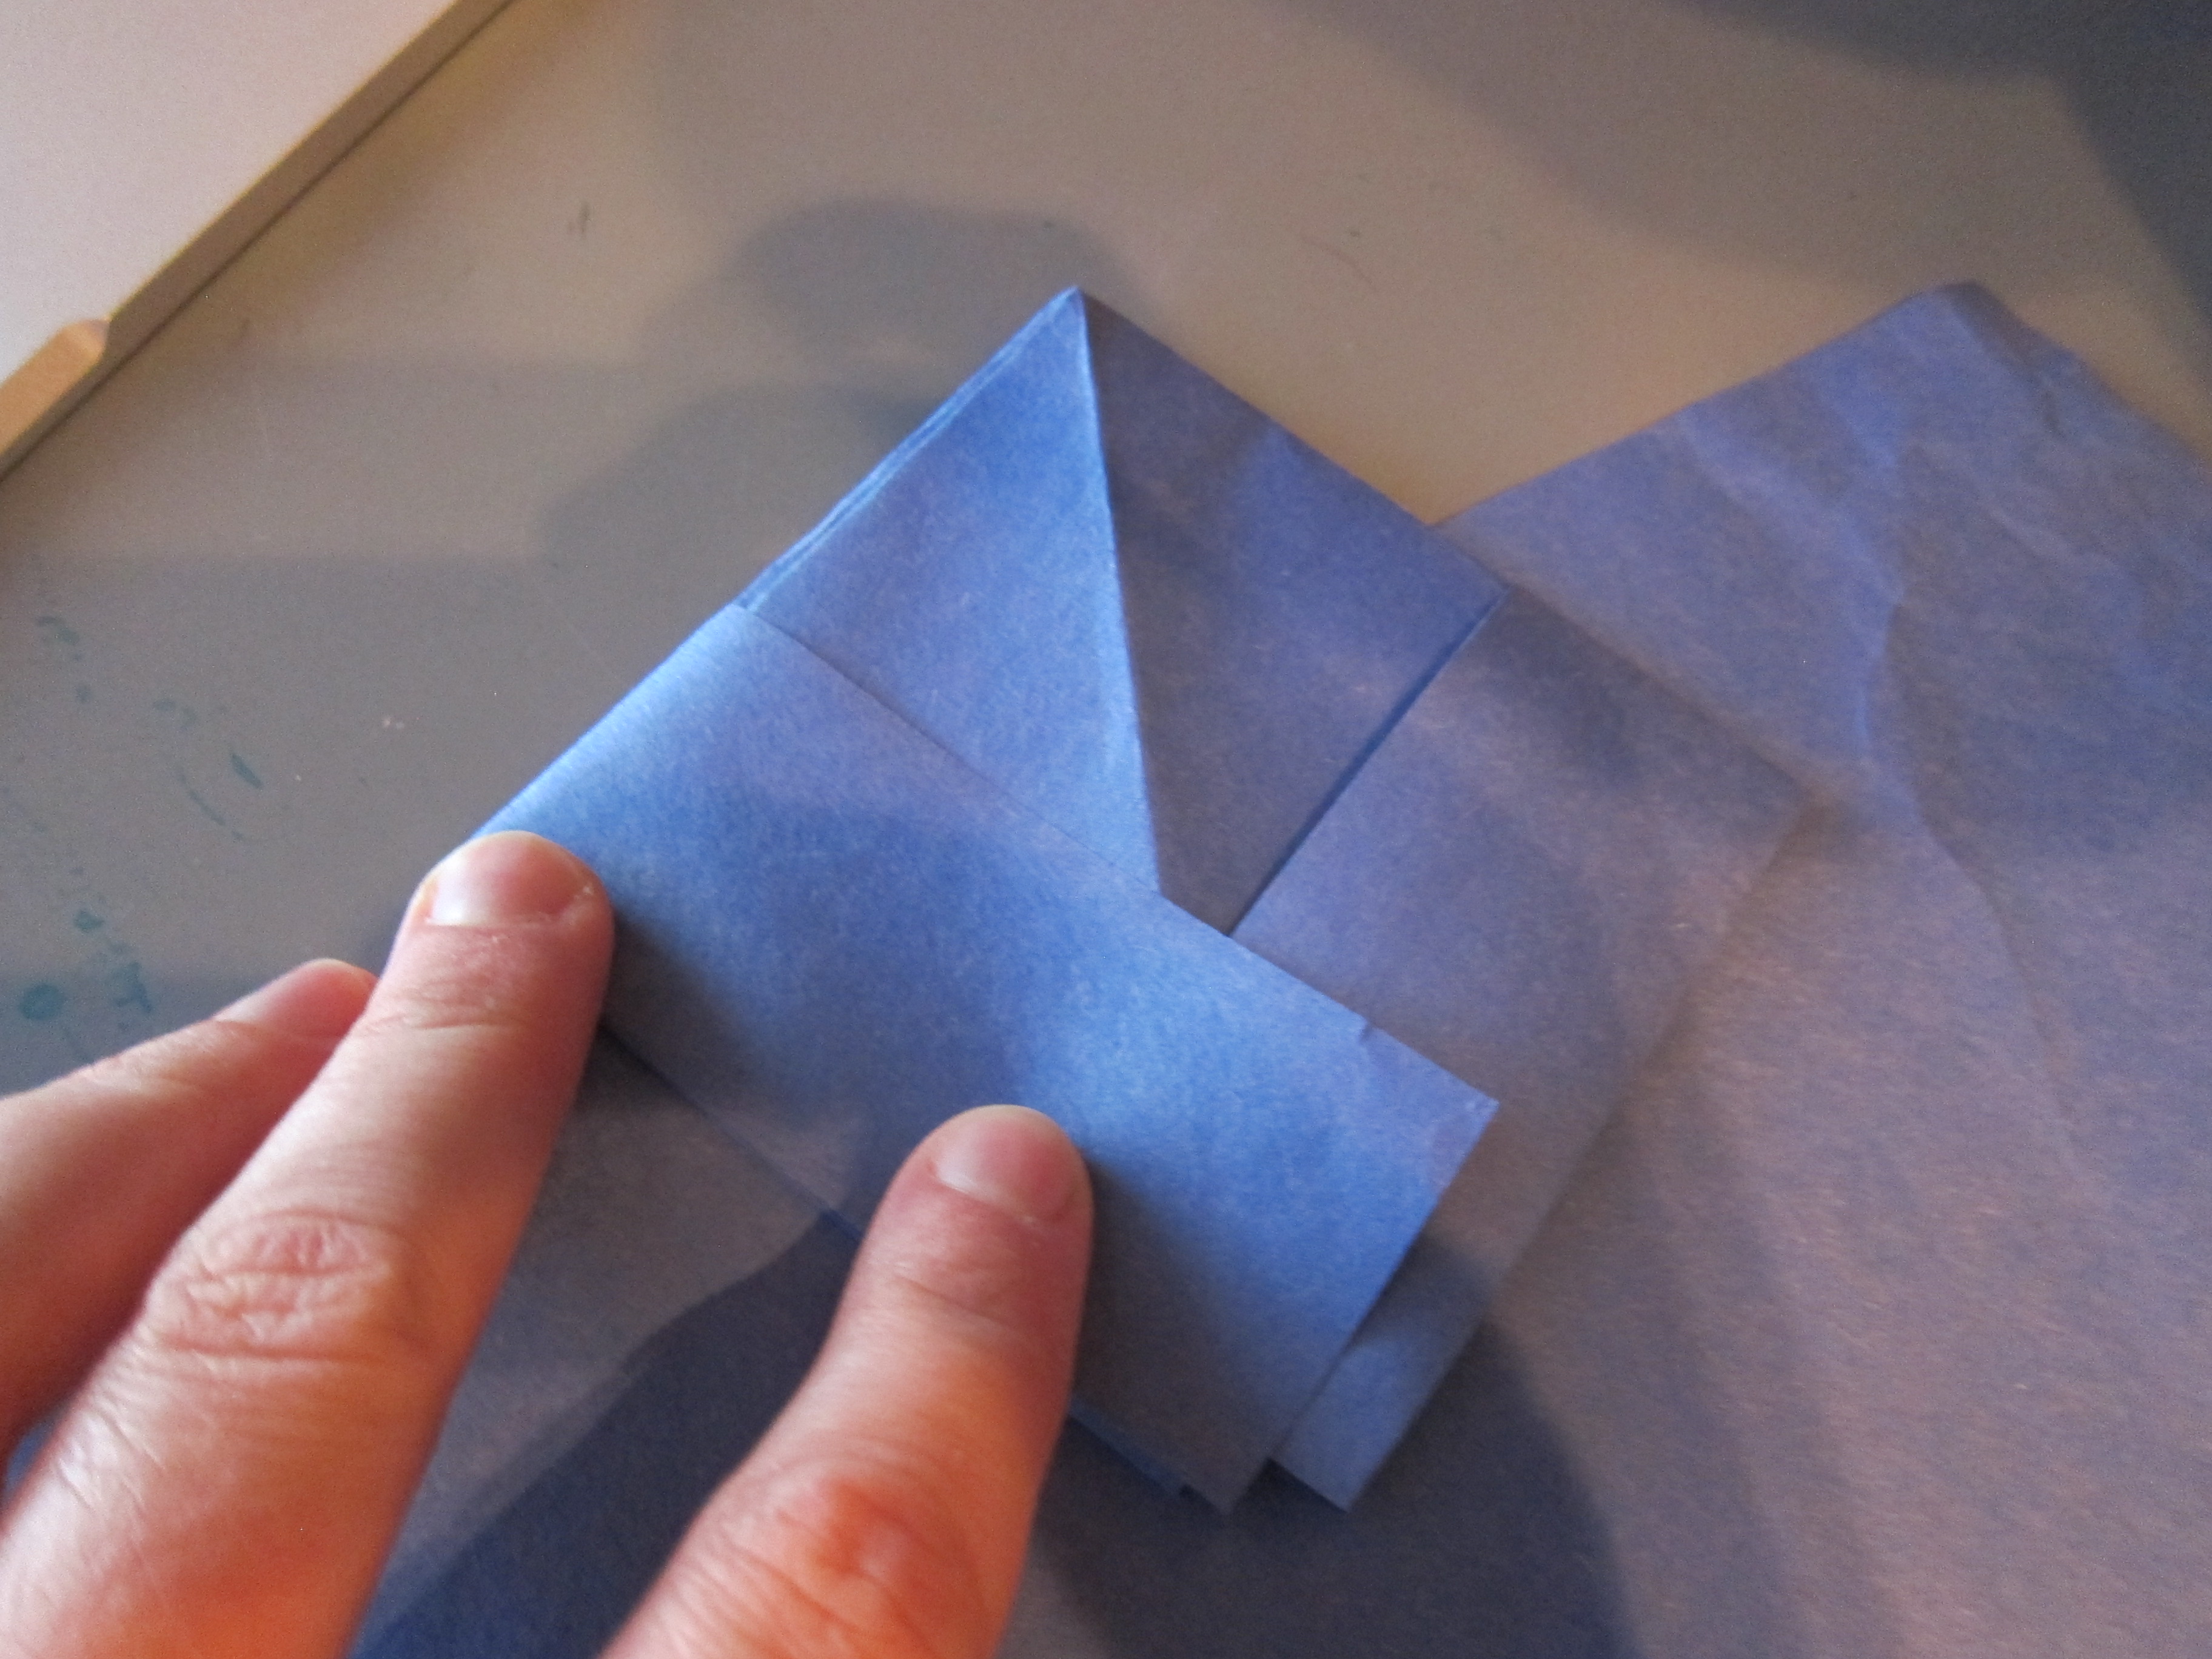
Surprisingly, the booklet said nothing about origami, which surely merits a place in any discussion of art around the world. So we thought we’d round out the lesson with some origami fun, and this origami easter basket from the blog was timely and cute.

LP Art (27)

Origami Boat

Origami Boat (10)

Travis and I have been finding neat materials from which to make boats, now that we’re on a bit of a pirate kick. I found the instructions for this origami boat online, and thought it looked fun. It turned out to be quite tricky, but Travis and I had a ball, laughing at our gaffes, and cheering when we got it right!

Ideally use origami paper, but construction paper works in a pinch. Either way, begin by trimming into a rectangle. Fold the paper in half horizontally, and open back up. Fold in half down vertically and leave folded.

I was so proud Travis wanted to do his own folding!

Origami Boat (2)

Next fold the upper two corners into the center crease, forming two triangles.

Origami Boat (3)

Fold up the bottom of the paper on both the back and front – now it looks like a pirate hat!

Origami Boat (4)

But don’t stop there. Now you’re going to push the bottom two corners toward each other, a process that really only makes sense once you feel it intuitively. It will make the paper into a square that folds flat (hint: tuck in the excess flap on the front and back).

Origami Boat (5)

Now fold up the bottom of this diamond on both front and back, pressing flat.

Origami Boat (6)

Take the edges of this triangle toward the center – another tricky step! You’ll form another square. We had a good giggle over this one as we figured it out!

Origami Boat (7)

Finally, pull the top corners out, and press flat – now you have a boat!

Origami Boat (8)

It should hold pretty well, but for a little added security, I stuck masking tape on the edges.

Origami Boat (9)

Travis was SO proud, an loved his boats so much that he requested a fleet. I soon became pretty adept at making them, so he had lots of boats to fly around the apartment.

Happy folding!