Travis can have a hard time concentrating during school Zoom sessions, and we’ve tested out a few kinds of fidget spinner as a solution. There’s more behind these spinners than just a fad; they really can help kids focus by keeping fingers busy. Here’s a way to make a beautiful fidget spinner at home that rivals any store-bought version!
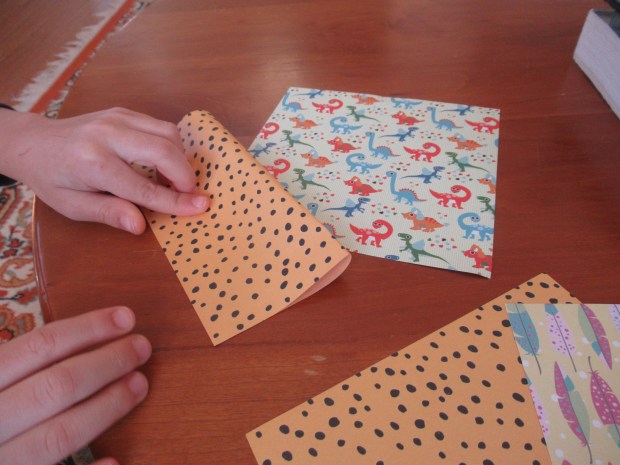
To start, Travis selected two patterns from our pack of origami paper. Fold in half, then open up and tear each sheet in half (so you now have 4 pieces of paper). Set aside two of these and work with the remaining two.
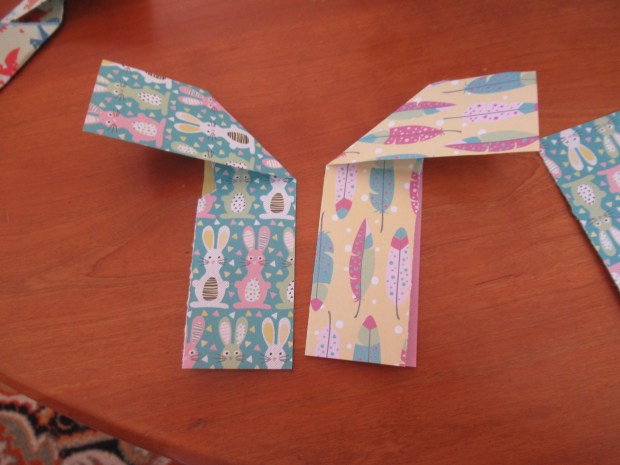
I loved how focused Travis was as we went through the first few steps together. Fold the pieces of paper in half again, so you have two skinny rectangles. Next bend down at the tops and bottoms so they look almost like Zs. From here, the fingerwork grew too tricky for Travis, and I took over.
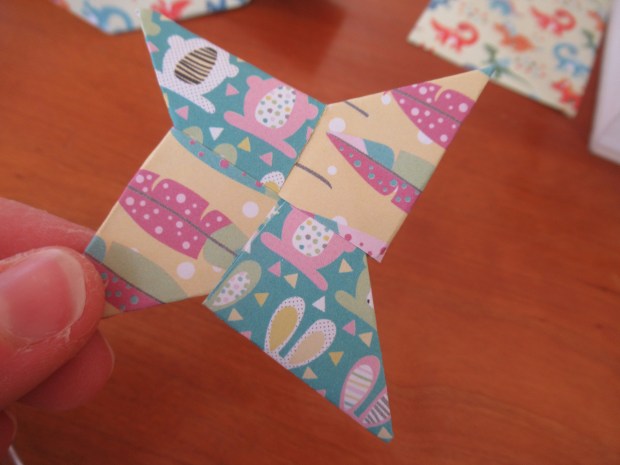
Rather than reinvent the wheel, check out the full instructions from Kiwi Co, where the steps for folding are described far better than I can. At the end, you’ll have one finished side of your fidget spinner, which looks like this:
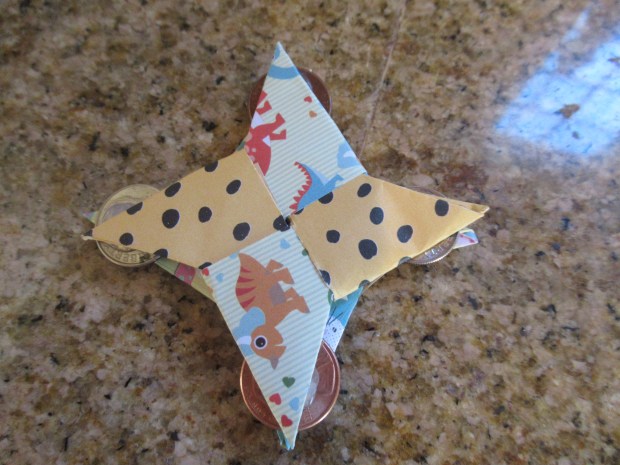
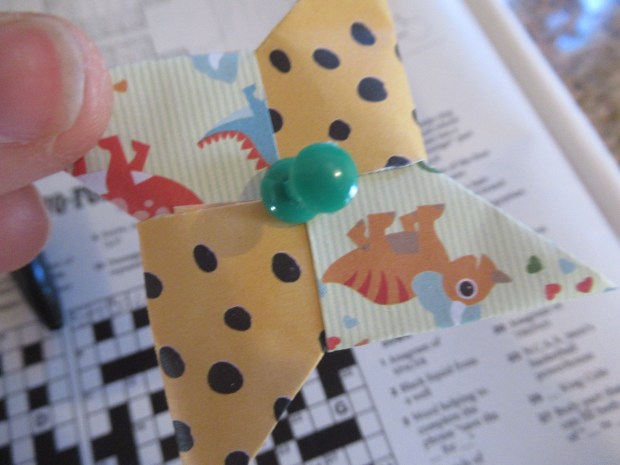
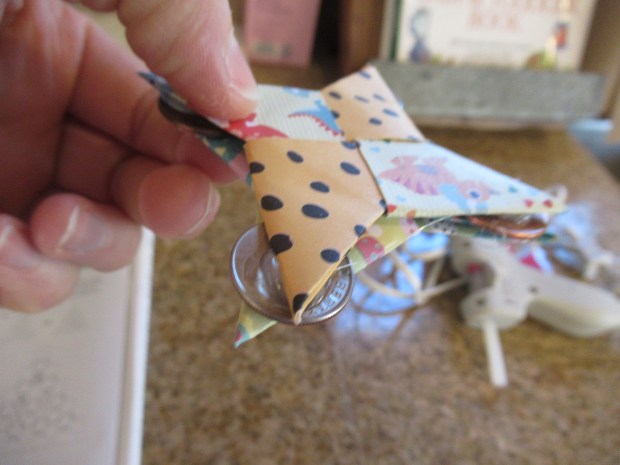
Repeat the folding steps with the two sheets of paper you set aside at the beginning, and both sides of the fidget spinner are now complete. Next, poke a push pin down through the center of each side. Using hot glue, add a small coin (like a dime or penny) to each of the four arms on one side of your spinner.
Hot glue the second half of the spinner over the coins.
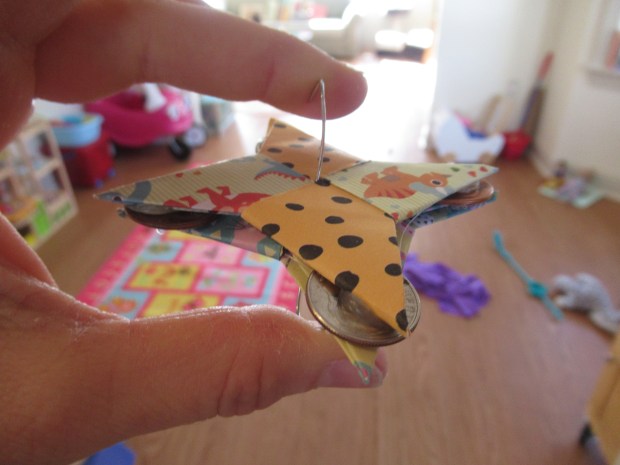
Finally, straighten a paper clip and push through the holes you’ve made in the middle, then bend the ends so they provide finger holds.
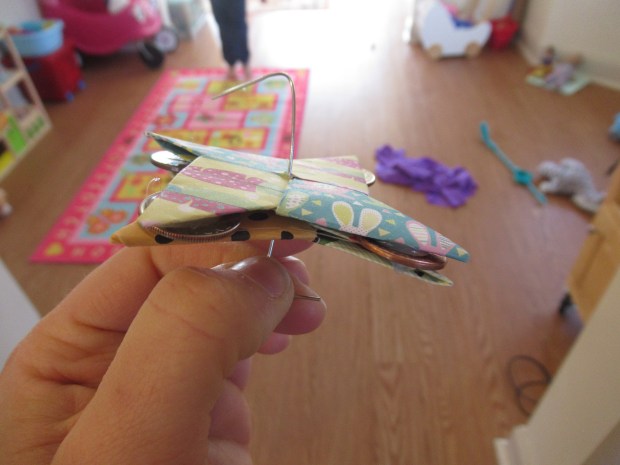
Give that fidget spinner a whirl! Thanks to the colorful origami paper, these look so beautiful as they spin.