Foot Sensory Bins

Foot Bins (1)

Why should hands have all the fun? We set up bins today to see how things felt with our feet instead!

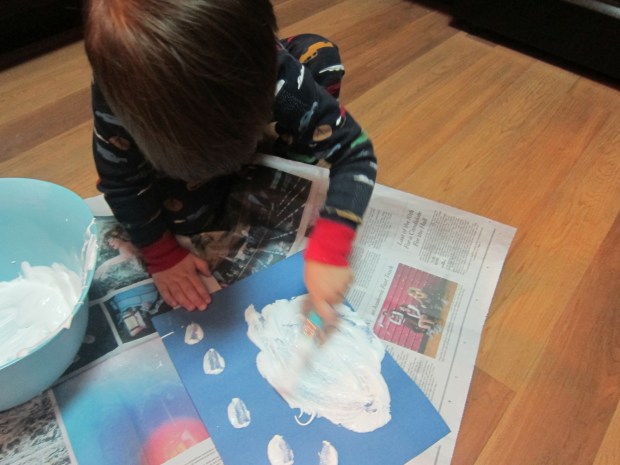
For your mise en place, set out 3 separate bins. I used one each of: shaving cream, water beads, and sand. You can make your sand wet or dry, or start with it dry and then gradually add a little water.

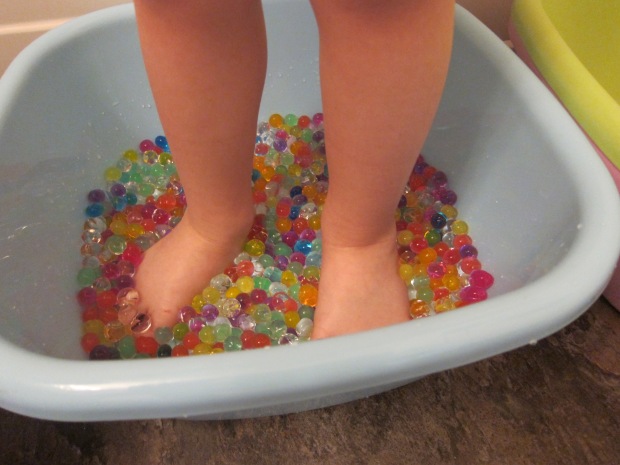
Travis wanted to hop in the water beads first, which he declared very cool.

Foot Bins (2)

Quite quickly he was ready to see how the sand felt. It only took a moment before he requested we add some water beads to the sand, and he mixed it all together with his toes for a while.

Foot Bins (4)

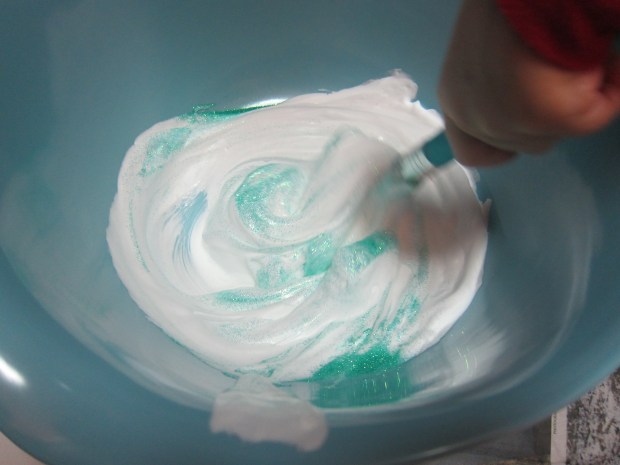
He was very hesitant about the shaving cream, but I got him to sit on a stool and we dipped his feet in, after which he decided he liked how creamy it felt. Then he declared we needed water beads in here too.

Foot Bins (6)

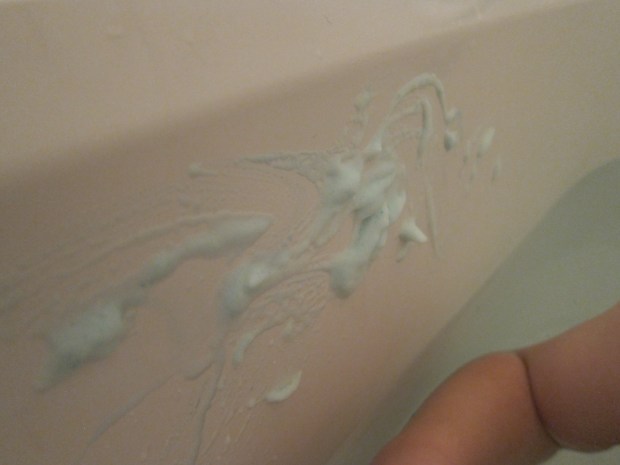
When you’re done, dump any trash out and then rinse your buckets in the tub – which is half of the fun anyway!

Foot Bins (7)

Cloud in a Jar

Cloud in a Jar (5)

Turn a rainy day into a science lesson with this cute experiment! With thick rain clouds covering the sky, it was the perfect day to test out the craft (care of Parents magazine), and to ask Travis he thought would happen when our cloud become too heavy with water.

To demonstrate, fill a jar or clear bowl with water until almost full, then add a layer of shaving cream.

Cloud in a Jar (1)

Fill a second, small cup with water and dye it blue for your rain. Travis definitely needed to help with the drops of food coloring.

Now it’s time to make a rain storm! I wanted Travis to use an eye dropper so we could saturate our cloud gradually, but he was much too impatient so we started pouring on our rain instead.

Cloud in a Jar (3)

Needless to say, we soon had a monsoon! Travis loved seeing the blue color swirl down beneath our shaving cream cloud.

Cloud in a Jar (4)

And then this happened of course! A stormy good time.

Cloud in a Jar (6)

Shaving Cream Polar Bear

Shaving Cream Polar Bear (6).JPG

We’ve just come through a blizzard and we were snowed in for a couple of days. So what better animal to make than a snowy white polar bear? I decided we needed sensory paint for this one, not boring old regular paint.

I wish I could tell you what ratio of shaving cream to glue we used, but to be honest I just let Travis have a blast squeezing both ingredients into a foil pie plate.

shaving-cream-polar-bear-1

My guess would be a roughly 1:1 ratio. Mix together until you have a creamy sticky paint.

shaving-cream-polar-bear-2

I didn’t even tell Travis to start painting – he just began glopping the mixture onto the paper plate that I had set out for the polar bear’s face.

shaving-cream-polar-bear-3

Travis being a toddler, it wasn’t long before he discovered how awesome the mixture felt on his hands, too!

shaving-cream-polar-bear-4

I loved how this paint made a nice imitation of fluffy polar bear. We set the plate aside to dry overnight.

shaving-cream-polar-bear-5

In the meantime, I cut one cup from a recycled egg carton and we painted it black for the nose. Set that aside to dry, too.

Travis had sort of lost interest in the polar bear by the next morning, so I was a solo act to glue on two googly eyes, white cotton pads for ears, and our black nose.

shaving-cream-polar-bear-7

Once he saw the face, though, he loved the new friendly polar bear in our house, and carried him around for quite some time. He also loved that it smelled like his dad’s shaving cream!

Be careful, that black nose will be hard for toddlers to resist pulling off…

Shaving Cream Bakery

shaving-cream-bakery-6

With leftover shaving cream in the can from our shaving cream paint earlier this week, today we turned our kitchen into a shaving cream bakery!

All you need to set up a bake shop for your tot are large kitchen sponges, a few kitchen utensils, and a dose of imagination.

shaving-cream-bakery-2

Travis really enjoyed smearing the shaving cream onto the sponges with a plastic utensil:

shaving-cream-bakery-4

Then I showed him how to layer two sponges together to create a layer cake.

shaving-cream-bakery-5

For an extra realistic effect, I added a drop of red food coloring to sea salt and put it in an old spice shaker, which meant Travis could add sprinkles!

shaving-cream-bakery-1

After he made a couple of “cakes,” he simply enjoyed shaking the sprinkles directly into the tray of shaving cream I had set out, and stirring all that together into a big mess.

shaving-cream-bakery-8

Other than layer cakes, what would you make in your bakery? I’d love to hear about any cupcakes or frosted cookies that your kids create! Please share in the comments.

shaving-cream-bakery-7

Shaving Cream Paint

shaving-cream-play-7

Travis has enjoyed making a mess painting with shaving cream before, but this time we added in a drop of paint to each cup of shaving cream to produce lovely pastel colors.

Travis had to help squirt out the shaving cream of course – he loves watching it foam! – and then helped stir in the paint we added.

shaving-cream-play-3

What a pretty blue we got!

shaving-cream-play-4

Then it was time to make a big globby mess. He wasn’t interested for as long as I thought, probably because, as mentioned, we have already done a game very similar to this.

shaving-cream-play-5

While he painted though, he told me he was drawing cupcakes. I added a nice round cupcake to our artwork bakery.

shaving-cream-play-6

For a novel spin, we brought the leftover paint into the tub at bathtime – it makes fun foamy decorations on the side of the tub!

shaving-cream-paint

Snow Paint

Snow Paint (6).JPG

This homemade paint is deliciously goopy, and as thick as snow after a blizzard, but it won’t melt away!

Place a can of foaming shaving cream and a bottle of glue in the fridge for 1 hour to chill.

Combine 3/4 cup shaving cream and 1/2 cup glue in a large bowl, mixing well. Travis was instantly enthralled with the texture.

snow-paint-1

Next we added heaps of icy blue sparkles because of course we needed sparkly snow!

snow-paint-2

Then it was time to paint a winter scene! With Travis so young, his was very abstract, but as he worked he told me he was painting first a horse, then an elephant, and so on. I loved the imagination at work.

snow-paint-4

Meanwhile, I painted a proper snowman, so Travis could enjoy the final result. He helped me press down cardboard cutouts of buttons and a hat – they will stick right to your gluey paint mixture as it dries.

snow-paint-7

We also added extra blue sparkles as the finishing touch.