Turn Soy Milk into Tofu!

Milk into Cheese (2)

Travis and I spotted a neat way to turn cow’s milk into cheese on Kiwi Co’s website, by adding an acid (lemon juice) which makes the proteins clump up (the curds) out of the leftover liquid (the whey). All thoughts of Little Miss Muffet aside, we wondered if we could make this work with soy milk!

To start, place 1 and 1/2 cups soy milk in a pot over medium heat. Continue to cook, stirring constantly, until the soy milk is frothy and hot, but do not let it boil. Immediately remove from heat and add 2 tablespoons lemon juice. Travis and I were thrilled to see it seize up immediately, like tiny flecks of crumbled tofu.

Milk into Cheese (1)

We strained the mixture through a fine-mesh sieve over a bowl, resulting in a small bowl of fresh soy “cheese” left behind in the sieve. We added a sprinkle of salt and a drizzle of agave nectar, and did a curious taste test.

Milk into Cheese (3)

Travis’s expression pretty much says it all; he declared this simultaneously “good but weird”. I don’t recommend this over purchasing tofu at the store, but it was a neat chemistry experiment!

Milk into Cheese (4)

Magic Inflating Balloons

Magic Inflating Balloon (5)

It turns out that helium isn’t the only gas that can inflate balloons. You’ll wow your kids with a bubbly explosion of baking soda and vinegar for this “magically” inflating version.

To set up, I first added white vinegar to an empty water bottle, using a funnel to avoid spills. Set aside over a tray.

Magic Inflating Balloon (1)

Slip the end of an uninflated balloon onto the funnel and add baking soda (I didn’t measure, but we probably poured in about 1/4 cup. Now carefully fold the lip of the balloon over the top of the bottle, but make sure you don’t upend the baking soda just yet.

Magic Inflating Balloon (3)

Stand the balloon upright so the baking soda pours down into the vinegar, then be ready for the reaction. As the baking soda and vinegar react to create gas, the balloon inflates.

Magic Inflating Balloon (4)

This made for such a bubbly, fizzy, dazzling reaction! I worried that the balloon might pop off the bottle if there was too much pressure that built up, but luckily this didn’t happen. Still, I was glad we had a tray underneath the experiment, just in case.

Magic Inflating Balloon (6)

Travis was thrilled when he put his arms around the inflated balloon at the end, almost disbelieving that we’d blown it up so big. Just be aware that this isn’t the best balloon to knot off and play with after, as some liquid will remain inside.

Cranberry Invisible Messages

Cranberry Messages (6)

If your kids are no longer surprised by the way baking soda and vinegar react, they’ll be charmed with the way a new ingredient can reveal secret messages thanks to acids and bases: cranberry sauce!

First, I stirred 3 teaspoons baking soda into a little warm water in a paper cup. We used q-tips to write out “secret codes” on thick white paper. Travis wrote down the names of favorite characters, Veronika scribbled, and I made a few drawings that I knew would work well for the big reveal, like boats and suns.

Cranberry Messages (1)

You can let the messages dry naturally, but hair dryers are so much more fun of course. Travis jumped at the chance to set the dryer to low and wave over the pictures.

Cranberry Messages (3)

For the reveal, I emptied a jar of cranberry sauce into a container and smoothed it into an even layer. Press your pictures firmly into the cranberry sauce (but don’t submerge), then lift up to see what appears!

Cranberry Messages (4)

Simply wipe off any excess cranberry sauce and the pictures are ready.

Cranberry Messages (5)

Kids can end the activity here, or add color with colored pencils for a pretty final result if you want to add in a little arts & crafts.

Cranberry Messages (7)

Fizzing Colors!

Fizzing Colors (7)

This variation on classic baking soda-and-vinegar eruptions had a beautiful artistic side to it, worked fine motor skills for my toddler (thanks to eye droppers), and came with a heaping dose of imagination (for my 6-year-old). Needless to say, big kid and little kid alike were enraptured until we’d gone through – yes – an entire box of baking soda and bottle of white vinegar.

Technically you don’t need to use that much. Fill a tray or pie pan with about 1 cup baking soda, or more if desired, then add drops of food coloring at intervals. The more you space out and vary the colors, the prettier the result!

Fizzing Colors (1)

I then handed each kid a cup of white vinegar and a pipette and showed them how to squirt directly onto the dots of color.

Fizzing Colors (3)

Of course fizzy reactions occur immediately, and the more your kids fill in the tray, the more it starts to look like a work of art.

Fizzing Colors (9)

Then Travis wanted to trap a few Lego toys in the bubbles. Here’s where the imagination came into play, with a big game going on in his head!

Fizzing Colors (6)

At this point, we dropped caution to the wind and started adding lots more of everything. First we squirted in additional drops of food coloring. Then, the kids started pouring in the vinegar straight from the cups.

Fizzing Colors (10)

Their glee was so evident, and I loved watching them tackle the project together, seeing how many fizzy explosions they could make at once.

Fizzing Colors (8)

Needless to say, it was a bubbly fizzy wonderland.

Fizzing Colors (13)

This activity was so simple, but a delight for all ages.

Fizzing Colors (5)

Baking Soda-Powered Boat

Baking Soda Boat (3)

Here’s a fun way to propel a boat forward, thanks to the fizzy reaction between an acid and a base. It’s an easy and quick STEM lesson with an automatic payoff.

The set-up requires a little grown-up work. First, cut a small hole in the bottom of an empty water bottle. Cut a straw in half and insert into the hole, then close up any open gaps with hot glue.

Baking Soda Boat (1)

To make the “fuel” for the boat, pour a little vinegar into the bottle. Make sure the straw is on the top of the bottle as your pour, so none spills out. Now spoon in a little baking soda, but don’t let the two substances mix yet! Screw on the bottle cap, then set your “boat” down in a basin or bathtub filled with water. The acid and base mix, and the boat zooms forward.

Baking Soda Boat (4)

Note: Make sure the straw is in the water for this part, or the experiment won’t work as intended. We learned this after round one!

Baking Soda Boat (5)

Next time, we would do this experiment with a larger water bottle (making it easier to keep the baking soda and vinegar separate until the right moment), and we’d also do it in the tub so the boats have more room to zoom. But Travis still loved watching the little motion we achieved!

DIY Bath Bombs

DIY Bath Bombs (7)

Both my kids love bubble baths, so today we decided to mix up the bubbly fun with a homemade bath bomb! You can make this concoction entirely from ingredients found in your kitchen; look for citric acid in the baking aisle.

First, Travis helped measure out and stir together 2 and 1/2 teaspoons citric acid, 2 and 1/2 teaspoons baking soda, and 1 teaspoon cornstarch.

DIY Bath Bombs (2)

Add about 2 drops of food coloring (we used green!), followed by 1 and 1/2 teaspoons canola oil; the mixture is still crumbly at this point.

DIY Bath Bombs (3)

Spoon into a small paper cup, then press firmly with the back of a spoon to pack down. Let dry for at least 8 hours.

DIY Bath Bombs (4)

At bath time, tear away the paper cup. Toss in the tub and watch it fizz! Truth be told, the big reveal of the moment was a little less exciting than Travis had hoped for, but it still made for a neat bubbly reaction.

DIY Bath Bombs (6)

Color-Changing Lemonade

Color-Changing Lemonade (5)

This fun STEM snack idea from Kiwi Co has a “wow” factor thanks to the fact that red cabbage acts as a pH indicator. In other words, it will turn acids (like lemon juice) pink. Just like that, a glass of yellow lemonade becomes a glass of pink lemonade!

First, soak about 1 cup torn red cabbage in 1 cup very warm water. Add 1 cup sugar, stirring until dissolved. Let stand for about 30 minutes. Strain the cabbage mixture through a fine-mesh sieve over a cup. Set aside.

Color-Changing Lemonade (1)

In a second cup, whisk together 1/2 cup lemon juice and 1 cup cold water.

Color-Changing Lemonade (2)

Pour a little cabbage mixture into a glass and add ice. Fill with the lemon mixture, then start to stir as you add the remaining cabbage mixture.

Color-Changing Lemonade (3)

Pink lemonade!

Color-Changing Lemonade (4)

Note: The kids declared that the lemonade tasted a little “funny”, which is no doubt the result of a little cabbage flavor. So you may find that this drink works more as a novelty than as the best glass of cold lemonade your kids will ever have.

Secret Flower Messages

Secret Flower Messages (3)

With Valentine’s Day just a few days away, roses are everywhere. Well, it turns out that roses are red, violets are blue… and roses can make acids look blue, too! Silly rhymes aside, this is a fantastic STEM lesson on acids and bases and pH indicators for elementary school kids.

To start, Travis needed to write a few secret messages. We filled one cup with a base solution (1 teaspoon of baking soda mixed with just a splash of water) and one cup with an acid (lemon juice).

Use a q-tip to write secret messages or pictures with each solution on plain white paper, making sure to use a separate q-tip for each. Let dry for at least 1 hour. Travis made a few designs his own, but I also left some secret hidden messages for him.

Secret Flower Messages (2)

Now it was time to reveal those secrets! Travis rubbed a rose petal from our bouquet over the acid message I’d left behind to reveal this Valentine’s Day-themed word: love!

Secret Flower Messages (4)

Yup, the rose petals act as a pH indicator and truly will turn the acid a bright blue, such a neat reveal!

Unfortunately, we weren’t able to clearly see the messages we’d left behind in the base, so perhaps our baking soda mixture was too watery. I had hoped for him to reveal a smiley face.

Secret Flower Messages (5)


Fizzy Chemistry Kiwi Crate

Kiwi Chemistry alt

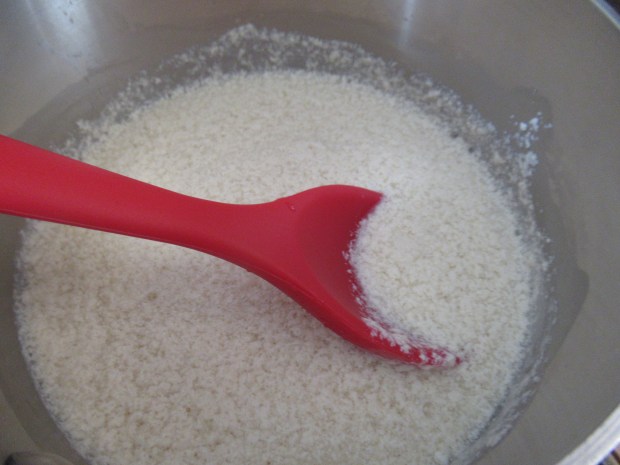
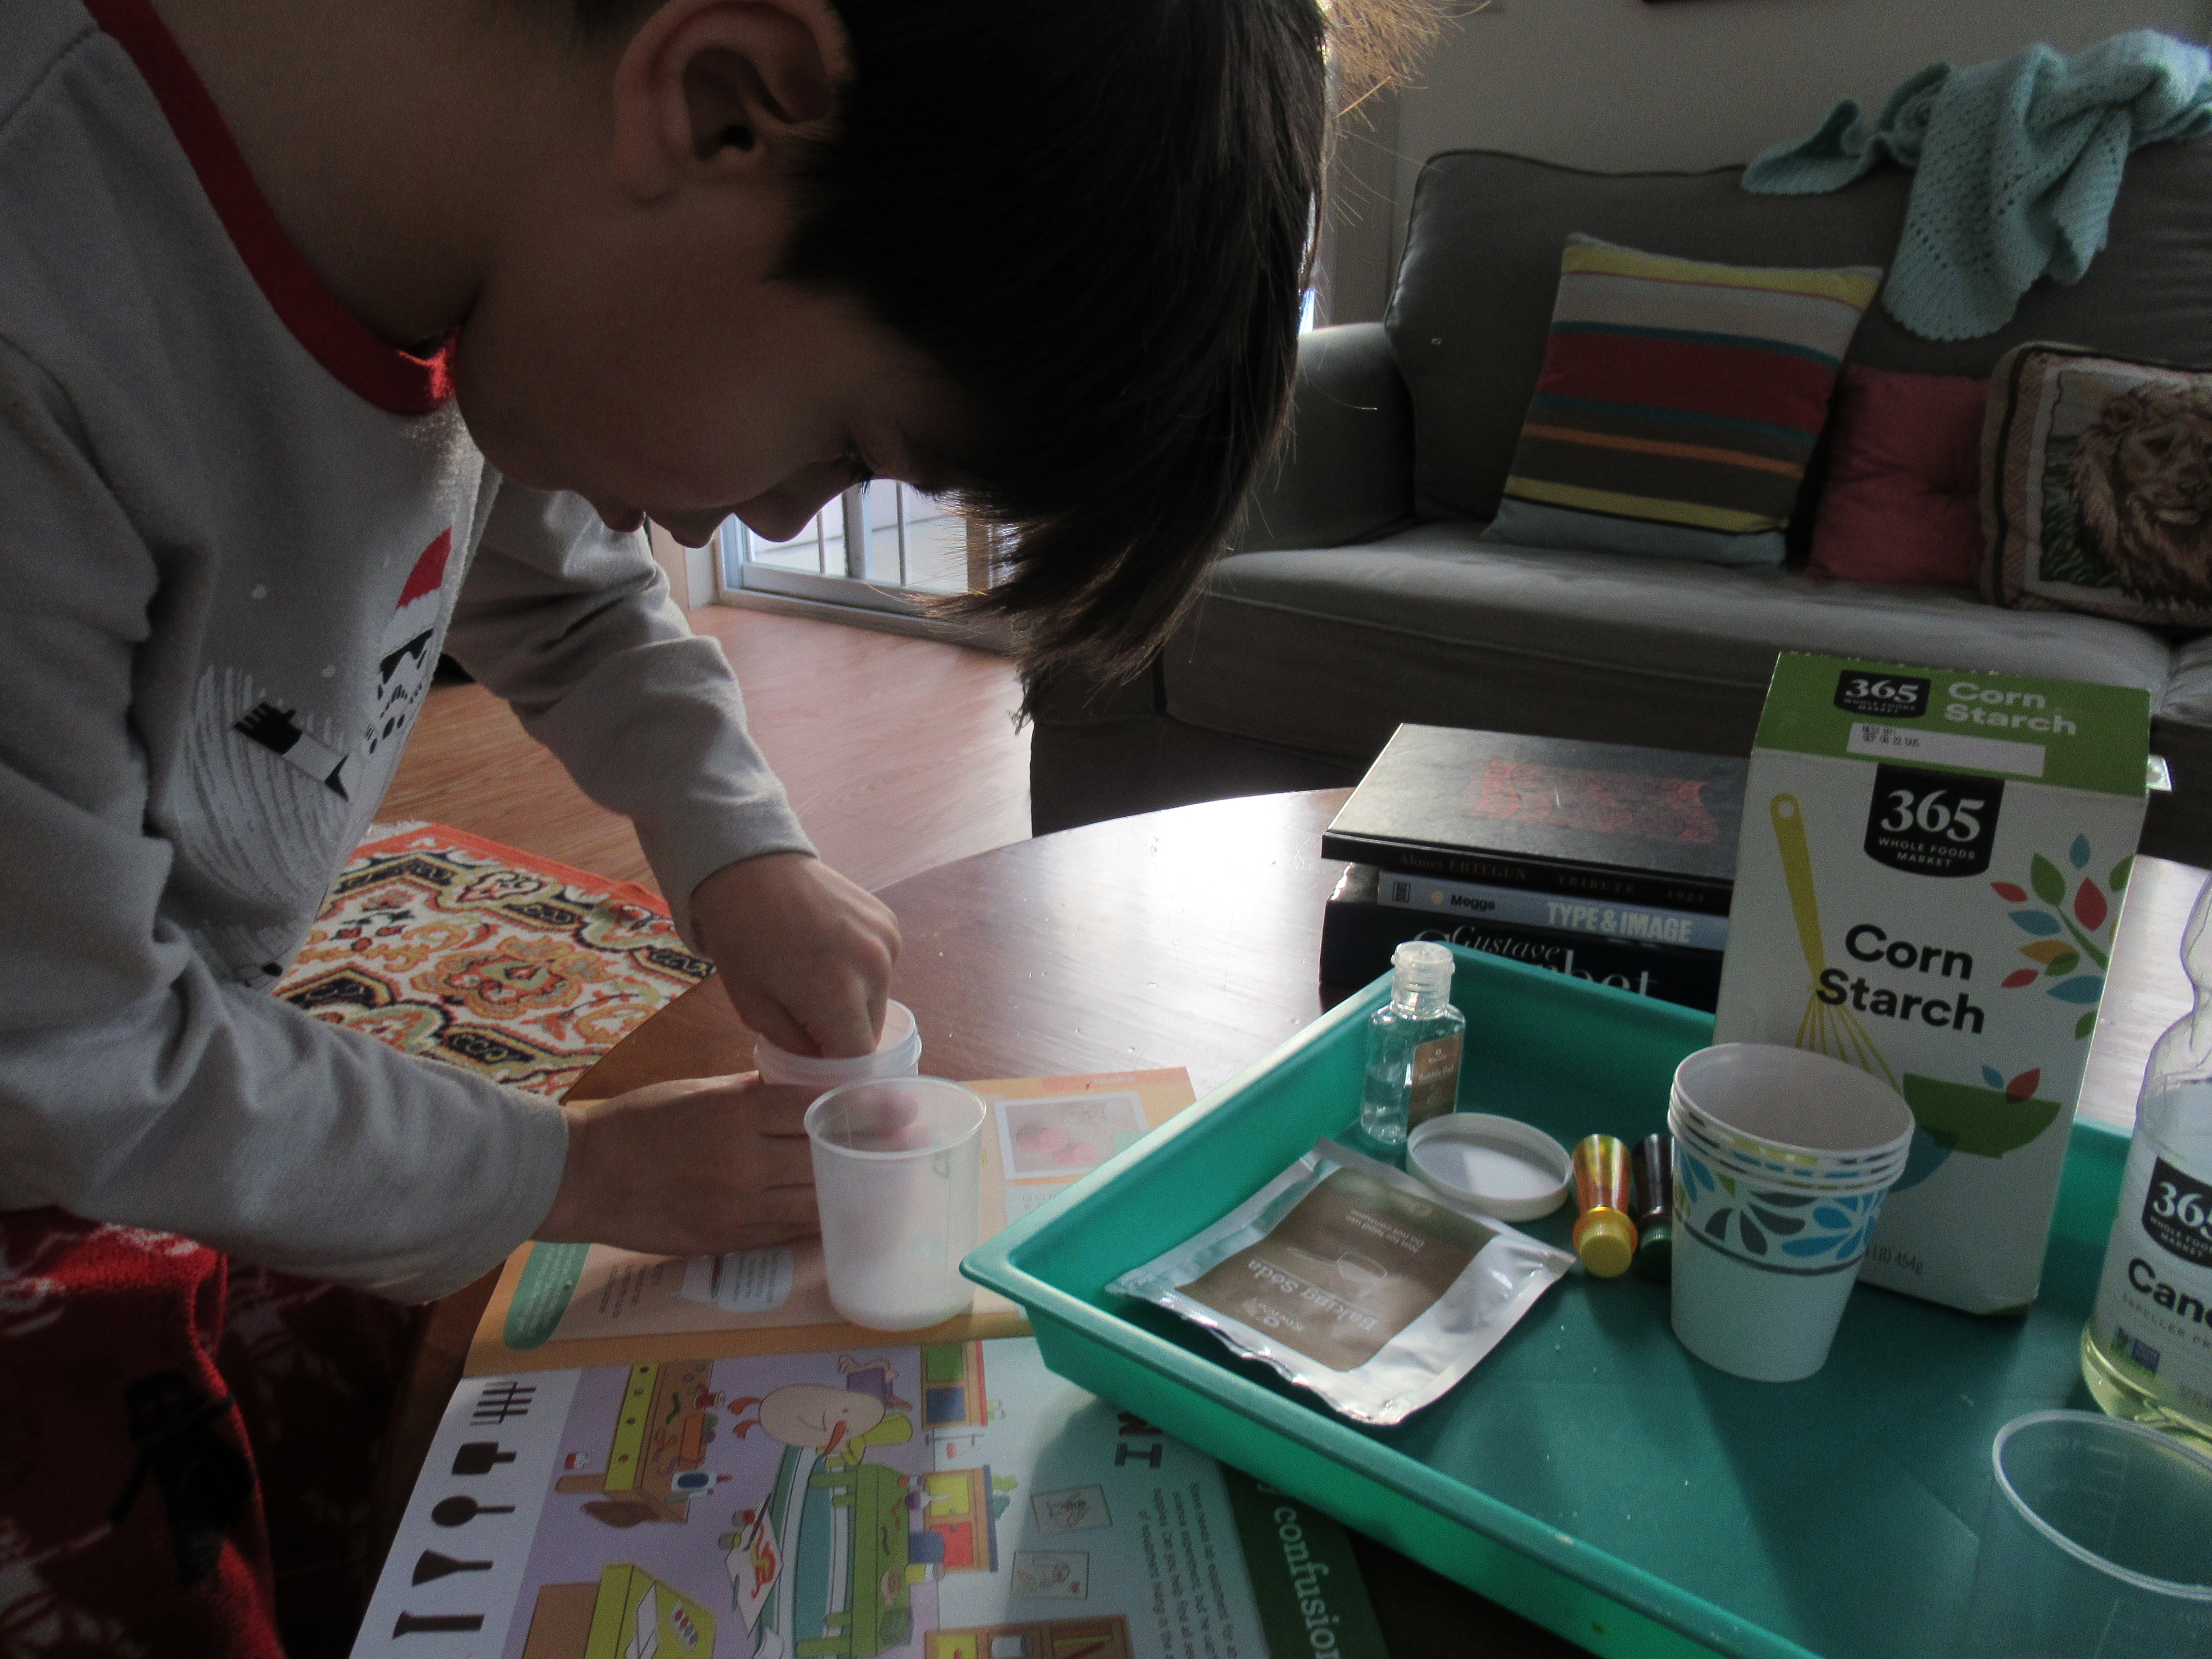
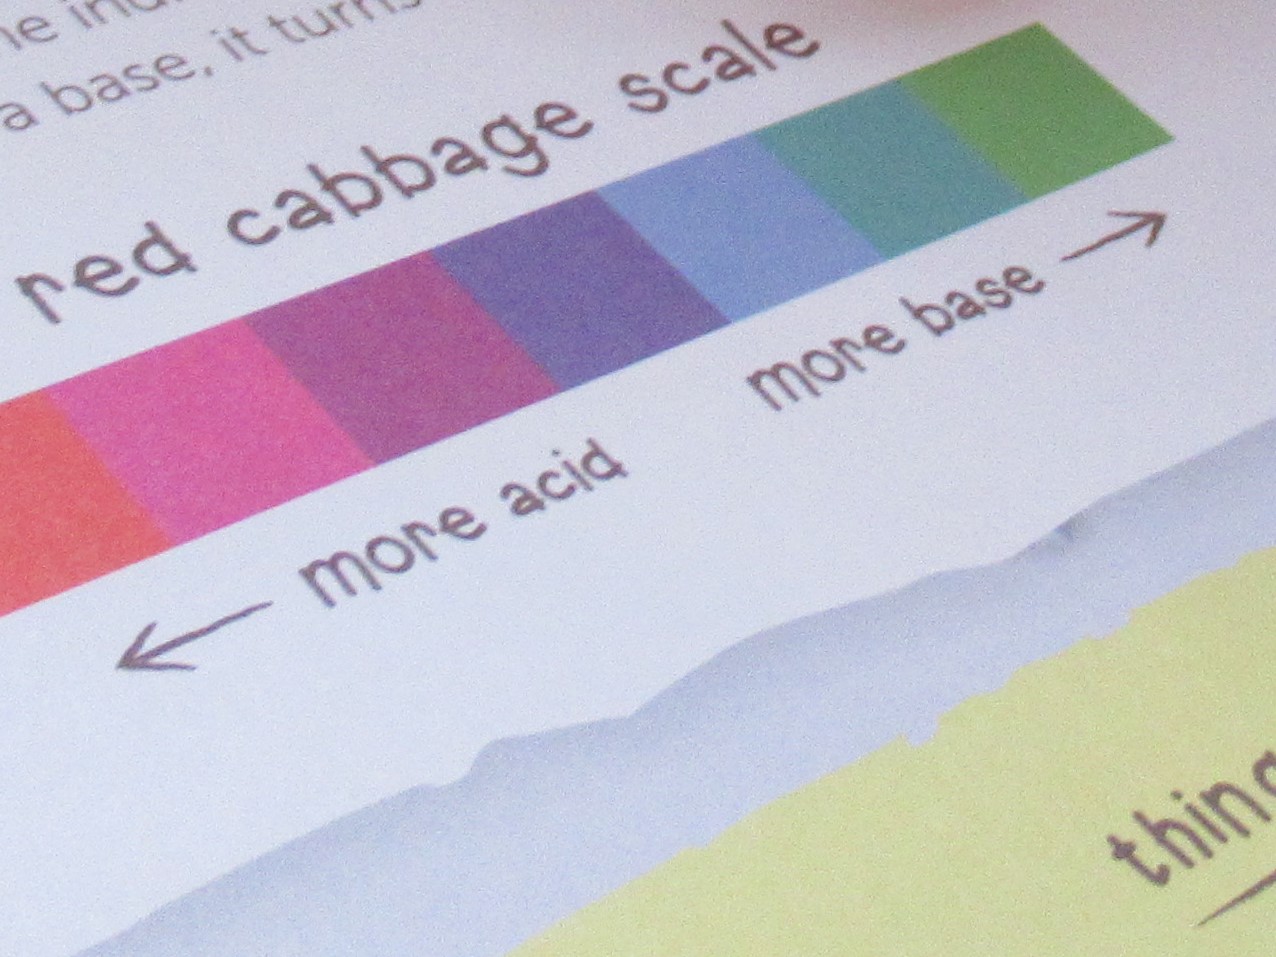
Travis’s latest crate from Kiwi Co had him hands-on with bubbly potions and concoctions! We mixed up one cup with an acid (the provided packet of citric acid) and one with a base (the provided packet of baking soda), and from there, there was a whole host of experiments to try.

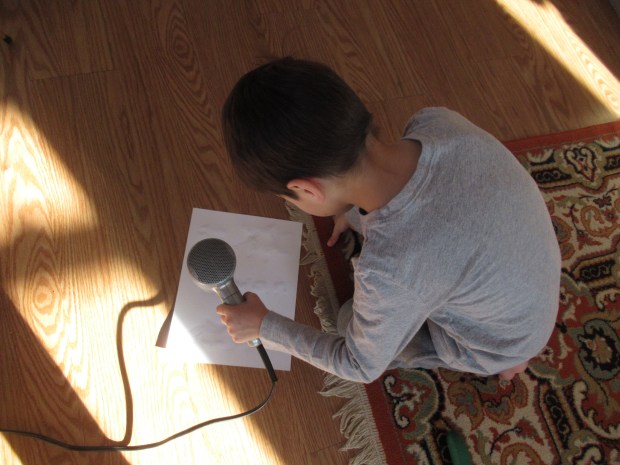
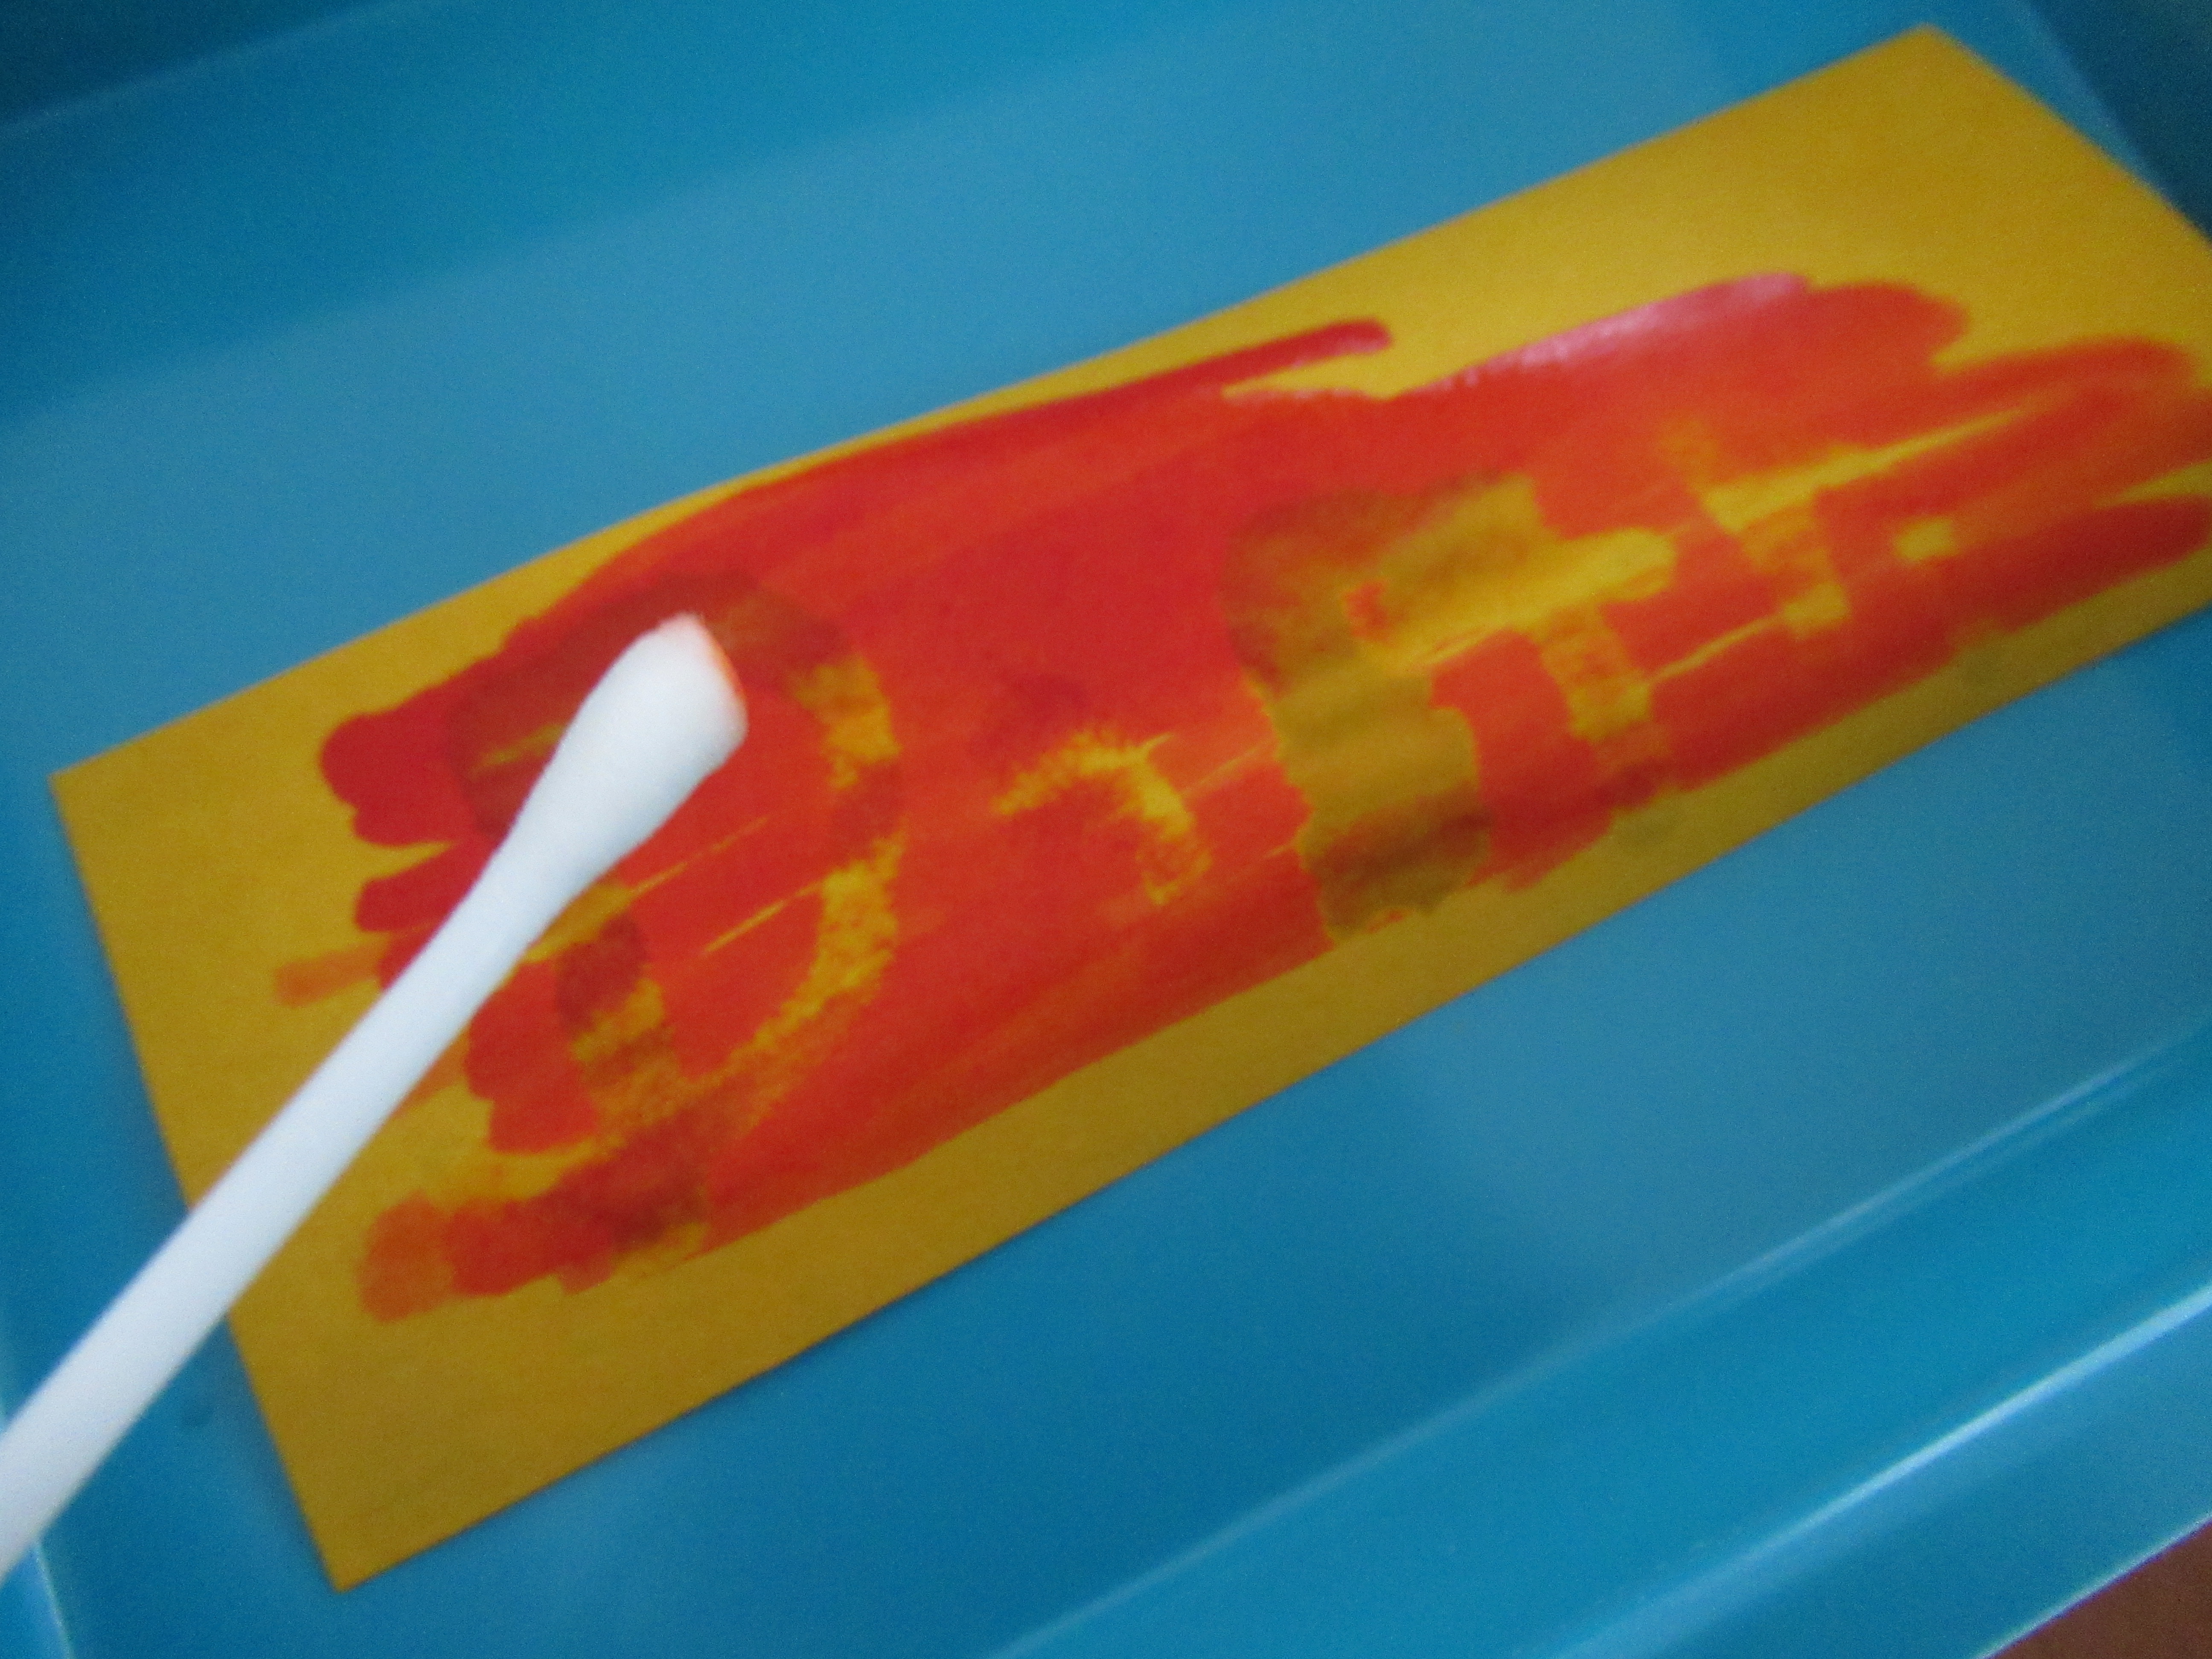
First up was to make Color-Changing Doodles. Travis dipped a q-tip in the base solution first and made designs on the provided gold paper. (Hint: This is really litmus test paper). Surprise – the paper turns red!

Kiwi Chemistry (2)

We let it dry and then dipped a second q-tip in the acid solution. The paper turns “back” to gold. Note: Through trial and error we discovered that designs with thin lines worked better for this activity than thick doodles.

Kiwi Chemistry (3)

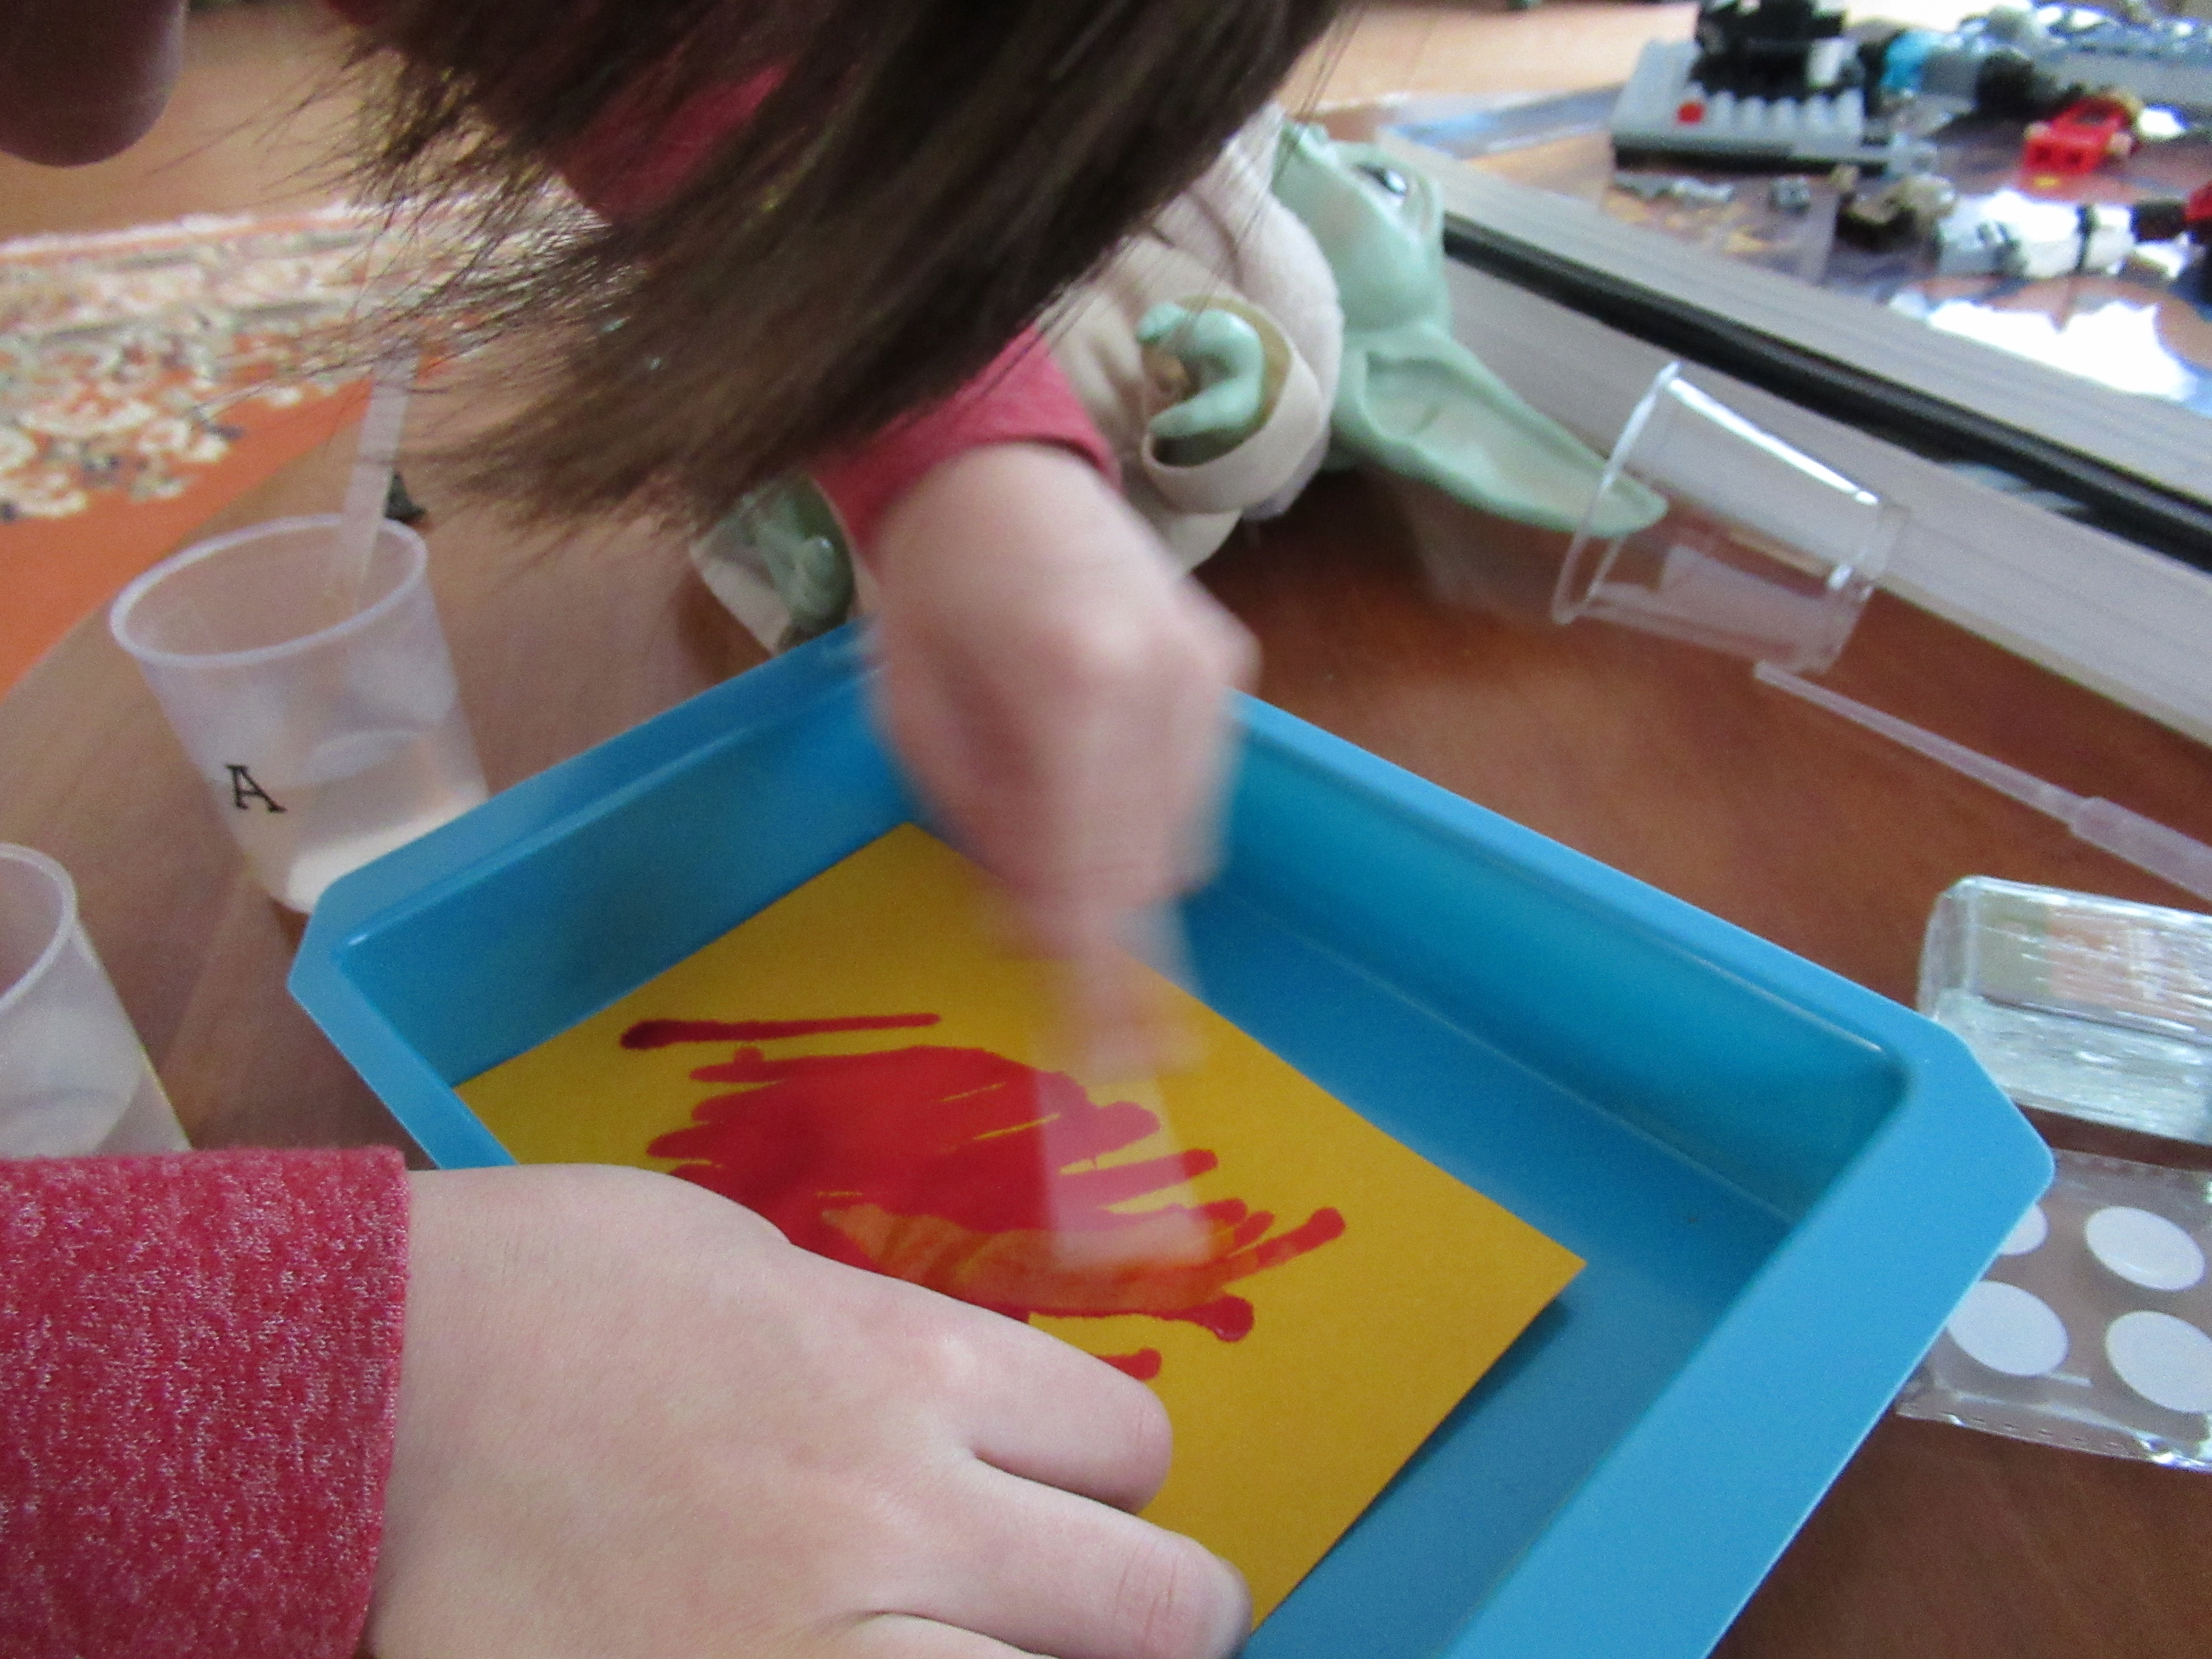
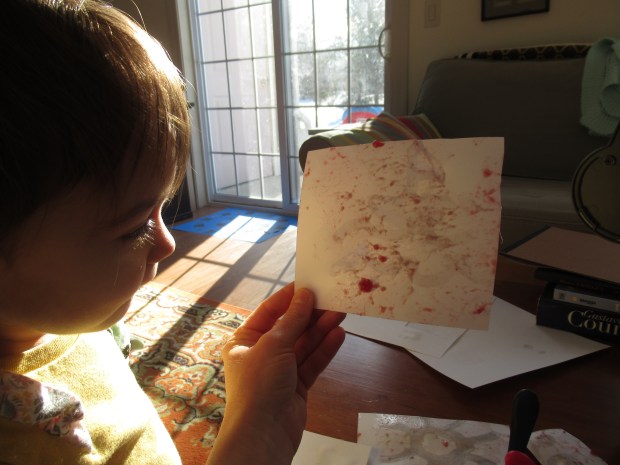
The reverse experiment was to use the acid first, leaving a “secret” message the blends in with the yellow. Rub over with the base using a second q-tip after the solution dries, and your secret code is revealed!

Kiwi Chemistry (5)

Travis also tested a few alternate ideas from the booklet, including dipping a toy in the base and then on the paper (dinosaur footprints!)…

Kiwi Chemistry (6)

…or adding a little of the provided bubble solution to the base. Blow bubbles with a straw and press onto the litmus paper for fun reddish outlines.

Kiwi Chemistry (7)

The version that didn’t work great for Travis was adding some base solution to a spritz bottle and spraying at the paper, which resulted in only a weak wash of red.

The second project, Multicolored Monsters, also relied on the litmus paper, but this time cut into fun monster shapes. Travis was less interested now that he knew how the paper would react, but he attached the provided wiggle eyes.

Kiwi Chemistry (12)

Then he could make the monsters yellow- or red-striped, depending whether he used the base or acid mixture.

Kiwi Chemistry (14)

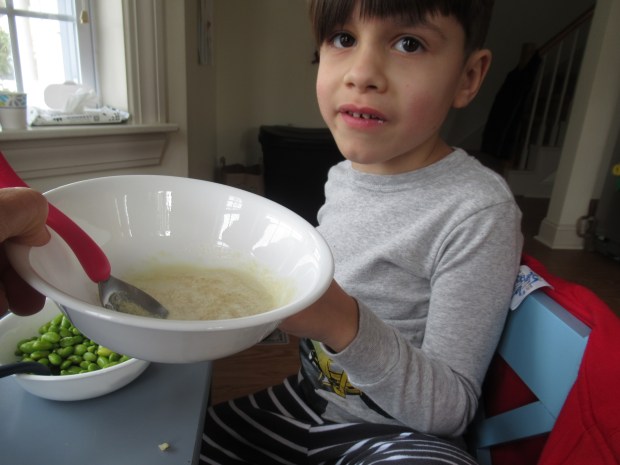
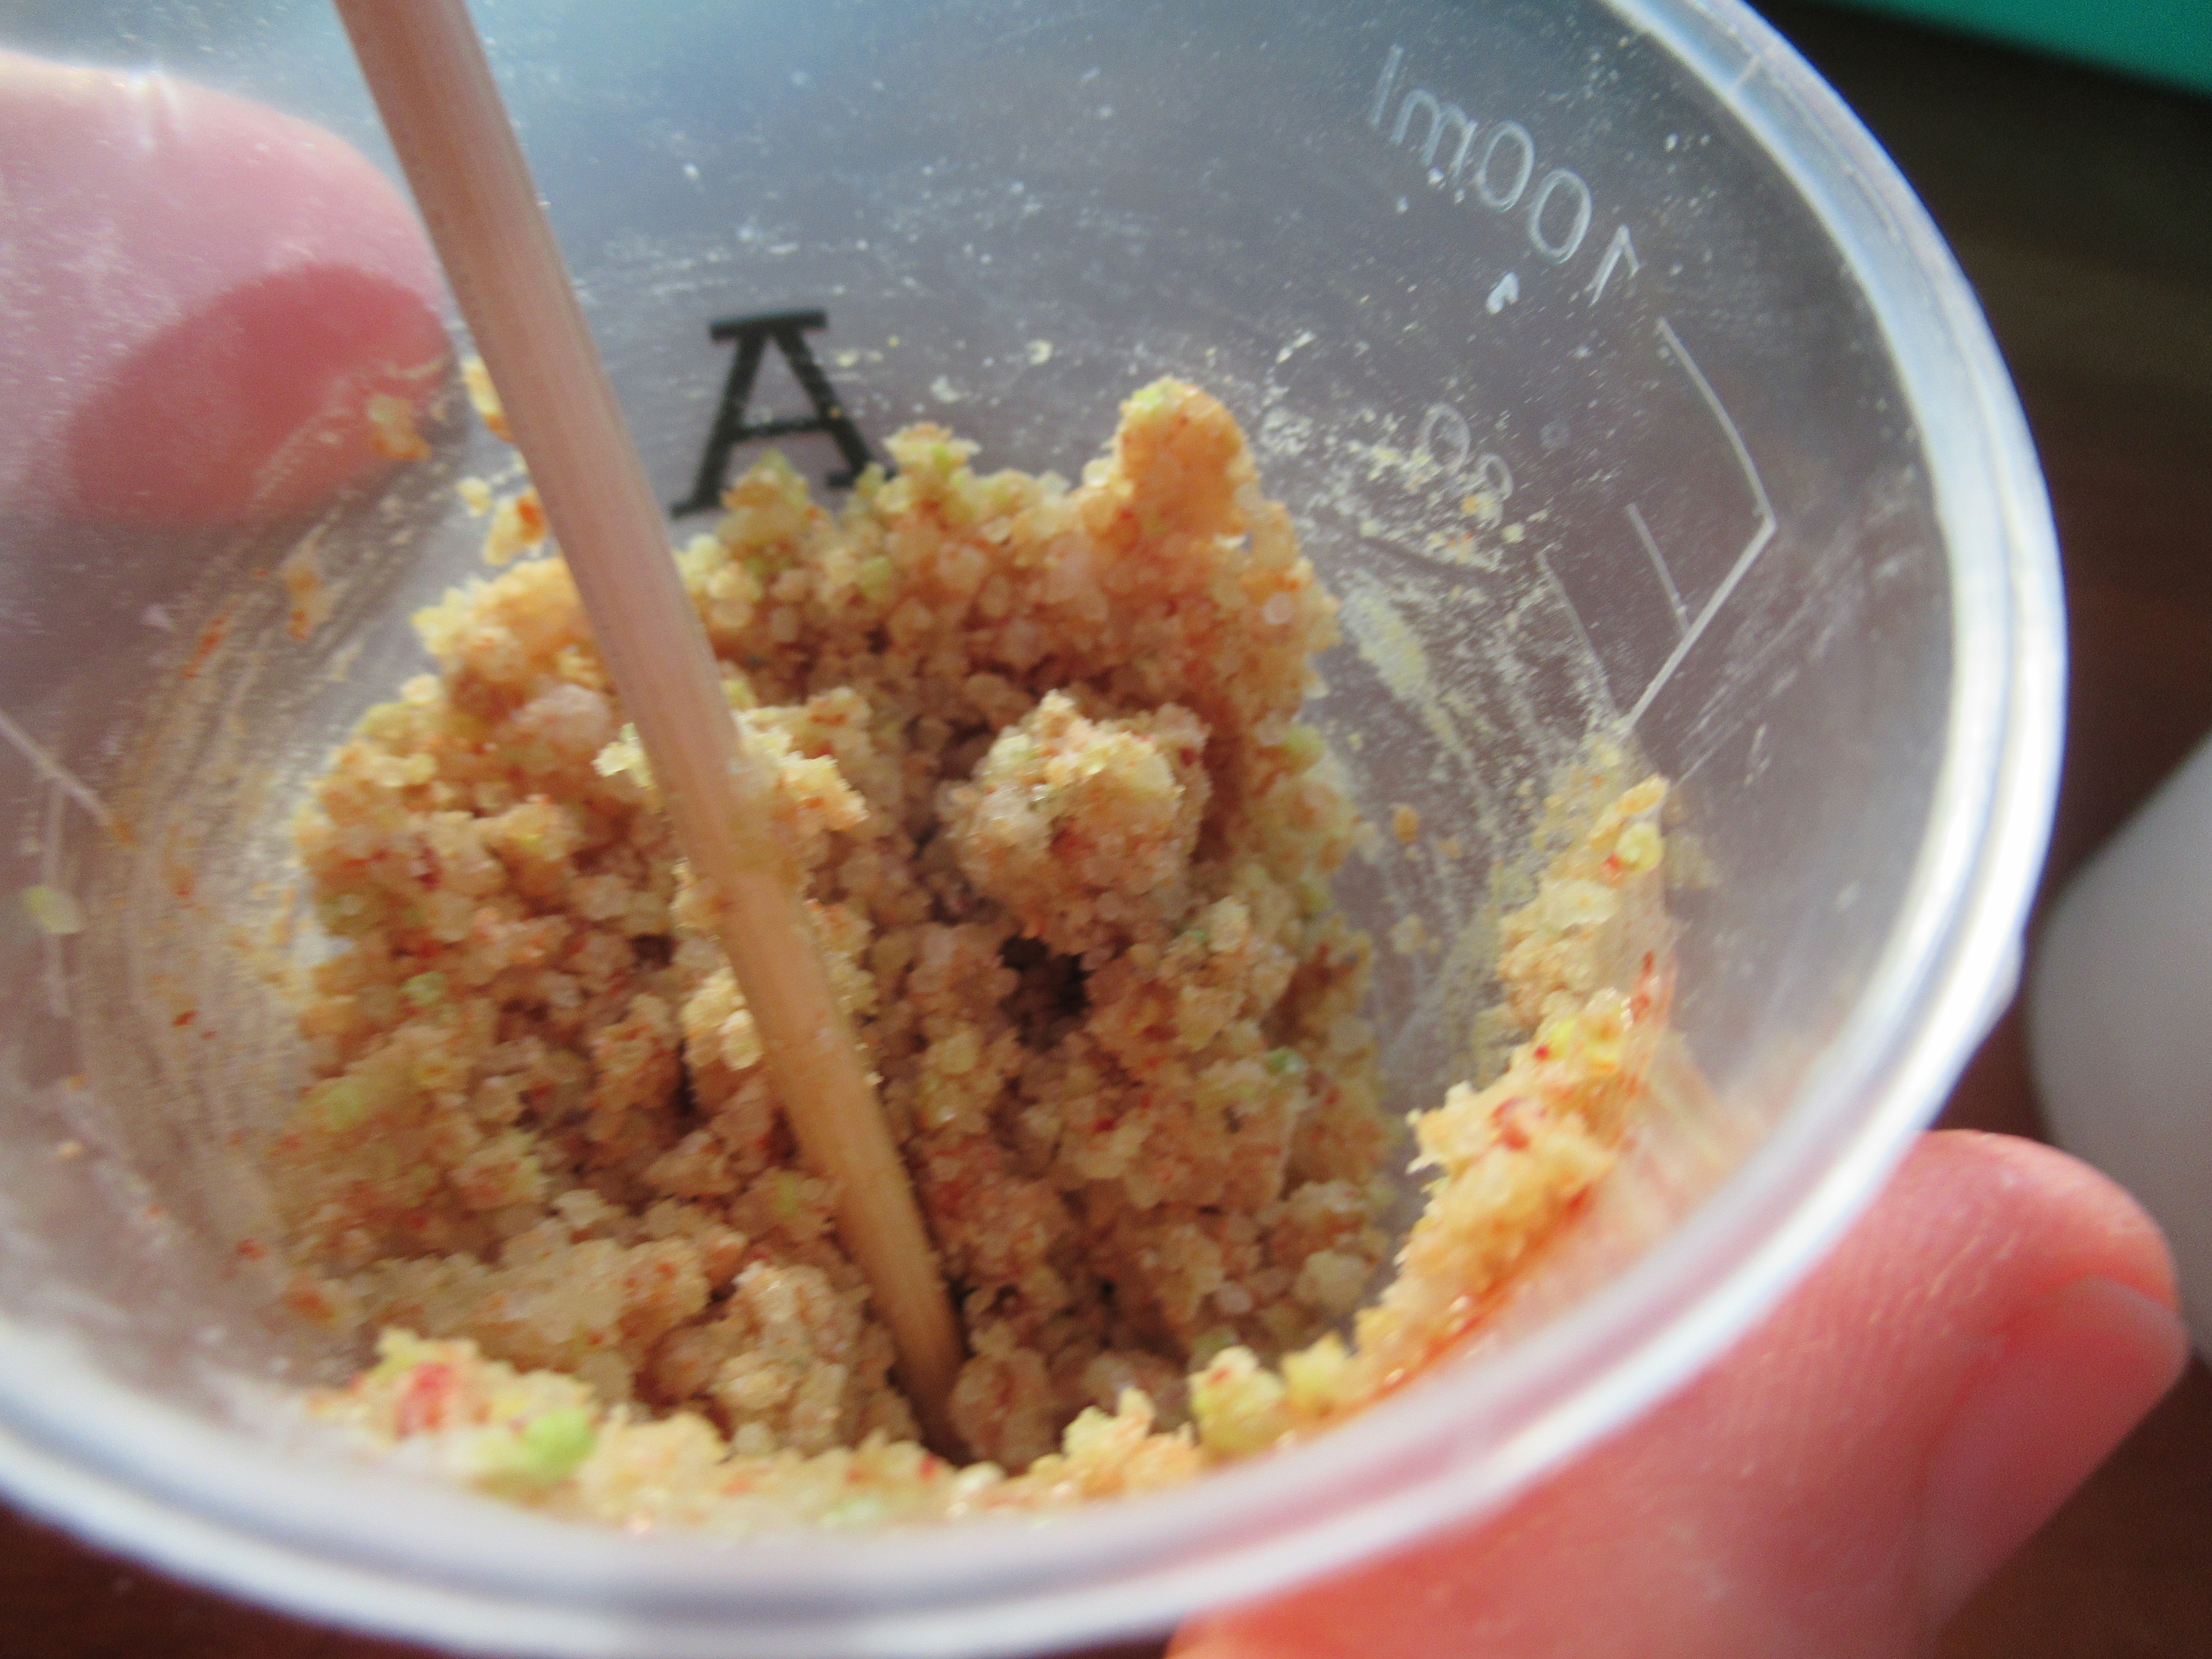
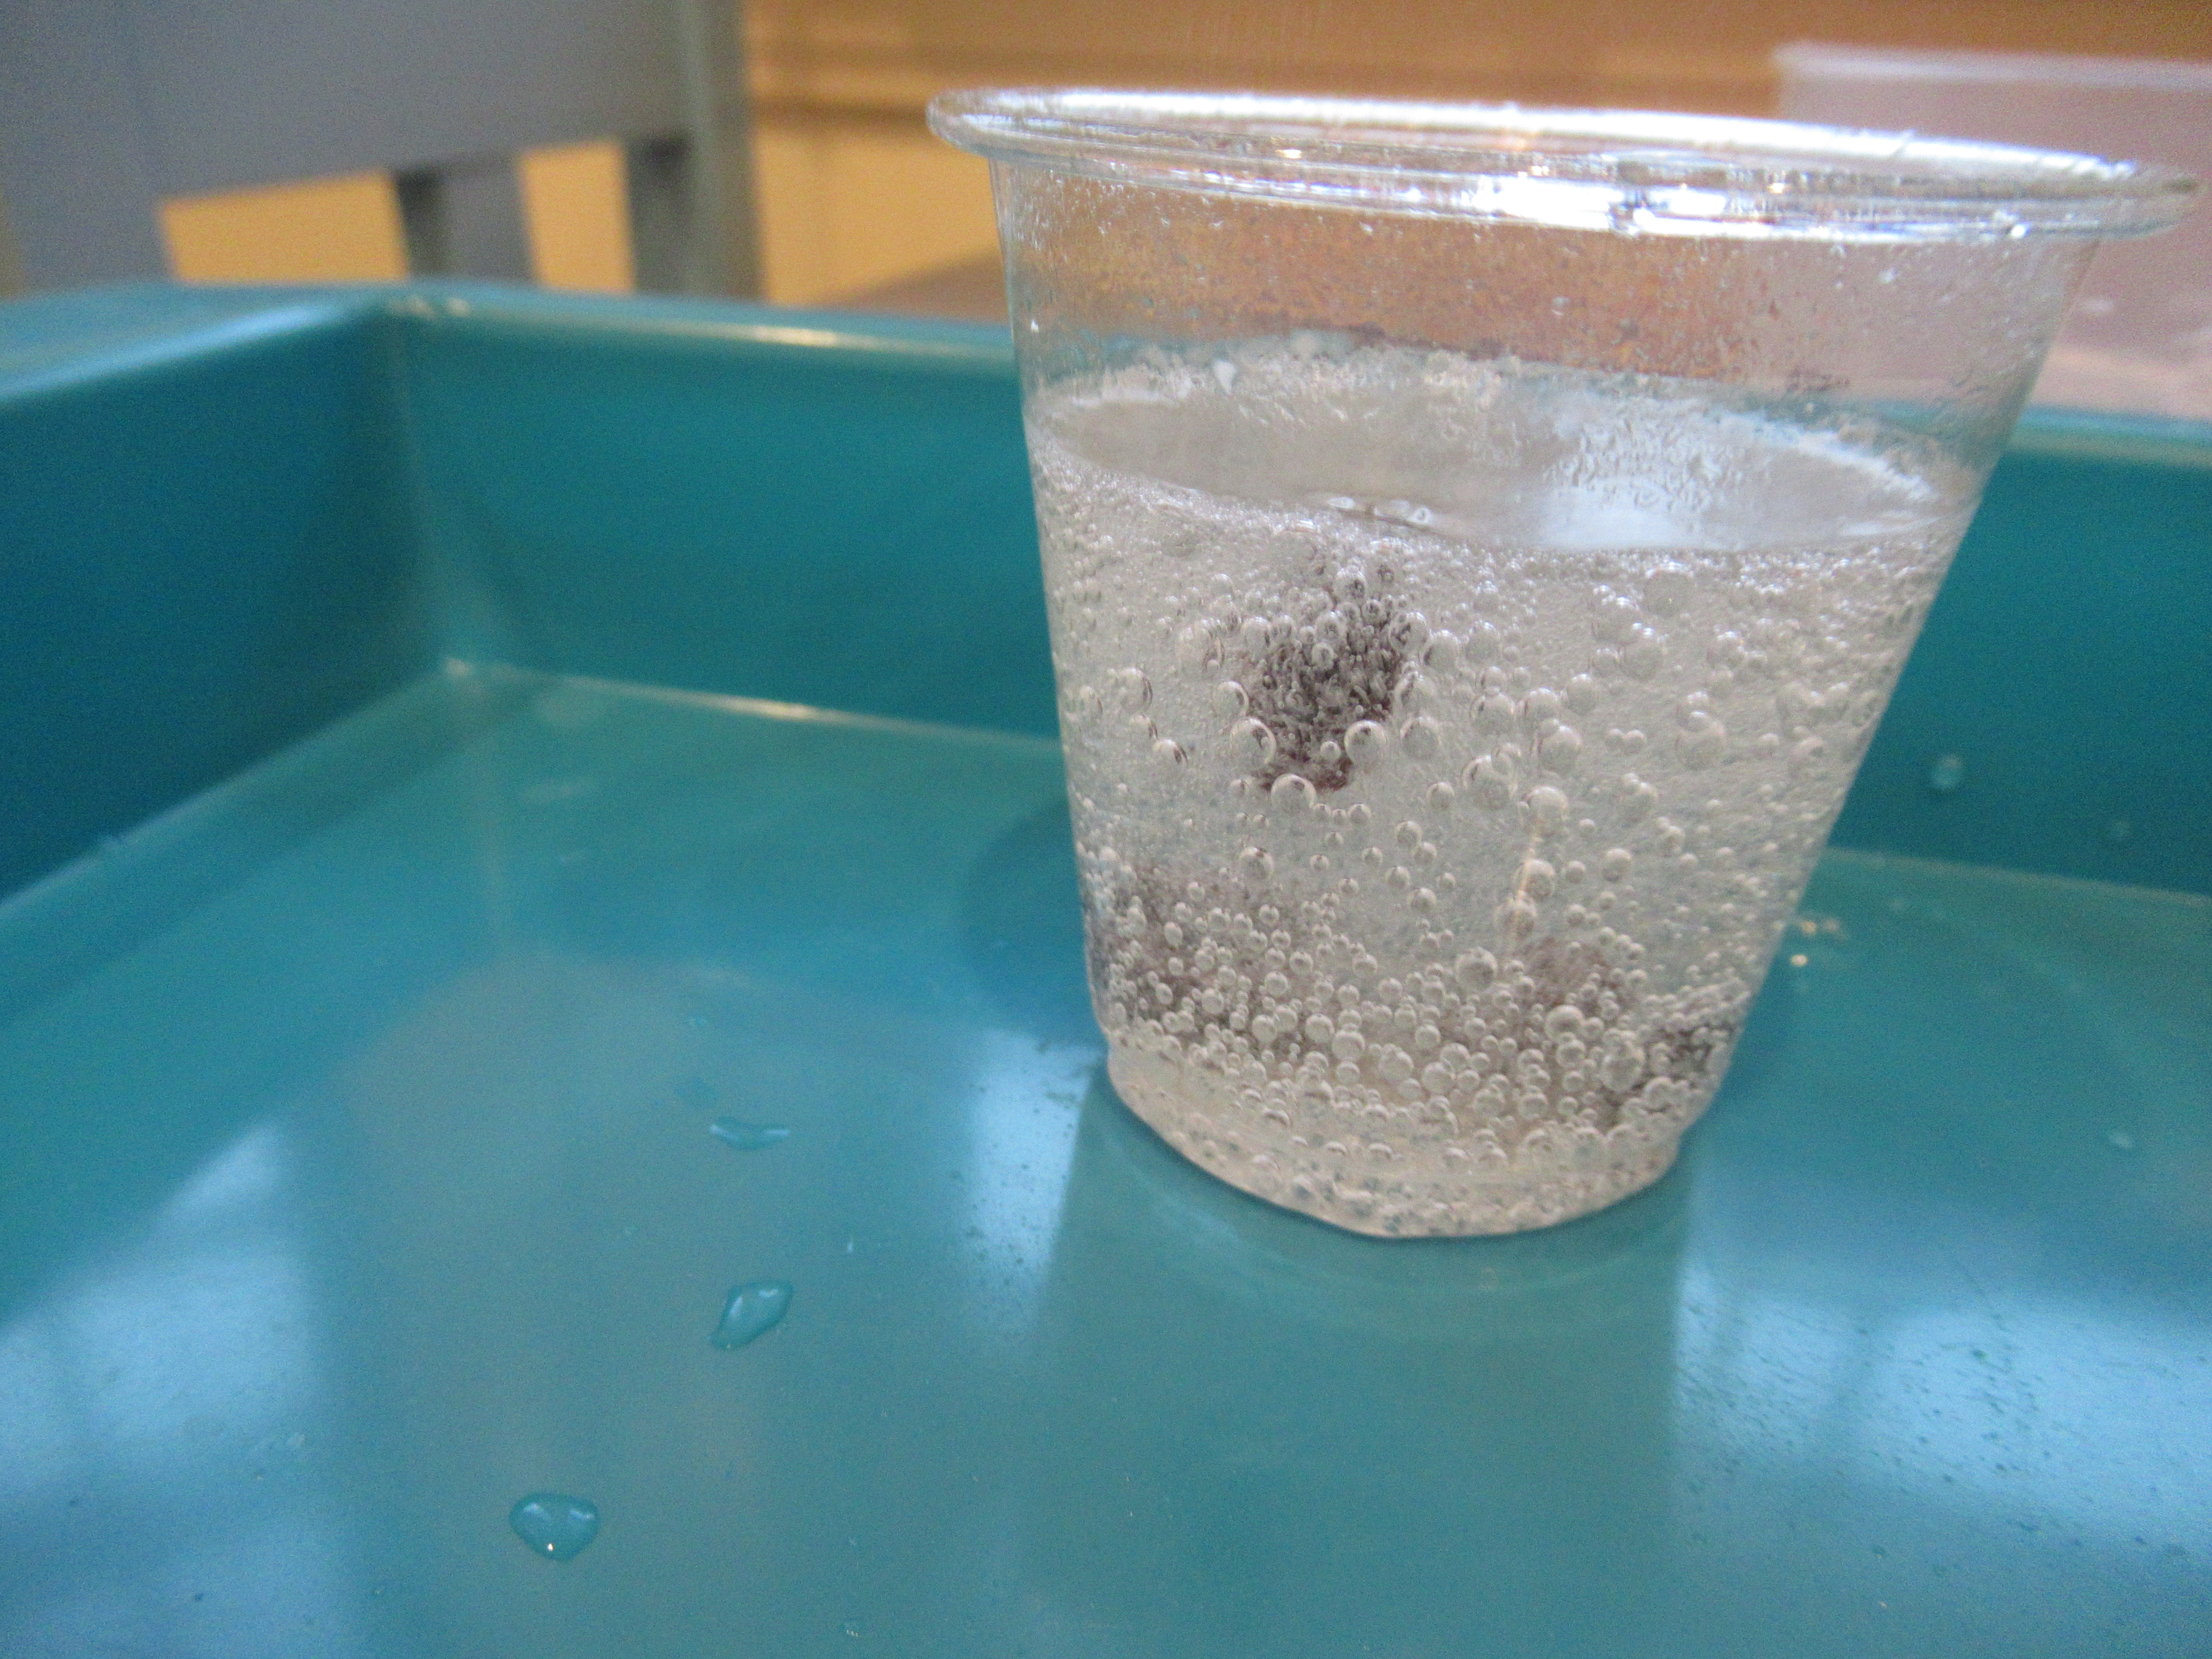
It was definitely time for some Bubbly Reactions! We filled both cups A and B with 1 scoop of citric acid, then made a paste from the baking soda and bubble solution which could roll up into little “snowballs”. One cup of citric acid received cold water and the other gets warm. Travis dropped in the snowballs, and observed the differences! Kids can get nicely scientific here, drawing their observations in the booklet, testing different amount of citric acid, or measuring the temperature of each cup before and after the reaction!

Kiwi Chemistry (10)

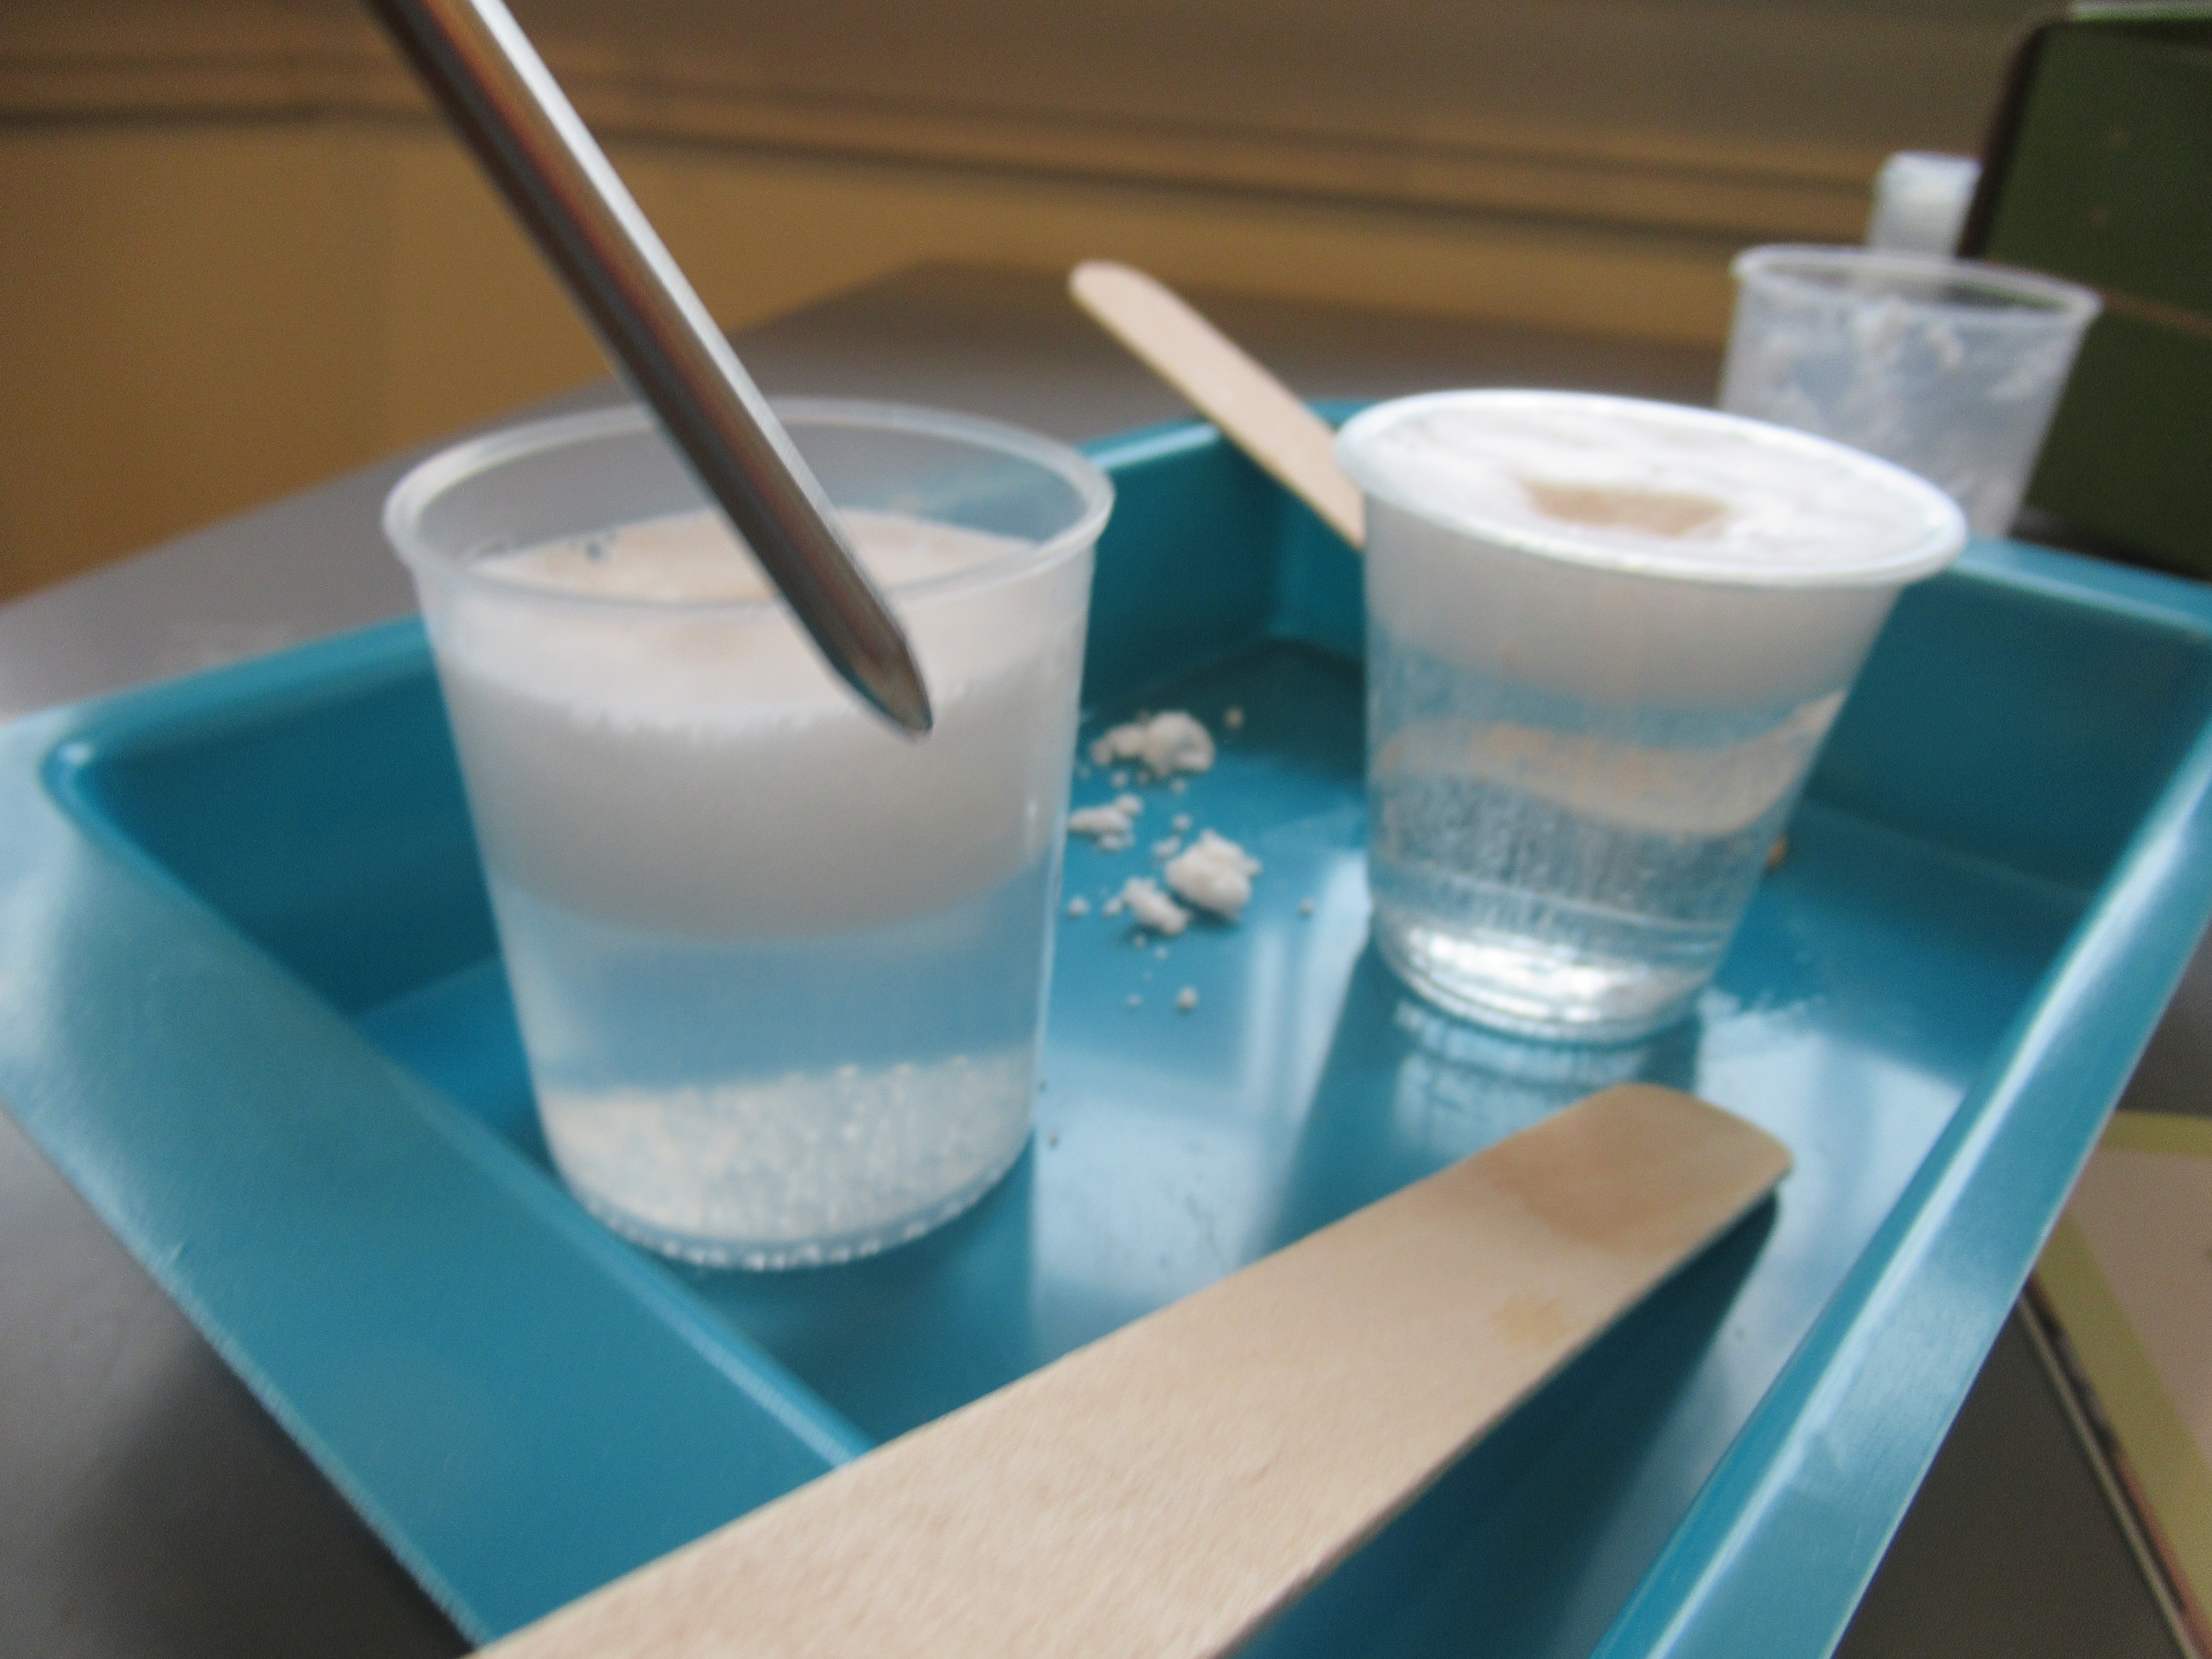
For us, unfortunately, both our cups fizzed but the warm water cup not appreciably more so than the cold water one. Luckily, there was entire Chemistry Lab Booklet in Travis’s crate, full of further experiments! Some of these were repeats of games we’ve enjoyed at home before, but a few were entirely new.

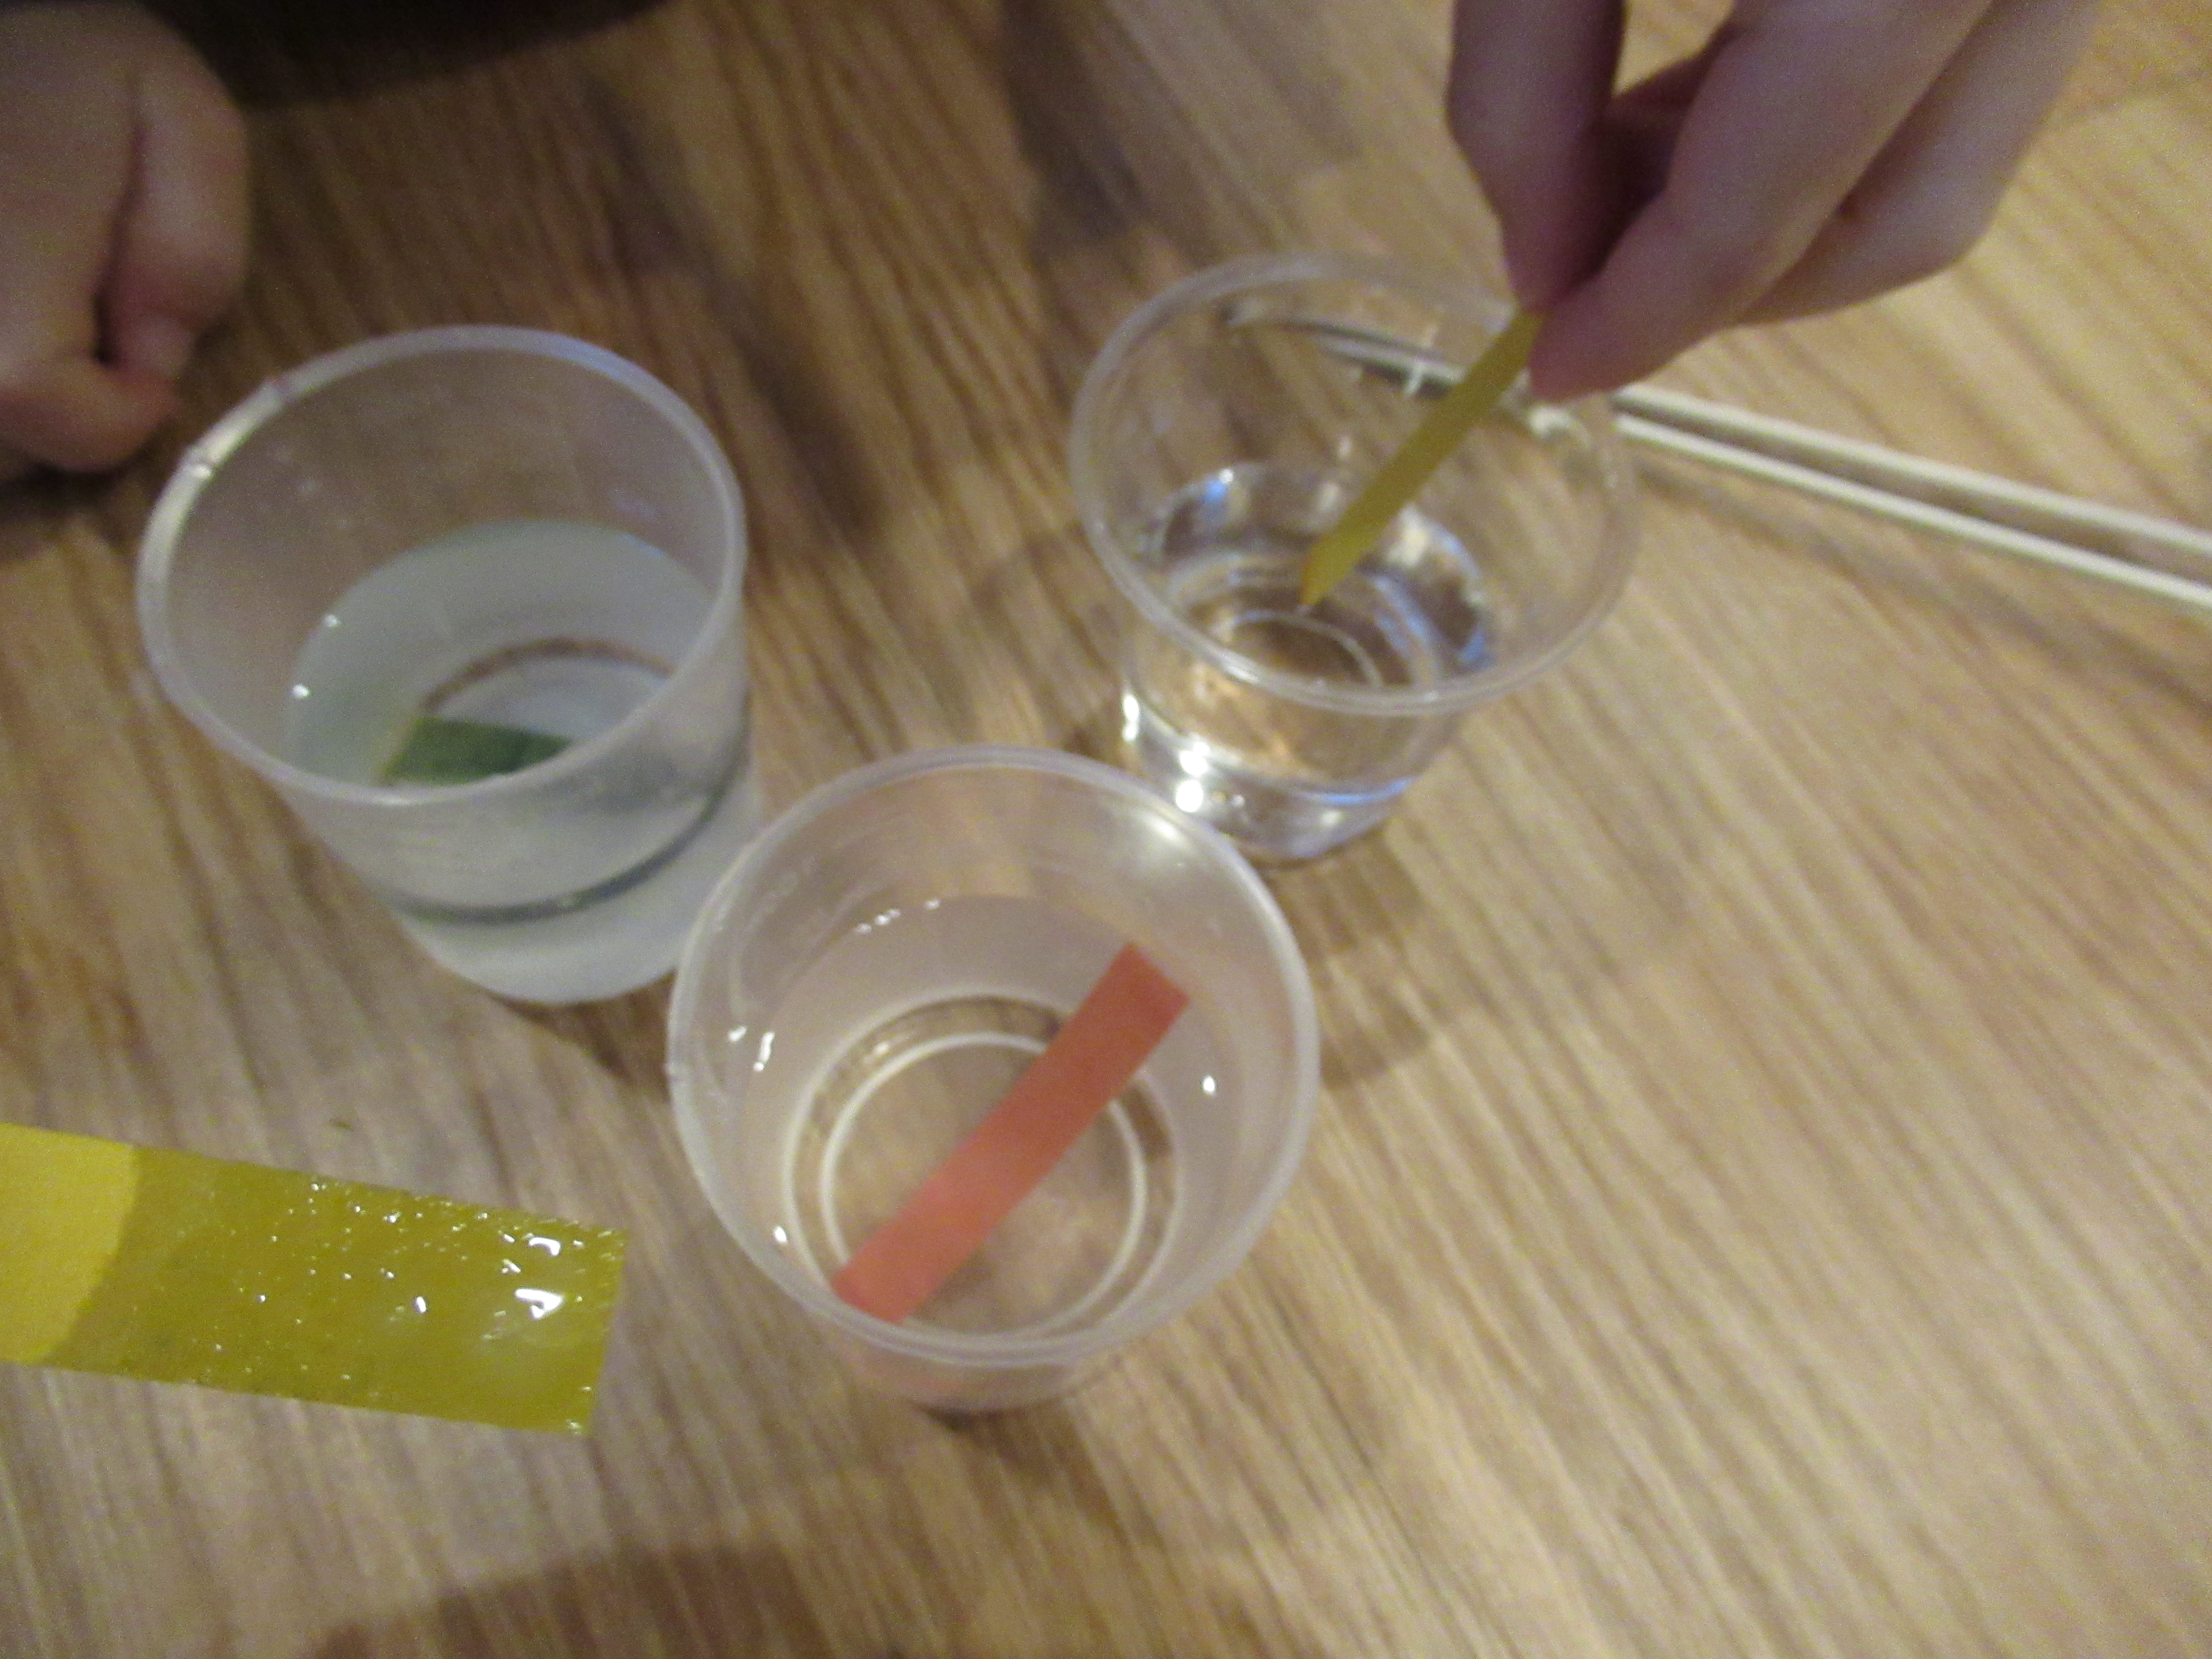
First, he did a quick repeat to reinforce the idea of Acid or Base, using provided litmus test strips on liquids around the house. We tested vinegar, coffee, and almond milk!

Kiwi Chemistry (25)

Next came a Blow-Up Bag; spoon citric acid and baking soda onto a square of tissue paper and fold up. Add water to a zip-top bag, then place your tissue paper solution inside. Seal and watch the bag expand!

Kiwi Chemistry (27)

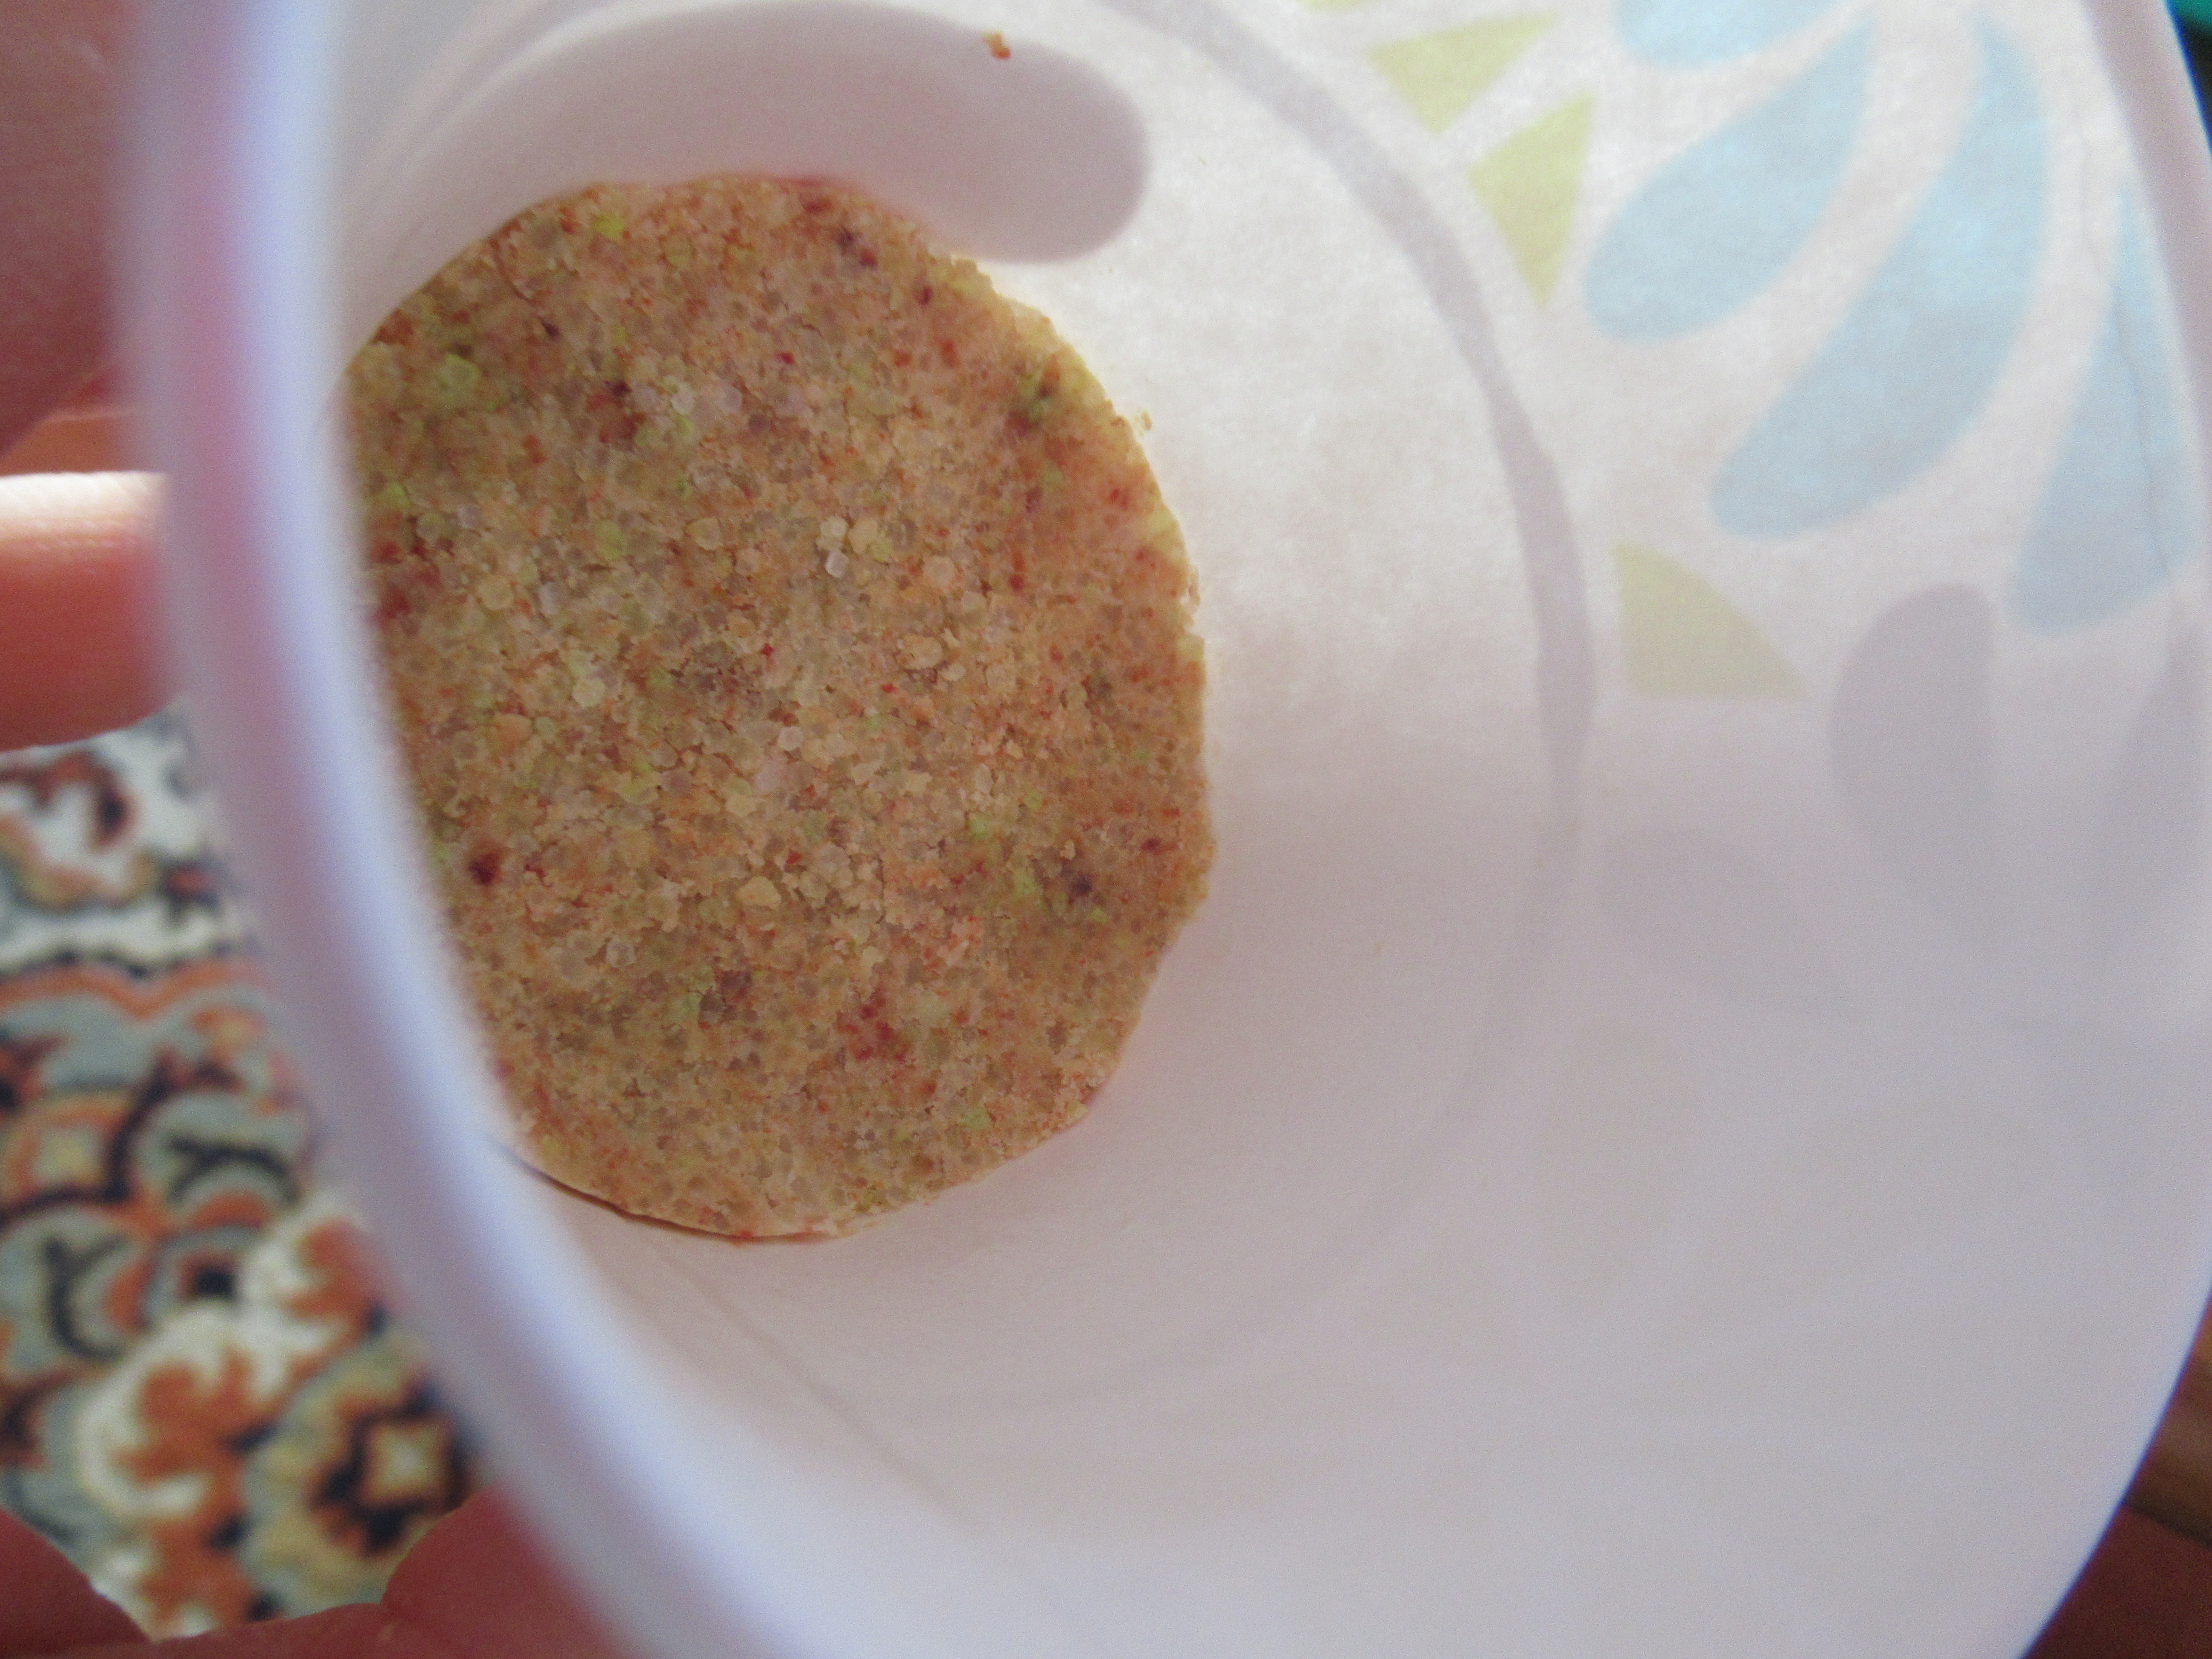
Homemade Snow Dough was similar to versions we’ve made recently, this time a combination of citric acid, baking soda, bubble gel, and water. This stuff was particularly neat because it felt cold just like real snow!

Kiwi Chemistry (23)

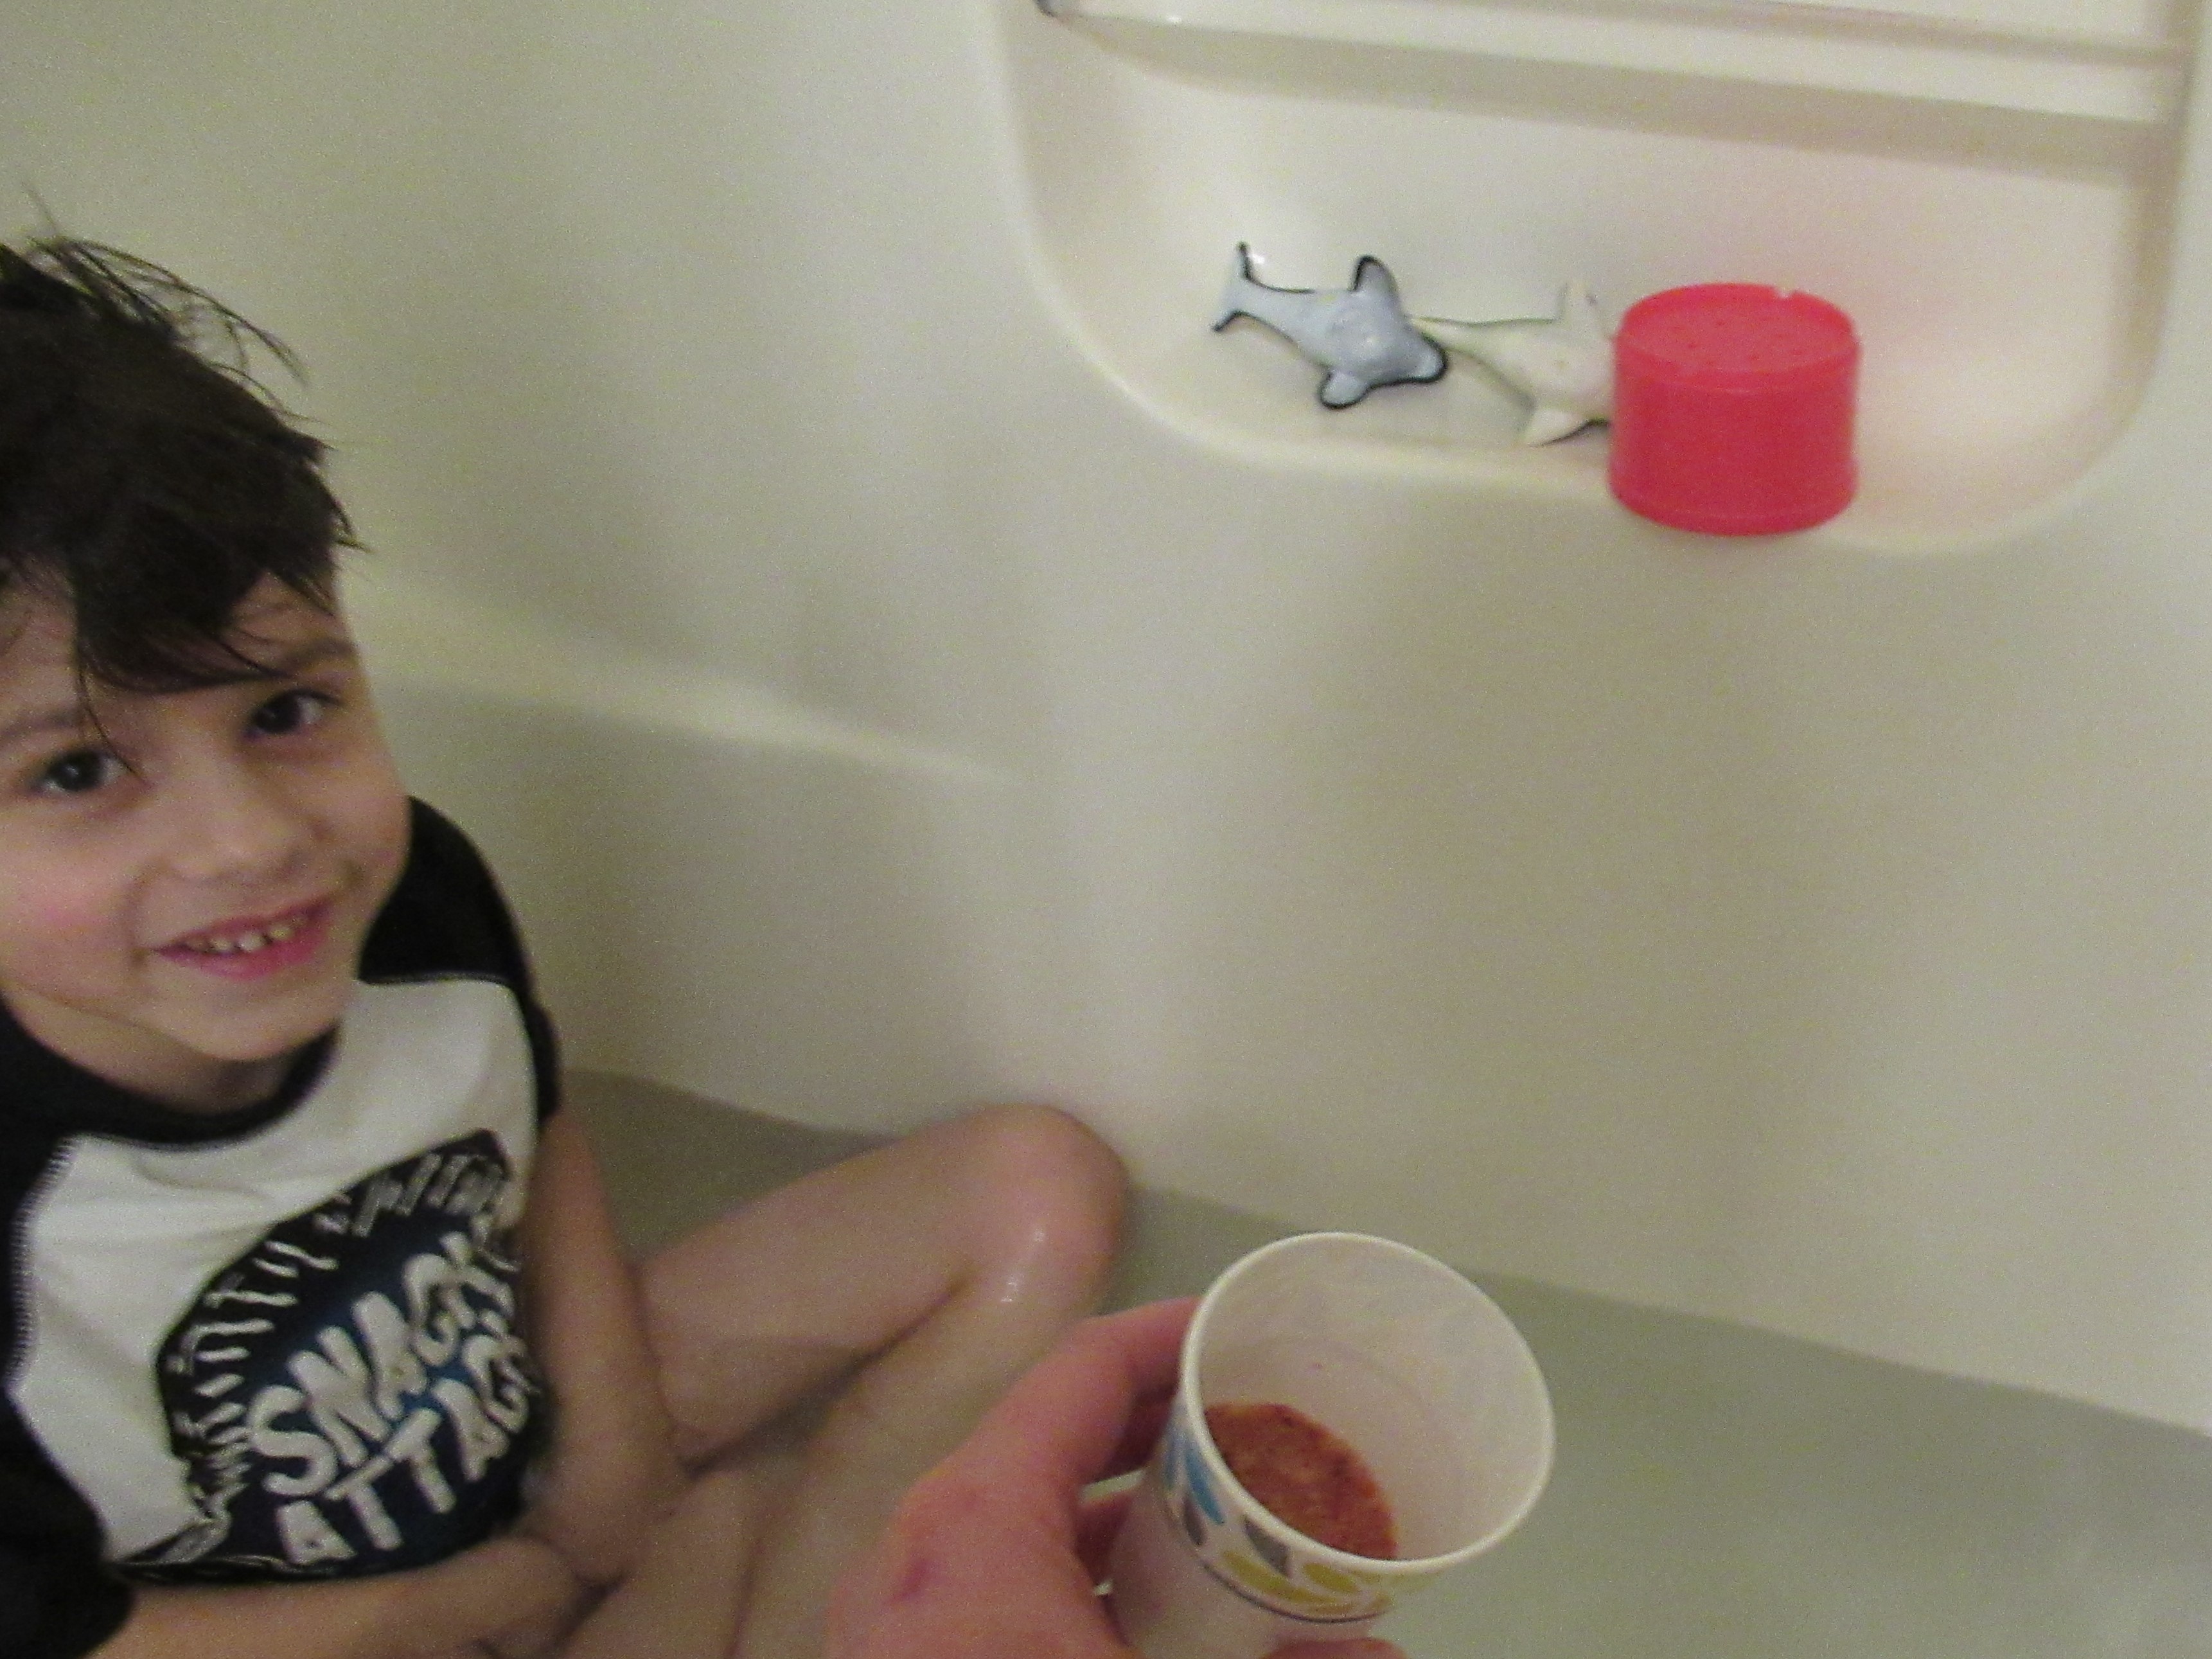
Dancing Raisins are an oldie but goodie: place raisins and 1 teaspoon baking soda in a cup with a little water. Squirt in the citric acid solution, and the raisins “swim” like little fish.

Kiwi Chemistry (21)

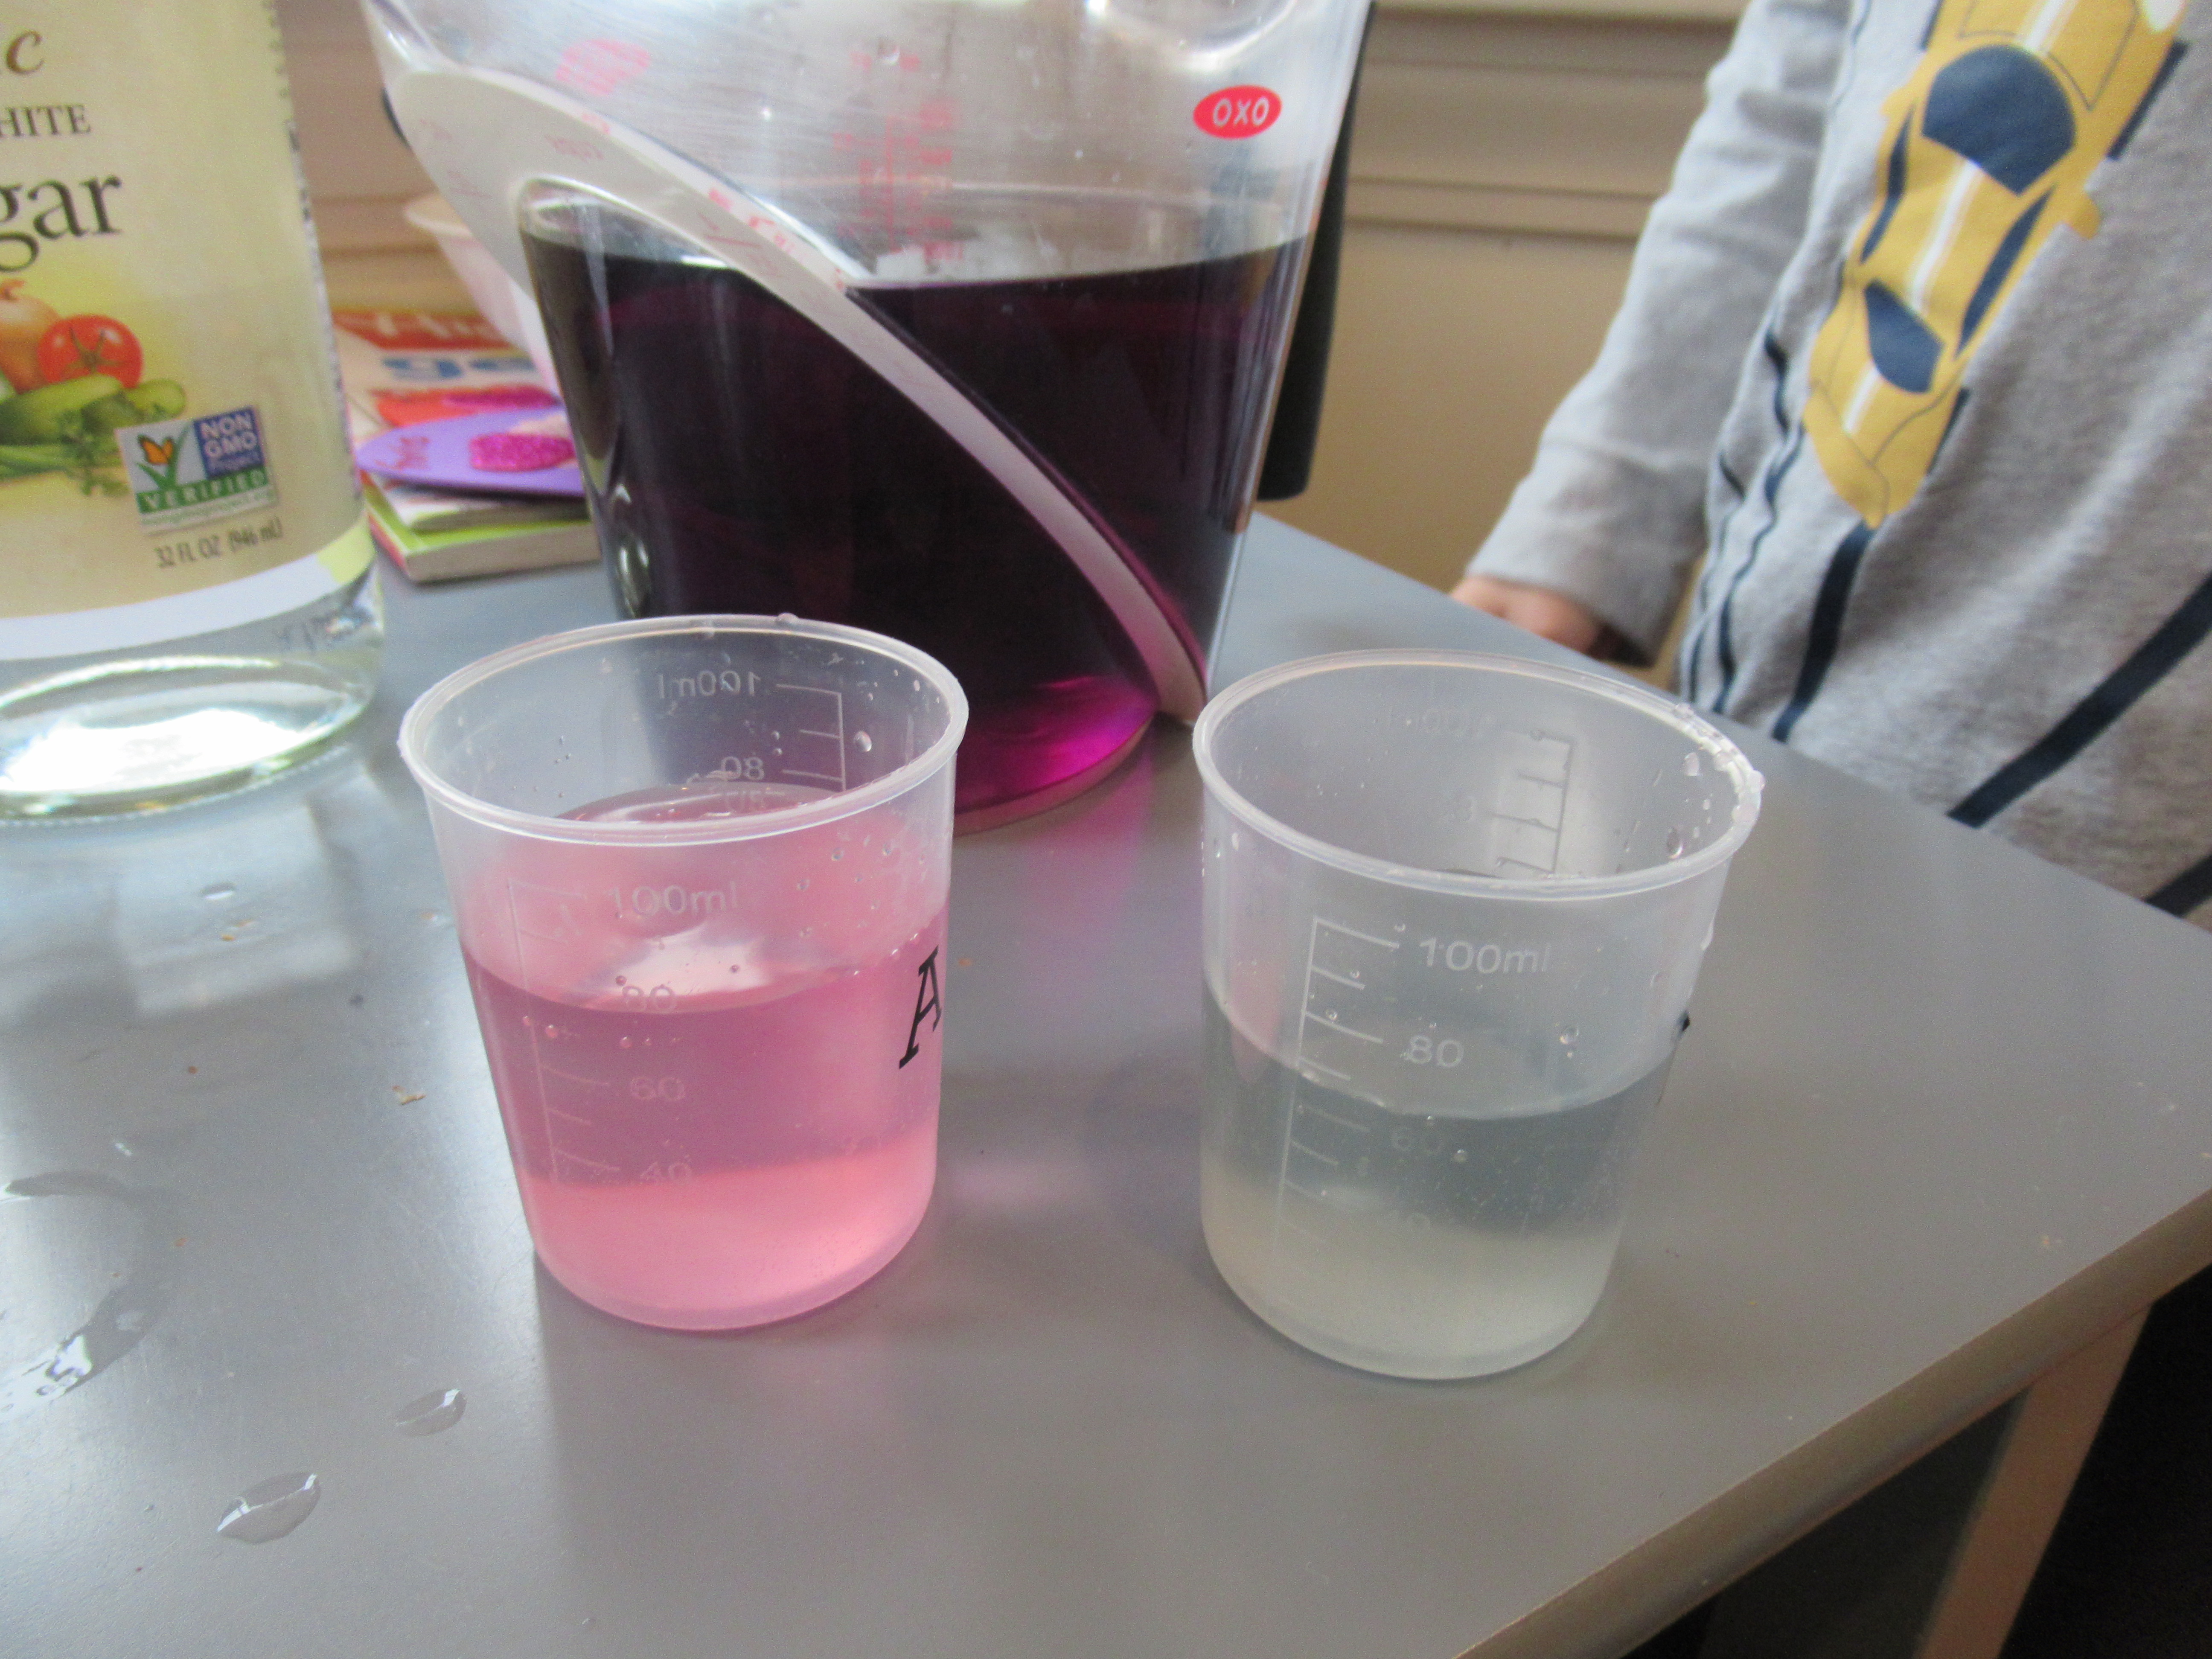
We also tried out Mix It Up, which involved pouring an acid (tinted with red food coloring) and a base (tinted yellow) into a center cup at the same time.

Kiwi Chemistry (18)

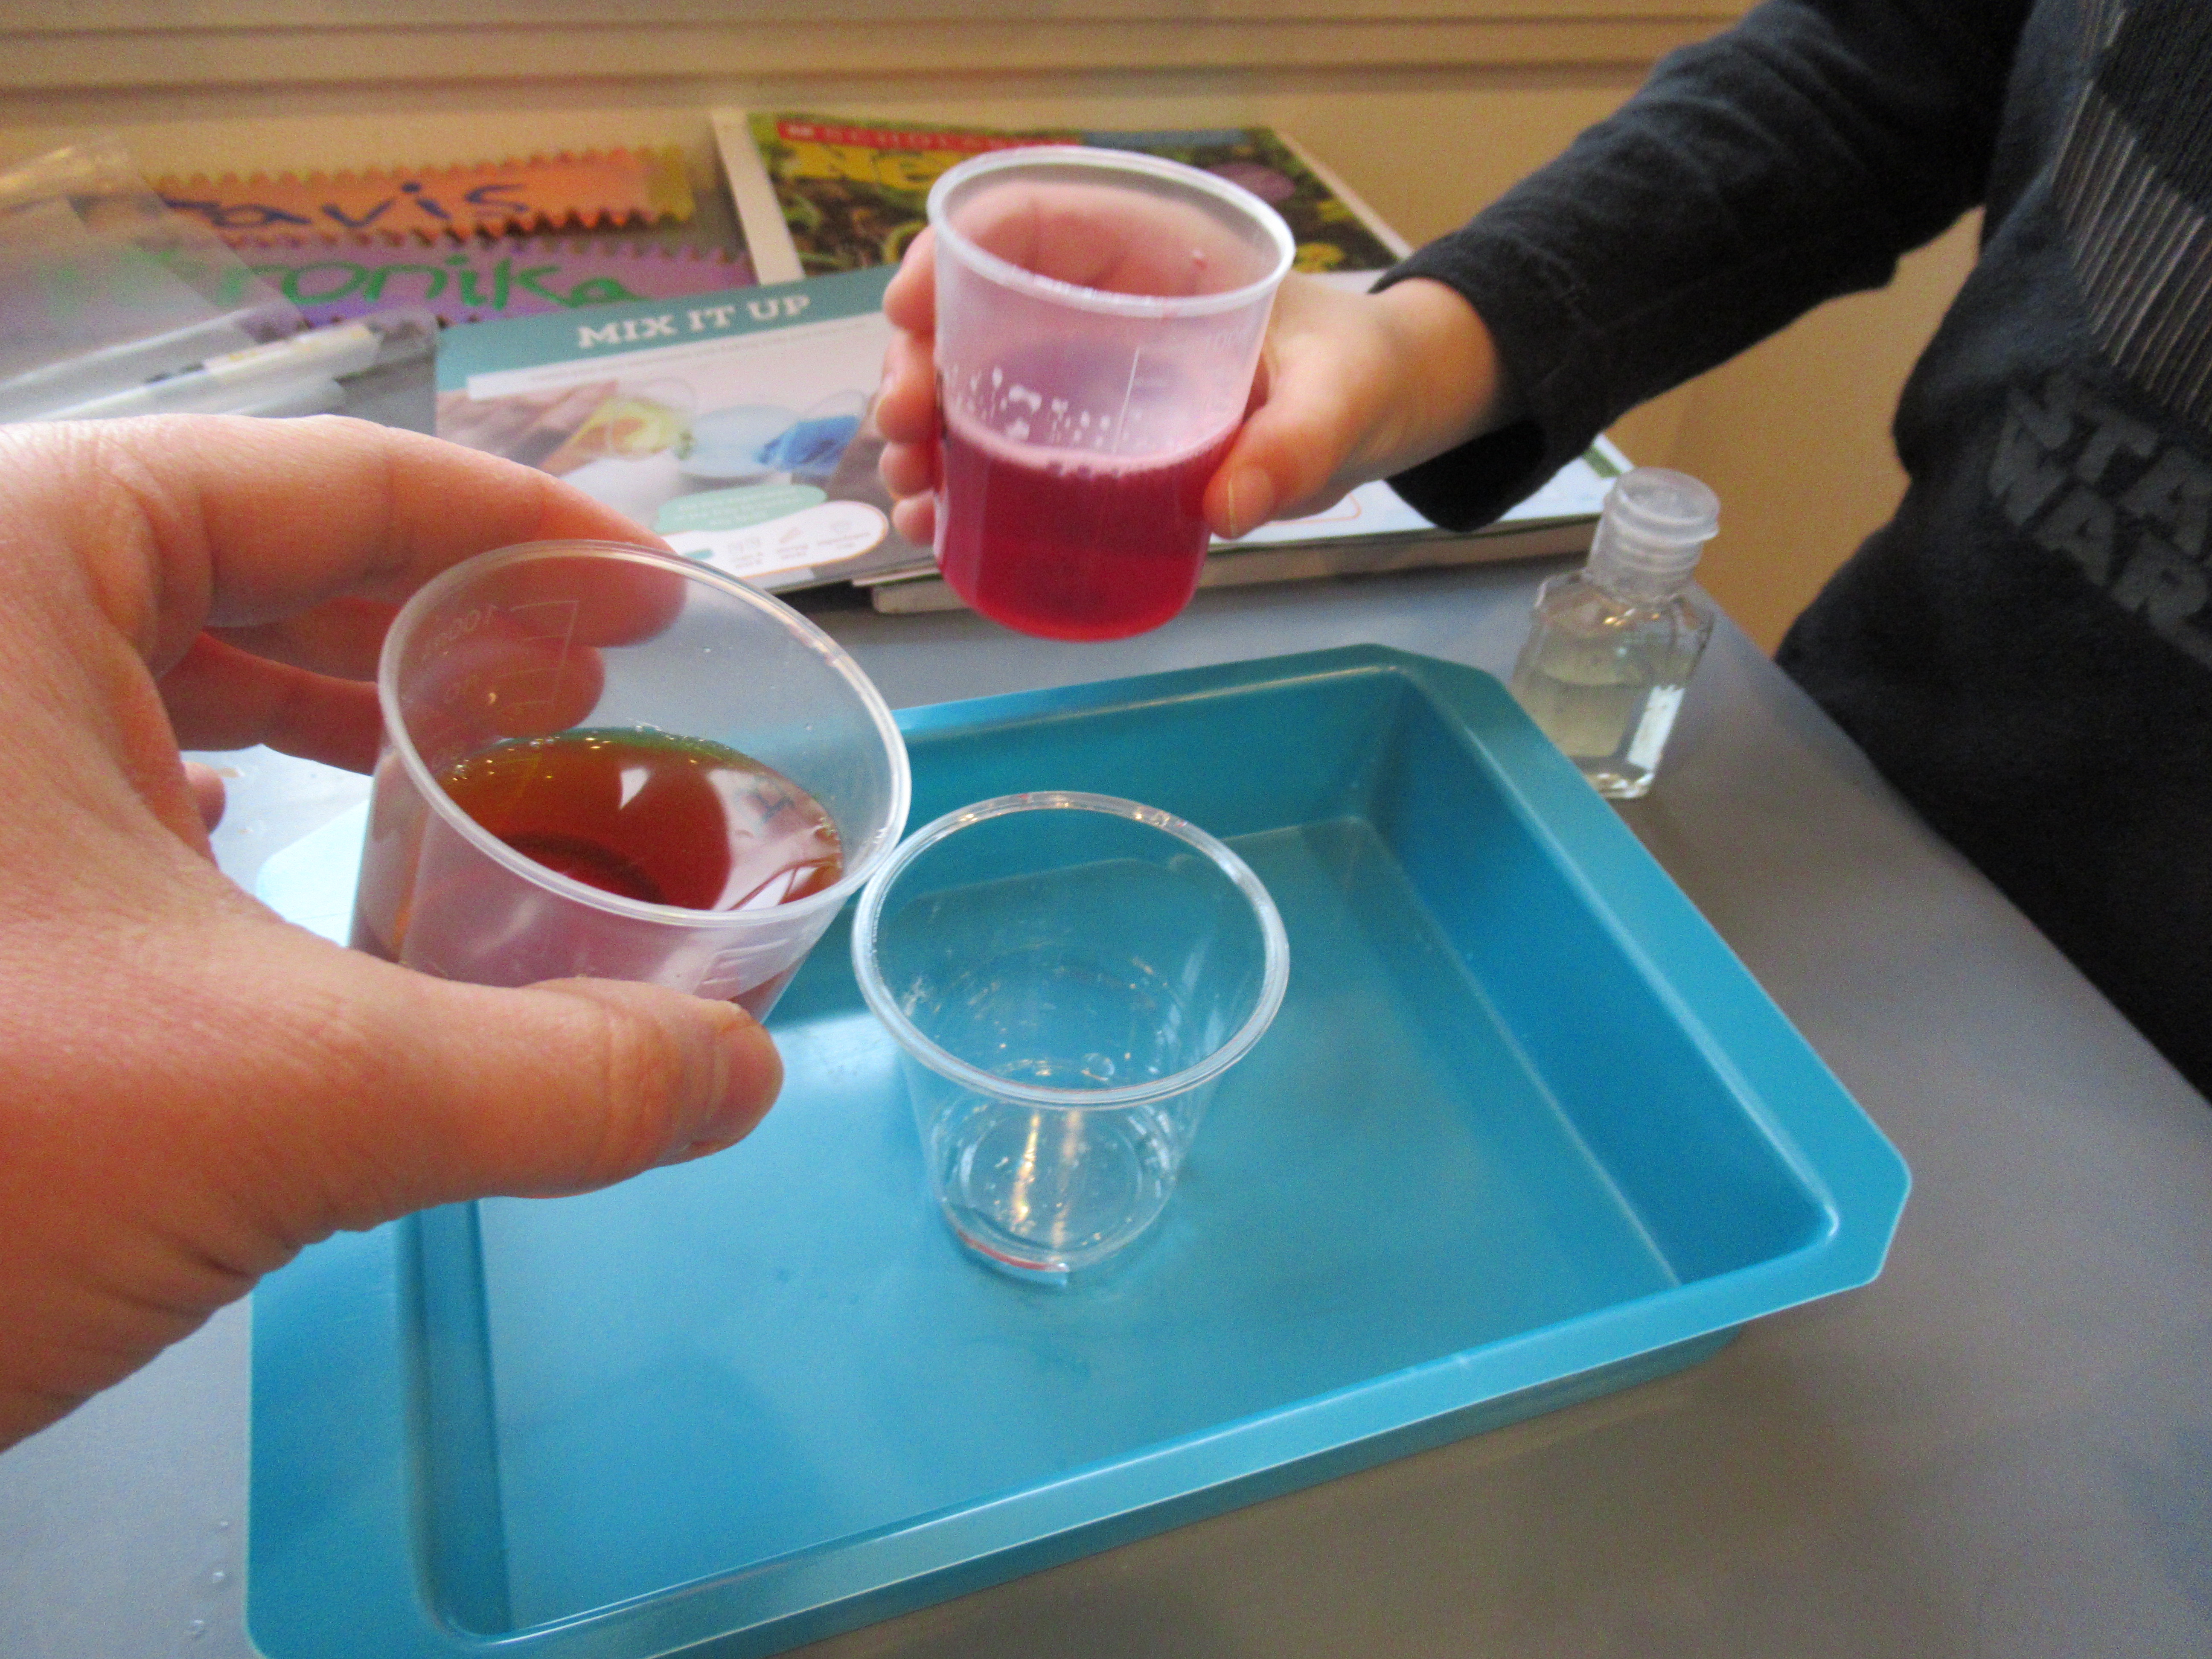
Fizzy explosions like this never get old!

Kiwi Chemistry (19)

The biggest hit by far was a Citrus Volcano. For this one, poke a pencil into a lemon and mush it around a little bit. Set the lemon in a plastic cup to hold it in place then use an eye dropper to squirt in a bit of the baking soda solution.

Kiwi Chemistry (16)

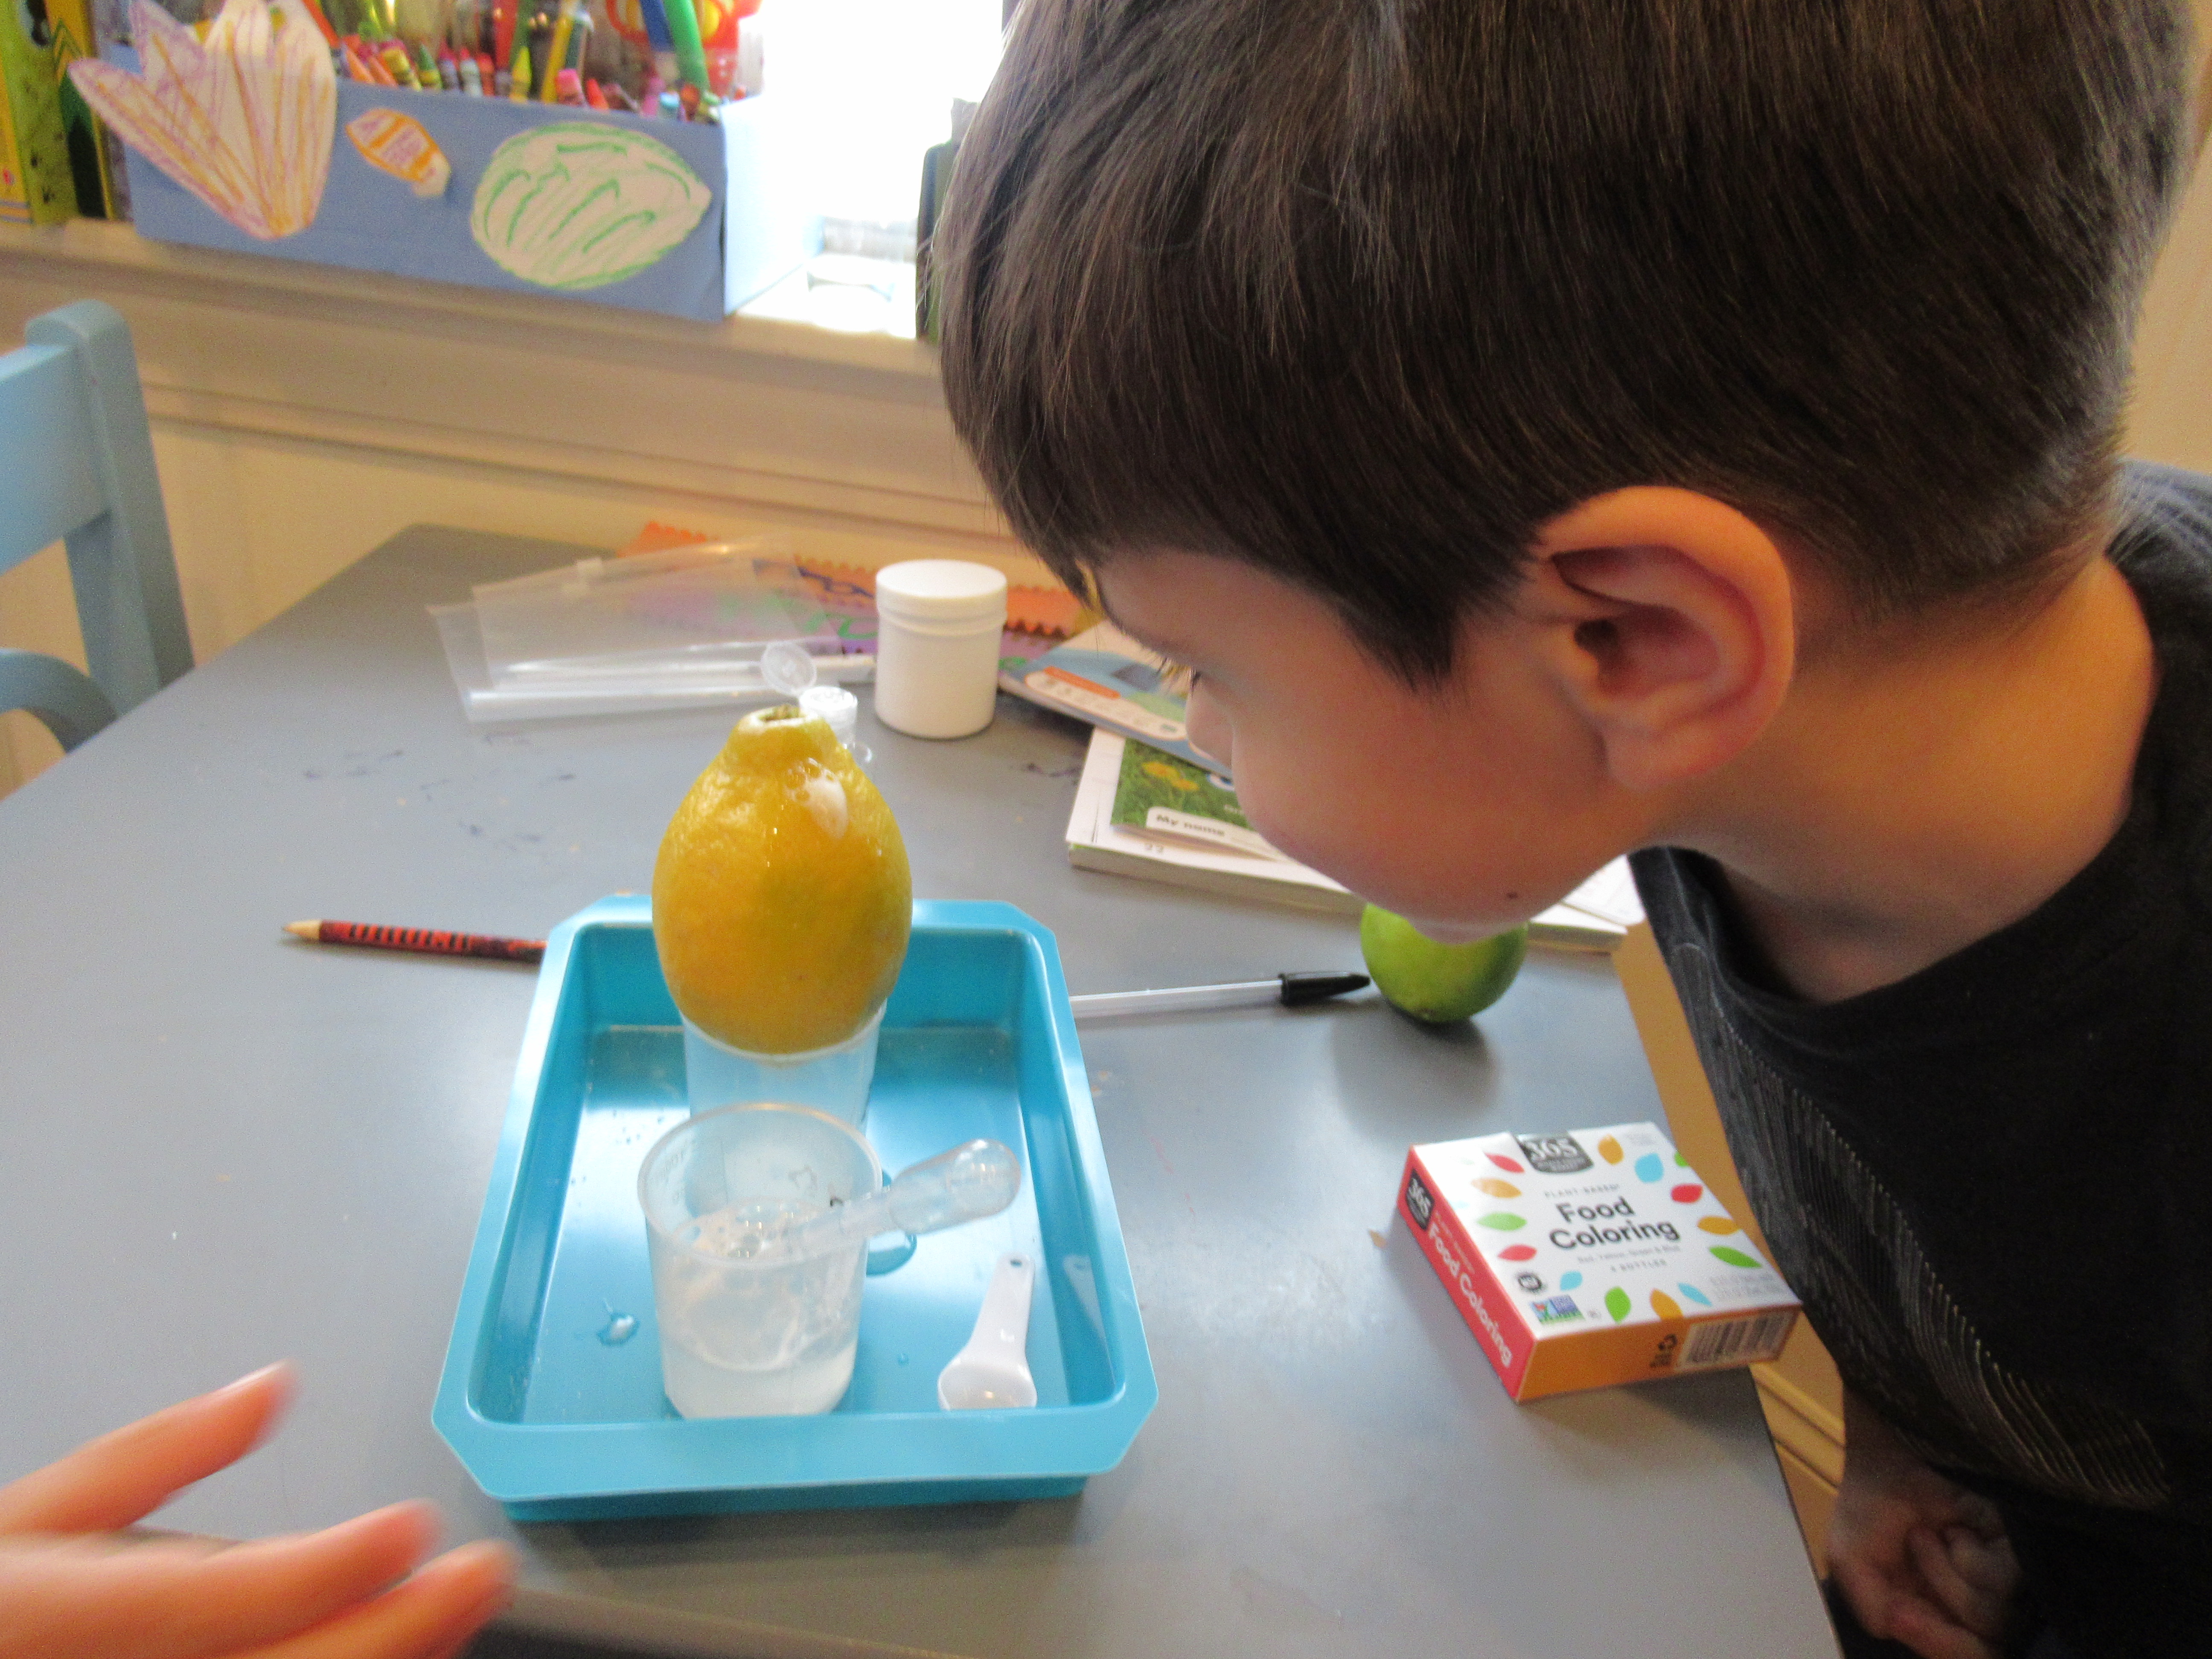
The liquid fizzes back out as it reacts with the lemon’s acid! This was an ooey gooey delight since you can squeeze the lemon to make more goo fizz out, or make a second hole so your lemon is erupting from both sides. In sum, this crate got high marks from Travis, full of activities that are sure to keep any little scientist busy.

Kiwi Chemistry (17)

Kitchen Chemistry

Kitchen Chemistry (2)

Believe it or not, a very ordinary ingredient (red cabbage!) can actually serve as a litmus indicator, just like the fancy litmus paper in a school chemistry class. Today, Travis made a batch of this purple indicator solution and we tested a few liquids around the house.

To make the indicator, rip a head of red cabbage into shreds then cover with hot water in a bowl. Let stand for about 30 minutes. Strain through a sieve over a second bowl or measuring cup and you’ll have a bright purple liquid!

Kitchen Chemistry (1)

We started out with two separate solutions: the first was about a teaspoon of citric acid in 1/4 cup water, and the second was a teaspoon of baking soda in 1/4 cup water. Imagine Travis’s surprise when an eye dropper of the purple indicator solution turned the citric acid pink and the baking soda blue!

Kitchen Chemistry (3)

He immediately wanted to test other liquids. We tried water next, and he discovered that the indicator stayed exactly the same purple. I pointed out to him why this is so on the pH scale, with water “neutral” in the middle.

Kitchen Chemistry (5)

Vinegar turned his indicator very pink and soy milk turned it bluish, although this was a bit hard to see.

Kitchen Chemistry (6)

As a final test, he wanted to try apple juice, which turned a deep pinkish orange as well.

Note: We later learned that you can repeat this experiment with other fruits and vegetables, including onion, blueberries, cherries, and beets.

PH Plants (2)

Unfortunately, despite soaking these four foods in hot water just like the cabbage, we weren’t able to change the color of vinegar. Your kids can have fun testing this out, and please share any fun findings in the comments!

Kitchen Chemistry (4)