Waterfall Game

Waterfall Game (4)

A rather aimless Veronika seemed in need of entertainment of a Sunday morning, so I pulled out two simple items to create a game: pennies and a jar!

Waterfall Game (1)

I placed all the pennies on a tray and then filled the jar almost all the way with water. If you’re playing with big kids, turn it into a more of a competition. Take turns dropping pennies into the container. Game over when a player’s penny makes water spill over the edge!

Of course Veronika couldn’t have known we were playing a game against each other, but she did get into the rhythm of turn-taking. I added a penny, she added a penny, and so on.

Waterfall Game (2)

Then we just started adding pennies by the handful!

Waterfall Game (5)

I made a big deal out of it when we reached that point where water sloshed over, so she got excited too.

Waterfall Game (7)

Your toddler won’t get it yet, but there’s watery science at work here (surface tension! displacement!) that he or she will absorb (heh). Veronika loved watching the water spill.

Waterfall Game (9)

After that I dumped the water out so she simply had a jar and pennies. Now, she loved the ker-plunk of dropping in the coins and kept busy solo for a while longer.

Waterfall Game (10)

Science of Air Kiwi Crate

Kiwi Air (10)

Travis latest crate from Kiwi Co. focused on the science of air, using a game of homemade air hockey to illustrate that air has matter, weight, can push things around, and more. This kit earns high marks for both the Science and Art components of the STEAM acronym.

First, we made the various parts of Balloon-Powered Air Hockey. The mallets are a simple matter of attaching felt to the bottom of provided cardboard circles, with a foam donut on top as the handle.

Kiwi Air (1)

The puck was a touch complicated to rig together, with a balloon stretched over a tube on top of a smooth clear disk. There is a hole to insert the provided air pump and inflate the balloon. Travis loved doing this and wanted to practice over and over, before we even set it down on a table.

Once on a table, the air is released from the balloon, which then propels the disk forward.

Kiwi Air (2)

To make Spray-Art Scoreboards, we again needed to use the crate’s air pump. Now, it attaches to the lid of the Kiwi Crate (or any shoebox) with a sticky foam piece. Attach a provided ink marker just below where the air will come out.

Kiwi Air (4)

We then affixed number stencils to the paper on the provided scorecard pads. When you squeeze the air pump (hard!), it blows on the marker so forcefully that ink sprays down onto the paper around the stencil.

Kiwi Air (5)

This had definite wow factor. You do need to pump the air quite hard, so some grown-up assistance was required. Repeat until you’ve covered all the scorecards, then remove the number stencils.

Kiwi Air (6)

Now it was time play! We rigged our regular table into an air hickey table which form the alleyways on either side that will stop the puck from flying off sideways.

Kiwi Air (8)

Pump up the balloon and play!

Kiwi Air (9)

I do have a few small quibbles with this crate. It comes with two balloons, but both had an air leak after only one round of air hockey. Also, because the balloon puck lasts under a minute each time you inflate it, you really can’t get into a rhythm of playing the game.

But in terms of illustrating the science of air, it made its point. And my 6 year old liked beating mommy at the game!

We turned to the Explore magazine for a few final experiments. First up was an oldie-but-goodie (a Coat Hanger Balance), that gives an easy visualization that air has weight. Attach two balloons to either end of a hanger, one inflated and one not. Suspend the hanger from a pencil and notice the slight tilt.

Kiwi Air (11)

Then we made a Marshmallow Squasher! Add mini marshmallows to an empty plastic water bottle until it is about half full. Insert the air pump into the bottle, sealing around the top of the bottle with play dough so no air can escape.

Kiwi Air (13)

Hold the play dough firmly with one hand and squeeze the pump with the other… and watch the marshmallows squish down!

Kiwi Air (14)

The Great Chase

The Great Chase (6)

Here was one last fun craft to illustrate the science of tension for Travis, using only a rubber band and some paper!

First we needed to draw two pictures on cardstock. These can be anything your kid wants, so long as there is one thing being chased and a chaser. I copied a template for a mouse chasing cheese for our first version.

The Great Chase (1)

Travis of course chose two Star Wars characters for a second version! We colored in the images, then cut out.

The Great Chase (2)

You’ll also need to cut a rectangle from cardstock measuring 1×2 inches for each image.

The Great Chase (3)

Cut 1-inch pieces of straw. Place a straw piece in the center of each rectangle, using double-sided tape, and fold the cardstock over the straw.

The Great Chase (4)

Attach one of your images to the resulting strip of paper with a second piece of double-sided tape.

The Great Chase (5)

Cut a rubber band open and thread the straw pieces on. Make sure the thing being chased is below the chaser!

As you expand or tauten the elastic, the little straws “run” down it. Travis giggled watching the mouse chase its cheese.

The Great Chase (7)

And loved the Star Wars version!

The Great Chase (8)

Mayflower Soap Ship

Mayflower Soap Ship (3)

Here’s an easy history lesson for “summer school”, if you’re helping kids transition back towards an academic mode for the fall. It’s a project that’s equal parts history, STEM, and play!

To start, I wanted Travis to learn a bit about the Mayflower ship that carried the Pilgrims to America, and we found an online read-aloud for kids on YouTube. Travis was thunderstruck (pun intended) by images of the voyage across the ocean as the ship was caught in storms and waves.

Mayflower Soap Ship (9)

Once he finished the video, it was time to create our own ship! Ideally you’ll want a bar of soap that floats for this project and be careful because not all do. Ours was a heavy soap and had a tendency to sink, but we could always nudge it gently back to the top.

To make the sails, cut construction paper (Travis chose blue) to the same size as the soap bar, and tape these “sails” to toothpicks.

Mayflower Soap Ship (1)

Insert the toothpicks into the soap.

Mayflower Soap Ship (2)

Travis sent his boat out to sea! Blow gently on the sails and watch the boat move.

Mayflower Soap Ship (4)

Again, this was tricky since we had to rescue our soap from the bottom of the basin a few times, but Travis loved that he could move it along, and learned a bit about how real sailboats operate.

Mayflower Soap Ship (5)

And then of course he gave his Legos a ride!

Mayflower Soap Ship (7)

Finish the project with a drawing of the boat to add in a little art to the mix!

Mayflower Soap Ship (8)

Beach Day Sun Clock

Beach Day Sun Clock (2)

Should you find yourself on the beach for a full day, or even just a span of a few hours, there’s no lovelier way to mark the passage of time than to make a sun clock!

To start, Travis needed to find a stick that we could poke in the center of our dial. But the beach was short on sticks! A sturdy piece of sea grass did the trick instead.

Beach Day Sun Clock (1)

We took note of the first shadow (around 1 pm) and marked the line with stones and shells. It was neat to see how quickly the shadow “ticked” along, already a new line we could mark at the next quarter hour.

Beach Day Sun Clock (3)

It turned into a fun game, too, to protect the sun clock (soon dubbed the ‘Castle of the Sun’) from waves, using moats and mounds of sand.

You can continue the fun with additional rocks and shells for as long as you stay at the beach, marking each new hour or half hour shadow as it appears. And at the end of the day, take the collection of rocks and shells home!

Craft Stick Chain Reaction

Chain Reaction Craft Sticks (2)

If you thought dominoes made for a great chain reaction, try this neat craft stick version! It’s sure to make kids (and grown-ups!) say wow.

The set up is definitely a little tricky, and best done with two sets of hands.

Cross two jumbo craft sticks into an X. Add a third stick, so that it is under one part of that first X and over the other. You have to keep your fingers on the cross of that first X, or the whole thing is going to jump apart!

Chain Reaction Craft Sticks (1)

Keep adding sticks in an X pattern, under one, and over the other. Once your start to move outwards, move your fingers forward by one X to hold it all steady.

Chain Reaction Craft Sticks (4)

As I mentioned, this gets tricky, and I needed Travis to lift the bottom craft stick so I had space to slide the new one under. You can literally feel the tension building in the sticks as your chain gets longer.

We only made a chain that was 4 X’s deep, but hypothetically you can keep going. Release and it pops apart! It all happens so quickly that it’s no surprise my picture is blurry.

Chain Reaction Craft Sticks (3)

You might want to set a slo-motion camera on a smartphone to really grasp what’s happening, but here at least is a fast video.

A fun one!

Easy Elevator

Easy Elevator (9)

Travis extended some recent science fun about the notions of push and pull with this cute elevator craft. Use a leftover Kiwi Crate (or any similar shoebox) as the shaft of the elevator. Cut two strips from the lid of the box, one wider and one narrower. Bend them so there are flaps at either end and then glue together so the narrower strip nests above the wider strip; this will be your elevator car.

Easy Elevator (2)

Now punch holes in the top of the car with a pen, near each edge. Cut a piece of string that is twice as long as the shoebox and loop it through the holes; secure with a knot at the top.

Use a pen to punch two holes in the shoebox, near the top as it is standing upright. Insert a dowel.

Easy Elevator (4)

Tape the string on the elevator car to the dowel. Your elevator is ready to rise! Now when you twist one way, the elevator goes up. Simply twist the other way for descent!

Easy Elevator (6)

Of course Travis immediately needed to add little figures for some play. He wanted to make pom pom people, so we hot-glued wiggle eyes onto tiny pom poms.

Easy Elevator (3)

And of course his Lego people needed to go for a ride!

Easy Elevator (8)

That meant this was not only a great STEM craft, but also a great prop for imaginative play.

Easy Elevator (7)

Tension Kiwi Crate


Kiwi Tension final

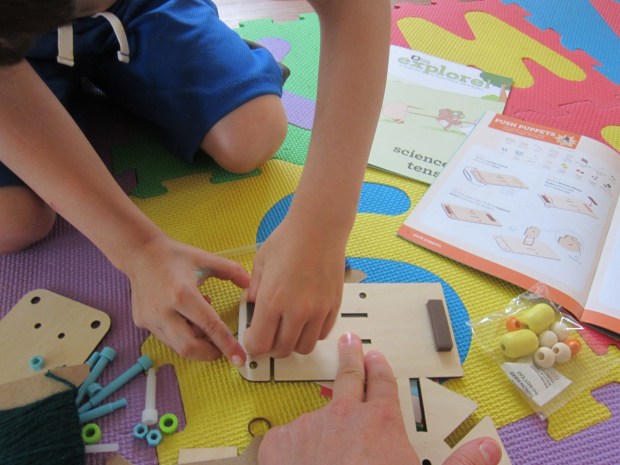
This month’s crate for Travis from Kiwi Co was all about push and pull. Between puppets to push and turtles to pull, there was lots of hands-on fun in this one.

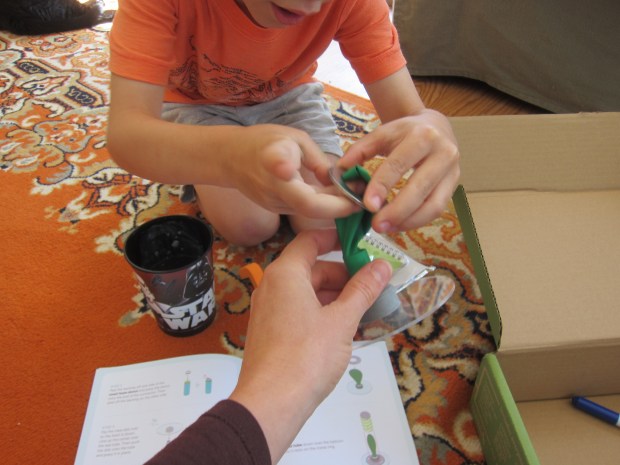
First up were the Push Puppets. Travis helped rig together a base that relies on tension, meaning lots of wooden pieces held together by rubber bands, nuts, and bolts.

Kiwi Tension (4)

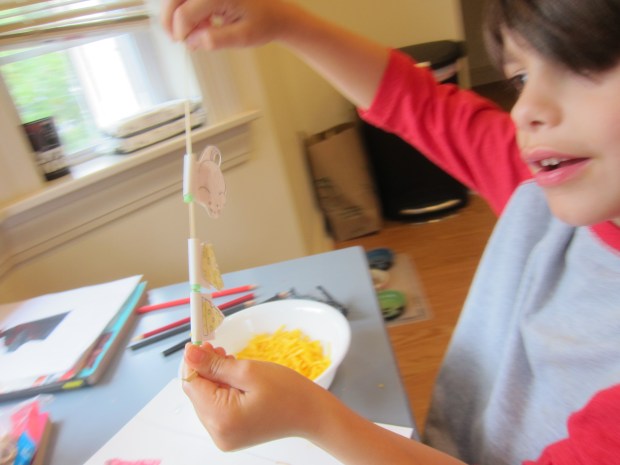
To assemble the puppets, thread one end of the provided elastic through a hole in the wood base, and then layer on three wooden beads. These look like little people: a body, a head, and a hat!

Kiwi Tension (5)

Two sticky wiggle eyes complete each person. Pushing on the wooden lever now releases the tension on the elastic, and the puppets fall flat.

Kiwi Tension (7)

Needless to say, Travis thought this was a riot! We could add the provided backdrops for little puppet shows that took place at the beach or in the moonlight.

Kiwi Tension (8)

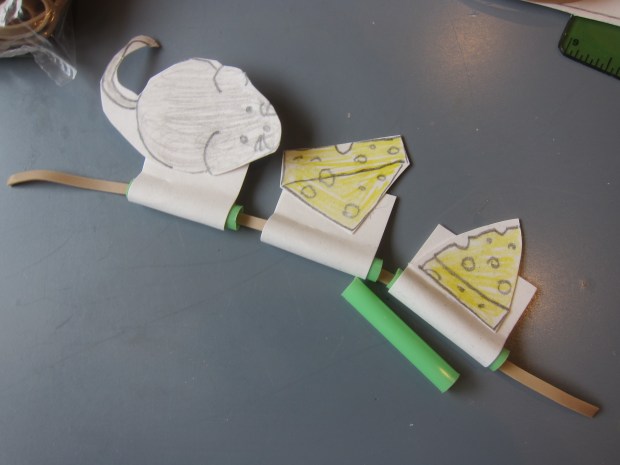
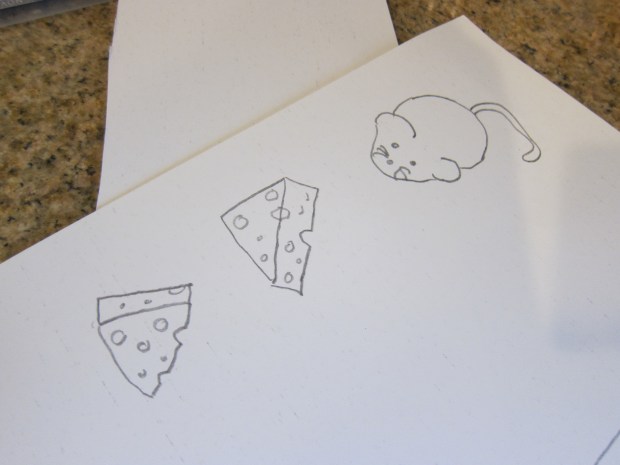
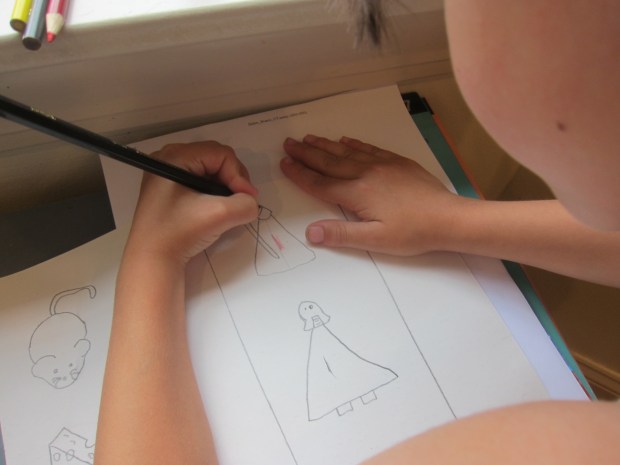
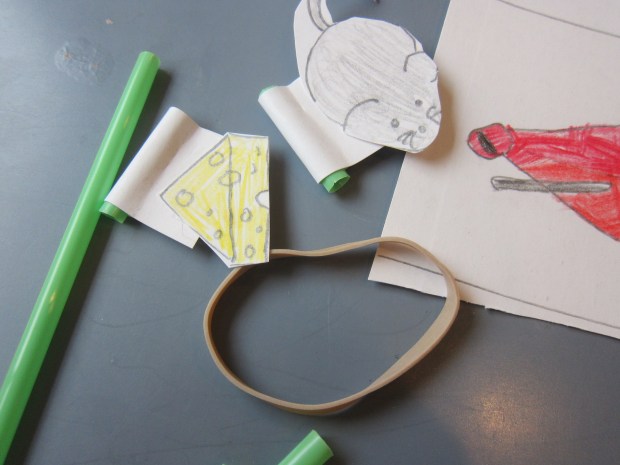
He colored his own background of a big hairy spider on the blank sheet of paper. Oh no, the puppets fell down in fear!

Kiwi Tension (9)

Next up were Woven Turtles. This was the crafty Art part of STEAM for this crate, with a turtle shell to weave from yarn on a wood frame. This project came right on the heels of several other weaving activities we’ve done this summer, so Travis is becoming more dexterous at the motion.

Kiwi Tension (1)

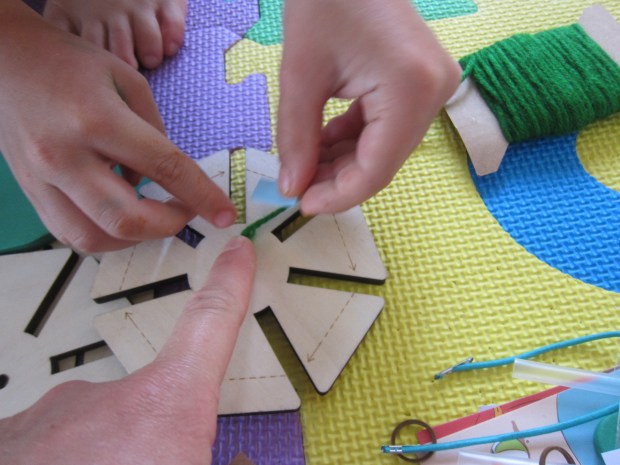
It was a lot of yarn, though, so he still needed me to take over! The fully woven shell is then adhered to a foam cut-out of a turtle, with a nut and bolt to fasten things in place.


Kiwi Tension (3)

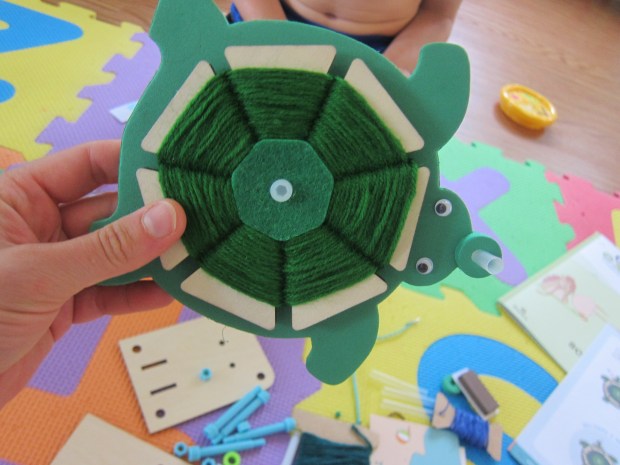
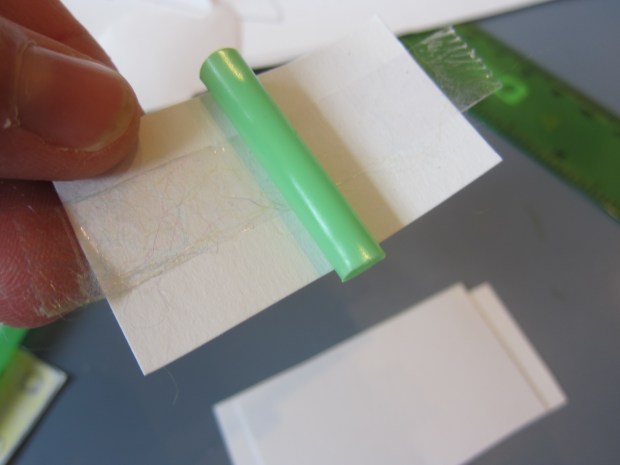
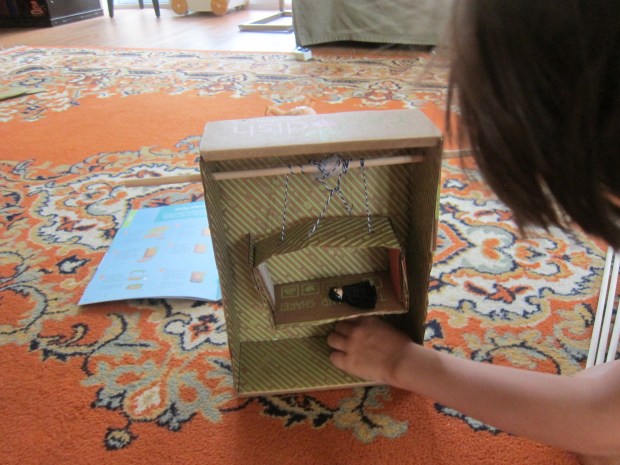
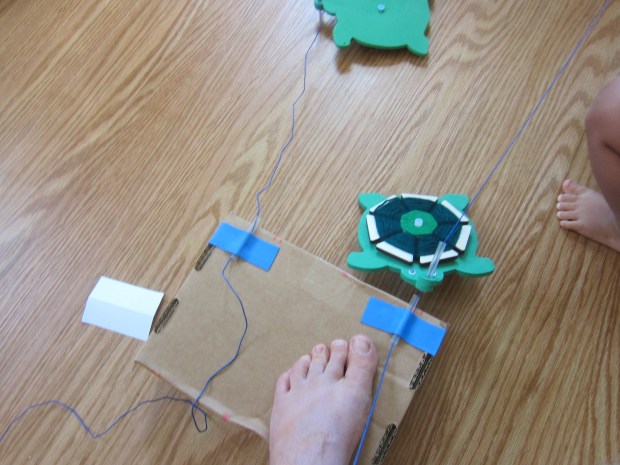
Travis added wiggle eyes and a little straw in the turtle’s nose. We made two because now it was time for… a Turtle Race! Use the provided blue tape to attach a piece of straw to the edge of your Kiwi crate (or any similar box).

Kiwi Tension (11)

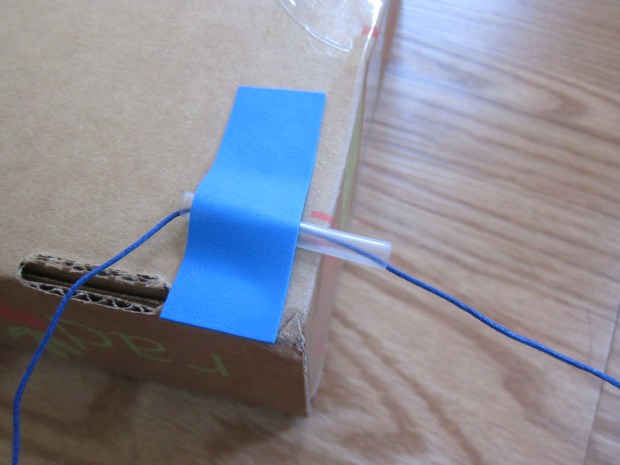
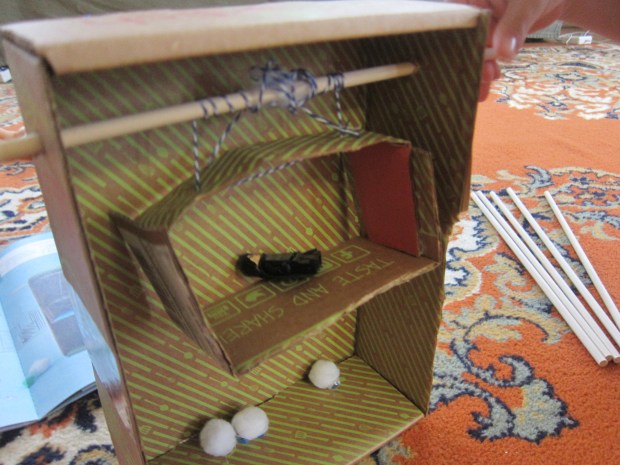
Tie the provided string to a table leg, making sure it’s at the same height as your prepared turtle.

Kiwi Tension (12)

Thread the string through the straw on the turtle’s nose, and then through the one on the box. Add a wooden bead at the other end of the string, securing with a double knot.

Kiwi Tension (13)

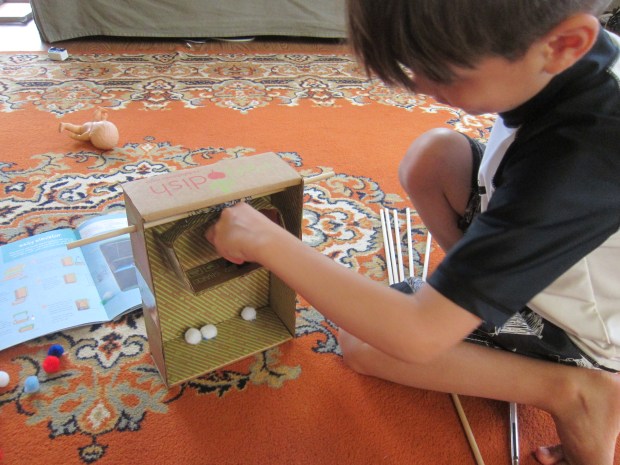
When you give the string quick tugs, your turtle moves from the table leg to the box. Here he goes:

What’s more fun than watching one little turtle scoot along? Making it a race of course!

Kiwi Tension (15)

Mommy’s turtle won by a nose!

Kiwi Tension (14)

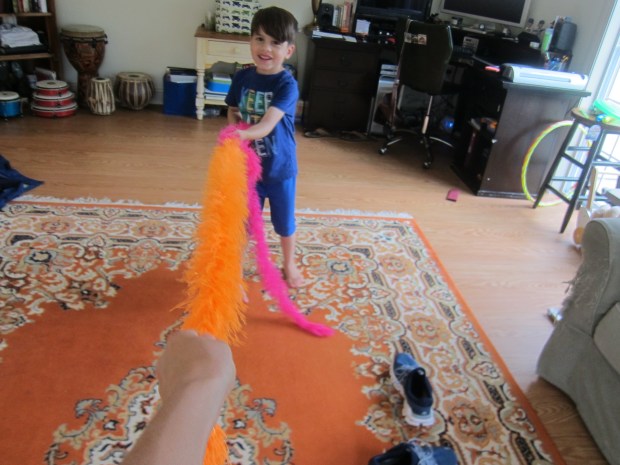
In addition, Explore magazine had fun facts about ways people use ropes and tension in everyday life, whether the cables of an elevator, the strings of a guitar, or a game of tug-of-war. So of course we needed to play the latter!

Tug of War (2)

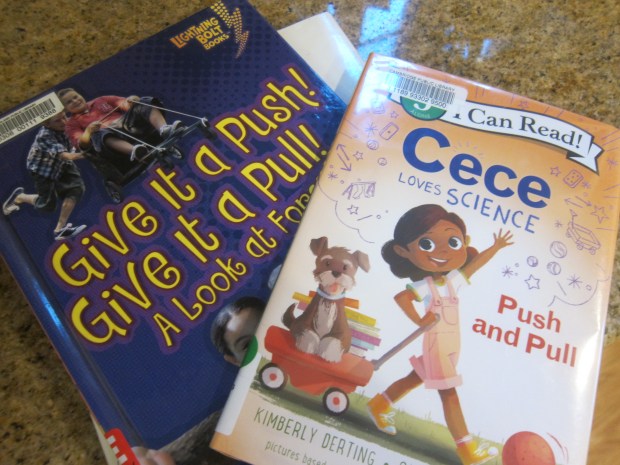
Finish with a read of the following:

  • Give It a Push, Give It a Pull, by Jennifer Boothroyd
  • Cece Loves Science: Push and Pull, by Kimberly Derting

Kiwi Tension books


Start a Tree

Start a Tree (6)

Unlike a tree sapling we planted earlier in the summer, today Travis conducted more of a science experiment; could he start a tree sapling from seeds we collected outside?

After dinner, we headed off on a pajama walk (one of the best parts of these long summer nights!) in hunt of seeds. You’ll want ones that you can easily plant in a cup, so think maple keys, acorns, or walnut seeds.

Start a Tree (1)

Once home, we investigated all of our finds, talking about their similarities and differences. Travis was especially fascinated by the black walnut pod we brought home, and then cracking it open to get to the seeds inside!

Start a Tree (2)

We then spooned a little potting soil into each of 3 foam cups, and added our tree seeds. Cover with a little more soil and water.

Start a Tree (3)

We labeled the cups and Travis sat down to begin a nature notebook, jotting down how the seed pods had looked on Day 1. The goal is to continue until we see little saplings grow!

Start a Tree (4)

To conclude the project, be sure to talk about the various ways that seeds can move to a new place. Travis laughed imagining seeds that could get up and walk, but then we reviewed some of the real methods (like wind, rain, or hitchhiking on animals!).

Constellations

Constellations (1)

Who didn’t love staying up late as a kid to see the stars on summer nights? Tonight, Travis got to do just that, and to learn a little about constellations, too!

As night was falling, we fit in a refresher course on constellations, talking about what they are and then projecting a familiar one (The Big Dipper) against the wall. For this, simply poke holes in the constellation’s pattern in the bottom of an empty oatmeal container with a pen or pencil. Shine a flashlight into the container, and your stars appear!

Constellations (2)

Now it was almost dark enough, but still not quite. I challenged Travis to make up his own constellation, to name it, and then to make up a story about it. The idea was to highlight the long tradition of oral folklore that accompanies the patterns in the stars, among so many cultures.

Constellations (3)

After my example of a cat constellation, he drew a dot-to-dot boy and we wove a tale of how the boy had ended up in the stars. Next he drew a smile! I loved this childlike but beautiful idea of what images we can see among the stars.

Constellations (4)

Now it was time to spot the real thing. We headed out to the back patio and waited for final dark to fall. And then it was right to bed!

Constellations (5)