Weather Sensory Bottles

The first official day of summer was a hot one in our area, with abundant sunshine. I used the sunny day as a jumping off point to discuss all kinds of different weather with Veronika, and then to make it hands-on with these fun weather bottles.

I only put together three bottles: Sunny, Rainy, and Cloudy. But if you want, you can expand and include all 7 from this link (or heck, even more!). We plan to try a sparkly Snowy one with silver glitter or confetti, next time.

For our Sunny bottle, I placed a yellow pom pom into a clean empty water bottle, then filled with water and added only one drop of blue food coloring for the sky. The pom pom will float at the top as the perfect round sun.

For the Cloudy bottle, insert cotton balls or folded cotton pads, and then fill with water. Don’t add any blue, since the cotton gives the water a perfect grayish cast.

For the Rainy bottle, I filled with water and added about five drops of blue food coloring, then filled with blue sequins as the rain drops. This one was fun because the rain “pours” down every time you shake the bottle!

For each version you make, I recommend using hot glue to attach the cap securely. Veronika marveled out our mini weather systems. The rain was by far her favorite, but she enjoyed checking out the others and talking about what she saw.

She was easily able to point out “cloudy” when asked, or which one had a bright yellow sun.

If you like, you can make labels for each jar, but rather than tape the labels on we had fun pairing them with our weather fridge magnets!

Puffy Paint Clouds

Puffy Paint Clouds (8)

With so much attention going to big brother Travis during the school week, it was nice just to pause with Veronika for some messy art today! Shaving cream paint has so many uses, and today we focused on clouds. Veronika has been using lots of weather words like “rain” and “cloud” lately, and I figured I would seize the moment.

To make the paint, mix up about 3/4 cup foamy shaving cream and 1/4 cup white glue. I was entirely inexact about this, just eyeballing it, but you really can’t get it wrong.

Puffy Paint Clouds (1)

We used blue construction paper as the background for a pretty azure sky. Ideally we would have been dipped cotton balls in our “paint”, but I was all out! In a pinch, we wadded up tissue paper to make the clouds “fluffy”.

Puffy Paint Clouds (3)

If your child likes things neat, you can “paint” the shaving cream mixture onto the paper with a paintbrush and then add crumpled tissues on top. If your child likes to be messy, roll the tissue wads right in the gluey mixture, and then press onto the paper.

Puffy Paint Clouds (4)

We sort of did this both ways!

Puffy Paint Clouds (6)

Veronika was fascinated by the glue mixture, dipping her fingers into it often.

Puffy Paint Clouds (2)

I also sang about clouds as we played to make it a little weather lesson. So the project ends up being equal parts art, sensory play, and science for toddlers.

Puffy Paint Clouds (7)

What’s the Weather? Frame

Weather Frame (6)

Chances are, if your child is in preschool or kindergarten, circle time in the morning involves checking the weather and talking about what it’s like outside that day. This make-at-home frame, care of High Five magazine, is a great way to keep up the routine on weekends or holidays.

To start, peel the backing off 2 magnetic sheets (available at craft stores), and cover with paper, trimming the edges of the paper to fit if necessary.

Weather Frame (1)

Cut one sheet into 4 long strips. These will be the 4 edges of your frame. Travis and I sat down and talked about different kinds of weather. He enjoyed drawing a “sun,” and what he decided was a “purple storm cloud” and some “raindrops” before hurrying to affix them to the fridge. (Kids will love the magnetic component of this project!)

Weather Frame (4)

A quick confession: I was briefly disappointed that Travis didn’t take more care in his coloring, perhaps trying to draw ovals for raindrops, or more of a proper cloud or sun. That said, he was proud of his work, and it was a reminder that “imperfect” art projects are still a great source of learning and creativity for our kids.

Weather Frame (2)

Meanwhile, I drew 4 pictures on the other magnetic sheet with different kinds of weather we might see. Travis asked for: sun, storm, rain, and snow.

Weather Frame (3)

Cut out the weather magnets, and then head to the nearest window to see what it’s like out there. Hang the right magnet inside your frame for the day. Don’t forget to check the weather tomorrow!

Weather Frame (5)

Early Explorers Weather

LP Weather (22)

I remain half-convinced that there is a spy working between our Kiwi Co. and Little Passport’s subscriptions because once more they are sync. Having recently received Koala’s crate all about the wind, we found the more broadly themed Early Explorer’s Weather package waiting in our mailbox. No complaints here; there wasn’t too much overlap, and we love anything that continues our learning of a topic.

LP weather (3)

As usual, we received a booklet of activities to fill out, stickers for our map and suitcase, flashcards, and a “flashlight adventure.” Matching up peas and pennies to see various hail stone sizes was particularly fun!

LP Weather (8)

Weather Craft:

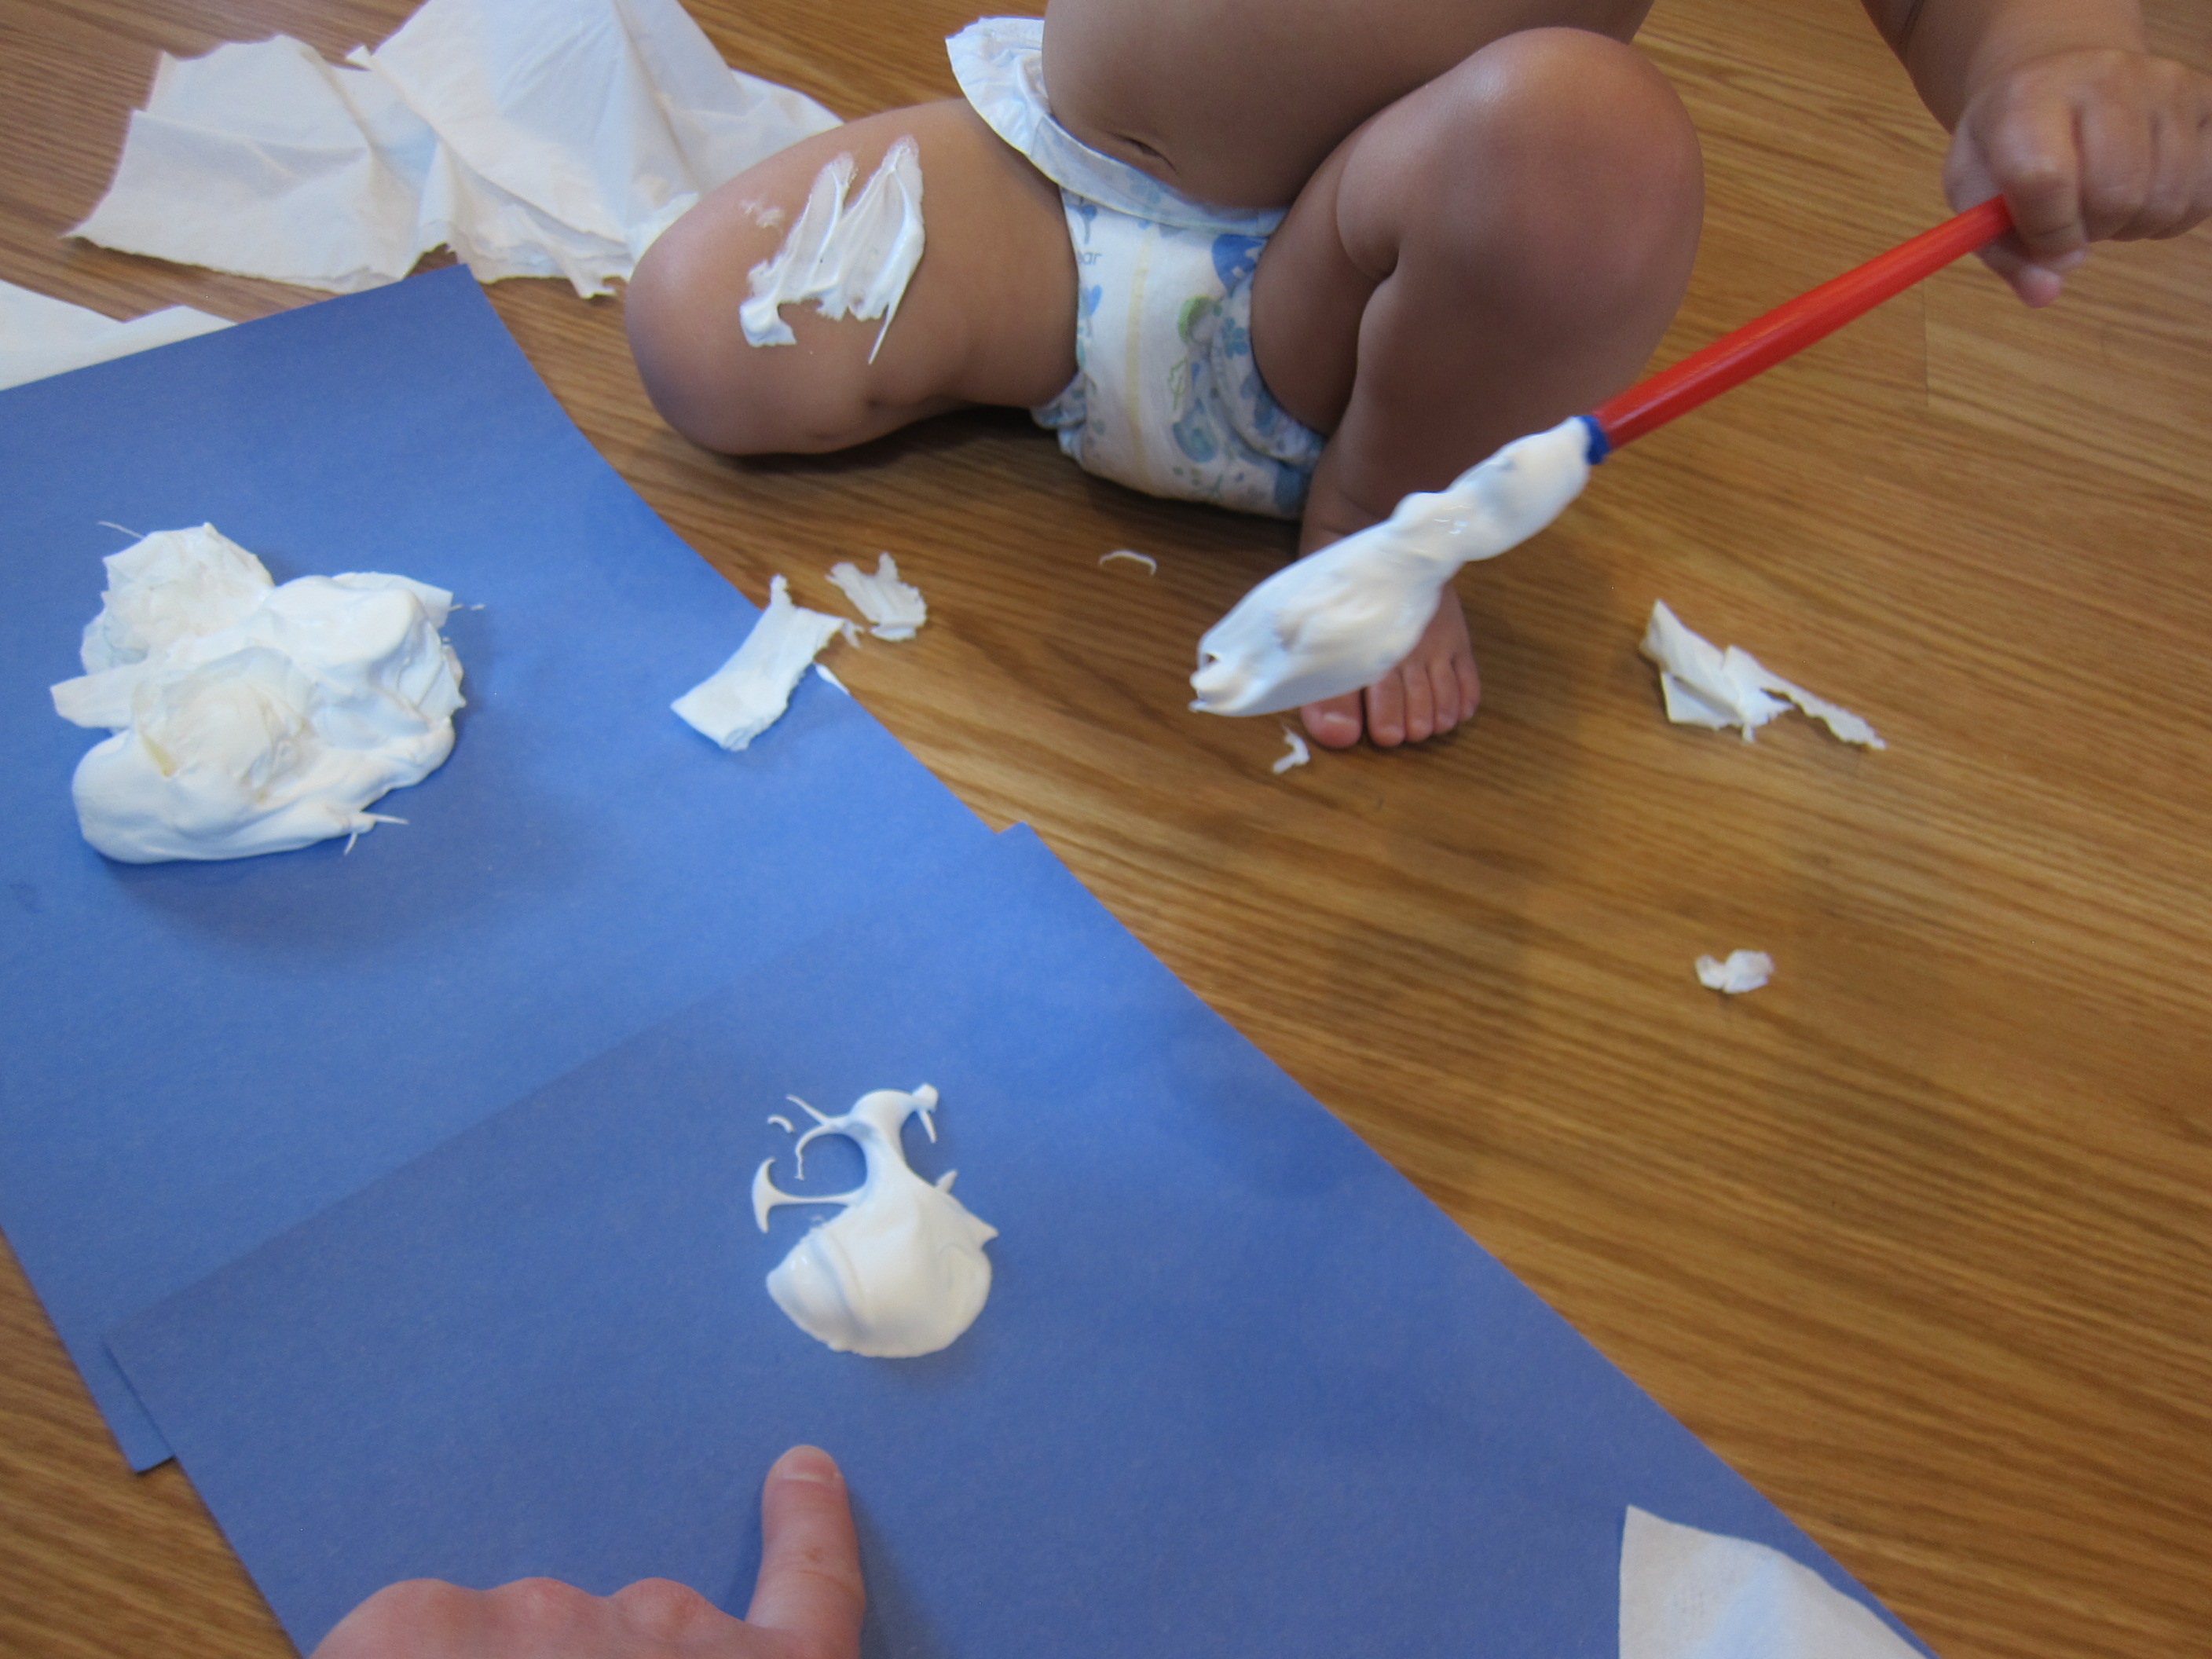
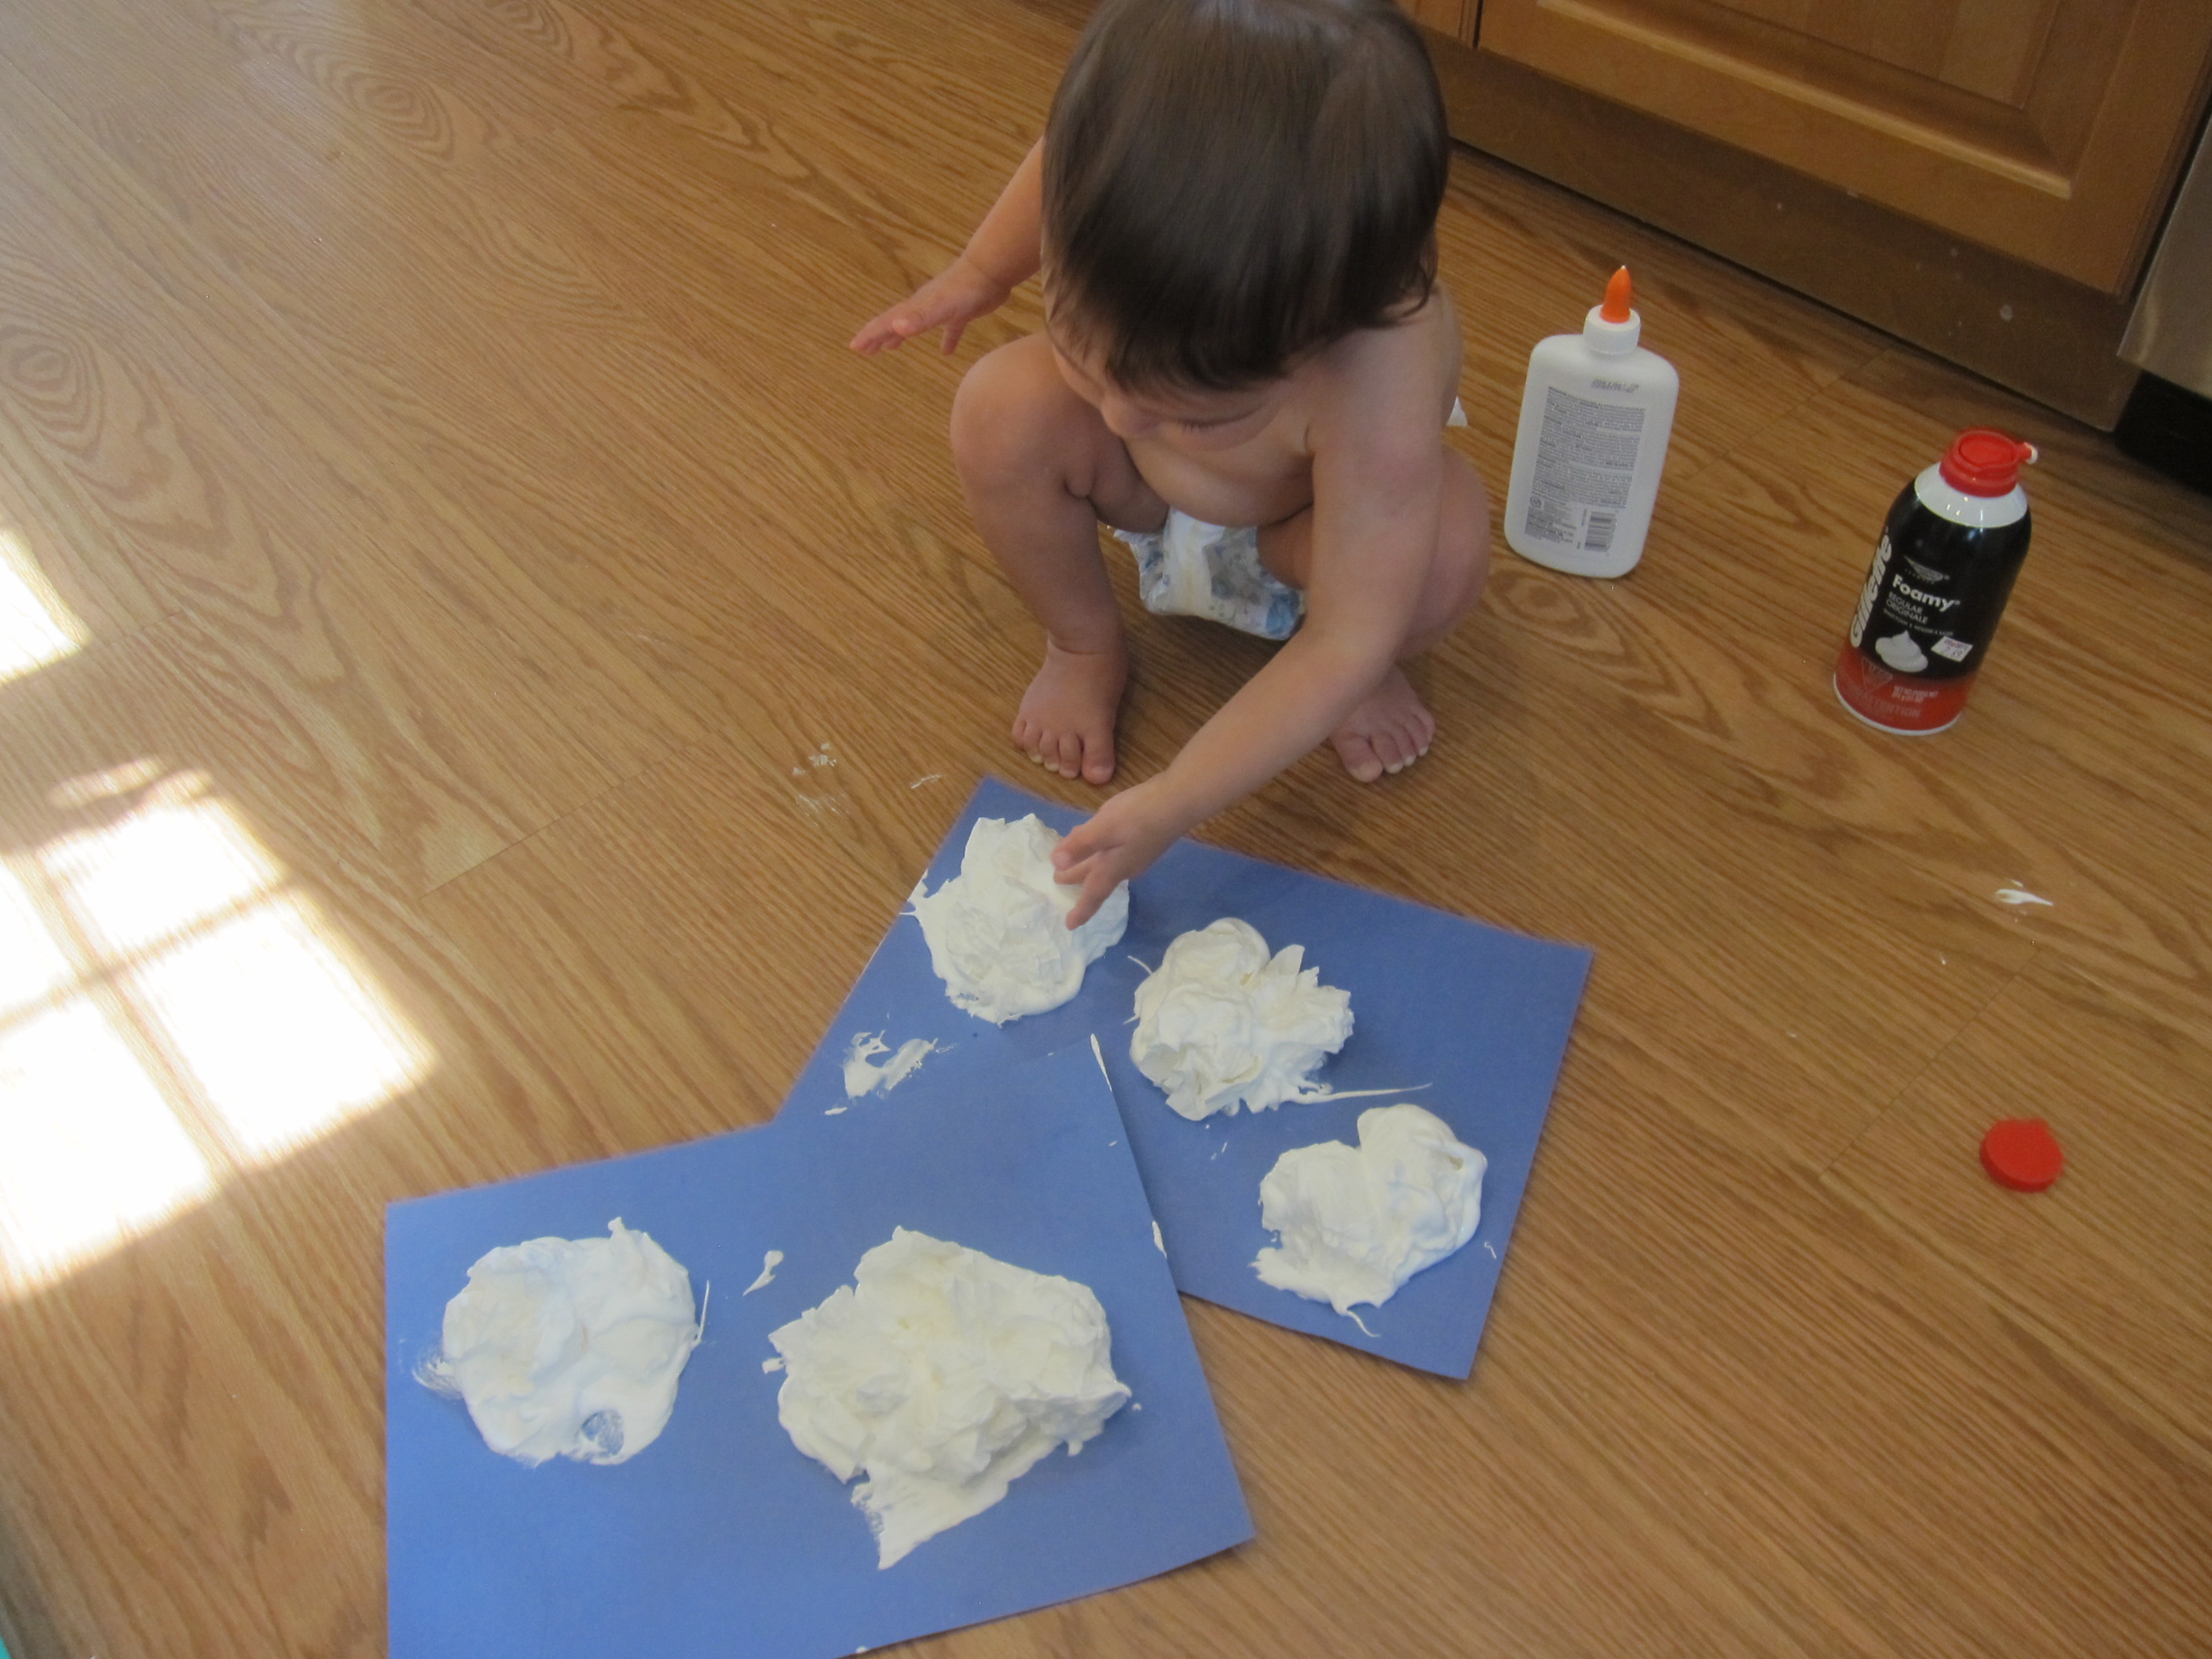
It’s easy to forget that “sun” counts as weather, since it can seem like the default, but these gorgeous suncatchers are a great way to appreciate the sunlight. Place a piece of contact paper, sticky side up, on a large work surface. Give your child pieces of colorful cellophane to put all over the paper.

LP Weather (11)

Note: I recommend purchasing small sheets of craft cellophane, which you can then easily cut into squares. Large rolls of cellophane (sold for wrapping gifts) would be a huge pain in this case.

Travis started out placing each piece deliberately.

LP Weather (12)

But then dumped on the whole plateful!

LP Weather (13)

Cover with a second sheet of sticky paper to seal in your child’s design, then cut to desired size and hang in a sunny window.

LP Weather (10)

Weather Science:

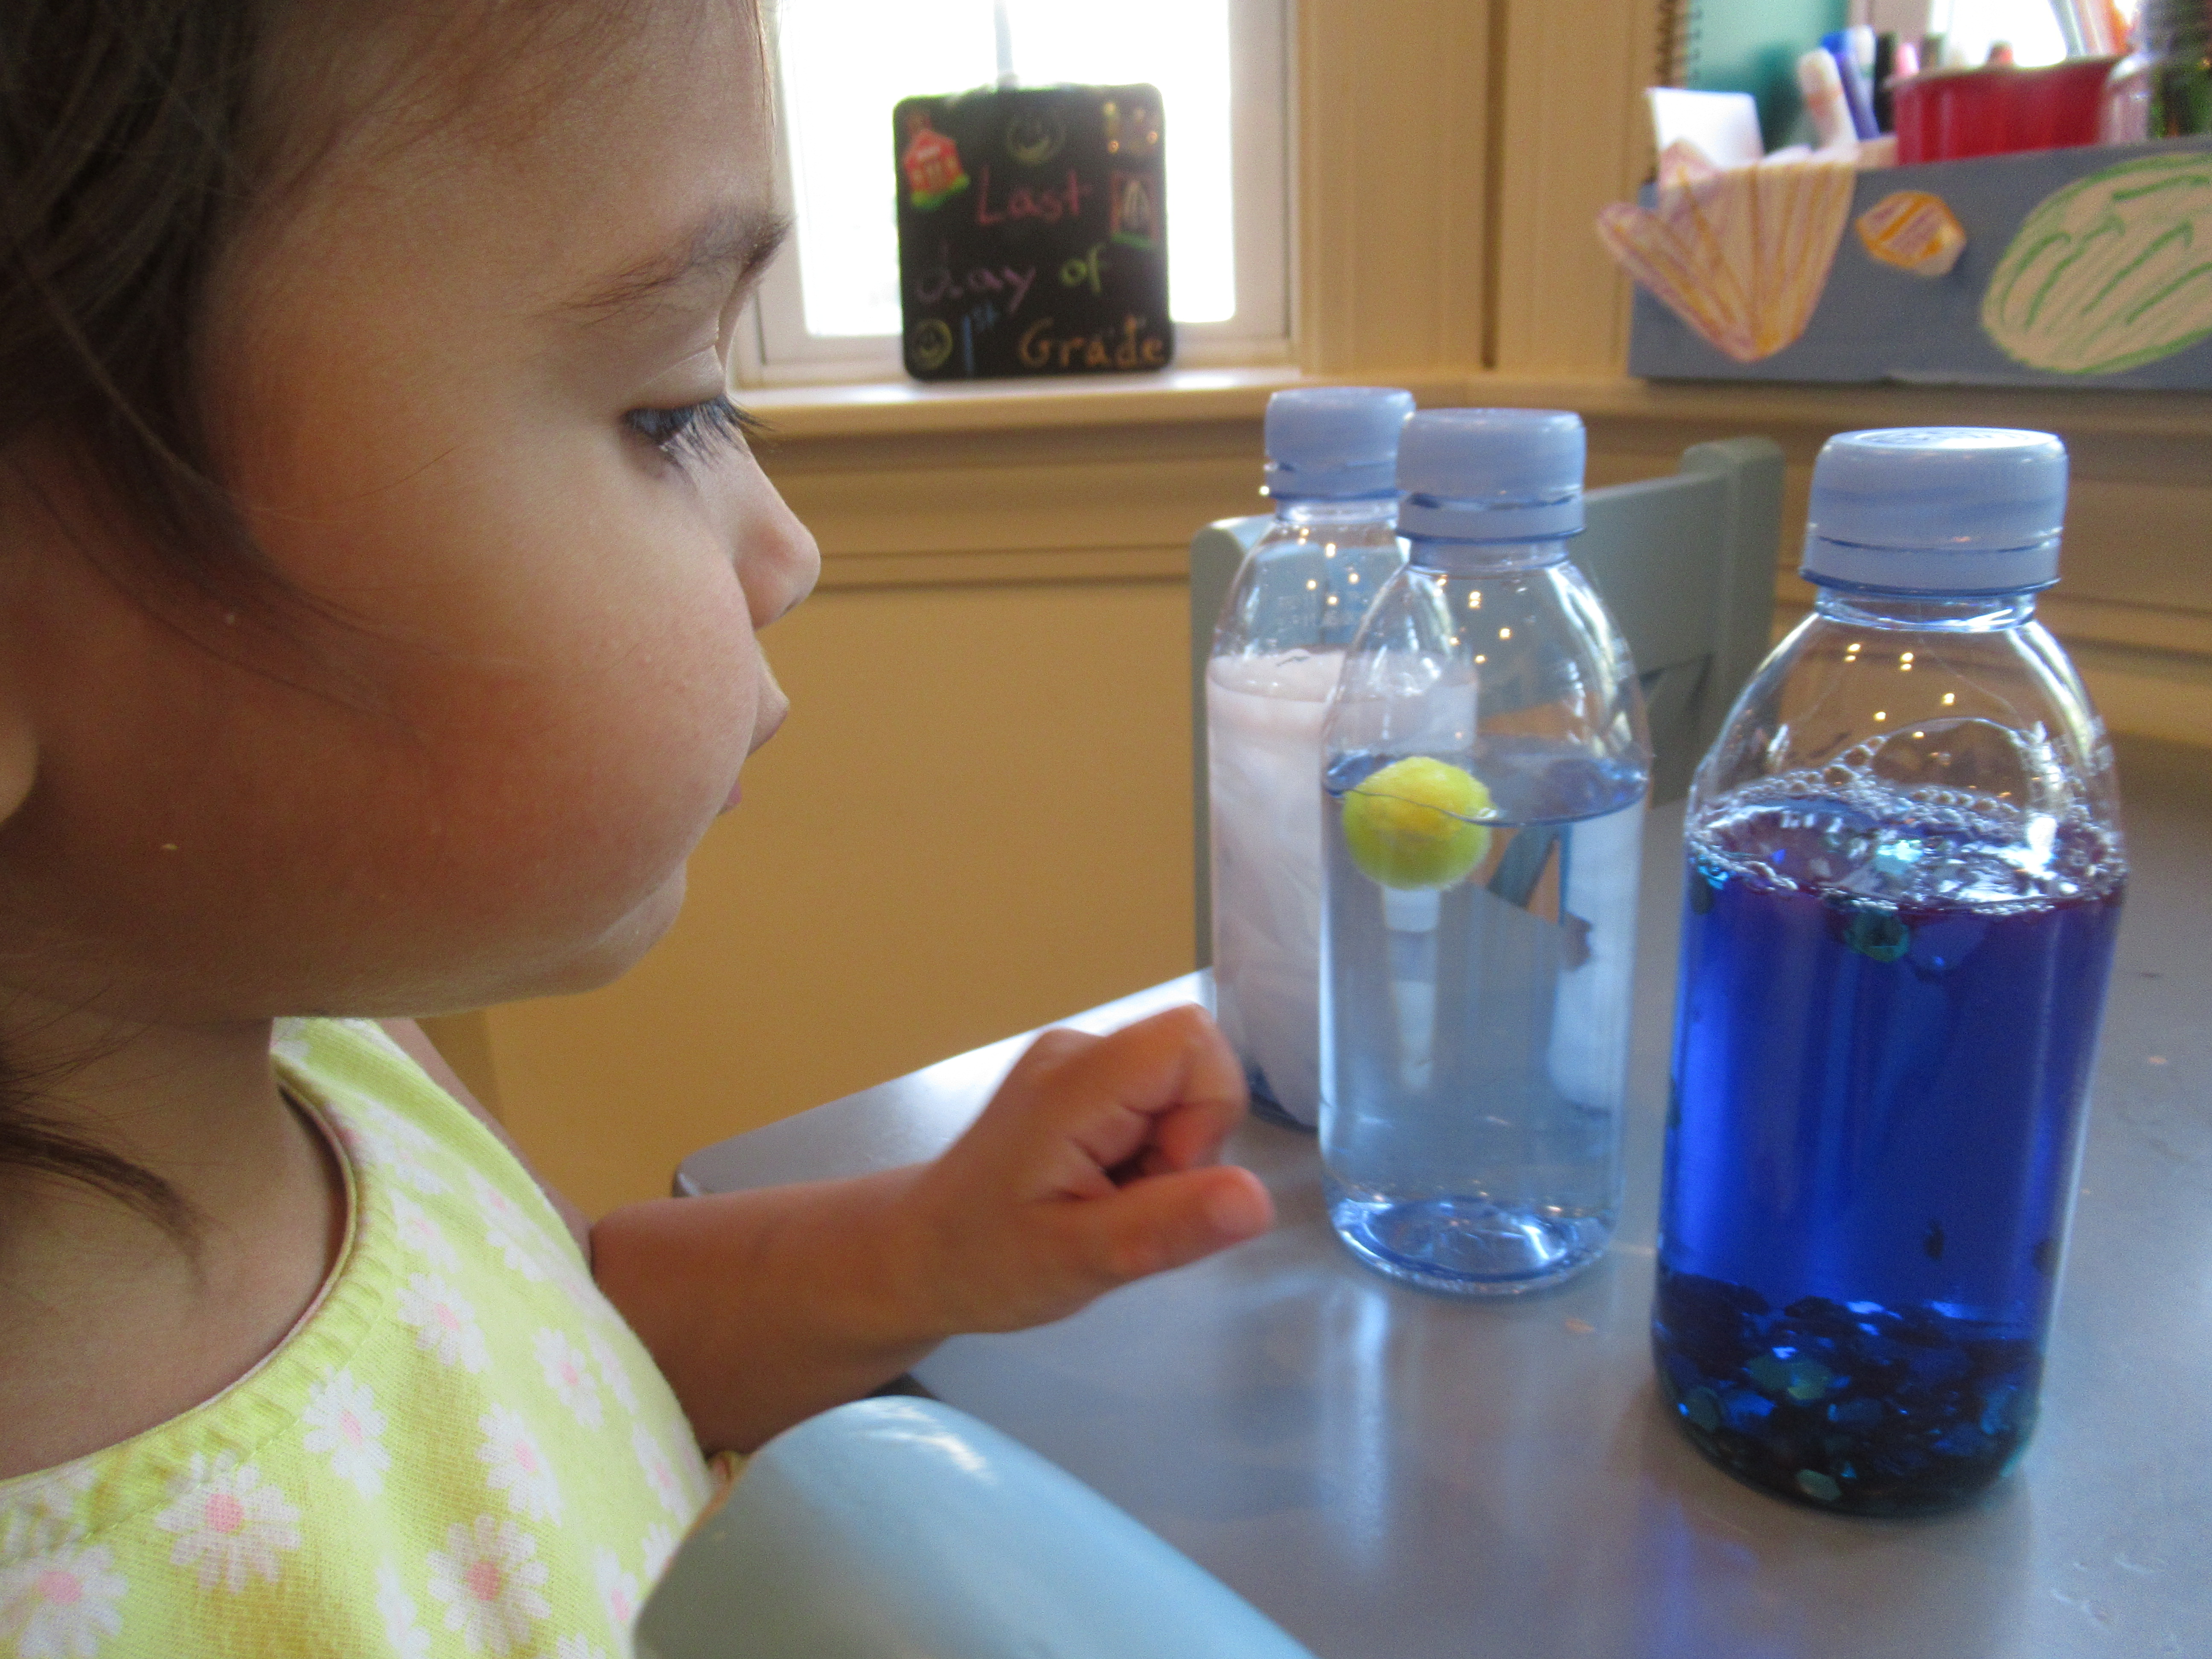
The booklet included a great experiment to showcase the water cycle and evaporation on a small scale that kids can grasp. Plus any experiment with food coloring is always fun.

LP Weather (5)

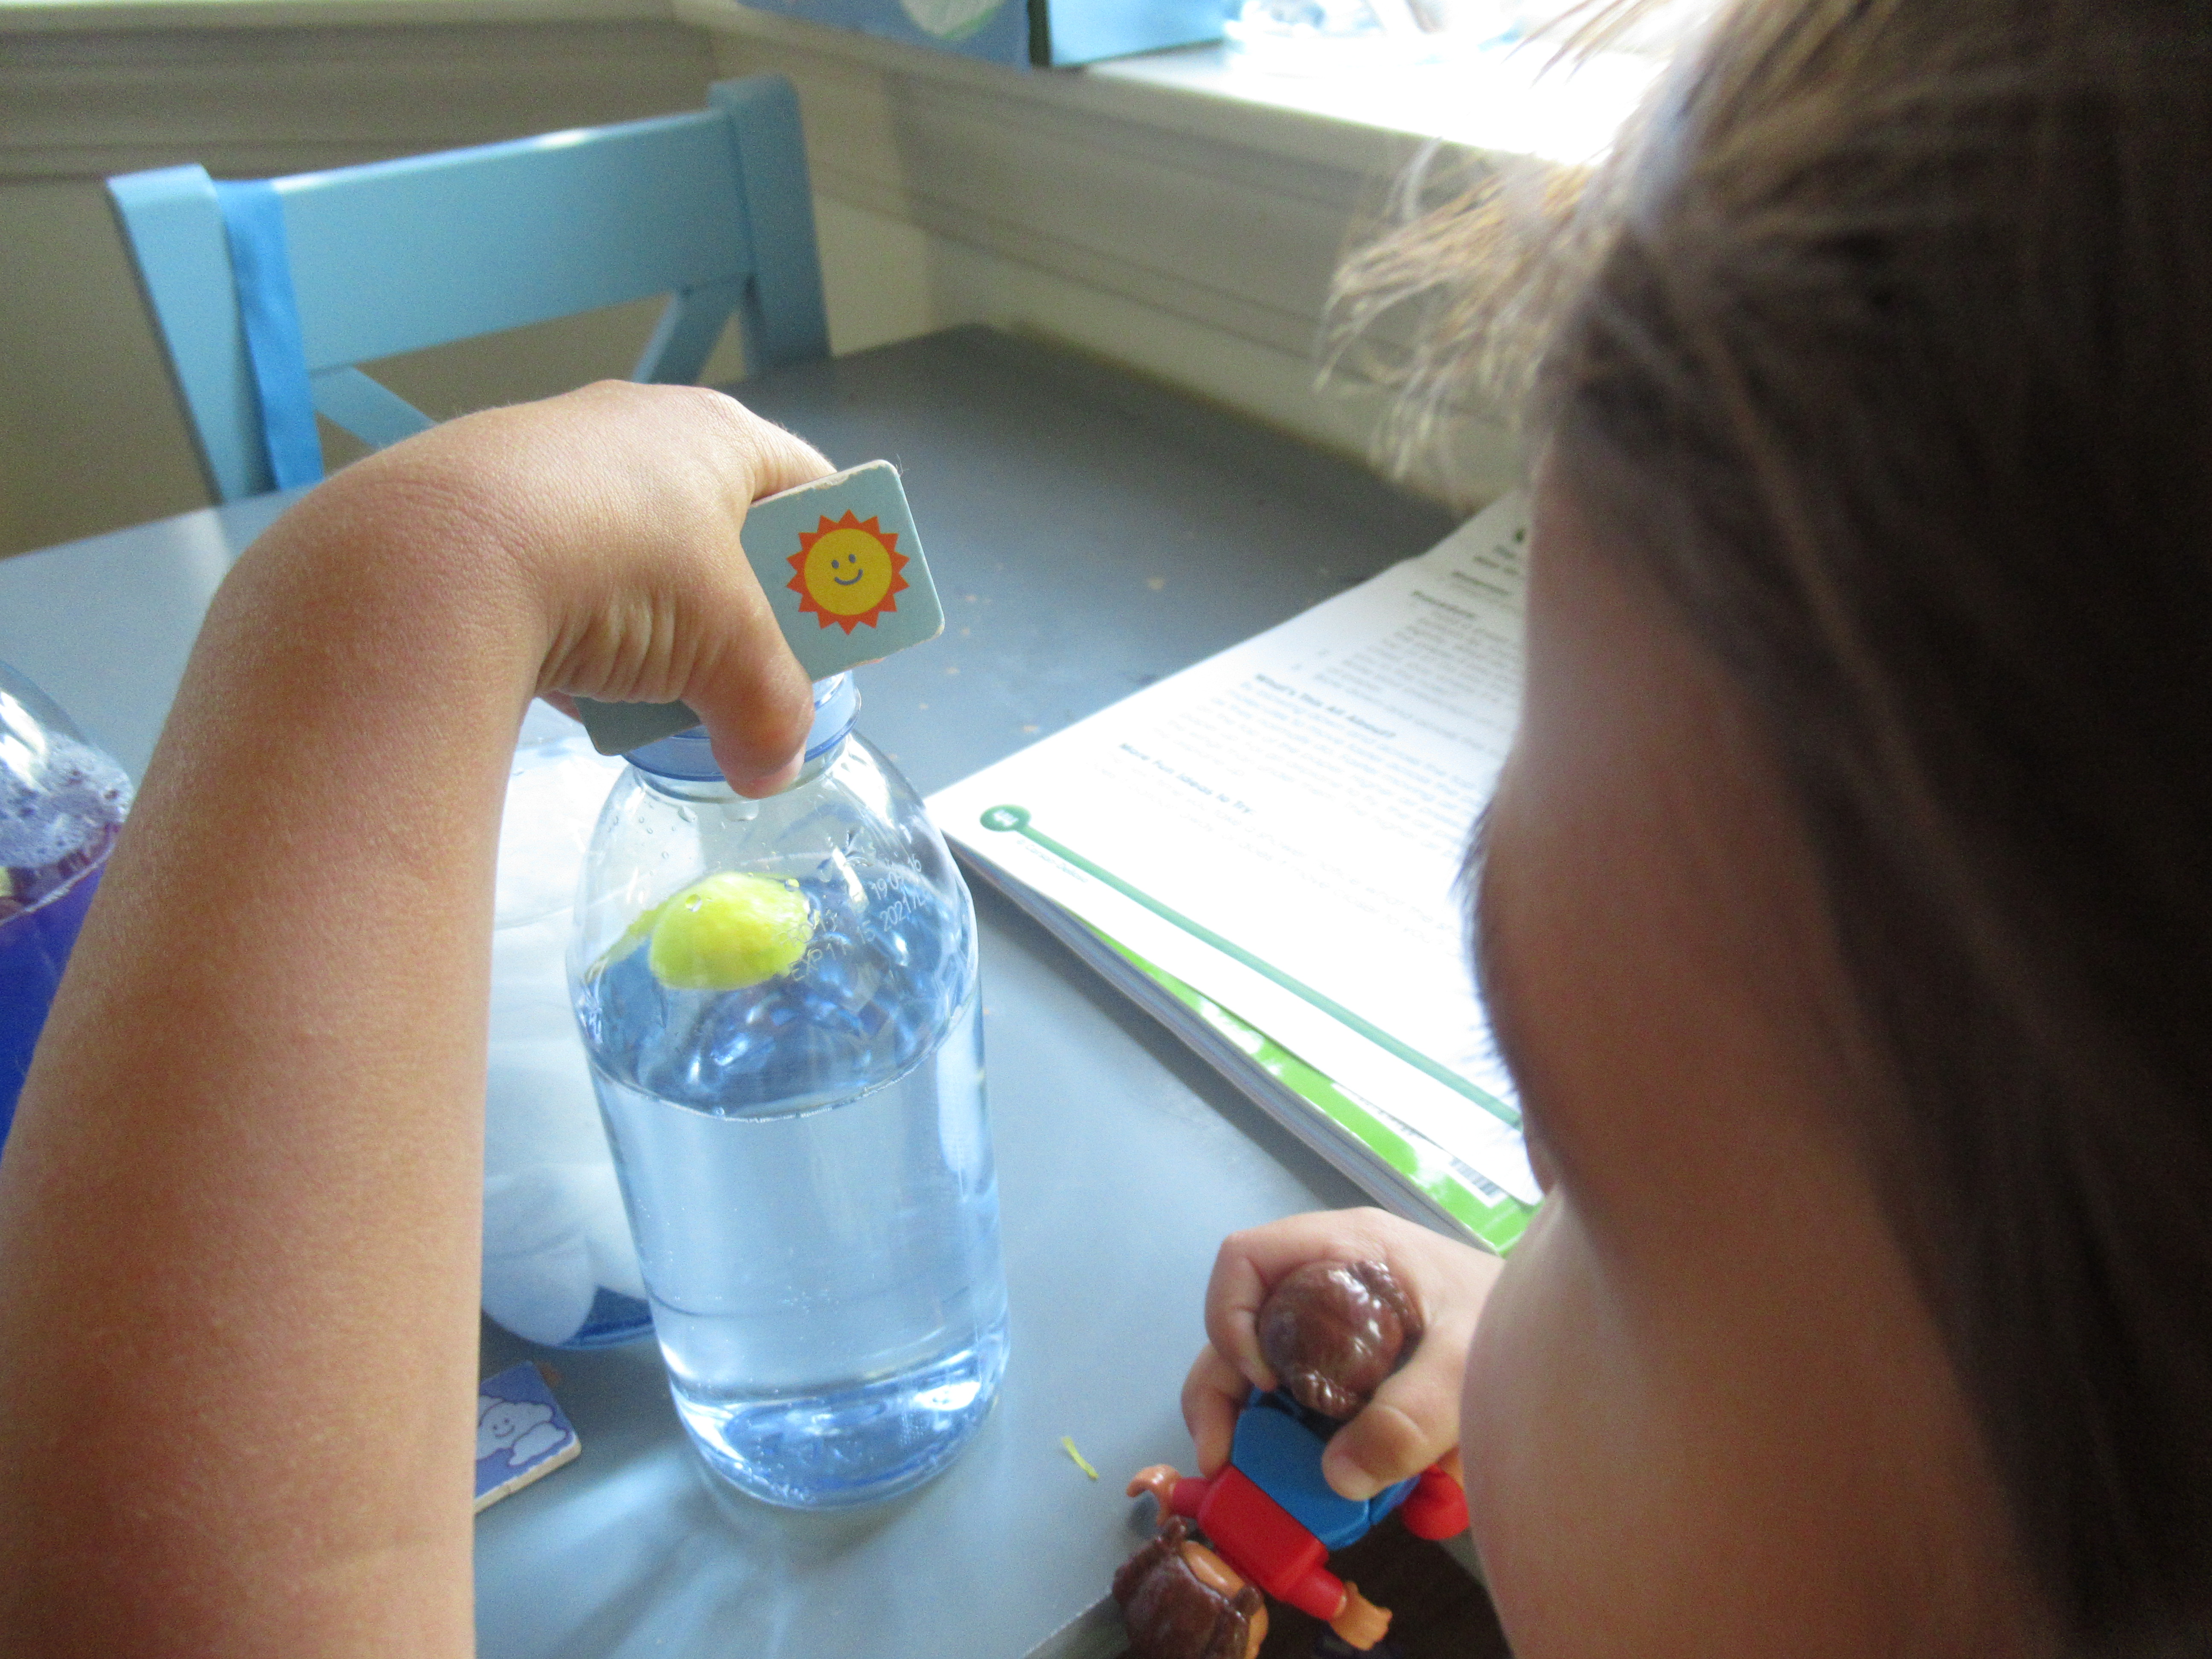
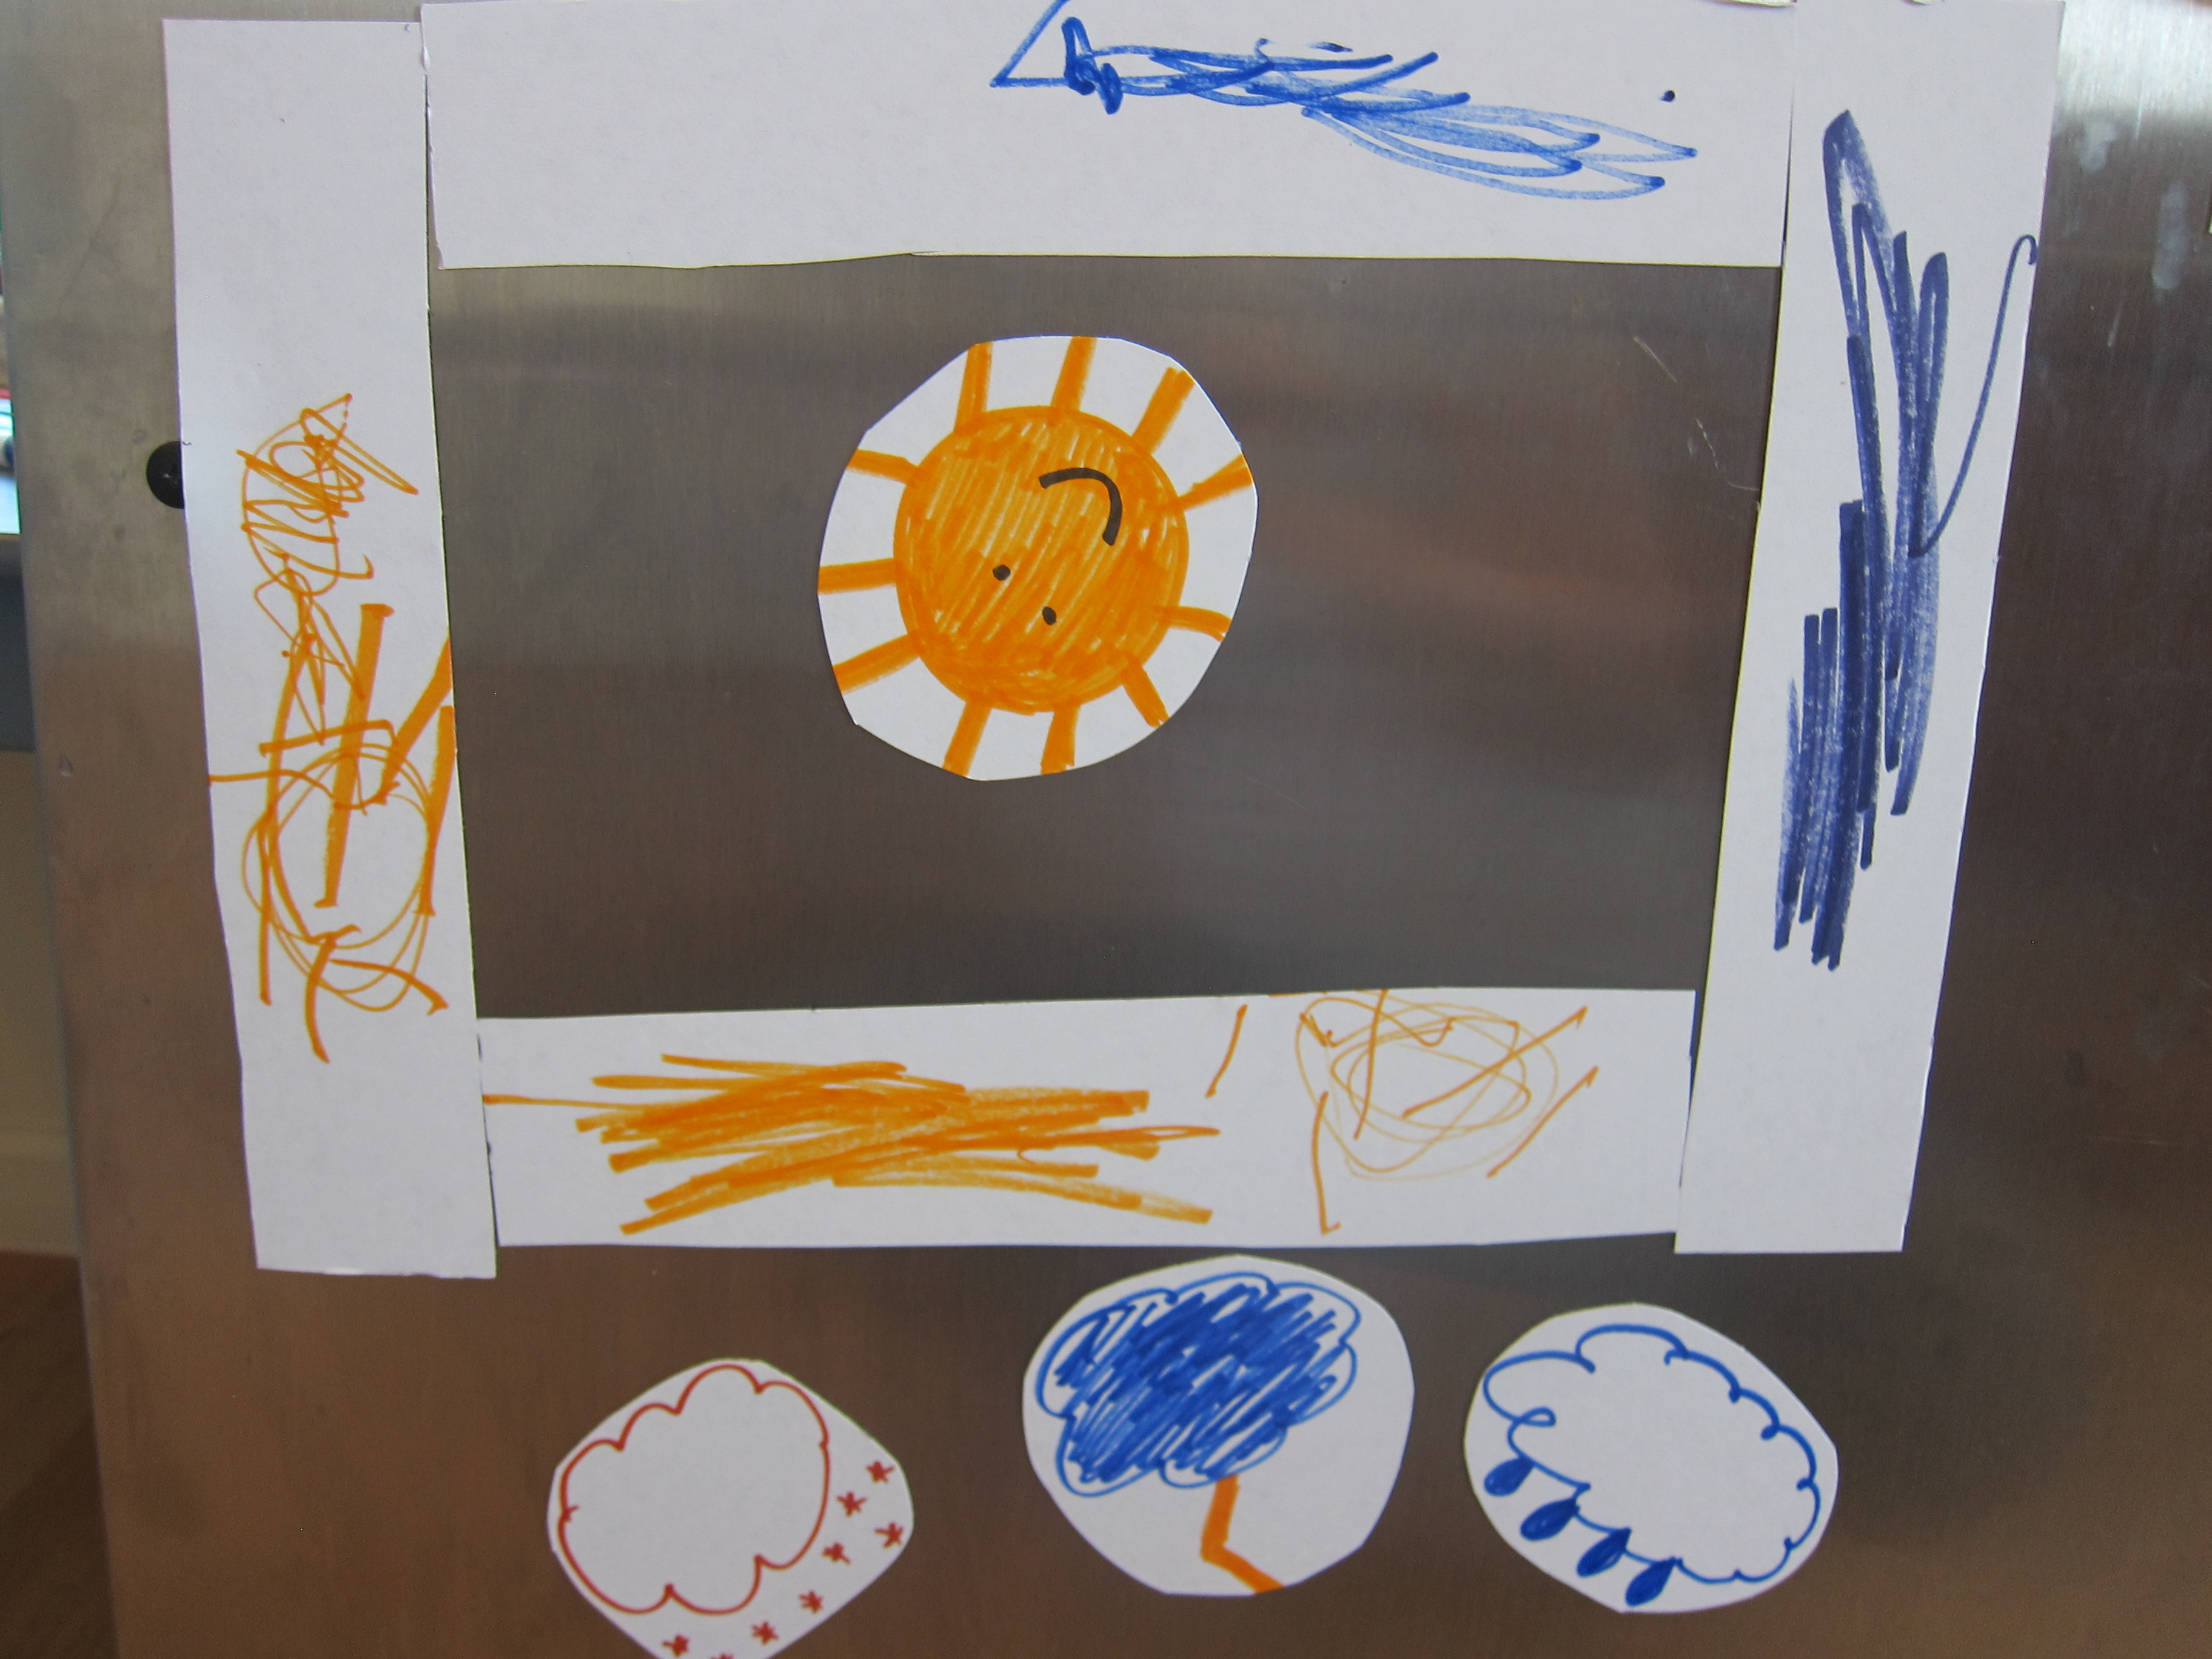
Add two drops of blue food color to 1/4 cup water, then pour into a zip-top plastic bag. Color a sun and cloud (Travis drew a huge sun, which I then cut down to size), cut out, and attach to the bag.

LP Weather (4)

Now hang the bag in a door or window of your house that gets direct sunlight. Soon we could see evaporation at work!
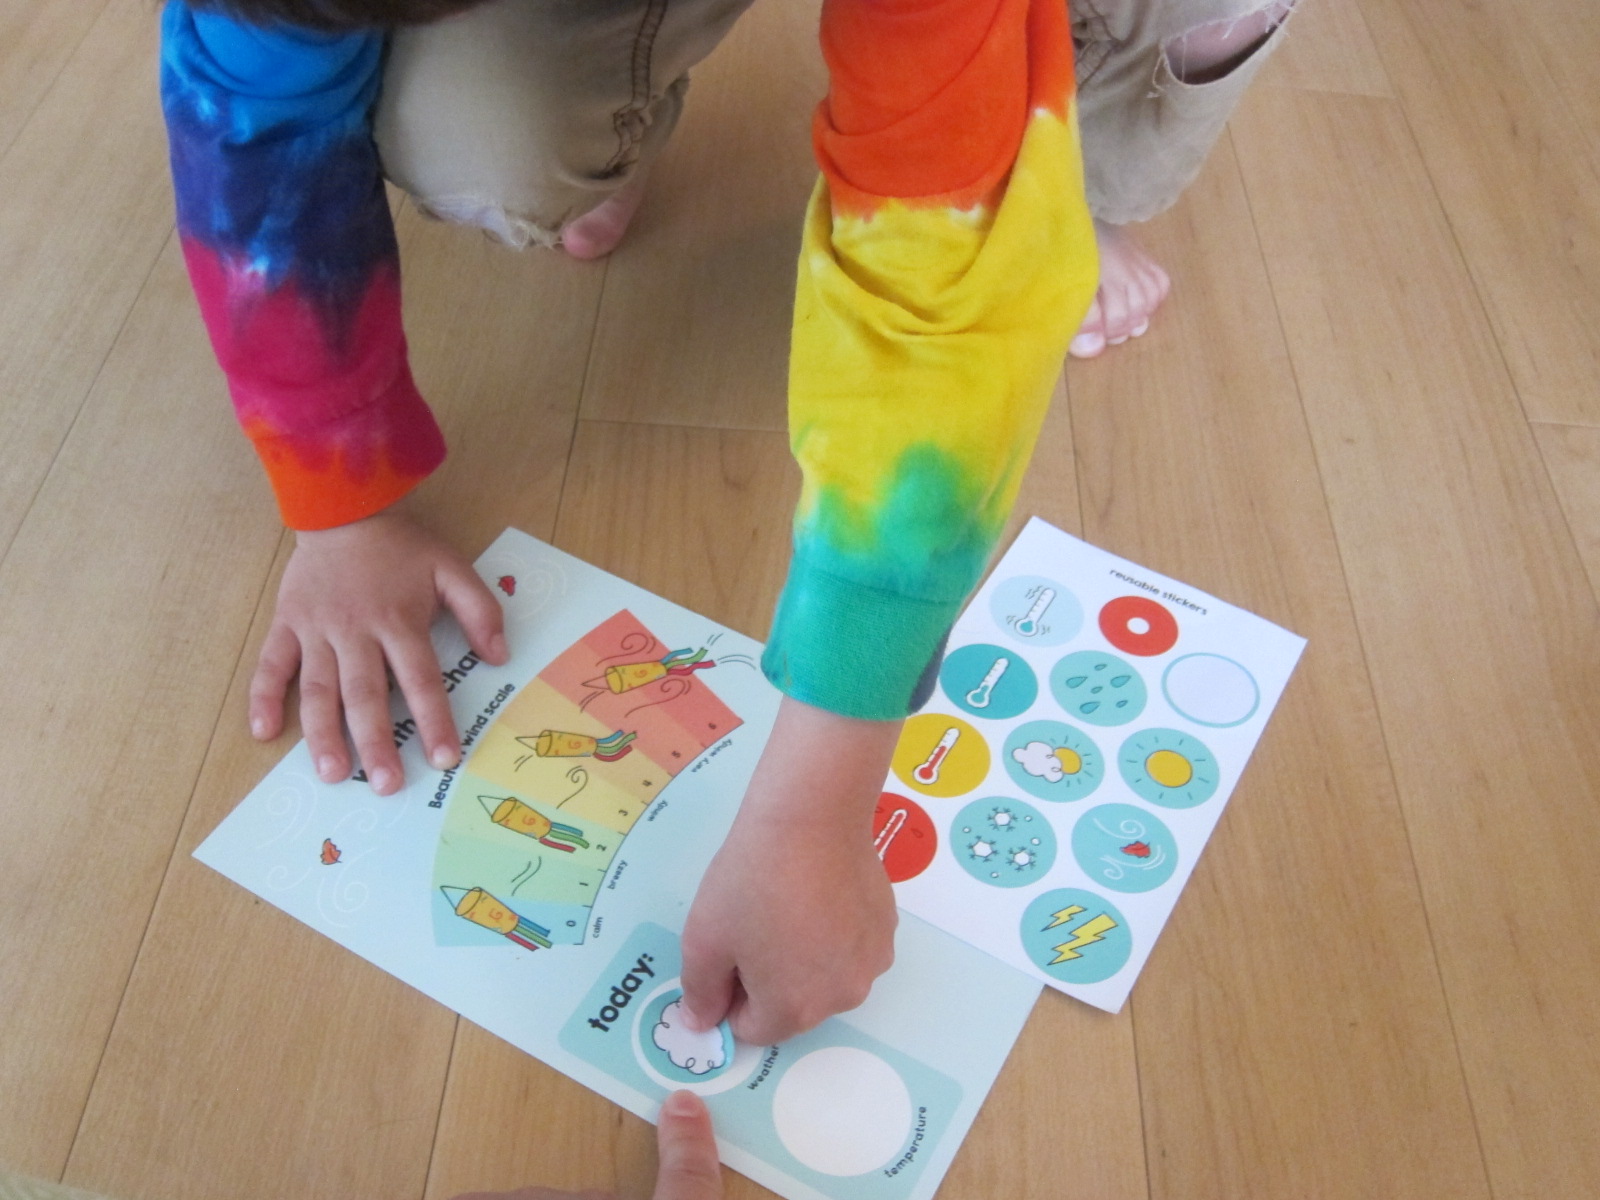
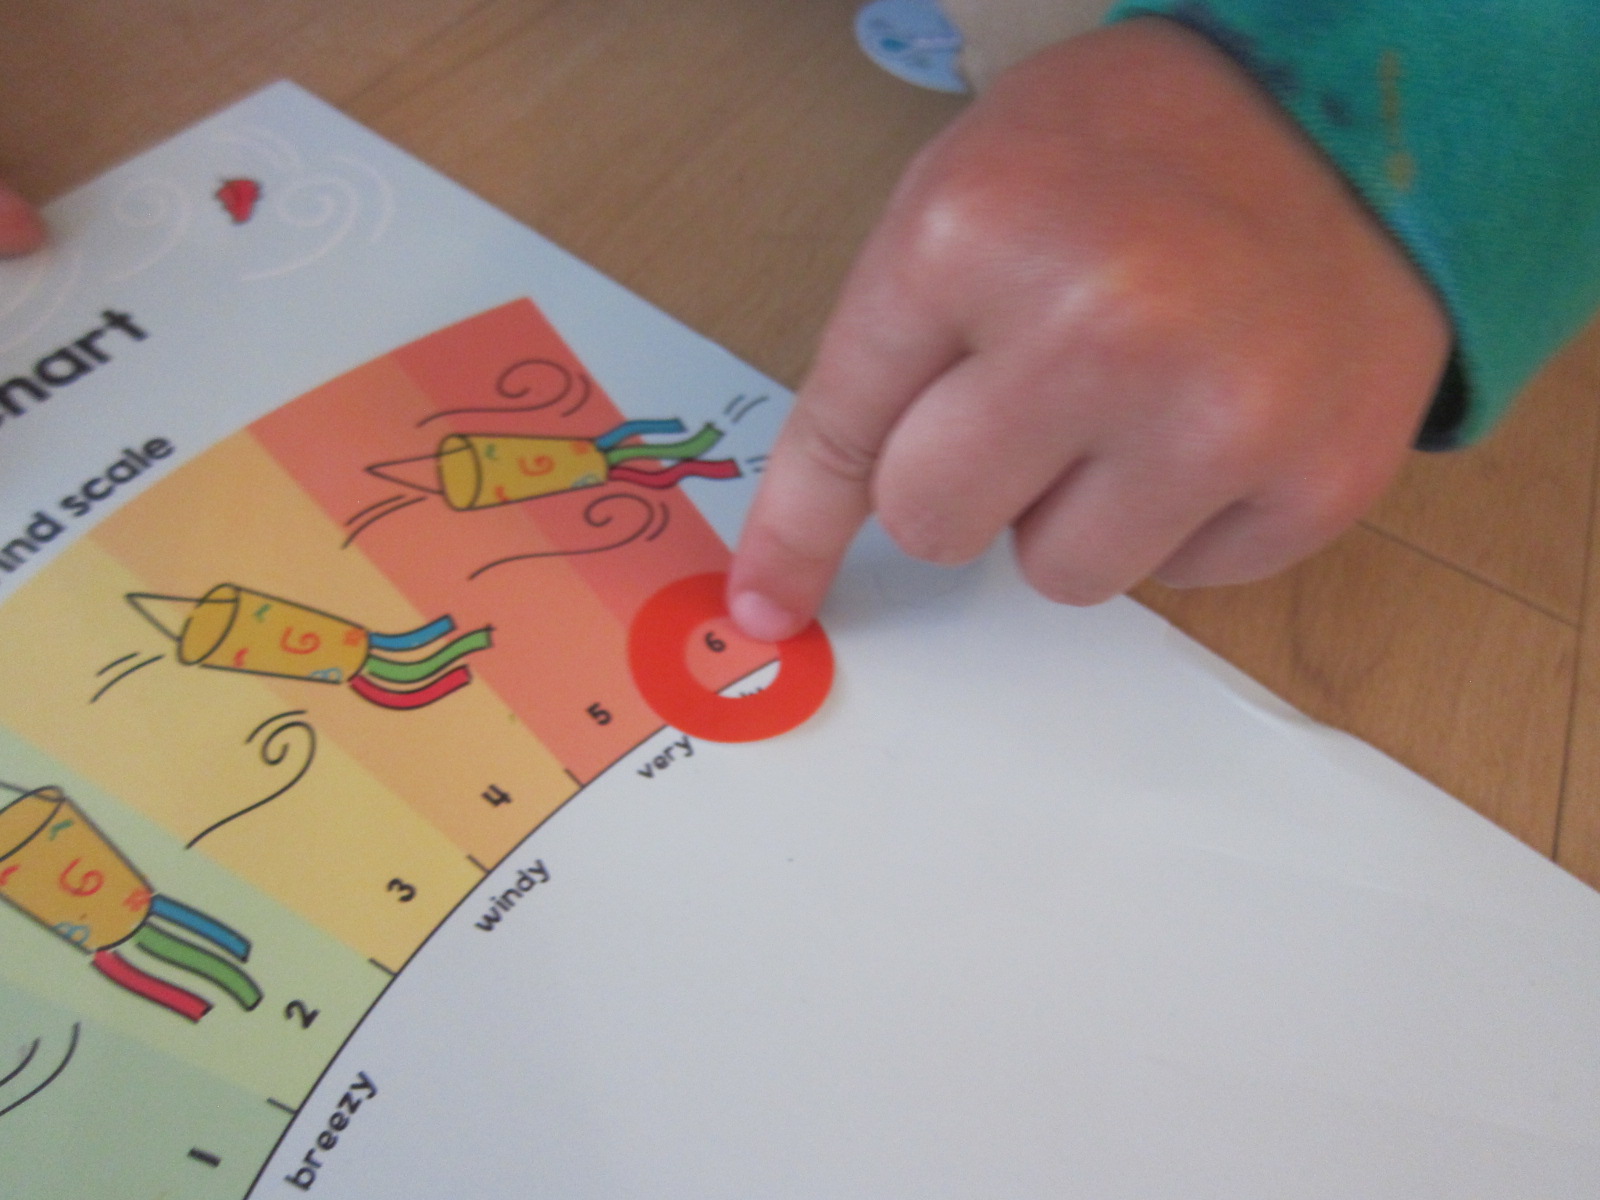
LP Weather (7)

Weather Keepsake:

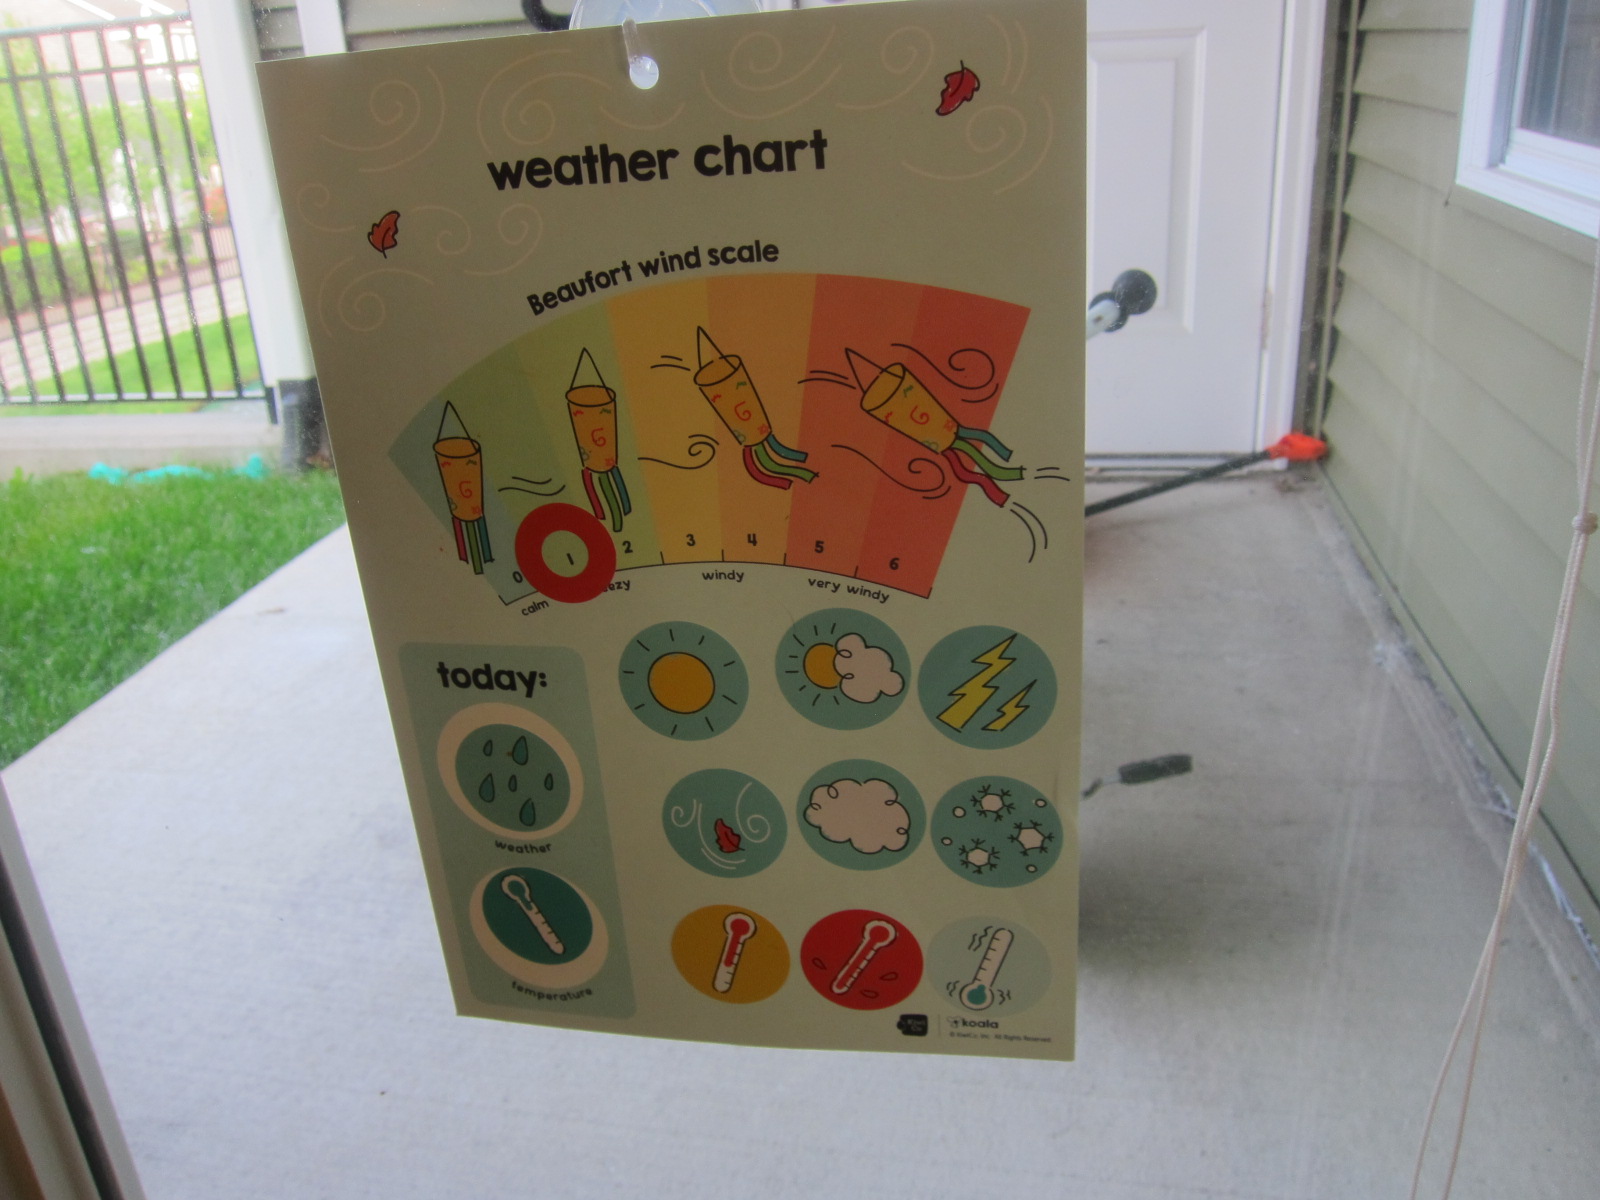
The weather wall calendar was the closet overlap with our Koala Wind Crate, but we loved the ease of attaching the felt pieces on this one.

LP weather (2)

There’s also a handy pocket for storing all the pieces that are not in use. Simple, but fun for kids each morning.

Weather Field Trip:

For this one I had to get creative. Where could we best observe the weather? I decided a lighthouse would be great fun, both for the novelty of it, and because lighthouses were meant to protect ships in all sorts of stormy weather. We headed off on a slightly unsettled day to visit one about an hour away.

Travis loved the climb.

summer 44 (i)

And the beacon up top!

summer 44 (l)

Make sure you do your research before you go, as many lighthouses have age and height requirements for those hoping to ascend to the top.

And sometimes, weather field trips are unplanned. We just happened to be at the beach when this ominous thunderstorm rolled in. Travis loved watching from a nearby cafe window!

summer 40 (b)

Weather Further Activities:

As always, there were suggestions for lots more activities, and we had fun ticking them off (weather permitting!) over the course of a couple weeks.

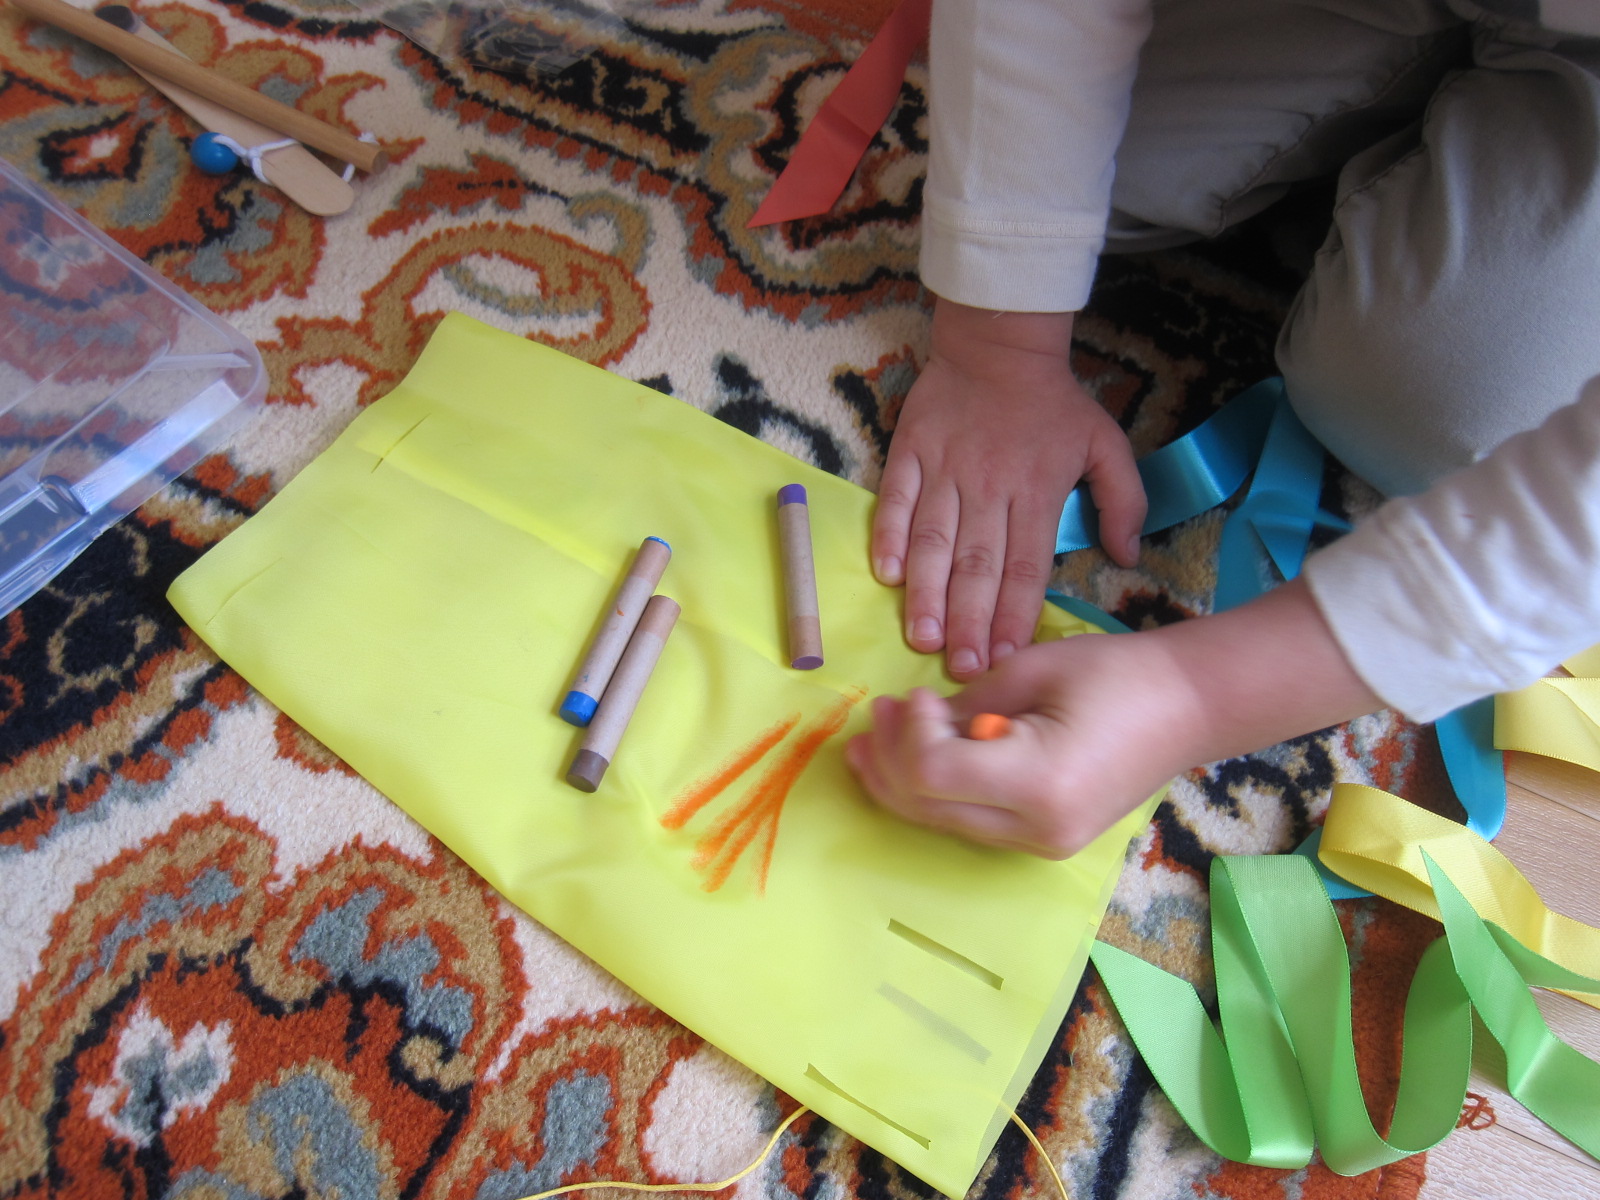
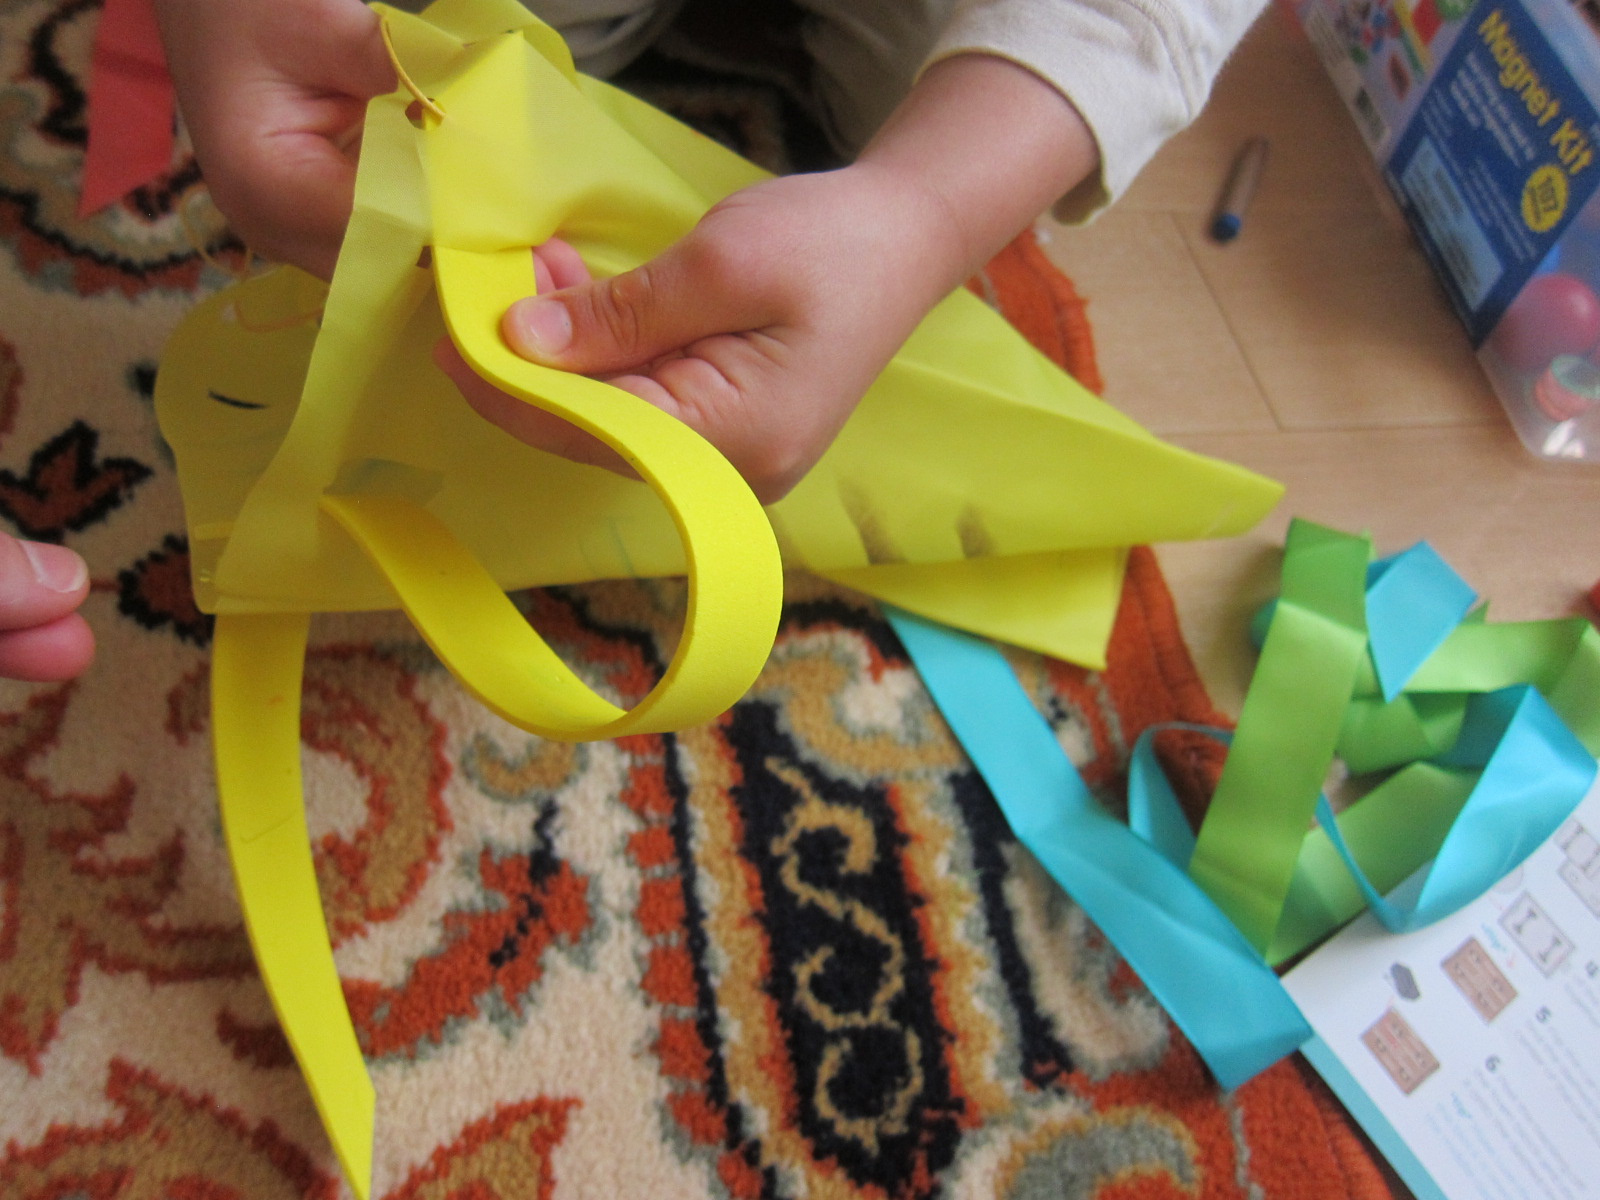
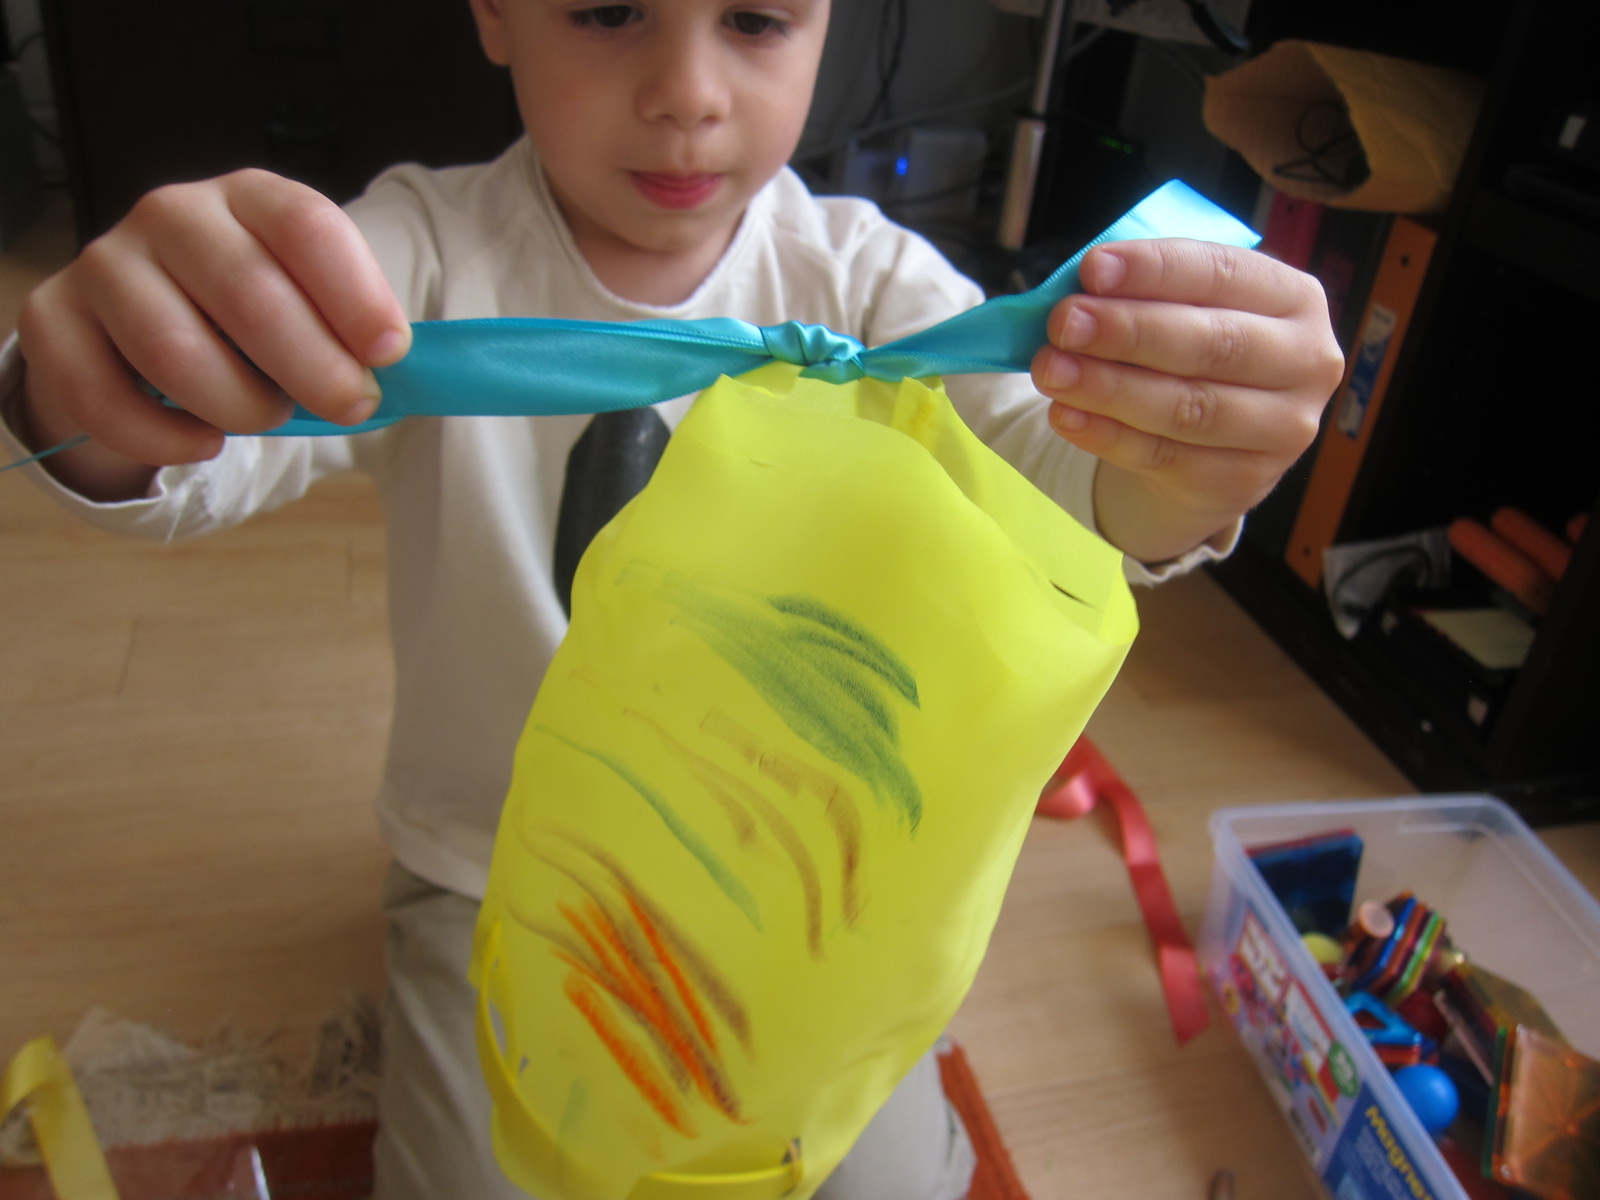
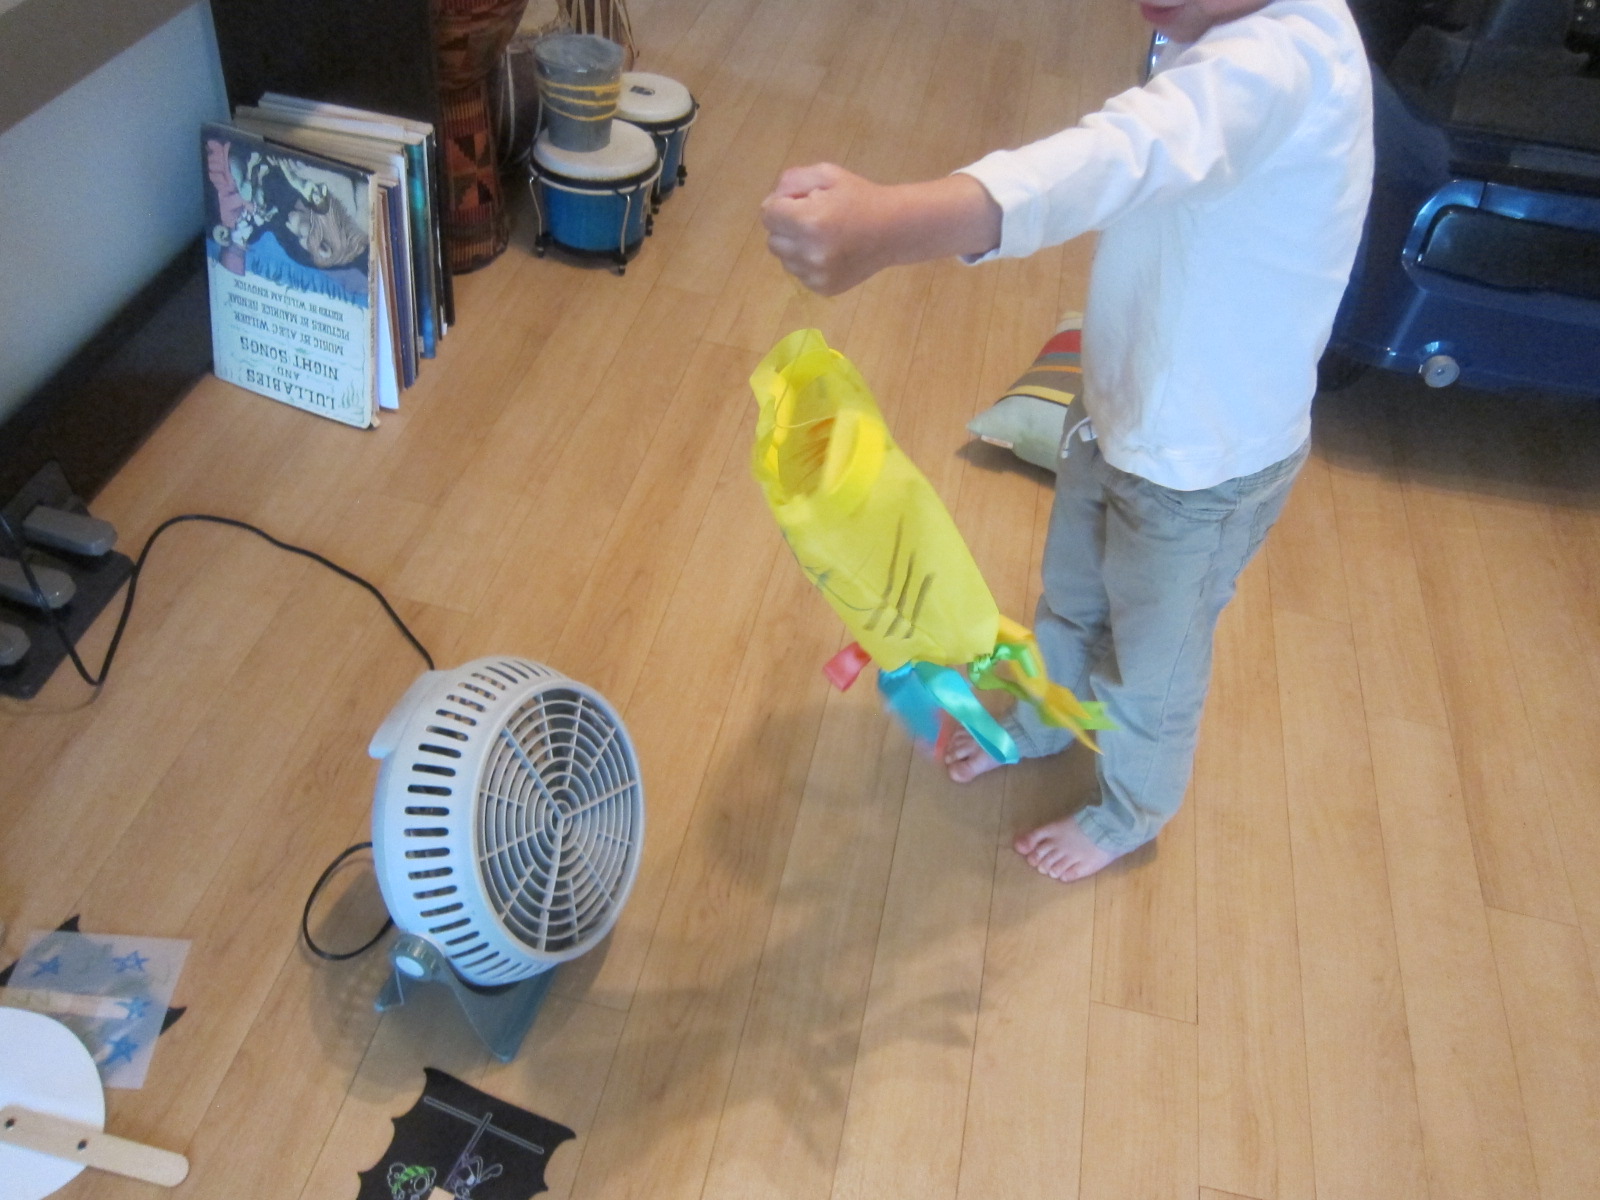
Take advantage of a windy day (and a trusty plastic bag kite) and watch the wind make your kite soar.

LP Weather (21)

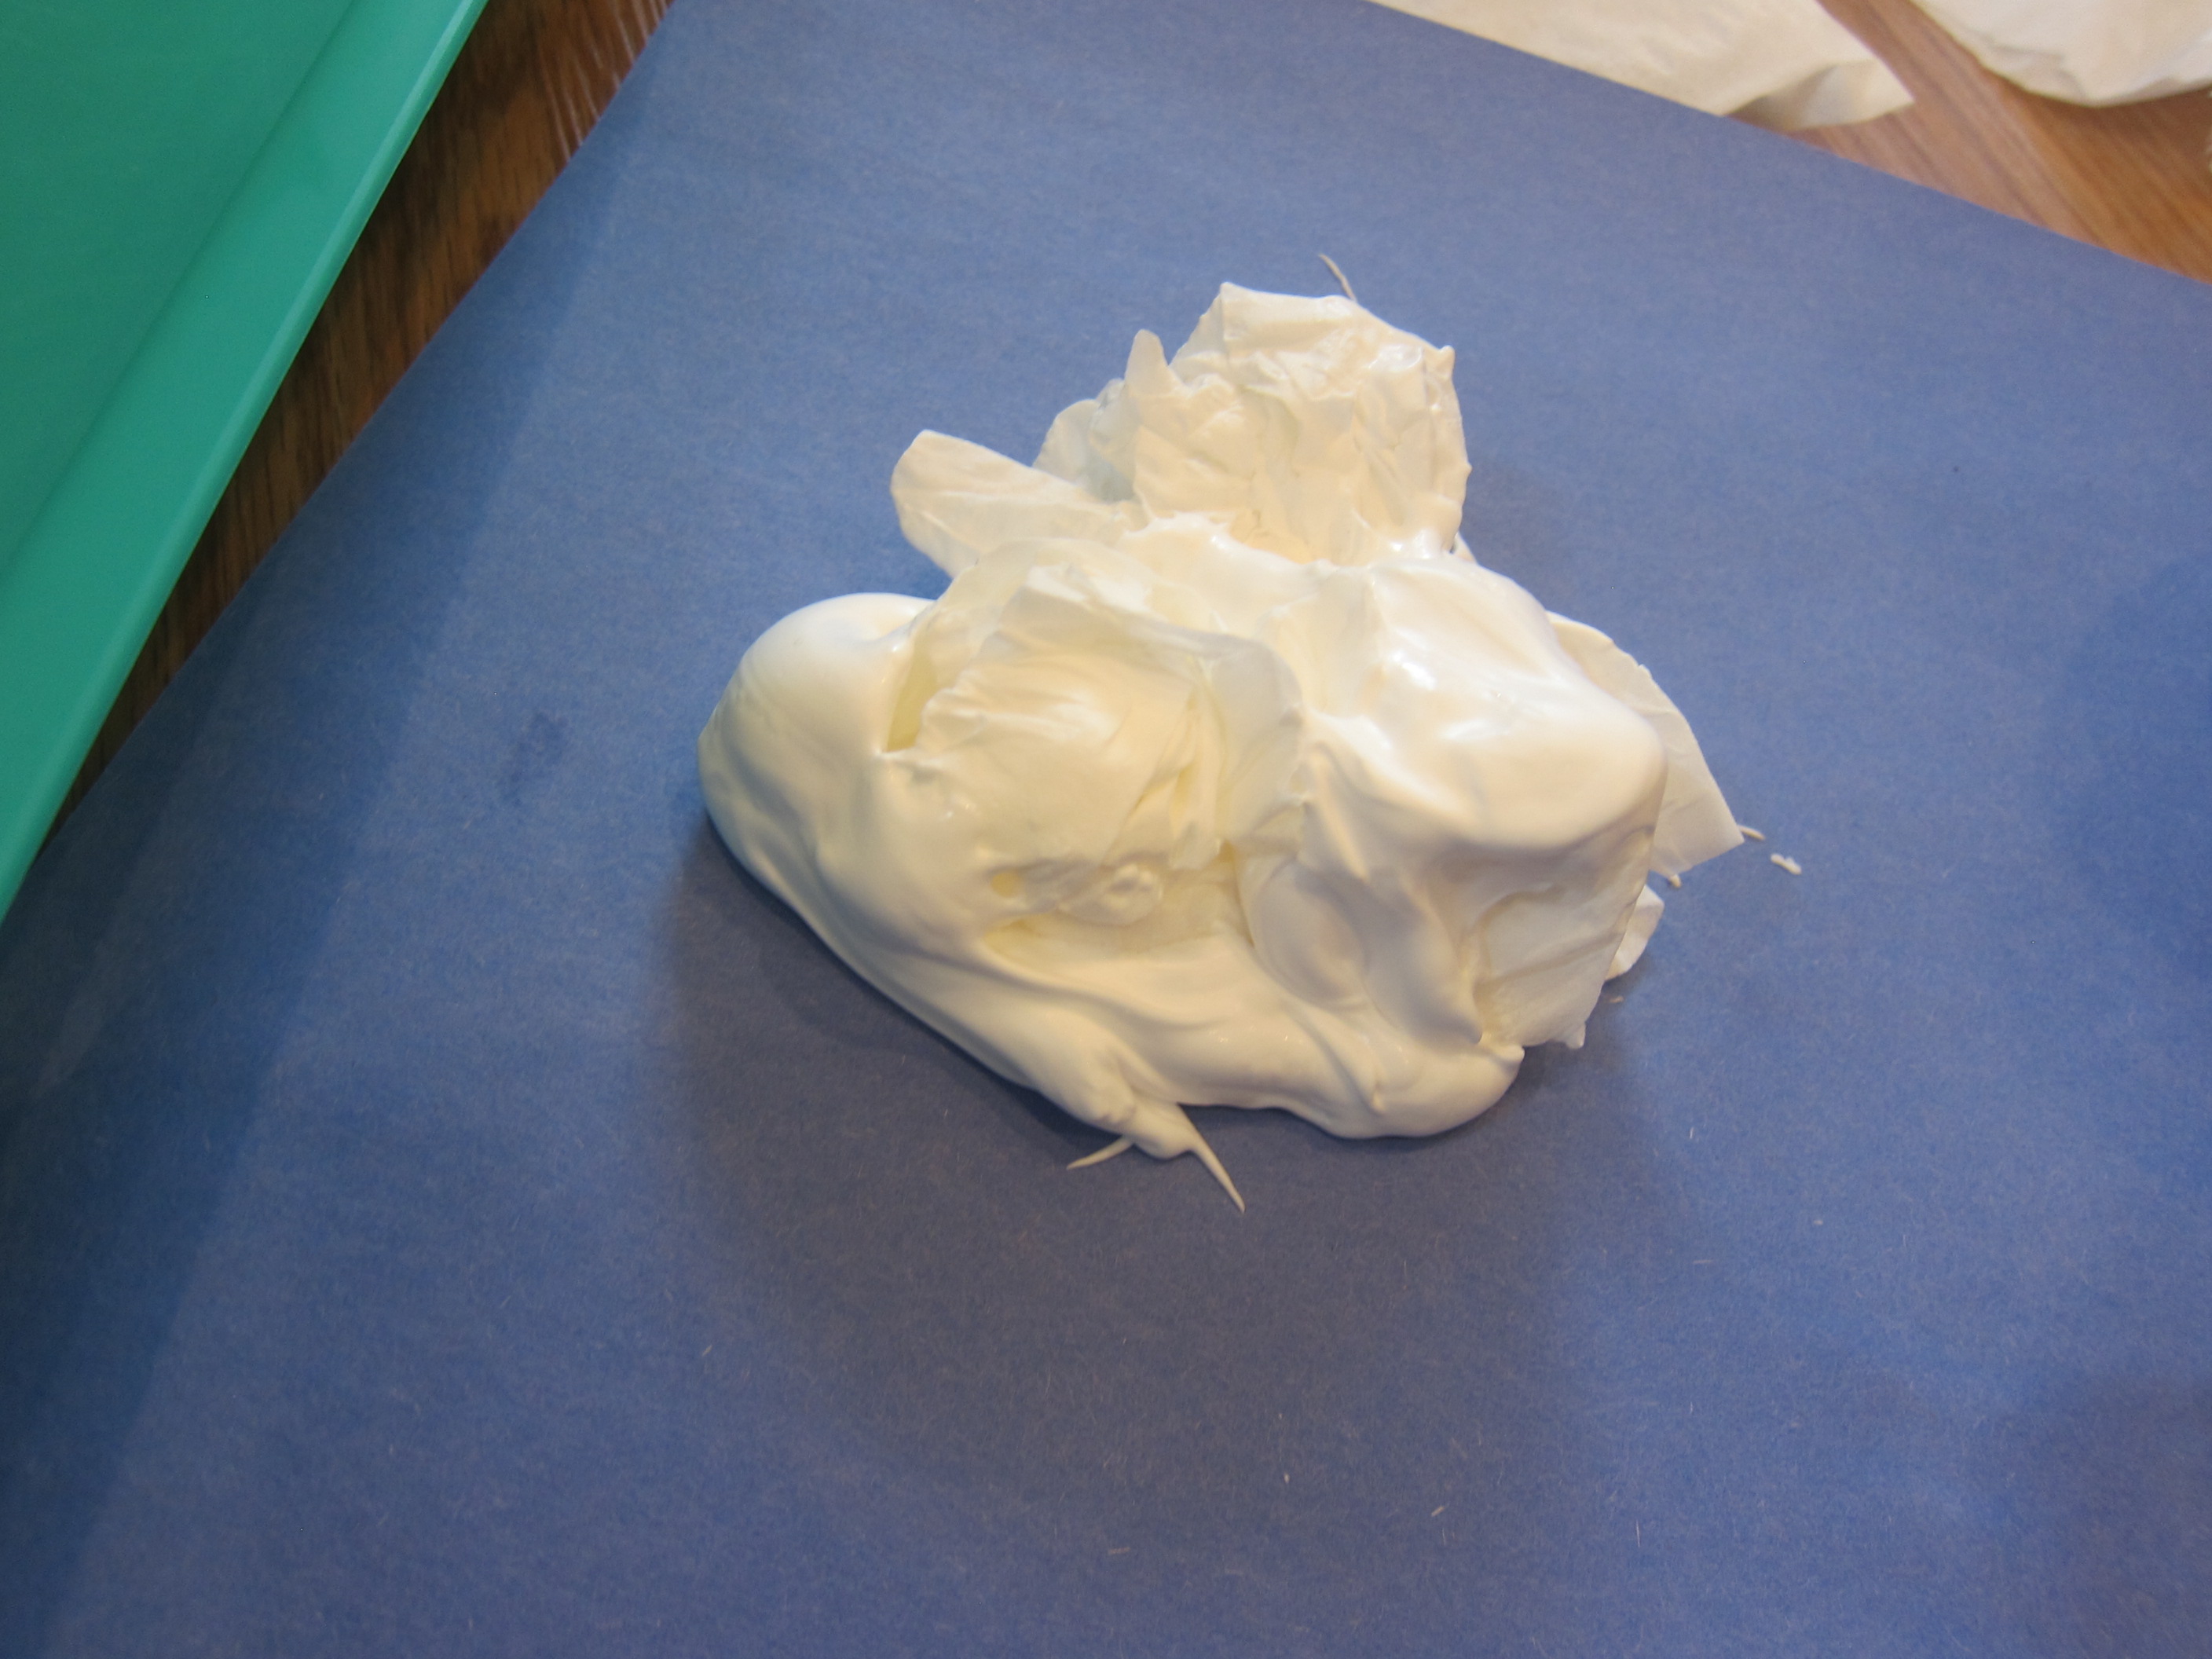
Then cook up some cloudy day fun in the kitchen. Tint your favorite vegan jel dessert with a few drops of blue food coloring and prepare according to package directions.


LP Weather (17)

Once it sets, top with SoyaToo whipped cream, and eat the clouds out of the sky!

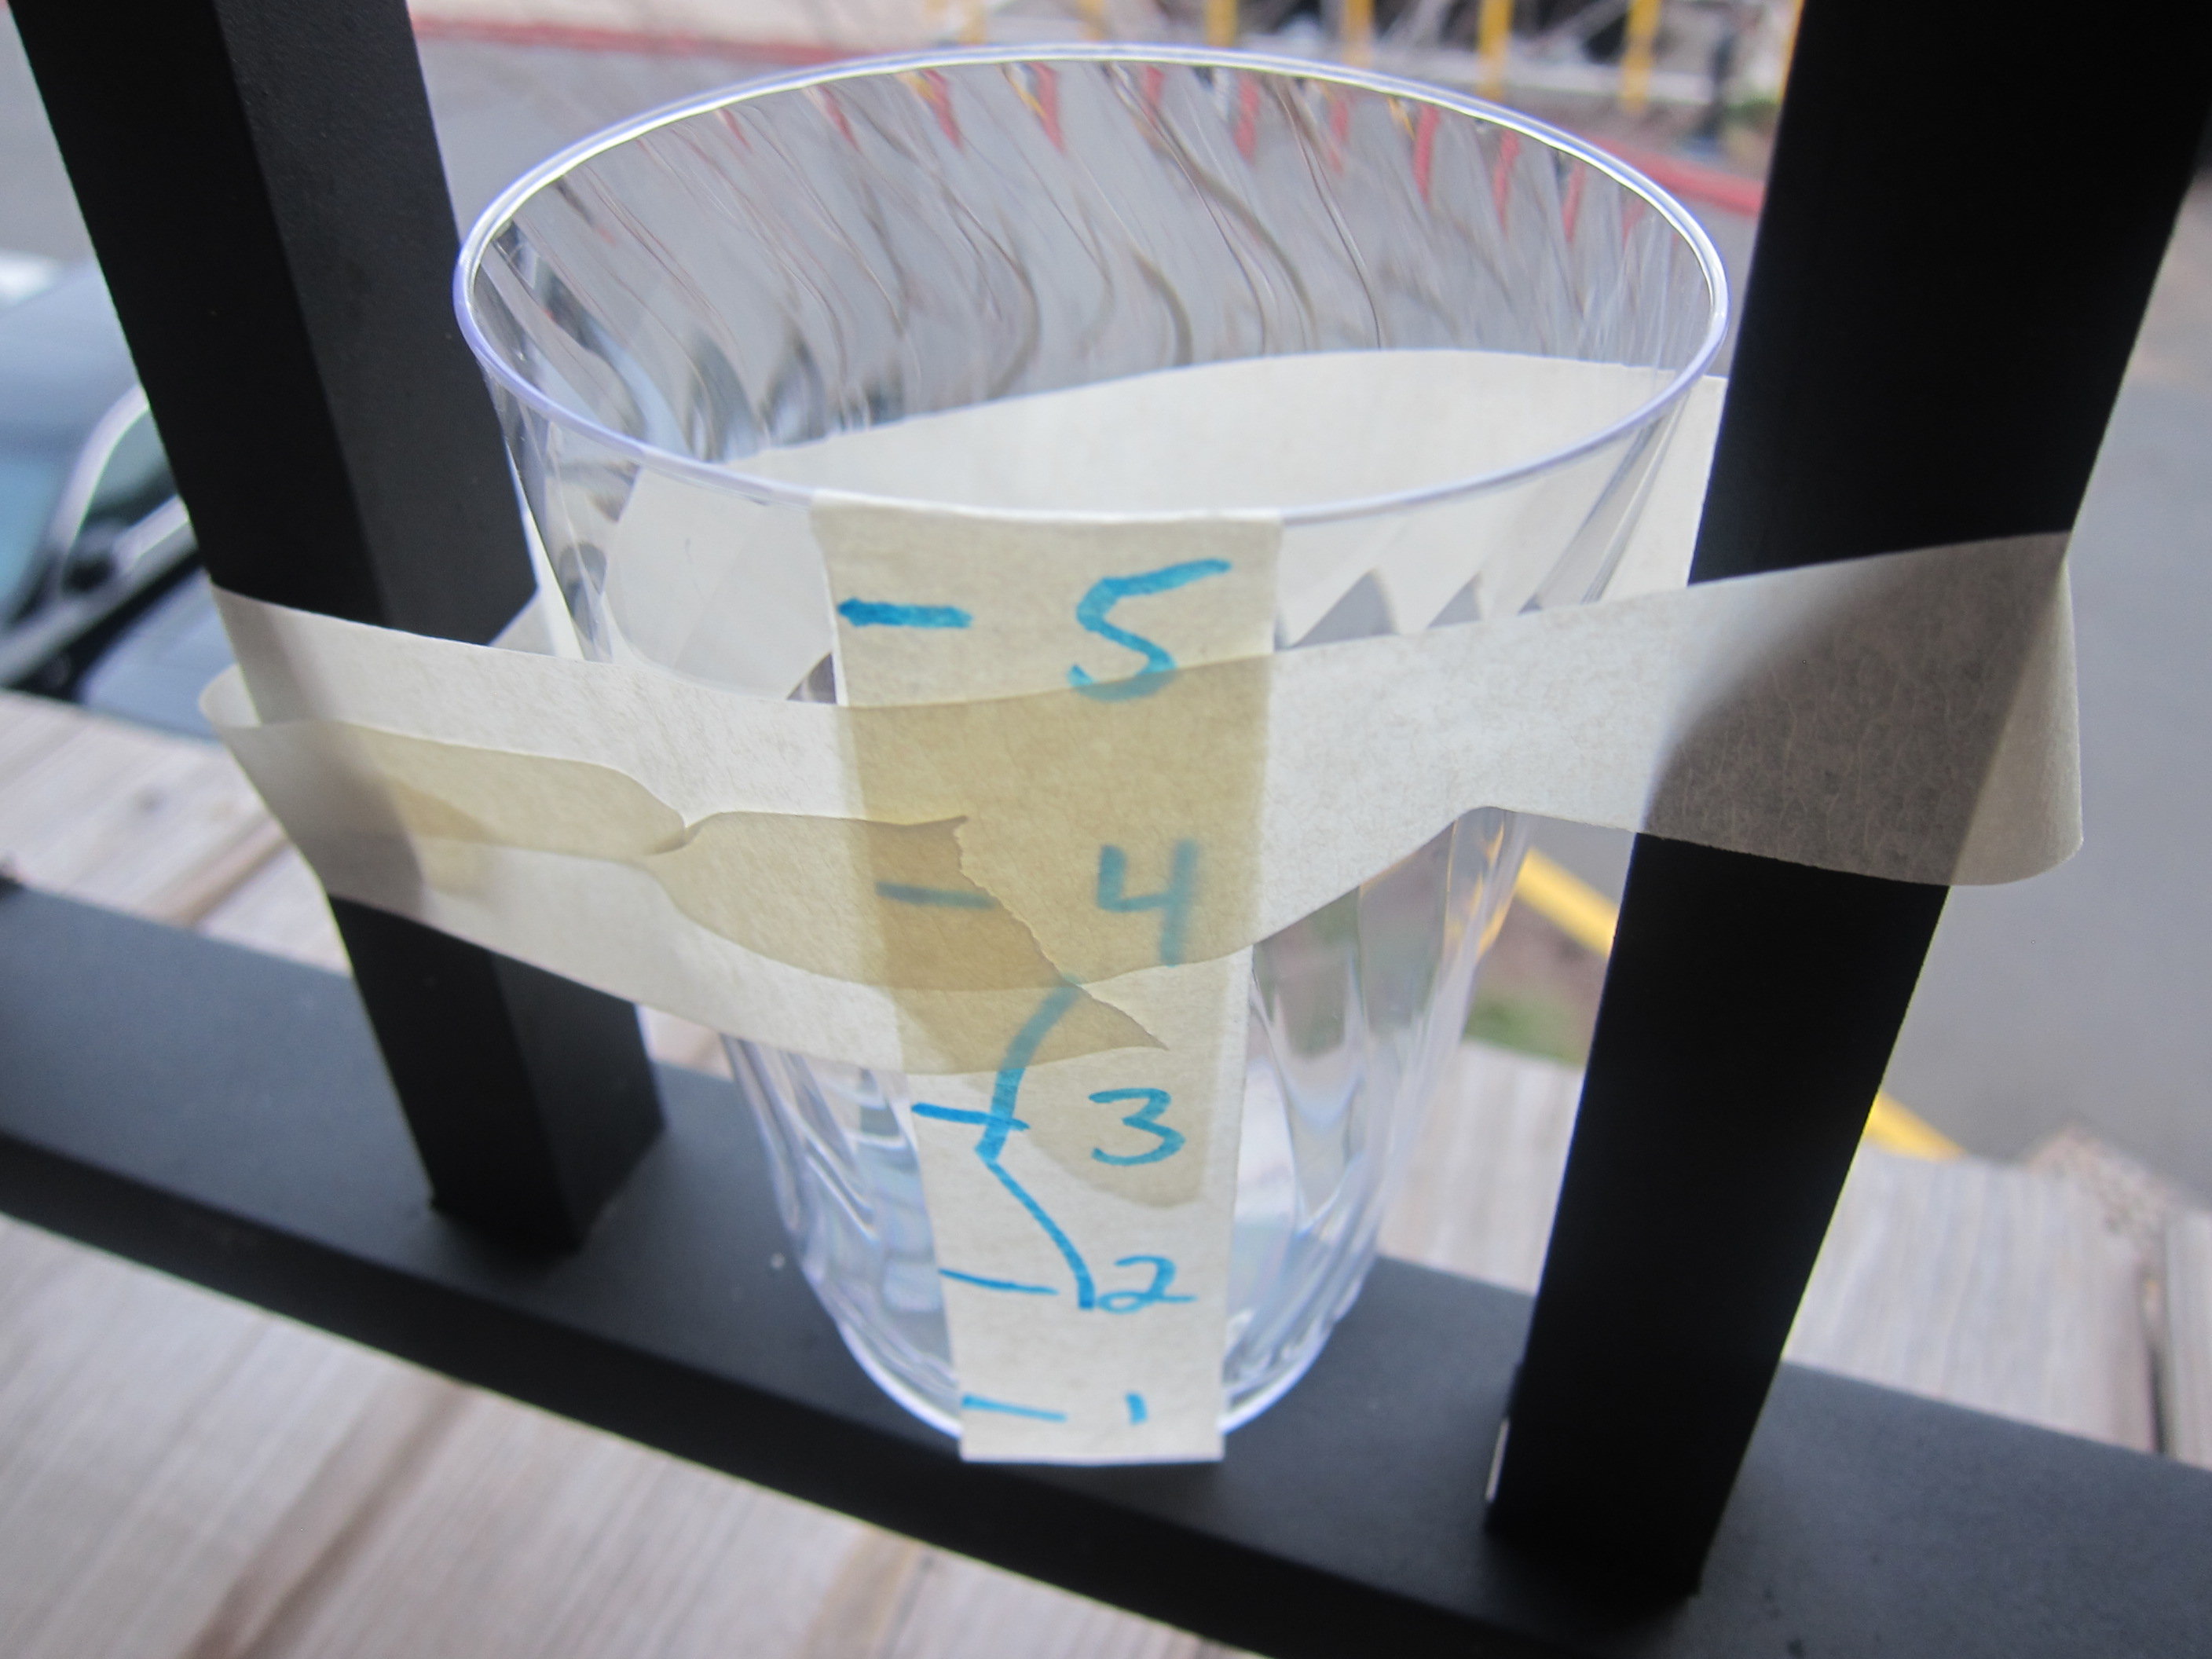
We then repeated an old activity, collecting rain in a jar for a homemade rain meter. We had an absolute downpour, and I was sure we’d have at least an inch, but later discovered the wind had knocked our jar over. We learned that the storm had dumped nearly 5 inches of rain in some parts of the state, and about 1.5 inches in our area.

LP Weather (9)

Finally, we took the exploration online. Travis loved learning how I check the weather on an app each morning.

LP Weather (18)

Then we looked at the Virtual Weather Museum (or go to one, if you have a good museum near you!) where he loved the available satellite images on everything from cloud formations to ocean currents.

LP Weather (19)

Wind Crate

Koala wind (15)

I was slightly skeptical when our latest offering from Koala Crate arrived, a package very specifically about… wind. It turns out this crate was fantastic, so my skepticism was unearned. As always, you can put together the following projects after a visit to your local craft store.

The first project was a Wind Car. Travis seemed slightly skeptical, too, as we put it together. A brief run down of the mechanics: push a dowel through the holes in the craft paper base. Koala Wind (1)

Slide a foam wheel onto each end of the sticks, then place the base into the slightly larger craft paper car “body”; the slots in the body will hold the wheels in place. Tape the body and base together (clear stickers are provided).

Place a piece of sticky foam in the center. This foam has a slit in it to hold the craft stick “masts” and sails.

Decorate the provided sails (the kit came with oil pastels, a nice deviation from crayons), and slide on to the provided craft sticks. Your child can opt which sail to test in their car, or swap them out whenever desired.

Koala wind (3)

Travis wasn’t very interested in the fan that came with the kit to propel the car along (wind power!).

Koala wind (5)

But once we set up an electrical fan, he was smitten!

Koala wind (6)

Many a game followed, playing with the different strength settings on the fan and changing out the shape of the sail to see what made the car race along the furthest and fastest. So much fun that we had to capture a quick video clip!

Next up was the Windsock. This craft was great for building fine motor skills, particularly knotting and lacing, and Travis was an eager participant. First he scribbled on decorations with those oil pastels.

Koala Wind (16)

Thread a piece of foam through the slits in the top; this will hold the top of the windsock open.

Koala Wind (17)

Next, thread in the provided string from which it will hang, and tie into a knot. Finally, fold ribbons in half, slip through a slot in the wind sock’s bottom edge, and knot. This was great for shoe-tying practice!

Koala Wind (18)

The windsock needed to be tested in front of the fan, of course.

Koala Wind (20)

We found a place to hang it, and then just needed to add the final project to tie it all together… A Weather Chart!

I’ve been wanting to make Travis a weather wall calendar for some time, so was delighted to find this was the crate’s third project. This one was super simple: a chart with re-useable stickers showing weather and temperature with simple pictures for pre-readers to understand.

Koala wind (10)

Hang it to the wall with the provided suction cup. Travis was delighted! He ran to the window (“We do this in school too!”) to determine which sticker to use, and then asked if he could just play with the stickers. Soon he was making up silly combinations like a sunny day with lightning.

Koala wind (13)

There is also a round sticker to move along the Beaufort scale each day, depending what kids observe on their windsock.

Koala wind (14)

For some additional “windy” fun, we did a variation on painting through straws, using our lungs as the wind power. This time, Travis squirted big blobs of paint onto paper first.

Koala Wind (21)

He loved watching the way he could make the colors move and mix.

Koala Wind (22)

And got a kick out of the mess I made!

Koala Wind (23)

Finally, the booklet provides prompts for questions to get your kids talking even more about wind and weather. What do they see moving in the breeze outside? What kinds of things can the wind do? What’s your favorite kind of weather? Enjoy the exploration!

Make a Rain Meter

rain-meter-2

Rainy March sure came in like a lion, and seems to be ending the same way! Meaning it was the perfect time to make a rain meter! Travis wasn’t especially interested in making this craft (another clever suggestion from High Five magazine), but he sure loved the results!

To make the rain meter, we laid a fork along a piece of masking tape and made 5 notches. Label them 1 through 5, having your child count along with you.

rain-meter-1

Place the tape on a plastic cup, then secure the cup some place outside where rain will fall. We taped ours quite securely to the balcony because our rain storm involved a lot of wind!

The next morning, we could check on our results. When I told Travis the liquid in the cup was rain, he was amazed. “Can I hold it?” he asked. “Can I touch it?” I have to admit, I’ve never put my fingers in a cup of collected rain water either, and it was neat to think that they started out as individual rain drops!

Rain Meter (4)

After the first storm, the rain was just above our 1 mark. We intend to keep collecting through upcoming April showers to see how much spring rain we get!

Rain Meter (3)