
There’s a little bit of magic to this craft, the idea that flowers can sprout from paper. It’s a multi-day project, but you only need a little time each day to make the magic bloom.
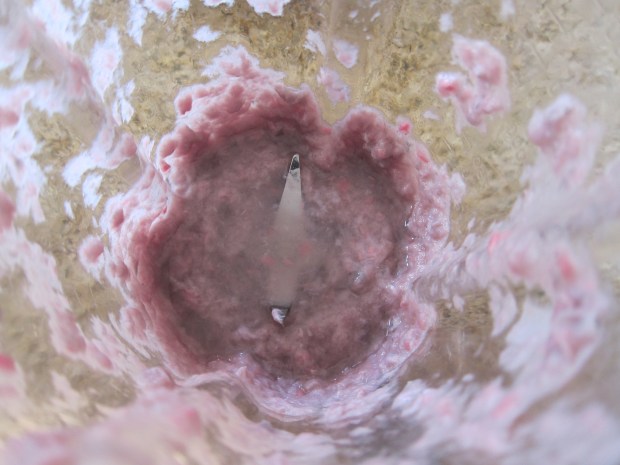
The instructions I had found online for making the paper mush were a bit vague, but worked just fine, so here’s all you do: Fill a blender about halfway with torn newspaper and scrap paper (we used pink construction paper scraps, which gave our final product a nice pink hue). Cover the paper mixture with hot water, then process until you have a mush. Travis loved the novelty of paper in a blender instead of food!
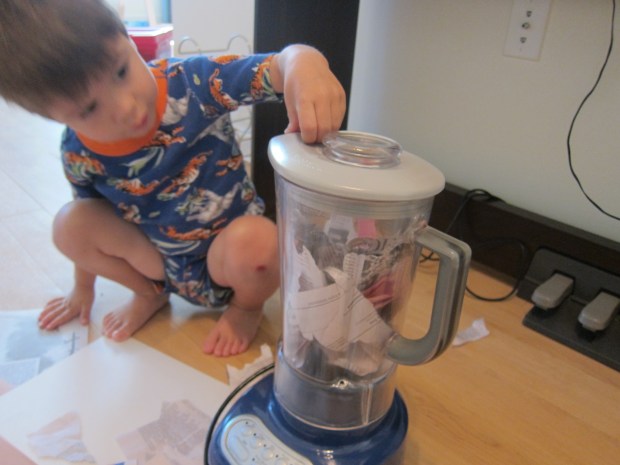
Caution: Make sure to remove the center piece of your blender’s lid and cover with a paper towel while blending so steam can escape, otherwise you’ll end up with hot water splatters. Let the mixture stand for about 15 minutes.
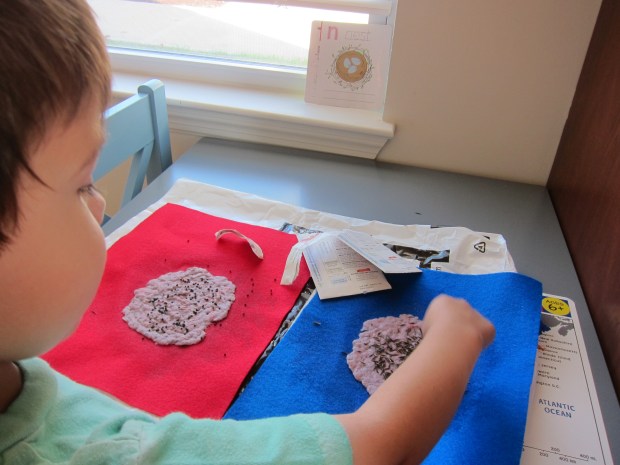
The next step is messy, so cover your work surface (I used a large shopping bag). Place two pieces of felt on top of the bag. Scoop the mush onto the felt, and have your child help you smoosh it into a very thin layer.

Then it was time to sprinkle on our flower seeds! We had two very different kinds – cosmos which looked almost like large cumin seeds, and larkspur, which looked more like hard black poppy seeds. I don’t do much gardening, so examining the seeds was fun for Travis and me both!
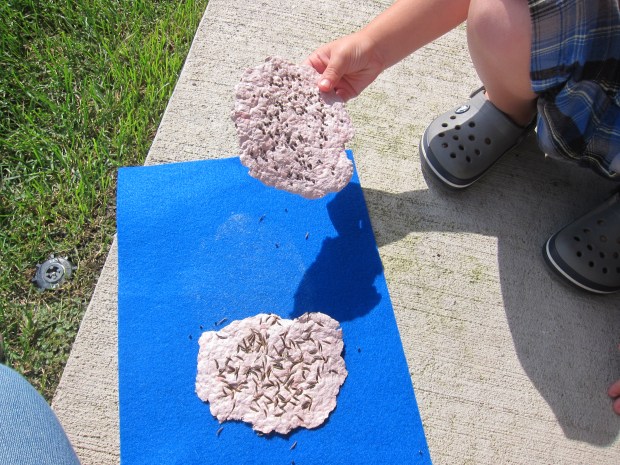
Leave the mixture to dry on the felt. After the first day, I carefully flipped each piece over, then left them to dry some more. By now I could consolidate onto one piece of felt.
After two days, the mushy paper will be completely dry. Remove it from the felt and cut into shapes if desired – hearts felt just right!
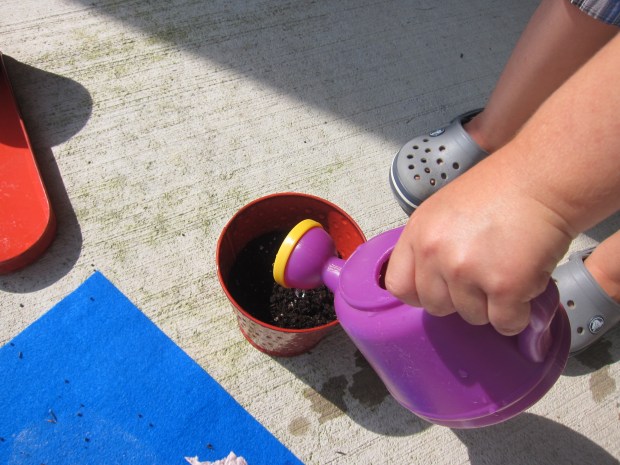
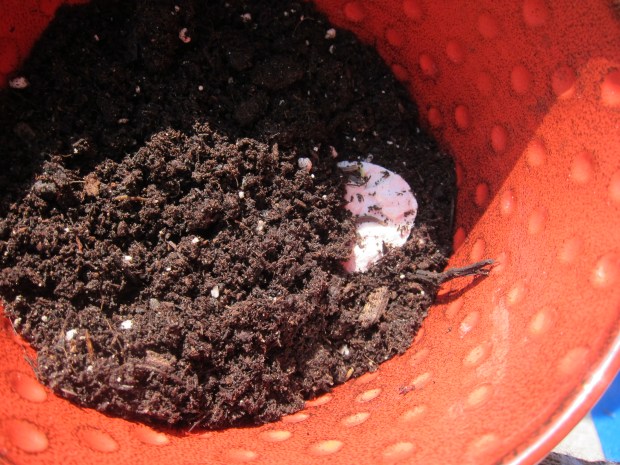
We headed outside with pots and soil, and planted our paper. Travis loved watering them!
Now we just need to sit back and wait for the flowers to grow.
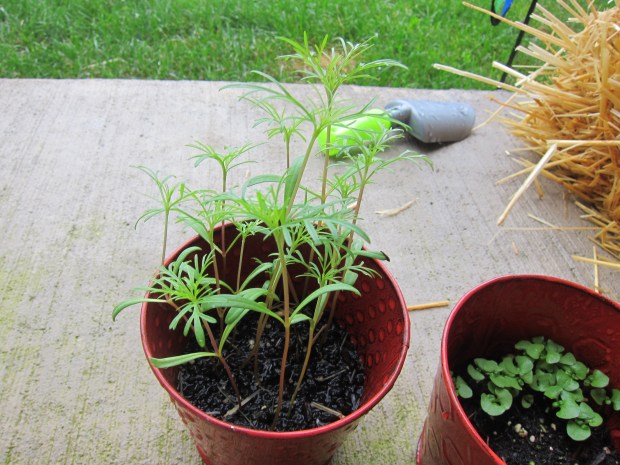
Update: It worked! Here are some beautiful shoots at day 5.

Here is the growth after a couple of weeks:

One thought on “Plantable Paper”