Paint Popsicles

Popsicle Painting (7)

For a cool toddler art project, today Veronika and I played around with paint popsicles in a few different ways. In retrospect, I would have waited on this activity until she was a little older, since today she really just wanted to eat a popsicle! But we did get in a little art, too.

The night before, freeze two kinds of “popsicles”. I poured tempera paint (in pretty metallic colors) into two popsicle molds, and then filled two more with plain water. Insert the sticks and freeze overnight.

The next morning, we headed out to the patio, already scorching hot!

Popsicle Painting (3)

We started with the plain ice popsicles, which was when I realized we were going to have a bit of a problem. Veronika spotted the popsicle molds, and wanted a taste! This didn’t matter with the plain water, but I worried what would happen when we got to the paint version.

Popsicle Painting (4)

Luckily, I was able to divert her attention to the craft: sprinkle a little powdered paint on a piece of poster board or thick paper. Use the ice “popsicle” to turn it into beautiful swirls of paint. She watched for a few minutes before joining in (and I did still need to deter a few licks).

Popsicle Painting (5)

As a result, I only briefly showed her the “popsicles” made from actual paint. These are similar in concept, except now there’s no need for powdered paint. Simply swirl the icy paint over thick paper. The more it melts, the more paint gets left behind.

Popsicle Painting (9)

But with her temptation to eat them, I detoured to a version she would be less likely to try to devour. We sprinkled powdered paint onto paper in a container small enough for her to hold in her hands.

Popsicle Painting (1)

Add ice cubes and show your toddler how to shake it side to side. Again, the ice melts and leaves pretty swirls of color behind.

Popsicle Painting (2)

As you can guess, this activity was short-lived, but fun nonetheless!

Popsicle Painting (6)

Circular-Loom Woven Trivets

Woven Trivet (7)

I intended for this old-school camp activity to help fill a Camp Mom morning at home, but it required more dexterity than Travis could master as a six year old. Still, both kids adapted the materials involved to play in their own way, keeping us all busy for an hour! I guess that makes it a Camp Mom success.

For this camp-inspired weaving project, you’ll need an 8-inch embroidery hoop. Separate the two pieces, and tie 6 pieces of string to the inner hoop so they form a starburst. Replace into the outer hoop and tighten.

Woven Trivet (1)

Now start at the center and begin weaving yarn, alternating over and under your starburst threads. I realized right away that this would have been a) quicker and b) much easier with a chunky thick yarn. So after Travis tried his hand at it a few times, I told him I would take over. Our thin yarn took quite a long time to fill up the hoop!

Woven Trivet (2)

But while I was busy weaving, Travis took the leftover ball of yarn and created an imaginary game involving monsters with tentacles, and pieces of yarn snipped all over the floor.

Woven Trivet (4)

Meanwhile little sister Veronika loved pretending her doll was dressed up in extra strands of yarn! So everyone was happy.

Woven Trivet (3)

To finish the project, keep weaving yarn, in alternating colors, until your trivet reaches desired size. Every time you switch colors, simply leave the loose threads hanging out the back.

Place the finished trivet over a piece of felt and trace. Cut out the felt, then use hot glue or fabric glue to attach to the back of your trivet, tucking in any loose pieces of string.

Woven Trivet (5)

Cover with parchment paper and a heavy book until the glue has dried completely, then snip the trivet from the strings holding it on to the inner hoop.

Woven Trivet (6)

Ours turned out to be just the right size for either a small pot or tea mug!

Bubble Wrap Printing

Bubble Wrap Printing (7)

Extra bubble wrap is always great for play, and today we even turned it into part of an art project.

To start, I taped down various pieces of bubble wrap to the craft table securely. We’ve gotten a nice variety in packages lately, meaning our bubbles ranged from the very tiny to puffy big ones.

Bubble Wrap Printing (1)

I then set out cups of paint for Veronika (in shiny metallics just for fun).

Bubble Wrap Printing (2)

She trotted over immediately and started painting. “Ooh, pink! Ooh blue!” she said as she worked.

Bubble Wrap Printing (3)

I could tell she enjoyed the bumpy feeling of running her brush over the bubbles. She stopped now and then to pop some, too.

Bubble Wrap Printing (5)

Once our bubbles were covered in a nice layer of paint, I pressed a piece of poster board on top, then lifted it up to show her the print. “Bubbles!” she said with delight.

Bubble Wrap Printing (8)

We repeated the process so we ended up with two neat prints. This is a simple craft, and perfect for toddlers.

Bubble Wrap Printing (4)


Little Passports: South Africa

LP South Africa (17)

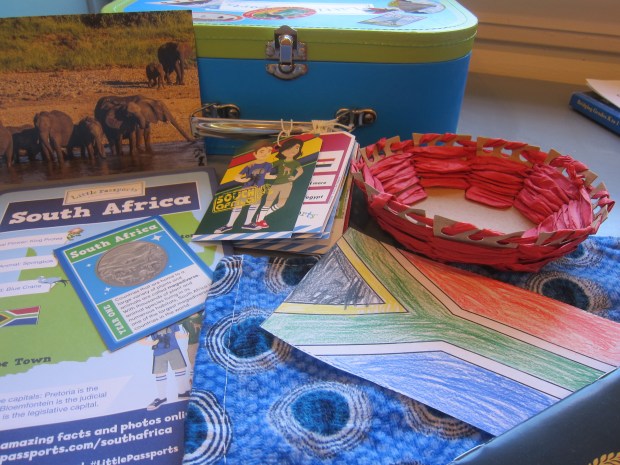
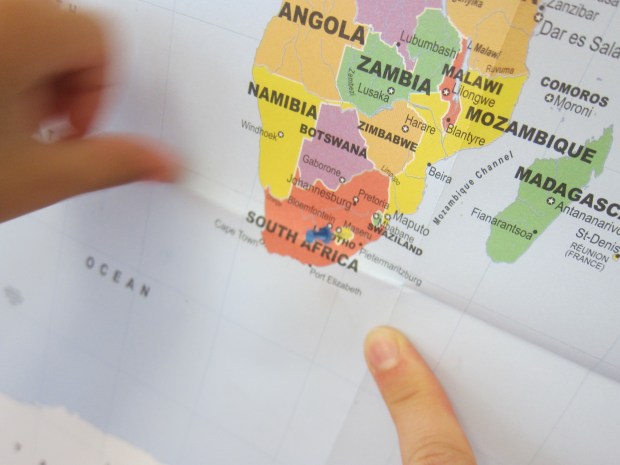
There was lots to like in the latest from Little Passports, all about South Africa. With an emphasis on the country’s amazing animals and safaris, there was also plenty to learn about the country’s history, crafts, archaeological significance, and natural wonders.

LP South Africa (8)

Travis enjoyed this kit’s booklet, including a color activity to learn some Afrikaans, a bit about Nelson Mandela, and a tricky safari animal count! It was all quite doable for a 6 year old, with grown-up assistance.
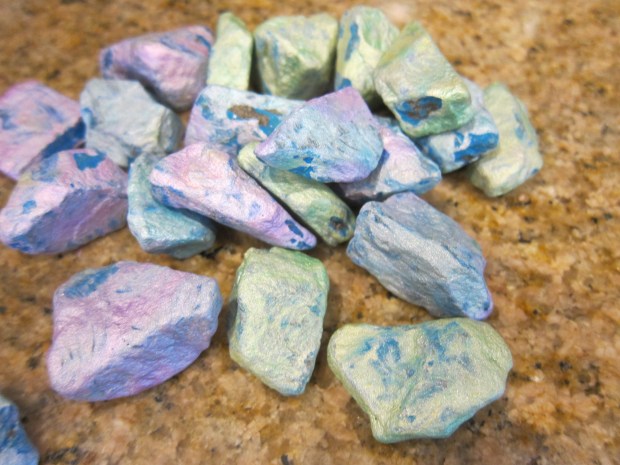
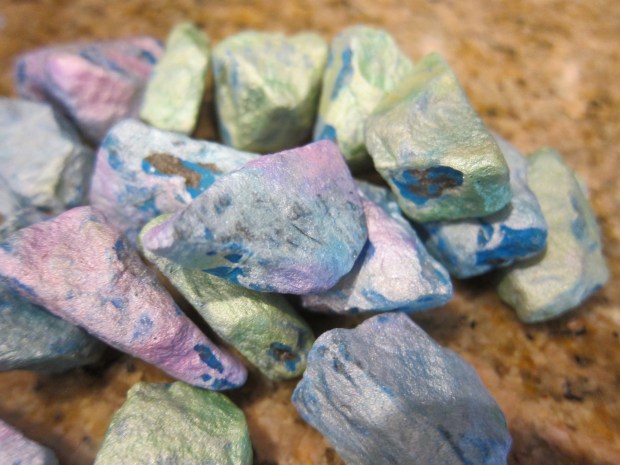
LP South Africa (14)

Souvenir:

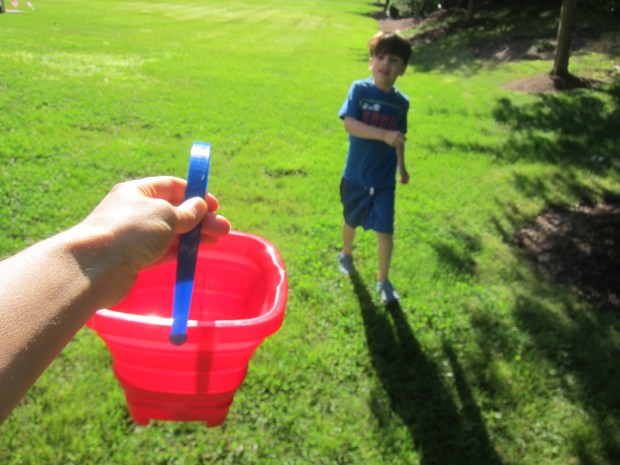
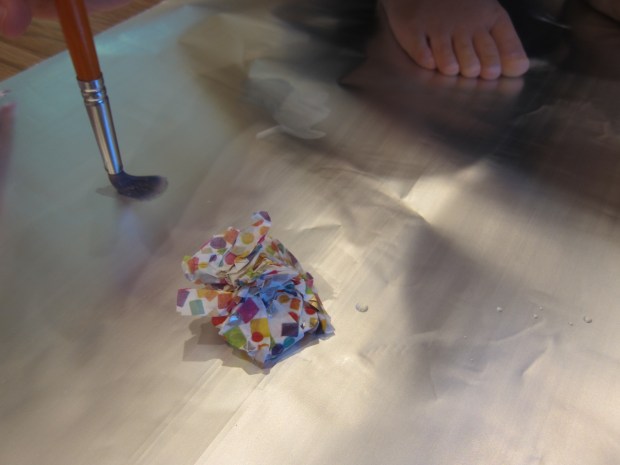
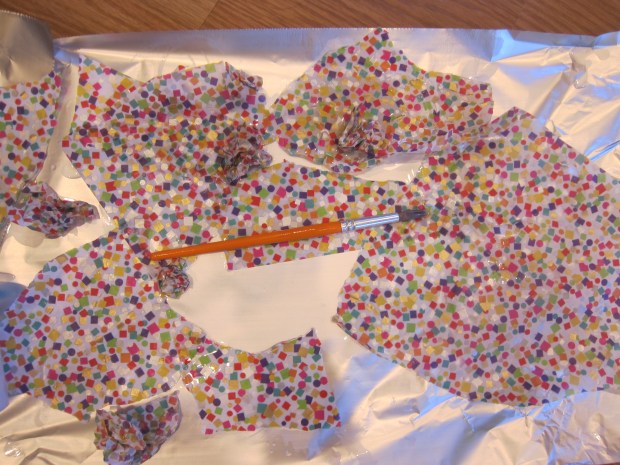
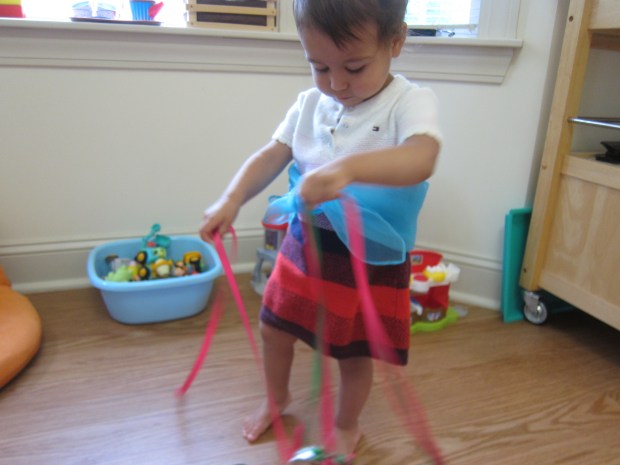
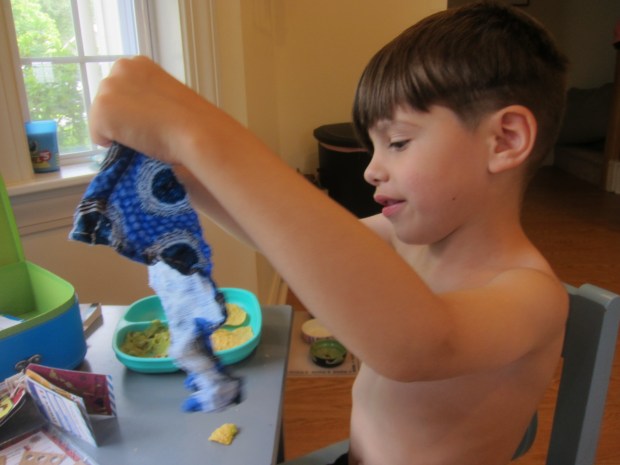
This month’s package from “Sam and Sofia” included not one but two souvenirs. The first was a dehydrated washcloth in the shape of an elephant. Travis was agog with the way it expanded into a square after we placed it in a dish of warm water, and it featured a beautiful indigenous print. He seemed so touched by the gift!

LP South Africa (6)

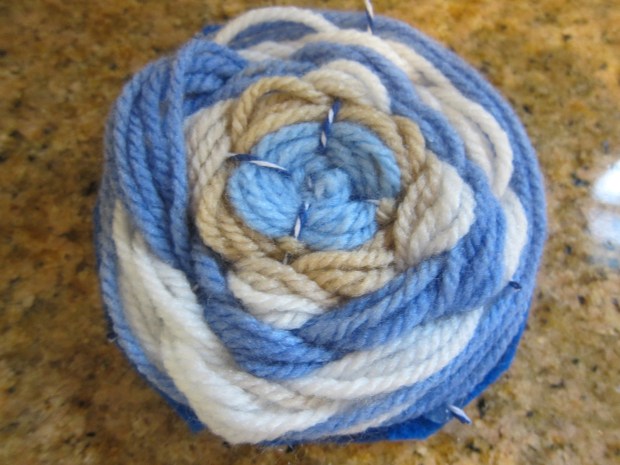
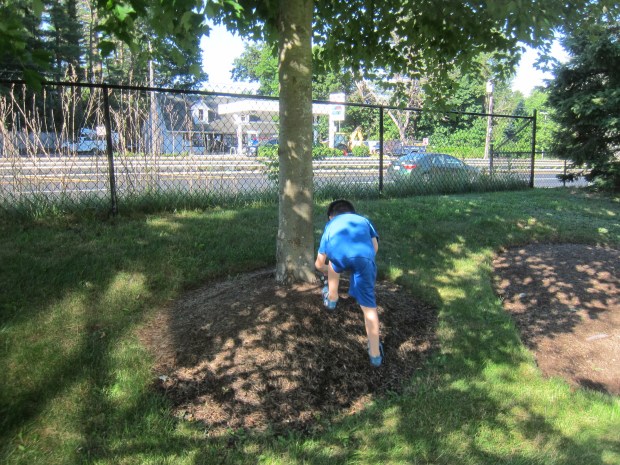
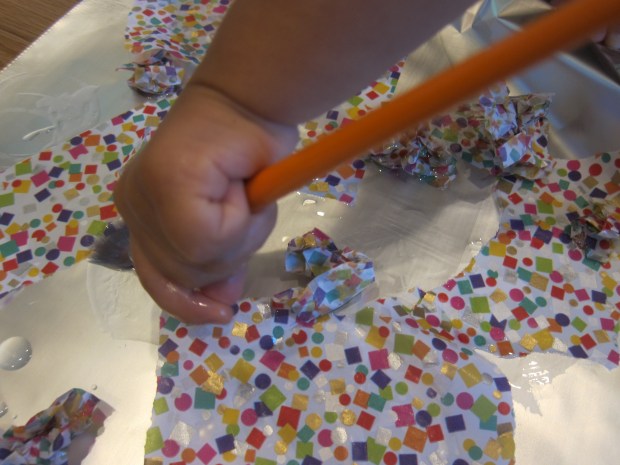
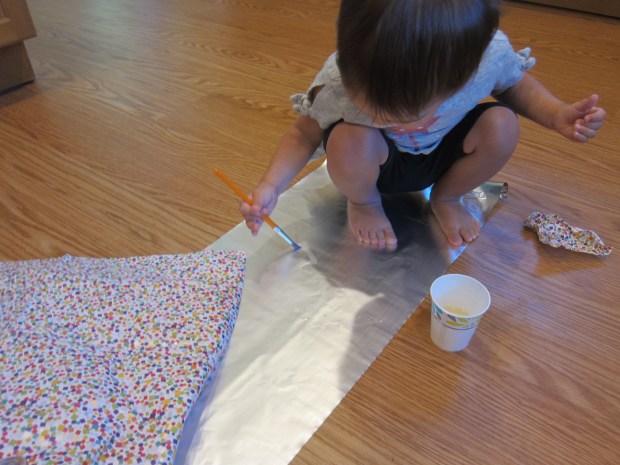
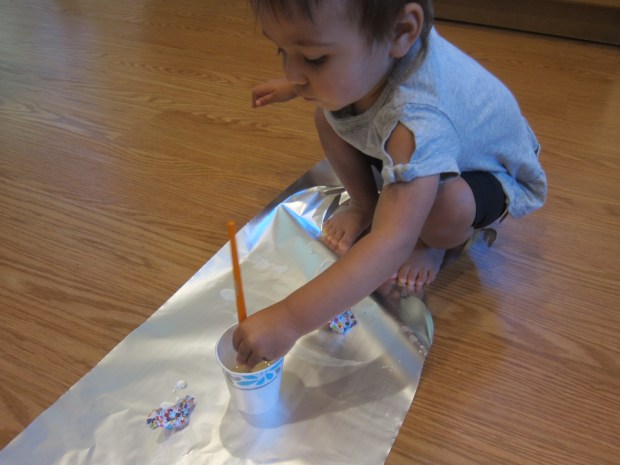
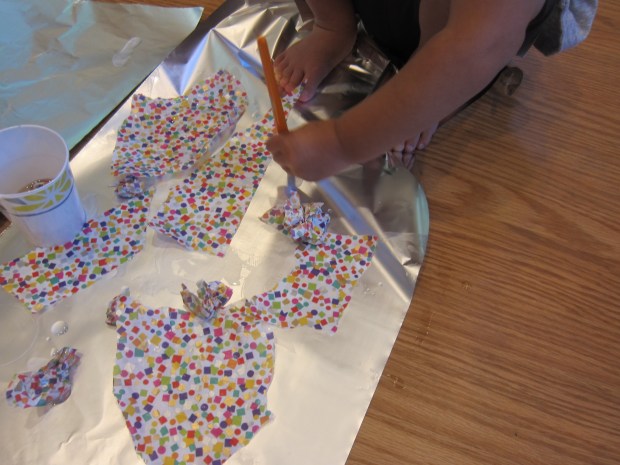
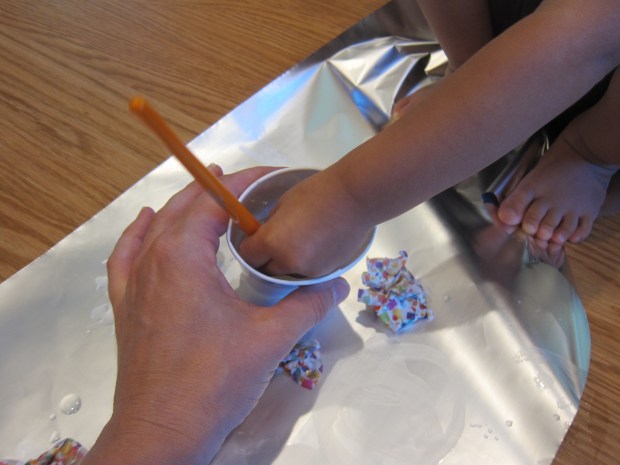
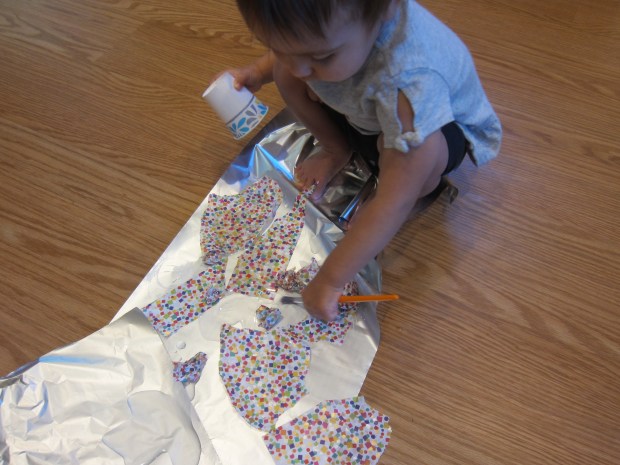
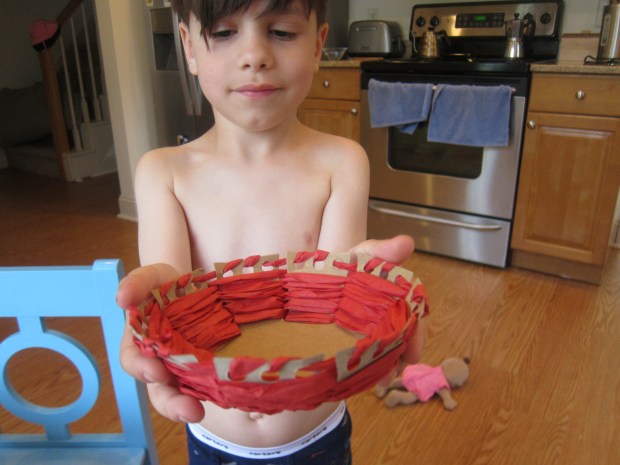
The second souvenir was more of a craft, a basket to weave. Travis did the first round of weaving the provided raffia around the cardboard frame, though I did then jump in to help out (there was a lot of raffia!).

LP South Africa (10)

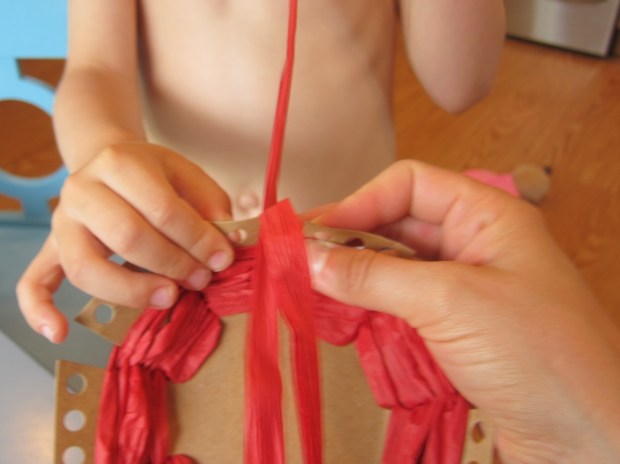
As I wound, he was fascinated to learn that many cultures still make baskets like this, and by the idea that in some places you can’t just go to a store to buy a basket. He wanted to know what these villages might look like, or how the doors and houses would look.


LP South Africa (11)

Further Activities:

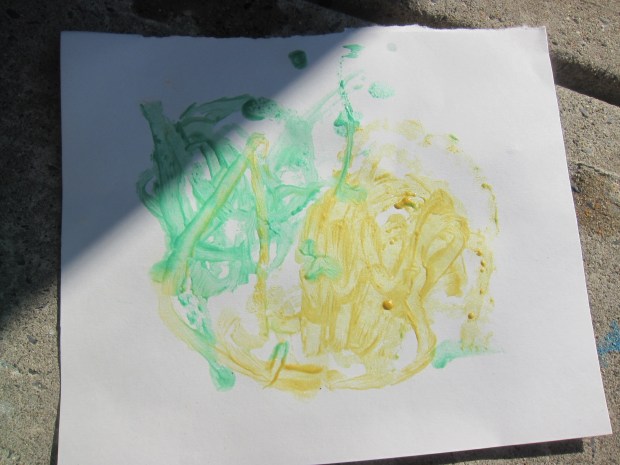
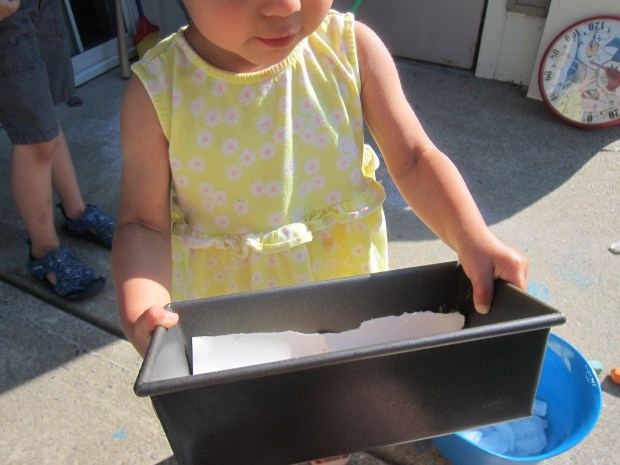
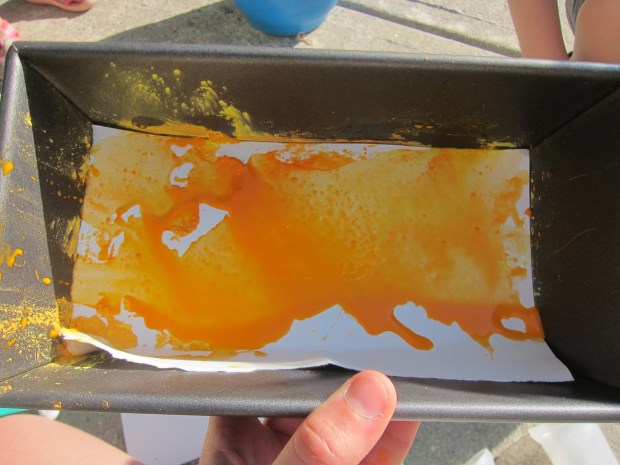
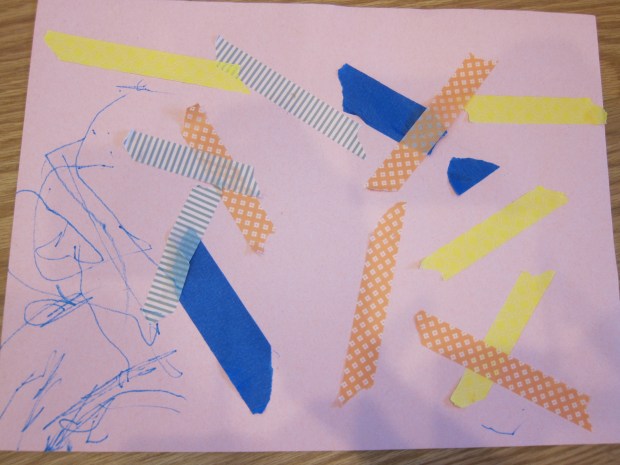
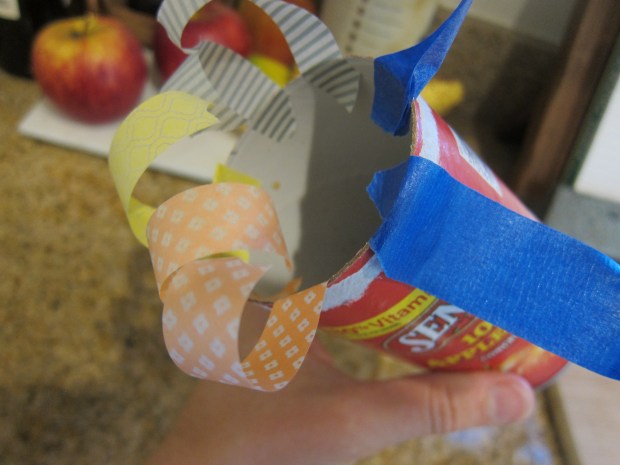
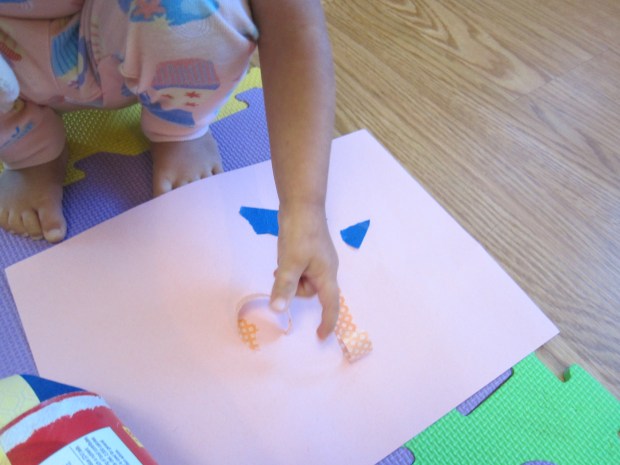
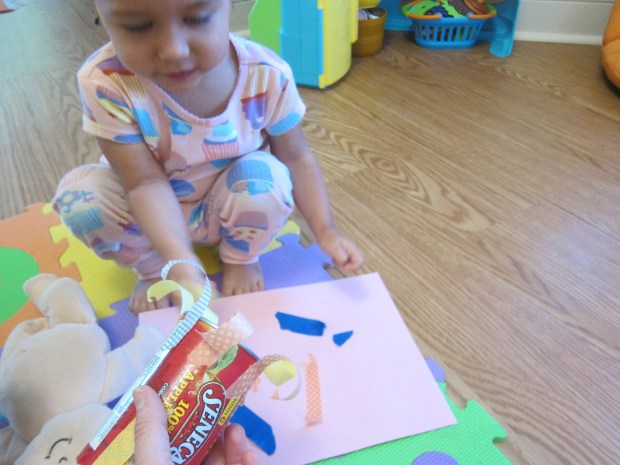
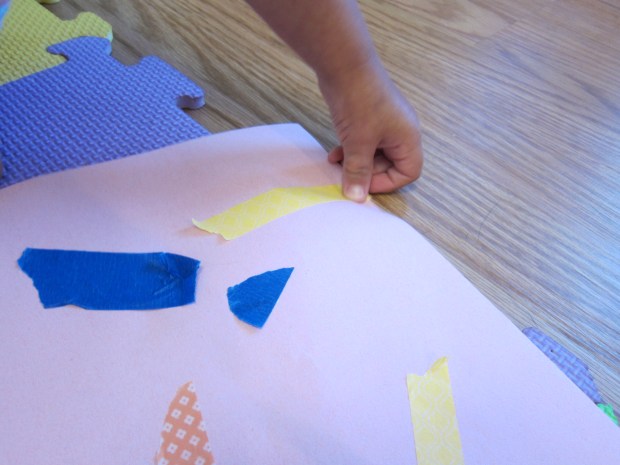
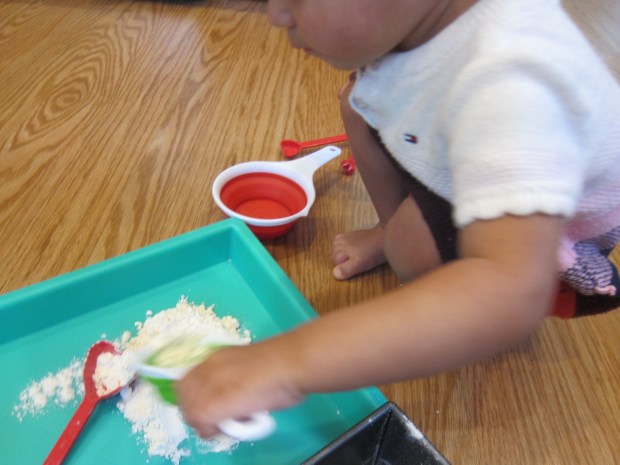
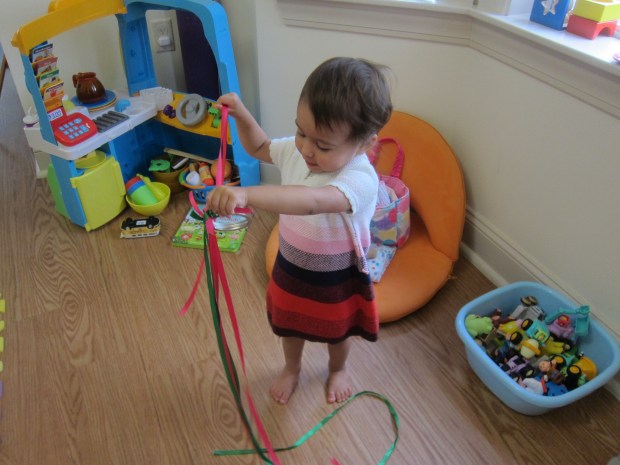
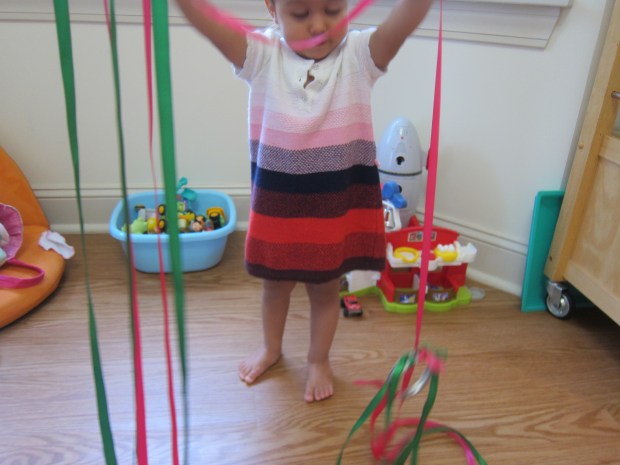
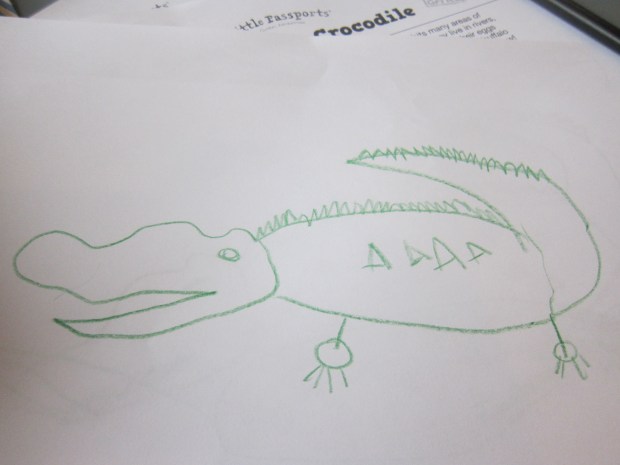
There were fewer crafts suggested in the booklet and online than with previous countries we’ve explored, but Travis enjoyed learning to draw a crocodile step-by-step, a pattern activity about traditional Zulu baskets, and coloring in the country’s flag for his garland.

LP South Africa (16)

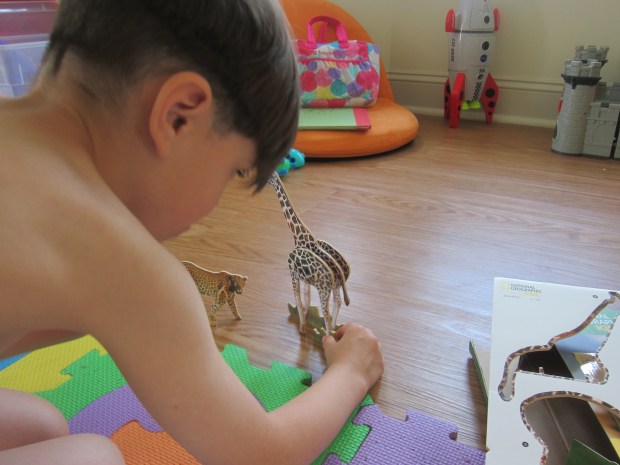
Finally, I surprised Travis with this month’s add-on: 3-D puzzles of safari animals. He not only loved piecing together the giraffe, lion, and other animals the first time through, but then wanted to take them apart and do it again.
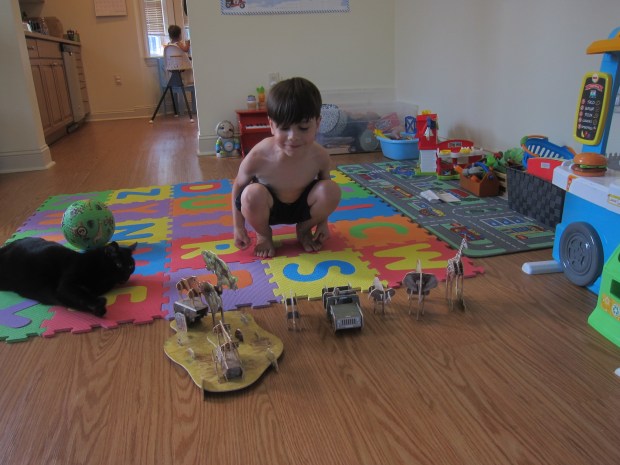
LP South Africa (3)

And then again!

LP South Africa (4)

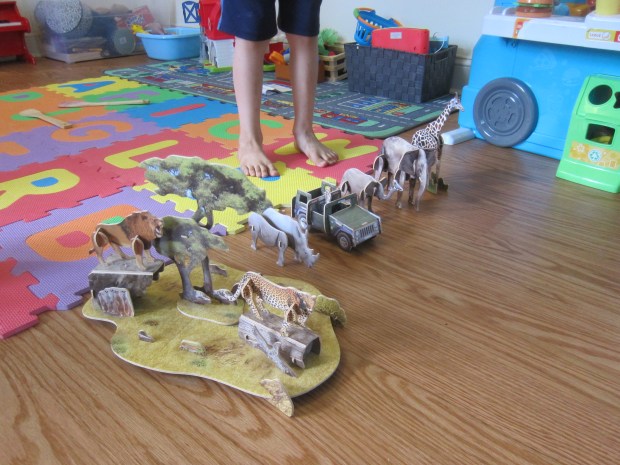
As a bonus, the puzzle comes with an informative book from Nat Geo kids. There was true quality to this product, an excellent add-on option from Little Passports.

LP South Africa (1)

Recipe:

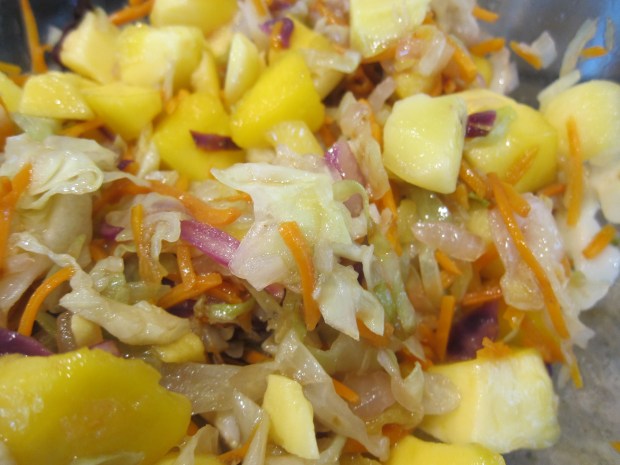
Now all that was left was to explore the country with our bellies! We learned that this particular recipe is the national dish of South Africa, with regional variations throughout the country. Unfortunately, as with previous recipes from Little Passports, it wasn’t very kid-friendly either in preparation or taste (this one is spicy!).

Bobotie (1)

But Travis enjoyed helping shred the apple, and bravely gave it a taste test before deciding it had too much curry powder.

Ingredients:

  • 2 slices of bread
  • 3/4 cup plain almond milk
  • 1 tablespoon Earth Balance butter
  • 2 tablespoons canola oil
  • 1 and 1/2 cups chopped onion
  • 2 tablespoons curry powder
  • 1 tablespoon brown sugar
  • 1 teaspoon salt
  • 2 (12-ounce) packages meatless crumbles
  • 2 Ener-G eggs
  • 1 peeled and grated apple
  • 1/2 cup raisins
  • 1/4 cup blanched almonds
  • 6 bay leaves
  1. Crumble the bread into a small bowl and cover with the almond milk. Let stand for 10 minutes.
  2. Meanwhile, heat the butter and canola oil in a large skillet over medium heat. Add the onion and cook for about 5 minutes, until softened.
  3. Stir in the curry powder, brown sugar, and salt. Add the meatless crumbles into the pan, breaking apart into pieces, and cook for 5 minutes, until browned. Remove from heat and set aside.
  4. Meanwhile, remove the bread from the bowl of milk, squeezing out the excess milk. Set the bread aside, and whisk the Ener-G eggs into the milk.
  5. Add the bread crumbles, grated apple, raisins, and almonds to the skillet. Spoon the whole mixture into a 13×9-inch baking dish. Pour the milk mixture on top, and top with the bay leaves.
  6. Bake at 350 degrees F for 30 minutes.

Bobotie (2)

Rocks-to-Gems Treasure Hunt

Rocks to Gems (1)

Here’s a fun at-home camp activity, if your kids can’t get to real camp this summer! It starts as an art project, and ends with a hunt outside.

To start, we gathered lots of tiny rocks, and then used shiny metallic paints to turn them into gems. Because Travis doesn’t love to get his fingers messy, the painting did end up being mostly a mommy step. But he loved the shiny blues and greens and purples we had as a result.

Rocks to Gems (2)

While he was distracted, I hid clusters of the “gems” around the yard.

Rocks to Gems (4)

Little sister Veronika was my accomplice to hide them! Then it was time for a treasure hunt.

Rocks to Gems (3)

Veronika is of course too young to get in on the hunt in a truly competitive way, but if you’re playing this game with more than one big kid, you can assign point values for different colors, and make it a true competition.

Rocks to Gems (7)

Travis, meanwhile, enjoyed the hunt and the satisfaction of finding all the sparkling “gems” and bringing his treasure home.

Rocks to Gems (9)

These were so pretty we decided to leave one out as a lucky find for a neighbor!

Rocks to Gems (10)

Tape Collage

Tape Collage (5)

If your toddler is at all like Veronika, then he or she loves tape. Sticking it onto things, making roads from it, you name it. The only problem? She gets impatient waiting for me to tear off a new piece for her!

Today, to head off the problem, I made her a tape holder of her very own. I used an empty frozen juice can, which are nice for kids because they have no sharp edges. Any similar can or container would work fine. I stuck pieces of colorful tape all around the rim, using tape with different textures, such as washi tape in several colors, masking tape, and duct tape.

Tape Collage (1)

Then I gave Veronika her new tape dispenser and a piece of construction paper, and it was time to create.

Tape Collage (2)

She looked so pleased that she could pull the pieces off solo! Occasionally she still needed a little grown-up rescue when a piece of tape get stuck on her fingers.

Tape Collage (3)

She concentrated hard on where each strip of tape should go on her paper, and then she jumped up and declared, “Markers!” I love that she had decided all her on her own what her artwork needed next.

Tape Collage (4)

A little blue marker and her masterpiece was finished.

Mango Cole Slaw

Mango Coleslaw alt

Mango adds a fun tropical note to this summery side dish. If your kids are older, you can prepare it raw like a traditional coleslaw. I like to cook the cabbage mixture first, though, so it’s easier for my toddler to chew. For an added nutrition boost, stir in chopped collard greens, too.

Ingredients:

  • 5 cups packaged coleslaw mix
  • 1/4 cup chopped red onion
  • 3 cups chopped mango
  • 2 tablespoons olive oil
  • 1 tablespoons balsamic vinegar
  • 1 tablespoon agave nectar
  1. Heat a large skillet coated with cooking spray over medium heat. Add the coleslaw mix and red onion; cook for about 10 minutes, until tender. If desired, add the mango in the last 5 minutes of cooking.
  2. Combine the coleslaw mixture with the remaining ingredients in a large bowl, tossing to coat. Chill until ready to serve.

Mango Coleslaw

Tissue Paper Collage

Tissue Paper Collage (8)

You won’t get a lasting piece of artwork with this toddler project, but you will introduce your little one to interesting materials and novel methods of making art!

First, lay a long sheet of aluminum foil down on the ground. This immediately caught Veronika’s attention, and she wanted to walk across the shiny sleek surface.

Tissue Paper Collage (1)

Then I gave her a little cup filled with oil. Baby oil would work well, or any neutral kitchen oil like canola. I showed her how to use a paint brush to smear this on the foil.

Tissue Paper Collage (4)

I started tearing bits of tissue paper for her (although your toddler might prefer to tear these him- or herself!), and showed her how it instantly stuck to the oil on the aluminum.

Tissue Paper Collage (2)

She liked sticking them down and picking them back up again, and looking at the smears of oil left behind.

Tissue Paper Collage (6)

Trial and error showed that flat pieces of tissue paper adhered to the foil much better than crumpled pieces, although the crumples did add fun texture.

Tissue Paper Collage (5)

She also loved dropping bits of the crumpled tissue in her cup of oil and stirring them around!

Tissue Paper Collage (7)

In sum, there was lots to like about this one, both in terms of texture and creativity.

Tissue Paper Collage (9)

Make Your Own Reading-Inspired Activity

MYO Reading Activity (1)

I am loving storytime with Veronika these days; at long last she’ll sit in my lap and snuggle for a story (although she still prefers to “read” solo!). One other way to keep her engaged in a book is to add a hands-on element, bringing the story to life. Books about food are especially fun for this, so here’s how we played today!

We started out with a read of Blueberries for Sal, one of my personal favorites. I gave Veronika a plastic cup and some blueberries, intending for her to ka-plink ka-plank ka-plunk along with the book. Lots of dumping and pouring of blueberries, ensued!

MYO Reading Activity (2)

I had enough extra berries on hand that my intention was to make blueberry muffins thereafter, cooking in the kitchen just like Little Sal and her mother. But a certain big brother ate all the blueberries!

MYO Reading Activity (3)

Oh no! I had already promised the kids muffins, so I searched online for a recipe that was quick and used only pantry staples. Veronika loved scooping flour and spices with a set of kitchen utensils while I did the real baking.

MYO Reading Activity (5)

Well, it turned out these last-minute muffins were so good that the kids delighted in running back and forth from living room to kitchen for bites with huge grins on their faces, while shouting out, “Mama Moose’s Muffins!”

MYO Reading Activity (8)

That made us think of another kiddie lit classic, If You GIve a Moose a Muffin. So we read that book over our muffin snack!

MYO Reading Activity (7)

As a result, here is my recipe for “Mama Moose’s Muffins”, which might just become a classic around here.

Ingredients:

  • 3 and 1/2 cups flour
  • 1 and 1/3 cups sugar
  • 4 teaspoons baking powder
  • 1 teaspoon baking soda
  • 1 teaspoon salt
  • 1 and 1/2 teaspoons cinnamon
  • 1 teaspoon nutmeg
  • 2 tablespoons apple cider vinegar
  • Scant 2 cups plain almond milk
  • 1/2 cup melted Earth Balance butter
  • 2 Ener-G eggs
  • 2 teaspoons vanilla extract
  • 2/3 cup raisins
  1. In a large bowl, combine the flour, sugar, baking powder, baking soda, salt, cinnamon, and nutmeg.
  2. Pour the cider vinegar into a liquid measuring cup, and add almond milk to equal 2 cups. Let stand for 5 minutes. Add the almond milk mixture to the dry ingredients, along with the melted butter, Ener-G eggs, and vanilla. Stir in the raisins.
  3. Divide the mixture evenly among 12 jumbo muffin cups coated with cooking spray.
  4. Bake at 350 degrees F for 30 minutes, then transfer to a wire rack to cool.

MYO Reading Activity (6)


Dance Ribbon

Dance Ribbon (6)

This easy dance ribbon made the perfect rhythmic accessory for Veronika’s at-home music class today! I put it together just before class, and she continued to play with it long after the Zoom session had ended.

First, tie lengths of colorful ribbon to a ring that your toddler can easily hold. I used a canning ring for this, but a shower curtain ring or even key chain would work, too!

Dance Ribbon (1)

I alternated strands of green and pink ribbon. You can make your dance ribbon with one color, two, or a full rainbow!

Dance Ribbon (7)

I handed the ring to Veronika and showed her how to wave it through the air to the rhythm.

Dance Ribbon (3)

A lilting, slow tune felt just right for making big beautiful ribbon circles. Your toddler can take it from there!

Dance Ribbon (5)

She loved waving the ribbons around and dancing with them, and requested a tutu to be a ballerina!

Dance Ribbon (9)

She also later found other uses for it, like pretending it was her doll’s swing on the playground! I always love watching the way toddlers can invent worlds of imagination from just a few simple materials.

Dance Ribbon (8)