Smokey Bear

Smokey Bear (9)

Heading in to summer, it was fun and informative to lead Travis through a lesson on Smokey Bear and outdoor fire safety today. This little lesson plan was the kick-off to Travis’s “Edible Elements” kit from Raddish Kids; we’ll soon be making recipes that rely on elemental power (think fire and ice!) during preparation.

But first up: the fire safety lesson. I provided Travis with pictures on index cards as we talked about safe ways to use fire, both indoors and out (the oven, a campfire). Older kids can come up with a list without this parental prompt.

Smokey Bear (1)

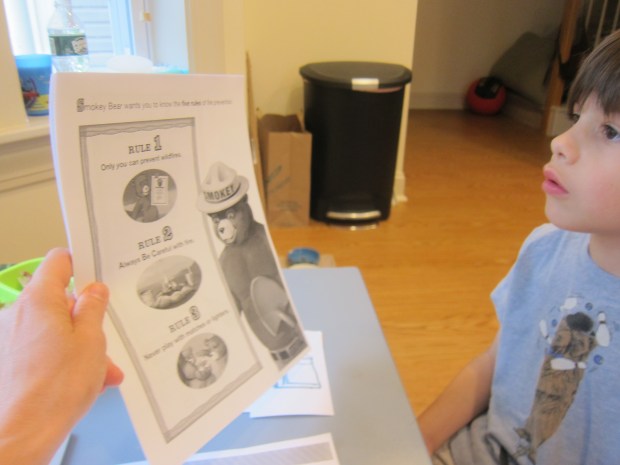
We then watched a video from Smokey Bear, and I read facts about Smokey’s origins. Turns out he was based on a real rescued cub!

Smokey Bear (4)

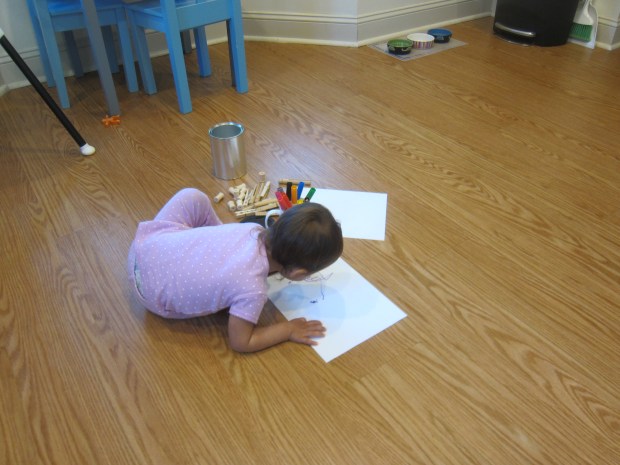
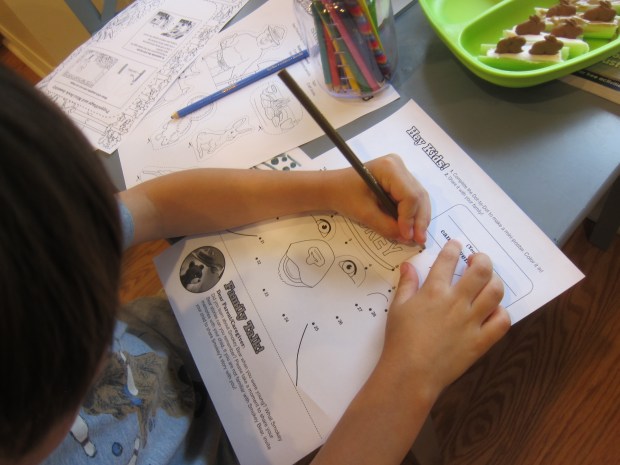
Travis enjoyed activities including a dot-to-dot…

Smokey Bear (6)

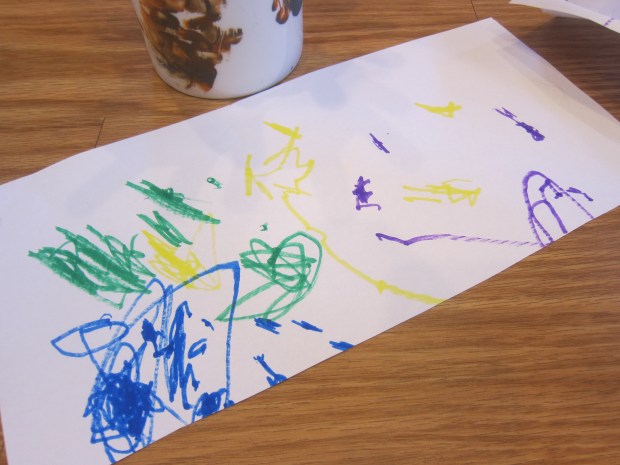
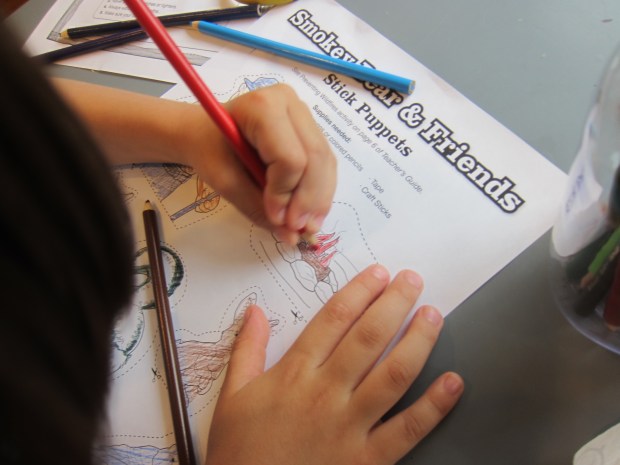
…and forest puppets to color.

Smokey Bear (8)

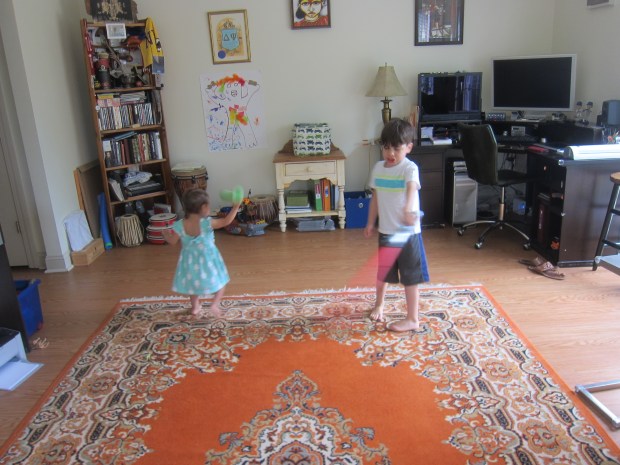
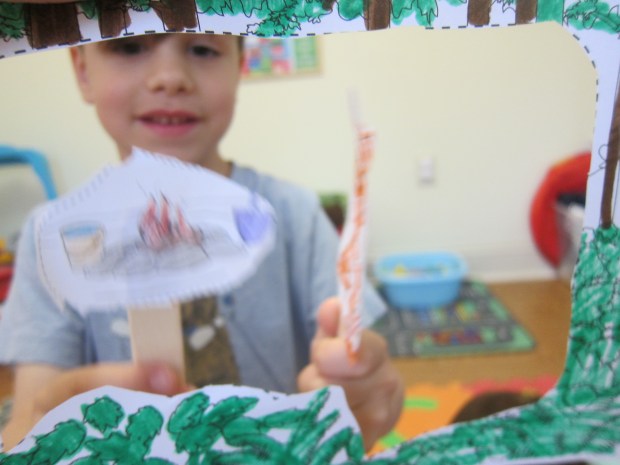
Then it was time for a puppet show! Oh no, Travis’s sneaky fox stole the water to douse the campfire. He then decided the skunk could spray it out! I loved that these puppets fired up (ha) the imagination and the learning.

Smokey Bear (10)

Big kids have so many options for extension here, whether creating their own PSA about fire safety on poster board or video; learning about the fire alert system; writing a letter to Smokey; or even learning about a historical fire like the Chicago Fire of 1871.

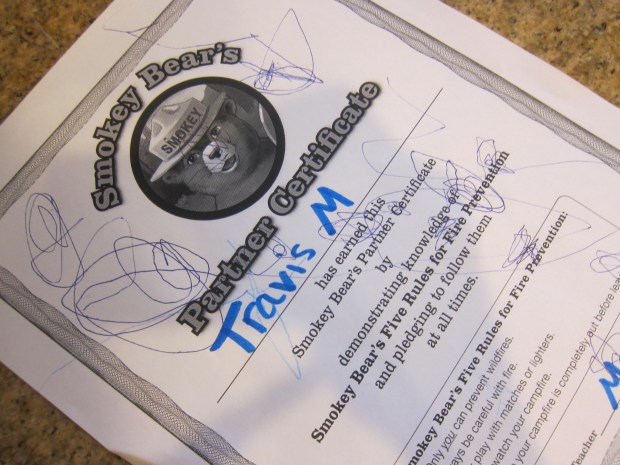
But for my kindergartner, we kept things light and not scary… and he earned a certificate to boot!

Smokey Bear (11)

Coffee Can Drum

Coffee Can Drum (11)

We have several real drums that Veronika loves to bang on, but toddlers are even happier when things are sized just right for them. You can easily make a tot-sized drum that’s perfect for toddler hands with a few upcycled items.

To make the drum, clean out a coffee can and remove any outer labels. From there, Veronika was in charge of decoration! I gave her paper and markers and she was so proud drawing.

Coffee Can Drum (1)

I love that she’ll tell me what she’s drawing (“triangles”, “ten little buses”), even if the resemblance between her words and her scribbles isn’t apparent.

Coffee Can Drum (2)

I then adhered her artwork to the can using contact paper.

Coffee Can Drum (5)

Use hot glue to attach the lid of the can. If you have a spare lid from a second can, you could add it to the bottom for a two-sided drum.

Coffee Can Drum (7)

We actually preferred leaving the bottom metal, because this meant she could alternate the volume of her drumming; soft on the plastic lid, loud and pingy on the metal. There was even a third alternative, at mid-volume, if she drummed on the middle of the can!

Coffee Can Drum (10)

For an at-home mallet, I used hot glue to insert the lead end of a pencil into a wooden craft spool. Again, just the right size for toddler hands.

Coffee Can Drum (6)

And it turned out that leftover spools were excellent for stacking!

Coffee Can Drum (4)

Veronika was clearly so proud of her little drum.

Coffee Can Drum (12)

We put on music and got jamming.

Coffee Can Drum (8)

Not a coffee drinker? Simply use an empty oatmeal container instead. Don’t have spools and pencils? Just use an empty toilet paper tube!

Coffee Can Drum (9)

Nature Soup Sensory Activity

Nature Soup (10)

Here’s a beautiful activity that will engage the senses and fire up the imagination, making it accessible for multiple ages. I told the kids they were going to open a nature restaurant on the back patio and serve up nature soup. Let the excitement begin!

First we needed to gather “ingredients” from all around the yard. I armed the kids with zip-top bags to put in any treasures they found. Veronika loved little flowers and bits of grass, while big brother Travis preferred large finds like pine cones and bark.

Nature Soup (1)

We’re ready!

Nature Soup (2)

Back on the patio, I had filled a storage bin with a shallow layer of water and added plastic plates, bowls, and spoons. We dumped in all the nature treasures and it was time to cook!

Nature Soup (4)

For Veronika, this was mostly a beautiful sensory experience.

Nature Soup (3)

She loved feeling the cold water and the texture of all the nature items, as well as smelling the sweet pine scents of the pine cones and needles.

Nature Soup (9)

It was great practice for her pouring and scooping skills. She even was scooping up bits of bark with a spoon and transferring to a cup so steadily.

Nature Soup (11)

For Travis, it was much more about imaginative play. He loved making me new “drinks” to try and even provided me with a stick “straw” in each cup.

Nature Soup (5)

He was so proud of his culinary creations!

Nature Soup (7)

Meanwhile Veronika was busily splashing in the water, simultaneously keeping cool and learning.

Nature Soup (8)

I would highly recommend this activity on any warm day.

Nature Soup (12)

Melty Masterpiece

Ice Block Paint (5)

Veronika has already used ice as a paint brush, so now it was time to use ice as her canvas! This is a fantastic art activity for outdoors on a hot day.

Overnight, freeze a cube of ice in a large plastic food container. In the morning, I simply popped out the cube and set it on a tray for Veronika, along with 3 colors of paint.

Ice Block Paint (1)

She immediately wanted to paint “all by self,” dipping her brush into one of the colors and watching it run over the ice.

Ice Block Paint (2)

The neat trick here is that the sun will work to melt the ice at the same time your toddler works to paint it, resulting in beautiful drippy colors.

Ice Block Paint (4)

She painted until it was completely coated in paint and gleaming.

Ice Block Paint (6)

It was fun to watch the paint run down the sides together!

Ice Block Paint (7)

We were curious how long it would take to melt completely, and left her melty masterpiece outside in the sunshine. After only about an hour, we had a peach-colored puddle instead.

Ice Block Paint (3)

An ephemeral but fantastic art project for toddlers.

Ice Block Paint (8)


Ice-Dyed Pillowcases

Ice Pillow (6)

I was trying to channel old-school camp with this craft today, although it was sort of a fail for Travis. But at least it got us outside in the morning sunshine in these weeks before real camps safely reopen!

The idea was to dye pillow cases with powdered paint and melting ice, putting the heat of the sun to work for us.

I placed a disposable aluminum tray on the patio (with a garbage bag underneath to catch any paint drips), and then placed a rack in the tray.

Ice Pillow (1)

Wet your pillowcase thoroughly, then ring out and place on the rack.

Cover the pillowcase with ice. We put on latex gloves (which the kids always think are hilarious to wear), and sprinkled the ice liberally with the powdered paint.

Ice Pillow (2)

As the ice melts, the color starts to run into the fabric. Travis thought this was neat to watch for about, oh, one minute.

Ice Pillow (3)

Then we got a bit impatient and folded the pillowcase over the ice so that the color transferred to other parts of the fabric, instead of waiting to dye it section by section.

I saw pictures of this craft where it looked more like deliberate designs had been made (i.e. geometric shapes), but I have no idea how this is possible. Perhaps by folding the pillowcase into a square or triangle, and letting color seep through all the layers? If you try, let us know how it turns out in the comments!

Ice Pillow (4)

Note: Because I didn’t want the paint to stay on the pillowcase, we used washable powdered paint. Be sure to use a fabric paint or permanent powder, if you want your design to last beyond the “camp” day.

Ice Pillow (5)

Paint with Spaghetti Brooms

Spaghetti Brooms (7)

The kids have payed with cooked spaghetti, but never before have we used it to paint. Veronika loved that these looked like miniature brooms!

To make a broom “paintbrush”, secure a bundle of uncooked spaghetti together with a rubber band near one end.

Spaghetti Brooms (1)

Cook the spaghetti bundles in boiling water, but use caution only to heat the bottom portion of the noodles, not the “handle”. I held on to the part with the rubber band so the rubber wouldn’t melt or singe, and let the “broom” tips soften in the water for only about 2 minutes. This is definitely a grown-up step, and make sure to avoid the steam. You can cook your noodles longer, but I knew Veronika would have an easier time painting if they were a bit firm.

Spaghetti Brooms (2)

Once cooled, I showed Veronika the brushes. She loved exploring them before there was even paint.

Spaghetti Brooms (3)

We then blobbed craft paint onto poster board, and I showed her how to “sweep” the color. My little happy helper took right to this version of painting!

Spaghetti Brooms (4)

She loved testing out the different bundles, swirling the colors, and more.

Spaghetti Brooms (6)

The individual noodles leave neat textured tracks through the paint, an effect even Veronika could master at 20 months.

Spaghetti Brooms (8)

A cute project, with surprisingly little mess!

Spaghetti Brooms (5)

Some Float, Some Don’t

Some Float (6)

When you’re toddler gets older, there will be no shortage of flotation experiments to try for early lessons on density. But for younger toddlers, you can simply introduce the concept of flotation with this simple game of observation. Some things go ker-plunk to the bottom of the water and some things float, and for now that’s all that matters!

I set out a shallow tray of water with a towel underneath for easy clean-up, and then pulled out a variety of objects.

Some Float (1)

Of course Veronika was immediately interested in everything in the pile, including a spoon, a clothespin, a plastic animal toy, a piece of sponge, a key, a wooden block, a comb, shredded paper, and more.

One by one, we dropped the items in the water.

Some Float (2)

“Will it sink or float?” I asked for each one. “It sinks!” I would say happily. Or, conversely, “It floats!” She parroted both these statements back to me, even though it was brand new vocab. But this is precisely how kids learn!

Some Float (3)

Then it was time just to let her explore the objects in the water. She loved squeezing the sponge pieces.

Some Float (4)

And crumpling the paper between her fingers until it disintegrated into our water.

Some Float (8)

The clothespin was fun to scoot around like a little boat.

Some Float (5)

And when she was done, I dumped the water in the sink and wiped the floor dry, and the game was complete!

Some Float (7)

Summer Barley Salad

Summer Barley

Juicy strawberries add the perfect summer touch to this easy salad.

Ingredients:

  • 2 cups cooked barley
  • 1/2 cup cooked and sliced green beans
  • 1/2 cup chopped strawberries
  • 2 sliced green onions
  • 1/4 cup olive oil
  • 2 tablespoons red wine vinegar
  • 2 tablespoons lemon juice
  • 1 tablespoon agave nectar
  1. In a large bowl, combine the barley, green beans, strawberries, and green onion, stirring to combine.
  2. To prepare the vinaigrette, whisk together the olive oil, vinegar, lemon juice, and agave. Drizzle over the barley mixture and stir to combine.

Staying Cool

Staying Cool (1)

We’re currently in the midst of a heat wave, and are looking for any way to beat the heat. To turn possible-misery into a teachable moment, today I helped Travis explore ways to keep cool, all parked right in front of a nice cool fan!

For this simple STEM experiment, we started out simply by turning on the fan and moving either closer to it or further away. I asked Travis which was cooler, and he rightly noted that being close was best.

Staying Cool (2)

Then we draped a wet paper towel over one of his arms. Now he alternated the wet arm and the dry arm in front of the fan. Which felt cooler? The wet arm!

Staying Cool (3)

So now we had some scientifically-backed ideas to cool down on a hot day: wind and water. We brainstormed other things that might keep us cool, too, like shade.

For a minute there, we beat the heat!

Just Dance

Just Dance (6)

We had some great musical fun today, starting with this prompt: what mood was Travis in, and what music food that mood. In other words, what was his current theme song? Though I might have hoped the answer was something joyful and bouncy (I’m always up for rocking out to Can’t Stop the Feeling) I was not at all surprised that Travis picked Duel of the Fates from Star Wars. Hey, it fit his mood!

Just Dance (3)

So we got the music going and I challenged Travis to come up with two dance moves, one using just his hands, and one using just his feet. We soon had a little arm roll followed by a kick for 4 beats.

I encouraged him to think of the next steps. We talked about the term “choreography”, and soon had a routine involving twirls, waving feather boas in the air… and then improvising!

As the final touch, we raided the dress-up bin. Costumes would be a must!

Just Dance (2)

From here, the “dance” turned more into acting out this movie scene, too. What followed was half-acting, half-interpretive dance, and little sister joined in.

Just Dance (4)

With light saber props, of course!

Just Dance (7)

There are so many ways to elaborate on this activity. Have your child pick a song as their “theme” of the moment… or write their own song! Vary the costumes each time, or add props. Make it more of a dance routine, or more of a play as you act out a story to music.

I would love to hear about your dance fun in the comments, so please share! Without any further ado, here is The Travis: