Orange Coconut Sorbet

Orange Sorbet (2)

This icy treat is a cinch to make, with just three ingredients and a little time in the freezer.

Ingredients:

  • 2 cups orange juice
  • 1 cup coconut milk
  • 2 tablespoons agave nectar
  1. Combine the orange juice, coconut milk, and agave in a bowl, stirring with a whisk.
  2. Transfer to a freezer-safe container and freeze. Every 2 hours or so, fluff with a fork and then return to the freezer until the mixture reaches desired consistency. We loved ours after about 8 hours, when it was almost like an orange slush. Give it closer to 10 or 12 hours for a smoother sorbet.

Scissor Pathfinding

Veronika is just starting to work on her scissor skills, after some early forays cutting play dough. This is a cute way to give your child a bit more of a challenge, as he or she learns to hold the blades!

To start, I made two straight lines on construction paper, then started each line with a little snip and handed over the safety scissors. After a review of how to properly position the scissors in her fingers, Veronika could make a little snip or two.

She loved the challenge, although it also became clear pretty quickly that cutting is still too advanced for her.

She wanted to show her stuffed animals how to snip (“You did it Puppy!”) and sometimes wanted to tear along the lines instead, with great pride at the shapes of paper that resulted.

For preschoolers, make it a little more challenging. Draw a “path” that changes direction, instead of a straight line.

Then see if your child can find his or her way along this path. You can even make it curvy for those kids who are nearing kindergarten!

What Sinks or Floats from the Craft Bin?

Simple Sink or Float (4)

Today, I gave Veronika full permission to raid the craft bin…in order to see what would sink or float from it, that is!

This was a cute variation on the simplest kind of “what sinks and what floats” activities for toddlers. Alternatively you could have your child gather toys from around the house, but using items from the craft bin gave us a wide variety of materials.

Simple Sink or Float (1)

First, I simply asked her to predict what would happen as she dropped each item in. She was holding a metal clip to start and guessed, “Float!” Of course, it sank right to the bottom. Pom poms floated though!

Simple Sink or Float (2)

We continued in this way, sometimes with unexpected results. Pony beads sank if they fell on their side. But if water evenly filled the hole in the center, they floated like inner tubes…until her little fingers poked them down. Pipe cleaners floated at first, but sank once fully saturated.

Simple Sink or Float (3)

I thought tissue paper would be fun, and indeed Veronika loved that she could wad it up into little balls and then fish it out, but the dye started leaking off onto our hands. Whoops!

Simple Sink or Float (5)

Wooden items (such as craft sticks) floated, while a big rubber eraser sank. And some things, like saturated strands of yarn, were purely fun to play with while wet! I loved watching her take note of each item as she plopped it in, and seeing her little brain register why some things stayed on the surface, while others fell to the bottom.

Simple Sink or Float (6)

In sum, this is a neat way to sneak in a STEM lesson while a toddler thinks they’re just playing with items in water!

Veggie Roll-Ups

This wrap sandwich is perfect for tucking inside a school lunch box. If you prefer a slightly heartier spread, substitute 1/4 cup mashed tofu for the hummus. We like this with garlic hummus, but plain is yummy, too!

Ingredients:

  • 1/2 avocado, mashed
  • 1/4 cup hummus
  • 2 whole wheat tortillas
  • 2 tablespoons chopped red bell pepper
  • 2 tablespoons chopped tomato
  • 2 tablespoons chopped cucumber
  1. In a small bowl, stir together the mashed avocado and hummus until combined.
  2. Divide the avocado mixture evenly among the two tortillas, spreading over the surface.
  3. Sprinkle evenly with the bell pepper, tomato, and cucumber. Roll up tightly and cut in half or smaller pieces to serve.

Wave Bottle, Inside and Outside

Many toddlers are fascinated by wave bottles and sensory bags, and yet Veronika always just wants to get her hands on the items inside the jar or bag, rather than merely to observe. So today I did a bit of a test, first making a wave bottle in the bottle and then putting those same items out of the bottle, to see which she liked better. The verdict was quite clear, so read on!

To start, we set up a classic wave bottle. Add water to an empty plastic water bottle until it’s about two-thirds of the way full. Veronika helped squirt in a few drops of blue food coloring, but even already she wanted to pick up the bottle for pouring and transferring. I had to hold her back!

I showed her a few trinkets we could put inside; we made one version with beads and one with small pom poms, and then we added wiggle eyes to both. Now, fill each bottle the rest of the way with vegetable oil, and seal the cap on with hot glue.

Of course the fun is meant to be in watching the items wave back and forth, especially how globs of oil will move through the water since the two substances don’t mix. The wiggle eyes, in particular, pop right to the top of the bottle no matter how you shake it, which is fun to watch.

But did this hold Veronika’s interest? No! She immediately wanted hands on all the little trinkets we’d inserted into the bottles. So next we set up an “open” wave bottle. First, we placed the pom poms, beads, and wiggle eyes into the bottom of a craft bin and then she carefully poured in water from a clean bottle.

Then she squeezed in the blue food coloring when I wasn’t even looking!

She loved stirring through, as well as selecting an item and picking it out by hand, for example with all the wiggle eyes.

The verdict was clear: The closed bottle interested her for less than ten seconds, whereas she spent almost half an hour with her open “wave”.

Which version does your toddler prefer? Please share in the comments!

Block Printing

Veronika has been uncharacteristically hesitant to get her hands messy lately, so today I made chunky stamps she could paint with instead, no risk of painted fingers!

To start, I used hot glue to attach a strip of textured ribbon onto old wooden blocks. Any raised ribbon or rickrack would work well for this particular purpose.

I then poured a little paint into a shallow plate, and set it out with the “stamps” and thick paper.

Veronika loved the colors, and experimented with dipping the blocks in the paint and pressing down.

Our blocks tended to make muddled prints at first, but as the paint thinned out, the texture of the ribbon would become ever more apparent.

This led to such a nice variety of shapes and prints for her to explore on her paper!

I think the results would have been even better with rickrack. If you make your blocks with rickrack, we’d love to hear how it goes in the comments!

Pom Pom Target Practice

Pom Pom Target (4)

Learning to huff down through a straw is a great skill for kids to master. It’s the first step towards blowing bubbles, tooting into a flute, and so much more. To help hone the skill, we practice today on pom poms, and threw in a target for good measure!

To set up, I taped two squares on the floor with masking tape, one smaller one inside a larger.

Pom Pom Target (1)

Veronika was quite intrigued when she saw the set up with the straws, and for a while was mainly interested in the straws themselves, practicing her huffing skills.

Pom Pom Target (2)

Then I showed her how to aim the straw at a pom pom, which would send it skittering towards the middle. We got silly down on our tummies as we took aim.

Pom Pom Target (3)

It was hard for her to move the pom poms very far, but she giggled for each one I sent skittering. For a little extra hand-eye-coordination, I set a plastic container in the center, and she started tossing the pom poms in. “Plop!” she said, as she dropped each one.

Pom Pom Target (5)

Then she would dump the bin and start over! Whether huffing through a straw or tossing with hands, this game is a great way to hone a toddler’s target skills.

Pom Pom Target (6)

Fingerpainting Fun

Fingerpainting (5)

Equipped with a new set of fingerpaints, Veronika tested a whole variety of methods to use them today!

Of course fingerpaints are always fun, even if all you do is dollop a blob of paint onto thick paper and let your toddler go to town. But for some novelty, we tried the following. First, I chilled one color in the fridge (purple) and briefly warmed a second color (orange) in the microwave, for about 10 seconds.

Fingerpainting (1)

Now she could dip in her fingers, alternating between the warm and the cold for a neat sensory element to the painting!

Fingerpainting (2)

Next, I dribbled some water onto a sheet of paper, then added fingerpaint (this time red). The water makes the paint seize up into little blobs, swirl around, and act in all sorts of funny ways. The slippery sliding definitely adds to the enjoyment!

Fingerpainting (6)

I poured out another color (blue) and this time poured a little salt on top. This makes the paint not only have a different texture, but also gives it a bit of sparkle. Veronika particularly loved this variation, preferring to smear it around with a craft stick instead of her fingers.

Fingerpainting (3)

Finally, we poured some paint (green) directly onto a craft tray. This thick paint was just begging to be swirled through, and we mixed in other colors too. When she was done, I pressed a sheet of paper on top, then lifted up to reveal a neat print.

Fingerpainting (7)

For something slightly more artistic, we made a fingerpaint pineapple! On a plate, we mixed a few neon colors (yellow, blue, and orange) for a tropical vibe. I showed Veronika how to dip her thumb in, then press it at intervals on paper to form a pineapple shape. Needless to say, her toddler version didn’t come out as a recognizable pineapple, but she loved looking at my mommy version. We added green fronds on top with our thumbs, too.

Fingerpainting (9)

If all that isn’t enough fingerpaint exploration, don’t forget your toddler can always paint right on the windows.

Fingerpainting (10)

Springtime Coffee Filter Art


With some leftover coffee filters in our craft bin, Veronika was able to make two lovely crafts today, both of which felt just right for springtime!

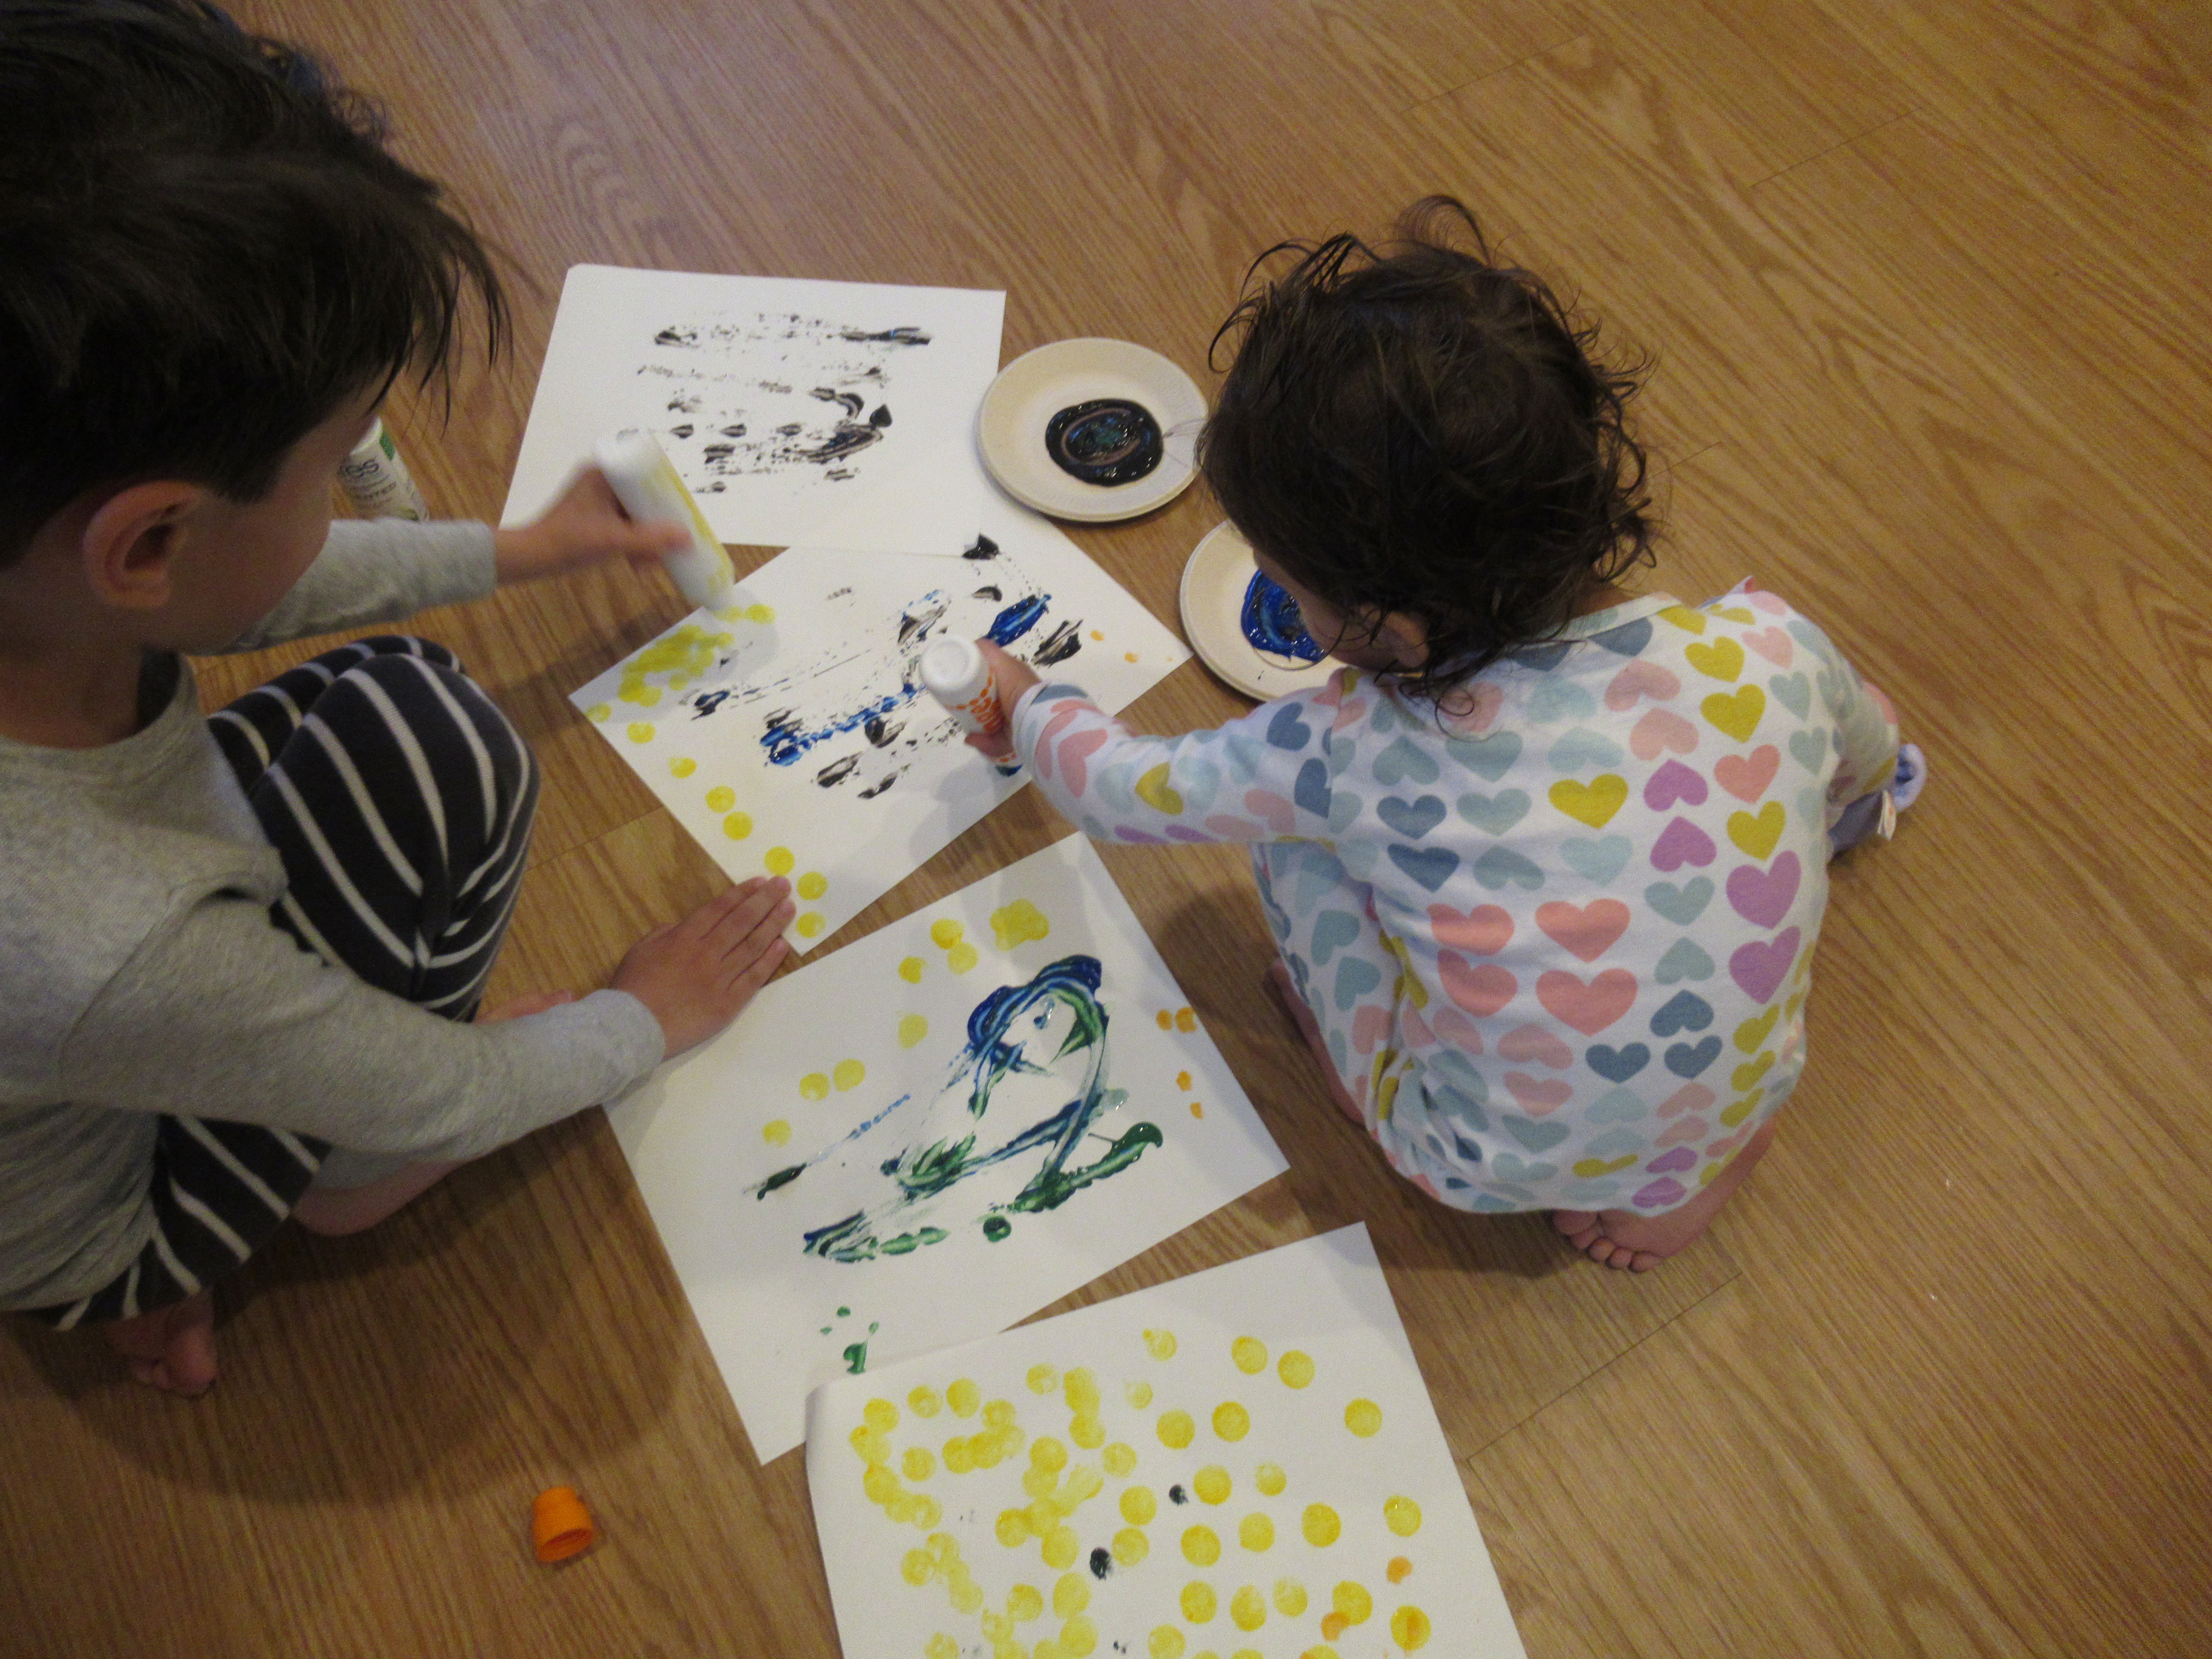
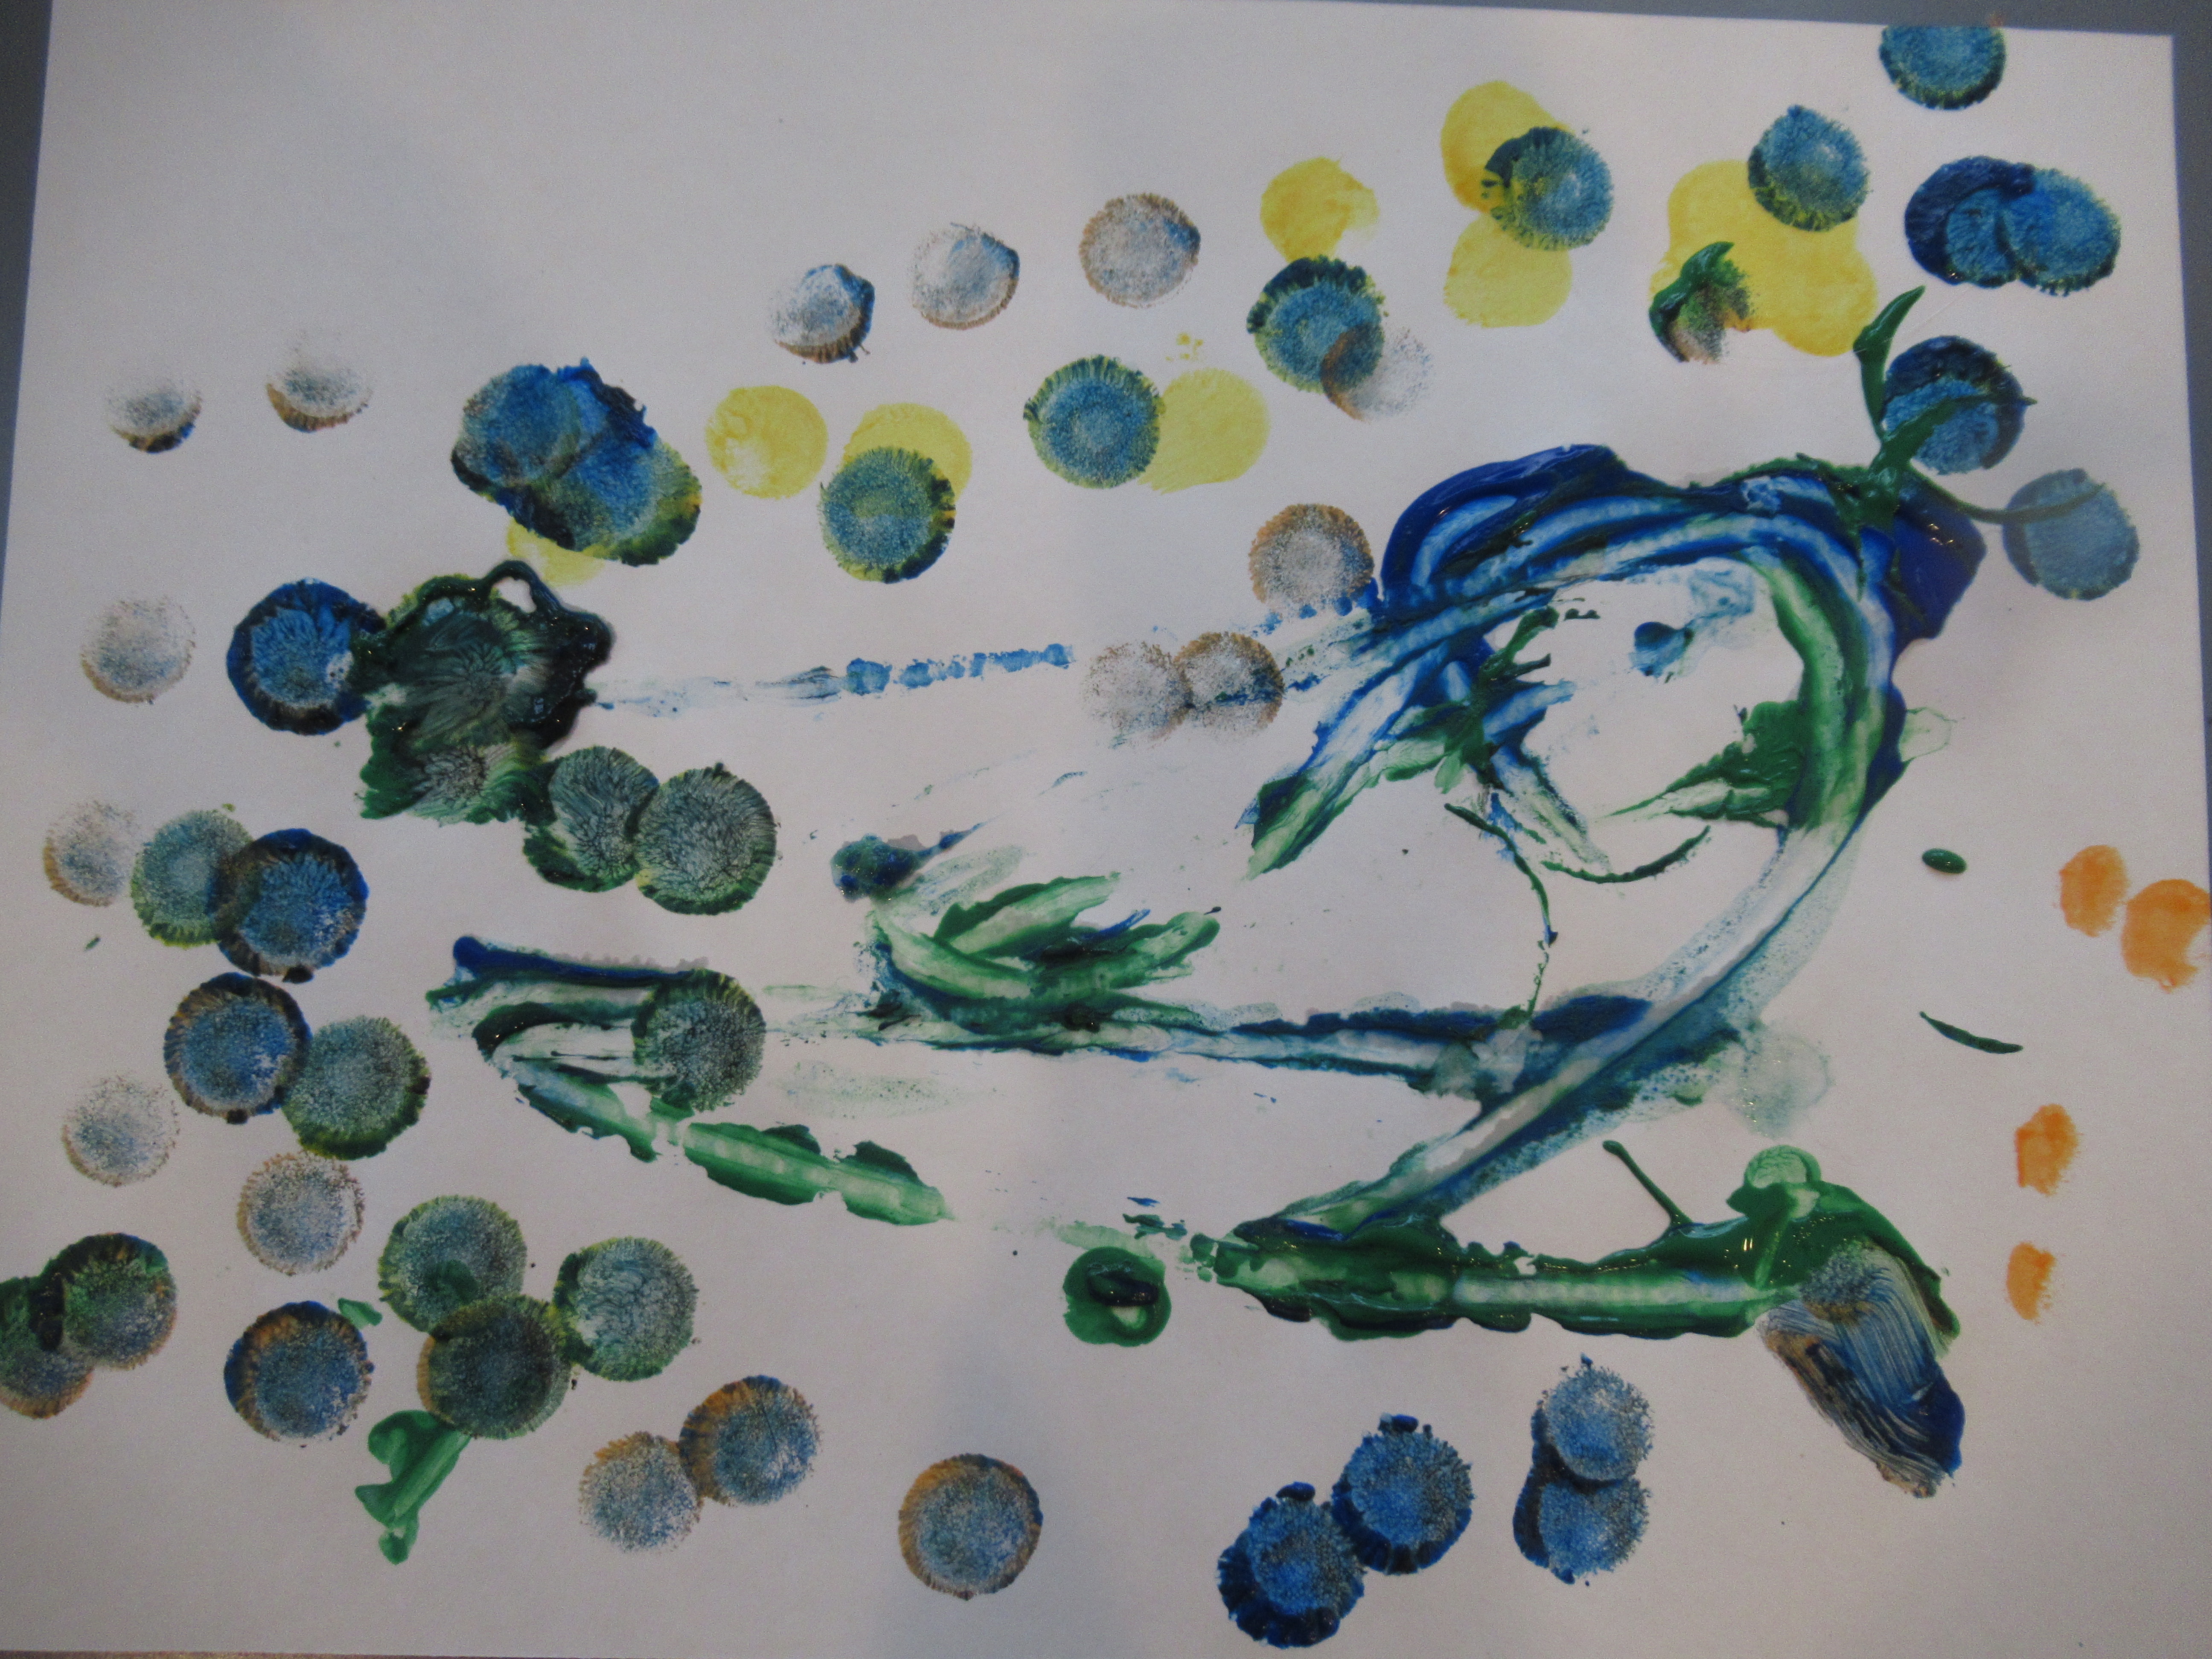
The first was a riff on classic butterfly art. Big brother Travis recently made a version involving lots of fine motor skills… All well and good for big kids, but I kept this toddler version simpler. First, Veronika covered the white filters with dot markers. Dot dot dot!

Once they were mostly covered, I handed over a spritz bottle for her favorite part. Veronika loved spritzing and watching the colors run together. Make sure to saturate completely, then set aside to dry.

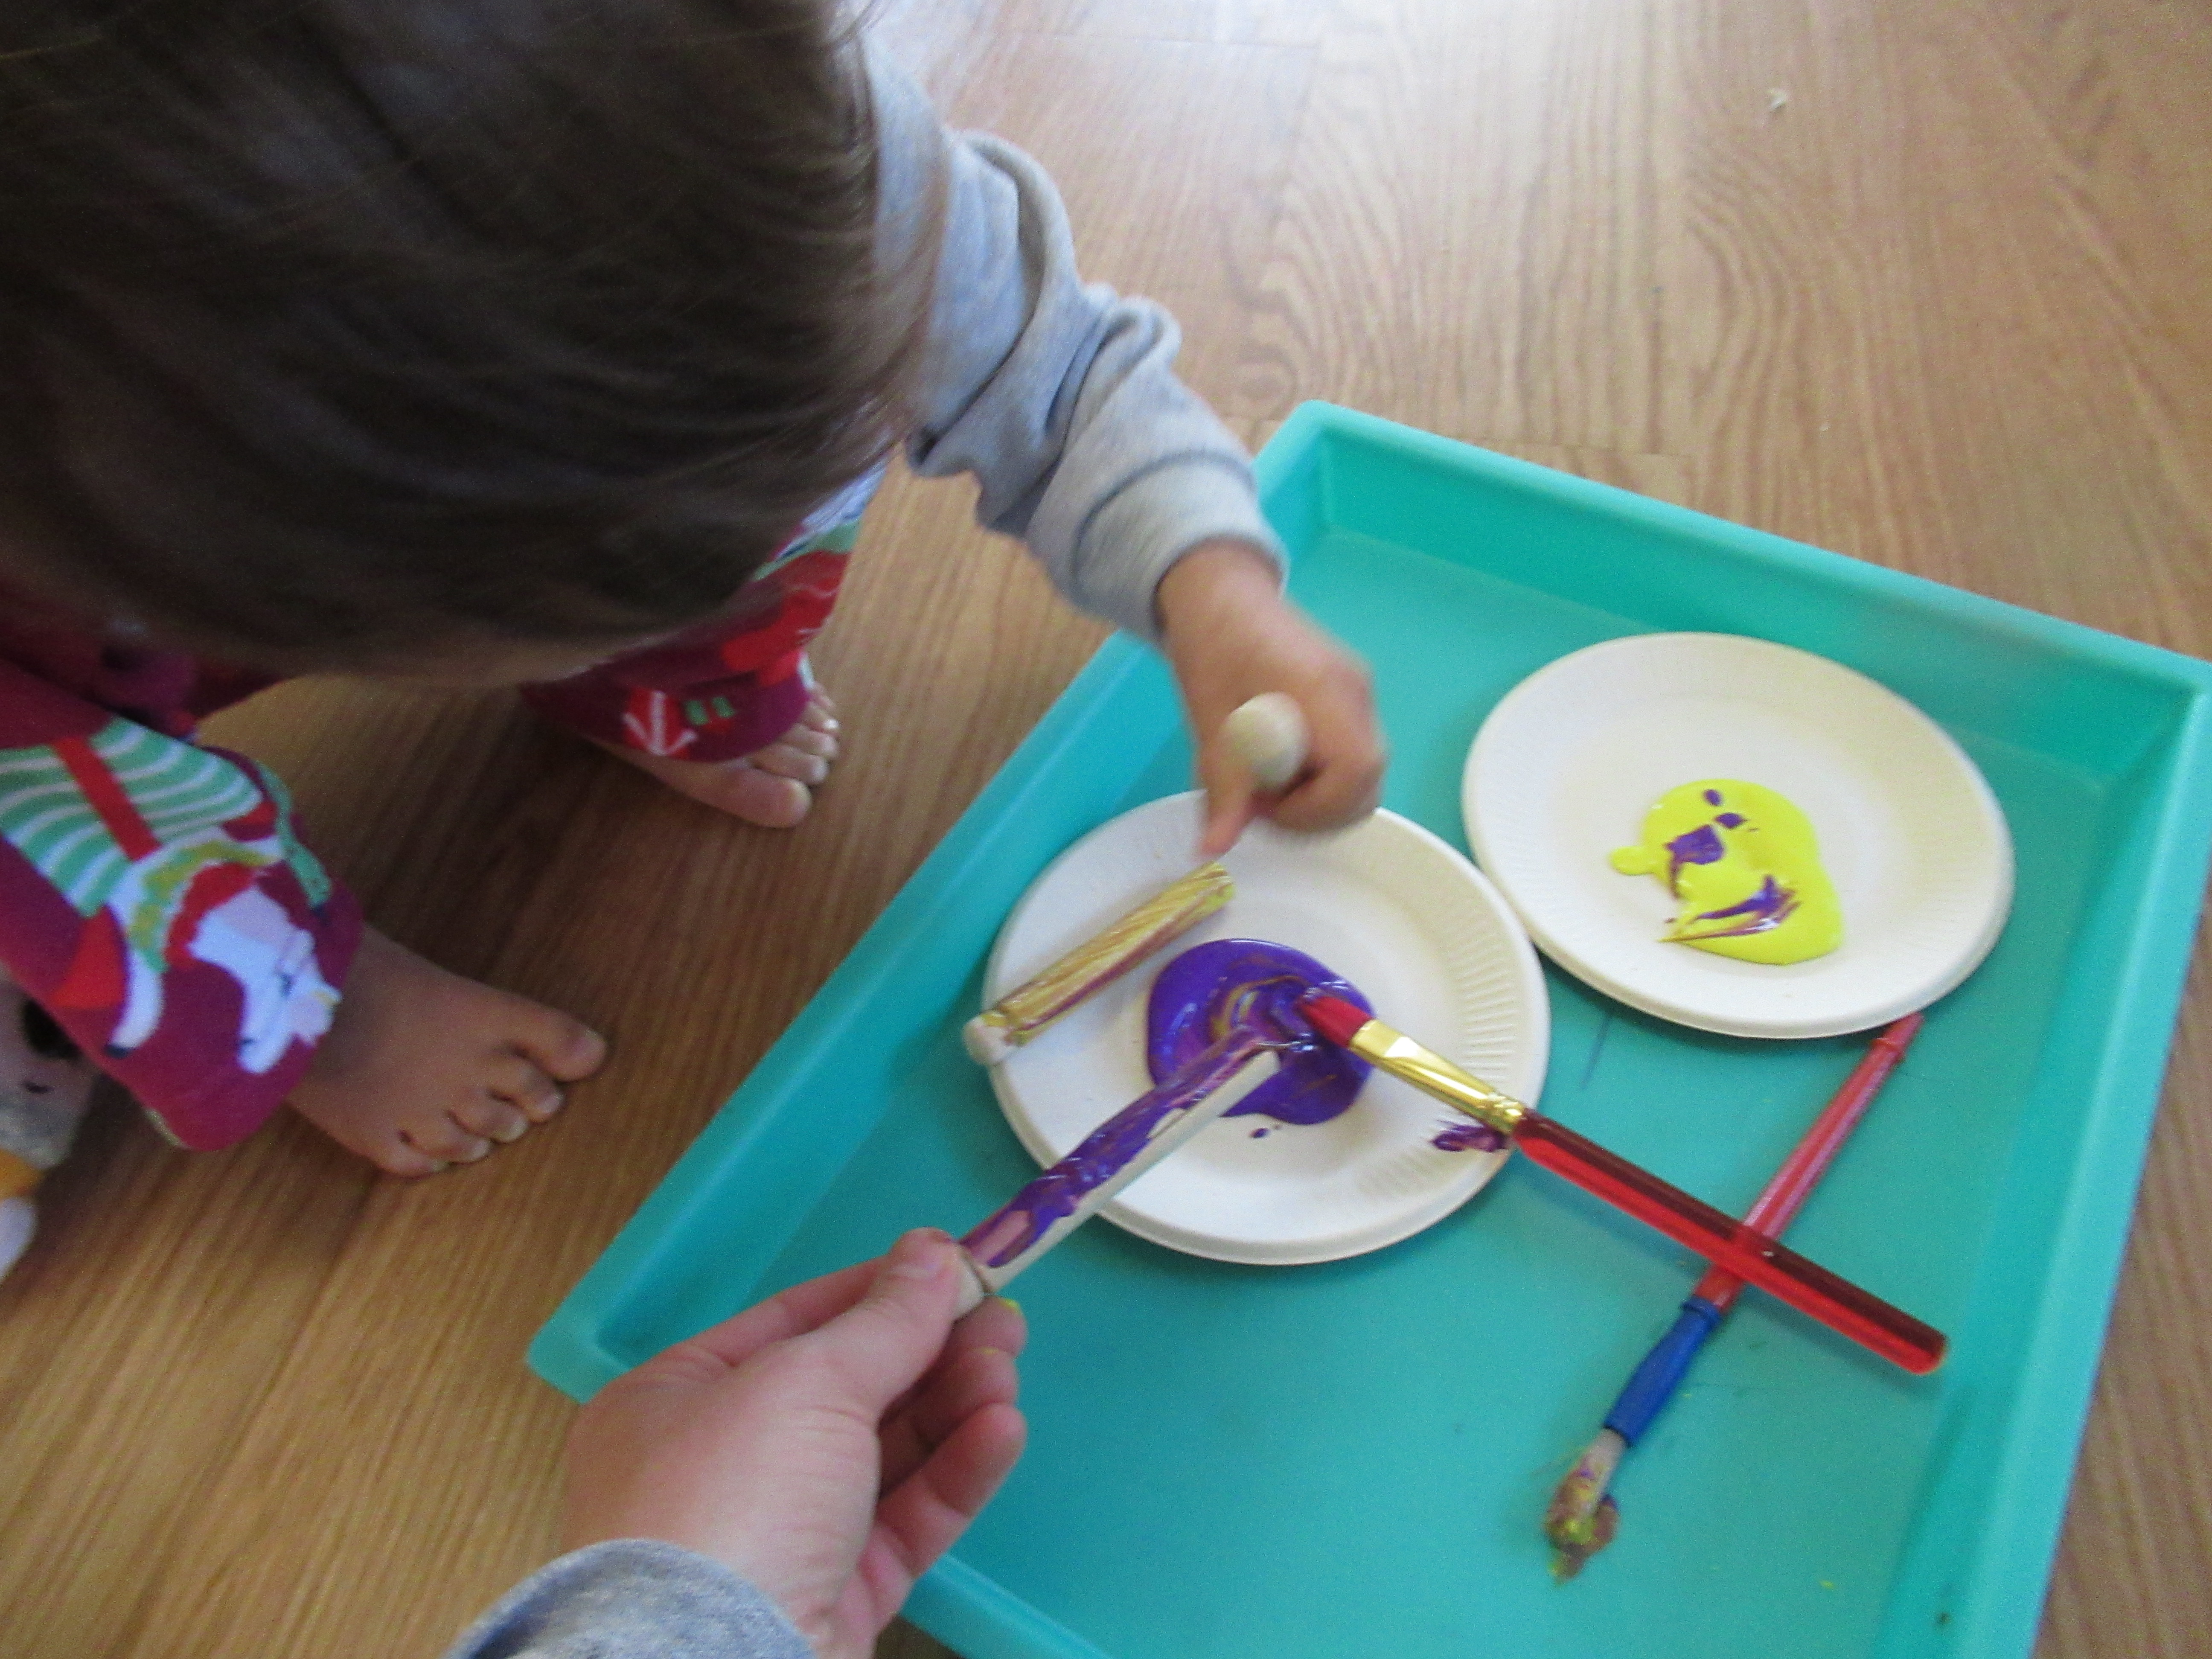
Meanwhile, we painted old-fashioned clothespins for the butterfly bodies. I thought purple and yellow would be nice springtime colors, but hadn’t bargained on her mixing them together. The color ended up a bit muddied, as a result, but they were still pretty. Set those aside to dry as well.

To assemble, carefully slide a coffee filter onto each clothespin, scrunching as you go, then fan out the wings. What a pretty flutter of butterflies!

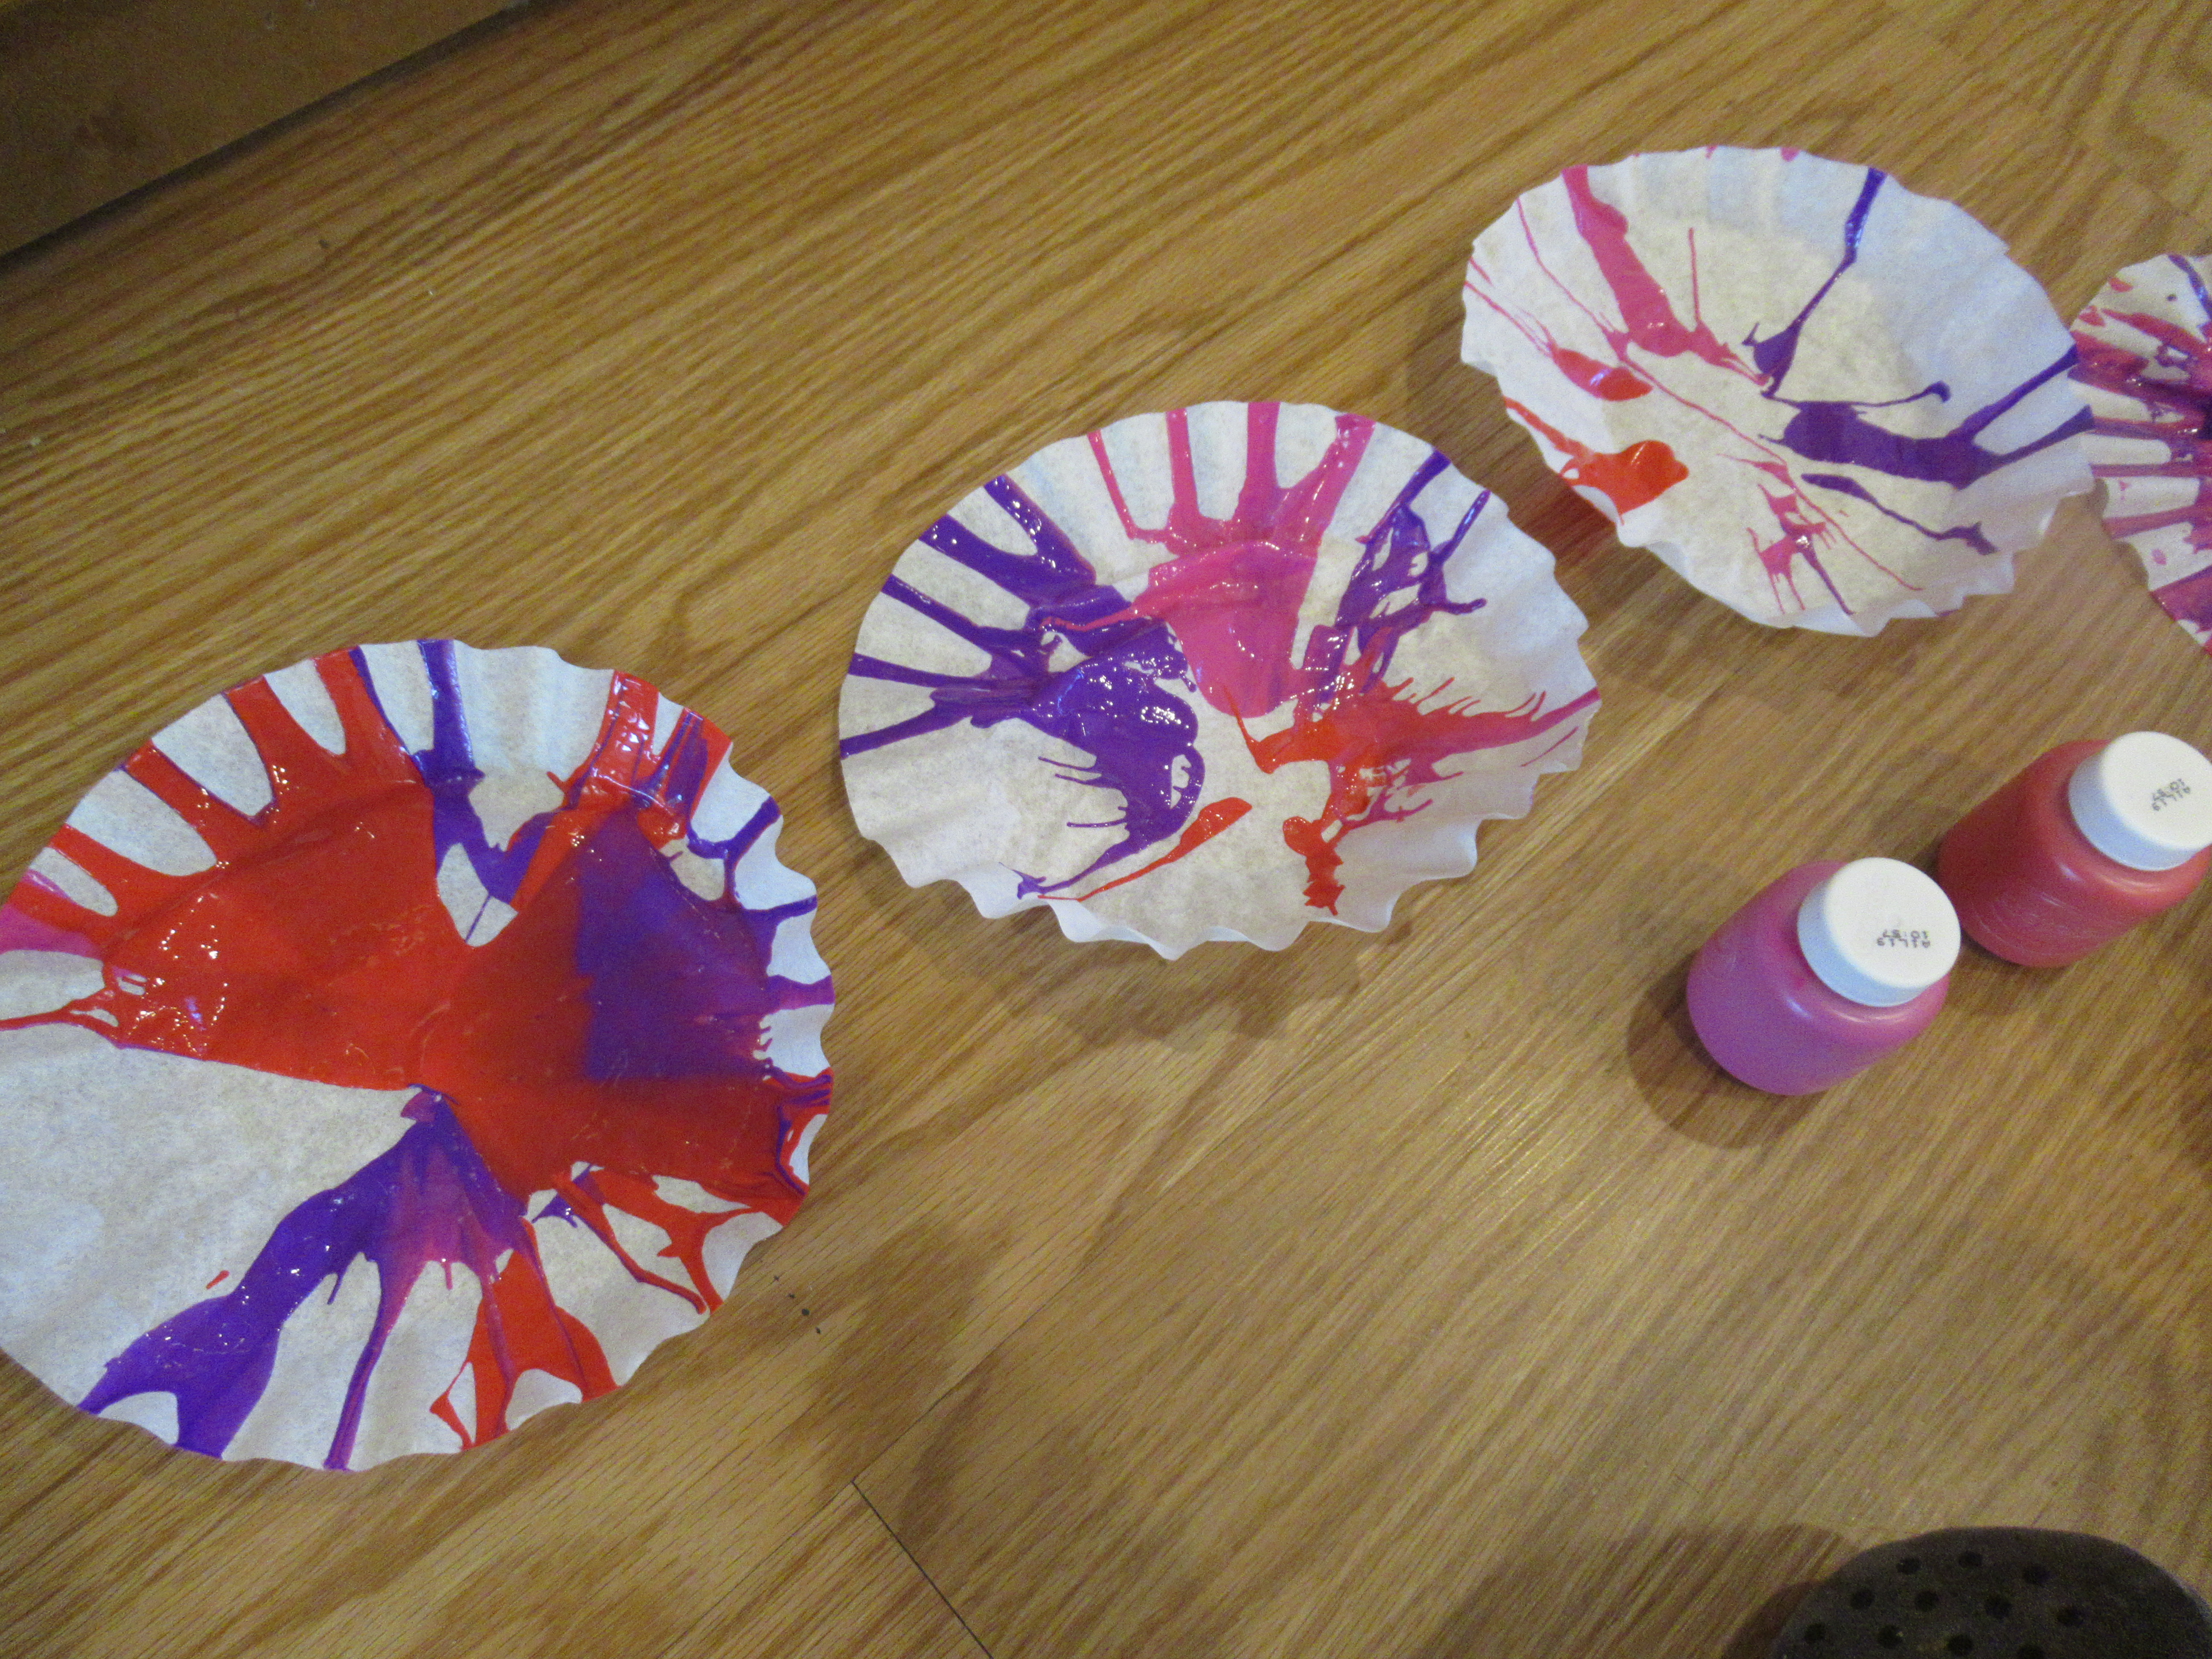
The second project was a bit more involved: coffee filter flowers! This time, we started with spin art, an old favorite. Place one filter in the bottom of a salad spinner and dribble a little paint on with a plastic spoon. We used a mix of purple, pink, and red paints.

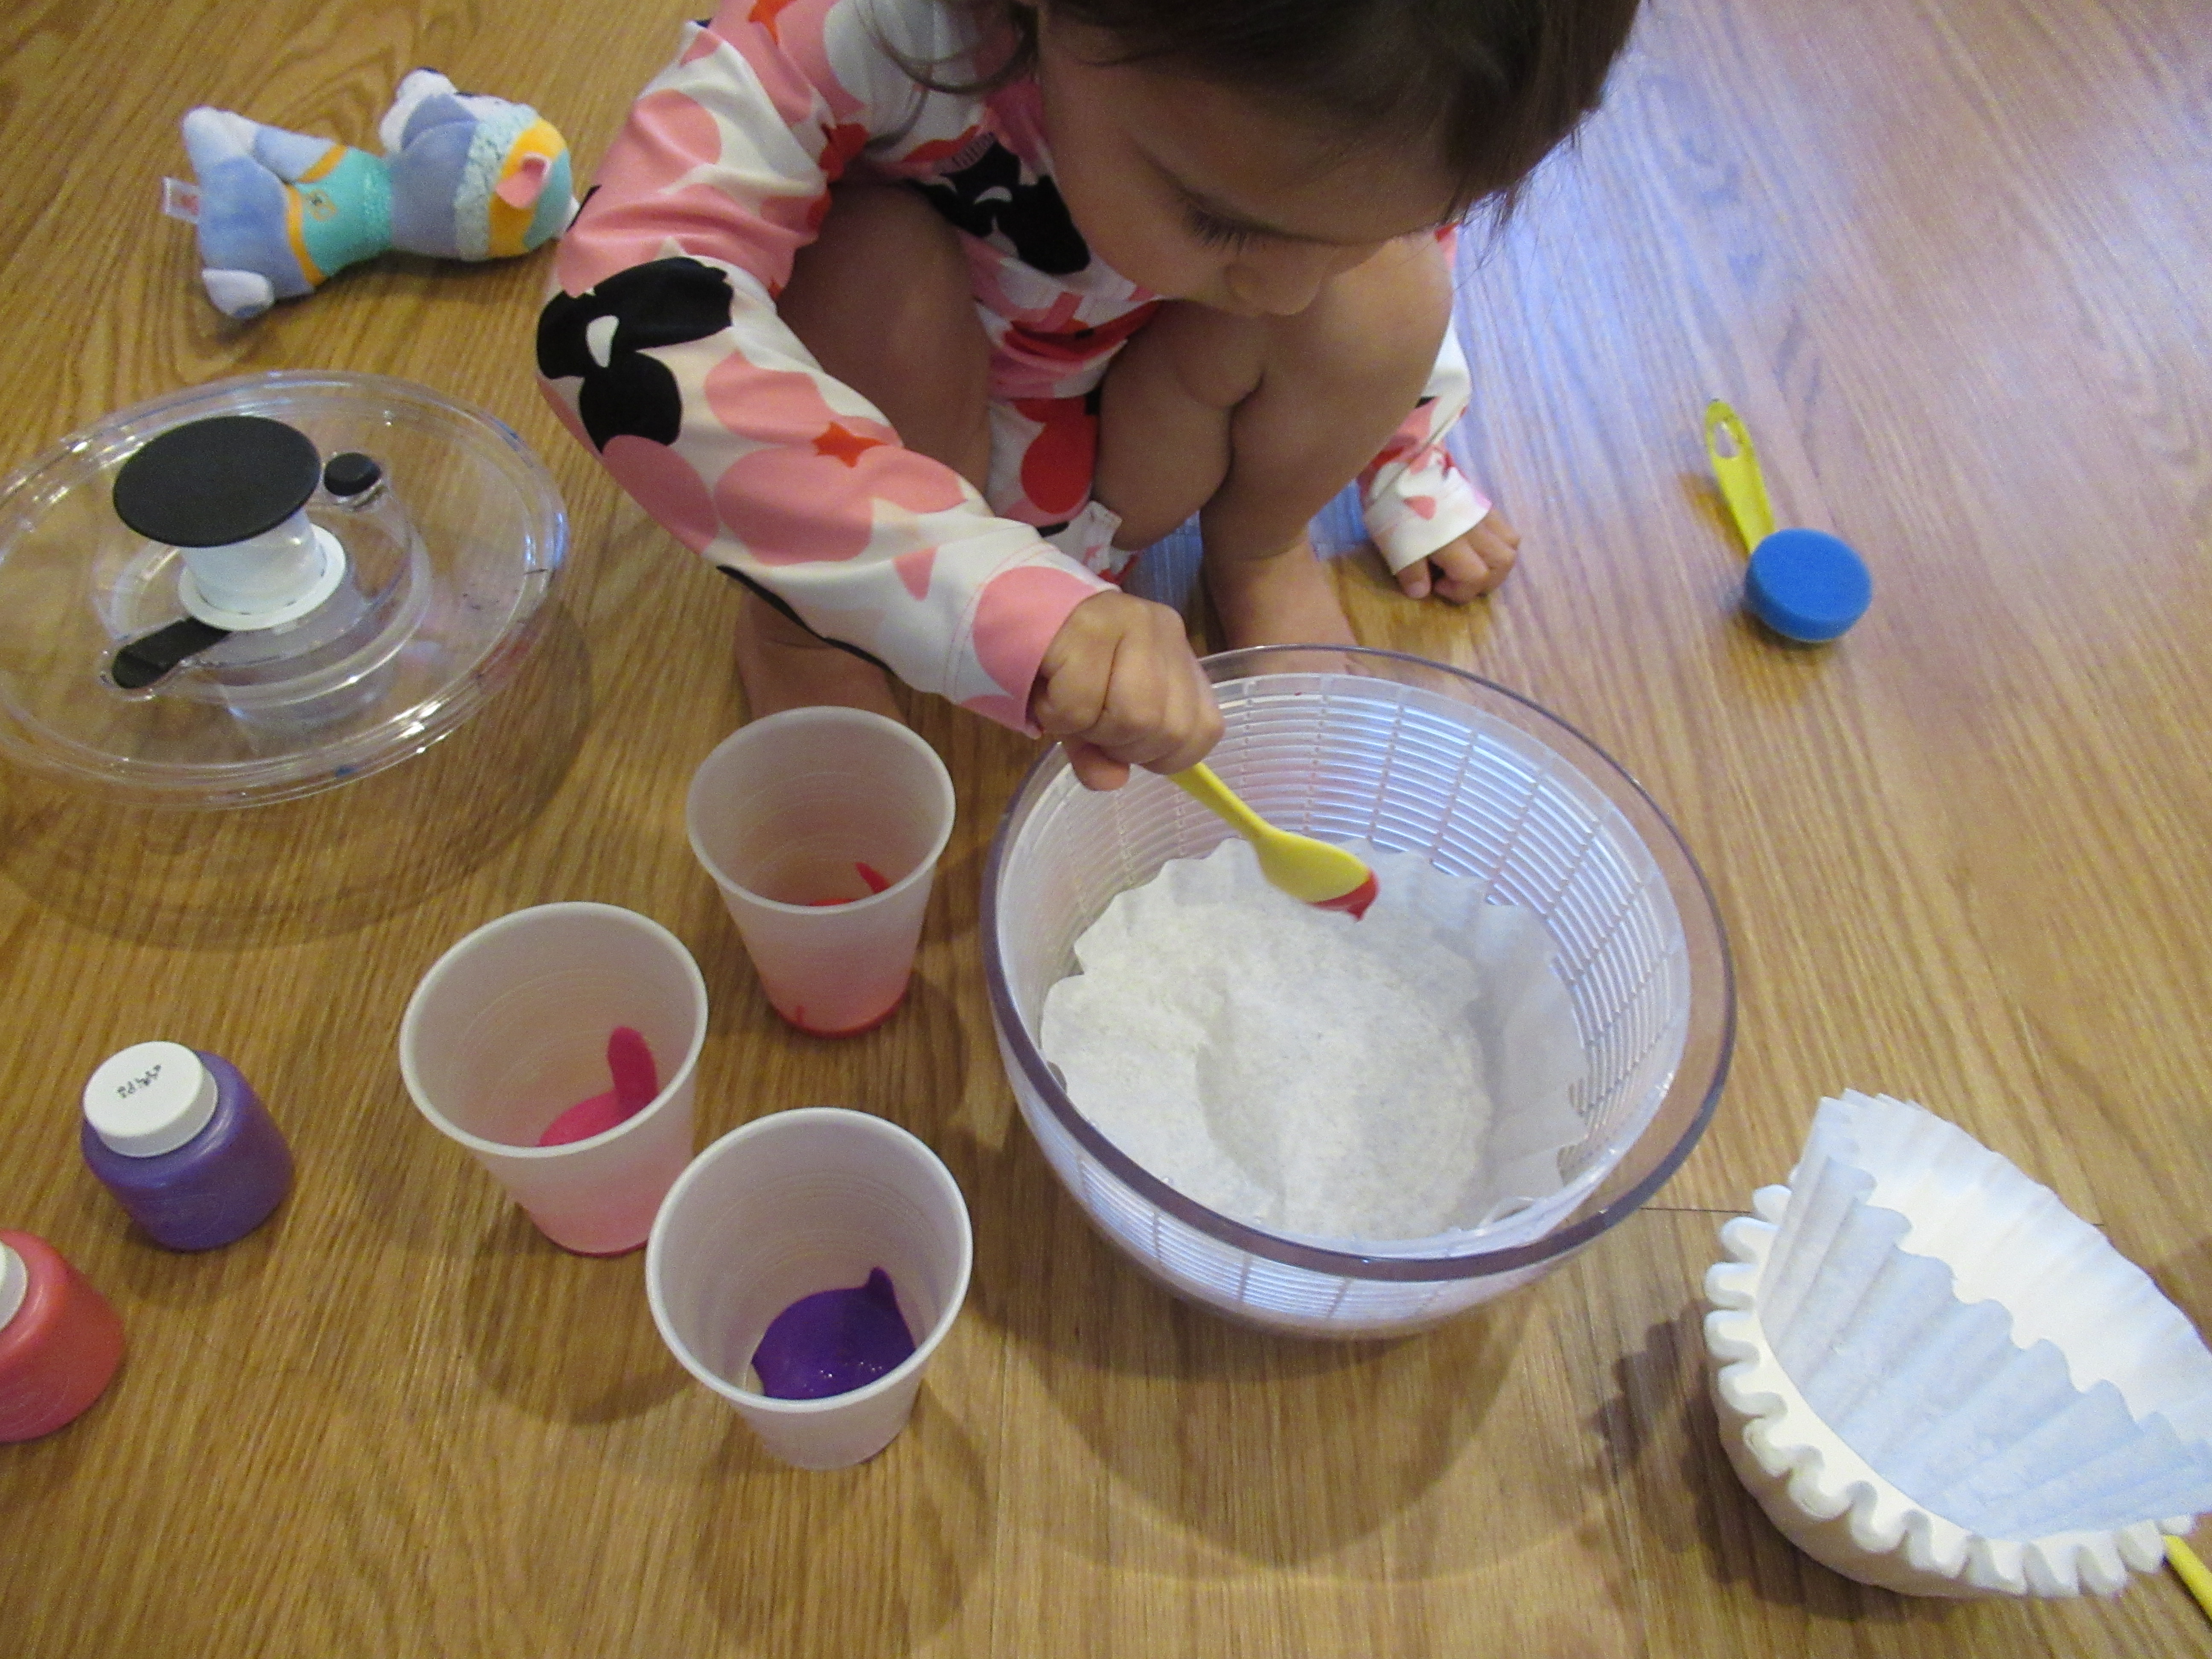
Close the lid and let the spinner spin! Veronika loved being charge of making the spinner go and then stop with the brake button.

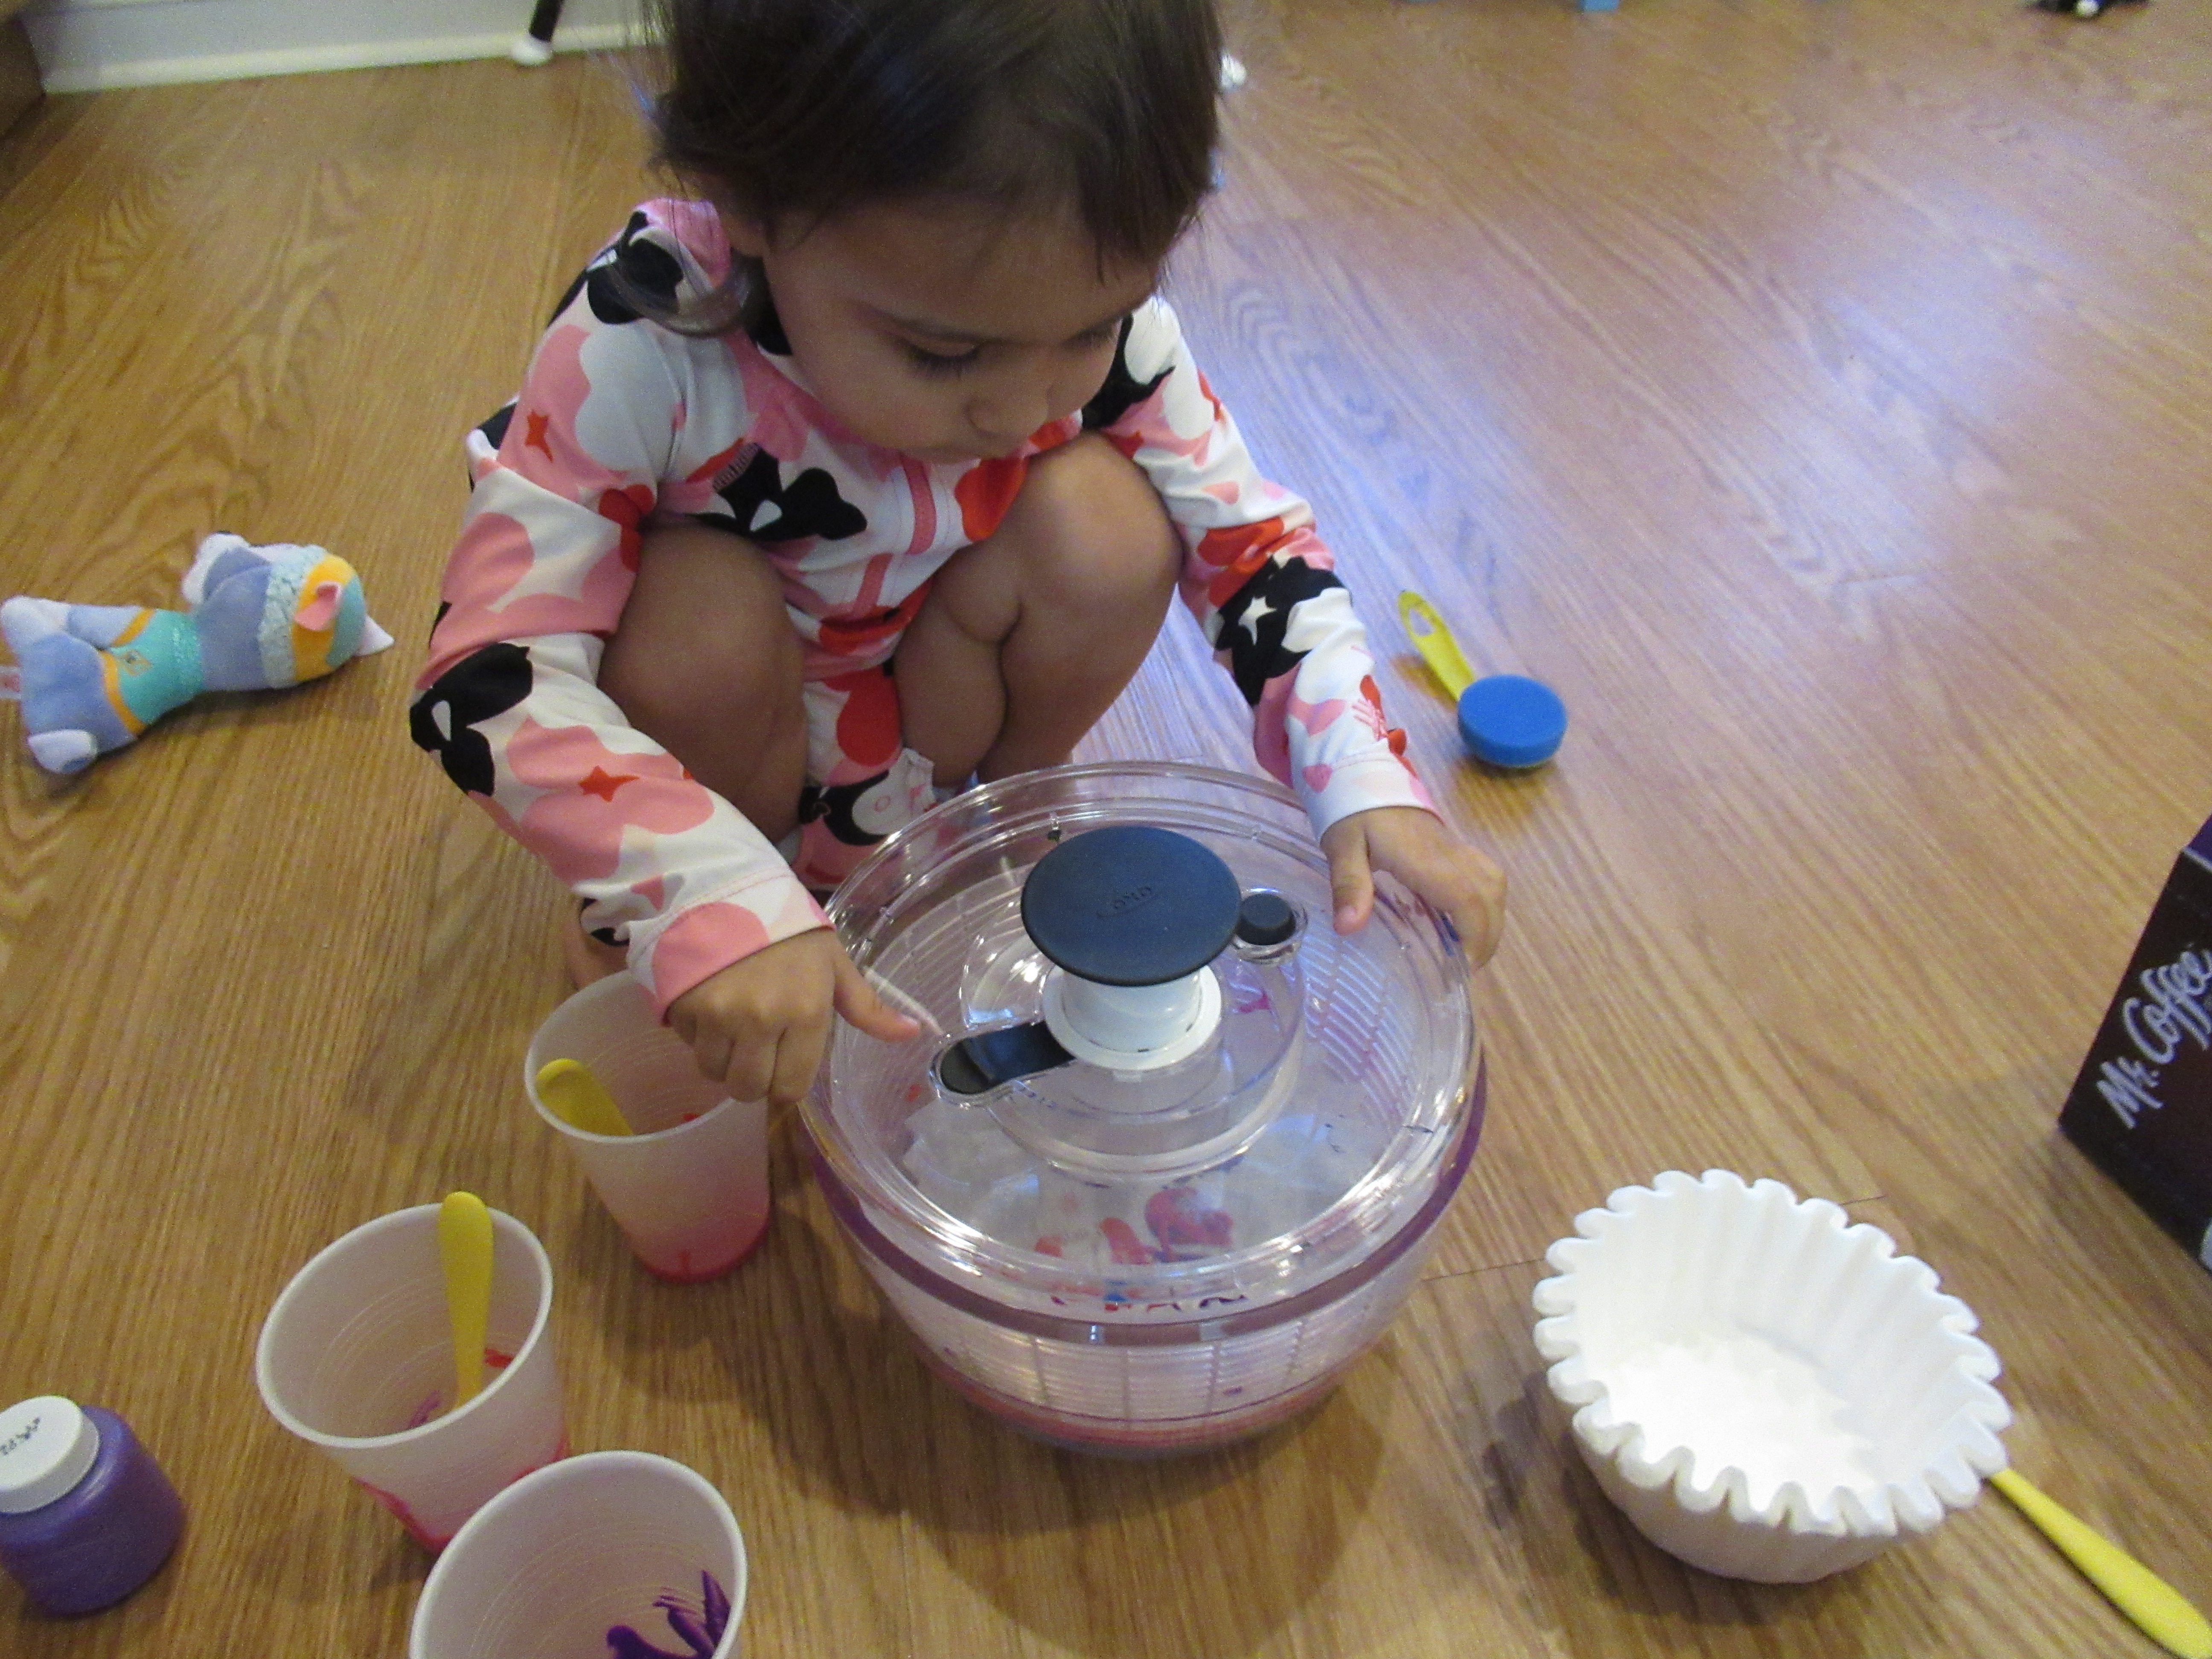
Lift up for the lovely reveal! We repeated to make four flowers, then set these aside to dry.

To help mold them into the shape of flower petals, we used this neat trick from Hands on as We Grow: press each filter over an empty soda can, then spray with liquid starch. Although not an item I’d normally use for a craft, it worked quite nicely.

Let dry, then glue down onto a construction paper background. We painted craft sticks green for flower stems and added a few green button leaves and a pom pom in the center of each.

April showers brought May flowers!

Paint Pen

Veronika loves the way dot markers fit into her hand, but sometimes grows frustrated when she wants to sweep them across paper (more like a brush) than dot them. Here’s a quick hack for a “paint pen” to use instead, based on a suggestion from the Toddler’s Busy Book.

The book actually suggests prying the top off an empty roll-on deodorant tube, and filling it with paint that can be squeezed out. Our version was a little simpler. Instead, I set out thick white paper and a few paper plates filled with paint, then gave Veronika the empty deodorant tube. All she had to do was dip and roll!

She liked that she could make fun lines with this, and she also loved mixing colors by dipping the tip in several different paint plates before rolling across the paper.

And wouldn’t you know, after all that the kids decided to finish off these paintings with dots from actual dot markers! All in all, this was a novel suggestion with a pretty result.