Penguin Cup Cozy

penguin-cozy-3

What could be cozier in the winter than a warming cup of hot cocoa? This adorable craft came to us care of High Five magazine. Travis was fascinated by the sock, and could help with the gluing portion of the craft, but I put the rest of the cozy together. Preschoolers can make the whole “penguin” themselves, though!

To start, cut the feet from a pair of black tube socks; discard or save for another use (like puppets!).

penguin-cozy-1

Slide the tube of the sock over a cup that can hold hot beverages. Cut white felt into the shape of a penguin’s face and a small triangle from orange felt for the beak. Glue to the sock.

penguin-cozy-2

You can either glue on googly eyes or draw on eyes with black marker.

Here’s our penguin doing an excellent job of keeping hot cocoa warm and cozy!

penguin-cozy-4

And here is Travis having his first-ever cup of hot cocoa. Needless to say, the project was a hit!

penguin-cozy-5

Instead of keeping the cozy for your child, it’s also a great do-it-yourself project that kids can make as a gift. If gifting, don’t forget to decorate a card with crayons for your recipient, then tuck inside the cup with the cozy on the outside!

M Week!

M week (19).JPG

We’re in M week on our Letter of the Week journey, but I’ll be honest: Travis was barely into anything I planned for the week. Not sure if it’s just that the words based around M fell flat, or because he’s a budding two-nager… But your child may love the activities we tried, so I’m including the hits and the misses below.

m-week-5

Music/Maracas: This was by far the highlight of the week, as Travis loves music. March with maracas in hand and you’ll have a merry good time! We wore ourselves out with high-knee marching and added in silly “mouth music” – what sounds could we make using just our mouths? We pretended to be trombones, clarinets, flutes, and more. Several great children’s songs play with this concept, using the mouth as an instrument; check out Fireworks from Music Together.

m-week-11

Mirror: There are many great mirror games you can play, including just pointing out body parts or trying on silly hats. I thought for sure Travis would love the taboo sensation of drawing on a mirror with a special dry-erase marker, tracing his “portrait,” but he lost interest very quickly.

m-week-9

Mittens: Teach the song The Three Little Kittens if your child doesn’t already know it. You can also squeeze in a little learning by attaching three kitten pictures to poster board, and making six cut-out mittens. Your child needs to assign two mittens to each cat to help the kittens find them again!

m-week-15

Museum: This word was the inspiration for our field trip of the week, taking Travis not to a children’s museum, but to a small local art museum. As we walked the gallery, I prompted him to guess what was happening in each painting. This game works especially well when people or animals are depicted. His favorite was a painting of waffles covered in jelly, which he thought some birds were going to come and eat. Even better, many museums often feature interactive exhibits. Travis spent 45 minutes painting at this digital paintbrush station!

m-week-4

Magnets: I left out all the toys we own that have magnets in any form – magnet blocks, magnetized puzzles, dinosaur magnets. It was a reminder to focus on some old favorites, but again Travis lost interest after a bit of play with each.

m-week-13

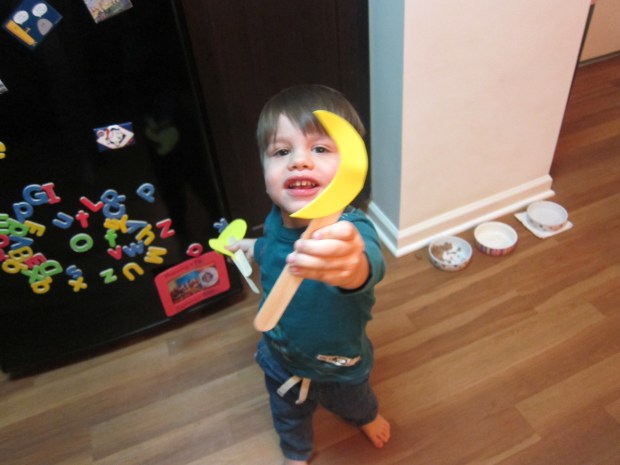
Moon: Cut three moons from craft foam – one crescent moon, one half moon, and one full moon – and attach to craft sticks. This is a fun way to talk about the phases of the moon, or to use as props while reading stories about the moon.

And our weekly extras…

Fine art: Aside from helping to color in monkey and mouse mask templates with crayons, Travis wasn’t into the art project I came up with for the week. I thought it would be fun to glue additional elements like whiskers to the masks, and then we glued them to popsicle sticks.

m-week

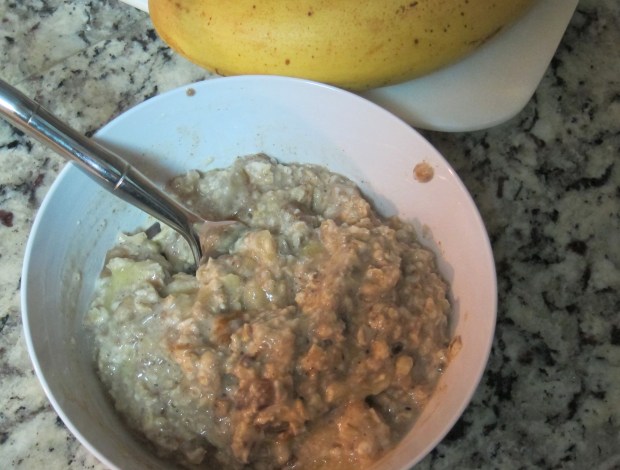
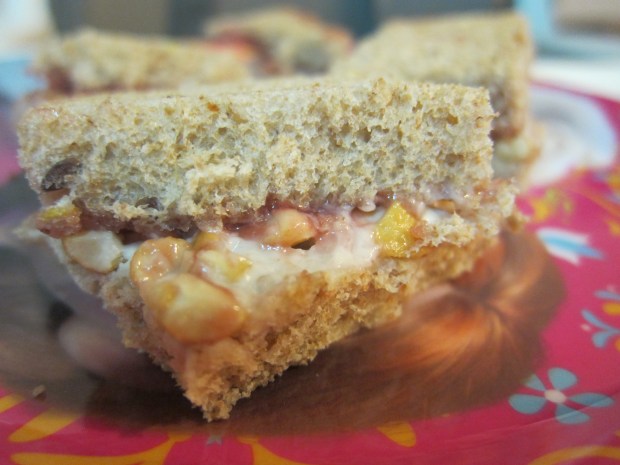
Food: We had yummy stuff to choose from this week – muffins and mangoes at breakfast, mushrooms with lunch (Travis’s favorite vegetable), and mac n cheese.

m-week-18

Books: Travis enjoyed Maisy Goes to the Museum by Lucy Cousins, the perfect read before our outing described above. We also read some classics: Goodnight Moon by Margaret Wise Brown and If you Give a Mouse a Cookie/ If you Give a Moose a Muffin by Laura Numeroff.

m-week-b

Songs: A good children’s song to play is The Bear Went Over the Mountain. (Take advantage of a mountain field trip if you live in a mountainous region!) Better yet, I left Mozart playing in the background most of the week! More on that below…

Math: Very briefly, I introduced Travis to the concept that a year has twelve months, by flipping through a calendar with him (Admittedly, he was more into the pictures of the dogs and cats).

m-week-10

You could also focus on the word match by having your child match up socks or winter gloves, but Travis lost interest in that task quickly.

m-week-8

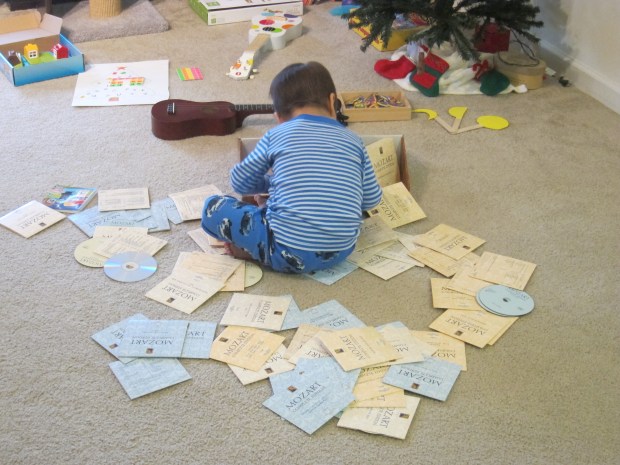
What did Travis prefer to all these games I had planned? Well, he discovered my case of 170 Mozart CDs, and took them out and sorted them by color endlessly. So there you have it, we spent M week matching Mozart CDs… I guess it wasn’t a miss after all!

m-week-14

Handprint Wreath

handprint-wreath-6

This easy “wreath” to adorn a door or fridge makes a wonderful keepsake, since you’ll be capturing the size of your child’s hand. Consider making one every few years to keep a record!

Adults only: Cut the center from a paper plate, leaving the rim intact; set aside.

Trace your child’s hand on green or red construction paper. You can then use this hand as the template, and cut out as many more hands as you need to march around the rim of your plate.

handprint-wreath-2

Travis has been very into tracing lately, so this was his favorite part of the project. He also thought his red hands looked like the stop hands at traffic signals.

handprint-wreath-1

We then smeared glue all around the rim of our plate, and I asked Travis to help me arrange the hand prints, though to be honest, his interest faded for this part.

handprint-wreath-3

We glued on three small red circles to be “berries” as the finishing touch.

handprint-wreath-5

Happy decorating!

Cream Cheese Spirals

Cream Cheese Spirals maybe.JPG

A couple of these adorable nibbles are the perfect toddler-sized snack, or can be a component of a larger lunch. You can use other herbs in place of or alongside the parsley, if desired.

Ingredients:

  • Cooking spray
  • 1 cup all-purpose flour
  • 1 and 1/2 teaspoons baking powder
  • 4 tablespoons canola oil
  • 4 tablespoons non-dairy milk
  • 6 tablespoons non-dairy cream cheese
  • 2 tablespoons minced fresh parsley
  1. Coat a large baking sheet with cooking spray and set aside.
  2. Combine the flour and baking powder in a large bowl, then stir in the oil and milk. A very workable dough will form.
  3. Turn the dough out onto a floured surface and roll into an 8 x 11-inch rectangle.
  4. Spread the cream cheese over the dough in a thin layer, and sprinkle evenly with the parsley. Starting on one long edge, roll up the dough tightly.
  5. Slice the log into 16 to 20 slices, and arrange on the baking sheet. Bake at 350 degrees F for 20 minutes.

No-Cook Oats

No-Cook Oats.JPG

Here’s my new go-to oatmeal recipe. Because you prepare it the night before, mornings are a breeze. Use a different non-dairy milk in place of the almond if you prefer.

Ingredients:

  • 1 cup rolled oats
  • 1/4 cup finely chopped dates
  • 2 teaspoons chia seeds
  • 1/4 teaspoon ground cinnamon
  • 1 and 1/4 cups almond milk
  • Mashed banana (optional)
  1. Combine all of the ingredients except the banana in a large bowl, stirring to combine. Cover and refrigerate overnight.
  2. In the morning, stir and add a little more milk if necessary. Add about 2 tablespoons mashed ripe banana per 1/2 cup serving of oats, if desired.

With or without the bananas, Travis has eaten every spoonful from his bowl every time I serve this.

Cream Cheese and Cashew Sandwiches

Cream Cheese and Cashew Sandwich.JPG

If you need to get out of a peanut butter-and-jelly rut, these sandwiches are for your child! Just different enough to taste novel, the flavors are similar enough to good old PB&J that even a picky toddler will be tempted!

Ingredients:

  • 2 slices whole wheat bread, lightly toasted
  • 1 tablespoon vegan cream cheese
  • 1 tablespoon strawberry jelly
  • 1 tablespoon finely chopped cashews
  1. Spread the cream cheese on one slice of bread and the jelly on the other.
  2. Sprinkle the cashews over the cream cheese, pressing in slightly. Top with the jelly slice and serve!

Treasure Hunt

treasure-hunt-5

We were stuck inside from wind and rain – the perfect chance to brighten up the day and set up a treasure hunt! All you need is crepe paper and a treasure waiting at the end.

You can either set up this game while your child naps or is in another room, but I knew Travis would be very into the crepe paper itself, so he helped me roll it and spread it all around.

treasure-hunt-1

You can make your trail as complicated or simple as you like. We looped around door handles…

treasure-hunt-2

… and wound under pillows…

treasure-hunt-3

…and crisscrossed multiple trails.

treasure-hunt-4

Because we’re in the holiday season, the prize waiting at the end of our line was a candy cane – the first one Travis has ever had, leading to much delight! Any similar simple-yet-joyful prize is sure to brighten even the dreariest day.

treasure-hunt-6

As a bonus, Travis then invented games with the leftover crepe paper for quite a while!

Popsicle Stick Christmas Tree

popsicle-tree-4

Why stop at one Christmas tree when you and your child can craft together this adorable second? Travis was so excited when he realized what shape we were making with our popsicle sticks.

First, you’ll need to get good and messy with green paint. Paint as many popsicle sticks as you need to make a tree shape – be prepared for green fingers so you can paint all the way to the edges! Once the popsicle sticks dry, cut a few into smaller pieces so your tree can taper at the top. Leave two sticks unpainted to serve as the trunk.

popsicle-tree-1

Have your child help you arrange your “tree” on poster board, then glue each “branch” down, starting from the bottom up. Travis loved seeing the tree take shape as he worked!

popsicle-tree-2

Then it was time to decorate! Party confetti from the grocery store worked perfectly as ornaments and tinsel, but use any sparkly crafty items you have at home that can be glued on.

popsicle-tree-3

For the star on the top, we traced a star-shaped cookie cutter on construction paper, then cut out and glued on. A very cute and festive project.

Dough Ornaments

dough-ornaments-9

We decorated the tree early this year, and to get further into the holiday spirit, decided to make homemade ornaments of our own! Adding spices to the dough makes your whole house smell like Christmas. With holiday music playing in the background, it was the perfect project to kick off the festivities.

In a large bowl, have your child help you combine:

1 and 1/2 cups flour

3/4 cup cinnamon and nutmeg

1 cup salt

1 cup water

If the dough is too sticky, add a bit more flour once you turn out onto a surface to knead it together. Travis adored mixing the dough, and couldn’t wait to get his hands messy when I showed him how to knead.

dough-ornaments-1

We then rolled the dough to about 1/4-inch thick, another step Travis loved since I finally have a child-sized rolling pin for him.

dough-ornaments-2

We used gingerbread men cookie cutters, but any holiday shape – or even just circles – would work great for this project.

dough-ornaments-3

Using a straw, punch a hole near the top of each ornament so you’ll be able to hang it after baking.

dough-ornaments-5

Transfer your ornaments to a baking sheet and bake at 350 degrees F for 30 minutes.

dough-ornaments-6

Once the ornaments cool completely, thread ribbon through the holes and adorn your tree!

dough-ornaments-7

Paper Snowflakes

snowflakes-4

Thanksgiving is over, and so although December is not yet here, we’ve shifted into winter and holiday mode in our house! We haven’t had snow yet, but I wanted to make our apartment into a winter wonderland for Travis, and that meant we would need snowflakes.

This project is definitely a grown-up one if you have a toddler or younger. Children in kindergarten or above will likely be able to help cut, curl, and glue the snowflakes, but it takes fine motor skills – even for this mama!

That said, Travis loved pulling out his safety scissors to “cut” alongside me as I worked, making it a fun family project even for the littles.

snowflakes-1

Cut white paper into 1/4-inch wide strips, and then cut to 6 inches in length. Curl the end of each strip around a pencil tightly.

snowflakes-2

To make one snowflake, glue together 6 to 8 long strips of paper. Fill in the middle of the snowflake with smaller pieces of curled paper.

If you have the patience, you can create dozens of these, and hang from a window. They also make a lovely addition to a Christmas tree.

snowflakes-5