Boxes, Boxes, Boxes

toddler 26 (2)

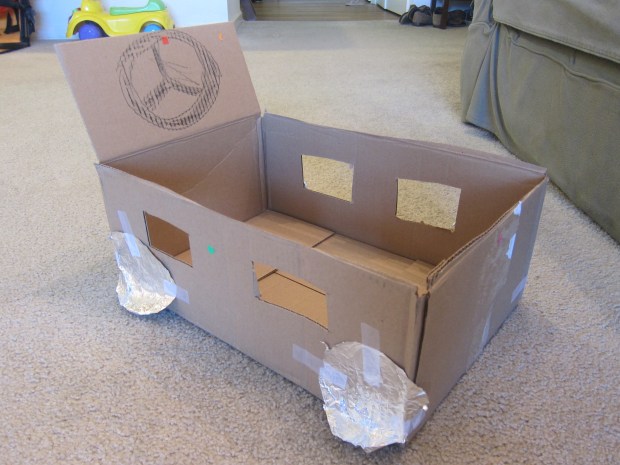
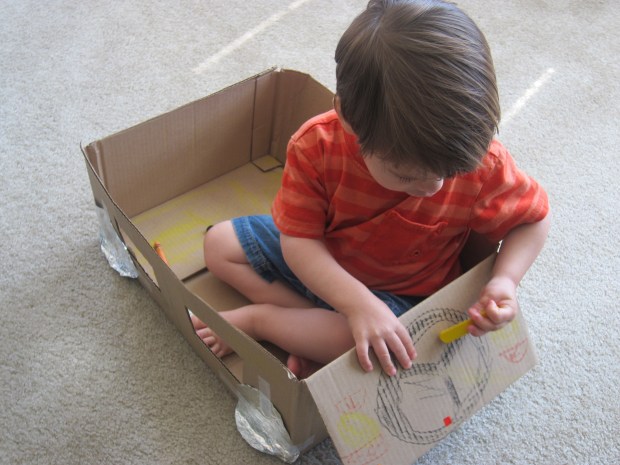
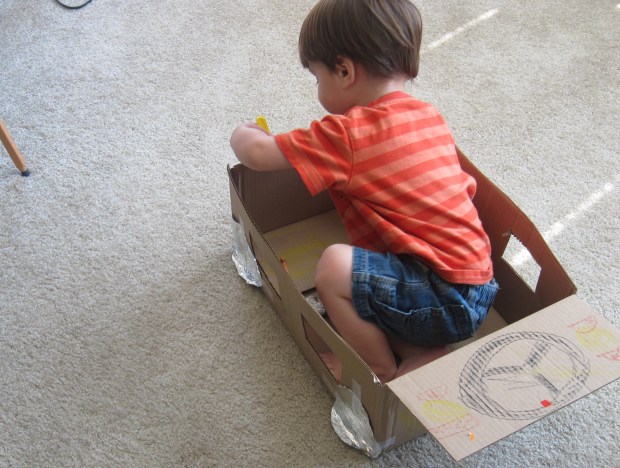
Our great fun with a toddler-sized box car the other day had me thinking: What can’t a toddler do with boxes?

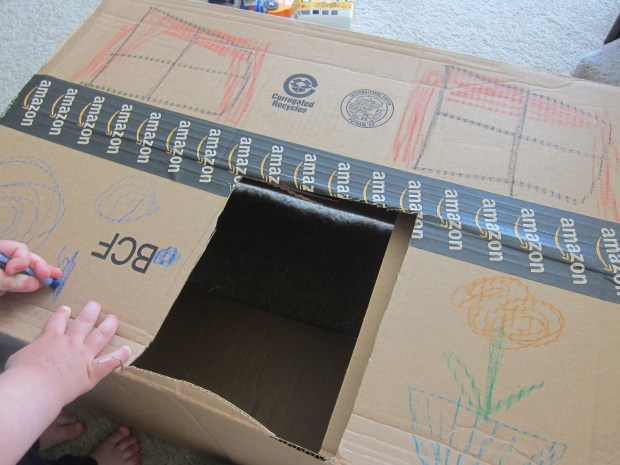
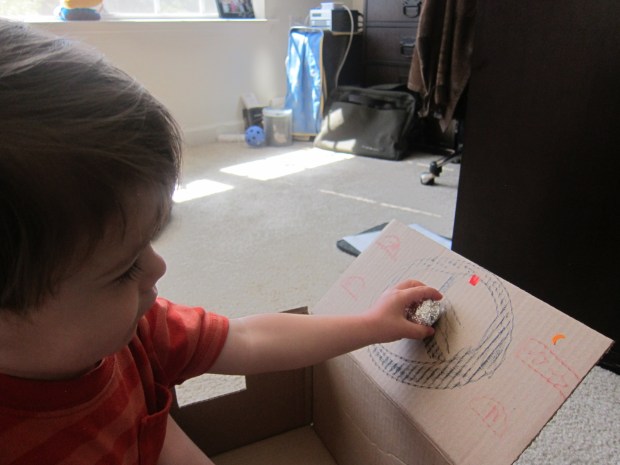
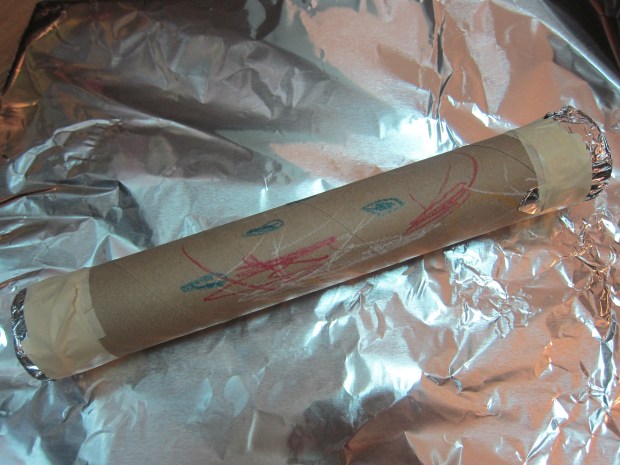
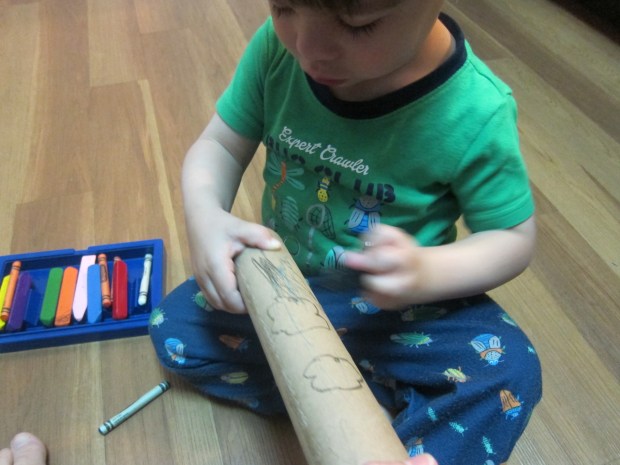
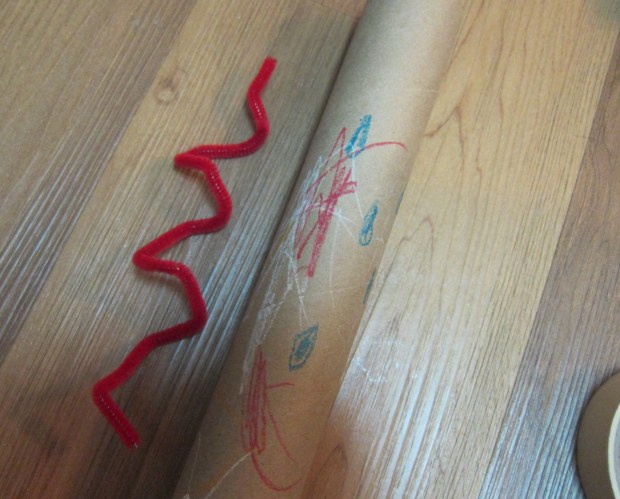
Next time you receive a package, wait at least a few days before you toss the cardboard into the recycling. The possibilities are almost endless! First off: color on them. In the past, Travis and I have drawn the dials and buttons of a “rocketship,” which then makes for great make-believe.

rocket (1)

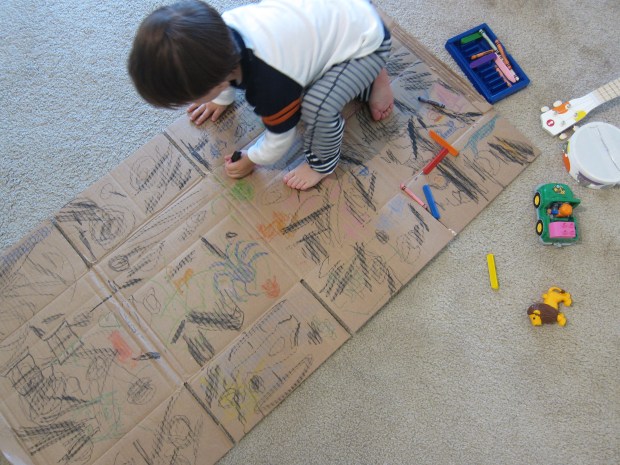
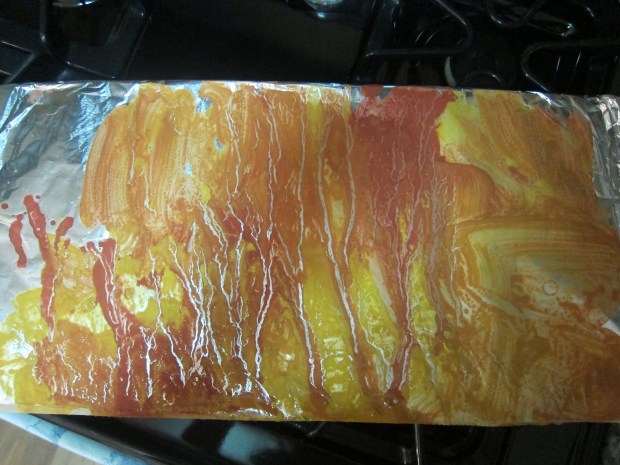
Or if you have a box large enough, open it up and color each segment of the box a different “habitat,” such as jungle, ocean, or desert, adding a background and appropriate animals to each. Your child can step from location to location, and talk about the animals you’ve drawn in each. After the second time we played this game, Travis went to town on the entire piece of cardboard with a black crayon – very Jackson Pollock-esque!

toddler 26 (9)

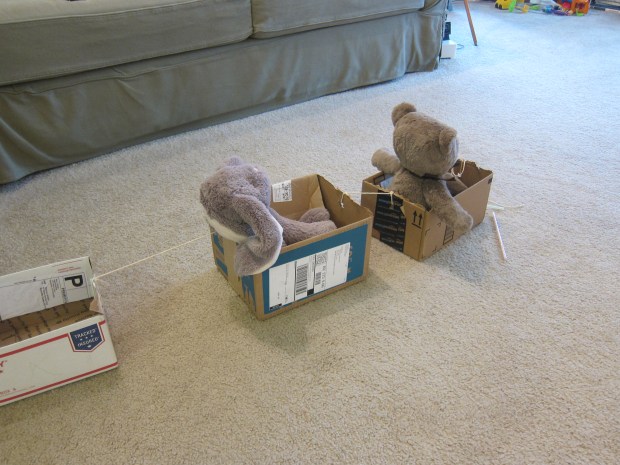
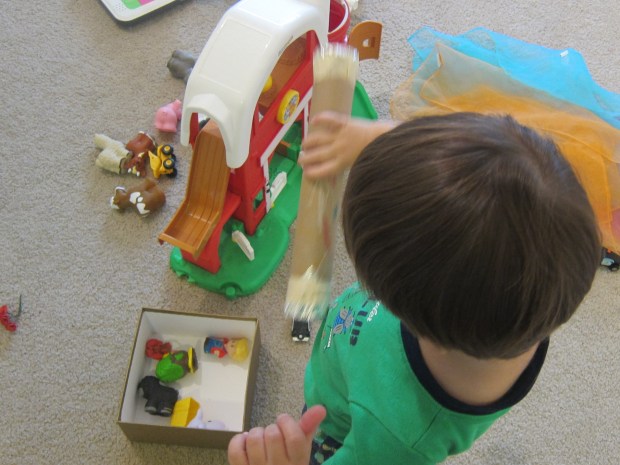
If you have a few medium-sized boxes, string them together and place stuffed animals inside, and then take them for a train ride!

toddler 26 (7)

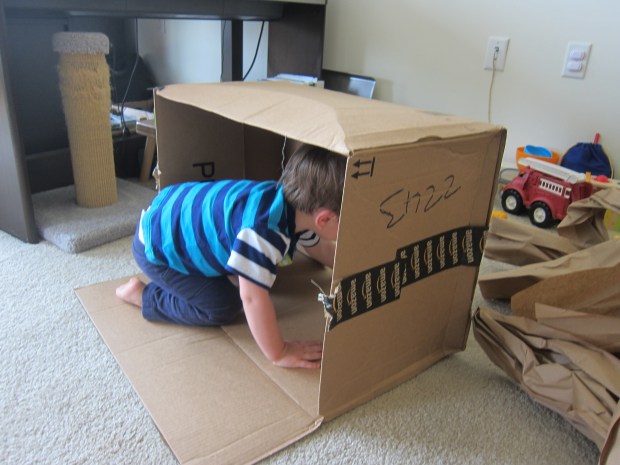
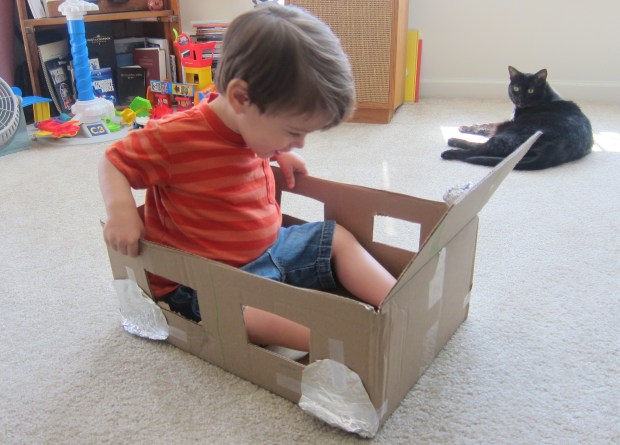
A large box is perfect for turning into a toddler-only house….

toddler 26 (3)

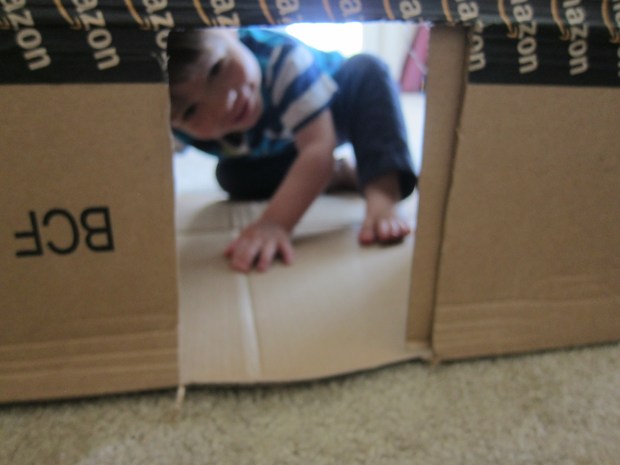
…after you’ve decorated the outside of course.

toddler 26 (4)

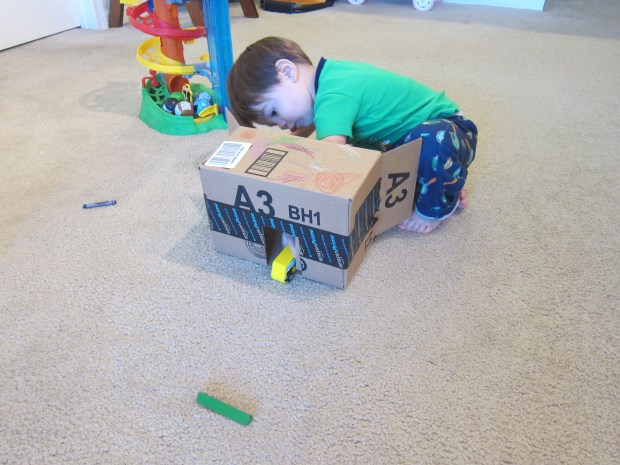
And smaller boxes make perfect garages and tunnels for all the toy cars in the house!

toddler 26 (1)

What other ways have you found to play with your child and boxes? Please do leave your thoughts in the comments!

Coffee-Filter Butterflies

Coffee-Filter Butterflies (10)

I decided last minute to put together this craft today, but I’m so glad we did! Because there are various periods of drying involved (for paint and glue), we spread it out over most of the day.

First, lay coffee filters flat (I recommend a layer of newspaper underneath), and have your child use a dropper to apply food coloring in various colors. I only had yellow and red left at home, but I liked the uncomplicated designs that Travis achieved as a result. Squeezing the dropper to apply the color was great fine-motor practice, which Travis took very seriously!

Coffee-Filter Butterflies (1)

We finished with a paintbrush to apply the color more deeply in a few places.

Coffee-Filter Butterflies (2)

Make sure you let the filters dry completely before moving on to the next step.

Coffee-Filter Butterflies (3)

As a side note, extra coffee filters make for a fantastic toddler distraction while you get something else done around the house!

Coffee-Filter Butterflies (4)

I found various methods online for pinching together the “butterflies” around clothespins, and liked the following method best. You’ll likely have to do this part yourself, unless your child is pre-school age or older. Pinch the coffee filter in the center, and clip a clothespin vertically to the filter. Fan out the “wings” of the butterfly on either side.

Coffee-Filter Butterflies (5)

Clip pipe cleaners into 1-inch pieces, and let your child dip in glue before applying to the butterflies for antennas. (I had to help here as well, as the surface was very uneven for gluing, but Travis enjoyed dragging pipe cleaners through the glue nonetheless).

Coffee-Filter Butterflies (7)

Once the glue dries, you can finish your butterflies with marker designs. Travis had a little fun coloring randomly on one butterfly, but I added the faces to the others.

Coffee-Filter Butterflies (8)

The clothespins provide the perfect handle so your toddler can flit the butterflies all around your home. And they were quite simply magical in the window at sunset.

Coffee-Filter Butterflies (9)


Playdough Textures

Playdough Textures (1)

Travis was a little aimless this morning – time to pull out the playdough! I love using the all-natural Eco-Dough from Eco-Kids, which comes in a pack of 5 great colors, all dyed with natural pigments like annatto seed and curcumin (turmeric).

To make today’s play a little different, I pulled out a bunch of old kitchen tools to see what fun textures we could make in our dough.

A potato masher was mildly interesting….

Playdough Textures (5)

A mallet was fun, with Travis pretending he was making waffles…

Playdough Textures (2)

But the biggest hit was an old garlic press:

Playdough Textures (4)

Wow, spaghetti!

Playdough Textures (3)

And of course, you can’t go wrong by adding texture to your playdough with the easiest tool of all: fingers. Travis filled this whole disc of playdough with little holes and told me he’d made the Daniel Tiger crayon machine.

Playdough Textures (6)

Hey, not bad!

Playdough Textures

Make a Shiny Picture

Shiny Painting (4)

This idea came to us care of High Five magazine – the younger sibling of the well-known Highlights (Travis has just “graduated” from his subscription to Hello, the very youngest magazine aimed at ages 0-2!). The shiny background plus paints in the hot color trio of red, orange, and yellow make it the ideal art project for a scorching summer day.

Set out plastic cups with red, orange, and yellow paint. Tape a piece of aluminum foil to cardboard for a sturdy work surface.

Shiny Painting (1)

Add 1 teaspoon dish detergent to each paint cup, stirring to combine – the soap helps make the paints extra shiny!

Shiny Painting (2)

Now set your child up with paintbrushes and the paint cups, and the rest is up to them! I told Travis he was painting the hot colors of the sun on his shiny canvas, which he was very into.

Shiny Painting (3)

I was particularly proud because this is the first painting project of ours in which I literally didn’t put down a drop of paint, not even one swipe as an example to get him started. Every single brush stroke was Travis’ own. He was so absorbed in his work, and clearly very carefully using the brushes in different ways – long strokes, short taps, running the colors together, etc.

Shiny Painting (5)

Without meaning to, I set the painting on a slight tilt to dry; the angle created tiny rivulets that I thought made it look even more like the sun! My husband loved the result so much he wants to frame it for our apartment. Thanks High Five!

Shiny Painting (6)


Toddler Car

Toddler Car (2)

We had lots of indoor play today in the wake of a little illness, but thank goodness we had a toddler-sized box at home from a recent package delivery – it turned out to be the highlight of the day!

Early in the morning, I cut four holes in the sides of the box and told Travis they were the four windows of our car.

I left one flap of the box at the front end to be the dashboard, which I then decorated with a crayon wheel. Travis took over with the crayons, and the box turned into a beautiful canvas for his art and imagination.

Toddler Car (1)

We added four circles of aluminum foil for the wheels, which I simply taped on. If you have a large enough box, consider stapling on foil pie tins for sturdier wheels. A wad of aluminum foil taped to the wheel was the finishing touch as the “horn.”

Toddler Car (3)

Travis loved his car so much that he was in it for over an hour in the afternoon! We had to take many vroom-ing rides across the living room carpet, and continued the decoration with more markers and stickers.

Toddler Car (5)

A sure sign that he’s feeling much better!

Toddler Car (6)

Sticker Surprise

Sticker Surprise (6)

Travis is under the weather, so needless to say we had a very quiet, snuggly day. The happiest and most alert he was all day, though, was when I suggested sticker play – he can’t get enough of his shape stickers! I decided to make things even more interesting with this painting “surprise.”

Sticker Surprise (1)

Encourage your toddler to arrange stickers (big ones in interesting shapes work best) however he or she would like on a piece of construction paper.

Sticker Surprise (2)

Next, let your child paint over the entire paper – stickers included! – with tempera paint. This was our first opportunity to test out the non-toxic tempera paints from Natural Earth Paint and they worked wonderfully! (Note: The paint is available in both vegan or milk-based versions).

Sticker Surprise (3)

Travis chose purple and green and loved that his stickers were now “hiding.”

Sticker Surprise (4)

Unfortunately by the time the paint dried and I did the big reveal – peeling off the stickers to show the shapes left behind – Travis was feeling even crummier. I hung our craft on the fridge, and hopefully he’ll look back on it in a day or two to remember the fun he had putting it together!

Sticker Surprise (5)

Now it’s time for more toddler snuggles.

Letter Find

Letter Find (1)

The rice in our rain stick project this morning reminded me of a game I’ve played with Travis a few times before, one that’s well worth setting up again! Your child will absolutely love the tactile play with dry rice; meanwhile you’ll sneak in a little early learning with letter and word recognition.

Bury alphabet magnets in the rice and have your child dig through and discover which letters are “hiding.” A great first word to play with is his or her name. Travis correctly identified all the letters, and when I placed them in order, he was able to tell me it said Travis.

Letter Find (4)

We played with a few other simple words as well, like DOG and CAT, but after that Travis was more interested in pouring handfuls of rice in and out of the tupperware container. Fine by me, except that I didn’t want rice all over the kitchen floor!

Letter Find (2)

It turned into a great reminder of why I love signing with Travis. I pointed out that rice on the floor was a “no” and rice on the newspaper was a “yes,” saying and signing the words. He quickly latched on to the concept, and we had much easier clean-up that way!

Letter Find (3)

Rain Sticks

Rain Stick (3)

Travis and I woke up to a rainy morning – so what better activity than to make a rain stick? You only need a few household items to put this craft together.

Start with a paper towel tube, and let your child decorate any way they like. I drew a few blue raindrops as prompts and told Travis we were drawing a stormy day, so he was very excited to use blue for rain, black for storm clouds, and white for lightning.

Rain Stick (1)

Close up one end of the rain stick with a sheet of aluminum foil, and secure with masking tape. Parents, I learned through trial and error that a double (or triple!) layer of foil is a safe idea here, so you don’t get any pesky holes.

Next, shape a pipe cleaner into a loose coil, and have your child insert into the tube. Can I be honest? I have no idea what the pipe cleaner is for. To give the rice inside the rain stick something to fall down around, perhaps? Ah well, I followed instructions, so in goes the pipe cleaner.

Rain Stick (2)

This next step was Travis’s favorite part. Let your child help you pour dry rice into the tube. Make sure you don’t add too much (in which case the rice can’t shake around enough); a 1/4 cup felt like a good amount. Seal up the other end of the tube with foil and tape, and your rain stick is ready for shaking!

Travis had some fun with the imaginative task of “raining” on flowers we have here at home..

Rain Stick (4)

…after which he made it rain over his barn and animals.

Rain Stick (5)

No matter what the weather, rain sticks make great instruments, so tuck this project away until the next time you and your toddler have a music-making session.

Handprint Sheep

Handprint Sheep (6)

There are multiple experiences contained within this one art project: the concept of tracing, fine motor skill development from using glue, and of course the tactile fun of cotton balls! It’s a simple art project for a lazy morning at home.

To start, trace your child’s hand on construction paper with a pencil. In retrospect, I wish I’d used a better background than plain white – perhaps green for a sheep’s meadow? Your child’s fingers are now the sheep’s four “legs” and his or her thumb is the “head.” Travis really enjoyed having his hand traced. He removed it from the paper a few times before I could finish, but put it right back in the same spot when I asked him to.

Handprint Sheep (1)

Since a child’s hand is so small, I decided to make a “mommy sheep” next to his baby sheep, and traced my own hand.

Have your child dab glue all over the bodies of the sheep (the palms of your handprints), then press down fluffy cotton balls for the wool. Needless to say, Travis loved this part!

Handprint Sheep (2)Once the glue dried, we finished our creation with crayons. I can’t say that Travis really understood we were coloring in a sheep’s head and legs, but in his defense, I’m not sure our woolly little creatures look much like sheep either! They’re cute and fun though, so can’t beat that.

Handprint Sheep (5)

The craft also lends itself nicely to a few ways to continue your playtime; Travis wanted to trace other objects with the pencil after we finished, and of course extra cotton balls had to take a turn in our pom pom chute.

Handprint Sheep (3)

Animal Safari

Animal Safari (3)

This activity is an oldie-but-goodie in our household, one of Travis’s favorite games to play before bed. We only play a couple of times a month so that it’s always exciting when I announce it’s a night to hunt for our animal friends!

While your child isn’t looking, hide a few stuffed animals, preferably jungle-themed. This set from Giggle fits the bill perfectly. I recommend “hiding” the animals in fairly obvious places so your little one doesn’t get frustrated.

Animal Safari (1)

As part of your bedtime routine, dim the lights and announce that it’s safari time. I love giving Travis a flashlight to hold as he searches to add to the excitement, and he loves when his spotlight falls on a furry find.

Somebody’s getting warmer…

Animal Safari (4)

Tada! Travis triumphantly uncovers a hippo:

Animal Safari (5)

And is that a monkey under the couch?

Animal Safari (2)

Encourage your child to name the animals they have found, for some fun vocab practice as well. And now good night!