Dia de los Muertos Artifacts

Dia de los Muertos (8)

The lesson plan to go with Travis’s “Frightful Fiesta” recipes was all about Mexico’s Dia de los Muertos, or Day of the Dead. As a parent, I appreciated the cultural lesson, as well as the inclusion of crafts and entertainment, all rolled into one lesson plan.

We started with a sort of pop quiz. I printed out iconic images that go along with other holidays (Santa for Christmas, hearts for Valentine’s Day, etc.) and asked Travis which holiday each represented.

Dia de los Muertos (1)

Then I showed him a provided image of a sugar skull. Having learned briefly about the holiday before, he guessed Dia de los Muertos right away!

Dia de los Muertos (2)

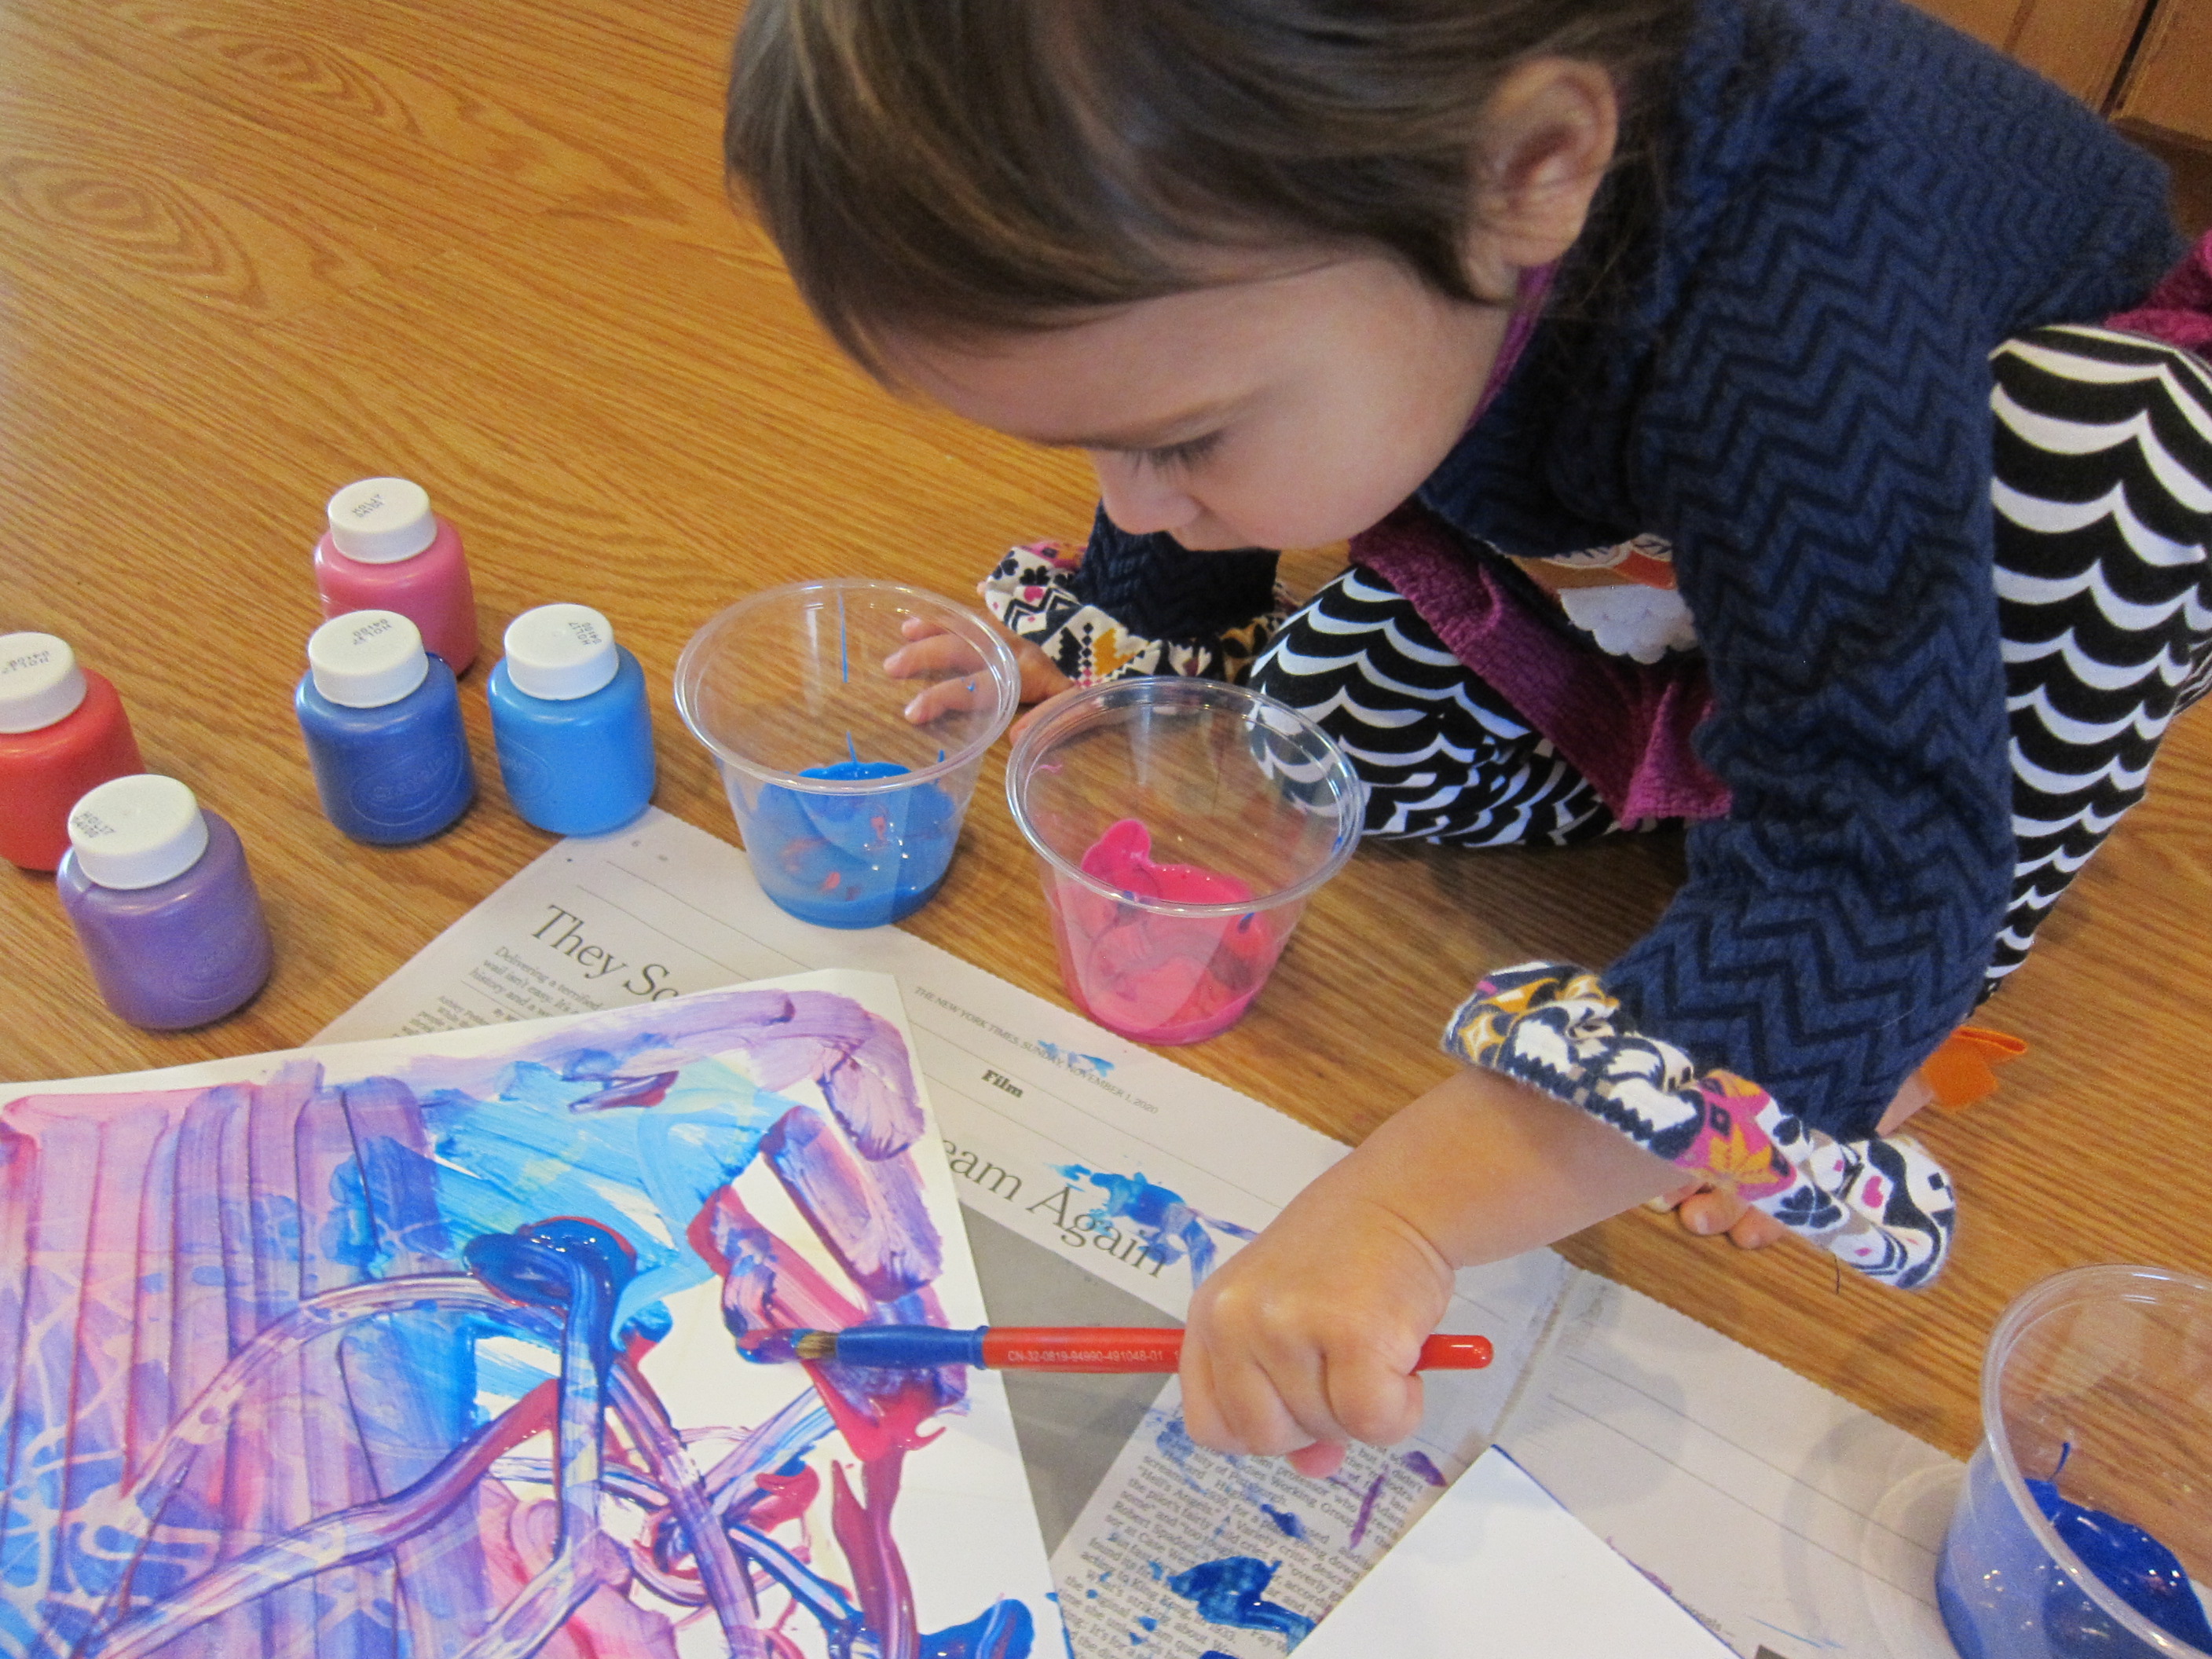
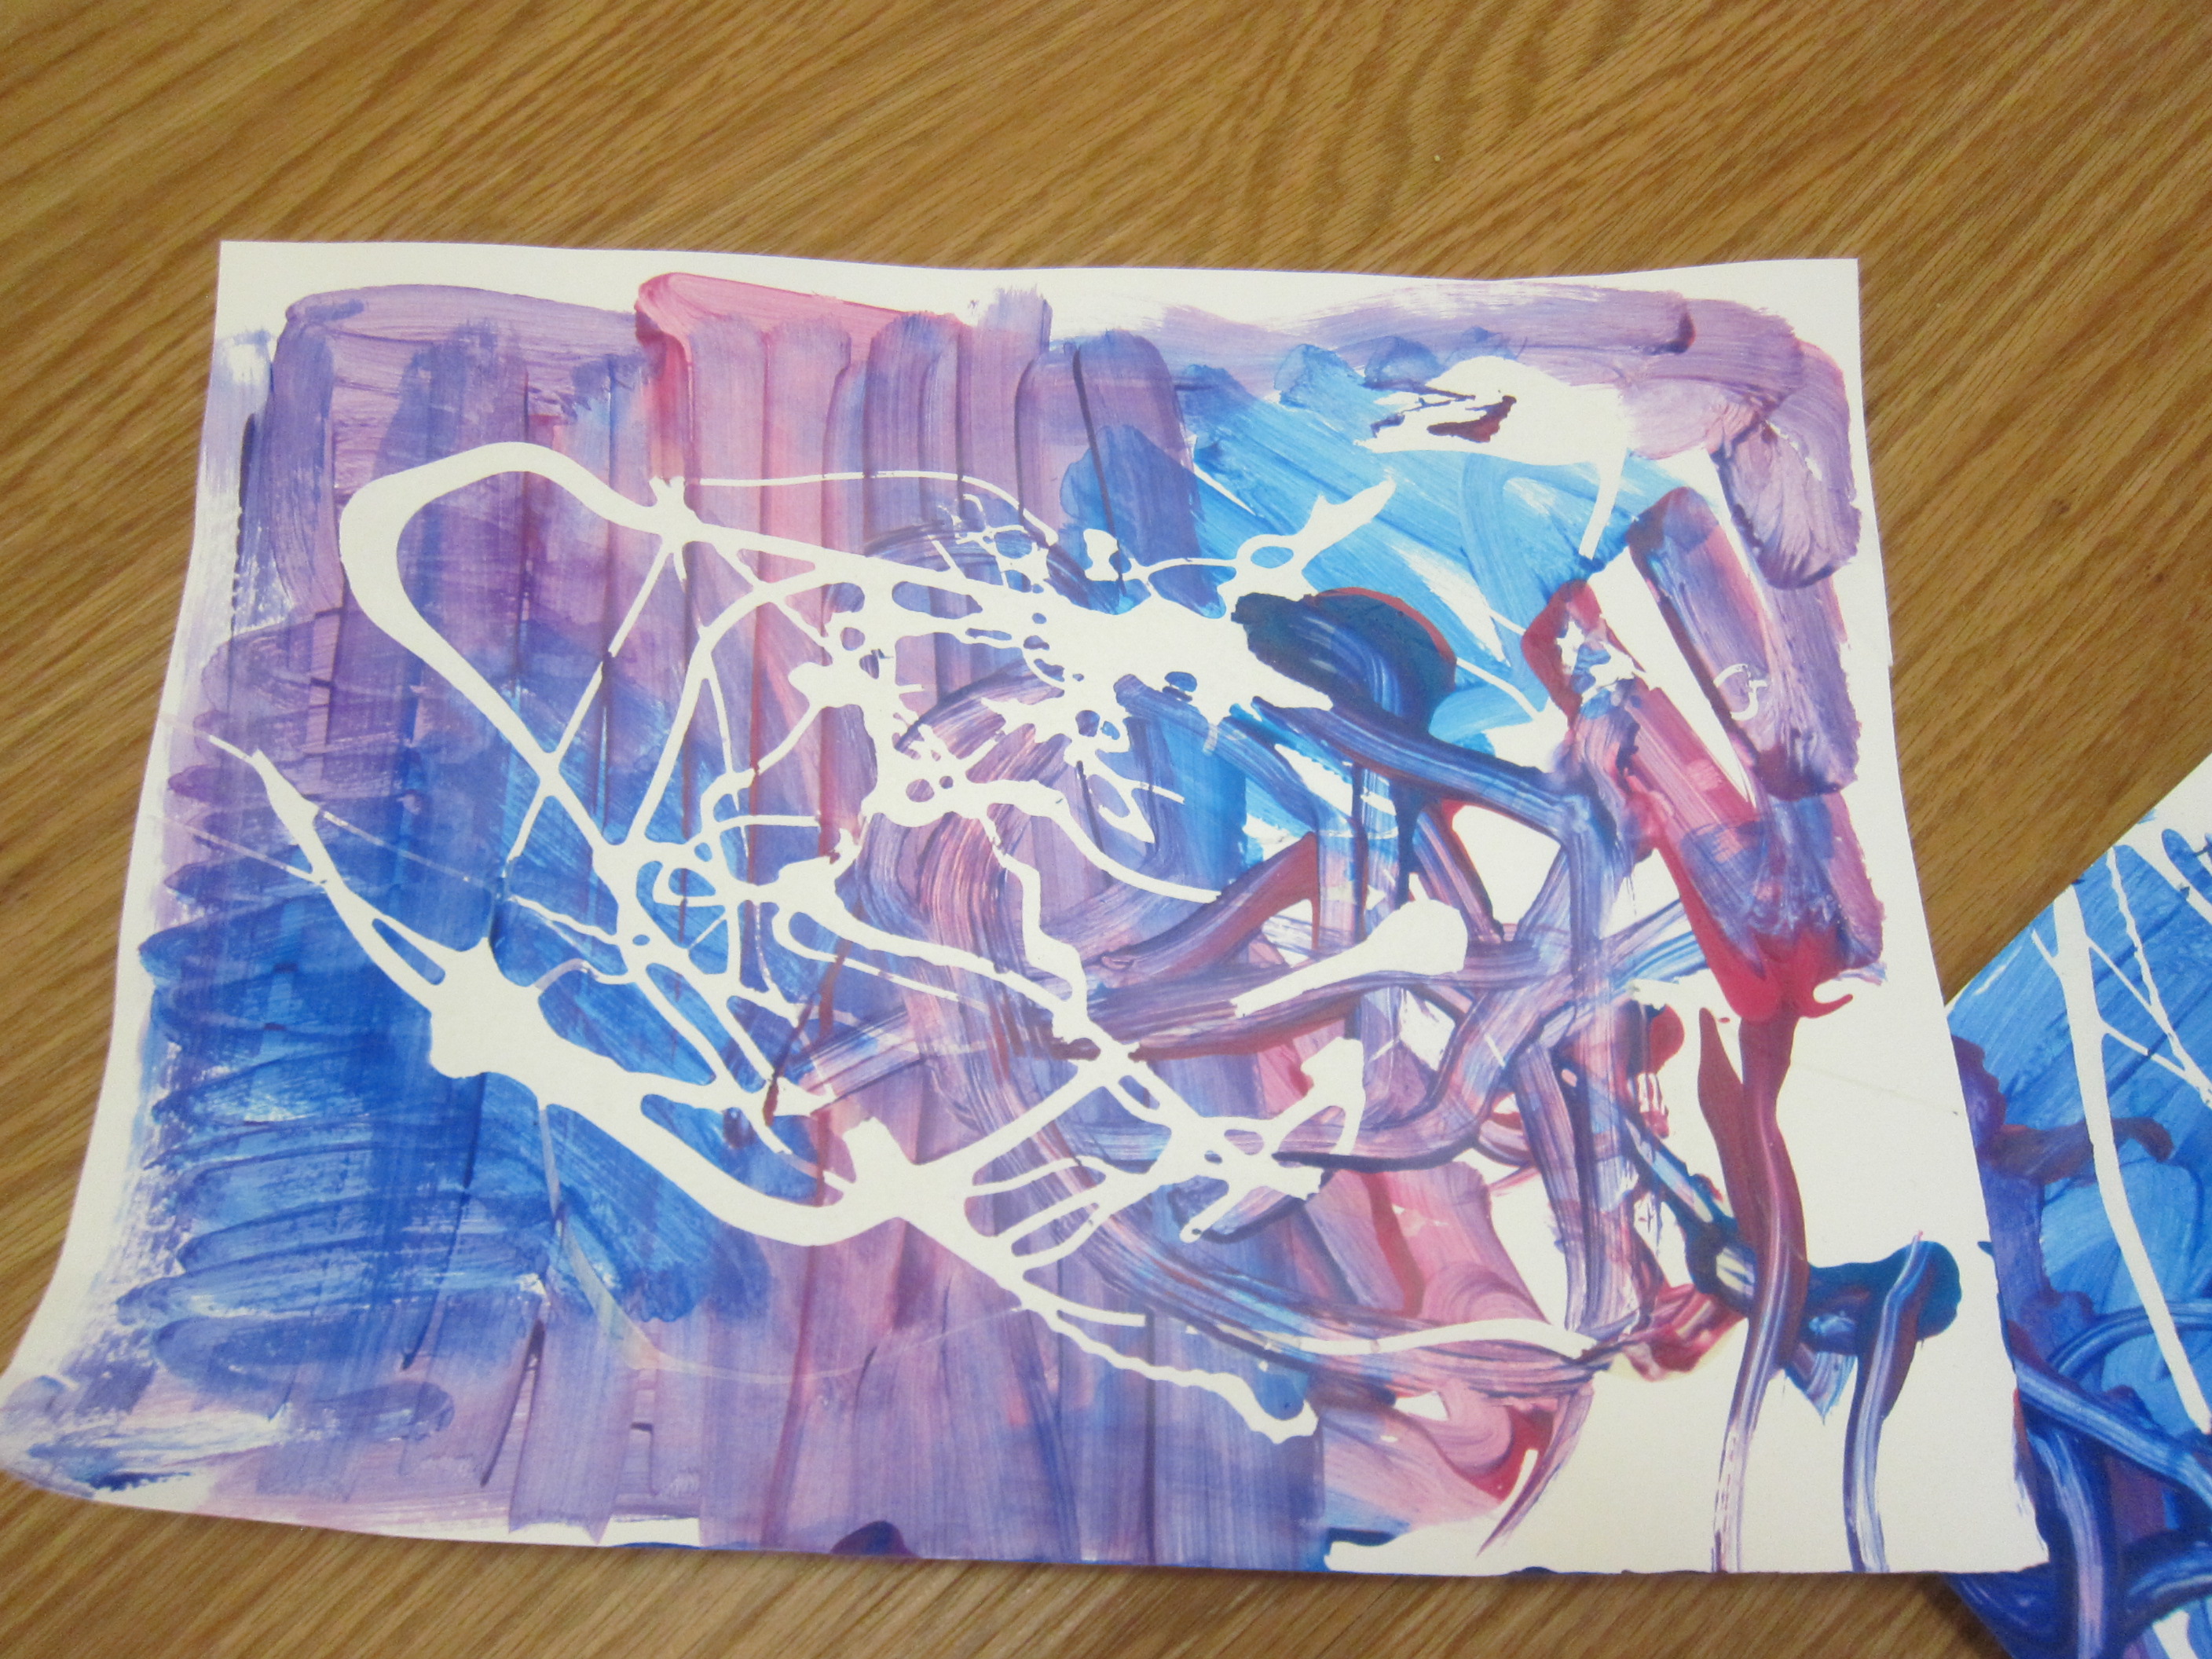
As he colored in the sugar skull, we watched a read-aloud of a wonderful children’s book that helped explain the holiday.

The lesson plan suggested drawing along to everything as your child listens to the story, focusing on the bright colors and happiness associated with the holiday, rather than grief.

Dia de los Muertos (4)

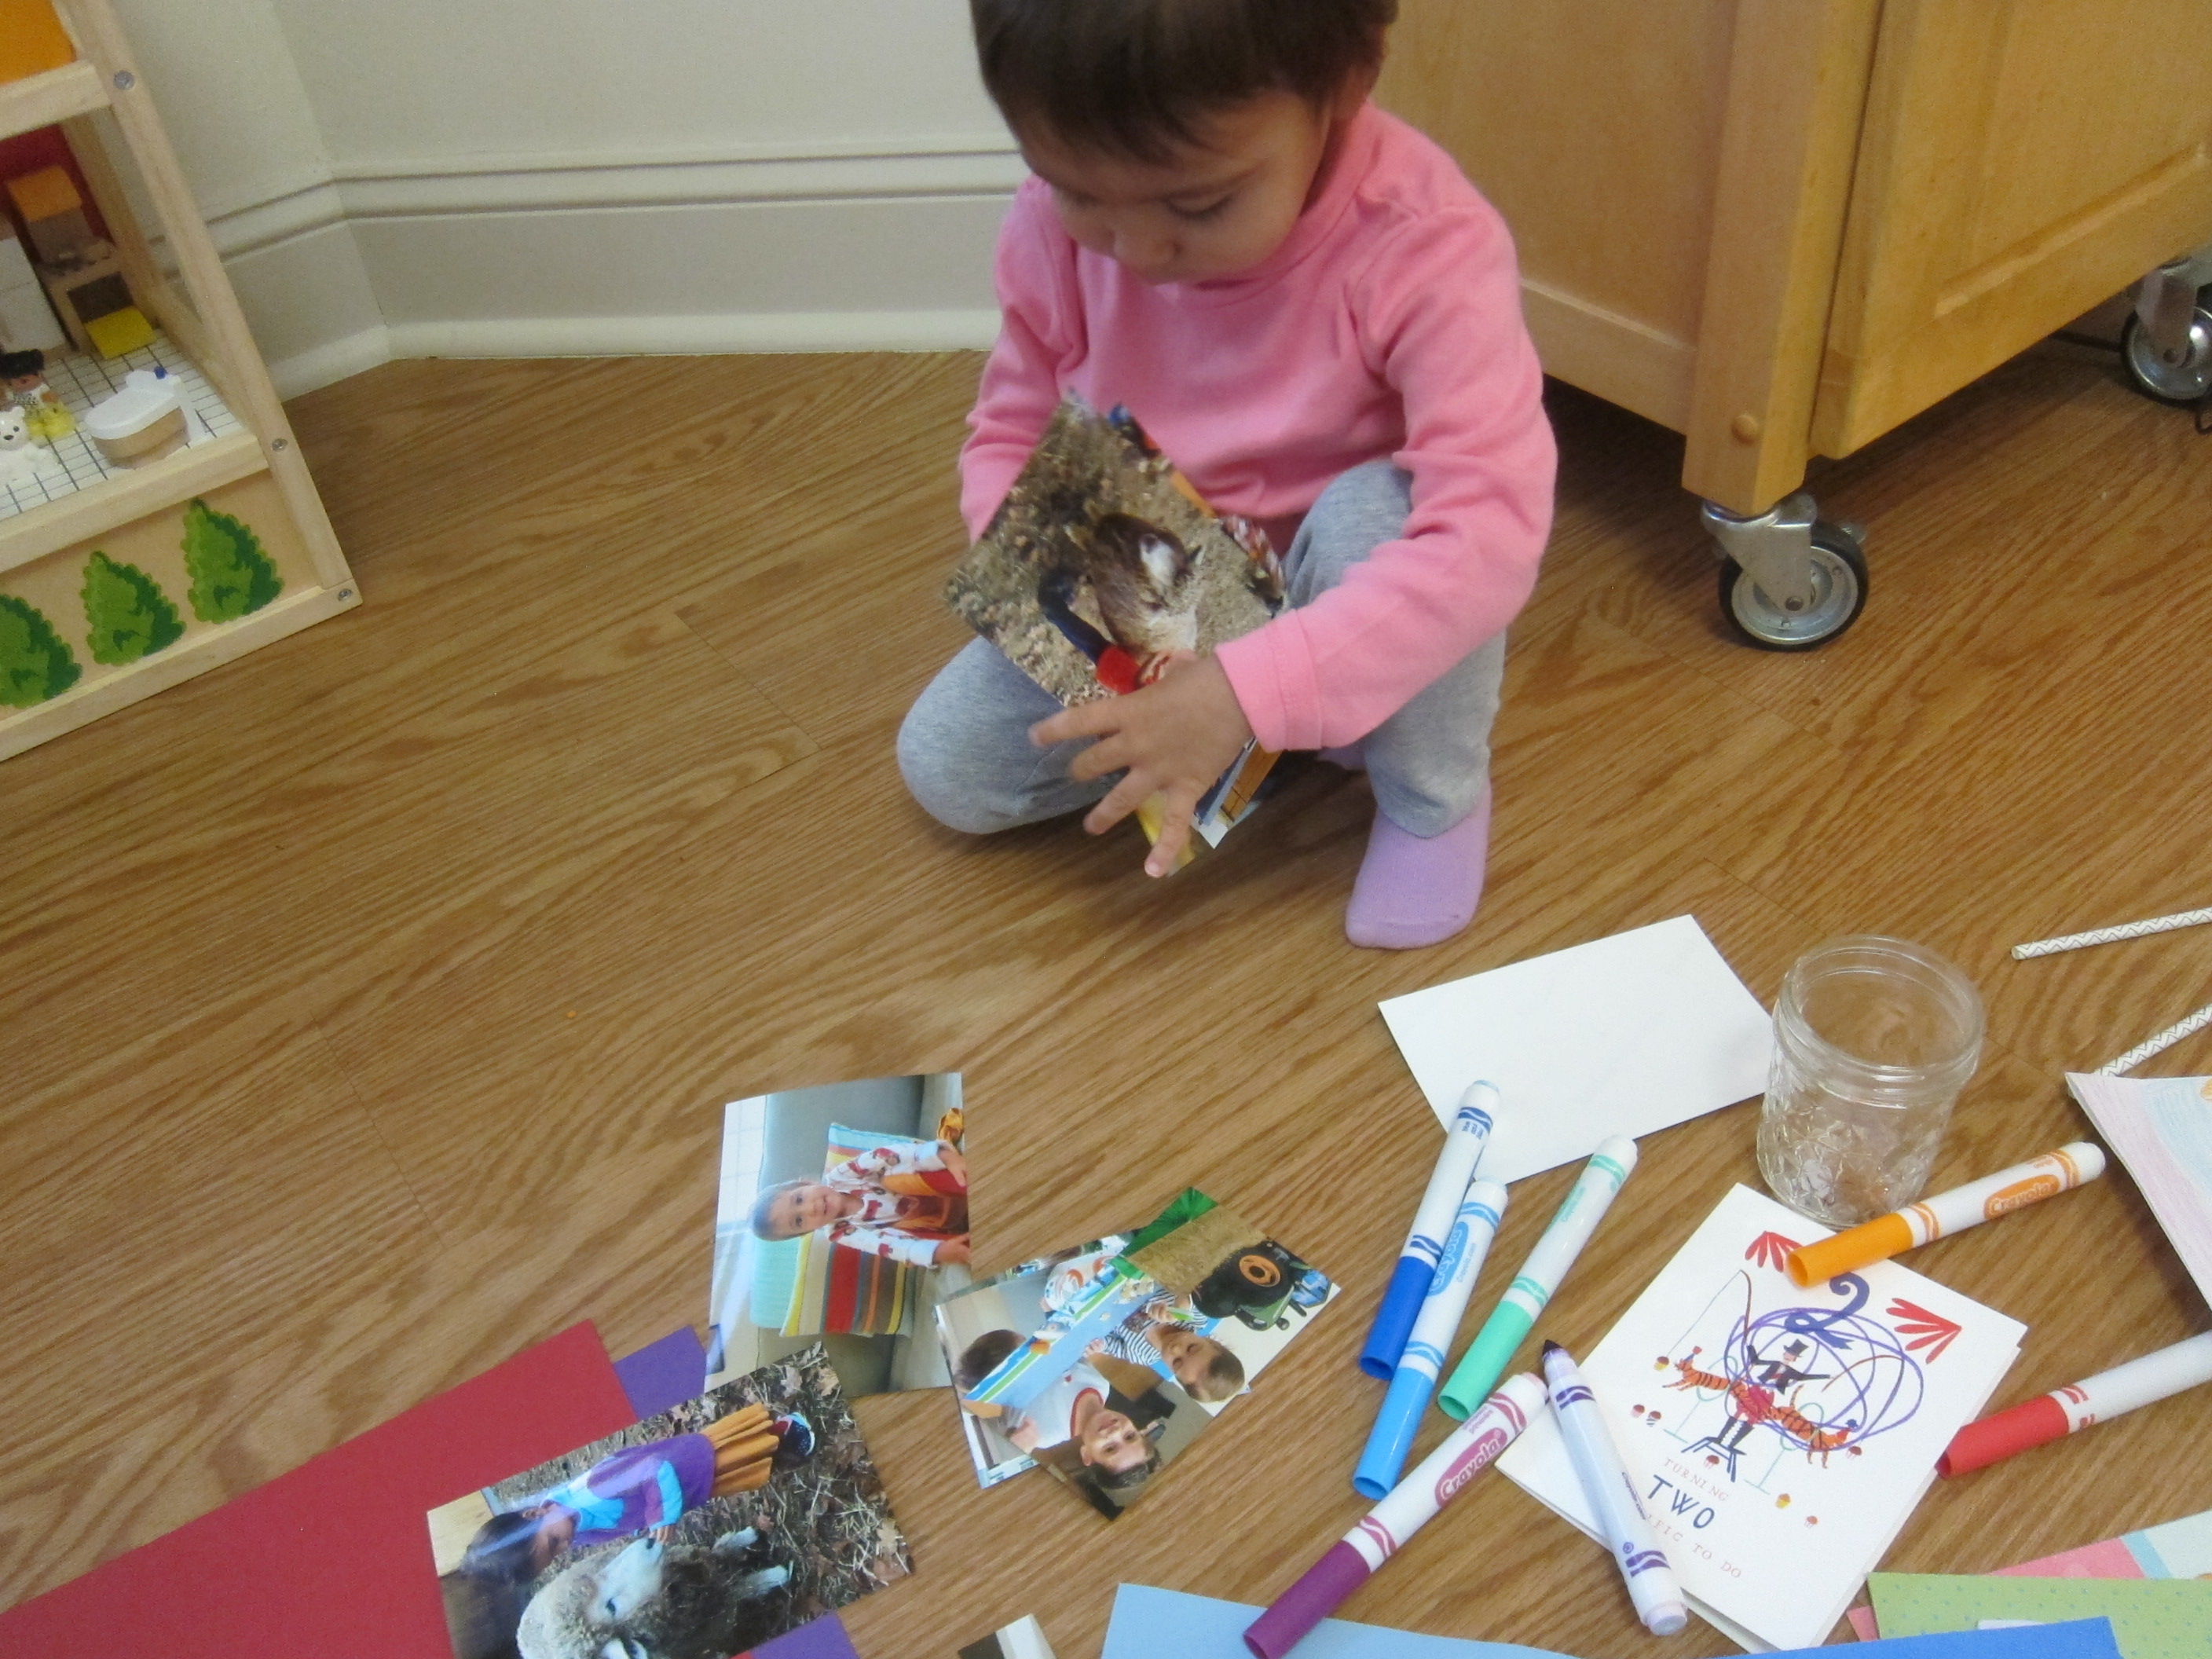
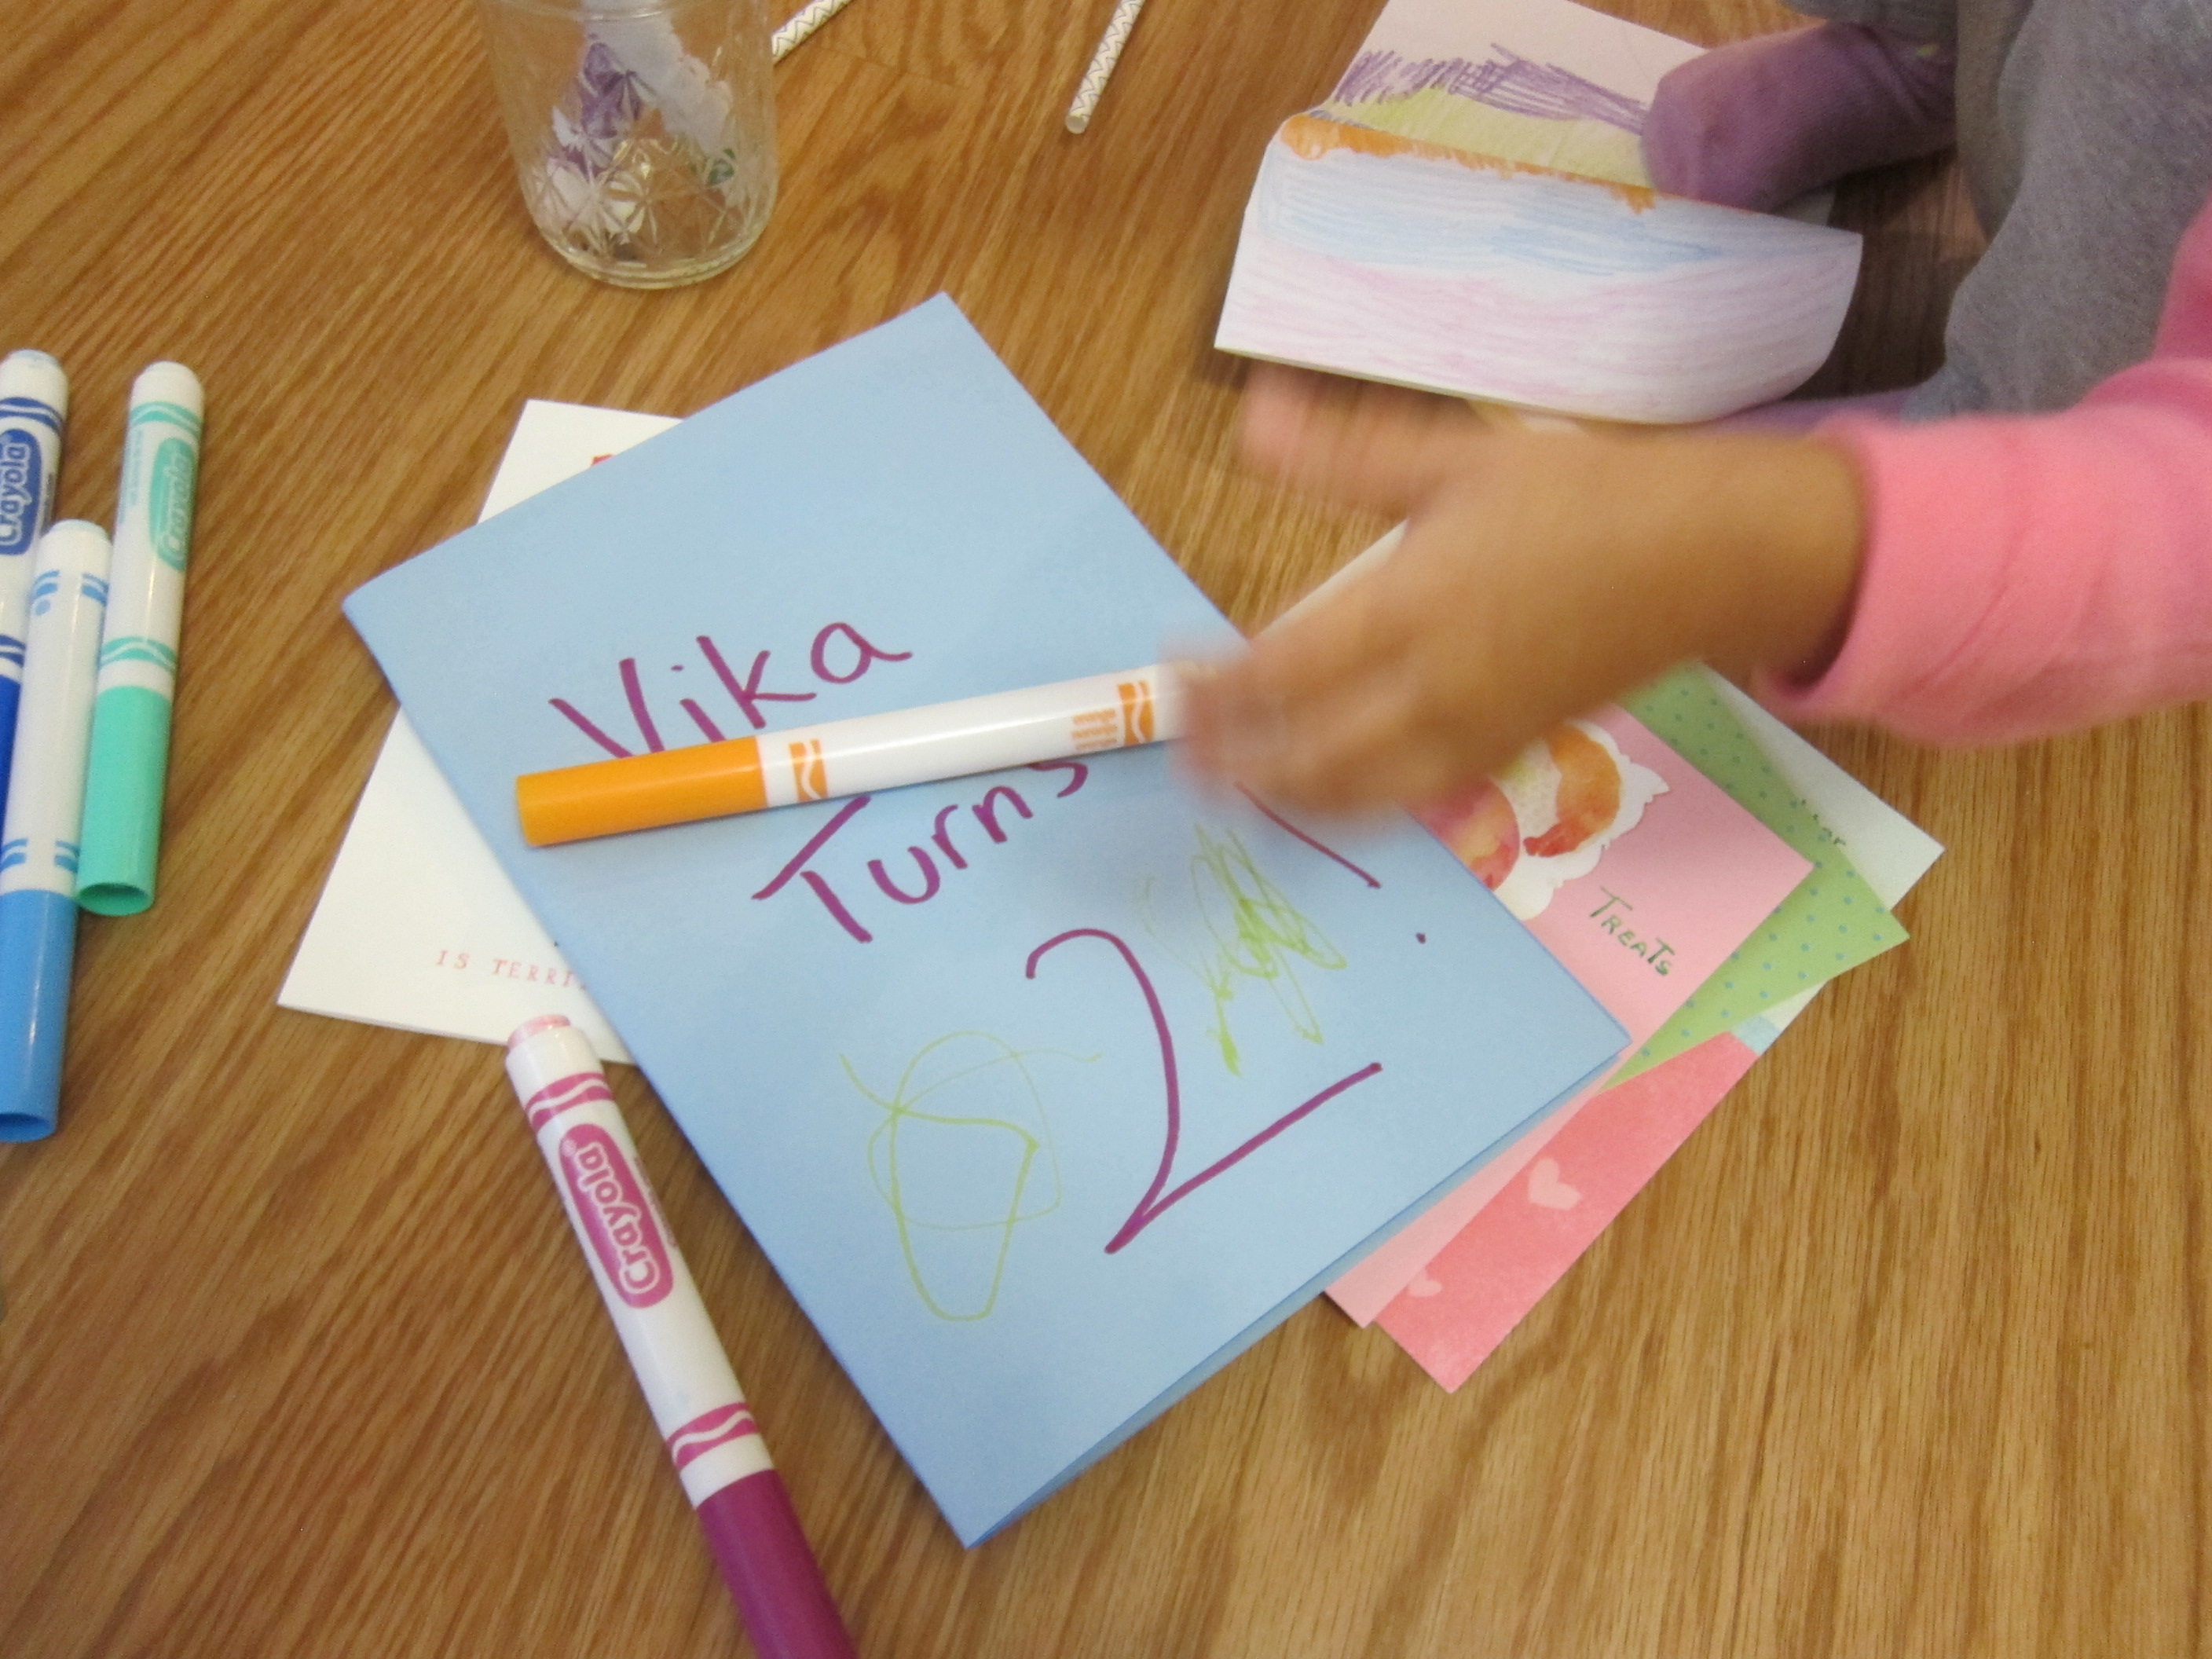
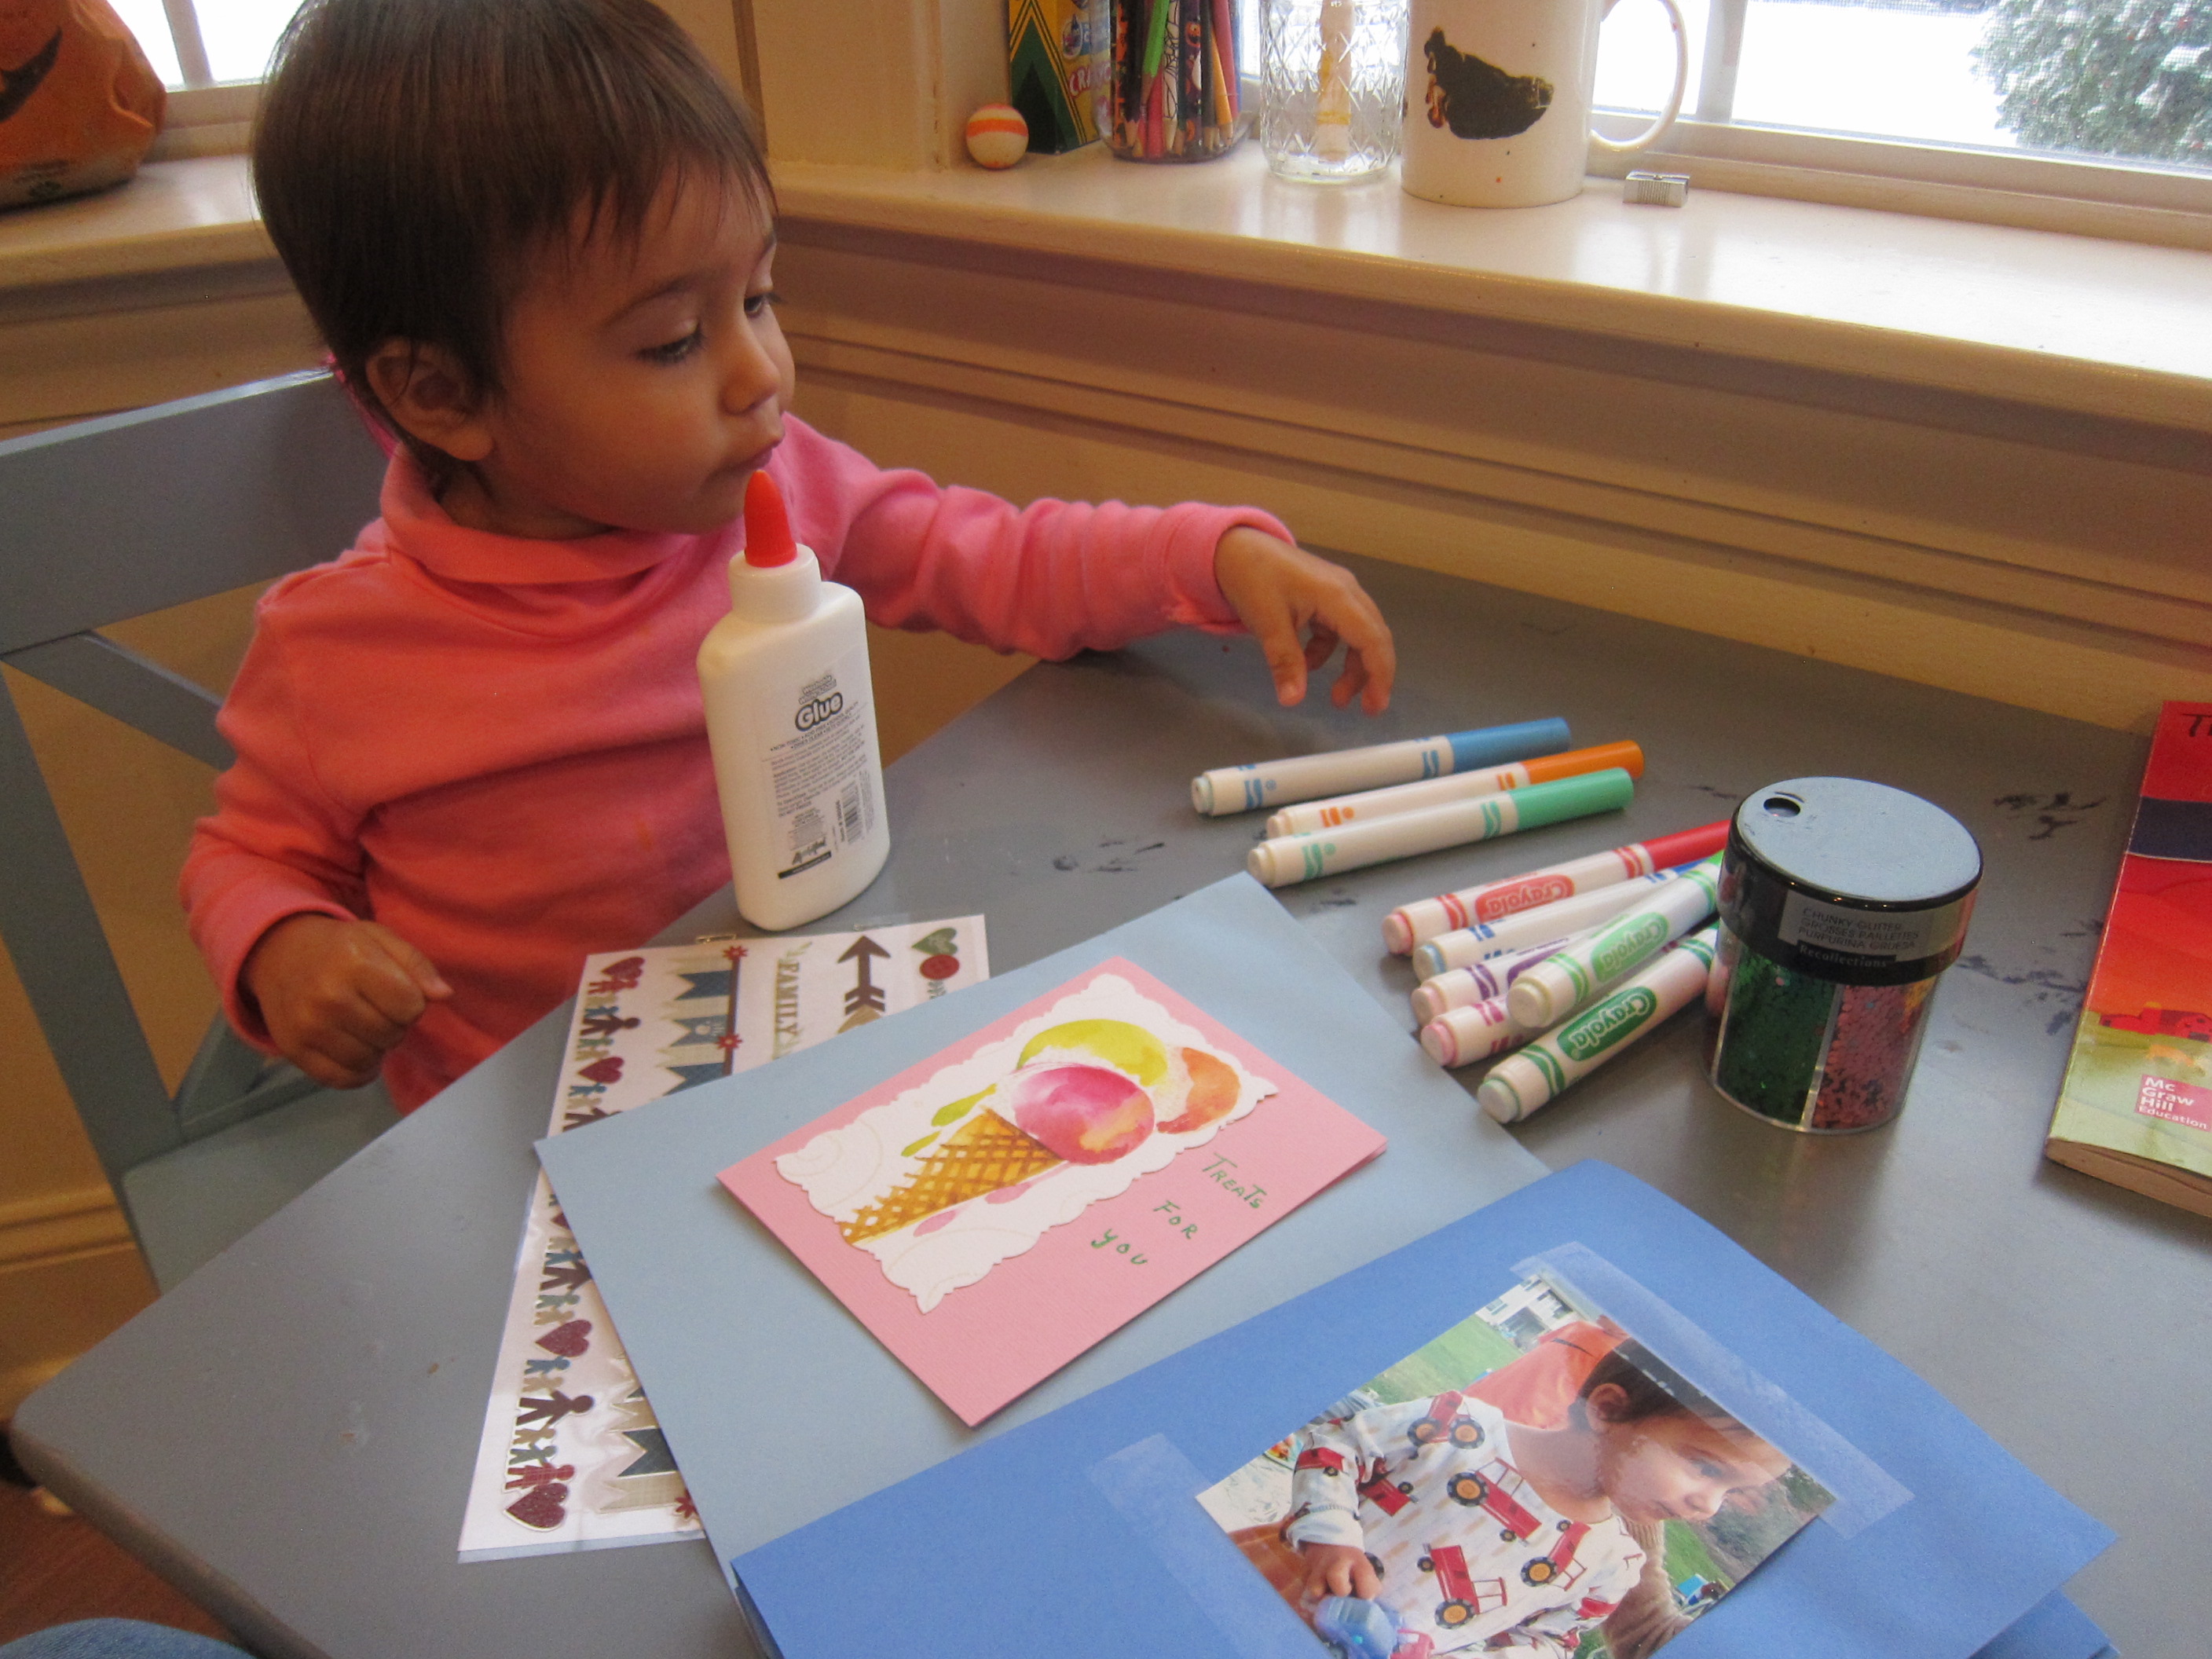
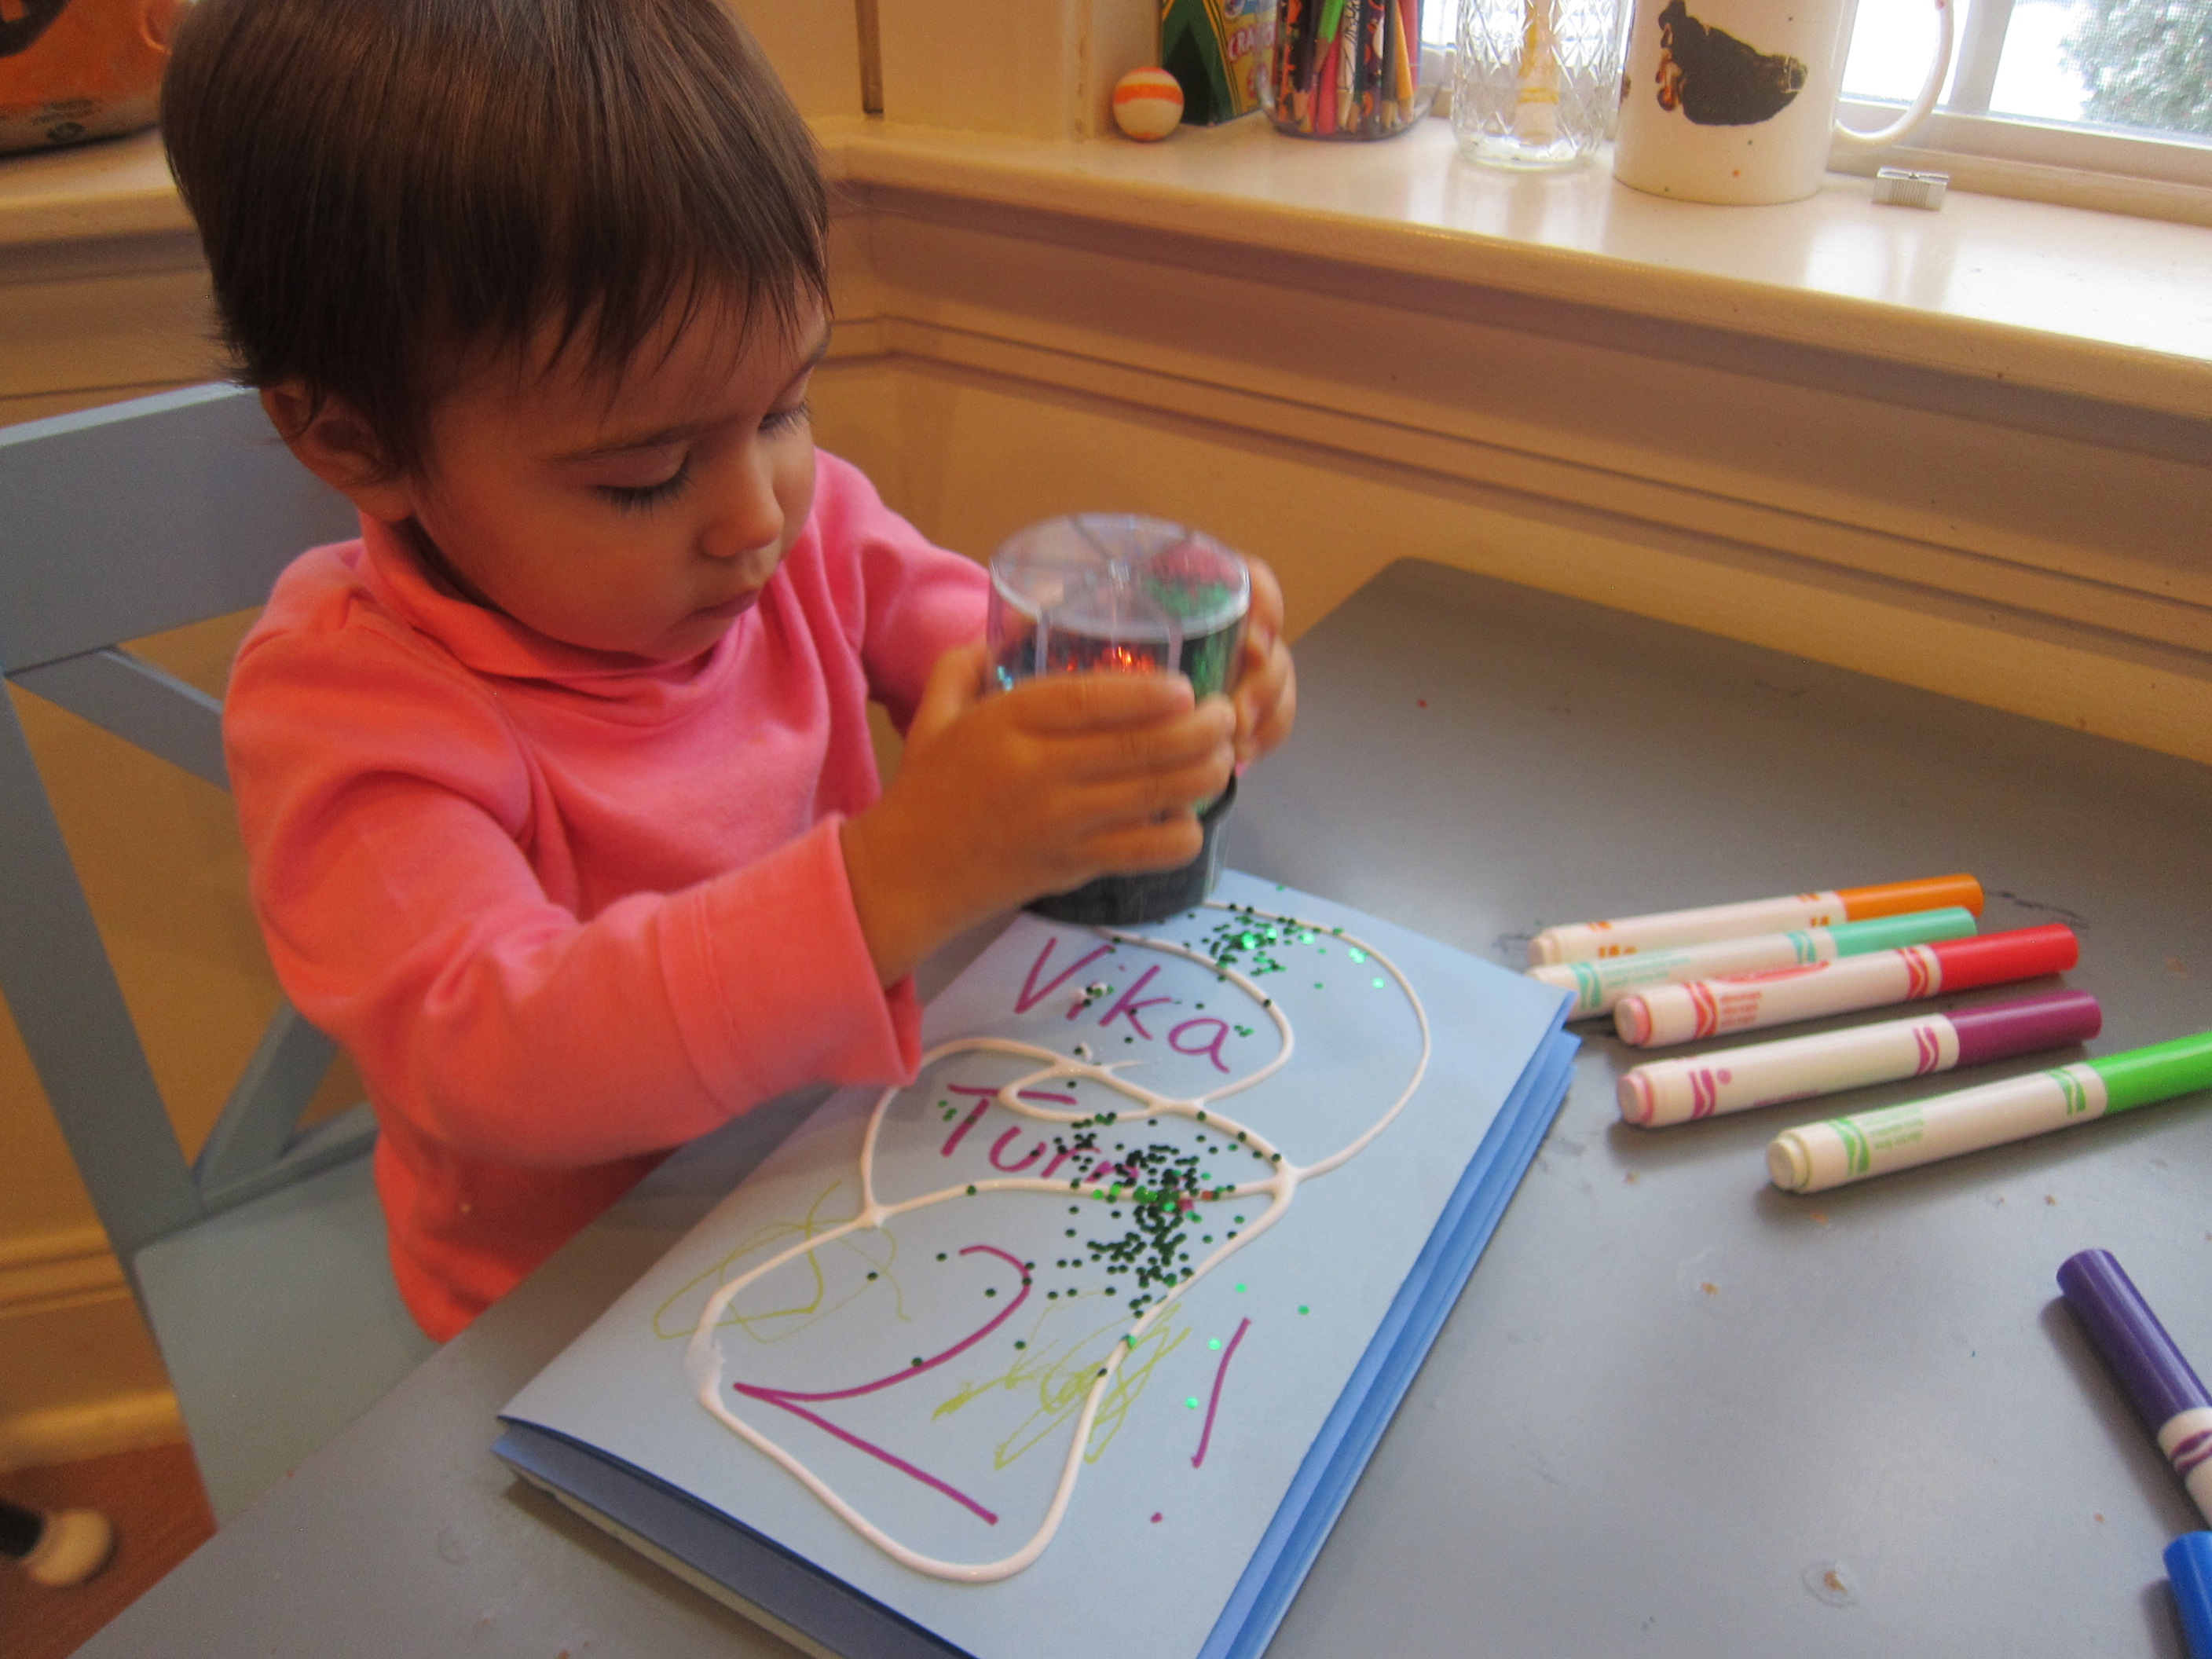
Little sister Veronika wanted to color, too!

Dia de los Muertos (5)

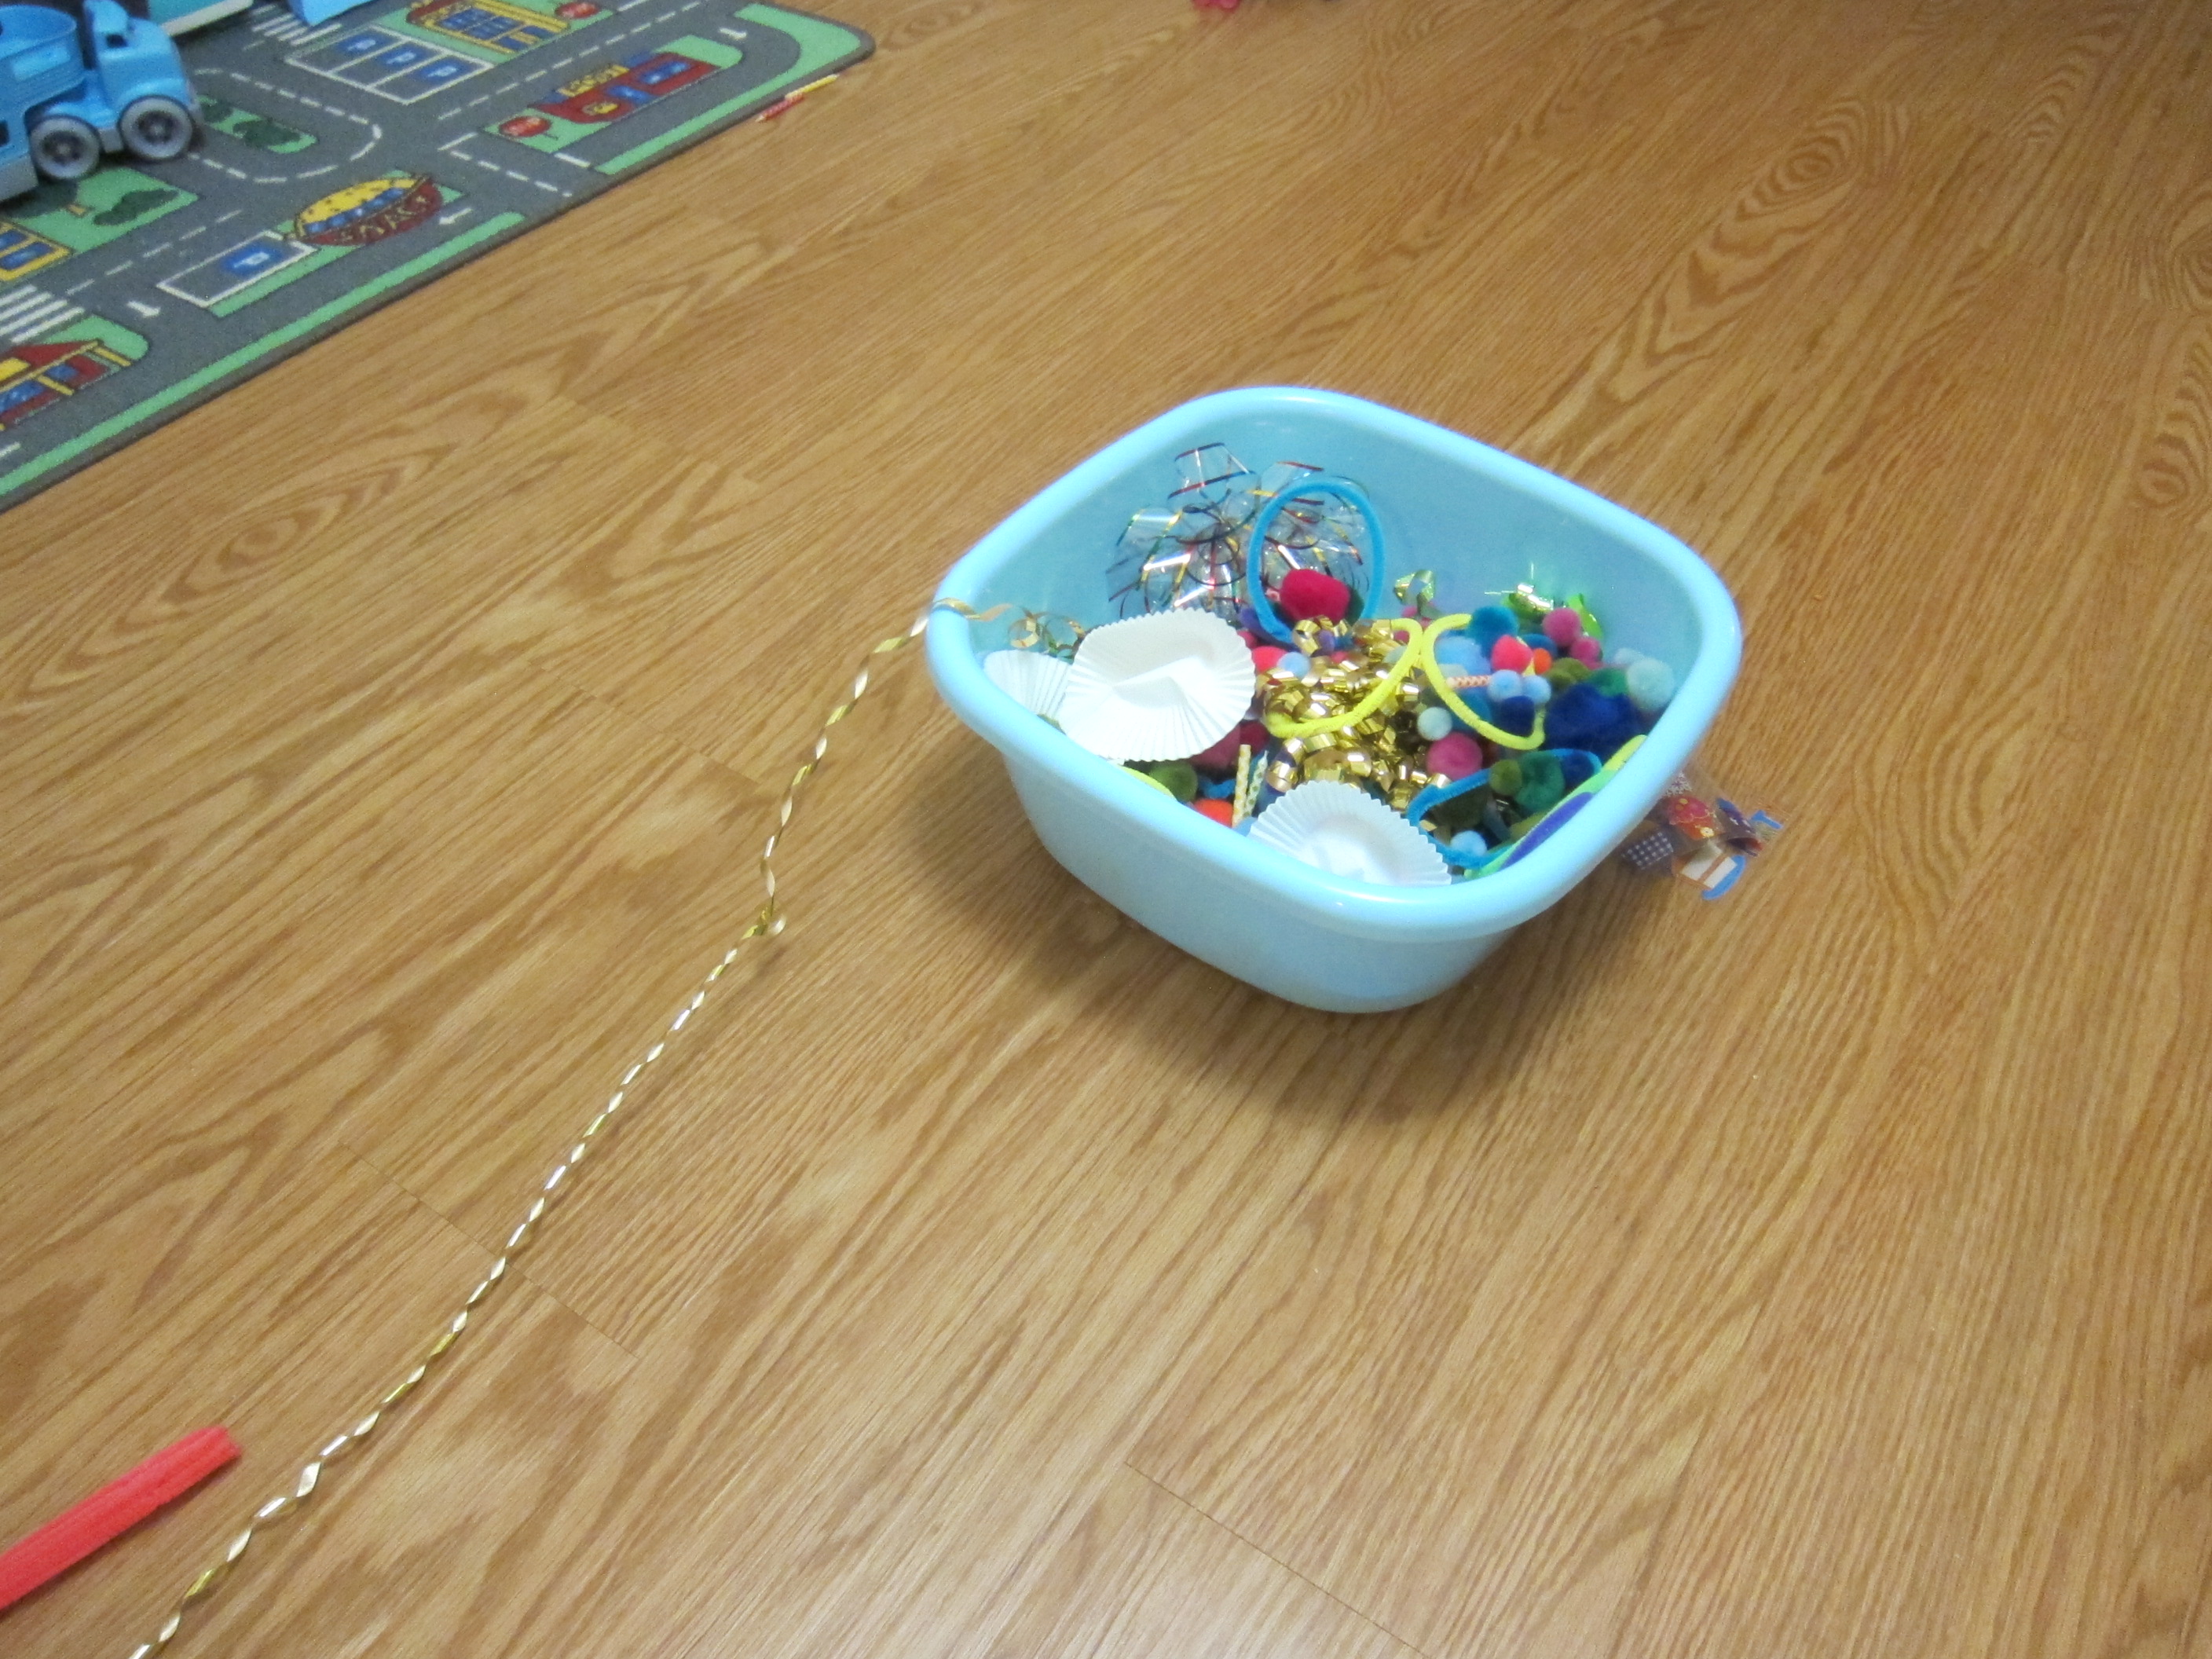
Next came the most beautiful part of the lesson: setting up an offrenda for a loved one. We looked at National Geographic Kids for inspiration, then brainstormed some items that would be dear to our loved one (Travis’s grandfather).

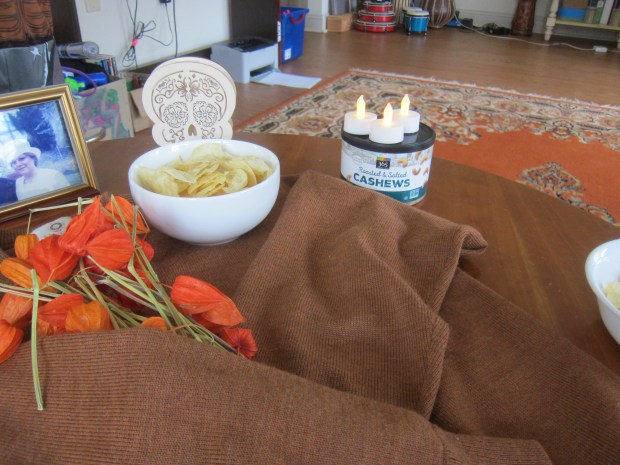
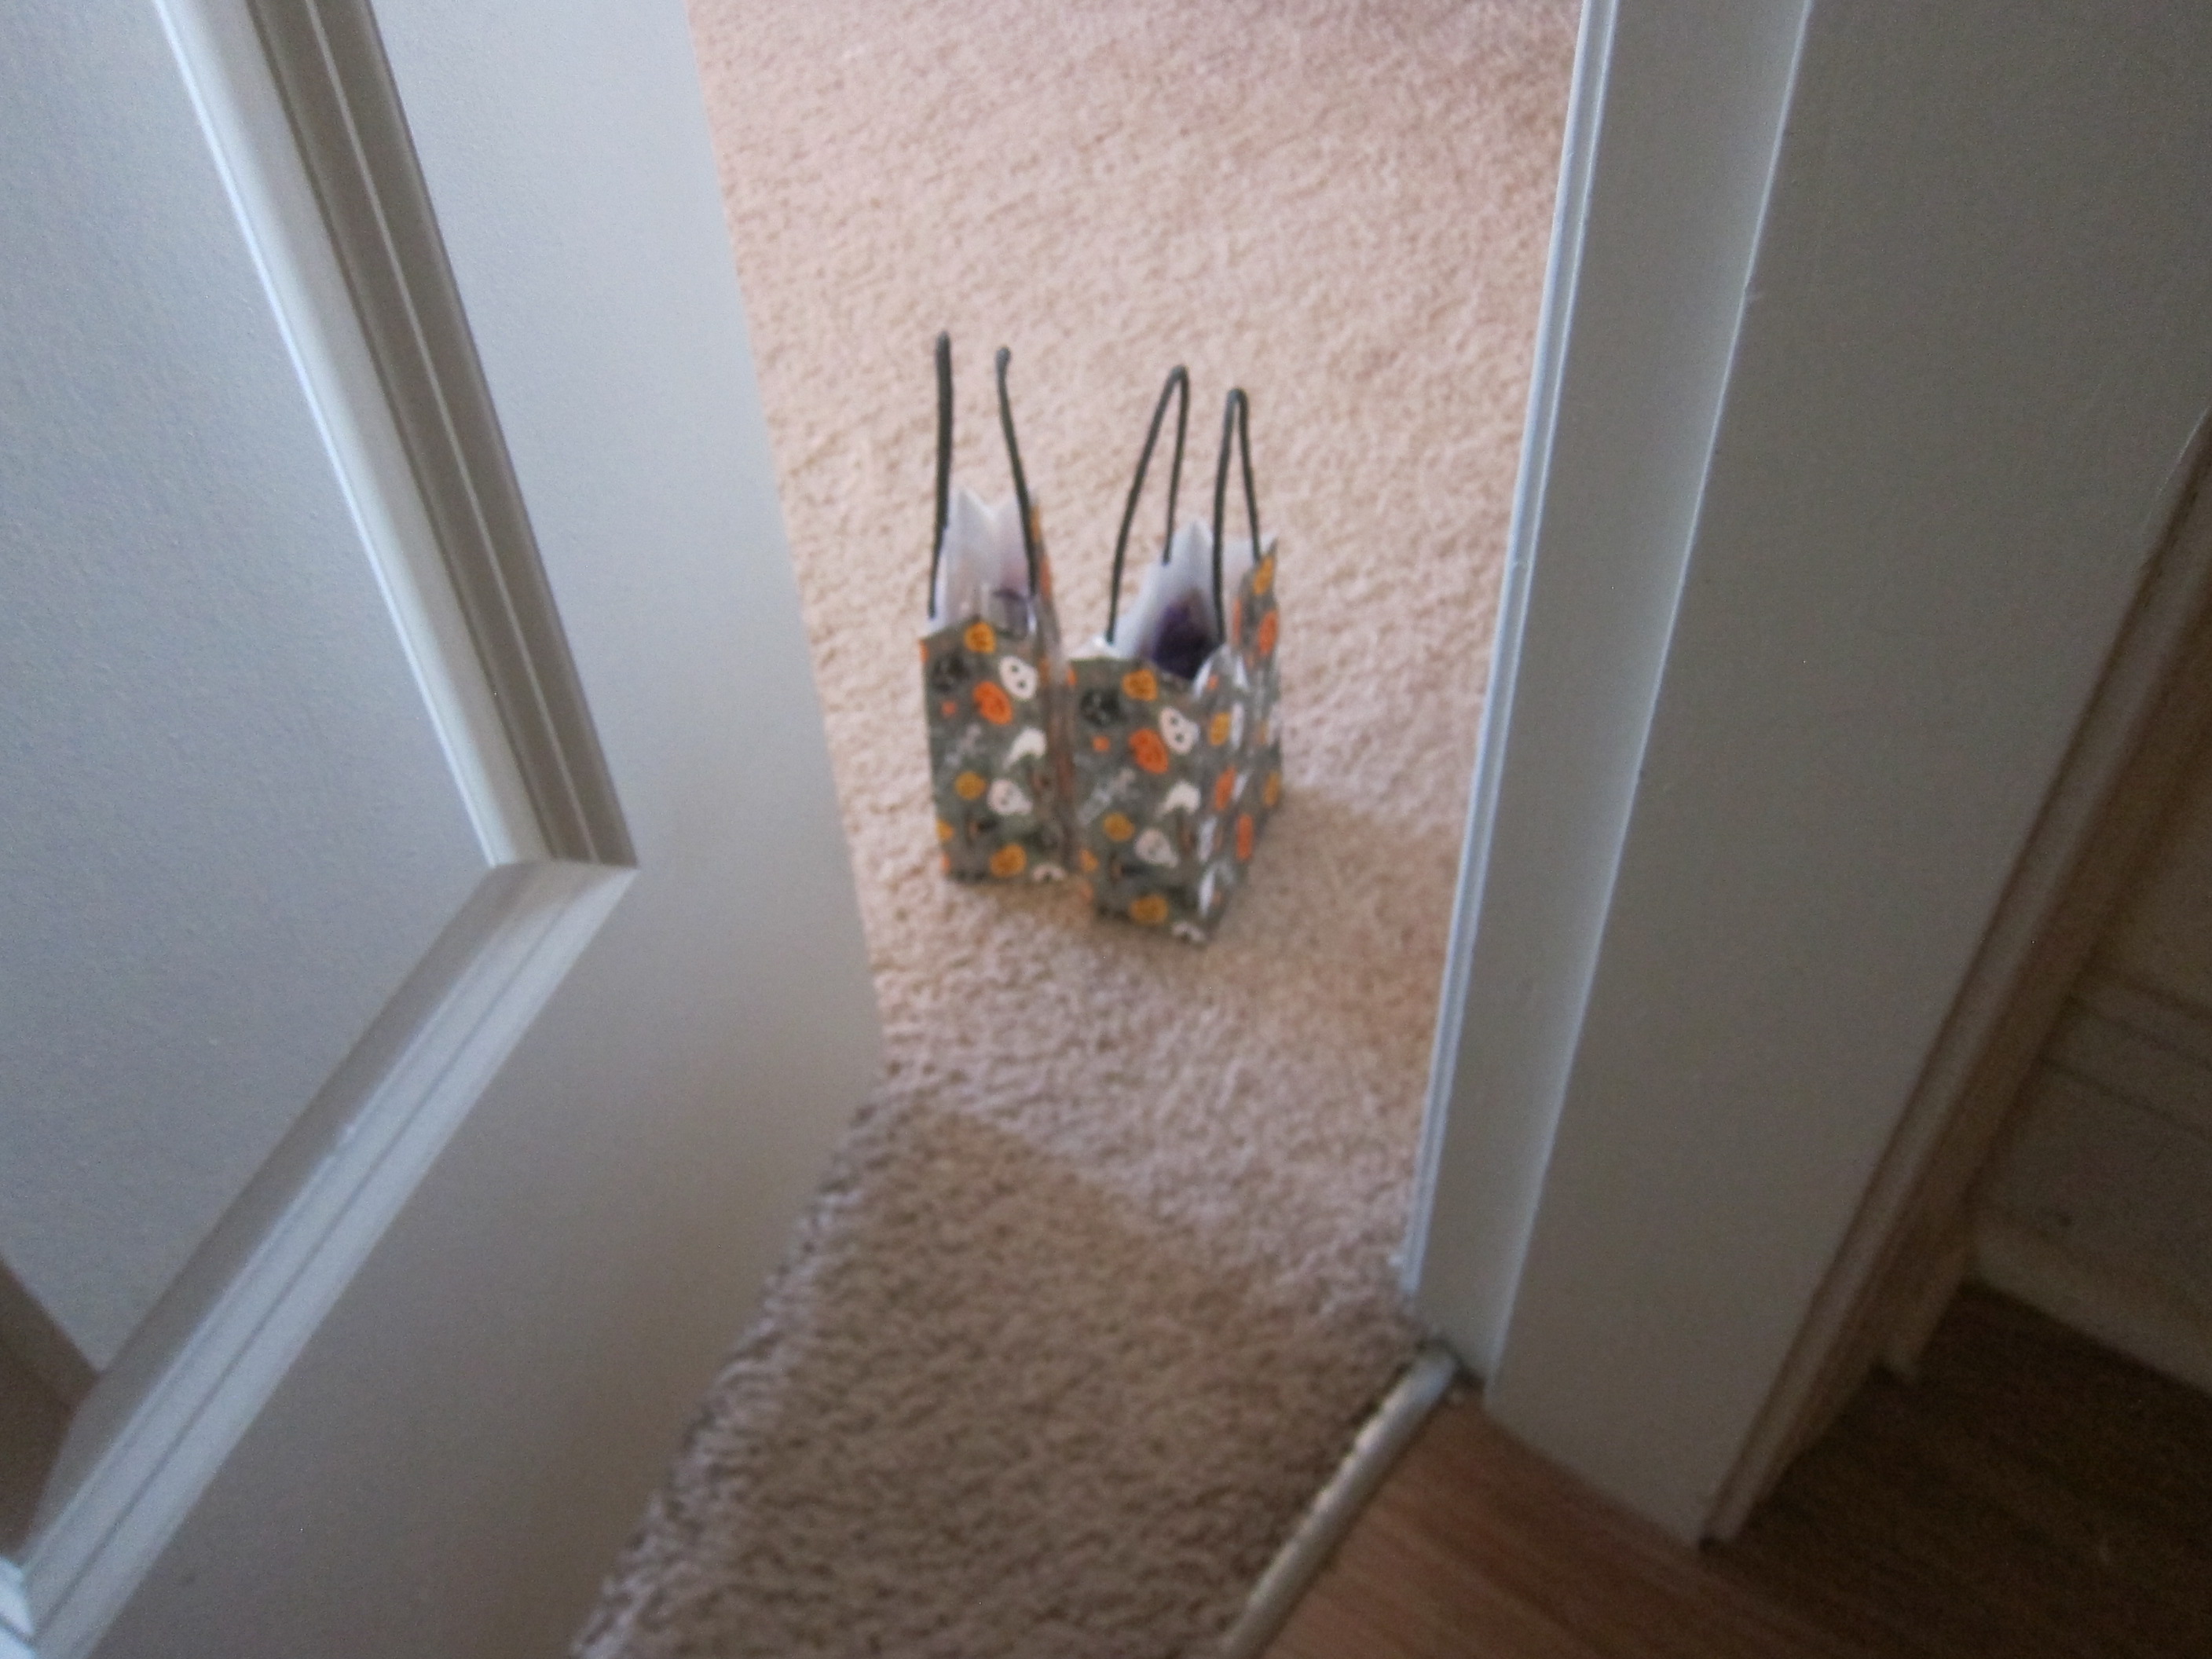
The next day, we put together the offrenda! It included an old sweater of Papa’s, his photo, flowers from the market, battery-operated candles, a sugar skull lantern, and some of Papa’s favorite foods, including cashews, chips, and plantains.

Dia de los Muertos (7)

I loved watching the children interact with the display joyfully (especially stealing the chips to eat!). Having never celebrated the Day of the Dead before, it truly was a moving experience.

Dia de los Muertos (9)

Note: You could also have your children create an offrenda for a deceased pet or a historical figure, if that is more appropriate in your home.

To extend the lesson, we made two crafts. First up, was a Paper Bag Pinata. Fill a sandwich-size brown bag with candy, then fold the top over and tape shut. Cut 6 (18-inch long) strips from tissue paper, and then fringe the edges with scissors.

Make a Pinata (2)

Tape the first strip to the bottom of the bag. Continue taping on the strips, overlapping them so the fringe dangles over the one below.

Make a Pinata (3)

We suspended the pinata from the ceiling, then… Fiesta time! Travis and Veronika loved taking turns whacking at it.

Make a Pinata (4)

Inflatable light sabers weren’t strong enough, but a wiffle ball bat was. Candy!

Make a Pinata (5)

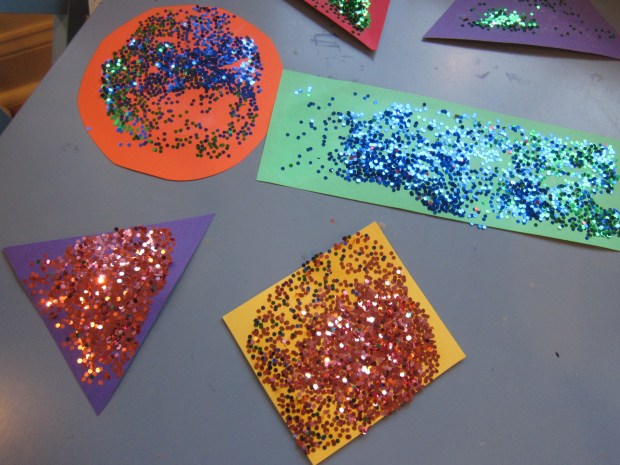
Next we created Papel Picado. This is a fun tissue paper craft that is normally strung up during the festival, and the process is similar to making paper snowflakes. Fold a square of tissue paper in half twice, and then into a triangle. Fold one side down like you’re making a paper airplane fin. Begin making little slits and shapes with scissors. Travis loves fine scissor work like this, so was thrilled that this was the “assignment”.

Papel Picado (3)

Open up for the big reveal!

Papel Picado (4)

We taped them to a string so we could suspend them across one archway in our home, where they looked especially gorgeous when the sun was shining through.

Papel Picado (5)

We finished by watching the movie Coco. This was a fantastic way for Travis to understand the nuances of the holiday. The film is highly recommended for those who have not viewed it.

Dia de los Muertos (11)

Glitter Shapes

Glitter Shapes (7)

You’ll combine early learning (shape-recognition, colors) and messy art with this fun toddler project!

To start, I cut out simple basic shapes from bright construction paper, using a different color for each shape. Soon we had a pile of green rectangles, purple triangles, red hearts, orange circles, and more. As I worked, I asked Veronika to identify each one, and she was a willing participant.

Glitter Shapes (1)

Now for the mess! Have your toddler smear a glue stick all over each shape. One or both sides, it won’t matter!

Glitter Shapes (2)

Place one or two shapes at a time in a small shoebox with a lid, then dump in copious amounts of glitter. Yes, toddlers, the more glitter the merrier!

Glitter Shapes (3)

Now seal the box and shake. I hadn’t counted on small holes in the bottom of our box that allowed some glitter to escape, but luckily we were using large pieces of glitter that were easy to sweep up.

Glitter Shapes (5)

Needless to say, the result was worth the mess.

Glitter Shapes (4)

Open the lid and reveal to your child how each shape is now sparkly. Veronika loved them!

Glitter Shapes (6)

Painted Place Mat

Painted Place Mat (3)

Toddlers are so determined to use their own utensils, but that often means mealtime is a giant mess. This project is perfect then: your child gets to make a mess guilt-free while putting together the craft, and then has a placemat to contain future messes at the end.

This was Veronika’s first introduction to rubber cement as a material, and boy did she love it. I showed her how to dip in the brush (I’d forgotten how this cleverly attaches right to the lid!) and then hold it over a sheet of thick watercolor paper to watch it dribble down.

Painted Place Mat (4)

“Dribble!” she said with glee. I thought I might need to guide her hand, but this girl wanted to do it “all by myself”.

Painted Place Mat (5)

Once the paper is good and goopy, let the rubber cement dry for 30 minutes. Next, I set out tempera paints and we painted all over the paper.

Painted Place Mat (6)

The rubber cement will act much the same way as wax resist painting with crayons.

Painted Place Mat (9)

Veronika loved painting carefully, but I also brushed paint in a more even layer on other parts of the paper so she’d see the full final effect.

Painted Place Mat (7)

Let the paint dry completely, and then rub off the rubber cement. I did this with a finger, but a note of caution: It hurts!

Painted Place Mat (1)

There must be a better way, perhaps with a cloth or the edge of a coin. Regardless, the rubber cement rubs off leaving neat swirls of white that now stand out against your toddler’s painting.

Painted Place Mat (2)

Cover the paper on both sides with contact paper to protect it, and your child will have a durable piece of art to look at during each meal. And to make a mess on, of course. Your toddler will be so proud!

Exploring Pumpkin Guts

Exploring Pumpkin Guts (8)

Pumpkin carving is an obvious Halloween activity, but don’t neglect what a fantastic sensory experience the whole process is, even before you get to that spooky carved face. And that goes not just for toddlers, but for big kids, too!

Exploring Pumpkin Guts (3)

First, I set out our biggest pumpkins, along with newspaper underneath, a tray to catch all those insides, and a few zip-top bags. The kids had eagerly awaited this moment, as we’ve decorated smaller pumpkins here and there in anticipation. I invited them to explore the giant pumpkin first: the texture, the color, the smell, etc.

Exploring Pumpkin Guts (1)

Then we cut off the top (grown-up step!). Now, the lid is like a puzzle piece that kids could take off and fit on over and over again.

Exploring Pumpkin Guts (2)

Time to scoop! Pumpkins are fascinating inside, starting with those stringy guts and slippery seeds, and then scraping down to the firmer flesh. I spooned some of the insides onto a tray for Veronika to explore with bare hands.

Exploring Pumpkin Guts (7)

She also wanted to smell it!

Exploring Pumpkin Guts (5)

I also sealed some in a zip-top bag in case the goop made her squeamish, but she actually preferred the stuff on the tray!

Exploring Pumpkin Guts (6)

She also loved stirring through the mixture with our pumpkin scoop, which we could also tap against the pumpkin to play it like a drum!

Exploring Pumpkin Guts (9)
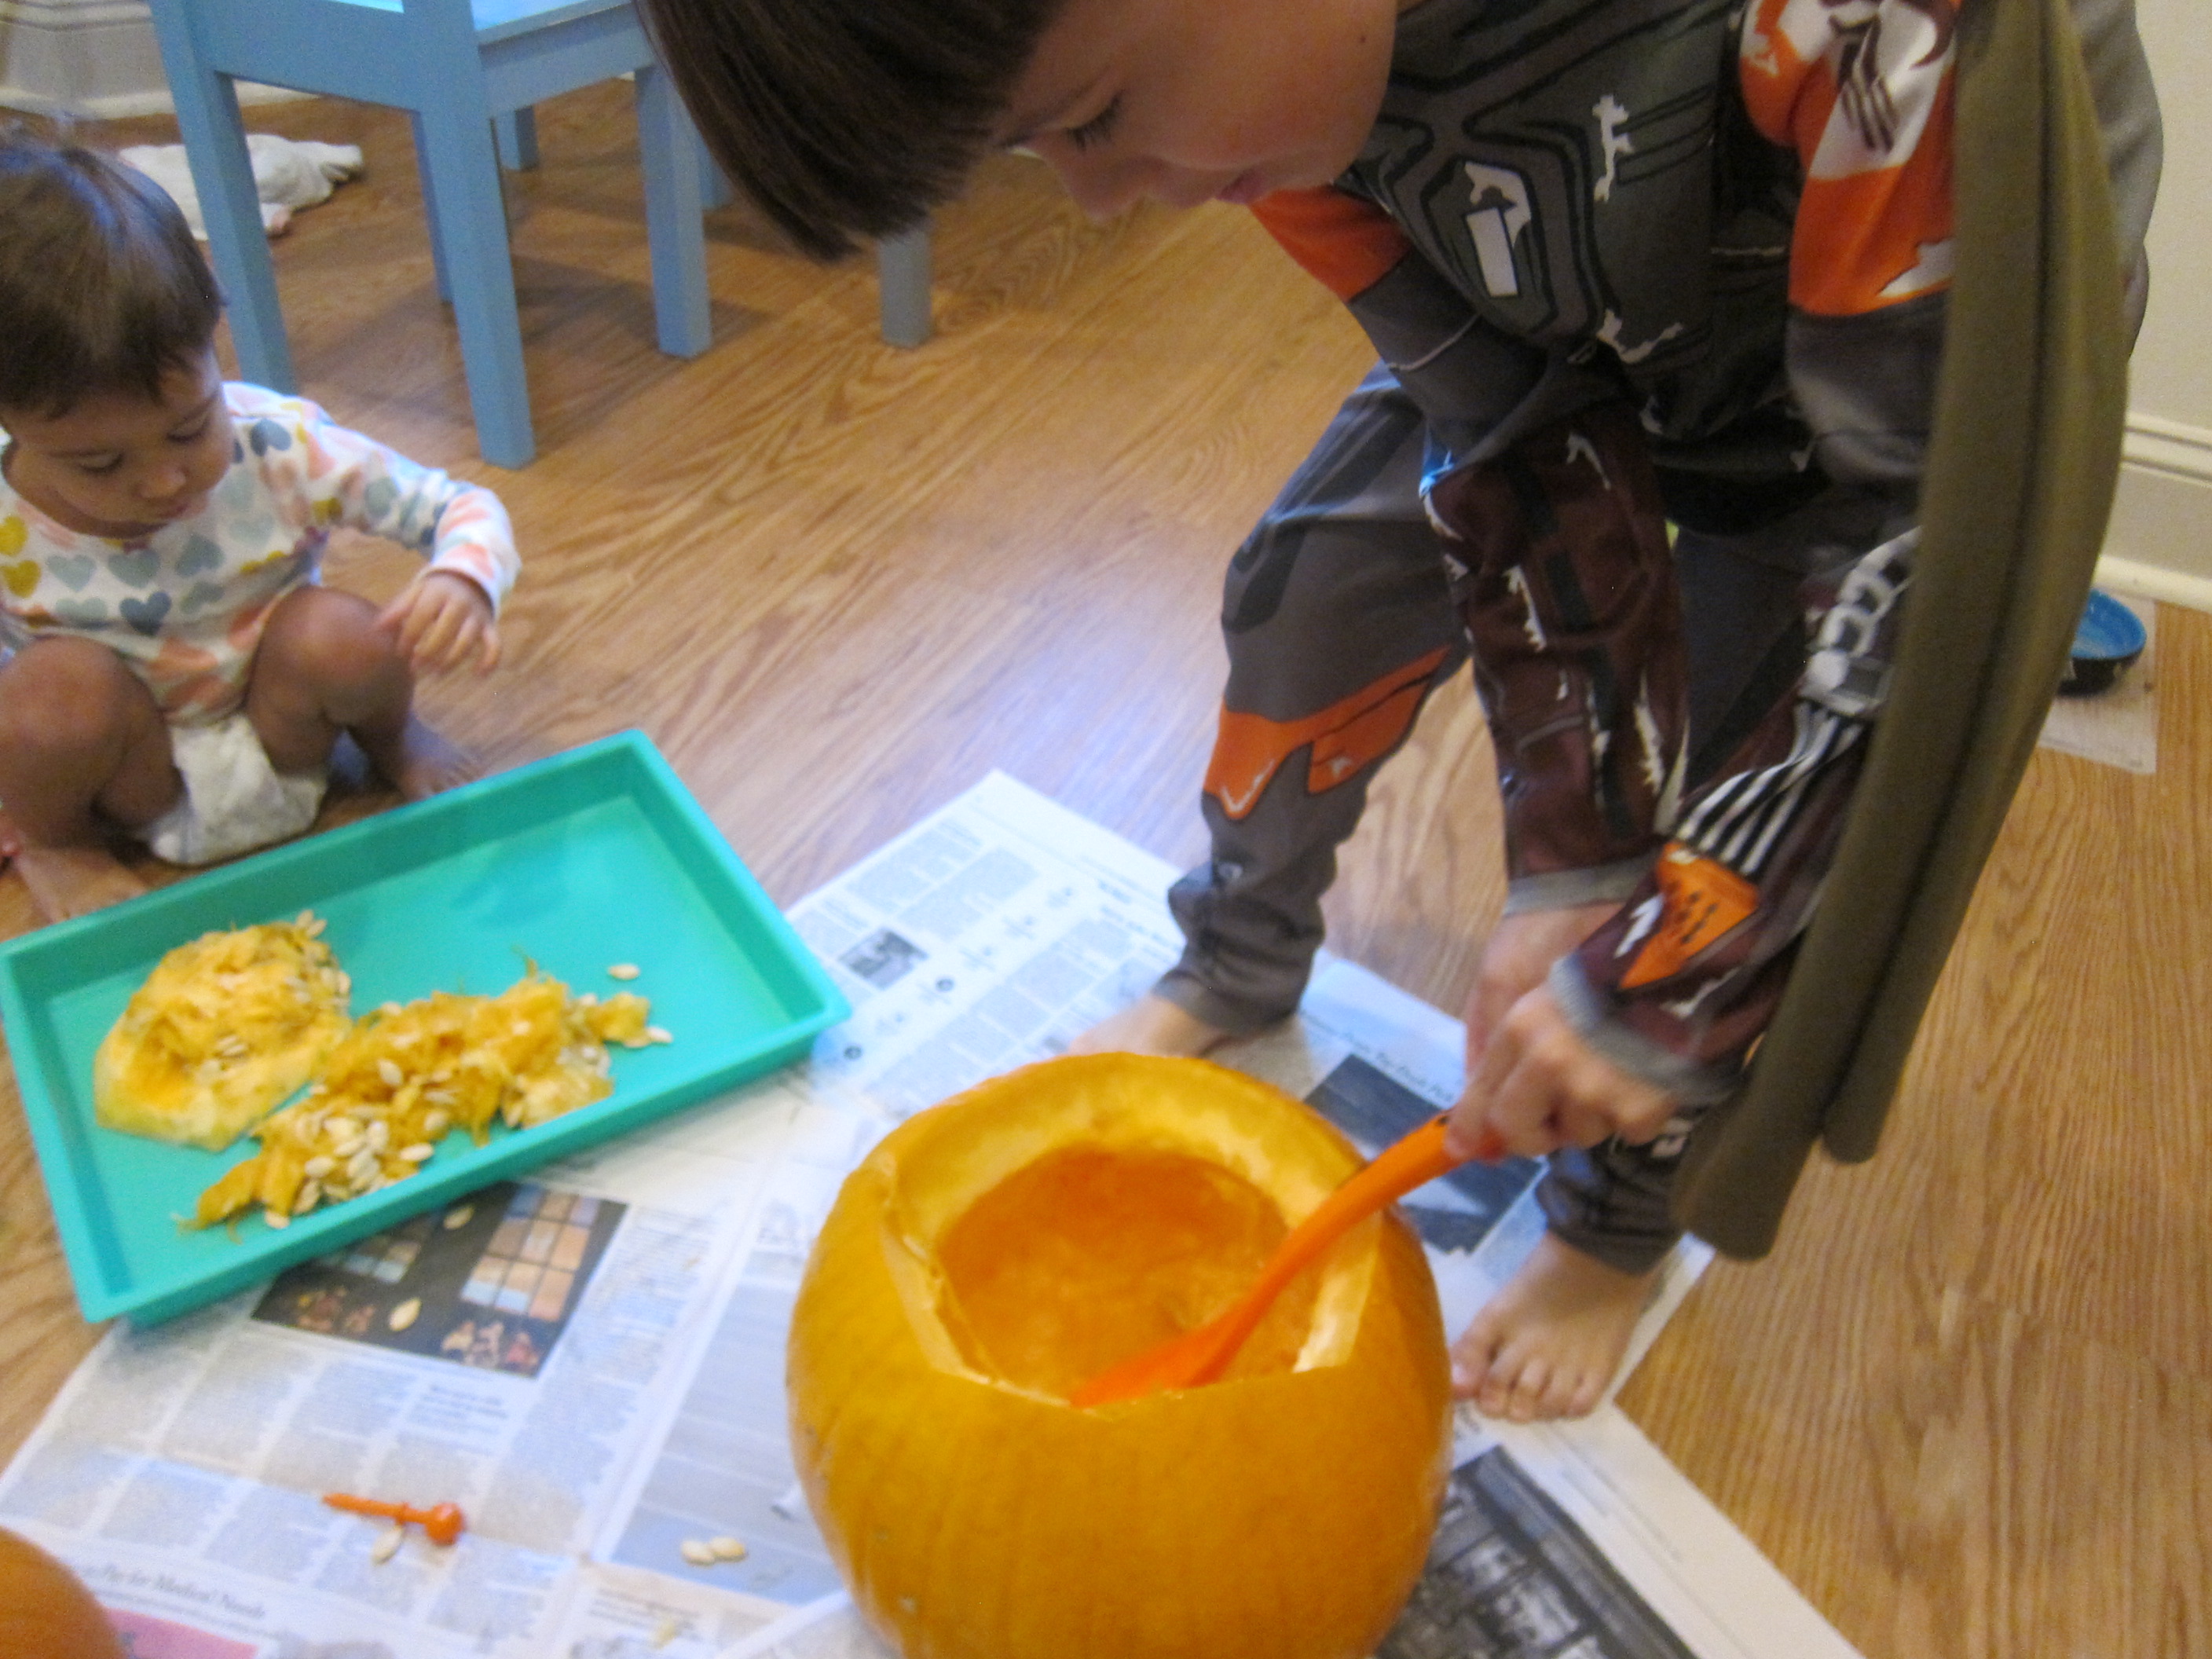
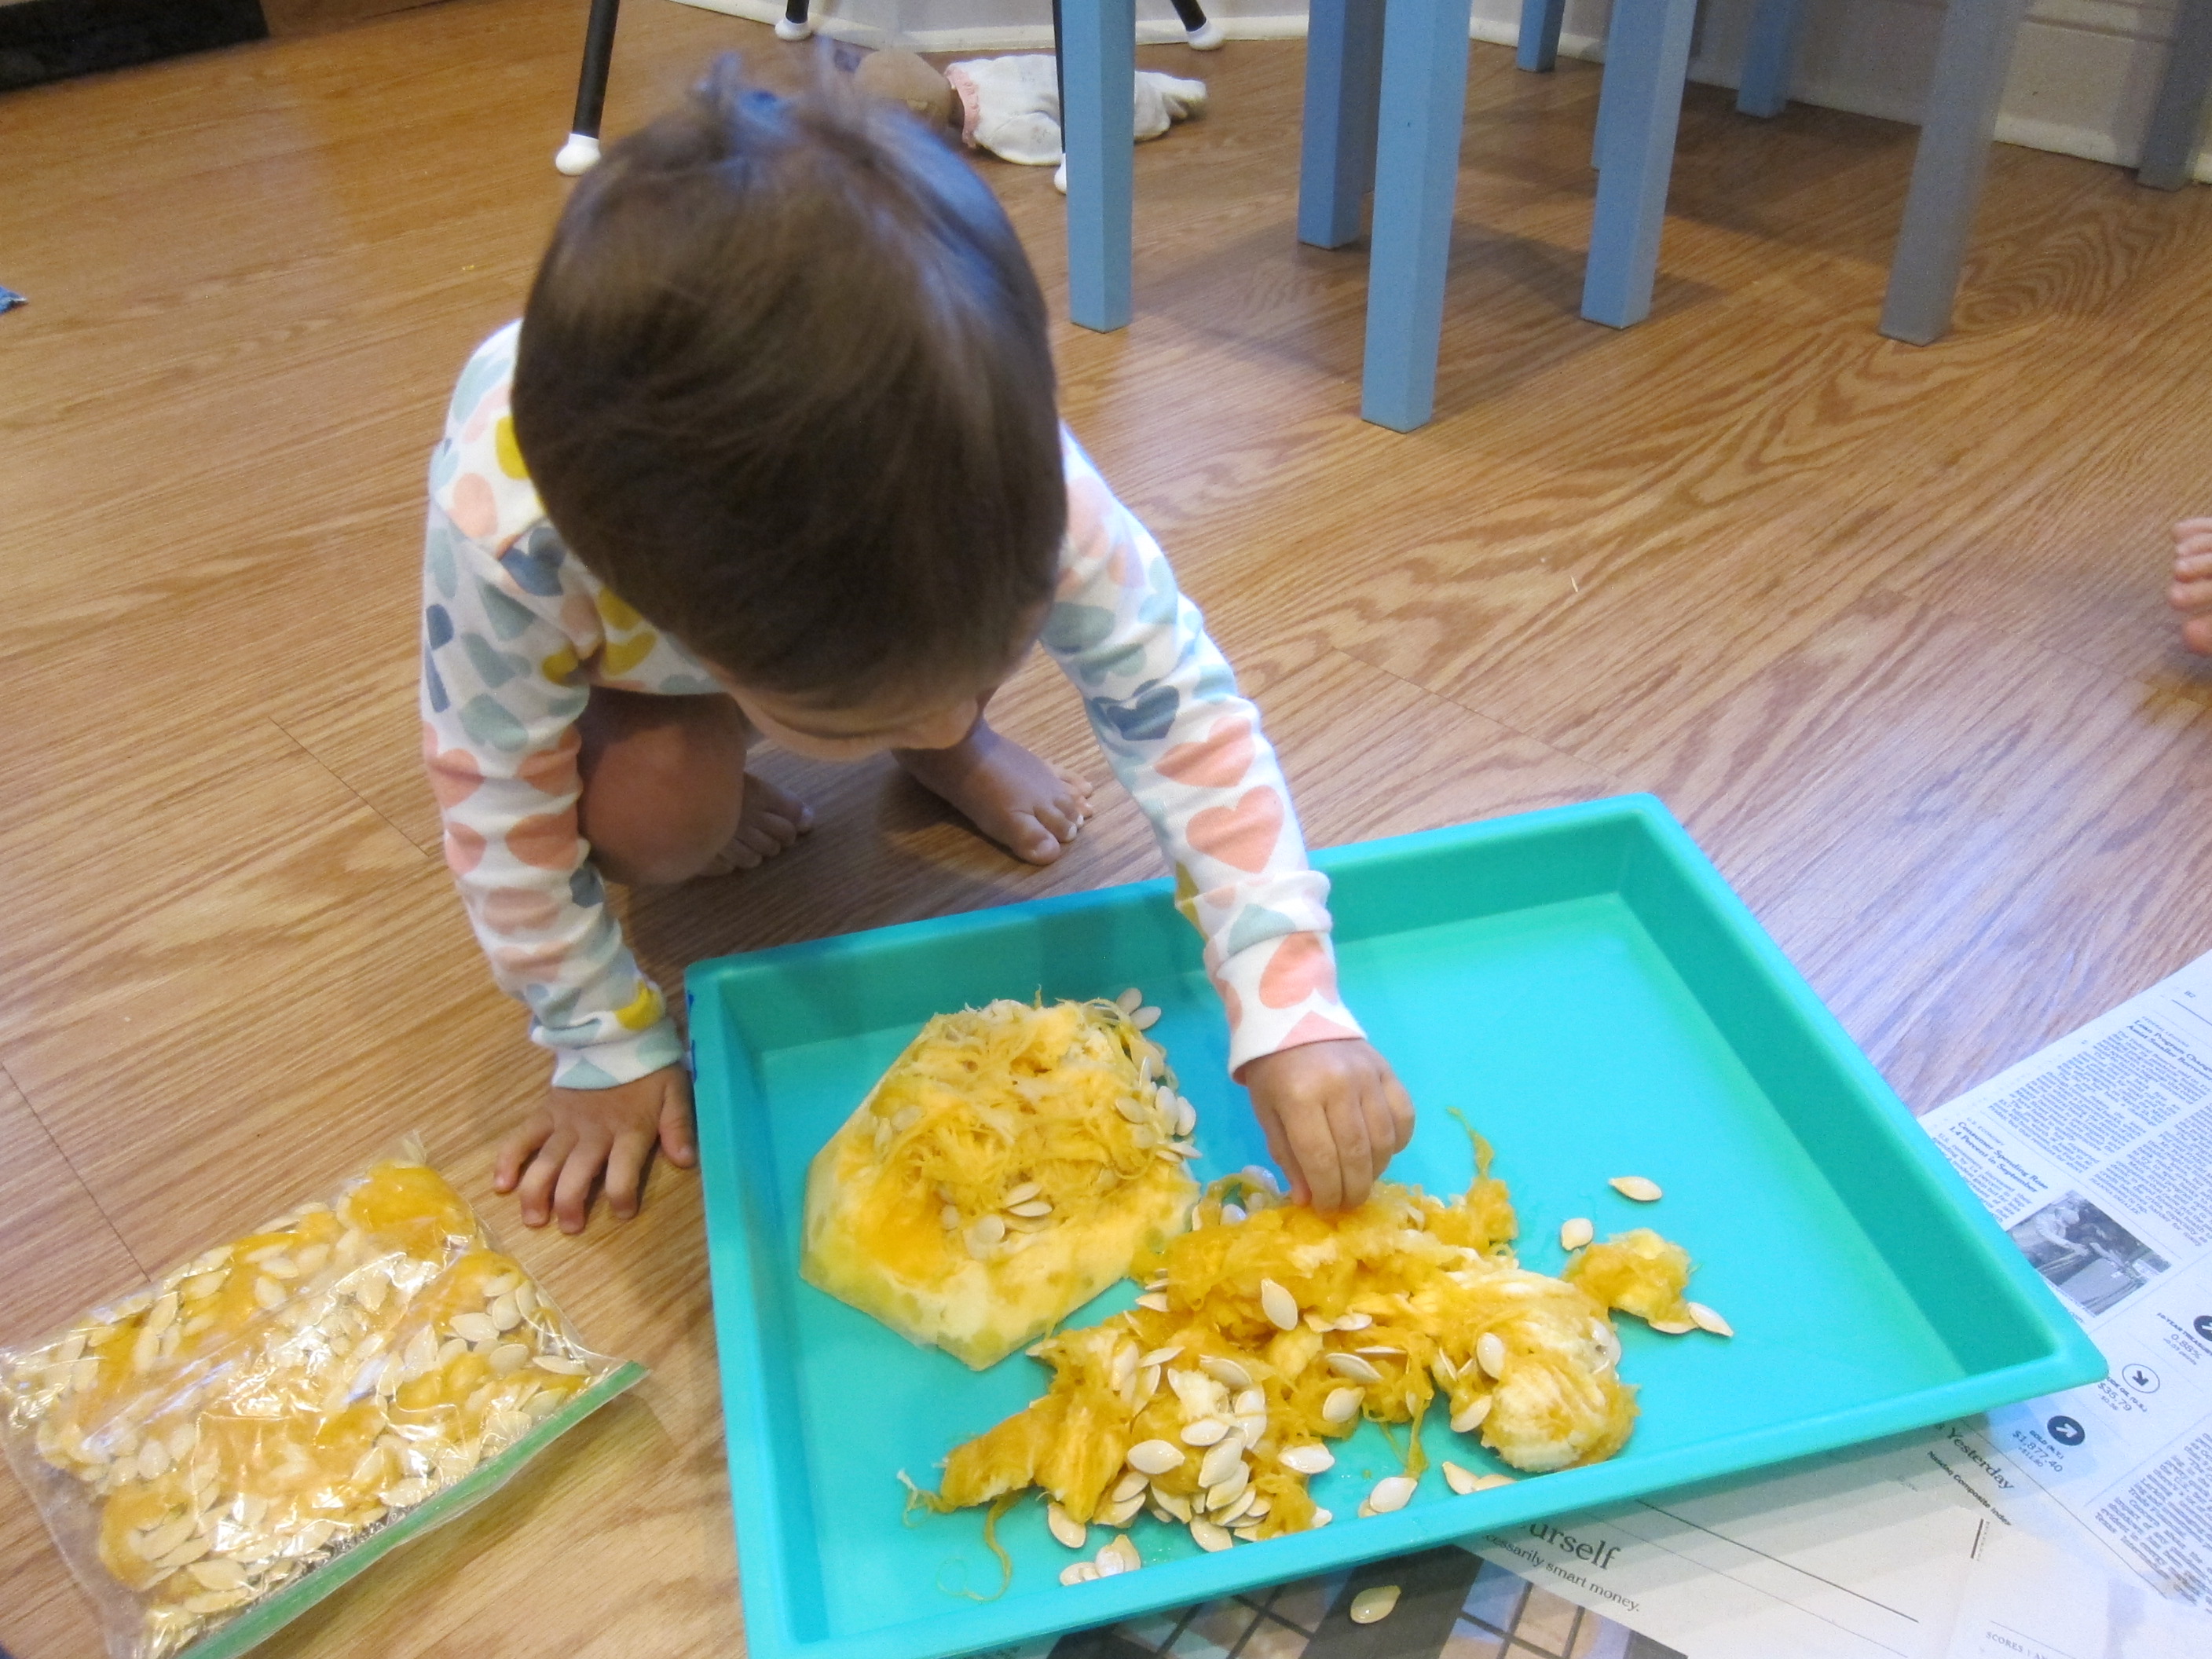
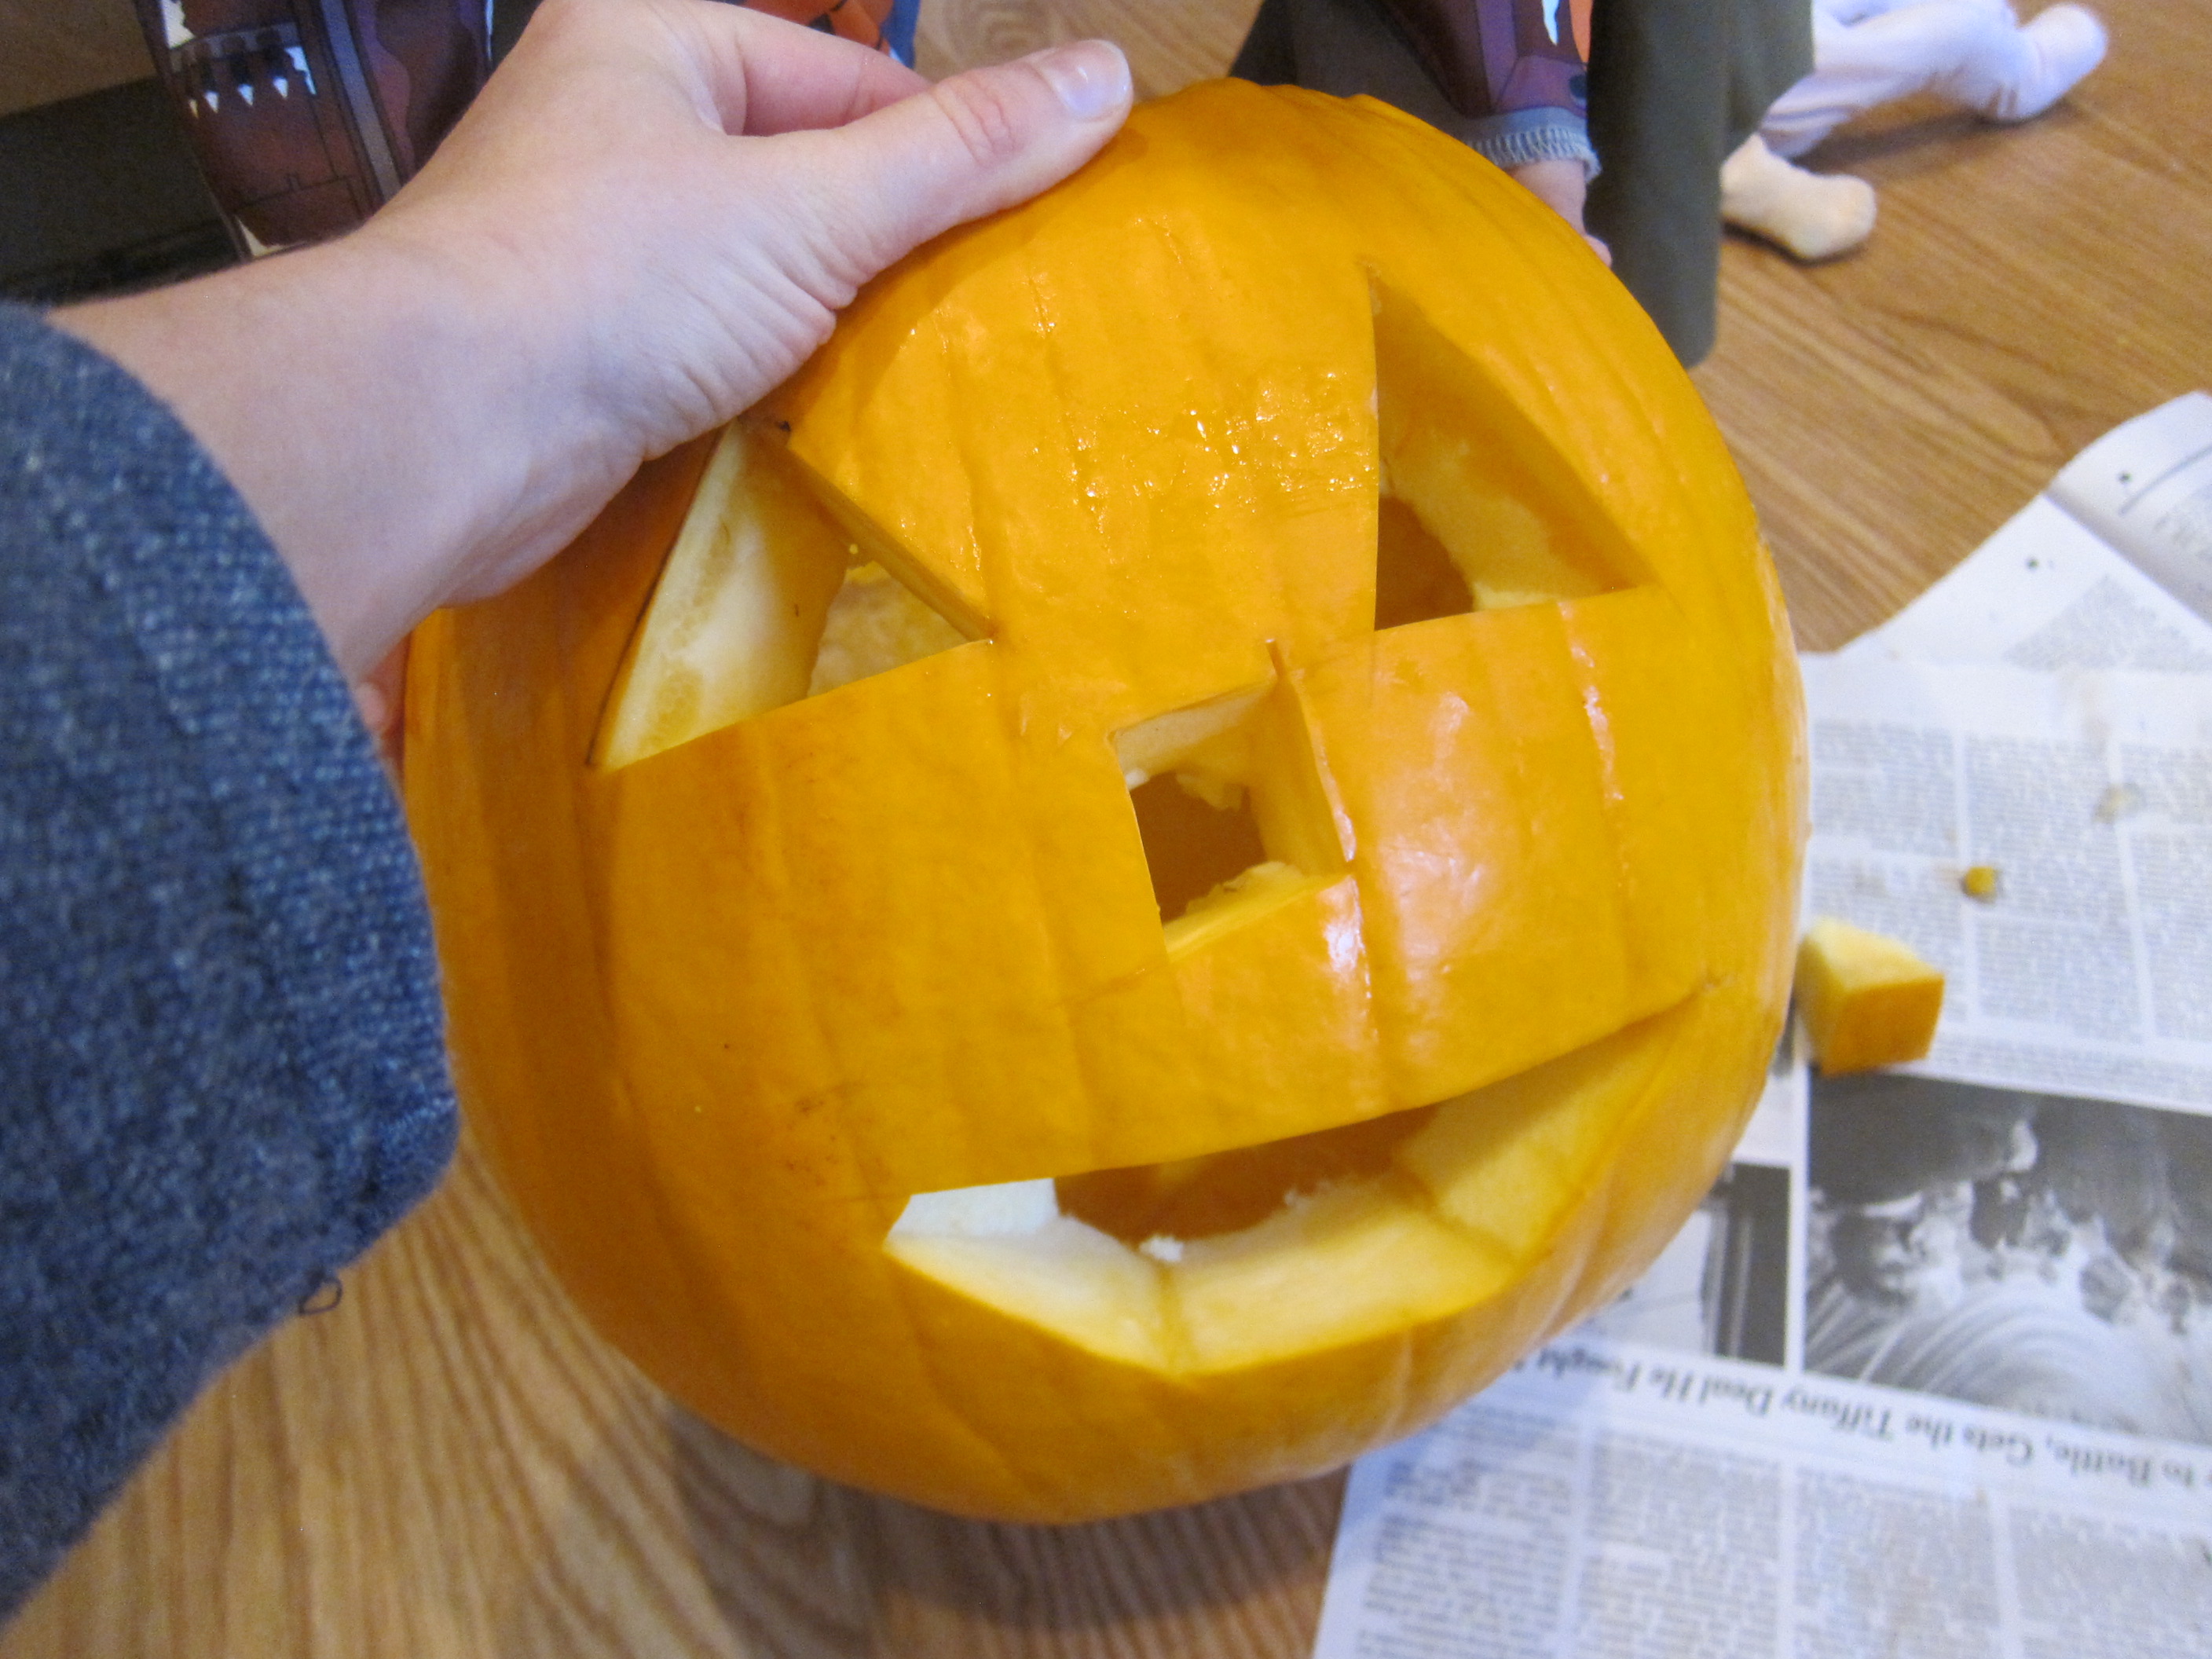
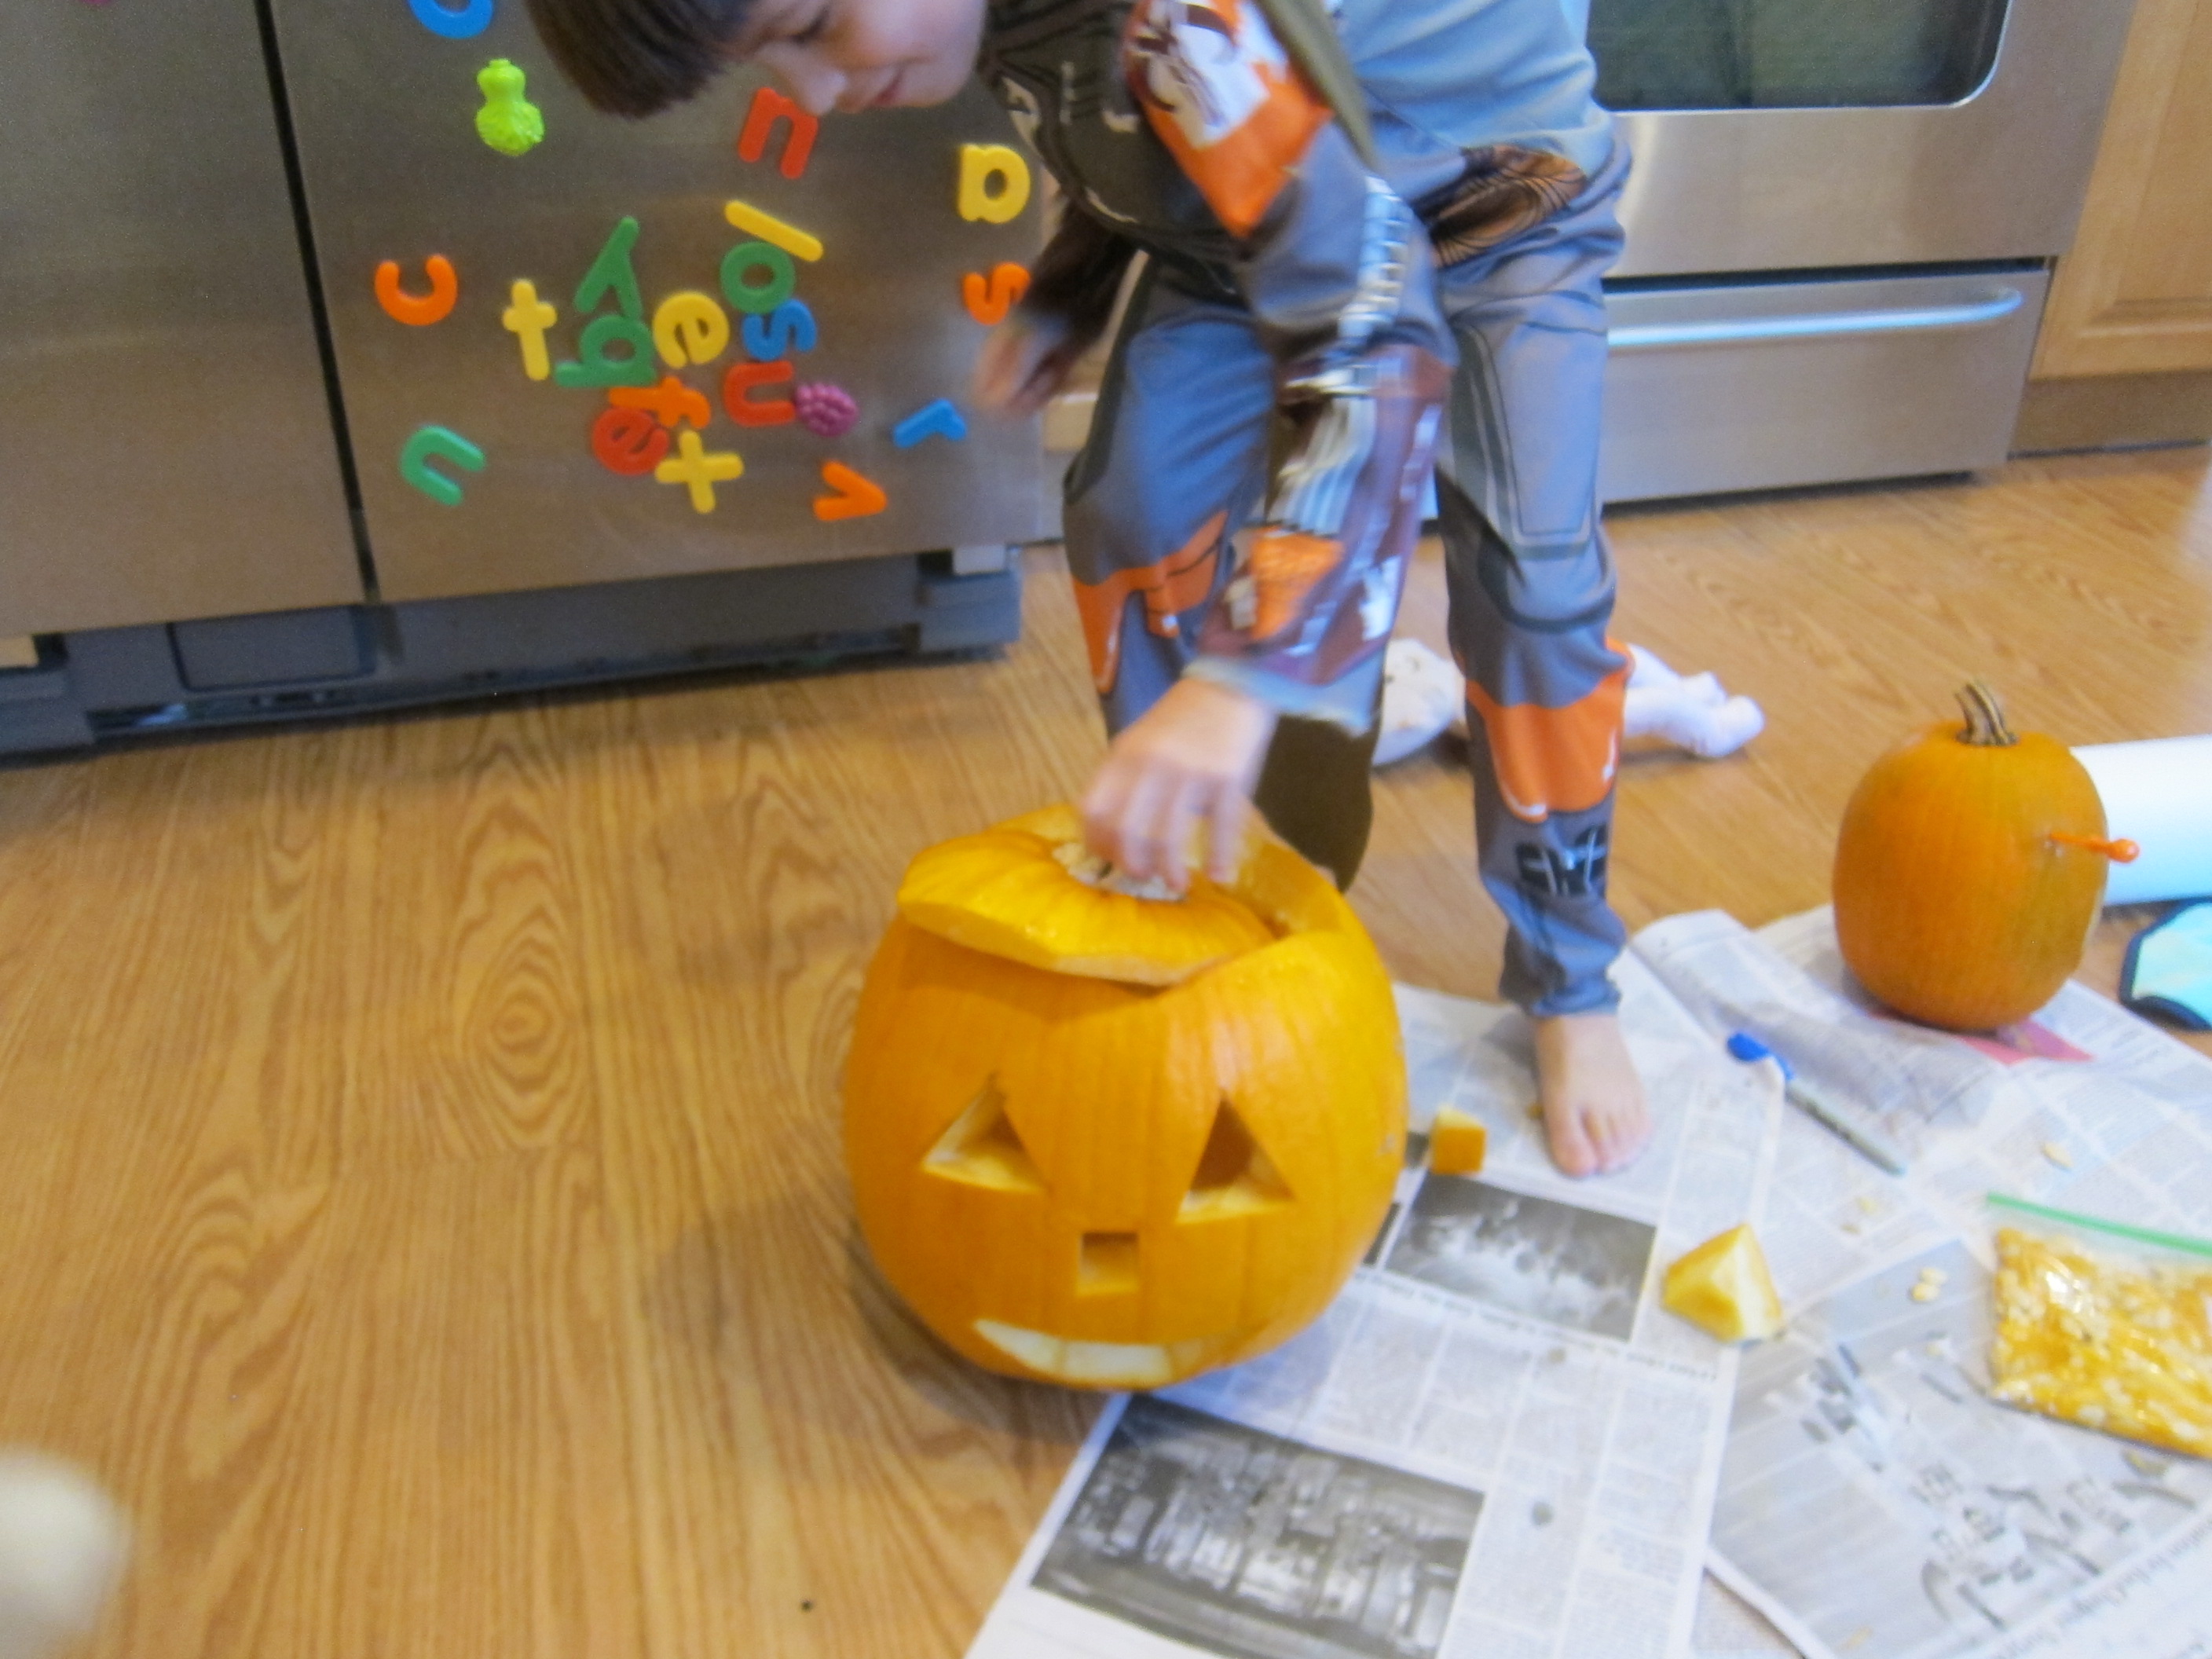
At last it was time to carve. We shifted a bit from sensory mode to learning mode, because as I popped out the first eye, Veronika said, “A triangle! I want a square.”

Exploring Pumpkin Guts (10)

So now I was on the spot to carve a square nose!

Exploring Pumpkin Guts (11)

The final sense to explore in a pumpkin is taste of course. We rinsed the seeds (which easily separate from the stringy stuff). Pat dry, then toss with about 1 tablespoon olive oil and 1/2 teaspoon salt. (Note: We had one cup seeds, so use more or less oil and salt depending how many seeds your pumpkin yields).

Exploring Pumpkin Guts (13)

Roast at 400 degrees F for 10 to 15 minutes, then enjoy!

Exploring Pumpkin Guts (12)

A Sweet and Safe Halloween

Sweet Safe Halloween (1)

Halloween is here! After the anticipation of a month-long countdown, I had to make sure our safely socially distanced trick-or-treating didn’t disappoint. To wit, there were three ways the kids got candy tonight.

First up, instead of knocking on neighbors’ doors, consider every door in your house as a new spot for candy. Bathrooms and closet doorways count! The kids knocked on each one and a bag of candy was waiting inside.

Sweet Safe Halloween (2)

Bonus points if you can rig up a way to make each door eerily open on its own. I’m going to ponder that for next year…

Sweet Safe Halloween (4)

Second, hide treats in the backyard. So that kids can spot them in the dark, add a glow stick to each one. The glow sticks were arguably more exciting than the candy!

Sweet Safe Halloween (3)

Finally, our neighborhood held a costume parade, which was a great way to let kids see each other’s get-ups but stay six feet apart.

Halloween (8)
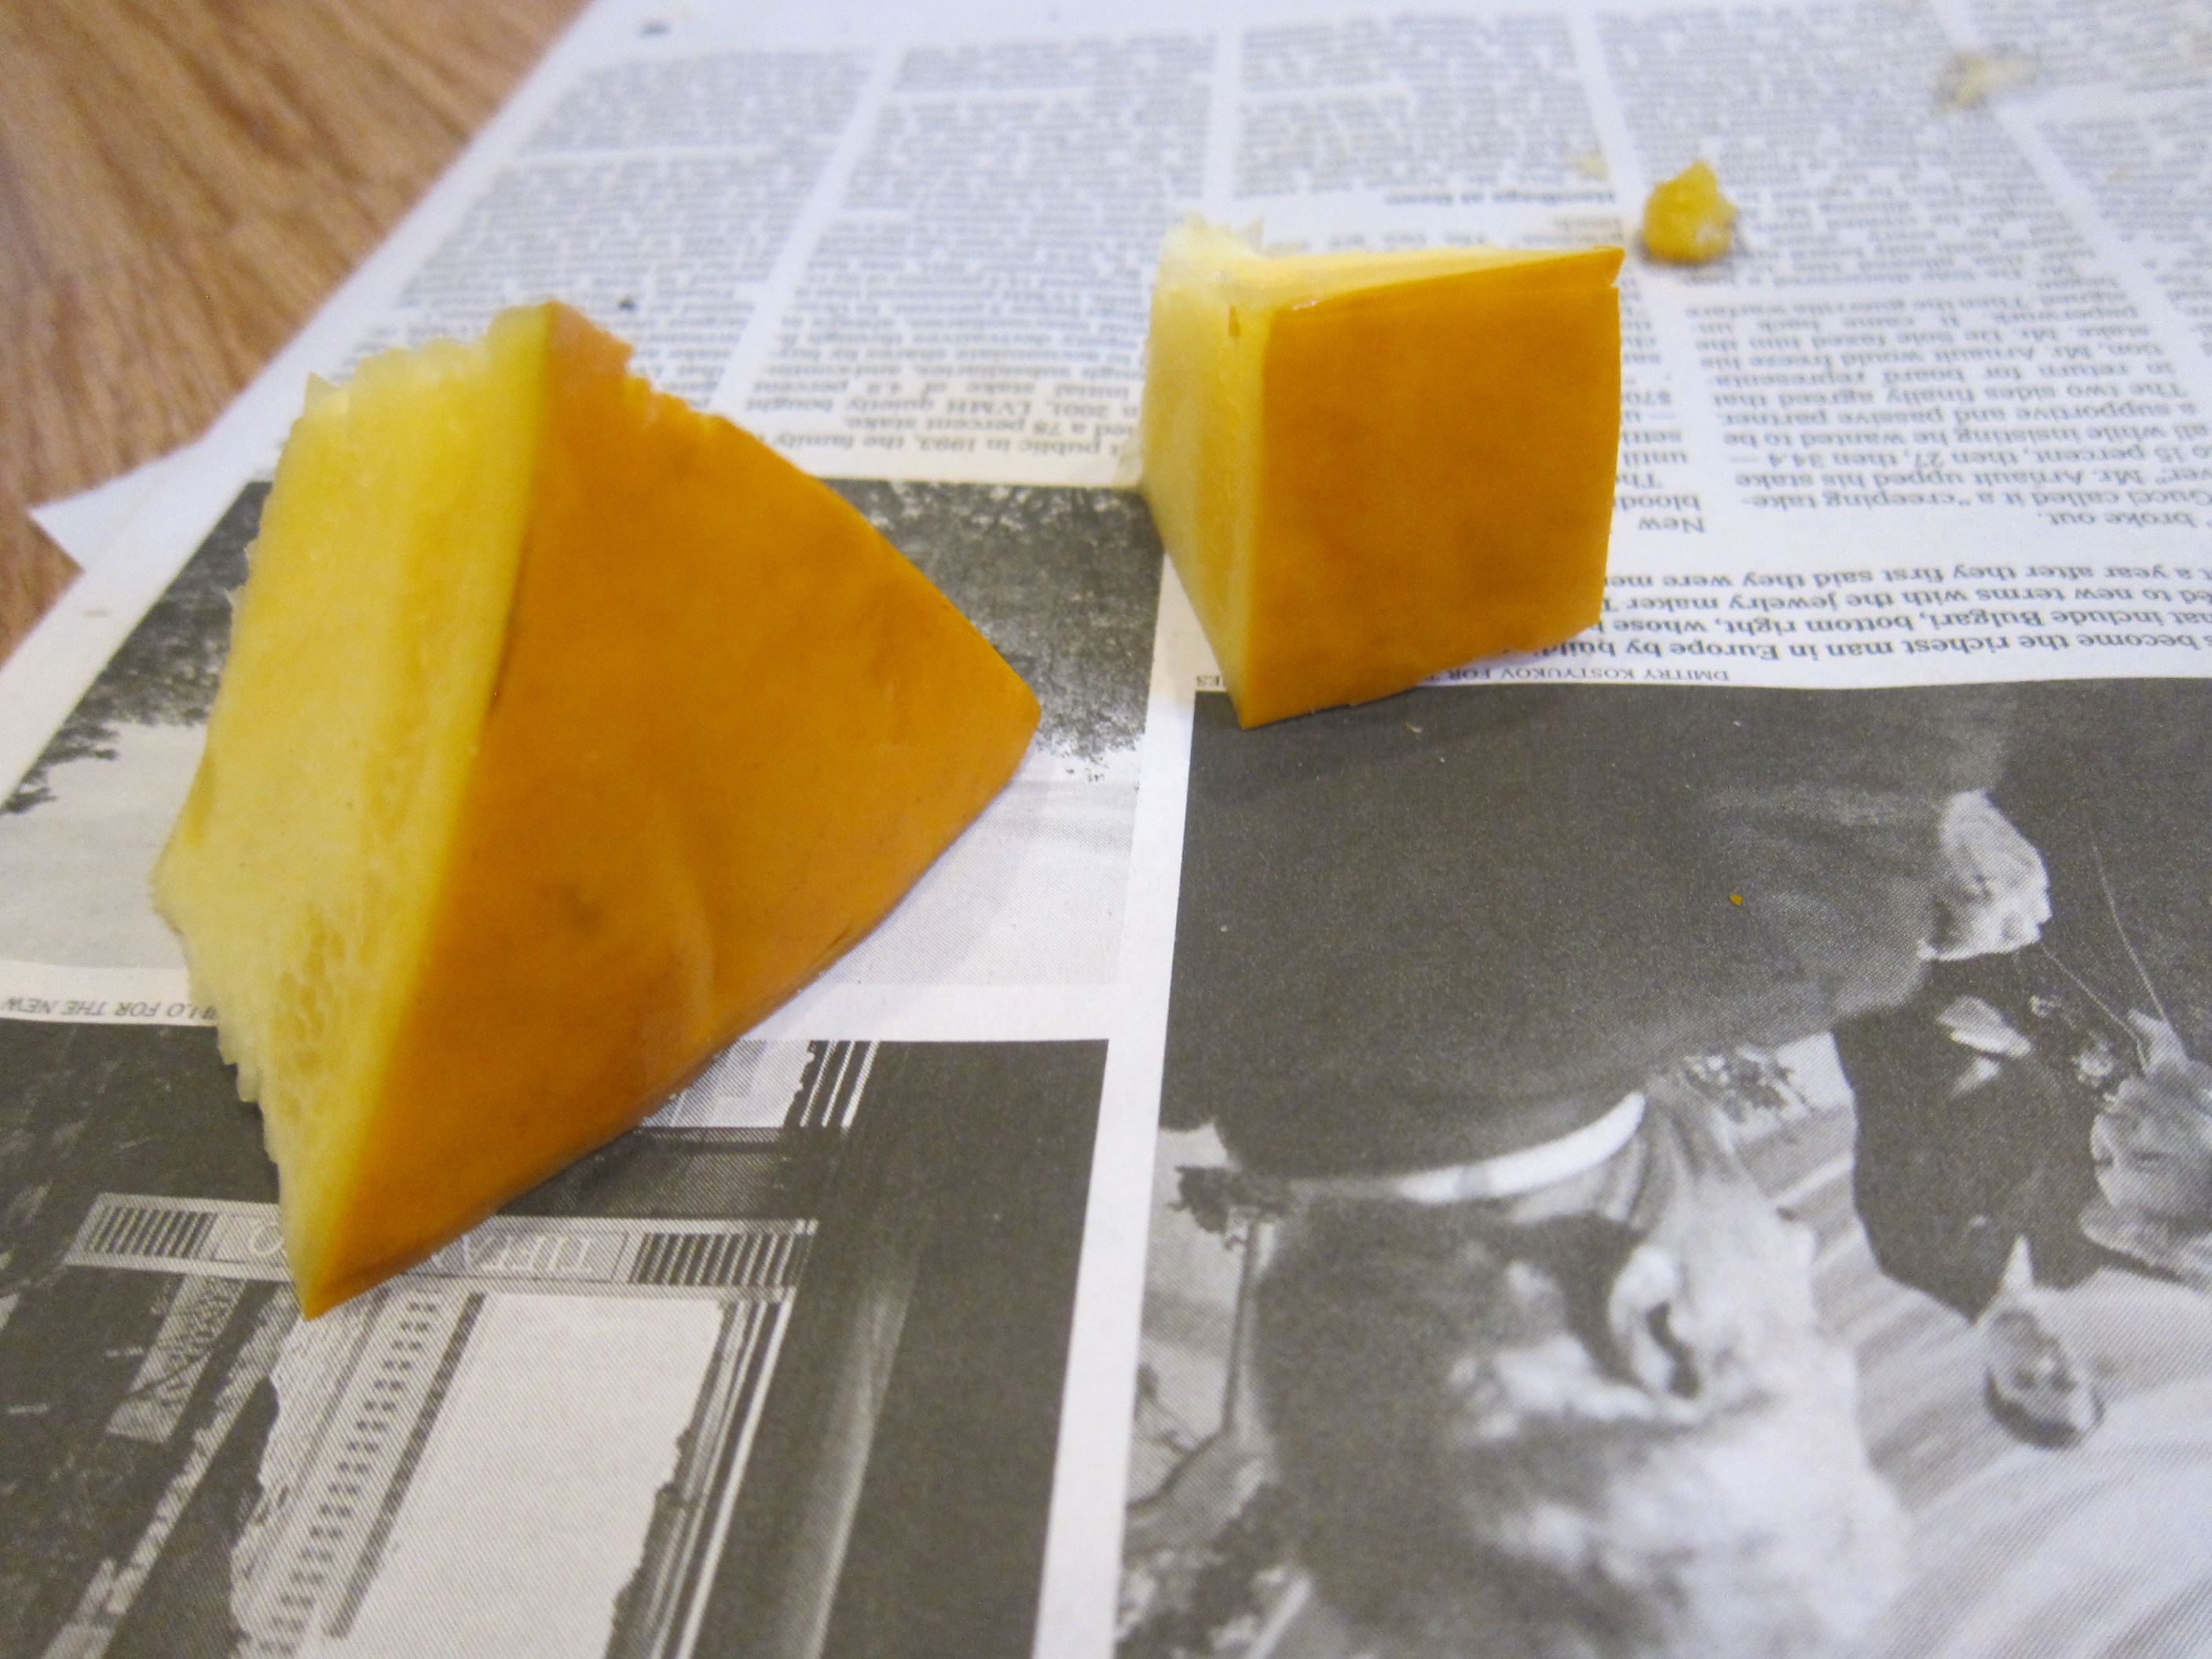
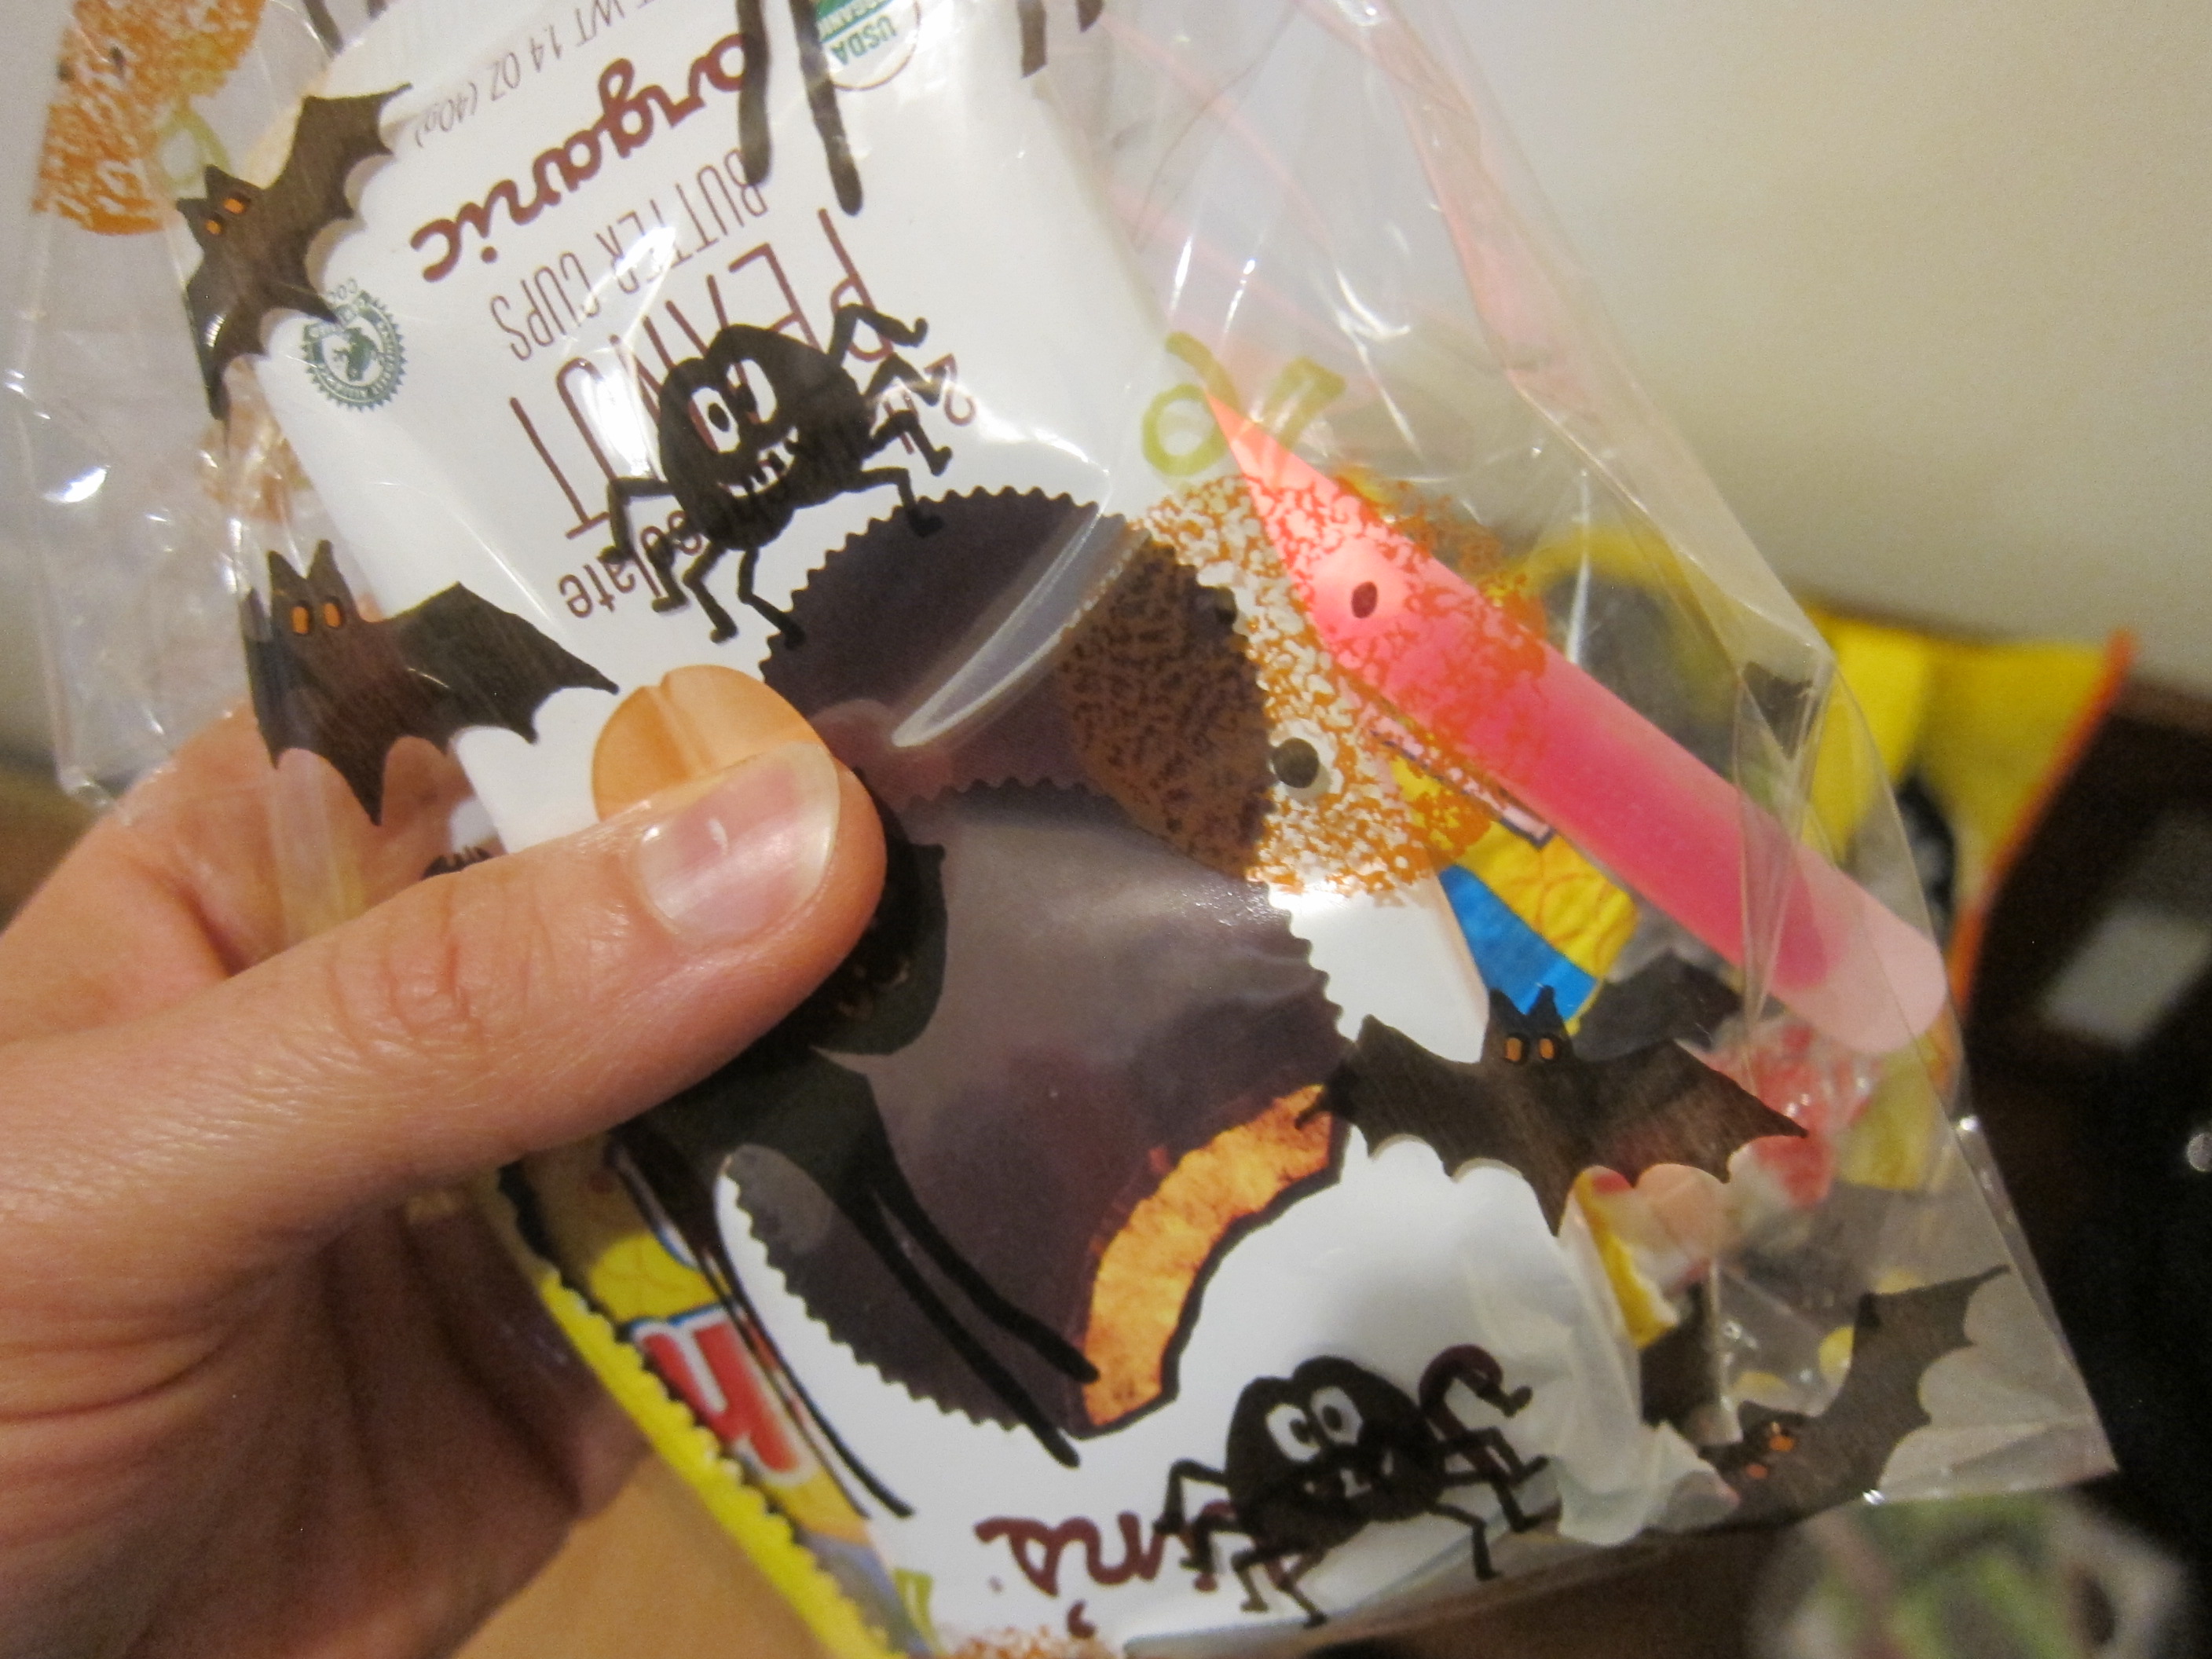
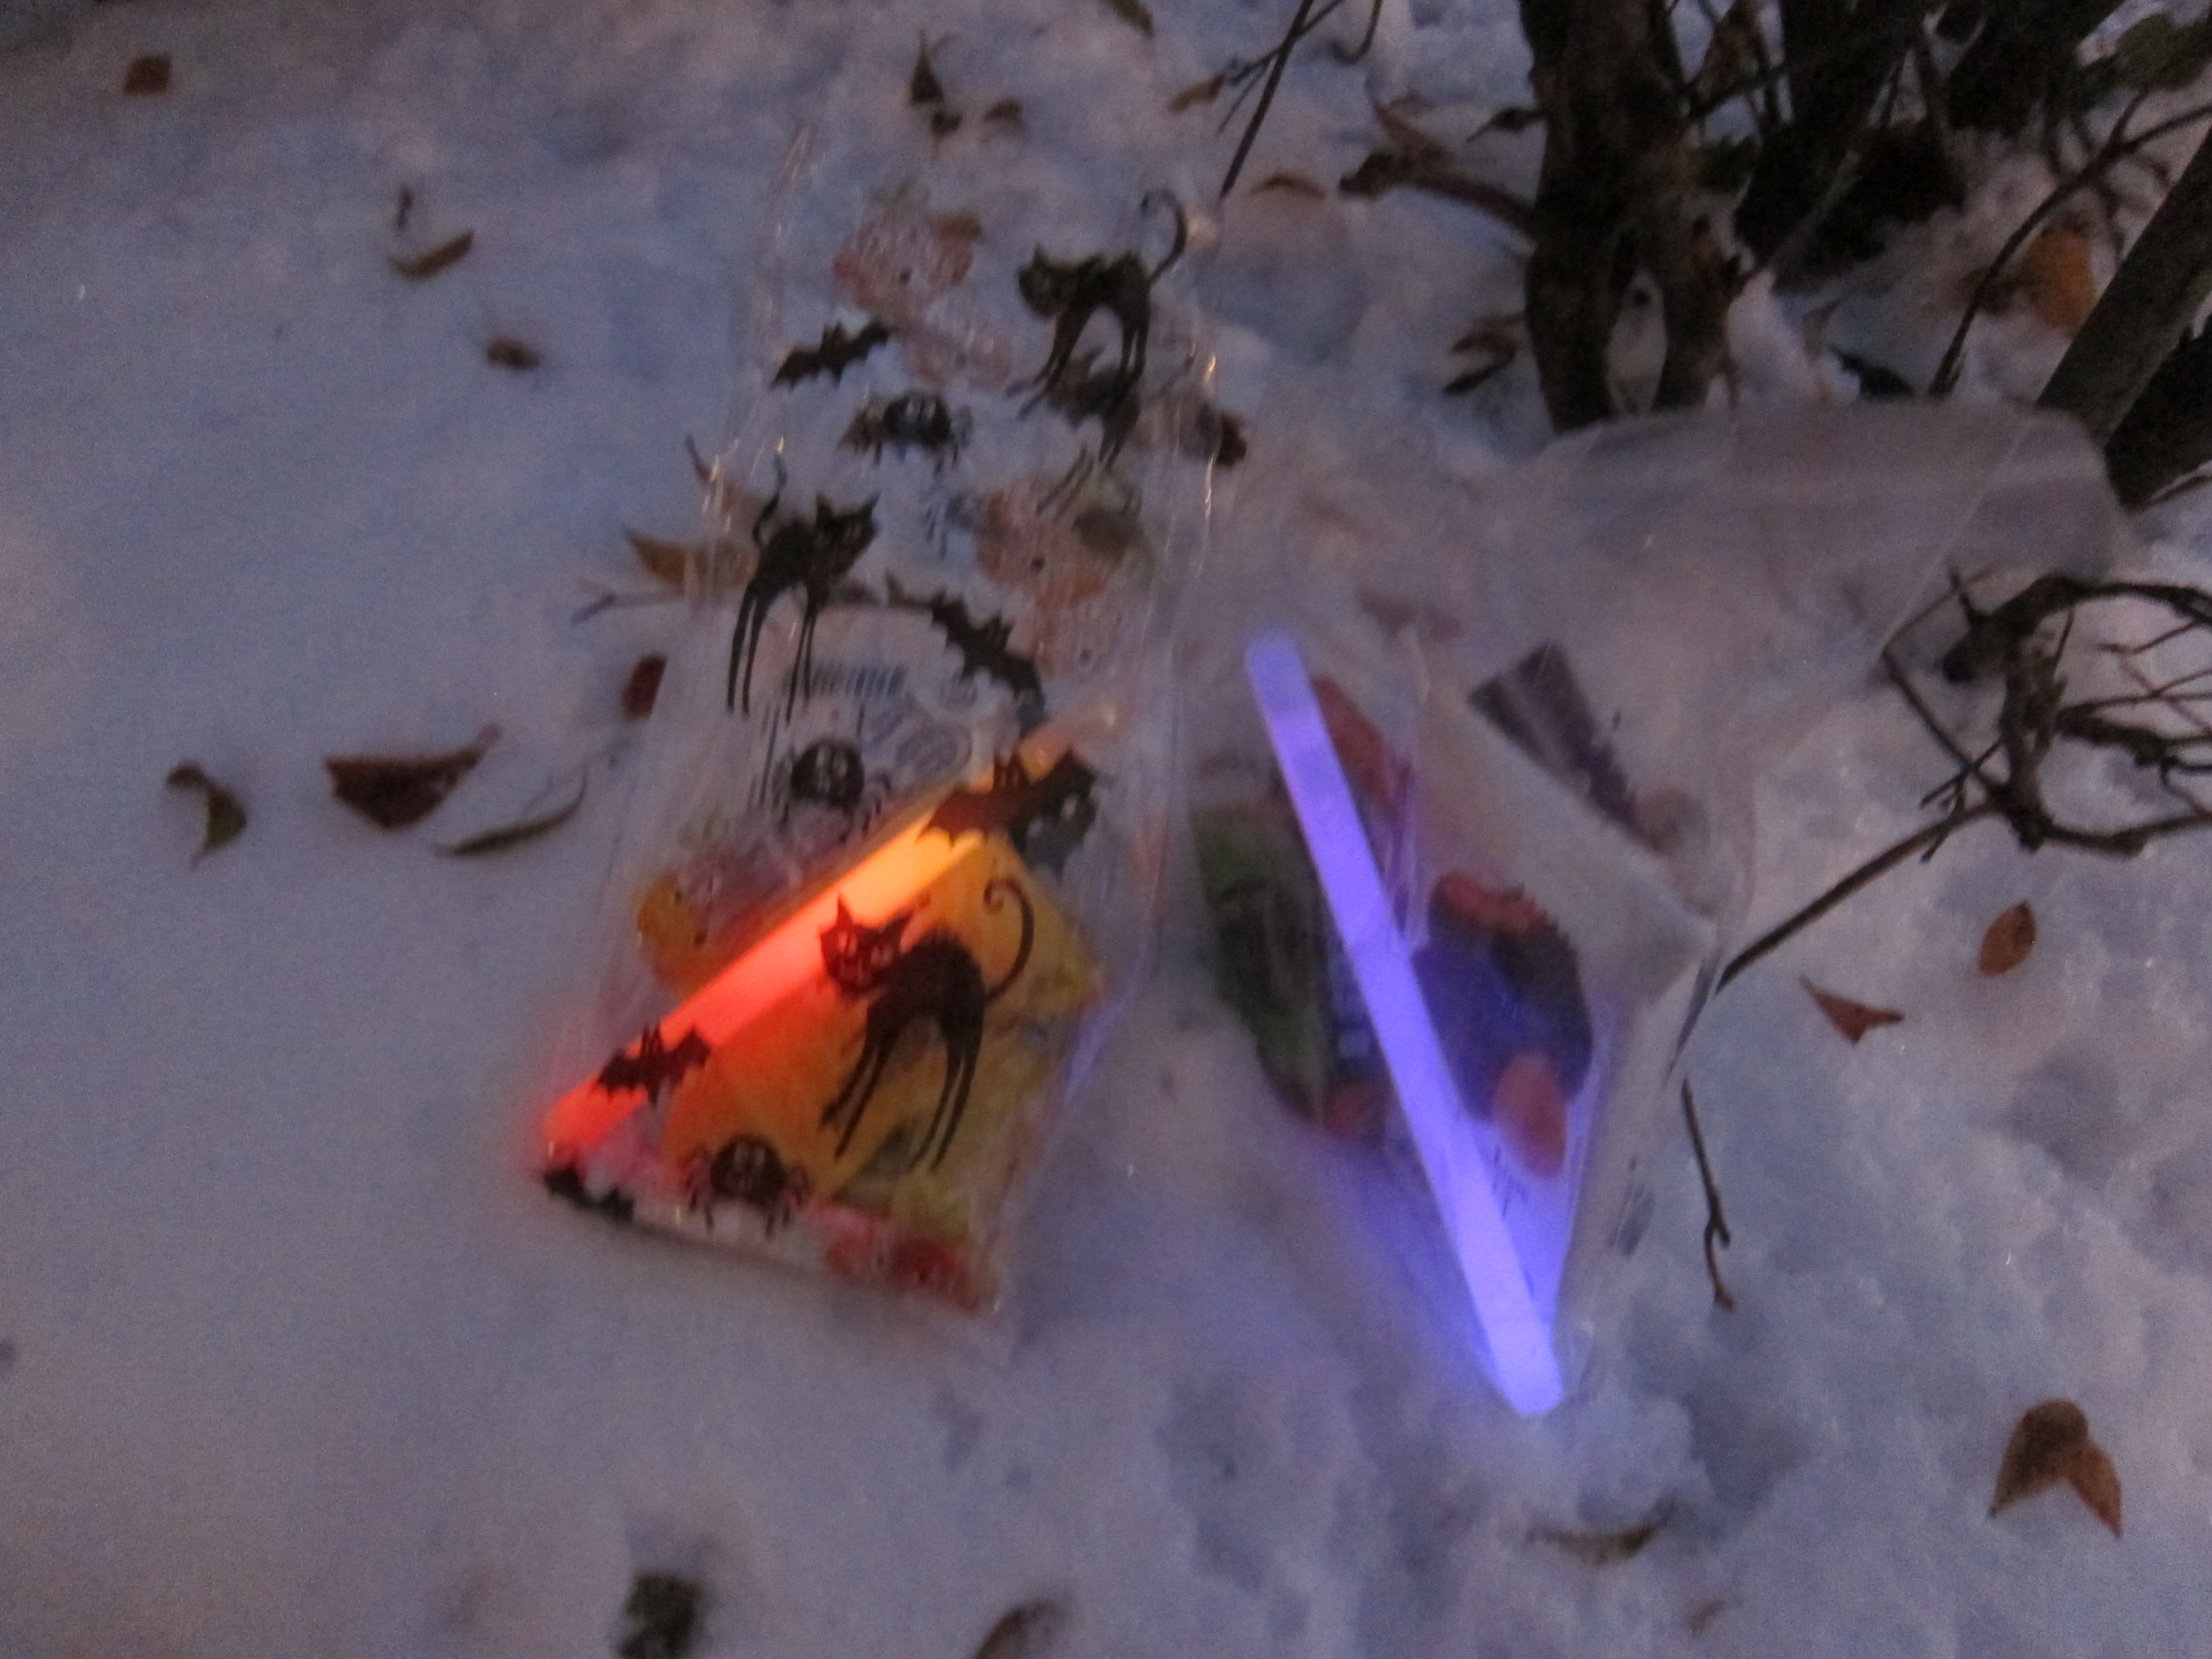
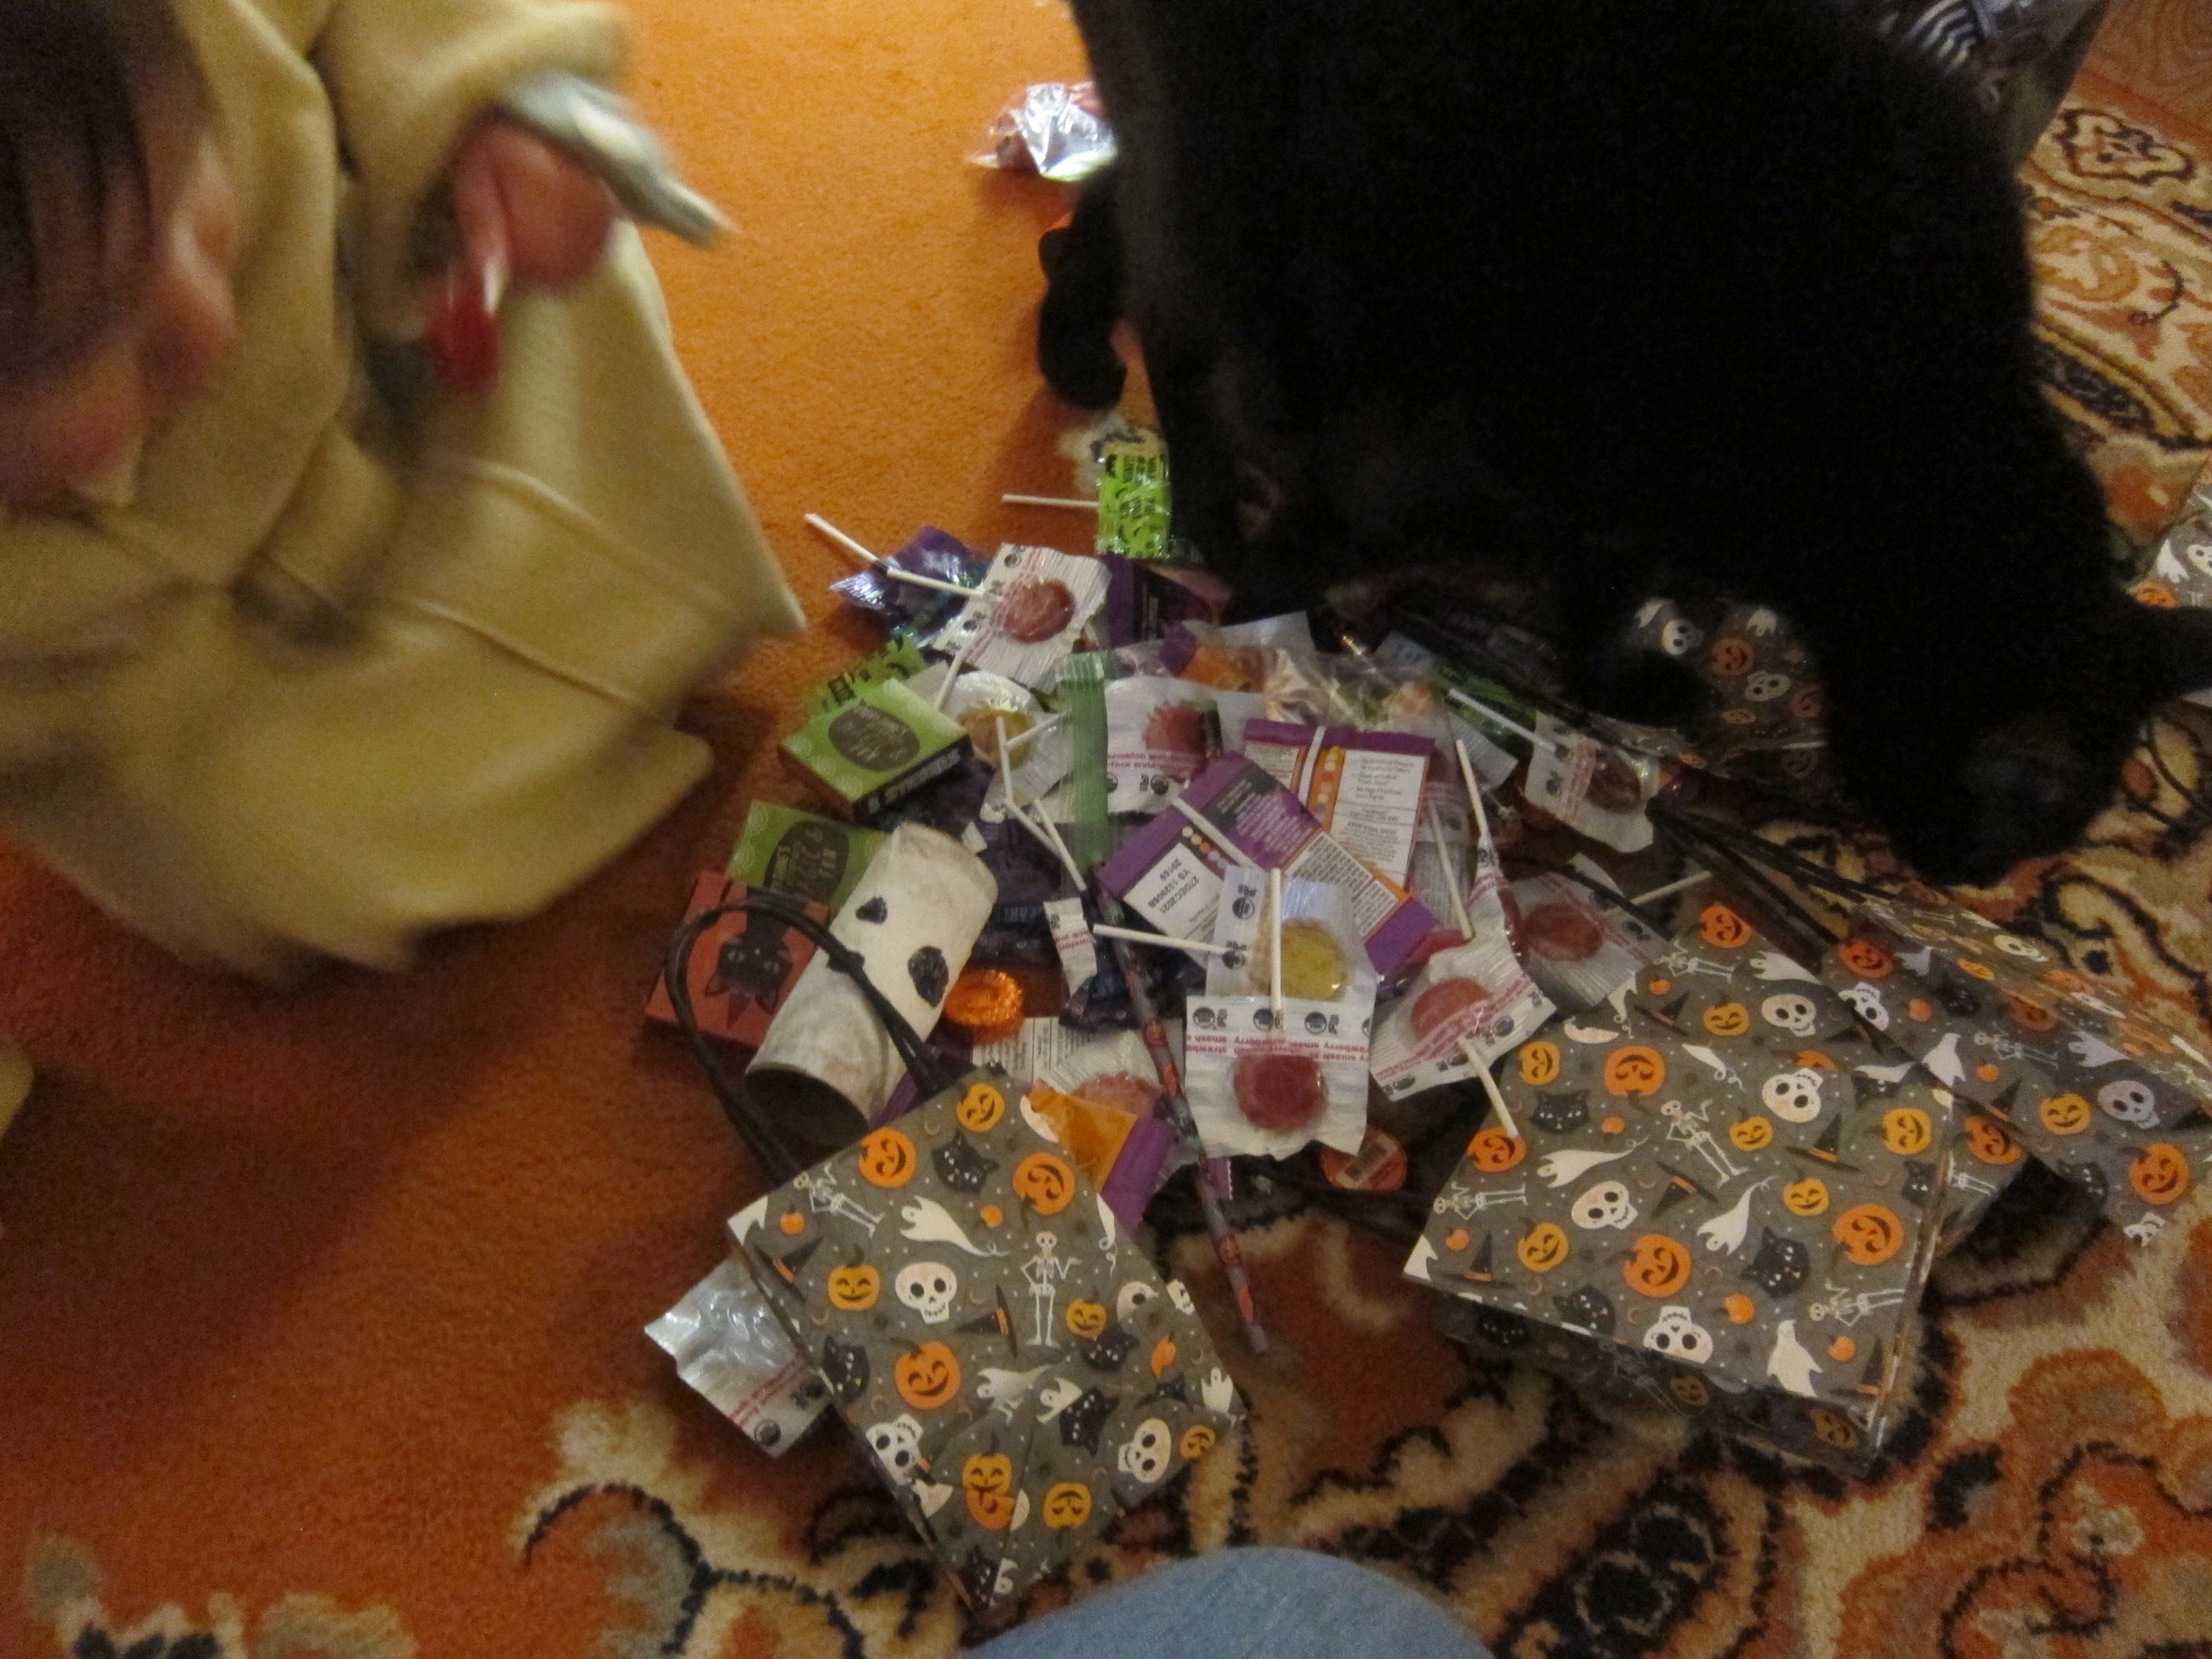
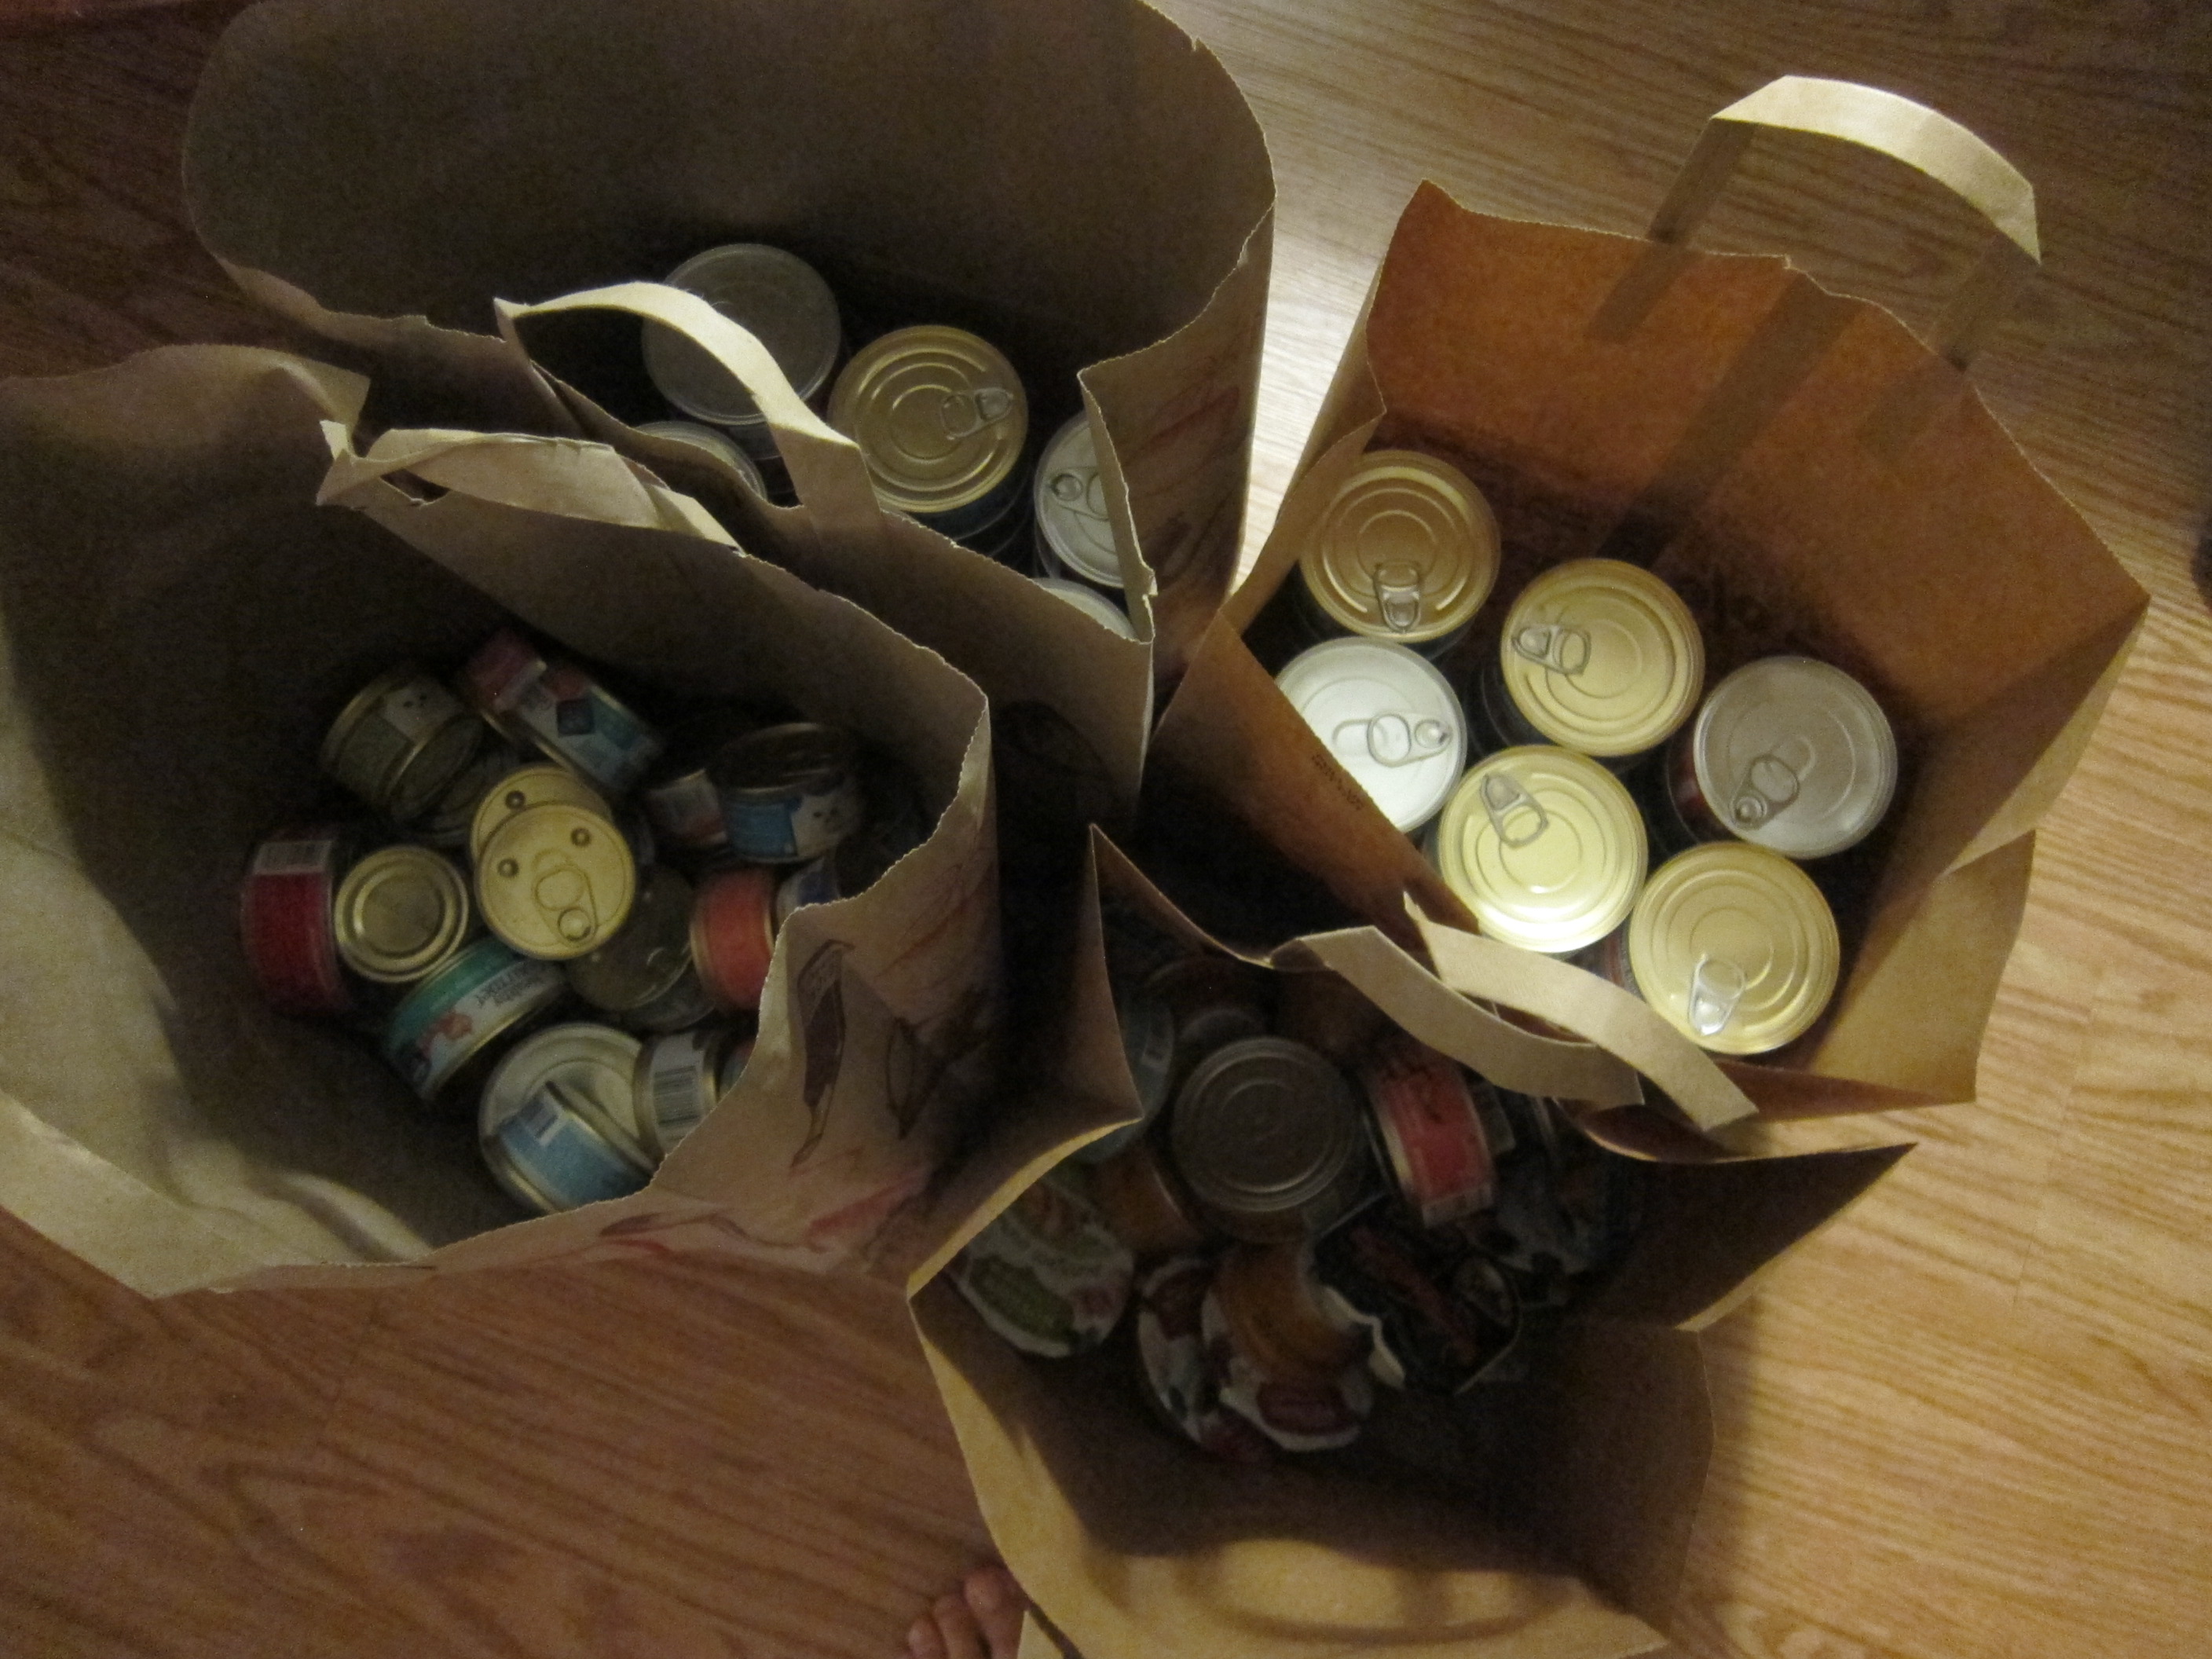
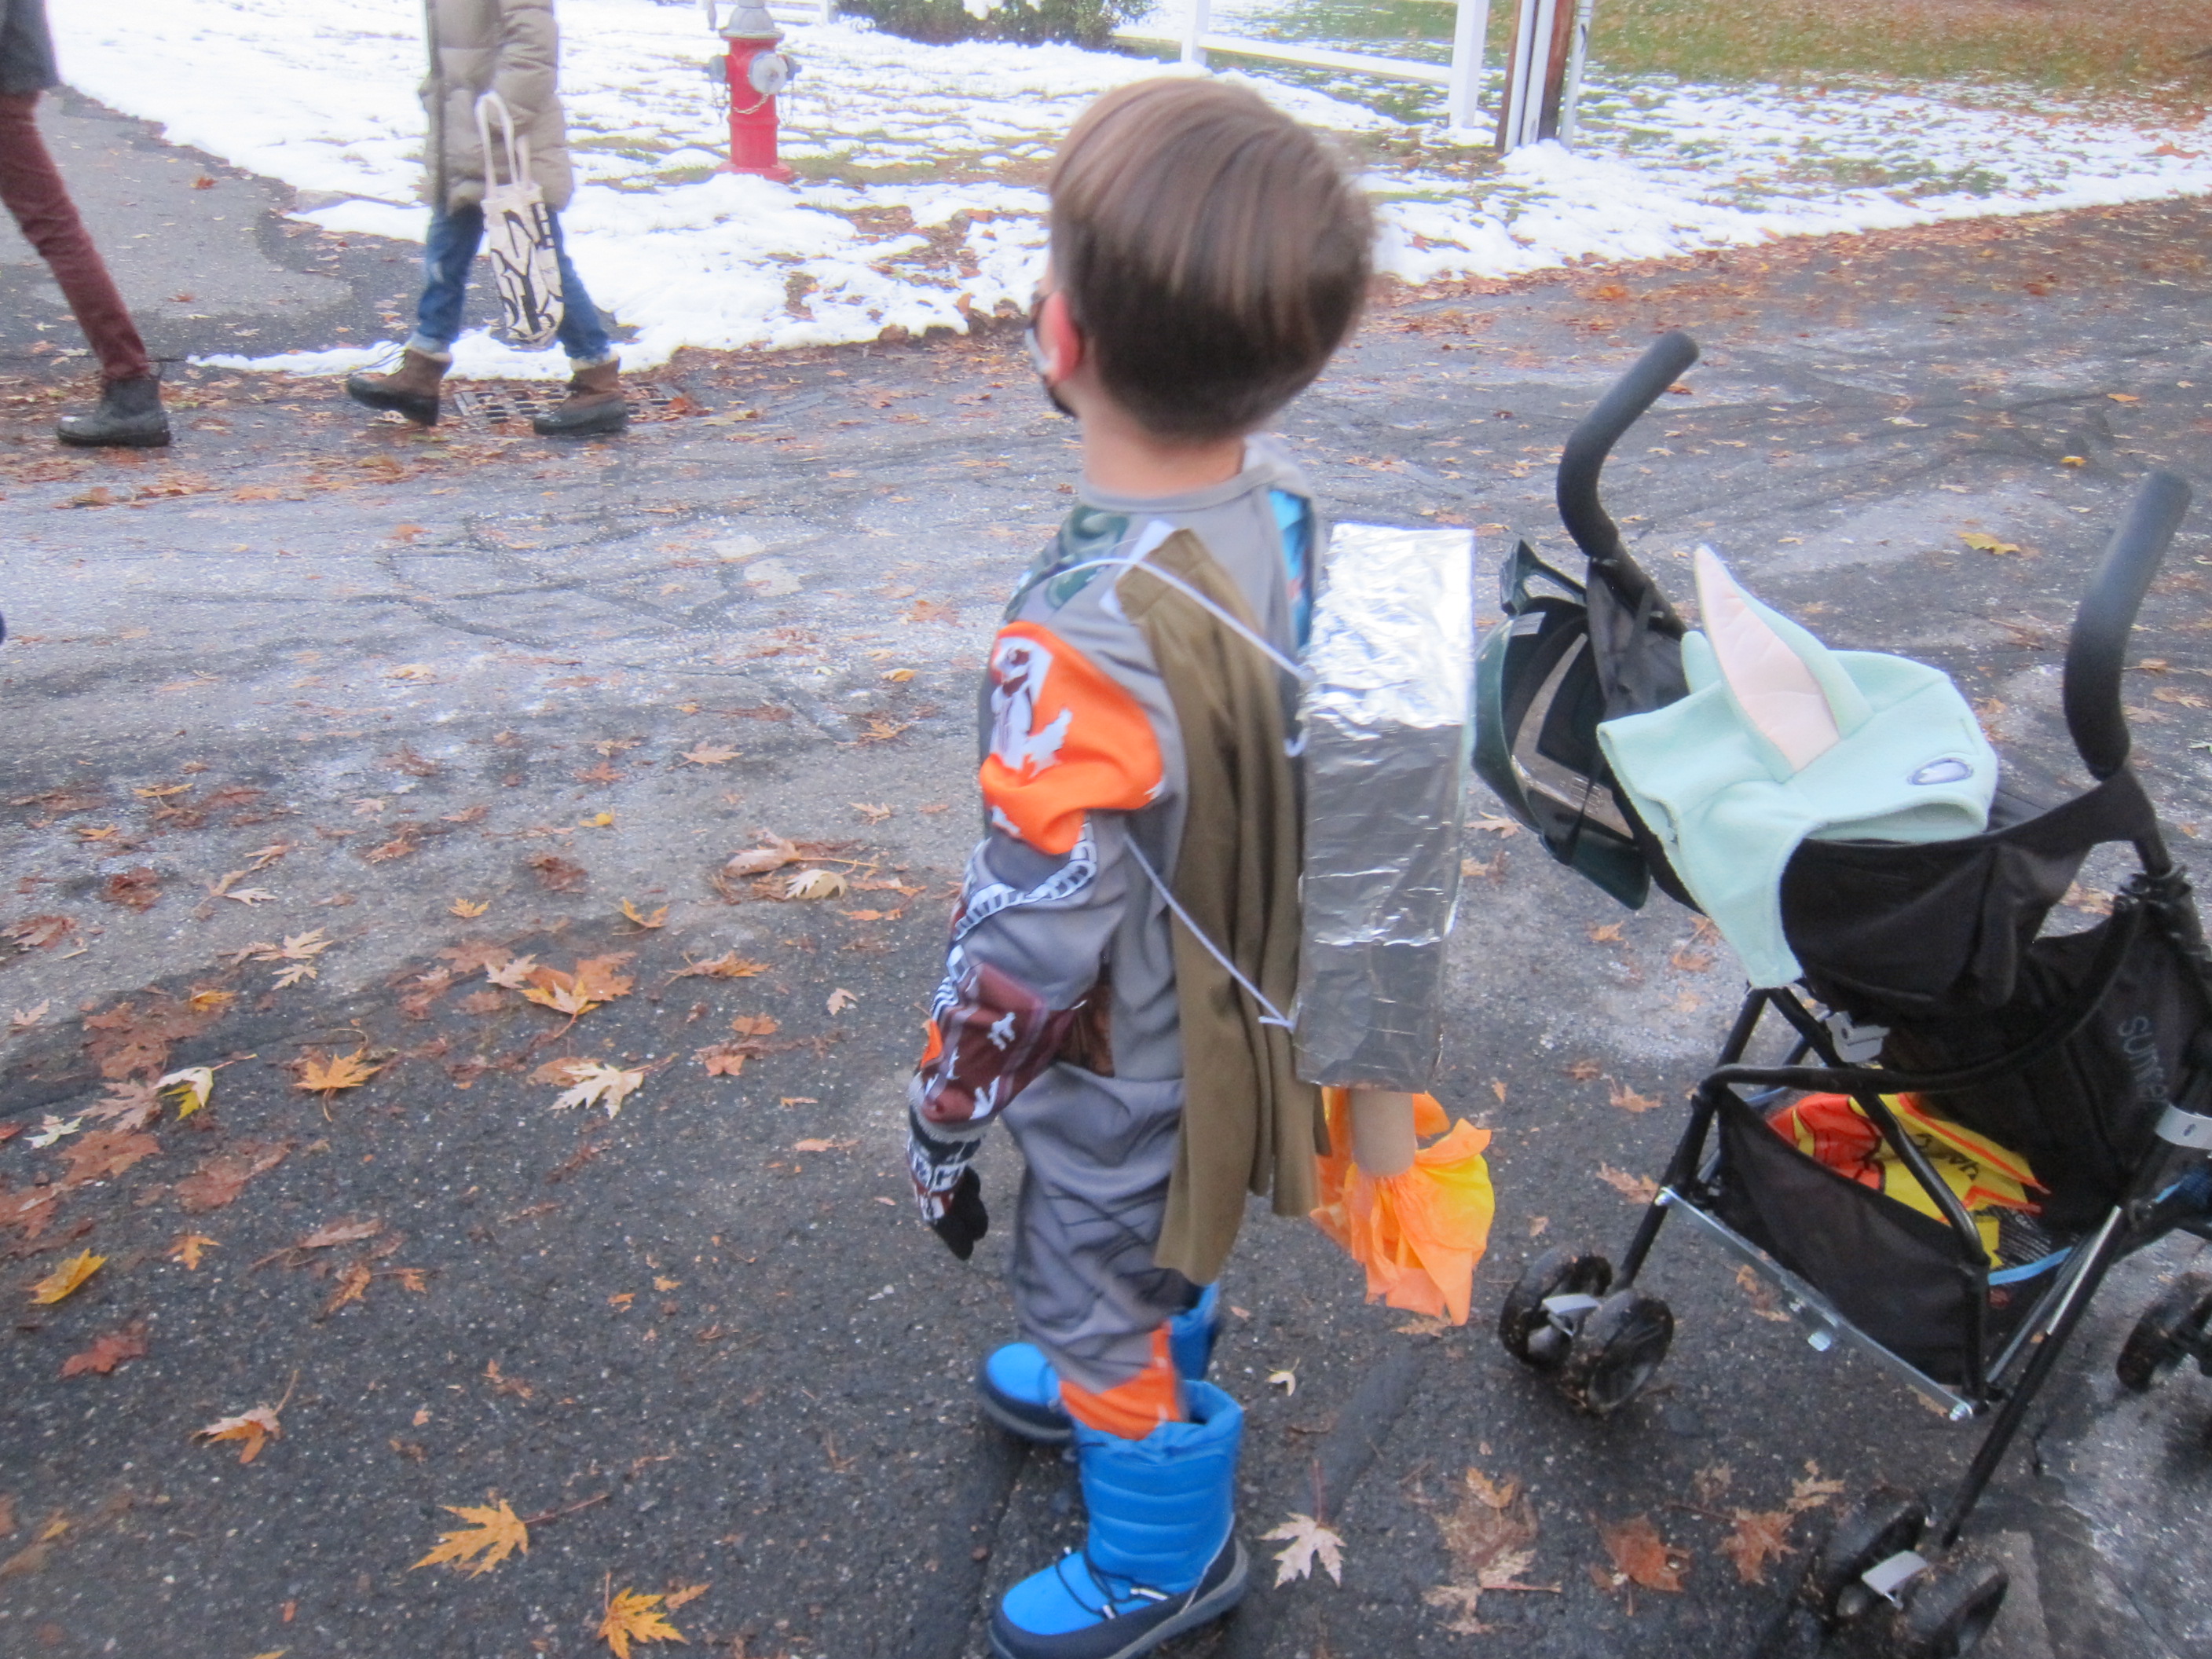
My little trick-or-treaters came home with quite the haul. So it’s safe to say, Halloween did not disappoint.

Sweet Safe Halloween (6)

Halloween Countdown Day 30: Reverse Trick or Treat

IMG_20201030_150512

We’ve reached the penultimate day in our month-long countdown to Halloween! That meant it was time to teach the kids about giving back this year, not just taking all the treats for themselves.

This is a project we actually started two weeks ago. Since Travis loves animals, we decided to host a cat food donation drive (get it, for black cats in honor of Halloween?), but truly you can pick any charity or cause and start collecting donations toward it.

We printed up a flyer and distributed it in Travis’s grade at school.

Halloween 30 Reverse Trick or Treat (1)

Within one day, the donations started pouring in. His teacher even made a donation bin decorated to look like a black cat!

IMG_0026

We were overwhelmed by his schoolmates’ generosity. In ten days, Travis collected 172 cans of cat food (plus one huge jar of treats!).

Halloween 30 Reverse Trick or Treat (2)

Now all we needed to do was deliver. We bagged the cat food (while listening to our favorite spooky tunes of course), turning it into a whole family affair.

Halloween 30 Reverse Trick or Treat (3)

The next afternoon, we drove over to make the delivery. The sign on each bag read Happy Halloween to the cats!

Halloween 30 Reverse Trick or Treat (5)

This activity was so purr-fectly rewarding that we might just make it an annual event.

Hallwoeen 30 Reverse Trick or Treat (6)

Which organization would you reverse trick-or-treat? Please share in the comments!

Halloween 30 Reverse Trick or Treat (4)

Pumpkin Risotto

Pumpkin Risotto

If you’re looking for new pumpkin recipes to add to your seasonal repertoire, this savory recipe is a nice alternative to sweet pumpkin desserts.

Ingredients:

  • 1 tablespoon olive oil
  • 1 tablespoon Earth Balance butter
  • 1 tablespoon chopped fresh sage
  • 1 minced garlic clove
  • 1/4 cup chopped onion
  • 1 cup canned pumpkin
  • 1 cup Arborio rice
  • 3 cups vegetable broth
  1. Heat the olive oil and butter in a 3-quart casserole dish over medium heat. Add the sage and garlic; cook for 1 minute.
  2. Remove the pan from heat and stir in the remaining ingredients. Cover, transfer to the oven, and bake at 350 degrees F for 1 hour.
  3. Stir before serving!

Pumpkin Risotto alt

Birthday Memory Book

Birthday Memory Book (7)

Veronika’s birthday has come and gone, so we thought it would be fun to put together a memory scrapbook. Not only is this a perfect art activity for toddlers (markers! glue! glitter!), but you’ll have a wonderful keepsake at the end.

I put together several sheets of construction paper and folded in the center to make a crease. Together, Veronika and I went through all her cards and photos from the day and we taped them into the book.

Birthday Memory Book (1)

She loved looking back at party images. “There’s the sheep!” she said, remembering her tractor-themed tour at a local farm.

Birthday Memory Book (3)

Now it was time to decorate each page. Don’t worry about making this scrapbook look professional; messiness is encouraged here!

Birthday Memory Book (2)

Veronika then wanted to dribble glue all over the cover. “More glue!” she kept insisting.

Birthday Memory Book (4)

When we had a nice big goopy layer, we sprinkled glitter on top. Shake off any excess and let dry.

Birthday Memory Book (6)

A few more stickers and scribbles inside completed the book.

Birthday Memory Book (9)

I love knowing that she can leaf through this booklet for fun memories in the years to come.

Birthday Memory Book (10)

Video Time Capsule

Video Capsule (2)

Veronika turned 2 years old today, and it was a fun reminder to look back on the videos we took last year when she turned 1. We had footage of the expected big moments (blowing out the candles, opening up her first present), but also a birthday dance party with dad and big brother Travis that I had forgotten all about. We loved it so much that we decided to make it a tradition!

So we staged a fun dance video to the same music as last year. The goal is to make this a tradition so eventually we can string together a video time capsule over the years.

Similarly, you can pick anything big or small on your child’s birthday (a tour of your child’s room, asking him or her what their favorite toy is, blowing out candles) and take a clip each year that becomes a time capsule over, well, time!

We also filmed snippets throughout the day, which we know will be fun to look back on. These included opening up gifts…

bday girl (1)

…a special trip to a local children’s museum…

Video Capsule (3)

…and of course, cake!

bday girl (7)

What are the go-to birthday traditions in your family to film? Please share in the comments!

Happy Birthday Sensory Bin

Birthday Sensory Bin (1)

For toddlers who don’t entirely understand what it means to have a birthday yet, here’s a beautiful way to greet them the morning of their big day and introduce some of the items they’ll be seeing now and in years to come!

I filled a craft bin with bright and birthday-themed items. Birthday goodies included cupcake liners and candles, lots of bows and ribbons, and birthday-themed stickers. I also added neon pipe cleaners and a huge pile of pom poms, just for pops of color.

Birthday Sensory Bin (2)

Veronika barely let me finish setting up before getting her hands in the mix! She loved pouring the pom poms from one cupcake liner to another. Then we started baking pom pom cupcakes! Fill the liners and add a candle in the center for an introduction to the tradition of making a wish.

Birthday Sensory Bin (5)

The ribbons were so fun for to pull at or twist apart.

Birthday Sensory Bin (6)

Or to place on Veronika’s head like a birthday crown!

Birthday Sensory Bin (7)

At one point, she realized she could walk all the way around the apartment while unraveling a strand of gold ribbon, which was a pure delight to watch.

Birthday Sensory Bin (9)

I also set down some construction paper so she could peel off stickers (in fun shapes like cupcakes and balloons), and sticker all over the paper at will.

Birthday Sensory Bin (10)

In sum, you’ll have a very happy birthday boy or girl on your hands if you start a toddler’s birthday with this activity!

Birthday Sensory Bin (4)