Storytime Crate

Koala Storytime (14).JPG

My hunch seems correct, that these Koala Crates are growing more sophisticated as our subscription moves along. To wit: the storytelling box we received tackled excellent preschool skills, including the parts of a story, the flow of narrative, imagination, and basic letters/handwriting.

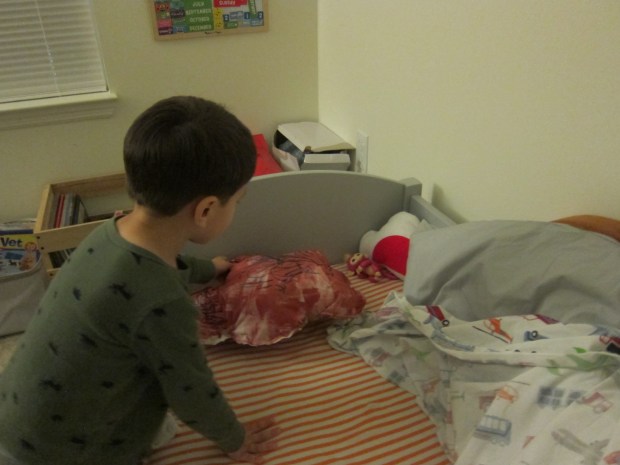
Travis carried the box in from the package room so there was no stopping him – nor time to gather myself together as the adult assistant! – and next thing I knew we were setting up our puppet theatre.

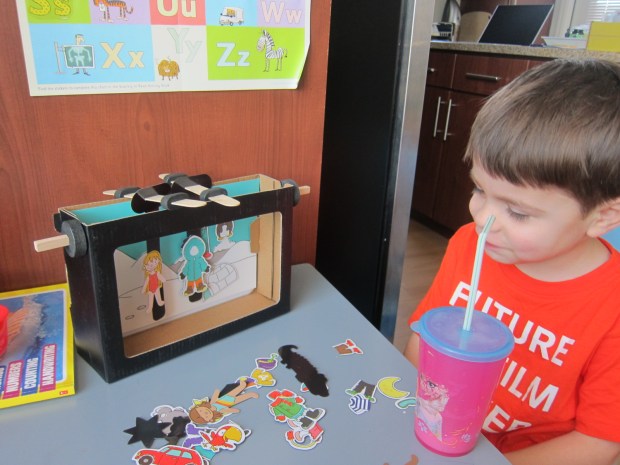
The theatre is easy to slot together, simply adding a white magnetic board background, scenery inserts, and a curtain to the provided cardboard “stage.”

Koala Storytime (3)

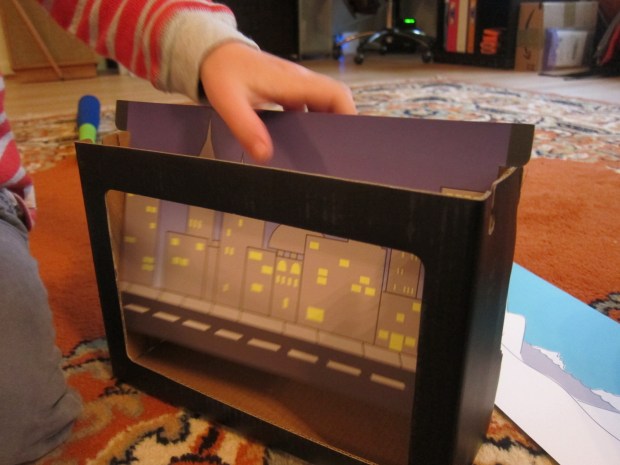
We talked about what might happen in each scene… What would he see in the city, for example? Lots of helicopters, he decided! Already I loved the dialog that this crate was opening up.

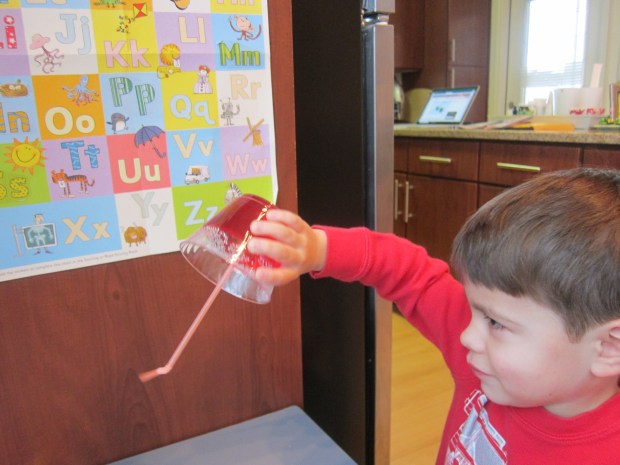
The curtain comes on a rod that slots into place and then is secured by foam circles, and can twist up or down.

Koala Storytime (4)

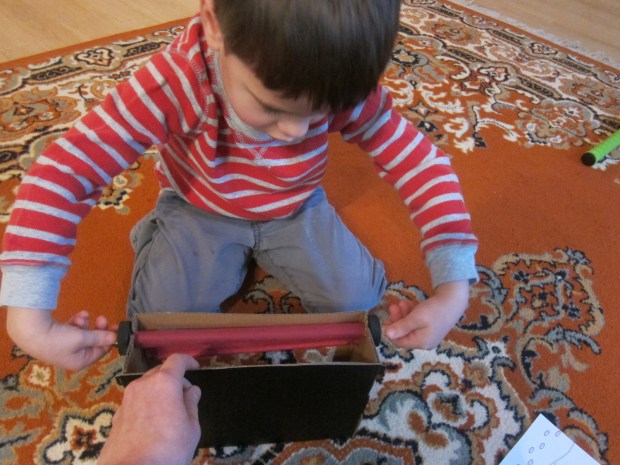
As a slight fault in design, the curtain is very easy to twist up, but was really frustrating for Travis to twist down. I managed to curb a tantrum and found that it worked best while twisting with one hand and gently tugging on the curtain with the other.

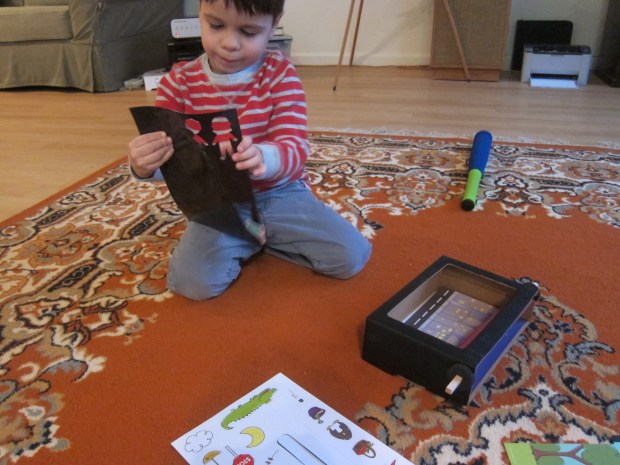
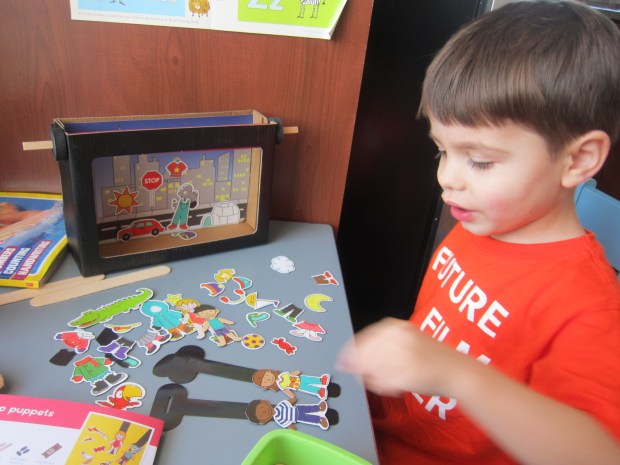
Crisis averted, and very quickly we were moving on to the Dress-Up Puppets. This craft would be hard to replicate at home – you’ll have to buy magnet sheets and do a fair amount of coloring and cutting.

Koala Storytime (6)

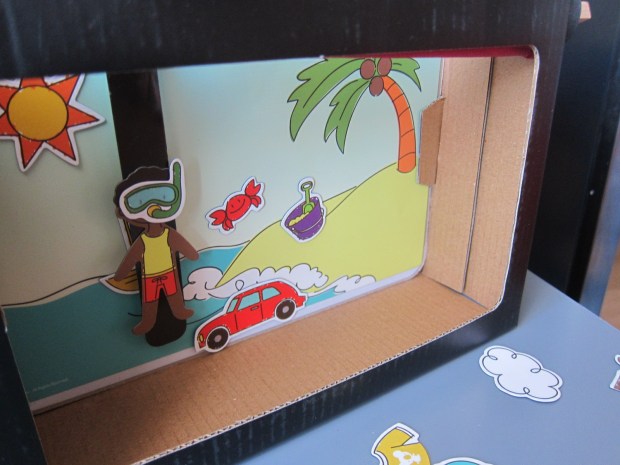
I was thankful to Koala’s efforts as we punched out all the characters, clothing, and props. The props stick right to the magnetic white board hiding behind our scenery!

Koala Storytime (5)

For the people, place on a magnetic strip, then dress them as you’d like.

Koala Storytime (12)

Travis and I had a great time selecting a background and discussing which props made the most sense in each scene.

Koala Storytime (13)

I loved the imagination that followed. Here was a story line about two friends who share a snowsuit when one was cold!

Koala Storytime (16)

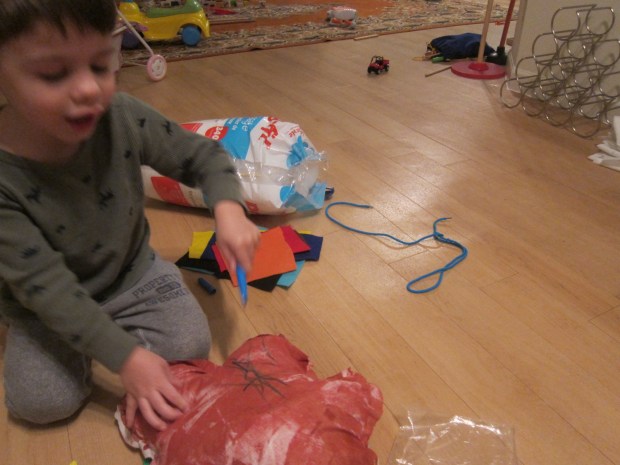
He loved being silly, too, like putting a car in the icy mountain setting, having a crocodile chase people at the beach, and dressing this little character in a cloud:

Koala Storytime (15)

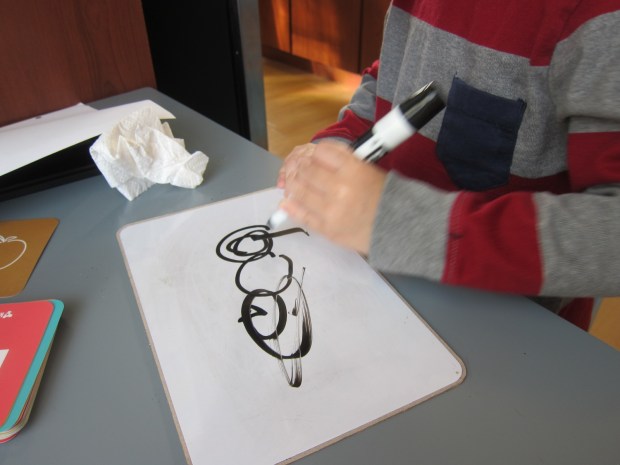
The third activity in the kit was alphabet cards and Alphabet Card Games to go with them. Mommy was excited about this one, Travis a bit less impressed. First, they are fantastic for handwriting practice. The white board slides out of the puppet theatre, and becomes an erasable board, thanks to the provided dry-erase marker. I was really glad for this prompt to practice handwriting. Show your child a letter, then either have them write it or guide their hand, for those just learning.

Koala Storytime (19)

Another option is to show your child the picture on each card, and have him or her tell you what letter it starts with, great for phonetic skills.

IMG_0009

Or, ask your child for another object that starts with the letter. Here’s Travis drawing an ant for a.

Koala Storytime (20)

And of course he loved cleaning the board with a paper towel. I can see us having fun with this deck of cards for a long time to come!

Koala Storytime (21)

The Imagine booklet also included great creative prompts to get your little storytelling acting, like being in a dark cave, or eating a birthday cake.

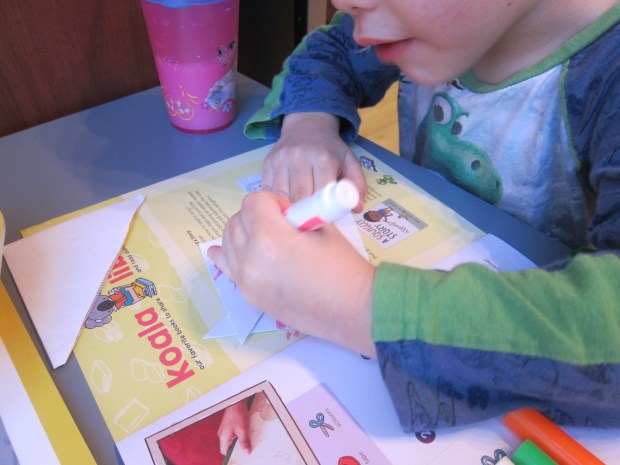
Finally, we put together suggested monster bookmarks, great for marking your place in a book as your enjoy many a storytime together. First, trim the corner from a business envelope.

Koala Storytime (8)

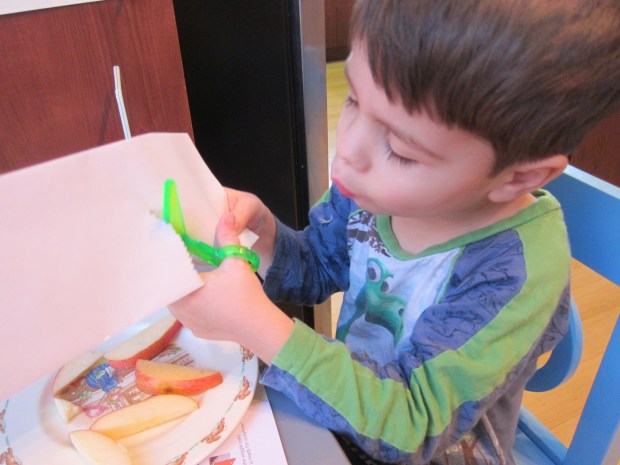
Use remaining parts of the envelope to cut out teeth.

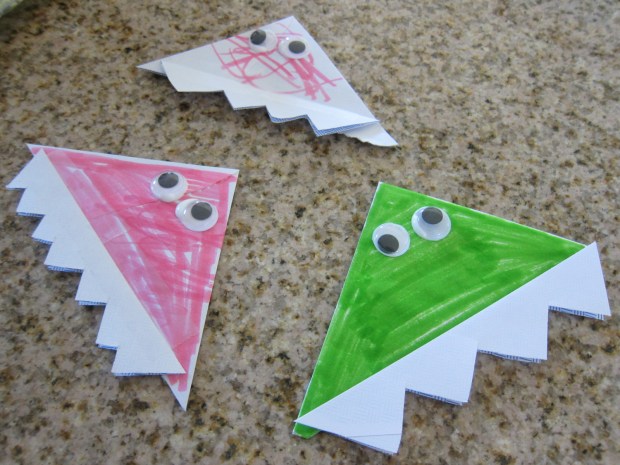
Travis made pink monsters, and I colored in a green one.

Koala Storytime (9)

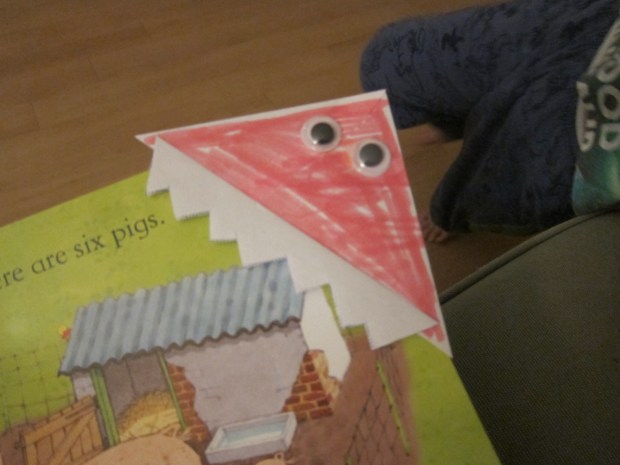
To finish, simply tape the teeth on with clear tape, then glue on two googly eyes.

Koala Storytime (10)

We won’t forget which page we’re nibbling – er, reading – now!

Koala Storytime (17)

In sum, this felt like the most “advanced” crate in terms of topic. Can’t wait to see what’s next Koala!

Pasta Shape Up

Pasta Shape (7)

Believe it or not, I’m 35 and this was my first attempt at homemade pasta. Because we don’t have a pasta machine, I knew we weren’t going to have a perfect batch, but Travis has adored playing with food and recipes in the kitchen lately, so we cooked up some fun!

First, scoop 2 cups flour into a bowl. We used whole wheat flour, but you can use semolina or regular white flour. Add 1/2 cup warm water, stirring to form a dough – we needed to add a bit more water before our dough was the right consistency.

Pasta Shape (1)

To my delight, Travis didn’t hesitate before getting his hands right in there. He loved kneading the dough!

Pasta Shape (2)

This was definitely his favorite part of the whole process, carefully working one portion of the dough while I demonstrated kneading techniques for him.

Pasta Shape (3)

We set the dough aside to rest for a few minutes (ideally you’ll want about 20 minutes, but that was long for this preschooler), then rolled the dough out as thinly as we could.

Pasta Shape (5)

For shaping fun, first we tried bow ties. Cut a 1×2-inch rectangle, and pinch in the center. You can also make tubes by rolling rectangles around a straw.

Pasta Shape (6)

More so than shaping, though, Travis just loved playing with the dough. He tried a few raw bites (which he declared yummy!) and pretended he was drinking pasta “juice.” What an imp!

Pasta Shape (8)

If you really do intend to eat your pasta, cook it in boiling water for 3 to 4 minutes, and serve with your favorite sauce.

Pasta Shape (9)

Homemade “Marshmallows”

Homemade Marshmallow (7)

Okay, so the following recipe won’t really make marshmallows… To achieve that, we probably need to get trendy and try using aquafaba. But really we just had a leftover box of vegan jel dessert in the kitchen and wanted to play with it – Travis has loved the wobbly dessert ever since I amused him with fake juice cups. The result was a goopy sugary mess that he adored eating by the spoonful!

To start, dissolve 1 and 1/2 tablespoons of your favorite vegan “gelatin” dessert in 1/3 cup cold water; let stand for about 10 minutes. We used peach flavor, which meant our “marshmallows” had a peachy tinge.

Homemade Marshmallow (1)

Meanwhile, combine 1 and 1/2 cups sugar and 3/4 cup water in a saucepan. Cook over low heat, stirring until the sugar dissolves.

Add the gel mixture to the sugar, and bring to a boil over medium heat. Let boil for 15 minutes, without stirring.

Homemade Marshmallow (2)

Remove from heat and cool slightly, then beat with an electric mixer on high speed until frothy. We were under no illusions that our mixture was going to get as thick as a real gelatin mixture would have, but we do love the mixer!

Homemade Marshmallow (3)

Pour into a 9×9-inch baking dish coated with cooking spray and let stand overnight.

Homemade Marshmallow (4)

The dessert won’t set, but it will be wobbly and thick. We dusted the top with 1/4 cup cornstarch and 1/4 cup powdered sugar before eating it right from a spoon!

Homemade Marshmallow (6)

In sum, you’re going to stop eating after a couple of spoonfuls because this is pure sugar, but really the point is to savor moments together in the kitchen. I loved watching Travis whisk, stir, sift, and more. My favorite sous-chef!

Classroom or Naptime Keepsake

Keepsake (12)

A stuffed friend can make all the difference if your child feels anxious about school, or needs an extra snuggle at naptime. And when your child has a hand in making that stuffed friend, things are even better!

I am no sewer, so this craft was entirely new territory for me, requiring a sheet of cotton canvas from the craft store. First I asked Travis what shape he’d like his comforting keepsakes to be. The first was a small car, which we made small enough to fit in his school backpack. Then we traced a larger free-form shape for naptime, sort of like a cloud, but mostly abstract.

Keepsake (1)

Cut out your designs (you’ll need two of each, to be the front and back of the stuffie), and paint with fabric paint. This was a fun chance to use our paint roller! Let dry completely.

Keepsake (3)

You can decorate the keepsakes further before sewing and stuffing. Try gluing on pieces of felt, or coloring with fabric markers. Travis opted for the latter.

Keepsake (7)

Next it was time to stuff and sew! This meant a special trip to visit grandma and her sewing machine – Travis was ecstatic seeing the machine in action.

Keepsake (10)

At home, we finished the keepsakes with stuffing; Travis loved helping poke it into the furthest corners.

Keepsake (5)

He was so proud to set his naptime keepsake on his bed.

Keepsake (8)

Lastly we tucked the small car stuffie in his backpack, just in case he needs to give it a special squeeze at school.

Keepsake (11)

Surprise “Juice” Cups

Surprise Juice (2)

The jell-o surprise waiting in these clear plastic cups is sure to delight your kids! It’s a fun way to discuss the difference between liquids and solids, and of course they also get to eat a tasty treat. My favorite vegan “gelatin” dessert is the jel dessert from Simply Delish.

First, I prepared one package of the dessert according to package directions – in this case, dissolving the powder in 1/3 cup cold water, then adding 1 and 1/4 cups boiling water. Make sure you use a flavor with the color of juice! I used raspberry.

Surprise Juice (1)

Pour the mixture into clear plastic cups and refrigerate for 1 hour, or until firm.

I called Travis over for a juice snack; that’s a special treat in this household, so he immediately trotted over. Just as he arrived, I pretended to spill one of the cups – oops Except nothing poured out.

Surprise Juice (3)

He was instantly delighted and intrigued, and had to test for himself if he could pour out the “juice.” He also wanted to know what it felt like (squishy)…

Surprise Juice (5)

…and if he could turn the cups completely upside down.

Surprise Juice (7)

He tried drinking through a straw next.

Surprise Juice (6)

But of course I had a spoon on hand, knowing the straw wouldn’t work.

Surprise Juice (8)

In sum, this game is sure to elicit giggles and delight.

Surprise Juice (4)

Homemade Stickers

Homemade Stickers (9).JPG

Not only will these lick-and-stick homemade stickers really stick, but they taste great too! The secret is a little bit of vegan gel dessert (such as Simply Delish).

Homemade Stickers (1)

To make the “glue,” first mix 1 tablespoon of any flavored gel powder into 2 tablespoons boiling water.

Homemade Stickers (2)

Your kids may want to draw their own stickers, but Travis preferred to dictate what I should draw, and I put together a little set for him.

Homemade Stickers (4)

Cut out your stickers, and paint the back of each with a generous layer of the gel; let dry.

Homemade Stickers (5)

While I don’t recommend sticking these any place that shouldn’t have food on it, we decided it would be perfect to make a collage on construction paper. To adhere, give the stickers a lick!

Homemade Stickers (6)

Travis was absolutely delighted with the taste, and had to lick every single one, meaning we had our collage in short order.

Homemade Stickers (8)

Keep this activity in mind for the next time your little one is under the weather. It’s the perfect calm game to play, with an added sweet treat at the end as a bonus.

Giant Alphabet Mat

GIant Mat (2)

This giant alphabet mat turns letter-learning into big fun. Much bigger than our alphabet parking lot, it’s a great visual and physical way to engage children with learning the alphabet. You can tailor the games on the mat to suit everyone from 2-year-olds to preschoolers!

First, lay an unused shower curtain liner on the floor and make circles for all the letters of the alphabet; I traced a plate to make the circles even. Write in the upper and lower case letters in each circle.

Giant Mat (1)

Your possibilities for play are almost endless, from here! First, try walking along the letters as you sing the alphabet song. You could also ask toddlers to toss bean bags into a designated circle, or ask them to hop to a specific space, if they are just learning their letters.

Travis still mixes up a few tricky lowercase letters, so our best use for the mat was to have him find the right spot for our set of lowercase magnets.

GIant Mat (4)

Because we’re into all things cars over here lately, he decided the best way to play was to load up his jeep and have it deliver each letter – whatever works!

Giant Mat (6)

Another great variation for pre-readers and kids learning to recognize the sound each letter makes is to find a toy in your home that starts with each letter.

Giant Mat (5)

I will confess: Travis wasn’t nearly as interested in this giant playing board as I thought he would be. But we’ll set it aside and try it again another day. Let me know what your kiddos think of the mat!

Giant Mat (7)

Life Size Board Game

Board Game (3)

We loved this giant take on a board game, using our own bodies as the playing pieces! It’s a great way to burn off some physical energy indoors, plus work on counting skills, turn taking, and playing a game by the rules.

To set up your “board” all you need is painter’s tape. I made squares around the carpet in a pattern for us to move forward. If you want to make the game a bit more complex, add another shape (such as diamonds) that mean “move back one space.”

Board Game (7)

I threw together a very quick giant dice by taping construction paper on the sides of a tissue box and adding pips with a sharpie. If you have the time, glue on your construction paper for a more elegant look!

Board Game (1)

Now it was time to toss the dice. Travis delighted in throwing the giant cube.

Board Game (2)

He was quicker than I would have guessed at counting the pips, yelling out the numbers and then taking proud giant steps from square to square.

Board Game (4)

We have a winner!

Board Game (5)

We also played a version using big toy cars in a car race, driving them the right number of spaces forward with each roll.

Board Game (6)

If you create a giant board game, please share any variations or ideas in the comments, we’d love to hear!

President’s Day Fun

President Cookies (4)

Happy President’s Day to all! We marked the occasion with some edible fun and a little magic trick thrown in for good measure.

First up, the trick. Grown-ups (or big kids), fold a bill of any denomination down the center of the president’s face. Now make two additional folds over the center of each eye (the folds will be close together, which is why grown-up hands worked better here).

Moody Money (1)

You should now have three accordion pleats. If you tilt the bill upwards, the president will appear to smile.

Moody Money (2)

Tilt it down, and he frowns!

Moody Money (3)

We tried this with Abe Lincoln and then Andrew Jackson on the $20.

Moody Money (6)

Who had a very pronounced frown:

Moody Money (5)

I would have used George Washington as well, except had no singles in my wallet. It was a great way to introduce the names of these men to Travis.

Moody Money (4)

We continued the fun with an edible presidential treat.

First, microwave a handful of chocolate chips in a glass bowl at 20 second intervals, until melted – it will take about 1 minute. Using a toothpick, paint smiles and eyes onto round cookies. Vegan vanilla wafers would work, but we like the lemon cookies from Back to Nature.

President Cookies (1)

For Abe, adhere mini chocolate chips using frosting as the “glue” to be his beard. Cut two pieces of dark chocolate to be his hat, and attach together with additional frosting.

President Cookies (2)

For George, cut mini Dandies marshmallows in half, and adhere around the top of his head with frosting, to be his wig. Add a collar at the neck, with a mini chocolate chip for a button.

President Cookies (3)

Our presidents were gobbled up in no time!

Green Time: Play in the Snow

Snow Play (7).JPG

We’ve been so eager for a snowfall so we could get to our second installment of outdoor play suggestions from Ranger Rick Jr. Last night we got our wish – only about three inches, but because I doubt we’ll have much more snow this winter, we took advantage of it!

The first thing we had to do was test out the sled we bought but haven’t had a chance to use. There’s a tiny hill just off our apartment, and Travis enjoyed a few mini runs down it.

Snow Play (1)

Whoops, but as you can tell, he was not a fan lying down to try out a snow angel next.

Snow Play (2)

Making a small snowman was a bigger hit…

Snow Play (4)

…as was building a snow fort. Based on the magazine’s image, we used a bucket to build the fort, which worked so well! Although we didn’t have enough snow to build our walls up high, this is definitely how we’ll fashion future forts.

Snow Play (3)

Meanwhile, I loved that these suggestions got us out into crisp morning sunshine to make first tracks in the snow – especially since it had all melted by afternoon!

Snow Play (5)