Whale Ball Toss

Whale Ball (10)

For a museum exhibit on President’s Day, Travis got to play with old-fashioned toys in honor of George Washington, including wooden favorites like a Jacob’s Ladder and a cup-and-ball toss. So he was eager to craft this whale-tastic take on the latter at home. (Fun fact: the game dates back to the 14th century! Admittedly, this cetacean update from Kiwi Co. is a bit newer).

Ideally, start with blue plastic cups for your whales. We only had paper cups, which got a nice coat of blue paint.

Whale Ball (2)

Travis was so excited once they were dry! Punch a hole in the bottom of each cup, and thread through a three-foot long piece of yarn. Tie it in a loop around the cup.

Whale Ball (3)

Tie a wooden bean onto the other end of the yarn – this is the “krill” for the whale to eat.

Next, we traced the cup onto white paper, and cut out.

Whale Ball (7)

Cut the circle in half, then cut little strips into it to make fringed “baleen.” I was really proud of Travis’s scissor skills here.

Whale Ball (9)

I cut out a tail and fin template for him, which he then traced onto blue paper and cut out. Again, loved watching his fine motor skills.

Whale Ball (6)

Finally, we taped these pieces – tail, fins, and baleen, along with two googly eyes – onto each whale.

Whale Ball (11)

Hold the cup and swing the bead, and see if your whale can eat it. Here goes!

Whale Ball (4).JPG

Success!

Whale Ball (5)

This was a great game, and since we made two, we could challenge one another to a competition.

A Whale of a Roll


Whale Roll (8).JPG

When you’ve been having a whale of a good time with your Baleen Whale crate from Kiwi Co., you continue the fun with these adorable whale bread rolls. These would be fantastic in a bento box, if you’re into lunchtime art!

To start, Travis made ovals about the size of his fist from store-bought bread dough, which we arranged on a baking sheet.

Whale Roll (1)

Shape smaller portions of dough into the fins and tails. (Note: he had trouble shaping the tails, so I made a rough V-shape for each, which he stuck to the whale bodies).

Whale Roll (2)

Next we pressed a raisin into each “whale” for an eye; make sure to press these in quite deep, or they will pop out during baking.

Whale Roll (3)

Use kitchen scissors to snip a small slice into the front of each whale, and pull open slightly to make a mouth.

Whale Roll (4)

Bake at 425 degrees for 12 minutes.

Whale Roll (5)

Let cool, then poke a hole in the top for each blowhole – a straw worked nicely.

Whale Roll (7).JPG

As the finishing touch, I cut Daiya cheese sticks into small slices, and divided these into thirds to be the spouting water; carefully insert one water spout into each blowhole.

Whale Roll (6)

Thar she blows!


Make a Paper Chef’s Hat

Chef's Hat (6).JPG

Of all the Raddish Kids lessons we’ve enjoyed thus far, the suggested “Kitchen Brigade” unit to go with our Croque Monsieur Sandwiches was the hardest to adapt for a preschooler. It involves learning and identifying the different jobs within the classic French kitchen hierarchy, and was a stretch to make this material accessible to my four year old.

Instead, I turned the focus onto him being a chef… with his own chef’s hat (toque) of course!

First, cut about 3 feet of parchment paper. Travis was really into the feel of the paper, since we don’t use it very often. “What’s this?” he asked, delighted.

Chef's Hat (1)

Fold up accordion-style, then unfold; your paper now has a pleated look.

Chef's Hat (2)

Tape two sheets of regular white paper together for the base of the hat.

Chef's Hat (3)

Fold in half, then in half again, and open back up. Fit the parchment paper into this base, and staple closed at the ends and middle.

Chef's Hat (4)

Gather together the top of the parchment paper, and tape to secure.

Chef's Hat (5)

Now fold the whole hat inside out, tucking the tapered point inside. Staple together (make sure the hat will fit your child’s head before stapling), and voila!

Note: If the directions are hard to follow, you can get a visual of the project here.

Next my little chef de cuisine and I did sit down briefly to discuss kitchen roles. I simplified greatly, selecting 6 jobs for him: chef de cuisine, sous chef, patissier, aboyeur, line cook, and plongeur (dish washer).

There are multiple games that big kids can play by making flash cards for each of these jobs (plus many other roles): memory games; charades; role playing; or “who’s the boss,” (i.e. knowing the order of the kitchen hierarchy. Rather than play a true memory game, I simply had Travis name each job while looking at the flash cards we made, and tell me which job it was.

Chef's Hat (7)

In this way, at least he knew 6 kitchen roles, and roughly their hierarchy, since we numbered them 1 through 6.

Overall, I doubt he took much from the lesson… But he did like his toque!

Easy Spool Speller

Spool Speller (3)

Here’s a fantastic tool for kids who are learning to read and spell, made out of just a few upcycled items in your home!

Because Travis is a novice speller, I made a speller that featured three letter words, but bigger kids can accept the challenge of four spools!

On the empty spools, I wrote letters in permanent marker. Do try to think strategically for this: I had common beginning consonants on the first spool, vowels on the second, and common ending letters on the third.

Spool Speller (1)

Note: If you’re having trouble with this, download the template from Family Fun magazine’s Dec/Jan 2016 back issue.

Next I threaded the spools onto two pencils. Ideally, your empty spools will have small holes and fit around one pencil; however, I taped two pencils together, since my spools had wider holes. Secure the ends with eraser toppers.

Spool Speller (2)

Now twist and turn to make some words!

Spool Speller (8)

The speller worked in two fantastic ways for Travis. First, I could make a word and have him sound it out. This is great if you switch rapidly from one word to another. So if I have c-o-t it says cot…

Spool Speller (5)

…but if I twist just one spool, we have h-o-t hot.

Spool Speller (6)

More challenging was for Travis to try and make his own word, which he still needed some help with.

Spool Speller (7)

In sum, a great toy, and we’re thinking this will be perfect for car rides!

Design Your Own Palace

Verseilles (7)

Here’s to another clever lesson plan from Raddish Kids, one that I originally feared would be too advanced for a four-year-old, but which led to great fun and games.

The idea is to start with the Palace of Versailles specifically, and move on to what a palace is more generally. All in connection with the yummy Nicoise salad we cooked, of course.

I introduced Travis to Versailles through a few of the lesson plan’s suggested resources, such as quick videos and online books.

Versailles (1)

Now that he had a sense of the place, I asked him what a palace was. We settled on a definition of a “grand residence” that housed a king or queen. (Note: Big kids can be more exact with this definition).

He seemed only mildly interested by the Versailles information, so I was delighted when he immediately stood from the table and said, “Let’s build one!” His preferred medium was magnatiles, and I was thrilled watching his design come together.

Verseilles (3)

He even added “rooms” inside his palace, since we’d rattled off fascinating facts about Versailles (700 rooms, 60 staircases, and 10,000 residents, oh my!).

Verseilles (4)

Now we needed to furnish our palace, and we followed Raddish’s suggestion for the youngest kids to make a collage. We went through a home decor magazine and I asked Travis what his palace needed.

He had very definite ideas, everything from a Corinthian column to a kitchen. “We need a fancy kitchen. And we don’t have a fancy stove yet,” he reminded me as we selected photos to cut out.

Versailles (2)

We then pasted these down into a collage, which he loved so much we cut out more pictures and covered three sheets of construction paper!

Verseilles (8)

Finally, it was time for a royal gala. Travis dressed up in a cape and crown (mommy might have donned a second set…) to parade about our royal residence. (Note: Here’s where big kids can do this more as a presentation, and explain their palace to siblings or friends).

Versaille (9).JPG

What royal fun!

Verseilles (5)

Early Explorers Animals

LP Animals final

When I saw that Travis’s newest package from Early Explorers was all about animals, I worried it would overlap with the unit on habitats. But of course the Little Passports company ensured there was plenty of new info and exciting ideas for us to explore, and I needn’t have worried one bit!

LP Animals (6)

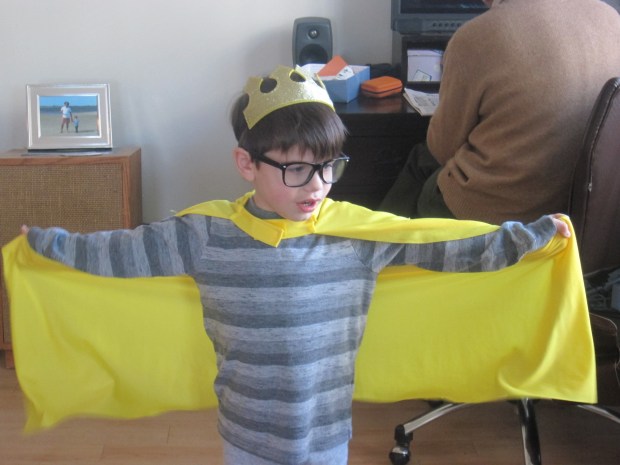
My seasoned explorer jumped right in, telling me he was off to put the animal stickers on his map solo (“Don’t come, Mom, I can do it myself!”) though he did later have me verify that each was on the right continent.

LP Animals (7)

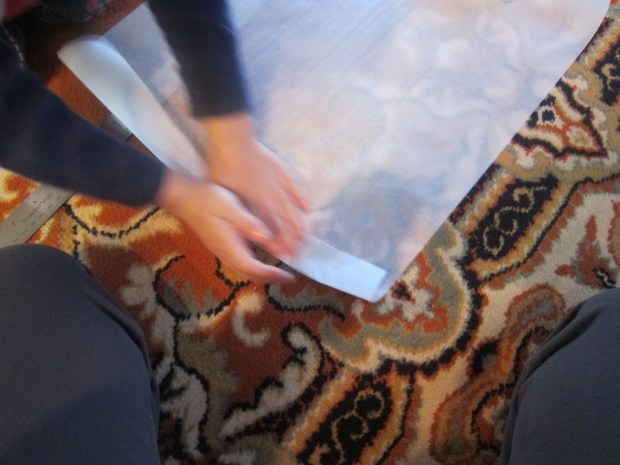
With that we were off and running, checking out the flashcards, flashlight game, and booklet, with fun activities like tracing and mazes.

LP Animals (8)

Animals Craft:

Travis’s booklet suggested drawing your favorite animals. Travis preferred to color in animals someone else had outlined, and luckily the website featured a bonus template of just such a thing.

LP Animals (24)

He liked making up silly colors for his animals!

LP Animals (23)

Animals Science:

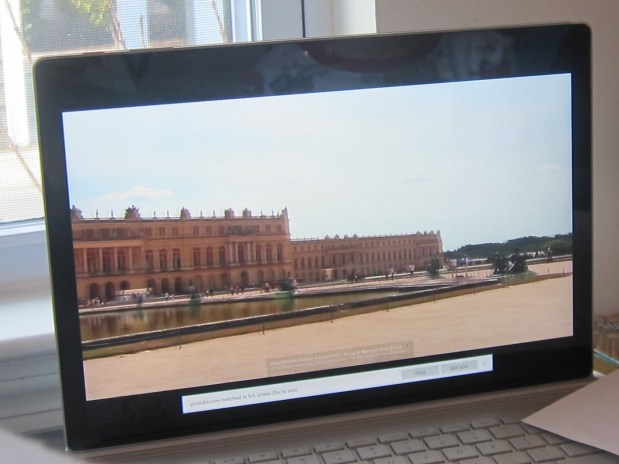
The “science” project we undertook was to visit a nearby National Park and chat with a ranger about what wildlife we might encounter. As luck would have it, the unit overlapped with the Great Backyard Bird Count, so we headed off on a brisk winter’s day!

LP Animals h

Travis loved the little presentation on birds before the walk, full of questions.

LP Animals a

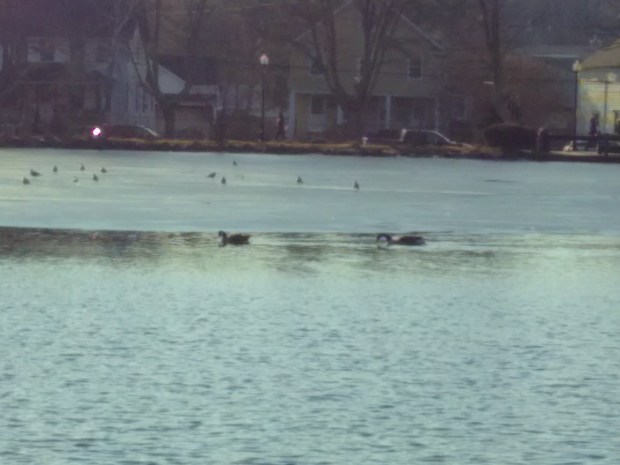
We headed out with binoculars, and paused every time we heard a bird call. Although we heard a few different species, we unfortunately didn’t see them.

LP Animals b

But we searched for signs of other animals, too, such as paw prints (Travis was sure this was a fox, not a dog out for a walk)…

LP Animals d

…and squirrel burrows.

LP Animals g

Definitely do head to your nearest National Park, whether as tame as ours, or as wild as Yellowstone, and see what your ranger can tell you!

LP Animals f

Animals Keepsake:

The animal puppets to put together were by far his favorite keepsake we’ve received from this subscription to date! These foam puppets had a crafty component, since some were stickers that needed to be added on to the bodies.

LP Animals (4)

There was a nice representational sample, everything from exotic lions to cute pandas to cows like those we can see here at home.

LP Animals (3)

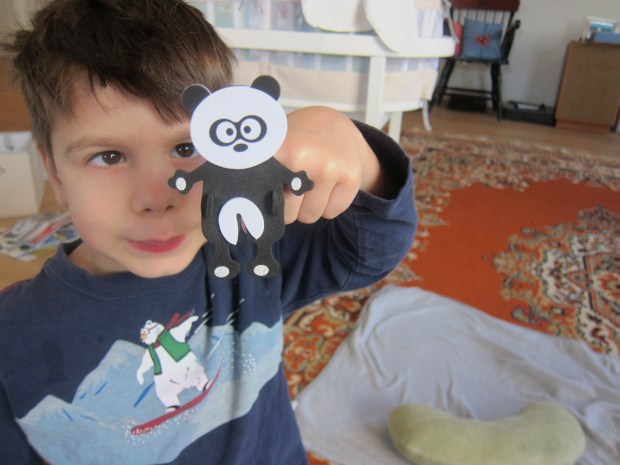
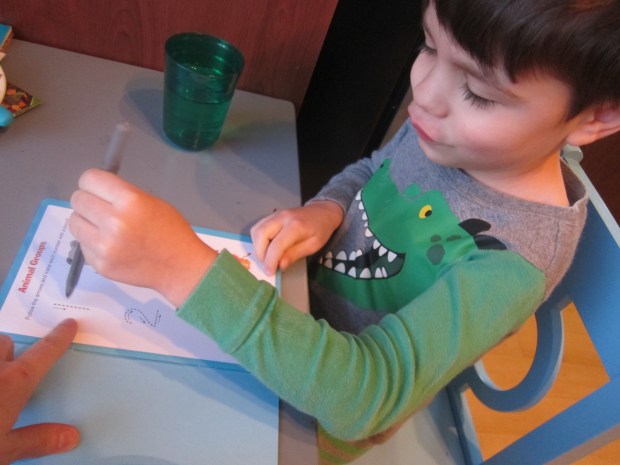
Not only was he wild about putting them together, following the easy step-by-step instructions solo, but when we had finished, he asked if he could put them together again (unfortunately, not really!). From here on out, they’re great for puppet shows.

LP Animals (5)

Animals Field Trip:

Our booklet suggested a trip to a local zoo or aquarium; please note that I never take Travis to zoos, as life in a cage is a sad one for animals. That said, we will visit an aquarium as long as the fish are well-cared for and there are no captive cetaceans.

And what a day at the aquarium we had! Travis was fully tuned in to the animals today, on a hunt for species we’d read about in our booklet, and marveling at them. Have you ever watched seahorses swim, for example? They truly dance.

LP Animals (16)

He was in love with the motions of this spider crab.

LP Animals (17)

And fascinated to learn about piranhas.

LP Animals (11)

And whoa – sharks are always a thrill.

LP Animals (13)

As a bonus, this was a great activity for his little sister!

LP Animals (12)

We sat down over a snack to check off all the animals we’d seen that were featured in his booklet.

LP Animals (21)

Animals Further Activities:

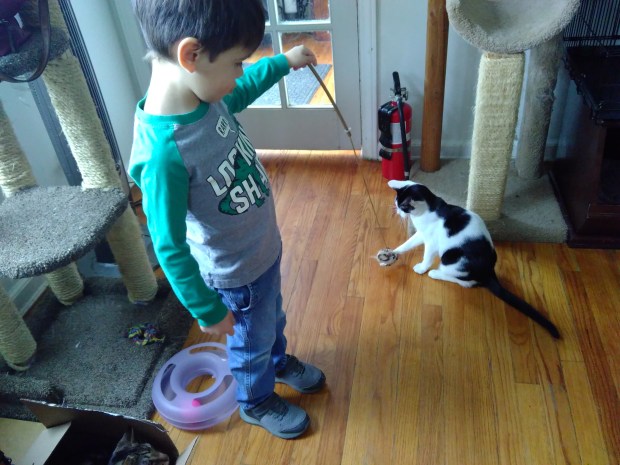
We weren’t done yet! The booklet was rife with further suggestions. We headed to our local park on a warm day to see how many different types of animals we could spot. Here in the winter, it was mainly bird species, but we counted 4: ducks, swans, geese, and seagulls.

LP Animals (25)

Next up was a visit to a local animal shelter, a great way to show your child how other people help animals. I encouraged Travis to ask the volunteers anything he wanted about where they got the cats from, and how they found them good homes.

LP Animals (30)

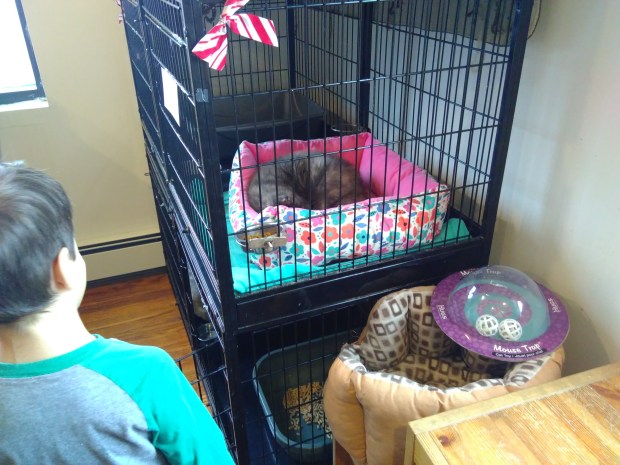
And of course there was lots of time to pet and play!

LP Animals (32)

I had also purchased the animal band magnetic set from Little Passport’s shop. Okay, maybe this didn’t teach us anything about animals, but it sure was cute!

LP Animals (1)

The magnetic case includes heads, bodies, and legs to mix and match, of adorable animals playing instruments. Incidentally, this game is great for on-the-go, since the magnetic pieces ensure you won’t lose them.

LP Animals (2)

You can keep the learning going with websites and books, from here. Travis fell in love with crabs at the aquarium, so we did further research online with YouTube crab videos. Lizards were another fast favorite, and we learned more about them.

And of course your local library will have in-depth books about many species. So find out your child’s favorite, and get reading!

LP Animals (31)

Heart-y Sandwiches

Hearty Sandwich (5)

Start your Valentine’s Day on this sweet note with hearts for breakfast! Or, serve these adorable sandwiches for a Valentine’s Day tea time.

Hearty Sandwich (2)

To start, use a cookie cutter to cut heart shapes from slices of white bread.

Hearty Sandwich (3)

In a bowl, Travis mixed a few drops of red food coloring into Daiya cream cheese; stir until you have a pretty pink.

Hearty Sandwich (1)

We spread half of our hearts with the pink cream cheese (which Travis thought was frosting, so much the better!), and the other half with strawberry jam.

Hearty Sandwich (4)

Serve to someone you love! A great little recipe suggestion from Ranger Rick Jr.

Egg Carton Mini Wreath

Egg Wreath (12)

Full disclosure: Travis and I had hoped to make this adorable wreath around the holidays, but I didn’t have anyone to borrow an empty egg carton from – talk about #veganproblems! We’ve now gladly upcycled one from Travis’s grandma, so why not make it a Valentine’s Day wreath? In fact, depending what colors you choose for the wreath, it could work to adorn your door at almost any holiday.

First, we needed to tear the egg carton into separate compartments. Nothing like ripping things apart to get out some energy on a snow day.

Egg Wreath (2)

Travis then used a pencil to poke a hole through the center of each segment, which might have been even more fun than the ripping!

Egg Wreath (3)

He then threaded all of the compartments onto a long white pipe cleaner (you can choose the color for this based on any holiday, too). He thought it looked like a snake at this point – fun!

Egg Wreath (5)

Once all the segments are threaded, you’ll need to bend the pipe cleaner and space them out evenly until you have your cute little wreath. Secure the two ends of the pipe cleaner together by twisting.

Egg Wreath (6)

We painted our wreath with green watercolor paint. In retrospect, I would paint first, let dry, and then thread them on the pipe cleaner.

Egg Wreath (8)

Once dry, Travis helped glue on little gems, pom poms, buttons, and other red items.

Egg Wreath (9)

We finished our wreath with a little bow. I added a second pipe cleaner that could be the handle, and hung it from our front door.

Egg Wreath (10)

Happy Valentine’s to all our readers!

Egg Wreath (11)


Valentine’s Poetry & Signs

Raddish Valentine (8)

With a clever little template to follow from Raddish Kids, Travis wrote his first poems this Valentine’s Day! I loved guiding him through the project, and the final result makes the perfect Valentine’s gift for a teacher, family member, or friend.

First, we brainstormed a list of three categories: things that were red; things that were blue; and things that were sweet. He had some very definite opinions about what to include i.e. blackberries are bluish purple, not black, so they could go on the list.

Raddish Valentine (4)

What ensued was a sort of Mad Libs game. I read the original poem to him first:

Roses are red,

Violets are blue,

Sugar is sweet,

And so are you.

Using the lists he’d made, we slotted in a new word for each line.

Raddish Valentine (3)

The results were adorably hilarious, and will likely be so different from anything you’d come up with!

Raddish Valentine (5)

Overall, this was a great way to introduce poetry to my four-year-old, and a fun way to make some last-minute Valentine’s cards.

Raddish Valentine (6)

For still more language fun this holiday, teach your kids to sign ‘I love you’ in American Sign Language. Here’s his super excited face working out how to properly make the sign with his fingers!

Raddish Valentine (1)

Travis and I decided this can be our secret way to say the words at school drop off, now.


Baleen Whale Kiwi Crate

Kiwi Whale (17).JPG

Travis received his second box from Kiwi Co today, and literally asked to start the moment we got the box inside the house. Kiwi actually terms this one the “mechanical sweeper” crate, but the term was so opaque I found it completely unhelpful as the adult assistant. Rather, the material inside is all about baleen whales, and the way their baleen “sweeps” the ocean; this explanation made Travis quite excited since he’s been learning about whales at school

First up was to Create Watercolor Whales, the crafty component before we moved on to the science of baleen. I sat back and completely let Travis pick colors and dictate how to paint.

Kiwi Whale (1)

As he worked, he had a game going in his head; it was a humpback whale, but he could change colors and camouflage. Neat!

Kiwi Whale (2)

He loved the wax-resist element along the whale’s jawline; the beads of water ran away from the waxed parts, leaving stripes of color behind. We wiped these clean with a paper towel, as the instructions suggested, for a streamlined look.

Kiwi Whale (4)

For the second whale, we used an extra coat of water and then sprinkled on the provided salt.

Kiwi Whale (5)

After the whales dry, your child can see the difference between the two paintings. Where you shake off the excess salt, you’ll see spotty patterns (more on this idea later).

Kiwi Whale (16)

Now was the moment he’d been waiting for: to Build a Mechanical Sweeper. The idea is to illustrate how baleen whales “sweep” the sea with their mouths, thus capturing more food than they’d be able to with teeth. (Note: the Explore booklet has a cute story explaining this idea further).

I won’t go step-by-step through the sweeper here, but do note that it’s complicated, and took mom and boy a good twenty minutes of concentration. But wow did I love watching his fine motor skills, trying mostly to sit by and let him do the work. He slipped the foam sweeper tabs into the foam sweeper bars…

Kiwi Whale (8)

Added tiny rubber bands to hold things in place…

Kiwi Whale (13)

Slid dowels through the proper holes…

Kiwi Whale (11)

Used stickers to hold things in place…

Kiwi Whale (12)

And more.

At last, our sweeper was ready. We sprinkled the provided pom poms on the rug (the krill, of course), and munch munch munch – our “whale” ate them all.

Kiwi Whale (15)

We then attached our dried watercolor whales to the sides for a finished look.

Kiwi Whale (18)

Travis was thrilled, and needed to experiment immediately. What else could his whale eat? Was anything too small? After testing out tiny Legos, we decided the answer was no.

Kiwi Whale (22)

Was anything too big? Only if an item was wider than the distance between sweeper blades, but this hot wheels car got through…

Kiwi Whale (21)

…as did loads of Playmobil.

Kiwi Whale (19)

I have a feeling it won’t be a chore the next time I ask him to pick up Lego pieces from all over the rug!

Finally, we made Watercolor & Salt Paintings with the provided extra paper, for a clearer salt-and-water experiment. Because Travis had loved the wax-resist on the original whales, I knew just how to add in this element for him – wax crayons.

Kiwi Whale (23)

Once he’d painted, we sprinkled on big piles of salt this time.

Kiwi Whale (24)

This allowed him to see better how the salt sucks some of the water up. You can explain to your kids that the salt and water molecules are attracted to each other, hence why the water gets pulled up, and creates that mottled final look.

Kiwi Whale (26)

My overall opinion of this crate, aside from the very confusing name, is that it was a really digestible way for kids to understand baleen, to learn about these amazing giants of the sea, and to build a very cool STEM project in the process.