Feather Painting

Feather Painting (4)

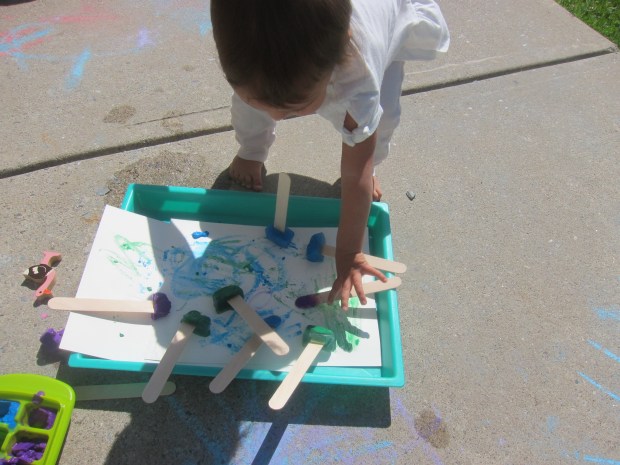
It’s fun to give toddlers something other than a paint brush to paint with, whether a cotton ball, an ice cube, or even just their fingers. Today, Veronika got to try painting with feathers, plus a few other items from nature!

I had some brightly colored feathers from the craft store that were perfect for this activity. To set up, I filled three cups with different colors of paint and added a little glue to each, making the mixture slightly sticky.

Feather Painting (1)

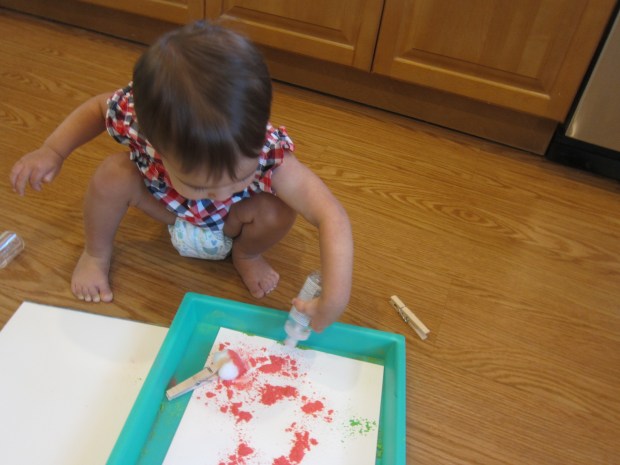
Veronika loved dipping the tips of the feathers in the cups…

Feather Painting (2)

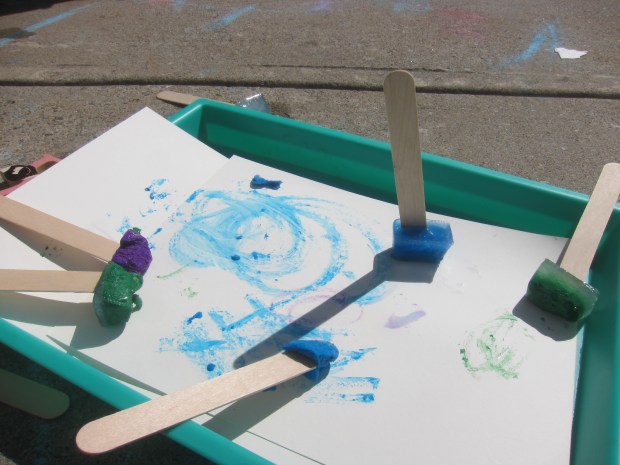
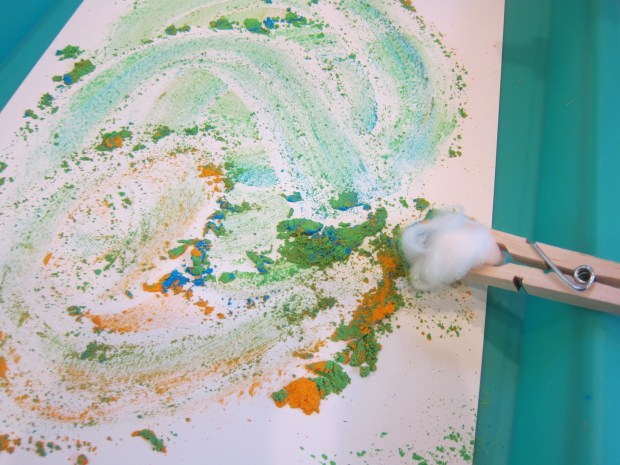
…and then transferring over to her paper. She loves to say “dot dot dot!” as she paints and watches the color appear. The feathers themselves fascinated her, too.

Feather Painting (3)

Whenever one became too limp and saturated with paint, we simply added it to the painting and grabbed a fresh “brush”. As the gluey paint dries, the feathers will stick and become part of the final masterpiece.

Feather Painting (8)

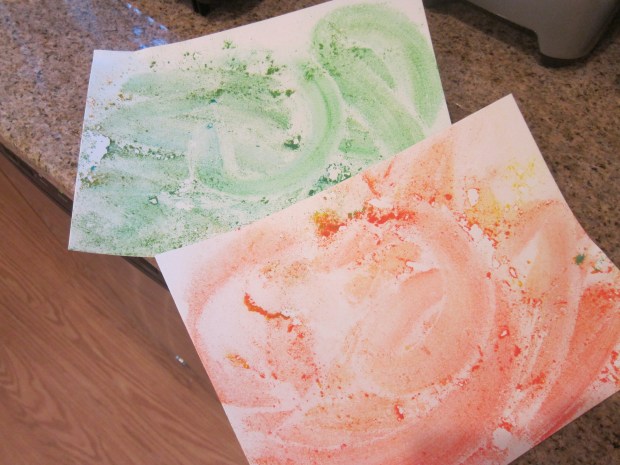
We then decided to try the activity with other items, this time truly from nature and not a craft store. In the yard, we found “brushes” from pine needles and leaves.

Feather Painting (6)

Time to repeat the process! Dip the edges in the paint, use them as your brush, and whenever one gets too painty, it becomes part of the artwork!

Feather Painting (7)

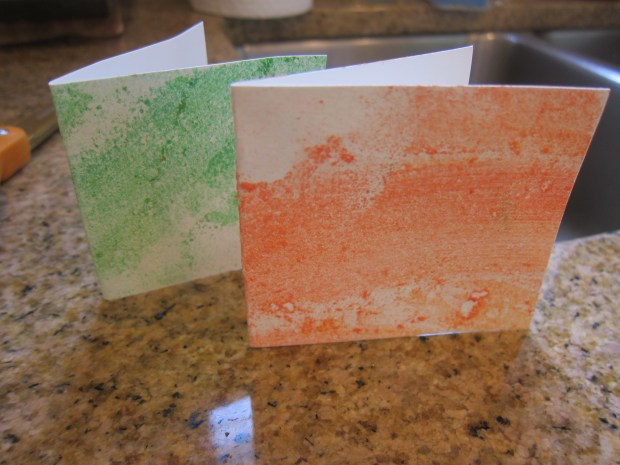
These turned out so pretty! I loved that the tactile feel of the different nature items was just much a part of the activity as the paint was.

Feather Painting (9)

Mud Painting

Mud Painting (5)

Instead of getting your patio or driveway messy with paint that needs to be washed off, stick with nature and paint with… mud instead!

The first thing you’ll need to do for this project is make the mud, which in and of itself was a delight for Veronika. She took my hand and toddled over to the trees with me to scoop some dirt into a bucket.

Mud Painting (2)

Once back on the patio, we added water to the bucket and stirred with a craft stick until the mixture was very muddy. If it gets too thin and watery, just add a little more dirt.

Mud Painting (3)

Then I provided Veronika with paintbrushes and thick paper, treating the mud like it was real paint.

Mud Painting (4)

At first, stirring the mixture in the bucket was such a joy that she focused on that. But then I showed her how to move her paintbrush over the paper, and soon she was happily swirling and dotting with her brown “paint”.

Mud Painting (7)

She eventually discovered she could use the craft sticks to scoop out thicker globs of mud from the bottom of the bucket and smear onto the canvas.

Mud Painting (8)

In fact when I moved one sheet of “painted” paper aside to dry in the sun, she started carrying blobs of dirt over to it to carefully balanced on her craft stick. Clearly the artist wasn’t done!

Mud Painting (9)

This kept her so busy in the sunshine for quite a while. Perfectly dirty and messy fun!

Mud Painting (6)


Bathtub Fingerpainting

Bathtub Fingerpainting (2)

If your toddler loves to fingerpaint but you worry about the mess, here’s the perfect solution: Get messy exactly where you’re going to clean off afterwards!

To wit, I stripped Veronika down to her diaper and sat her in a dry bathtub, then squirted generous amounts of fingerpaint on the tub walls. I used blue, yellow and green, which meant we had the possibility of playing with all three separately, or watching the blue and yellow combine into a new green.

Bathtub Fingerpainting alt

Veronika was hesitant at first, but the colors soon proved irresistible. Once her hands were messy, she began making big smears on the walls. She loved making a big mess with it…


Bathtub Fingerpainting (7)

…but also loved being more deliberate, dipping in one finger and then swirling color carefully on the tub or the tiles.

Bathtub Fingerpainting (4)

Or admiring the way the colors looked on her fingers.

Bathtub Fingerpainting (3)

It all looked like so much fun that big brother Travis jumped in to paint, too!

Bathtub Fingerpainting (5)

When her masterpiece was complete, I pressed a piece of newspaper over the fingerpaint, allowing us to capture a memento of the project.

Bathtub Fingerpainting (9)

Needless to say we made a huge mess.

Bathtub Fingerpainting (8)

But we were exactly where we needed to be to rinse off…kids and tub both!

Bathtub Fingerpainting (6)

Decorate A Cereal Bowl for Dad

Cereal Bowl for Dad (5)

Here’s a fantastic gift for dads this Father’s Day, care of Hands On As We Grow, that requires no fancy materials but will easily get daily use: decorate bowls with permanent marker so that every time Dad digs into his morning cereal (or afternoon soup, or evening ice cream, or anything in between!), he’s reminded of the kids.

The project requires Sharpies, which are not food safe, so be sure your children are only decorating the outside and bottom of the bowl. I knew the project would be perfectly safe for my kindergartner, but I supervised Veronika closely since the bowls were breakable and the marker was permanent!

Cereal Bowl for Dad (2)

Luckily she loved scribbling all over the sides and bottom of one bowl, and didn’t do any drawing on her skin, as she’s prone to do.

Cereal Bowl for Dad (3)

Travis, meanwhile, wrote “Dad” and drew a picture, and was so proud of his work. Finally, I wrote Happy Father’s Day on a third bowl.

Cereal Bowl for Dad (1)

Place the bowls in a preheated oven at 350 degrees F for 30 minutes. (Note: Be sure to check that the bowls you’re using are oven-proof, and check the company’s website for any heating details).

Cereal Bowl for Dad (4)

Let the bowls cool, then wrap and save for the big day!

Tiny Tambourine

Tiny Tambourine (7)

Veronika’s online gym class always starts with shaking along instruments to the welcome song. I thought it would be fun to make at-home tambourines to shake along today!

You can use mini aluminum tart pans for this craft, but I decided to use mini paper plates instead so that Veronika could decorate them first. This girl loves using her markers!

Tiny Tambourine (2)

Once we had covered the plates in scribbles and shapes, I placed two plates together. I chose too different options for inside. Dried rice went into the first (which made a softer sound, more like a maraca)…

Tiny Tambourine (3)

…and pennies went into the second for a more jangly tambourine sound.

Tiny Tambourine (4)

Use a stapler to staple all around the edges. I recommend making sure your staples are right up against each other so none of the filling slips through the cracks.

Tiny Tambourine (5)

Time to shake along and start class!

Tiny Tambourine (8)

Veronika looked so proud of her homemade instrument.

Tiny Tambourine (6)

Frozen Painting, Two Ways


Frozen Painting (7)

It’s beginning to feel a lot like summer, so all things ice are on my mind! To wit, today Veronika tried painting with frozen cubes in two ways.

I set up both games the night before. For the first, I filled compartments of an ice cube tray with water. After about an hour, when the water is firm but not frozen solid, insert a craft stick for a handle into each cube.

In the morning. I gave Veronika these ice “paintbrushes” alongside a paint-with-water book. The ice did all the work!

Magic Painting (1)

I showed her how to swirl it in the paints on the page, then make color magically appear.

Magic Painting (2)

Beyond the magical wow factor, there was the fun of the colors, the thrill of cold ice, glee watching the cubes melt, and more.

Magic Painting (4)

Her final work of art wasn’t bad for a nineteen month old!

Magic Painting (6)

For the second game, I had also frozen cubes the night before, but with paint! Fill the compartments of an ice cube tray with washable paints nearly all the way, then top off with water. Again, insert a craft stick after about an hour in the freezer.

Frozen Painting (2)

For this craft, we headed outside to get messy! Place thick watercolor paper on a tray, and use the frozen paint cubes directly on the paper.

Frozen Painting (4)

The more the paints melt, the deeper the colors.

Frozen Painting (3)

Big brother Travis discovered you can make cool etches with the edge of the craft stick, one the paint melts off.

Frozen Painting (12)

Some of our paint cubes didn’t lift out of the tray neatly, but Veronika loved scooping and stirring at these leftover globs of half-frozen paint, so that was half the fun!

Frozen Painting (9)

I helped scoop the paint onto the paper so she could mush it about with a craft stick.

Frozen Painting (11)

You’ll notice we made an enormous mess, but I had expected as much! Luckily the paint will wash off after the next good rain storm.

Frozen Painting (13)

The kids filled page after page with these frozen cubes, and loved every minute.

Frozen Painting (10)

Paper Bag Shaker

Paper Bag Shaker (6)

I came home from the grocery store with a few small paper bags today, the kind that’s just right for produce. Veronika immediately wanted to play with them, so we turned them into easy shakers!

First up was decorating with markers. Whenever she colors now, she names the color of each marker with such pride. “Black! Green! Yellow cap!”

Paper Bag Shaker (1)

After this narrated decorating was through, I filled the bags with a little bit of unpopped corn kernels. (Dried beans or rice would work well, too). Secure with a rubber band. I added a ribbon on the first bag for a decorative touch, but she was more distracted by the ribbon than anything else, so we stuck to rubber bands on subsequent bags.

Paper Bag Shaker (2)

We also learned by trial and error not to fill the bags too heavy with the popcorn. Lighter was much easier for her to shake.

Paper Bag Shaker (3)

She got the hang of holding on to the top part (above the rubber band) for the best sound.

Paper Bag Shaker (4)

And then there was just lots of exuberant shaking.

Paper Bag Shaker (5)

I thought we might put on music, but I didn’t even get a chance! She just loved the cha cha cha noise these made. “Loud!” she said happily, and resumed shaking, often with one in each hand.

Paper Bag Shaker (7)

Dry Painting

Dry Painting (7)

Here’s a novel painting technique, the complete opposite of other options you might have tried with your toddler, like watercolor! I had a few packet of powdered dry paint leftover from a Holi celebration, and thought they might make the perfect art material for Veronika.

Dry Painting (1)

To make a “paintbrush” for this activity, clip a cotton ball into a spring-type clothespin.

Dry Painting (2)

Sprinkle a little powdered paint onto heavy watercolor paper. We used two to three different colors per sheet. Now simply use the cotton ball to swirl it around!

Dry Painting (3)

Veronika was really into the dusty piles of paint, although not nearly as interested in the cotton ball “brush” as I thought she would be.

Dry Painting (6)

But eventually the powders were swirled all over the paper.

Dry Painting (4)

We then spritzed hairspray all over the picture to set the paint, which was arguably her favorite part of the activity! Brush off any extra powder, and let the “painting” set.

Dry Painting (5)

The resulting artwork has a beautiful swirled look. We cut out little rectangles and folded them in half to send to family members as greeting cards in the mail!

Dry Painting (8)


Monster and Creature Straw Paintings

Monster Straw Art (10)

Travis recently learned to make blobs of watercolor paints turn into art with nothing more than a straw, thanks to Kiwi Crate! He loved the activity so much that today we did a repeat, this time creating a set of silly monsters.

Travis chose three colors of liquid watercolor for the first piece of paper, and we dripped on a nice blob of each. Then he proudly blew through a straw.

Monster Straw Art (1)

He loves that he can do this now, scattering the paint with no fear of inhaling it, which wasn’t the case at first.

Monster Straw Art (4)

We soon had crazy wobbly waving shapes.

Monster Straw Art (2)

We examined them carefully to see what monsters we could identify! Travis loved pointing out antennae, six-legged fiends, holes for their eyes and more.

Monster Straw Art (3)

Of course we needed to repeat with a new set of colors. “I want to make lots!” Travis declared.

Monster Straw Art (7)

For the final piece of paper, he combined two colors (blue and black) in one big blob in the center and huffed out a giant monster with his straw.

Monster Straw Art (8)

Let the paint dry completely.

Monster Straw Art (9)

Once dry, we could add details. I suggested gluing down wiggle eyes, but Travis preferred to add embellishments with a marker, including giant cyclops eyes.

Monster Straw Art (11)

And fire for this one, that reminded us of a dragon!

Monster Straw Art (12)

All in all, this was frightfully good fun.

Monster Straw Art (13)

Shaken Ball Art

Shaken Ball Art (7)

Here’s a painting method that’s fun for toddlers because it involves lots of shaking and noise, fun for parents because the mess is contained, and fun for everyone because it produces a beautiful piece of art. It’s a great way for toddlers to send a card to a loved one…or also to involve toddlers in making art to thank essential workers and heroes.

For set up, Veronika and I poked through the craft bin to find items that would roll; bonus points if they would also make noise! We ended up with a Styrofoam ball, a pom pom, and small beads. I wish I had jingle bells, but we recently used them!

Shaken Ball Art (1)

I then cut out heart shapes from construction paper, choosing pink and red. You can use any color of shape of paper you like, but hearts felt appropriate for this project. Tape one heart into the bottom of a cookie tin (or similar container with a secure lid), and then add the round objects.

Shaken Ball Art (2)

Now we poured in blobs of paint. I let Veronika choose the colors, and she loved watching me squirt in a generous amount of each.

Shaken Ball Art (3)

Close the lid securely and shake! Veronika flinched at first, but then giggled at the loud sound. In retrospect, I wish I’d used my smallest cookie tin for this activity, since the large one was hard for her to hold securely and shake at the same time.

Shaken Ball Art (4)

At first she was frustrated, but then she liked watching me shake as I talked about all my movements: up, down, side to side etc.

Shaken Ball Art (6)

We opened up the tin for the big reveal: our heart was now covered in spatters and streaks of paint.

Shaken Ball Art (8)

Set aside to dry, and repeat with additional hearts. You may not need to add new paint after each round, depending how much is still left in the tin. As a result, we had some that were too painty, and some with perhaps not quite enough, but Veronika was proud of them all.