Whale Ball Toss

Whale Ball (10)

For a museum exhibit on President’s Day, Travis got to play with old-fashioned toys in honor of George Washington, including wooden favorites like a Jacob’s Ladder and a cup-and-ball toss. So he was eager to craft this whale-tastic take on the latter at home. (Fun fact: the game dates back to the 14th century! Admittedly, this cetacean update from Kiwi Co. is a bit newer).

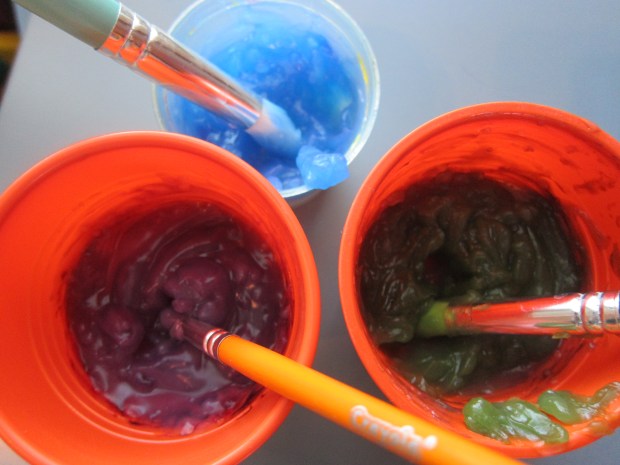
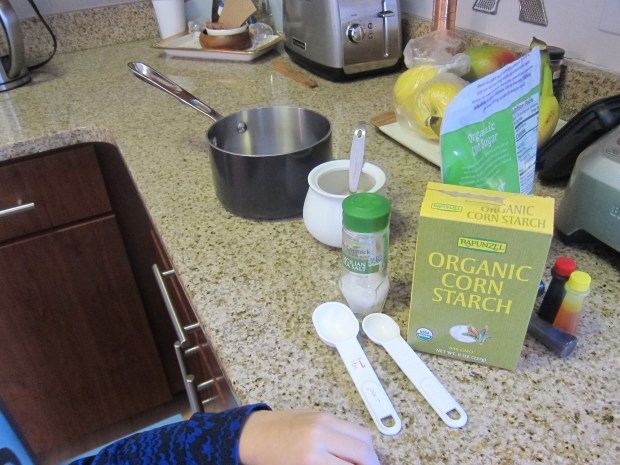
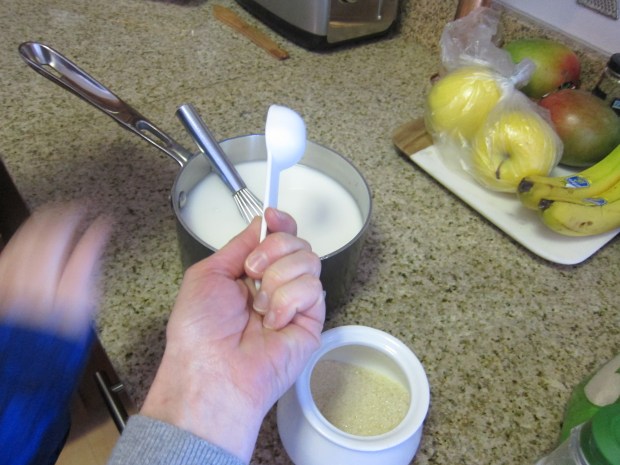
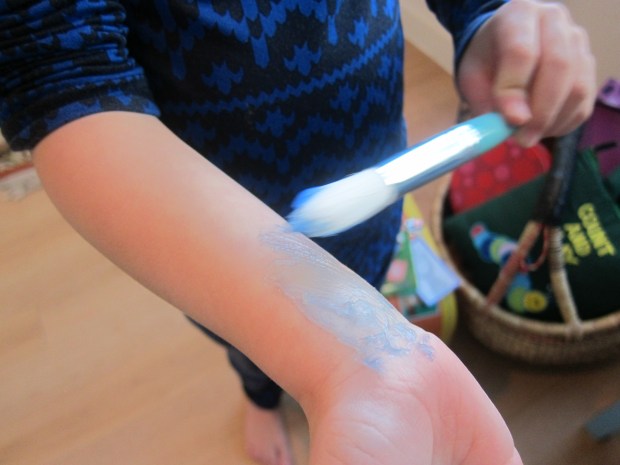
Ideally, start with blue plastic cups for your whales. We only had paper cups, which got a nice coat of blue paint.

Whale Ball (2)

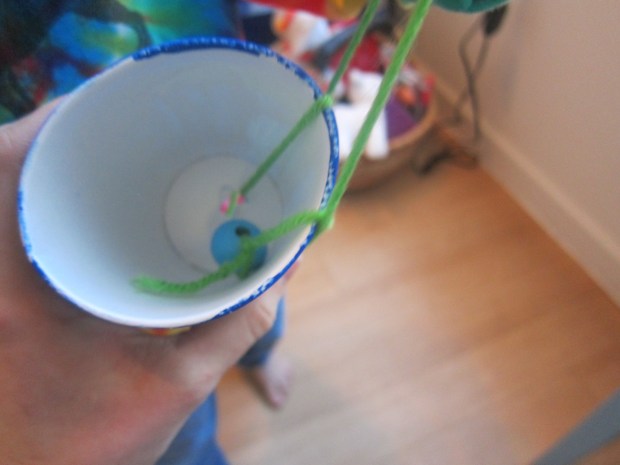
Travis was so excited once they were dry! Punch a hole in the bottom of each cup, and thread through a three-foot long piece of yarn. Tie it in a loop around the cup.

Whale Ball (3)

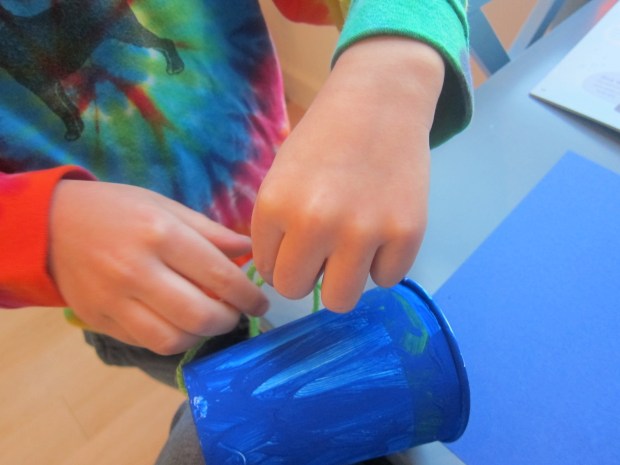
Tie a wooden bean onto the other end of the yarn – this is the “krill” for the whale to eat.

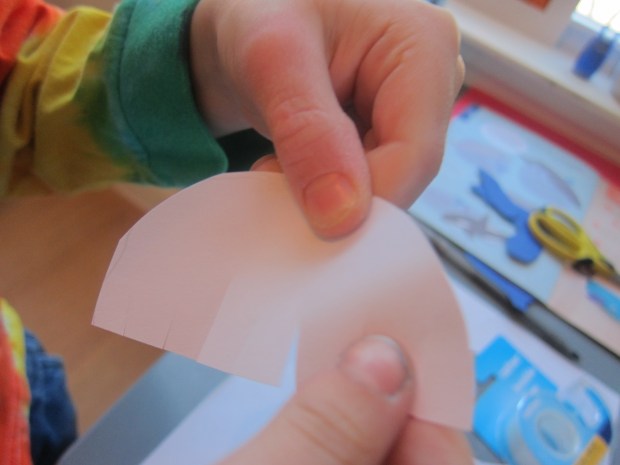
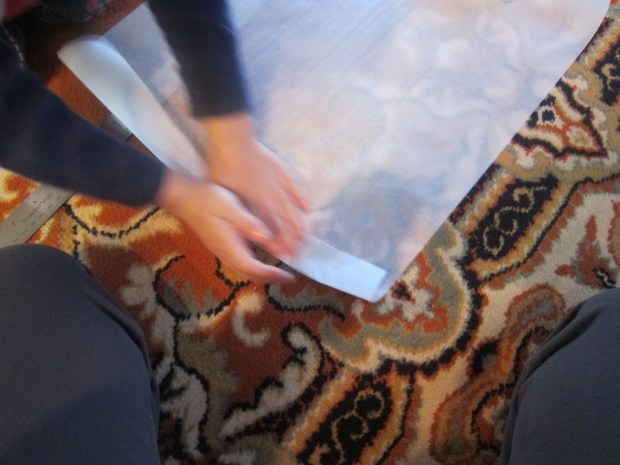
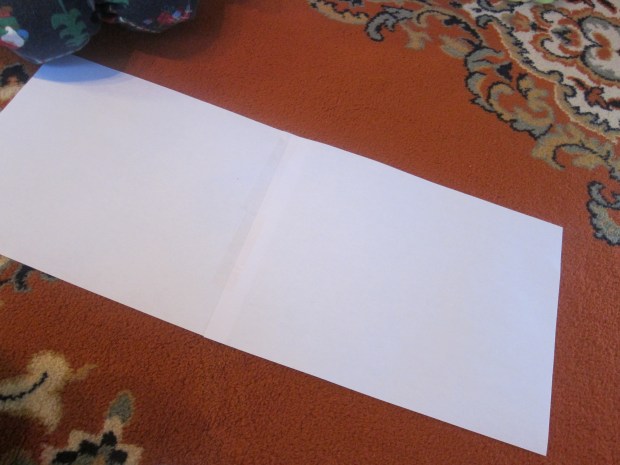
Next, we traced the cup onto white paper, and cut out.

Whale Ball (7)

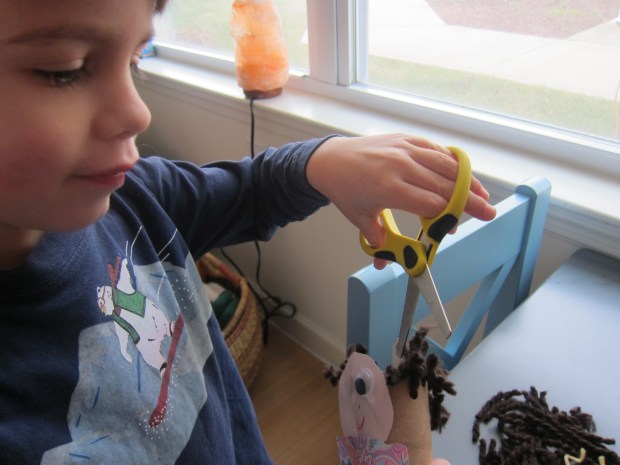
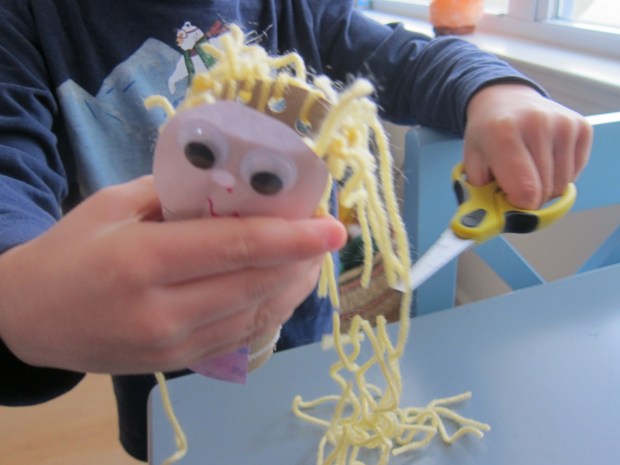
Cut the circle in half, then cut little strips into it to make fringed “baleen.” I was really proud of Travis’s scissor skills here.

Whale Ball (9)

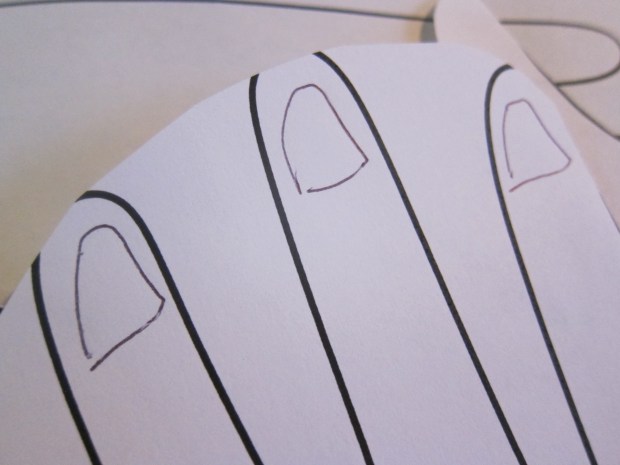
I cut out a tail and fin template for him, which he then traced onto blue paper and cut out. Again, loved watching his fine motor skills.

Whale Ball (6)

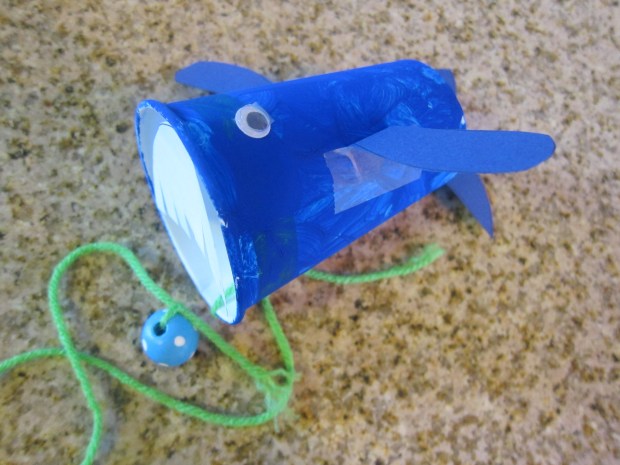
Finally, we taped these pieces – tail, fins, and baleen, along with two googly eyes – onto each whale.

Whale Ball (11)

Hold the cup and swing the bead, and see if your whale can eat it. Here goes!

Whale Ball (4).JPG

Success!

Whale Ball (5)

This was a great game, and since we made two, we could challenge one another to a competition.

Make a Paper Chef’s Hat

Chef's Hat (6).JPG

Of all the Raddish Kids lessons we’ve enjoyed thus far, the suggested “Kitchen Brigade” unit to go with our Croque Monsieur Sandwiches was the hardest to adapt for a preschooler. It involves learning and identifying the different jobs within the classic French kitchen hierarchy, and was a stretch to make this material accessible to my four year old.

Instead, I turned the focus onto him being a chef… with his own chef’s hat (toque) of course!

First, cut about 3 feet of parchment paper. Travis was really into the feel of the paper, since we don’t use it very often. “What’s this?” he asked, delighted.

Chef's Hat (1)

Fold up accordion-style, then unfold; your paper now has a pleated look.

Chef's Hat (2)

Tape two sheets of regular white paper together for the base of the hat.

Chef's Hat (3)

Fold in half, then in half again, and open back up. Fit the parchment paper into this base, and staple closed at the ends and middle.

Chef's Hat (4)

Gather together the top of the parchment paper, and tape to secure.

Chef's Hat (5)

Now fold the whole hat inside out, tucking the tapered point inside. Staple together (make sure the hat will fit your child’s head before stapling), and voila!

Note: If the directions are hard to follow, you can get a visual of the project here.

Next my little chef de cuisine and I did sit down briefly to discuss kitchen roles. I simplified greatly, selecting 6 jobs for him: chef de cuisine, sous chef, patissier, aboyeur, line cook, and plongeur (dish washer).

There are multiple games that big kids can play by making flash cards for each of these jobs (plus many other roles): memory games; charades; role playing; or “who’s the boss,” (i.e. knowing the order of the kitchen hierarchy. Rather than play a true memory game, I simply had Travis name each job while looking at the flash cards we made, and tell me which job it was.

Chef's Hat (7)

In this way, at least he knew 6 kitchen roles, and roughly their hierarchy, since we numbered them 1 through 6.

Overall, I doubt he took much from the lesson… But he did like his toque!

Egg Carton Mini Wreath

Egg Wreath (12)

Full disclosure: Travis and I had hoped to make this adorable wreath around the holidays, but I didn’t have anyone to borrow an empty egg carton from – talk about #veganproblems! We’ve now gladly upcycled one from Travis’s grandma, so why not make it a Valentine’s Day wreath? In fact, depending what colors you choose for the wreath, it could work to adorn your door at almost any holiday.

First, we needed to tear the egg carton into separate compartments. Nothing like ripping things apart to get out some energy on a snow day.

Egg Wreath (2)

Travis then used a pencil to poke a hole through the center of each segment, which might have been even more fun than the ripping!

Egg Wreath (3)

He then threaded all of the compartments onto a long white pipe cleaner (you can choose the color for this based on any holiday, too). He thought it looked like a snake at this point – fun!

Egg Wreath (5)

Once all the segments are threaded, you’ll need to bend the pipe cleaner and space them out evenly until you have your cute little wreath. Secure the two ends of the pipe cleaner together by twisting.

Egg Wreath (6)

We painted our wreath with green watercolor paint. In retrospect, I would paint first, let dry, and then thread them on the pipe cleaner.

Egg Wreath (8)

Once dry, Travis helped glue on little gems, pom poms, buttons, and other red items.

Egg Wreath (9)

We finished our wreath with a little bow. I added a second pipe cleaner that could be the handle, and hung it from our front door.

Egg Wreath (10)

Happy Valentine’s to all our readers!

Egg Wreath (11)


Paper Nail Salon

Paper Salon (9)

It took a while for my four-year-old, but Travis is just now learning to color in the lines instead of scribbling willy-nilly, and he’s so proud. Since we’ve also been learning lots about the body lately, I thought this clever little activity would combine the two nicely – some anatomy about the hand, as well as a chance to hone those coloring skills.

I printed a hand template rather than attempting to draw one from scratch, and cut out about 5 or 6 hands for him, drawing fingernails onto each.

Paper Salon (1)

You can have a quick chat about nails before the coloring begins, too, like how our nails never stop growing or other fun factoids.

Paper Salon (2)

Now for the artsy part; the challenge was to “polish” each nail, staying as near to the lines as he could.

Paper Salon (3)

Travis was up to the task! He loved picking a color for each hand, like gray or pink or blue.

Paper Salon (5)

And then of course because glitter glue makes everything more fun, we decided to add glitter glue jewelry to some of the hands.

Paper Salon (4)

And since Travis likes to get impish these days, some of our salon patrons soon found themselves covered in “goop.”

Big kids might want to get really artistic with their nail designs! You can stick to markers, or, let them use real polish. For one special hand, I traced the hand shape onto thick cardstock and let him actually swipe on a coat of polish.

Paper Salon (6)

Cute and fun, of a quiet morning!

My Punny Valentine Tacos

Taco Bout (9).JPG

It’s the second year that Travis and I are on the hook to produce Valentine’s cards for all his classmates, and we turned once more to Parents magazine. This year, all of the Valentine’s Day cards featured cute puns about food. I asked Travis to pick his favorite, so tacos it was!

First we traced circles onto yellow cardstock. You want the circles to be about 5 inches across, so a DVD makes the perfect item to trace. Travis was so proud that he traced all 20 of the ones we made, his circles getting neater and neater each time.

Taco Bout (2)

Next we folded the circles in half. Be sure to make a nice crease

Taco Bout (4)

Fill one half of the “taco shell” with glue, and press on green shredded paper. Travis was so into this material, since we’ve never used it before. Let dry.

Taco Bout (5)

Our counter was starting to look like a taco stand!

Taco Bout (7)

Once the “lettuce” dried, we add a few red “tomatoes” to each taco – with red heart stickers of course.

Taco Bout (8)

On the front of each taco shell, I wrote out “Taco ’bout a good friend! Love Travis”. Note: You can also write this on the inside of the shell, if preferred.

Travis was so excited about this project, and proud that we had shells, lettuce, and tomatoes in our tacos. We can’t wait to give them to the class!


Taco Bout (10)

What are you making for Valentine’s Day this year? Please share in the comments.


Self-Portrait

Self-Portrait (9).JPG

Travis is learning to depict objects in his drawings as they are; by this I certainly don’t mean exact replicas, but rather, he’s paying attention to shapes, sizes, and other elements that make up an animal or person instead of just scribbling. I love seeing the little bubble people he sends home from school with stick arms and legs, reminiscent of my own kindergarten drawings!

So today, we decided to make a deliberate self-portrait.

Self-Portrait (1)

To make this exciting and new, I produced a handheld mirror, and asked him to really think about each thing we added to the picture before penciling it in. What shape was his face, I asked. A circle! So we started with a big one.

Self-Portrait (2)

We went feature by feature, and soon had circles for eyes, a triangle for his nose, and a U-shaped mouth.

Self-Portrait (3)

Once he had finished his pencil drawing, I outlined it in black sharpie to make each feature clearer. He loved seeing the picture take shape like this!

Self-Portrait (4)

To color it in, we had another novelty: watercolor paintbrushes that he loved. Simply dip the tip in water, and the color comes out of the brush. You could also use watercolor crayons or pastels, for this project.

Self-Portrait (5)

Travis very proudly added brown hair and brown eyes. He noticed in the mirror that his nose was beige, but decided yellow was the closest color in our pack.

Self Portrait (6)

And a big red smile of course!

Self Portrait (7)

I was so proud watching the care that he put into this project. And the watercolor paintbrushes were such a hit that he spent nearly an hour after making painting after painting, and hung them on our wall as an art gallery.

Self-Portrait (8)

In other words, this project was a huge success.

Self-Portrait (10)

Homemade Body Paint

Body Paint (6)

Some kids love face paint the moment they see it, but it took Travis a long time to warm to the idea of having his face painted. A recent fascination with all things superhero and supervillain has gotten him past the hesitation, and I was so proud of him when he dared to have character paint at a recent party. To continue the fun, I suggested we make this  DIY paint at home to amplify his superhero play!

Cooking the paint is half the fun. First, we scooped 1 cup cornstarch into a pot.

Body Paint (1)

We added 4 cups water, 6 tablespoons sugar, and 1 teaspoon salt.

Body Paint (2)

I cooked the mixture over medium heat, whisking frequently, until just before boiling – it will look like pudding. Travis loved watching from a little distance away.

Make sure you let the paint cool completely, at this point!

When it was cool, we divided among cups and added about 4 drops of food coloring to each cup. Travis new exactly which colors he needed for his game.

Body Paint (3)

He didn’t hesitate one whit before painting all up and down his arm. Is that a blue Spiderman I see?

Body Paint (4)

Mommy got to be Green Goblin.

Body Paint (5)

Travis was a bit disappointed that the paint didn’t dry, meaning he couldn’t keep it on an extended time period, but this was still great fun. Next time I think we’d do it right before bath, to fully enjoy a mess before a cleanup. The paint would also be great outside in warm summer weather!

Haircut Doll

Haircut Doll (6).JPG

This craft is fantastic on so many levels, whether you want to give your kids some practice with scissors, help alleviate fear of the barber shop or hairdressers… Or your kids just want to have fun and pretend it’s a day at the salon!

I made the craft for Travis, but your child might be interested in helping step by step. First, I used a hole punch to punch about 12 holes around the rim of each of two empty toilet paper rolls.

haircut doll (1)

You can use any color yarn you like for the hair. We stuck with realistic yellow and brown, but why not green or rainbow!

haircut doll (2)

For each lock of hair, thread a strand of yarn through a hole and knot to secure.

haircut doll (3)

Once the hair was on, Travis helped pick out clothing patterns for each doll.

haircut doll (4)

I cut patterned paper into shapes for tops and bottoms. Finally, I added a round face for each with googly eyes glued on.

haircut doll (5)

Once the glue dried, it was time to head to the barber shop!

haircut doll (8)

This craft marked a milestone for Travis, moving up from his plastic safety scissors to preschool scissors (these still have a blunt tip, but the blades are real metal). He was so proud!

haircut doll (9)

He didn’t miss a beat before the snipping began. He loved pretending he was his own barber, making a mess of hair on the floor.

haircut doll (10)

I watched in delight as the haircuts grew ever shorter.

haircut doll (11)

Until we had a buzz cut!

haircut doll (12)

Then Travis decided he wouldn’t be satisfied until each figure was bald!

haircut doll (13)

(Alas, you’ll notice they lost their eyes in the process, too).

haircut doll (15)

Overall, this was a fantastic activity: a craft; a fine motor skill builder; an imaginative game, and a way to alleviate fears all in one.

haircut doll (7)

Simple Hand- and Footprints

Simple Handprints (7).JPG

I tried making a handprint for Veronika when she was just home from the hospital, and quickly realized why my attempt was so difficult – newborns keep those fists curled up tight!

At two months old, you should be able to capture the size of those tiny fingers, now that your little one is keeping his or her fingers open. Veronika seemed to love the process behind this, her first little art project.

You can make the prints on almost any surface you choose. I used a small canvas from the craft store and a blank tea mug. Regular watercolor paper would work just fine, too! Make sure you are set up with all your supplies before you begin. You’ll need a safe, water-based paint, a paintbrush, and a pack of wipes ready to go for cleanup!

simple handprints (1)

I started with the feet, since that would involve less mess, tickling Veronika’s toes with the brush and then pressing gently against the canvas and the mug.

simple handprints (2)

We cleaned her foot off, then applied a coat of paint to one little hand. It was still a bit difficult to press her finger flat, and do so without her moving it side to side, so the hand prints were a bit smeared.

simple handprints (4)

But we still captured the adorable tiny size of her hands and feet at this age.

simple handprints (3)

This is sure to become a precious memento. Don’t forget to add baby’s name and date!

simple handprints (5)

Jellyfish Lantern

jellyfish lantern (8)

It’s getting hard to impress Travis with crafts these days; let’s be honest, we’ve done a lot of them! It seemed like time for new materials – hence this awesome paper lantern jellyfish. It is by far the coolest jellyfish we’ve made together, and we’ve done a few in the past.

Travis remembered seeing paper lanterns from a summer festival back in August, and was so excited when I announced I had one for our craft. He needed to play with it first, of course!

jellyfish lantern (1)
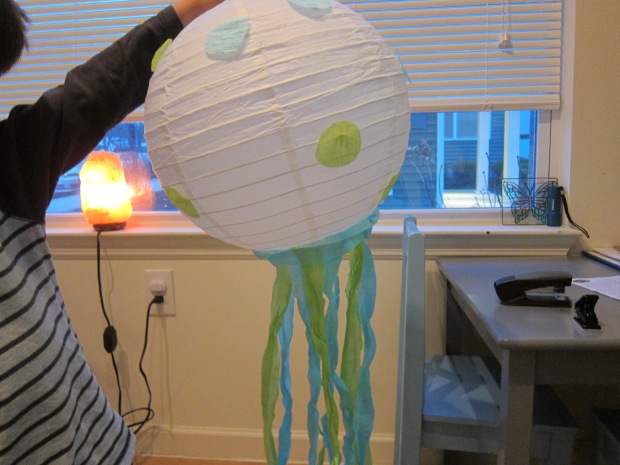
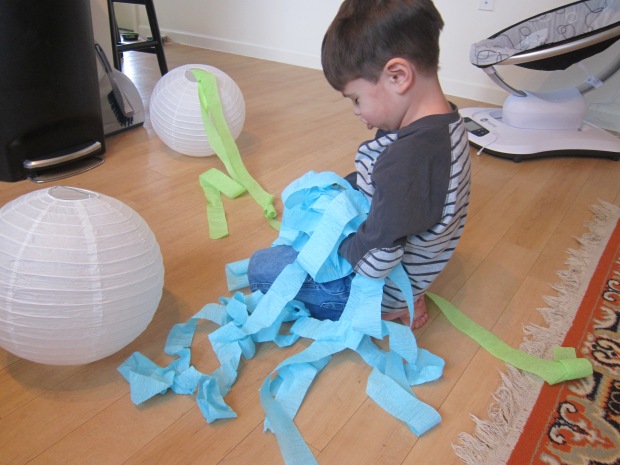
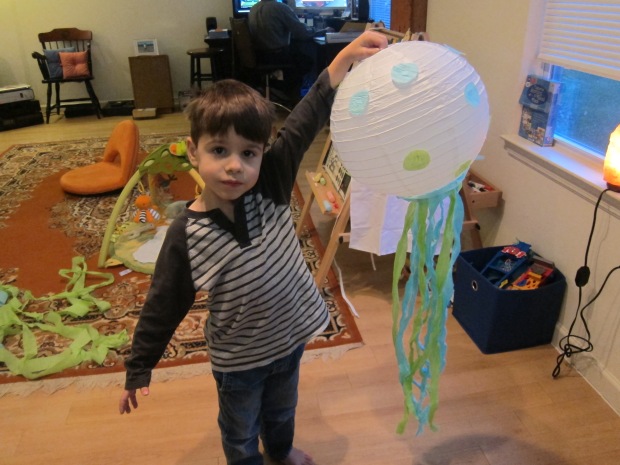
Next we needed crepe paper for the tentacles… It wasn’t long before we had crepe paper madness in the house, too!

jellyfish lantern (2)

I was happy to see him have so much fun, while I made sure to save enough pieces of equal length to be the tentacles.

Next I showed him how we could change the look of the crepe paper by wrapping around a finger. This gave the tentacles great texture!

jellyfish lantern (3)

Glue the tentacles around the bottom rim of the lantern. Add a final piece of crepe paper in a circle around the rim, to hide all the edges. Let dry.

jellyfish lantern (4)

We also cut a few circles from additional crepe paper to be spots on the jellyfish. So pretty!

jellyfish lantern (5)

Travis couldn’t wait for it to dry, after which the jellyfish was instantly a prop in his games.

jellyfish lantern (7)

Once he lets go, we’ll hang it from the ceiling for a beautiful ocean corner of his bedroom.

jellyfish lantern (6)