Make Your Own Reading-Inspired Activity

MYO Reading Activity (1)

I am loving storytime with Veronika these days; at long last she’ll sit in my lap and snuggle for a story (although she still prefers to “read” solo!). One other way to keep her engaged in a book is to add a hands-on element, bringing the story to life. Books about food are especially fun for this, so here’s how we played today!

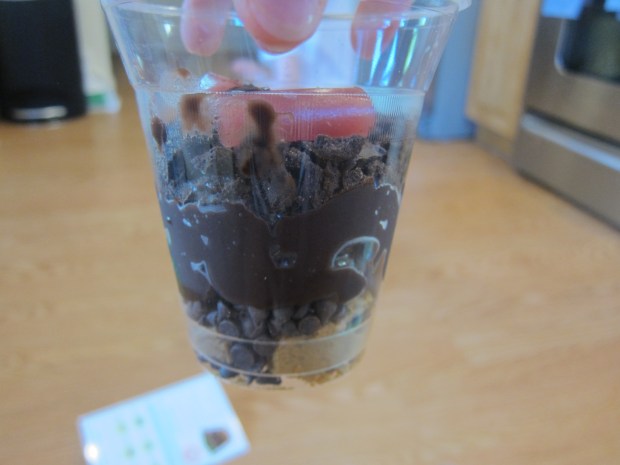
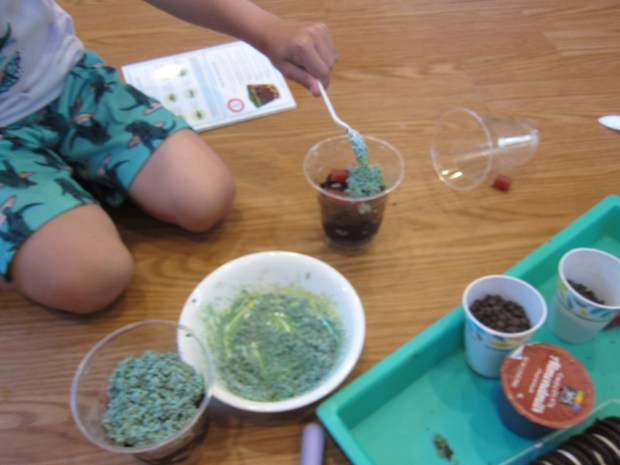
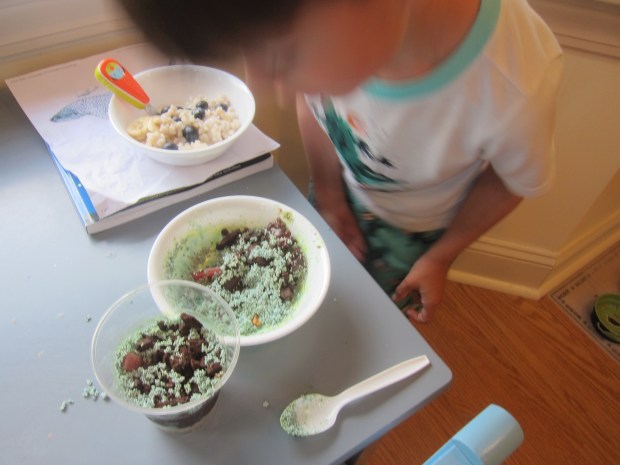
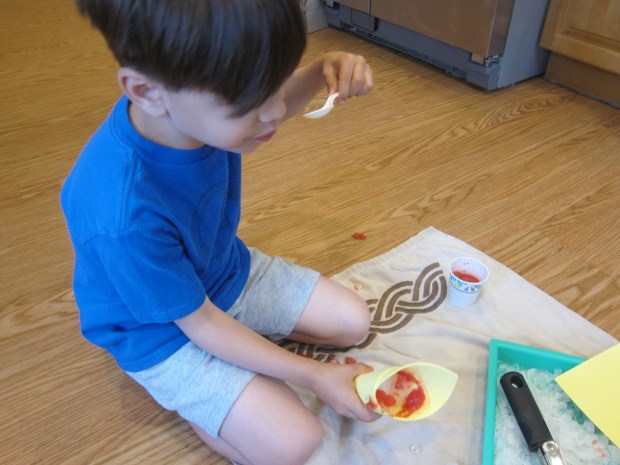
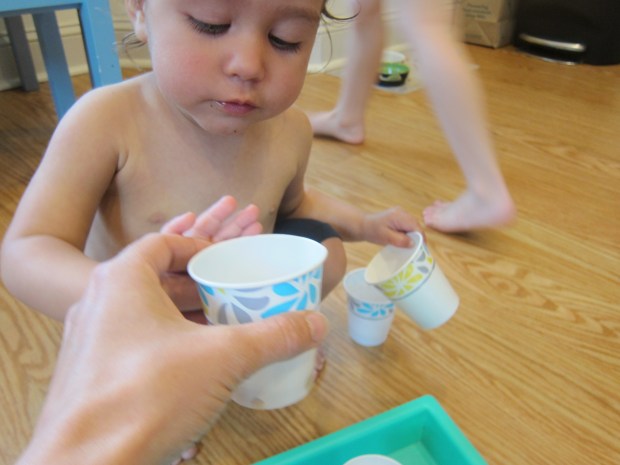
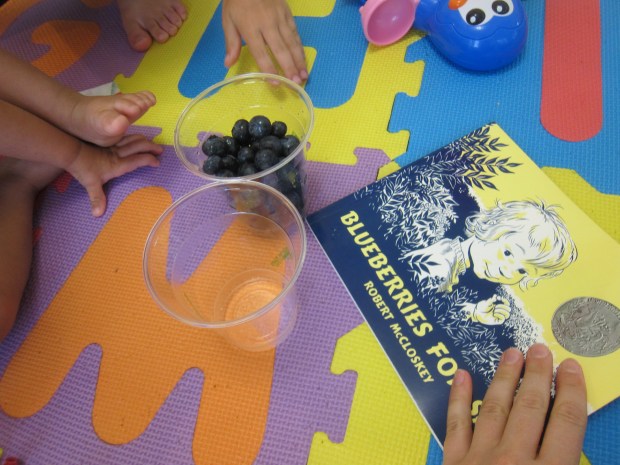
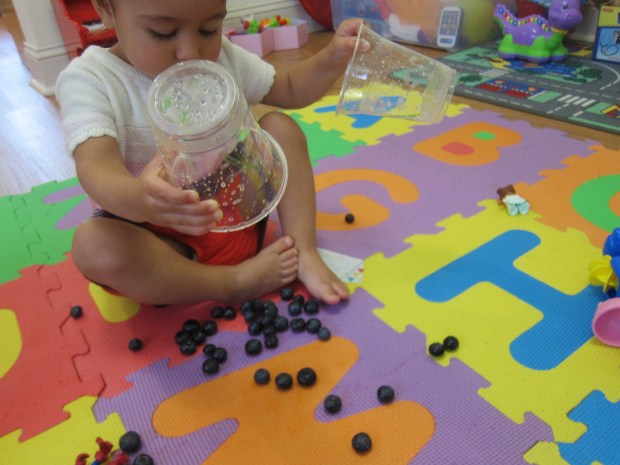
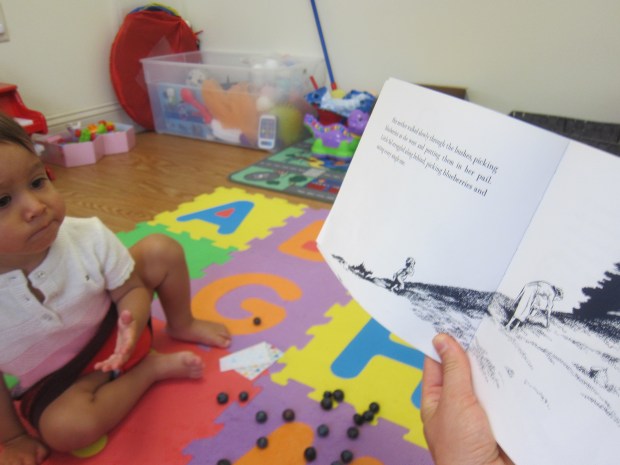
We started out with a read of Blueberries for Sal, one of my personal favorites. I gave Veronika a plastic cup and some blueberries, intending for her to ka-plink ka-plank ka-plunk along with the book. Lots of dumping and pouring of blueberries, ensued!

MYO Reading Activity (2)

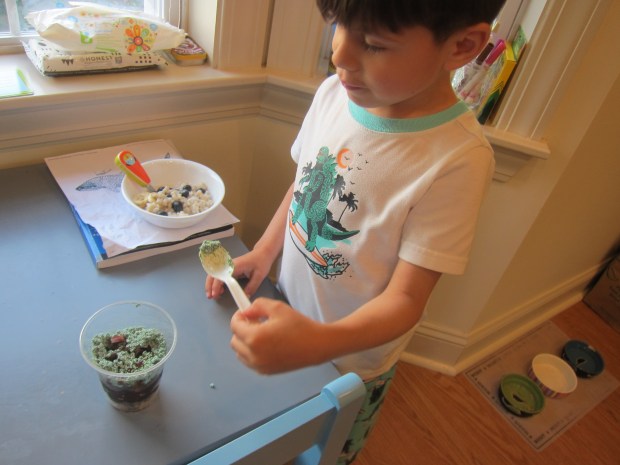
I had enough extra berries on hand that my intention was to make blueberry muffins thereafter, cooking in the kitchen just like Little Sal and her mother. But a certain big brother ate all the blueberries!

MYO Reading Activity (3)

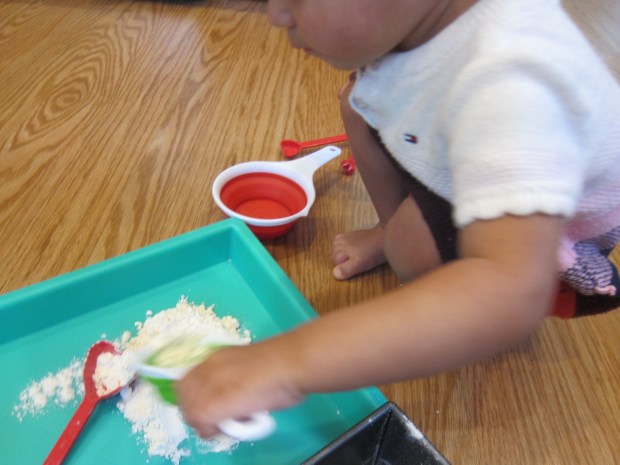
Oh no! I had already promised the kids muffins, so I searched online for a recipe that was quick and used only pantry staples. Veronika loved scooping flour and spices with a set of kitchen utensils while I did the real baking.

MYO Reading Activity (5)

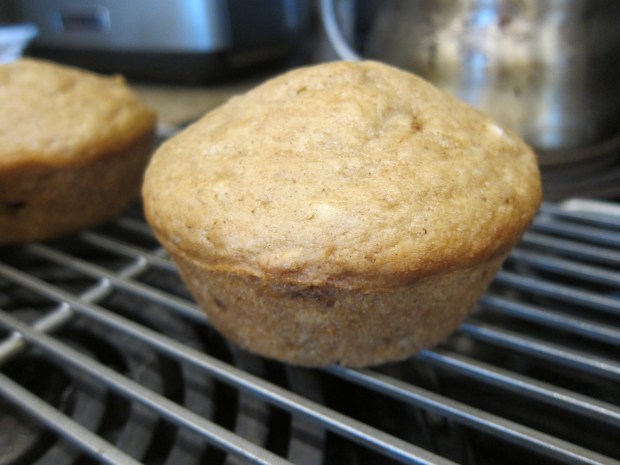
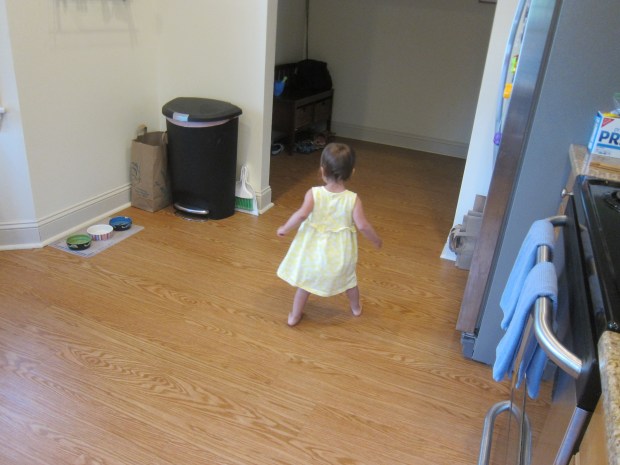
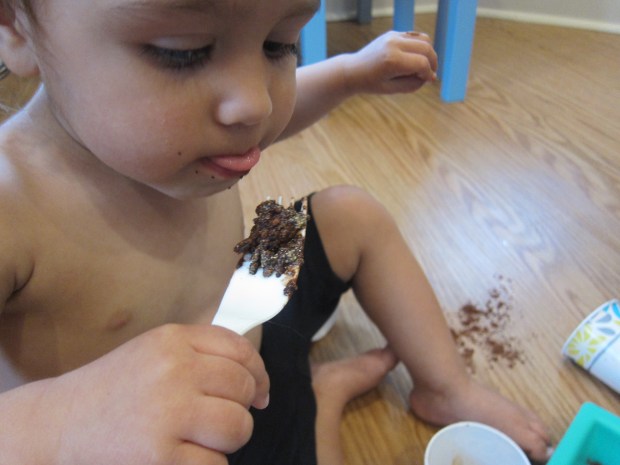
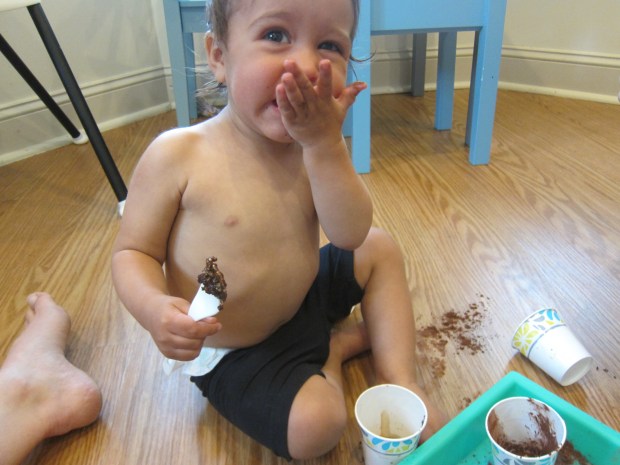
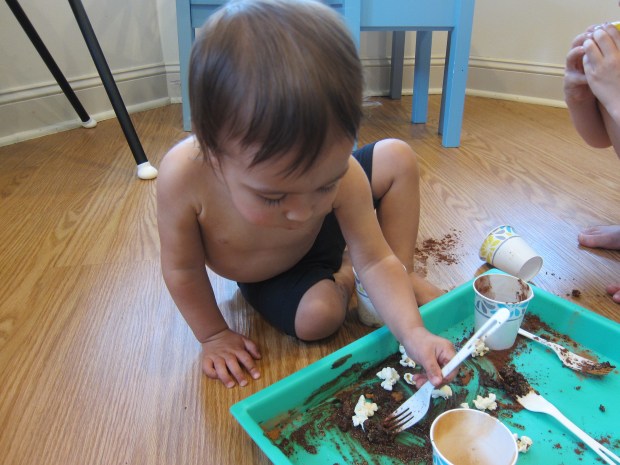
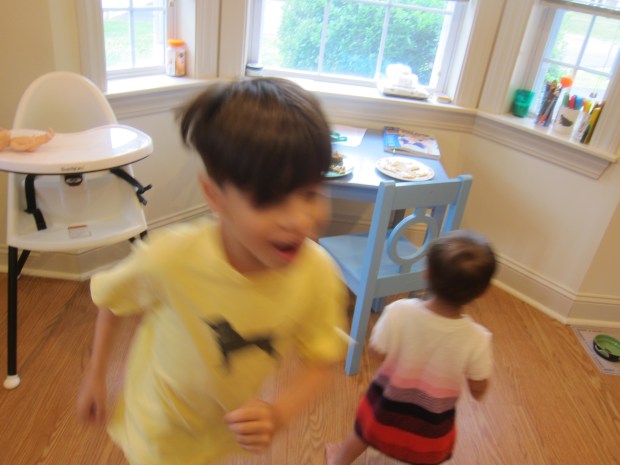
Well, it turned out these last-minute muffins were so good that the kids delighted in running back and forth from living room to kitchen for bites with huge grins on their faces, while shouting out, “Mama Moose’s Muffins!”

MYO Reading Activity (8)

That made us think of another kiddie lit classic, If You GIve a Moose a Muffin. So we read that book over our muffin snack!

MYO Reading Activity (7)

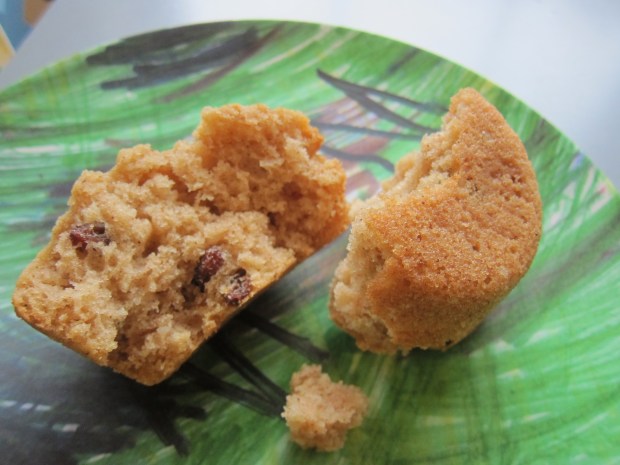
As a result, here is my recipe for “Mama Moose’s Muffins”, which might just become a classic around here.

Ingredients:

  • 3 and 1/2 cups flour
  • 1 and 1/3 cups sugar
  • 4 teaspoons baking powder
  • 1 teaspoon baking soda
  • 1 teaspoon salt
  • 1 and 1/2 teaspoons cinnamon
  • 1 teaspoon nutmeg
  • 2 tablespoons apple cider vinegar
  • Scant 2 cups plain almond milk
  • 1/2 cup melted Earth Balance butter
  • 2 Ener-G eggs
  • 2 teaspoons vanilla extract
  • 2/3 cup raisins
  1. In a large bowl, combine the flour, sugar, baking powder, baking soda, salt, cinnamon, and nutmeg.
  2. Pour the cider vinegar into a liquid measuring cup, and add almond milk to equal 2 cups. Let stand for 5 minutes. Add the almond milk mixture to the dry ingredients, along with the melted butter, Ener-G eggs, and vanilla. Stir in the raisins.
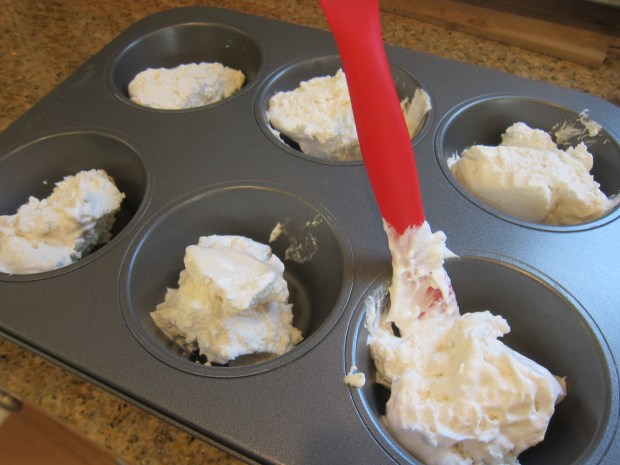
  3. Divide the mixture evenly among 12 jumbo muffin cups coated with cooking spray.
  4. Bake at 350 degrees F for 30 minutes, then transfer to a wire rack to cool.

MYO Reading Activity (6)


Earth Science Pudding

Earth Puddings (11)

Is this project a healthy snack for your kids? Absolutely not. But when Travis declared mid-way through the activity that he was in paradise, I knew I’d brought some magic into a summer morning.

The idea was to show all the layers of the earth, using just about the most amount of sugar imaginable.

Earth Puddings (1)

I laid out a tray with all of the supplies, and we talked about each layer of the earth as we worked, filling clear plastic cups with each step. First up, we needed bedrock, which I explained was the solid rock deep underground. We used a mix of mini chocolate chips and crushed ginger cookies. The crushing is half the fun; place the cookies in a zip-top bag and smash with a rolling pin until you have big crumbs.

Earth Puddings (2)

On top of this, we spooned the “subsoil” (a dense layer of clay and and iron). Chocolate pudding was perfect of course.

Earth Puddings (4)

You’ll notice my taste testers had wasted no time and were busily crunching into cookies and spooning into pudding. They couldn’t believe I was letting them have this free-for-all!

Earth Puddings (3)

Next we needed topsoil. I explained that this is the dirt we see as we play: dirt, bugs, and minerals. Now we needed oreo cookies, but not the creme filling. I showed the kids how to scrape out the creme with a craft stick so we could crush the chocolate cookies.

Earth Puddings (7)

“Can I eat the frosting?” Travis asked. I nodded. “Plain??” This is when he declared the activity paradise.

Earth Puddings (5)

We sprinkled on our crushed “topsoil” and then added a few “worms”. It’s easy to find gummy worms at the store but most contain gelatin. Instead, we sliced pieces of licorice in half to be our worms.

Earth Puddings (9)

Finally, top with green sprinkles for grass, twigs, and leaves. I wasn’t able to find green sprinkles at the store, but a few drops of food coloring on white sprinkles was a quick fix.

Earth Puddings (10)

Now it was time to dig into the Earth.

Earth Puddings (12)

Veronika plunged her spoon right in and began snacking. It made her so happy she began to do a sugar-fueled dance around the kitchen.

Earth Puddings (13)

Travis loved working his way carefully down the layers, almost like he was excavating. He wanted to stop and talk about which strata we were in, and carefully selected which bite should come next. He was ecstatic when he’d gone deep enough to reveal the pudding under the topsoil!

Earth Puddings (14)

Welcome to paradise on Earth, and thanks to Raddish Kids for this great lesson.


Edible Sno Cone Creation Station

Sno Cone Creation Station (10)

Here’s an activity that will a) cool the kids off; b) provide sensory play; c) fire up the imagination; and d) give them a yummy snack! I told the kids they were going to open up their own sno cone stand, and the excitement began.

I set out a tray of crushed ice (an easy task thanks to our fridge filtration system, but a blender can do this for you, too), then added ice cream scoops.

Sno Cone Creation Station (1)

For “cones”, we folded conic shapes from craft foam. These turned out to be very easy to break, so next time I would probably stick to little plastic bowls.

Sno Cone Creation Station (3)

All they needed now were fruit syrups to flavor the ice! For these, I simply pureed fruits in the blender. We had pink from strawberries and deep purple from a mix of blueberries and blackberries.

Sno Cone Creation Station (9)

If you have condiment squirt bottles, those would be perfect to use here! I gave the kids paper cups filled with each syrup instead, along with plastic spoons.

Sno Cone Creation Station (5)

As with a recent nature soup activity, I loved that this game could engage both my toddler and 1st grader in different ways. For Veronika, it was all about the sensory aspects. First she just loved spooning through the ice.

Sno Cone Creation Station (2)

When she tasted plain ice, she copied big brother and said, “It’s yummy!” but I don’t think she really thought so.

Sno Cone Creation Station (7)

“It’s cold!” she added instead, looking confused. So we showed her how to spoon the berry syrup on top of her ice. Well now she couldn’t be stopped!

Sno Cone Creation Station (11)

In retrospect I would have done this activity in just a diaper to avoid berry stains, but it was worth a few purple splotches. She was having such delicious fun I let it be.

Sno Cone Creation Station (12)

Travis, meanwhile, enjoyed the role-play aspect of the game. He loved using the ice cream scoop to properly fill a “cone,” and then asking me for my order, adding strawberry or purple berries on top accordingly.

Sno Cone Creation Station (8)

And of course he did lots of tasting, too!

Cool Whip Painting

Cool Whip Painting (5)

What’s better than finger paint in the bath tub? Edible finger paint in the bath tub of course!

When I spotted this brilliant (and delicious) idea, I knew it would be worth the mess. For a vegan cool whip, try Whole Foods’ non-dairy whipped topping from the freezer aisle. Let thaw in the refrigerator about 3 hours prior to this activity and it will be the perfect consistency when you’re ready to play.

I divided the whipped topping evenly among the tins of a large muffin tray. Add drops of food coloring to each cup.

Cool Whip Painting (1)

To get the full rainbow, we mixed a few of our colors (red + yellow, blue + red). Older toddlers might enjoy helping with this step!

Cool Whip Painting (2)

Then I simply stripped Veronika down to a diaper, handed her a paint brush and set her loose in the tub. She immediately started painting.

Cool Whip Painting (3)

“A rainbow!” she said, even though she only had one line of color. What a perfect idea, so I started to paint stripes in rainbow order on the side of the tub. Some of the paint dripped onto her leg as a result. “Oh no!” she said, but I assured her it was okay because this paint was edible.

Cool Whip Painting (4)

She looked at me with surprise; usually I chide her not to eat paint, ha! So I dipped a finger in and held it up to her tongue. “Yummy!” she said with absolute delight.

Cool Whip Painting (6)

“Try blue?” So I dipped a finger in blue for her. “Try green?” You get the idea. Well clearly we were going to need plastic spoons!

Cool Whip Painting (8)

After this it became more feast than art project. At this point, big brother Travis needed to join in. He loved both taste-testing and smearing the paint on the tub with a brush.

Cool Whip Painting (9)

He even tried turning it into body paint!

Cool Whip Painting (11)

Meanwhile, I kept using the paintbrushes around my happy diners. This little fish was swimming right on the bottom of the ocean.

Cool Whip Painting (10)

Clean up was surprisingly easy. Strip everyone down and run the water and rinse (humans and tub alike). Travis even loved using a washcloth to scrub the walls until they were sparkly clean.

Cool Whip Painting (12)

Chocolate-Dipped Fruit Activity

Chocolate-Dipped Fruit (3)

Looking for a fun way to keep toddlers busy if big siblings are helping in the kitchen? Give them extra ingredients and chocolate to dip it into!

This activity can get messy but is bound to keep little fingers busy. I gave Veronika chunks of fruit (sturdy fruits like cantaloupe, strawberries, and bananas all work well) with a toothpick in each.

Chocolate-Dipped Fruit (1)

In a microwave-safe bowl, combine 5 ounces chopped dark chocolate and 1 tablespoon vanilla frosting. Microwave at 30 second intervals until melted. Let cool slightly, then place on the high chair tray for your toddler, along with the cut fruit. Time to dip!

Chocolate-Dipped Fruit (2)

I showed Veronika how to poke the other end of the toothpick into a Styrofoam block while the chocolate set, which is half the fun!

Chocolate-Dipped Fruit (4)

After initially snacking on some strawberries, it turned out she was much more into this as artwork, spreading chocolate onto a paper plate with the toothpicks. But between nibbling at strawberry pieces and dipping fingers into the chocolate, it kept her busy while big brother cooked, which was all I needed!

Frosting Flags

Frosting Flags (5)

This craft-turned-snack is meant to let toddlers make “flags” in the run-up to the 4th of July. Will your toddler really be able to make a snack that looks like an American flag? Most likely not, but it’s never too early to introduce a little patriotism and show your child that our national colors are red, white, and blue!

Scoop vanilla frosting into three paper cups. Add a few drops of red food coloring to one cup, blue to the second, and leave the third as is. Stir and repeat with more food coloring until you have the desired hues of blue and red.

Frosting Flags (1)

I gave Veronika these cups along with craft sticks as “knives”. Ideally, have your child then paint the frosting onto graham cracker sheets. Because the store was all out of vegan graham crackers, we used saltine crackers instead!

Frosting Flags (2)

It turned out that Veronika was way more into snacking on the crackers than spreading the frosting!

Frosting Flags (3)

To capture her attention, I scooped the frosting out of the cups and let her spread the colors around this way. Now it became more like edible art!

Frosting Flags (6)

All in all, a delicious first lesson on our flag.

Frosting Flags (4)

Paint with Spaghetti Brooms

Spaghetti Brooms (7)

The kids have payed with cooked spaghetti, but never before have we used it to paint. Veronika loved that these looked like miniature brooms!

To make a broom “paintbrush”, secure a bundle of uncooked spaghetti together with a rubber band near one end.

Spaghetti Brooms (1)

Cook the spaghetti bundles in boiling water, but use caution only to heat the bottom portion of the noodles, not the “handle”. I held on to the part with the rubber band so the rubber wouldn’t melt or singe, and let the “broom” tips soften in the water for only about 2 minutes. This is definitely a grown-up step, and make sure to avoid the steam. You can cook your noodles longer, but I knew Veronika would have an easier time painting if they were a bit firm.

Spaghetti Brooms (2)

Once cooled, I showed Veronika the brushes. She loved exploring them before there was even paint.

Spaghetti Brooms (3)

We then blobbed craft paint onto poster board, and I showed her how to “sweep” the color. My little happy helper took right to this version of painting!

Spaghetti Brooms (4)

She loved testing out the different bundles, swirling the colors, and more.

Spaghetti Brooms (6)

The individual noodles leave neat textured tracks through the paint, an effect even Veronika could master at 20 months.

Spaghetti Brooms (8)

A cute project, with surprisingly little mess!

Spaghetti Brooms (5)

Guess the Scent

Guess the Scent (2)

Veronika is at that age where she’s a bit of a nuisance while I prep dinner, so I needed a quick activity to keep her busy. I decided to involve her in a culinary way tonight, instead of simply distracting her. This game is not only great for building vocabulary about different foods, but doubles as sensory play.

I set out little paper cups full of strongly scented items, including the following: cinnamon, black pepper, cocoa powder, vanilla extract, and popcorn. I also included a cut lemon.

Guess the Scent (1)

I held each one to Veronika’s nose and encouraged her to smell, telling her the name of each food as I did so. The cinnamon got a grin.

Guess the Scent (3)

The black pepper was immediately pushed back. “No!” she told me.

Guess the Scent (4)

Older toddlers can make this more of a guessing game, closing their eyes and telling you what they smell. With younger toddlers, expect some mess. Of course Veronika wanted to dump out all the paper cups, so we soon had a strangely-scented mixture that she could mash about on the tray.

Guess the Scent (8)

Before I could stop her, she took a nibble.

Guess the Scent (9)

Oh no, I half expected tears! But then she told me, “I like it”. Well, there could be worse combinations than black pepper, cinnamon, vanilla, and chocolate.

Guess the Scent (10)

Then she needed to lick the lemon, so this activity turned into more of a tasting experiment than I had intended. But I love watching when a toddler takes a game in their own direction.

Guess the Scent (11)

Next time I wouldn’t do this during dinner prep; it turned out to be quite a mess! But at least it kept her busy while food was in the oven.

Ooey Gooey Noodle Worms

Ooey Gooey Noodle Worms (3)

I love activities that introduce new textures to a toddler, even if they might seem a little gross to us grown-ups. Veronika has no qualms about getting her hands dirty, so on today’s menu was mud worms!

I cooked up a batch of linguine for the “worms”, and then placed them on a shallow tray that we could take out to the patio. Now we just needed to bury them in “dirt” a.k.a. chocolate pudding.

Ooey Gooey Noodle Worms (9)

She gleefully began scooping through, using both fingers and a sand shovel

Ooey Gooey Noodle Worms (2)

In retrospect, I would have used a lot more pudding and a lot fewer “worms”, as this wasn’t really hunting or digging. We just had lots of worms crawling all over the tray! But of course the pretend play was a bit advanced for her anyway, and she loved scooping.

Ooey Gooey Noodle Worms (1)

We got our fingers in the mixture together and used words like “slimy” and “goopy” as we played.

Ooey Gooey Noodle Worms (4)

When the noodles landed on the patio, they did sort of look like little worms after a rainstorm.

Ooey Gooey Noodle Worms (5)

Then Veronika decided it was even more fun to scoop them up from the tray and toss them on top of other items on the patio.

Ooey Gooey Noodle Worms (7)

Admittedly that made clean-up a little tougher, but she was having so much fun I didn’t stop her! All in all this was good gooey fun.

Ooey Gooey Noodle Worms (8)

Homemade Potato Man

Homemade Potato Man (2)

We don’t own a classic Mr. Potato Head doll, but the toy is great for so many reasons. Of course there’s the pure silliness of mixing and matching the facial features, but Mr. Potato is also a teaching tool for the names of facial features and for emotions. With an extra potato in the fridge, today I made Veronika this silly homemade version!

To start, I drew two faces on the potato with permanent marker: one side of his face was happy and the other was sad. Veronika wanted to add a few pen marks of her own.

Homemade Potato Man (1)

Poke two toothpicks into the sides of the potato as arms, then use hot glue to add pom poms to the tips, covering up the sharp points. You can also add pom poms or even buttons on top for a hat! Two wiggle eyes completed the look.

Homemade Potato Man (3)

If you want to get more detailed, draw other features with permanent marker, too. Finally, I sliced a bit off the bottom so Mr. Potato could stand upright. Now I presented him to Veronika, and she was smitten!

Homemade Potato Man (5)

She loved that his expression changed whenever she turned him around, and this was a great way to talk about emotions. “Mr. Potato is feeling sad,” I told her… and oh no she pouted her lip in sympathy until we turned him to his smile.

Homemade Potato Man (4)

We also pointed to all his features, rattling off a vocab list of eyes, nose, mouth, and ears. She loved finding these and then touching the corresponding part on me.

Homemade Potato Man (6)

And then she just loved playing with him as an “action figure”! Have you ever made toys out of food? Please share in the comments!

Homemade Potato Man (7)