Give a Super Soup!

Super Soup (5)

Need a gift for teachers that they’ll actually use? Assemble the dry ingredients for this warming winter soup in a jar, add a hand-made note from your child, and tie it all with a pretty ribbon for a perfect gift. Thanks to High Five magazine for the suggestion!

First, the full recipe, because you’re going to want to make a batch of this soup at home, too:

Super Soup (1)

Ingredients:

  • 1 and 1/2 tablespoons low-sodium vegetable bouillon cubes, crumbled
  • 1 tablespoon dried parsley
  • 1 tablespoon dried minced onion
  • 1/2 teaspoon black pepper
  • 1/4 teaspoon dried thyme
  • 1/8 teaspoon celery seeds
  • 1/8 teaspoon garlic powder
  • 1 bay leaf
  • 1 cup tricolor rotini or fusilli pasta
  • 1 cup chopped carrot
  • 2 chopped celery stalks
  • 1 and 1/2 cups cooked and chopped Gardein chickn
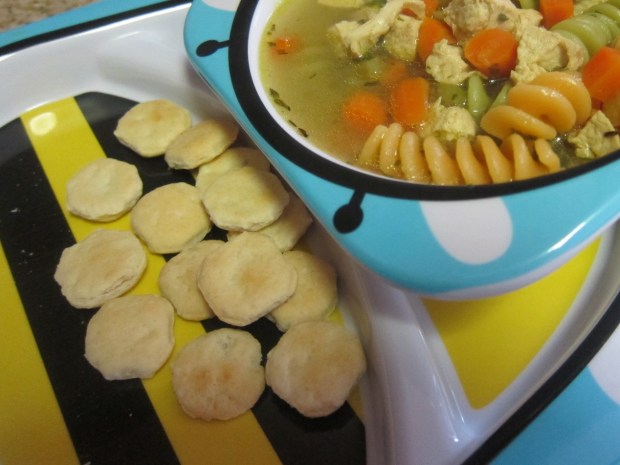
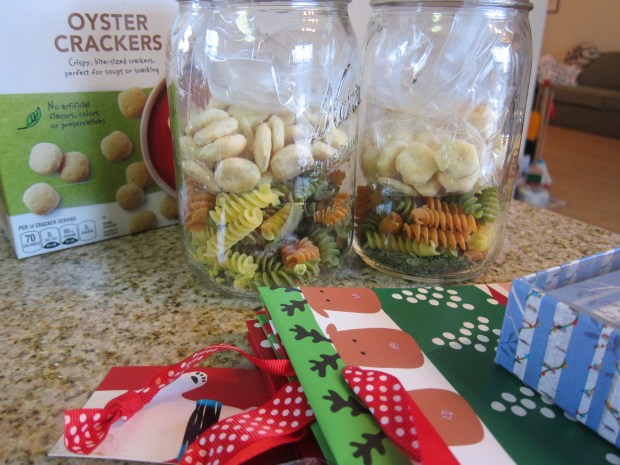
  • 1/2 cup oyster crackers
  1. In a large pot, combine the bouillon, parsley, onion, black pepper, thyme, celery seeds, garlic powder, bay leaf, pasta, carrot, celery, chickn, and 6 cups water.
  2. Bring to a boil, then cover, reduce heat, and simmer for 15 minutes.
  3. Uncover and remove the bay leaf; continue to simmer for an additional 5 minutes.
  4. Serve with the oyster crackers!

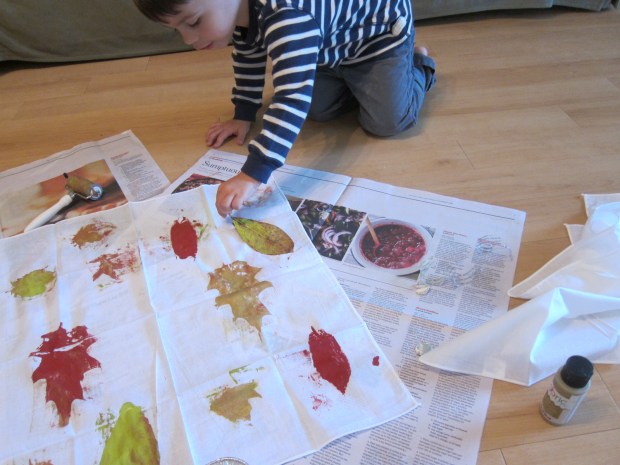
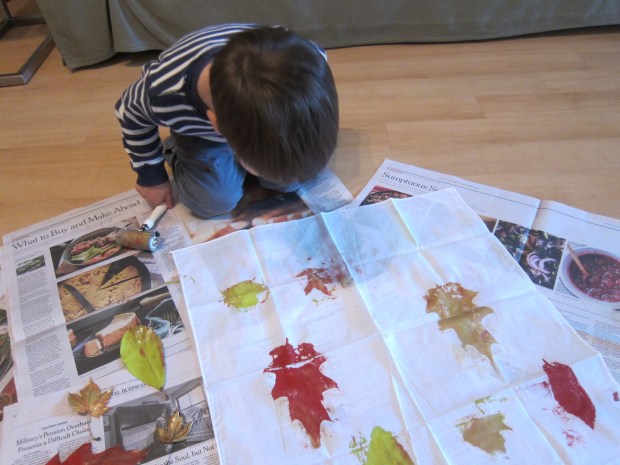
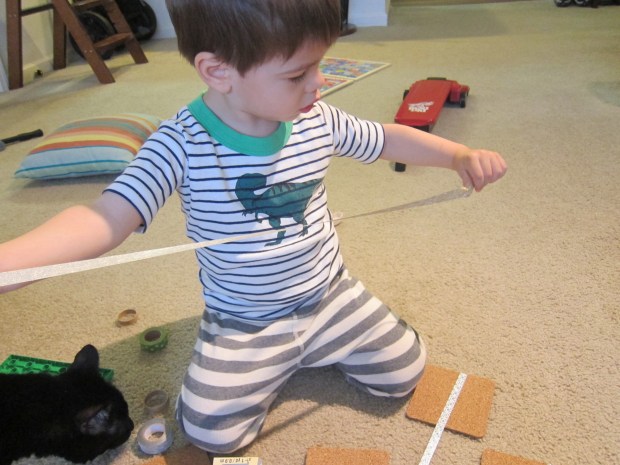
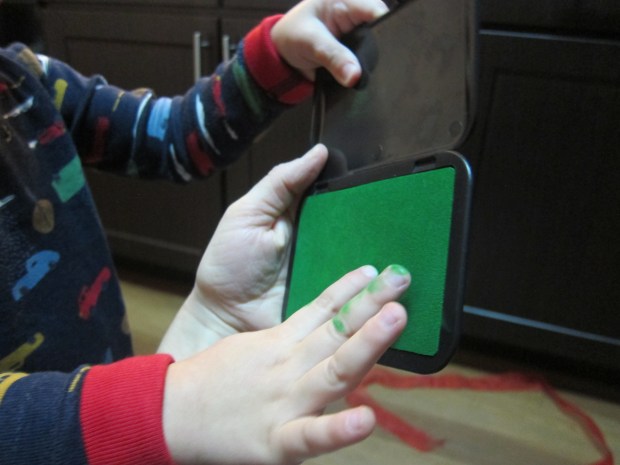
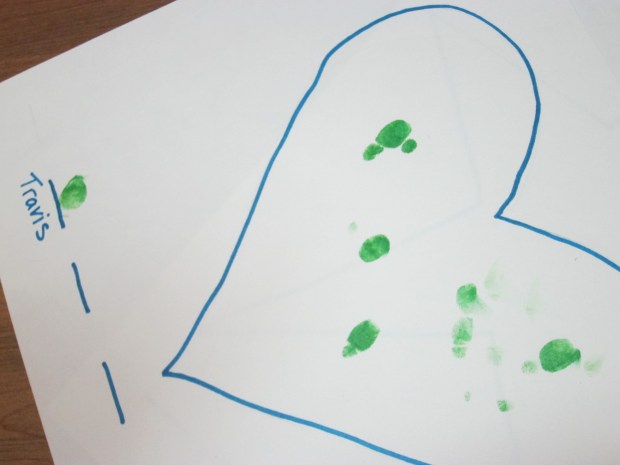
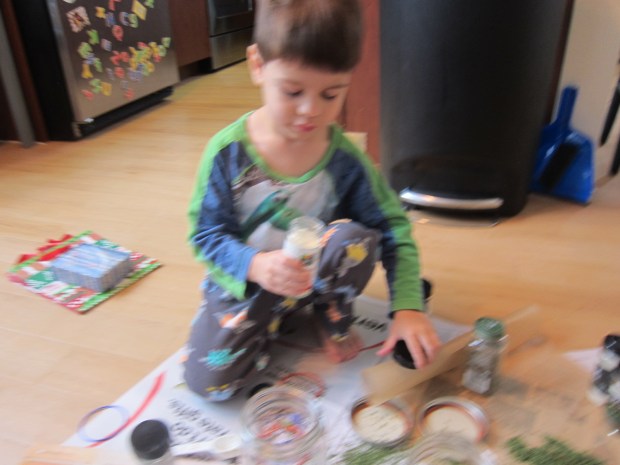
To prepare the soup as a gift, have your child help layer the ingredients from the bouillon through the pasta in a 1-quart clear glass jar. Travis loved adding in the herbs:

Super Soup (8)

And untwisting caps to smell each one before we added it!

Super Soup (11)

Place the oyster crackers in a small zip-top plastic bag, and nest atop the other ingredients. Put the lid on the jar and tighten.

Super Soup (9)

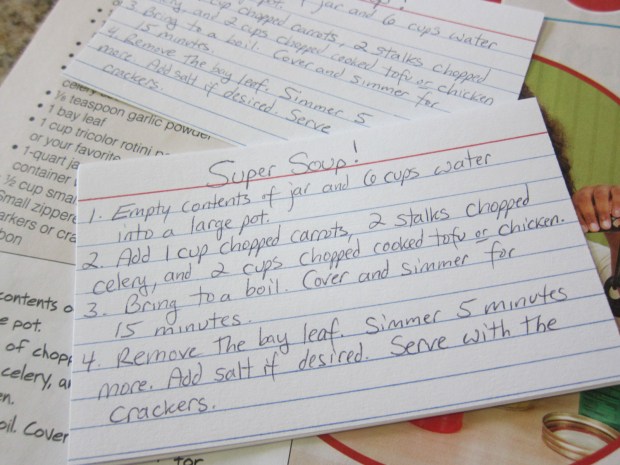
Write out the recipe instructions on a recipe card (Note: teachers will supply their own carrots, celery, and chickn when the time comes).

Super Soup (4)

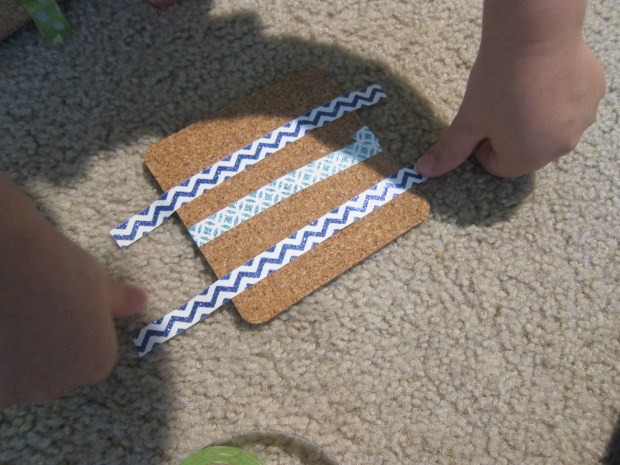
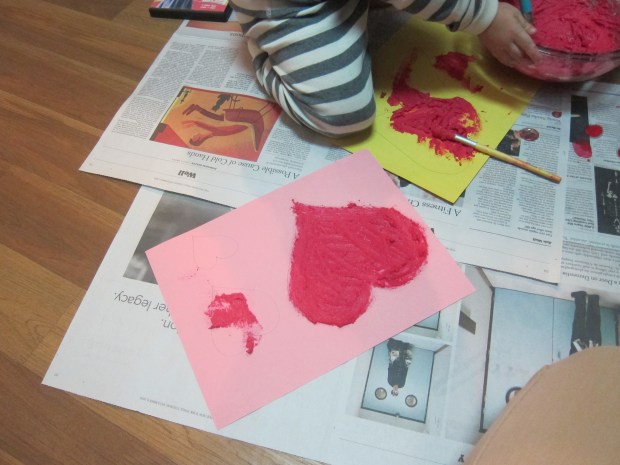
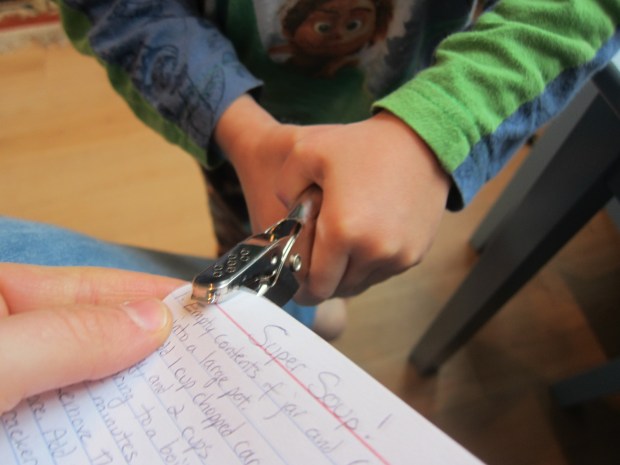
Have your child decorate the index card with crayons or stickers. Of course Travis needed to help punch a hole in each index card.

Super Soup (6)
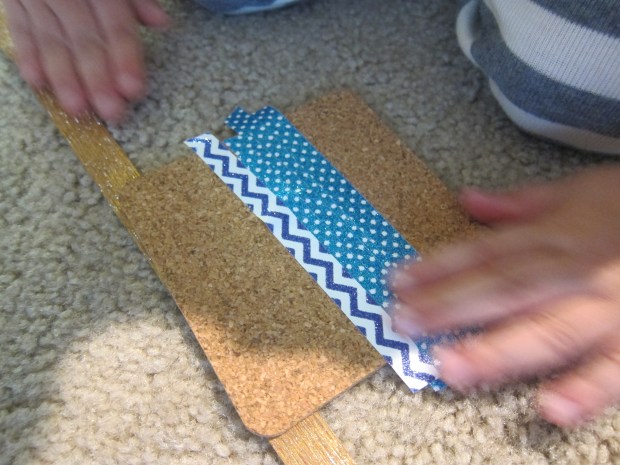
Now slip a ribbon through the hole and secure around the lid of each jar.

Super Soup (7)

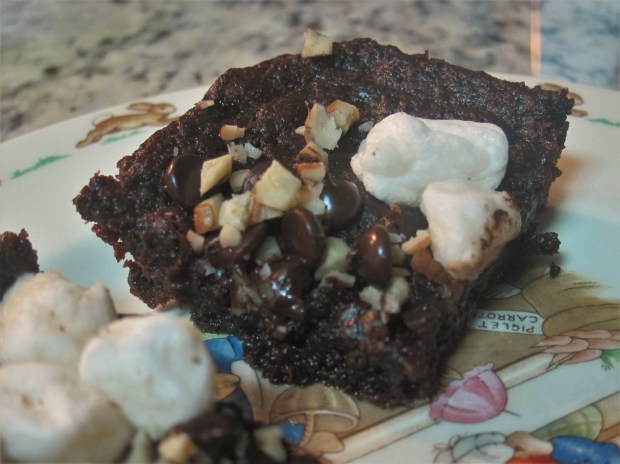
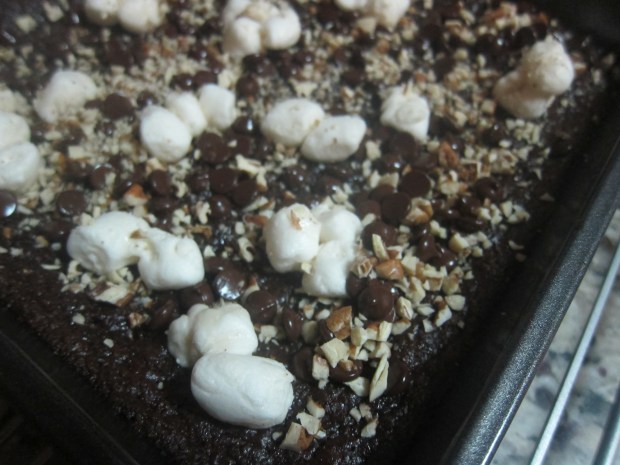
Think that your kid’s teacher would prefer something sweet to something savory? Check out the Rocky Road Brownies we used for a gift mix last year!

Don’t forget to save the recipe and make a big pot of this for your own family, too.

Super Soup (2)

Hand-Shaped Dish

Hand Bowl (7)

I’m a sucker for any craft that incorporates the size of a child’s hand. Last year, we made  a wreath featuring Travis’s handprints. This year we switched our art medium to clay. This little dish is perfect for holding holiday candies, and would also make a great gift for grandparents on your Christmas list!

To start, we gathered our materials: air-dry clay and balloons. Balloons and clay first thing in the morning? Travis was in heaven!

Hand Bowl (1)

Blow up one balloon to a size your child can comfortably hold in his or her hand; set aside.

Hand Bowl (2)

Trace your child’s hand onto a piece of paper and cut out; set aside.

Hand Bowl (3)

Now flatten your clay using a rolling pin until it is large enough to hold the handprint.

Use a clay slicing tool or plastic knife to cut around the handprint.

Hand Bowl (4)

Now here’s the slightly funny part: drape the hand over the balloon, and let sit somewhere kids can’t touch it or mess with it until dry.

Hand Bowl (5)

Once dry, remove the balloon and set your hand on the counter as a decorative dish.

Hand Bowl (6)

Don’t forget to inscribe with kids’ names and the year, so you’ll always remember!

Hand Bowl (8)

Leafy Linens

Leafy Linens (10)

This lovely fall project would make a beautiful decoration for a Thanksgiving table, or a perfect gift for school teachers around the holidays.

The first step (as with so many of our autumnal projects it seems!) was to bring home a few treasures from a walk in the park. Look for a variety of leaf shapes, ideally flat and still quite fresh and sturdy.

Leafy Linens (2)

Set out the leaves, along with a foam paint brush and fabric paint – don’t use tempera paint here, since the linens will go through the wash. I gave Travis a selection of seasonable colors, such as red, green, and gold. Use neutral-colored napkins if you plan these for a holiday table. We chose to make ours onto white handkerchiefs, which will make great table centerpieces or gifts.

Paint a leaf with a foam paintbrush, ensuring you have a nice, even layer.

Leafy Linens (4)

Place the leaf, paint side down, on the fabric, and roll over it with a brayer or old rolling pin. This new tool was Travis’s favorite part of the project, and he eagerly rolled over each leaf.

Leafy Linens (3)

Carefully lift up the leaf for the big reveal – neato!

Leafy Linens (8)

Repeat with different leaf shapes and colors until your fabric is filled.

Leafy Linens (7)

Towards the end, our prints got a bit messy as the brayer itself was coated in paint, so you may want to give yours a wash or two as your work. Travis didn’t mind though, and loved mixing our paint shades.

Leafy Linens (5)

We plan to give these to his preschool teachers as the holidays approach!

Leafy Linens (6)

Clay Charms

Clay Charms (10).JPG

With a big batch of clay in the house, we decided to shape some into charm necklaces – they’ll make the perfect gift for the upcoming September birthdays of several relatives!

You can shape your charms in one of two ways. First we tried a butter knife to cut out simple squares or rectangles. This was definitely Travis’s preferred method.

Clay Charms (2)

Alternatively, you can use cookie cutters to fashion your charms into circles.

Clay Charms (3)

We found a bunch of old buttons in our craft box, which made perfect imprints into the clay, like flowers or hearts.

Clay Charms (5)

Once you’re happy with your designs, let the clay set. If you have oven-dry clay, bake according to package instructions. Ours was air-dry clay, so we left it out overnight. While the clay is still soft, poke a hole through each with a toothpick or wooden skewer so you can string it onto a thread later on.

The next day it was time to paint! Watercolor works very well on clay, but you could also use acrylic paint.

Clay Charms (6)

After a swipe or two with a paintbrush, Travis decided it would be much more fun to do watercolors by hand. I laughed and decided why not! The results were surprisingly beautiful.

Clay Charms (7)

Let the charms dry again, then thread twine through the hole in each charm. Voila! A charm necklace.

Clay Charms (9)

Coaster Gift Set

Coasted Gift (6)

This two-material project is so simple, with such beautiful usable results – real coasters! Perfect for Memorial Day drinks perhaps? They are great just to have around your own home, or even to send off as a gift.

I pulled out all of our washi tape and 4 foam squares (circles would work well too), and let Travis have free creative reign.

Coaster Gift (2)

At first he just wanted to play with the washi tape a little.

Coaster Gift (1)

Then he saw the picture of this craft from where I had found it online. “Look, there are three lines!” he observed. He then wanted to replicate a coaster with three lines.

Coaster Gift (4)

We also replicated one with an X, and then he made up a few design creations of his own.

Coasted Gift (5)

A delightful little project; we made sure to send some on to his great-grandparents as a surprise gift.

Coaster Gift.JPG

Rocky Road Brownie Mix

Rocky Road Mix (7).JPG

Layer the ingredients for this rich chocolate brownie mix in a gift tin; it makes the perfect gift for a teacher or neighbor during the holidays! Travis loved helping to measure and pour out the ingredients as we arranged them in the jar. And of course, don’t forget to whip up a batch to enjoy at home! Omit the pecans if your recipient has nut allergies.

rocky-road-mix-8

First, the recipe itself:

Ingredients:

  • Cooking spray
  • 1 cup sugar
  • 1/3 cup unsweetened cocoa powder
  • 1/2 cup flour
  • 1 teaspoon baking powder
  • 1/4 teaspoon salt
  • 1/2 cup melted Earth Balance butter
  • 2 Ener-G eggs
  • 1 teaspoon vanilla extract
  • 1/4 cup vegan chocolate chips
  • 1/3 cup vegan mini marshmallows (such as Dandies)
  • 1/4 cup finely chopped pecans
  1. Coat a 9-inch baking pan with cooking spray and set aside.
  2. In a bowl, combine the sugar, cocoa, flour, baking powder and salt (a.k.a. “the brownie mix”) with the butter, Ener-G eggs, and vanilla extract. Stir until well blended.
  3. Spread the batter into the prepared pan and bake at 350 degrees F for 20 to 25 minutes.
  4. Sprinkle the chocolate chips, marshmallows, and pecans over the batter. Bake for an additional 3 to 5 minutes – the marshmallows should be puffy.
  5. Transfer the pan to a wire rack and cool completely before cutting into 16 squares.

rocky-road-mix-4

To prepare the recipe as a gift, layer the sugar, flour, baking powder, and salt in a glass jar with lid. Omit the wet ingredients. Place the marshmallows, chocolate chips, and pecans in a zip-top plastic bag, and set over the dry ingredients. This was Travis’ favorite part, especially because he stole a few marshmallows for snacking!

rocky-road-mix-2

Make sure to seal the gift jar tightly.

Write out the recipe instructions on an index card so your recipient can add the wet ingredients at home. Use a hole punch to punch a hole in one corner, and tie the index card to the jar with a ribbon.

rocky-road-mix-5

Travis helped add stickers to the index card as the finishing touch!

rocky-road-mix-6

Puffy Paint Hearts

puffy-paint-hearts-5

Say ‘I love you’ with this fun make-it-yourself paint. Children will love the puffy paint mixture, and a special adult will love receiving the final product, either as a card or stand-alone gift this holiday season!

To make our puffy paint, we combined the following:

1/2 cup flour

1/2 cup salt

1/4 cup water

1/4 cup tempera paint

Travis had so much fun mixing the gloppy paint together that it took a while before I could direct his attention to the rest of the craft!

puffy-paint-hearts-2

I outlined several hearts on paper with pencil for him, and let him fill in the shapes with his puffy paint.

puffy-paint-hearts-4

I also filled in one heart myself as an example, so he had a sense of what his final craft could look like, but don’t expect a toddler to get the heart exactly right!

puffy-paint-hearts-3


Penguin Cup Cozy

penguin-cozy-3

What could be cozier in the winter than a warming cup of hot cocoa? This adorable craft came to us care of High Five magazine. Travis was fascinated by the sock, and could help with the gluing portion of the craft, but I put the rest of the cozy together. Preschoolers can make the whole “penguin” themselves, though!

To start, cut the feet from a pair of black tube socks; discard or save for another use (like puppets!).

penguin-cozy-1

Slide the tube of the sock over a cup that can hold hot beverages. Cut white felt into the shape of a penguin’s face and a small triangle from orange felt for the beak. Glue to the sock.

penguin-cozy-2

You can either glue on googly eyes or draw on eyes with black marker.

Here’s our penguin doing an excellent job of keeping hot cocoa warm and cozy!

penguin-cozy-4

And here is Travis having his first-ever cup of hot cocoa. Needless to say, the project was a hit!

penguin-cozy-5

Instead of keeping the cozy for your child, it’s also a great do-it-yourself project that kids can make as a gift. If gifting, don’t forget to decorate a card with crayons for your recipient, then tuck inside the cup with the cozy on the outside!

Fingerprint Heart


fingerprint-heart-3

This project is an adorable one to do with family or friends over the holidays – if you can wrangle all the kids together!

Ahead of time, trace the outline of a heart on poster board, and then make dashes below the heart, one for each child who will be helping with the craft.

fingerprint-heart-1

Bring stamp pads in multiple colors; each child gets to choose a different color. Dip little fingers or thumbs in the ink and fill in the heart with fingerprints, making sure to leave one on a dash labeled with their name, so everyone knows who was who!

fingerprint-heart-2

Travis and I gave the project a test run at home before bringing to Thanksgiving to share with cousins.

Admittedly, group crafts aren’t always picture perfect. There may or may not have been some fighting over who got which color, and some attempts to dip whole hands in the ink pad instead of just a finger… but overall it was a cute diversion for the kiddos! You can even frame the project once complete, to gift to grandparents or other relatives for the holidays.

What group crafts have you enjoyed with family this time of year? Please share in the comments!