Ooey Gooey Pumpkin Slime

Pumpkin Slime (6).JPG

True slime enthusiasts and experts will probably cringe at this post, so my apologies in advance! But Travis and I weren’t aiming to make the perfect slime ball, just to have some oopy, goopy, gooey, messy Halloween fun!

We’ve largely skipped the slime craze because I was hesitant to use liquid starch or borax, two ingredients normally called for to pull together a slime solution. Just in time for this Halloween project though, I learned you can use contact lens solution (a buffered saline solution) instead. If you’re looking for a good cruelty-free option, check out Clear Conscience contact solution.

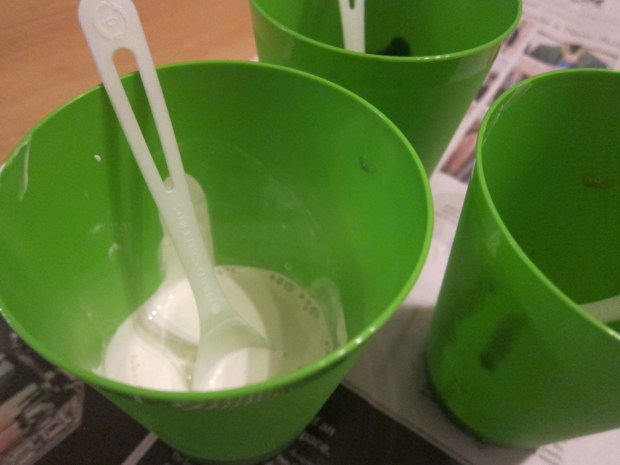
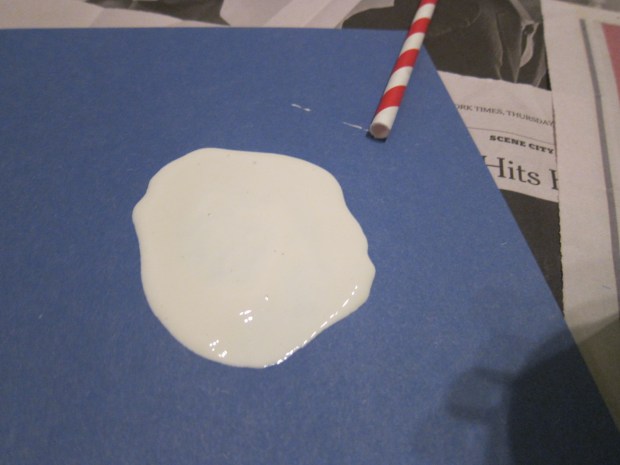
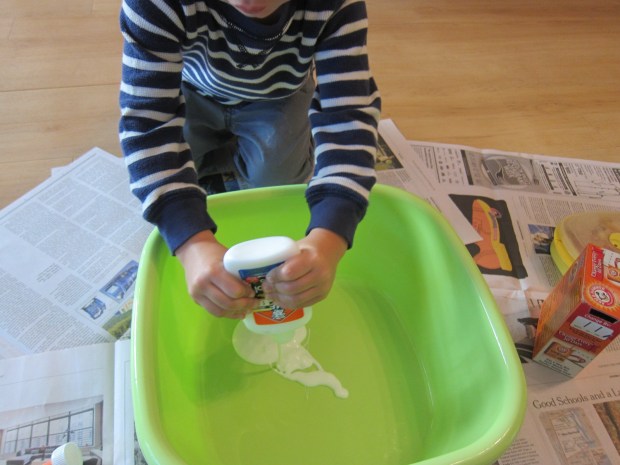
To make the base of the slime, we dumped two small bottles of white glue into a plastic bin. I’m sure there is an exact amount to use, but this seemed to give us about 1/2 cup, which looked about right. Sprinkle your glue with 1/4 teaspoon baking soda and stir.

Pumpkin Slime (1)

Now begin adding the saline solution one spoonful at a time; you’ll see it seize up almost right away. Only a few spoonfuls are necessary.

Pumpkin Slime (2)

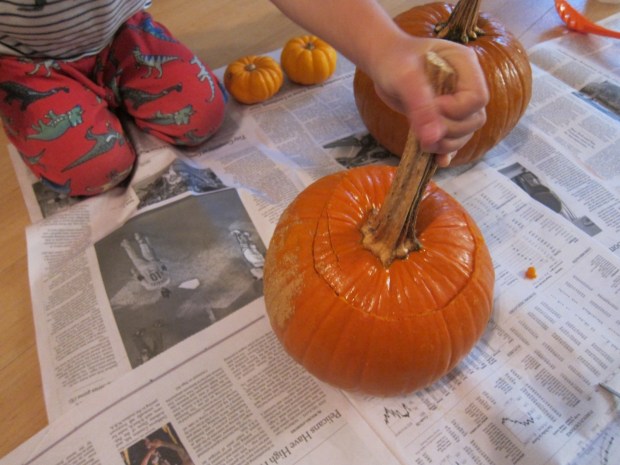
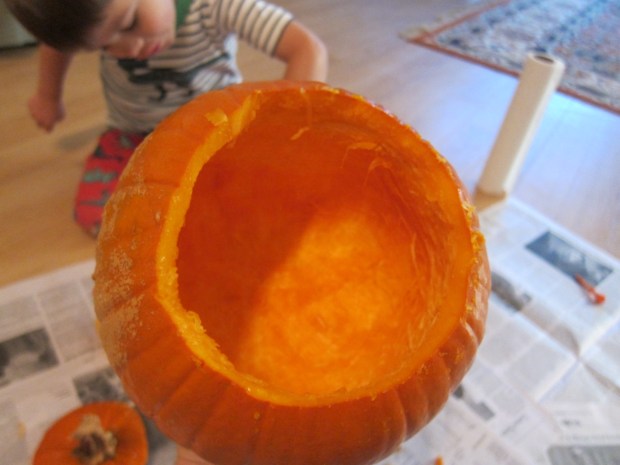
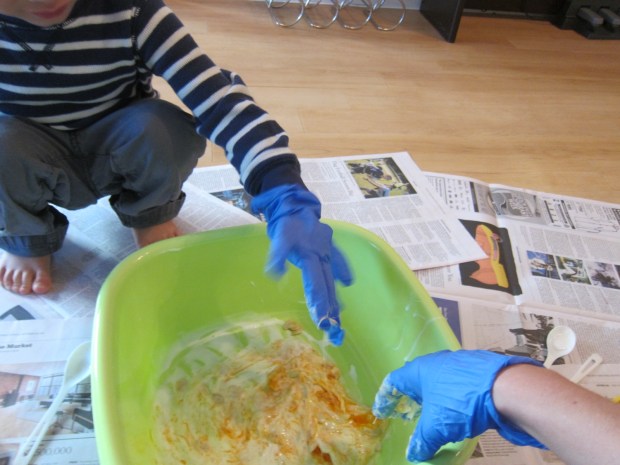
Now came the real goopy part; stir in leftover pumpkin guts and seeds from pumpkin carving!

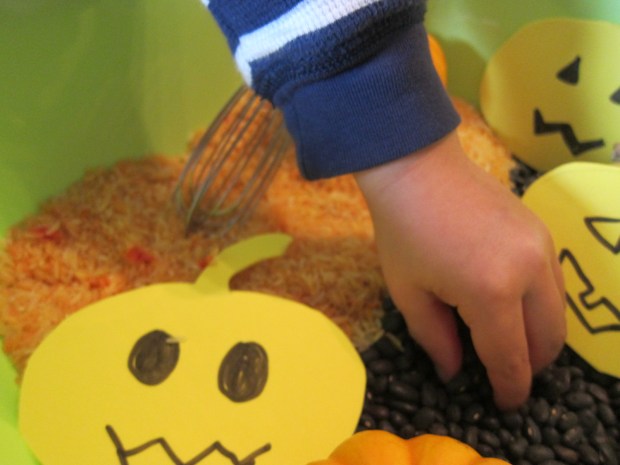
Travis was hesitant to get his hands in the stuff at first, but wearing a glove helped.

Pumpkin Slime (3)

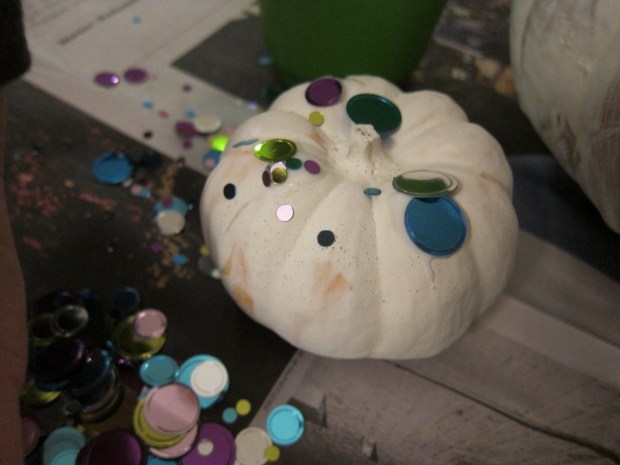
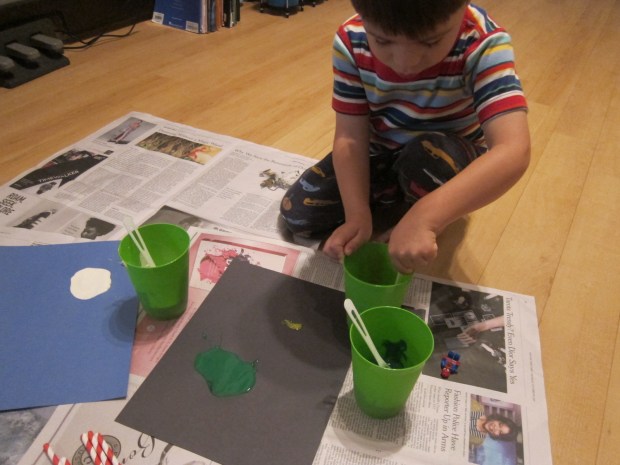
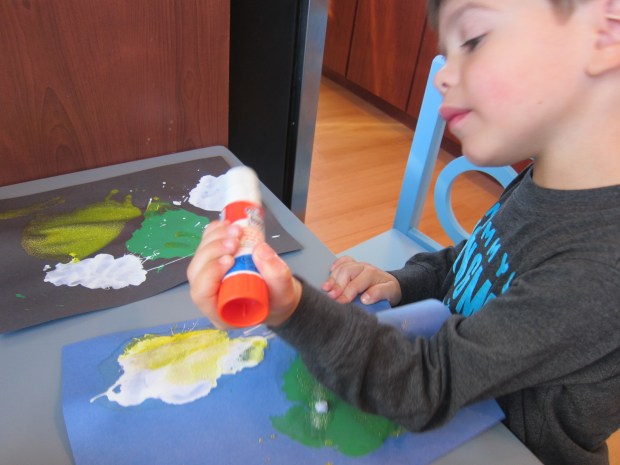
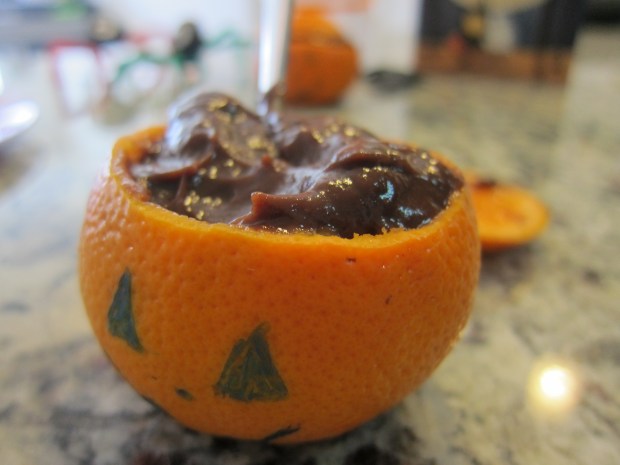
His favorite part was when we added glitter. We started with a bit of gold, but he soon decided we needed silver and green as well.

Pumpkin Slime (5)

After that he wanted to squeeze in more saline. To our great delight, this really made the mixture seize up, until you could left it cleanly up out of the plastic bin. Then it stretched back out like long snotty spider webs.

Pumpkin Slime (7)Perfect for Halloween, in sum.

Confetti Pumpkin

Confetti Pumpkin (7)

If you want to decorate a pumpkin with the kiddos this Halloween but aren’t up for carving, consider adorning just the outside of your pumpkin. The effect of this design is particularly dazzling!

You can use this method on tiny pumpkins or on big ones, although I have to say my patience wore out covering an entire large pumpkin with confetti, so choose your size accordingly.

Confetti Pumpkin (2)

To start, we painted our pumpkins white. This step isn’t strictly necessary, but the white was such a lovely background for the sparkly confetti we had, and I was afraid a bold orange would compete too heavily. Besides which, Travis enjoyed the painting!

Confetti Pumpkin (1)

Once the white paint dries, dip a paintbrush in glue and make dots all over your pumpkin. Cover each dot with confetti.

Confetti Pumpkin (5)

Travis preferred to make big globs of glue and then sprinkle on handfuls of confetti, which worked just as well. As always, I like seeing his creative response to projects these days, as opposed to having him just follow along.

Confetti Pumpkin (4)

For additional security, dab over the confetti with a second layer of glue, then set aside to dry before adding to your Halloween decor.

Confetti Pumpkin (6)

Another boo-tiful project!

Confetti Pumpkin (8)

Builder’s Special Pumpkin

Builder's Pumpkin (4)

After a few weeks with pumpkins perched on our patio, Travis couldn’t wait any longer… So it was time to turn pumpkins into jack-o-lanterns! We added to the fun with this quirky idea from Parents Magazine.

First came all the fun of carving a pumpkin. With a three-year-old, carving is still a grown-up job in our house, but Travis was thrilled to see our pumpkin’s face take shape. And loved the way the lid fit back on top like a puzzle piece!

Builders Pumpkin (1)

Then came the goopy fun of scooping out all those guts. (Hint: Save your pumpkin guts, I have blog posts coming up with how to continue the excitement…).

Builder's Pumpkin (2)

Once the pumpkin was carved, it was time for the finishing touch. Travis and I sorted through his Duplo bins for all the construction-themed pieces.

Builder's Pumpkin (3)

We set up the Duplo figures, tools, and construction vehicles around the jack-o-lantern after inserting a battery-operated tea light inside.

Builder's Pumpmin (3)

Bonus points for adding pumpkin guts into the scoop or your excavator or bed of your dump truck! This project got great giggles, and is perfect for any Duplo or Lego fanatic.

Builder's Pumpkin (5)

Huff and Puff Monsters

Huff and Puff (7)

We’ve made monsters “silly” a few times so far this October – it’s the first year that Travis has really been cognizant of monster decorations around Halloween, and he’s starting to feel a little afraid of them. The sillier and more fun we can make monsters seem, the better!

To prepare the project, pour a little tempera paint into cups, and thin each cup with water, one spoonful at a time. You want each batch of paint to have the consistency of cream.

Huff and Puff (1)

I placed construction paper and the paint cups on the floor (cover your work surface, things are about to get messy!) and invited Travis over. We used dark construction paper as the background for a Halloween feel, but white or any other color would work just as well.

Spoon some of the paint onto your paper, then cut straws in half, and get down low to blow out the shapes of your monsters.

Huff and Puff (2)

Travis soon decided he didn’t love the blowing part of the project, but he loved spooning blobs down, and then watching our creatures appear.

Huff and Puff (3)

“Don’t forget here!” he would instruct, pointing to a thicker portion of paint.

Huff and Puff (4)

We decided the white blobs were “baby bear monsters.”

Huff and Puff (5)

Once the paint dries, finish your new silly friends with a glue stick and eyes. I always seem to be out of googly eyes these days, but mini pom poms did in a pinch.

Huff and Puff (6)

Spooky, not scary!

Huff and Puff (8)

Halloween Luminaries

Halloween Luminary (10)

Last year we indulged in an extra crate from Kiwi Co to make a trick-or-treat tote bag (which we’ll be using again this year!). This Halloween, Travis has graduated up in crafting skills and could help put together Kiwi Co’s neat luminary project, a reminder that it’s not just pumpkins that glow on All Hallow’s Eve.

To replicate the project at home, you can purchase similar materials to everything described below at a craft store.

To start, we taped down the two provided clear sheets of flexible plastic onto a work surface (a brown paper bag or scrap paper work fine), and painted them with a layer of glaze (which looked quite similar to Mod Podge).

Halloween Luminary (1)

We divided the provided tissue paper squares into oranges and purples, and pressed onto the sticky glaze.

Halloween Luminary (2)

Travis had fun with the orange one, but then decided he didn’t like the way the glaze felt on his fingers. So I finished up the purple one, and then we painted over the tissue with an additional layer of glaze before setting them aside to dry.

Halloween Luminary (3)

To make our luminaries spooky, we had fun adding the provided stickers – Travis particularly liked making a “pumpkin patch” on one.

Halloween Luminary (4)

The plastic is then folded into a cylinder, and secured with clear round stickers.

Halloween Luminary (6)

Place your luminaries on any surface, then add a tea light inside.

Halloween Luminary (7)

Boo-tiful!

Halloween Luminary (8)

Halloween Sensory Bin

Halloween Sensory (3)

Seasonal sensory bins are always good fun, equally delightful for little tots as they are for preschoolers. This one gets an October twist with an orange and black background, and Halloween goodies tucked inside.

To prepare the rice, place white rice in a zip-top bag and shake with orange food coloring – I achieved a nice orange by mixing the yellow and red from Color Kitchen. Spread on a foil-lined baking sheet and let dry.

Halloween Sensory (1)

Fill a tub with the orange rice on one half and dried black beans on the other – it’s getting spooky in here!

Halloween Sensory (2)

Next I placed a few odds and ends in the bin, like mini pumpkins and gourds, and foam in the shape of jack-o-lanterns. I added a whisk and spatula, then presented the bin to Travis after a morning at school.

Halloween Sensory (4)

He loved sprinkling the black beans onto the rice for a startling contrast. Pretty soon this was an imaginative game of making pumpkin soup.

Halloween Sensory (7)

The texture of the dried beans was a big hit…

Halloween Sensory (5)

…as was the sound they made when sprinkled on top of the pumpkins, making this bin a delight for auditory senses as well.

Halloween Sensory (10)

You can keep bins like this around for a couple of days for children to return to. Later, we added some wobbly Halloween stickers and a few more pumpkins to our “patch.”

Halloween Sensory (12)

What else would you add to your Halloween sensory bin? Please share in the comments!

Halloween Sensory (13)

Flying Ghost Teabag

Flying Ghost (3)

Here’s a Halloween experiment that’s exciting for kids and grown-ups both. A note of caution, since the game involves fire; I recommend making this an activity for two adults and any children; one grown-up can light the match while the othe keeps kids a safe distance away.

Snip open a tea bag and empty the tea – as a nice bonus, the experiment smells lovely already!

Flying Ghost (1)

Once you open up the tea bag you’ll be left with a long cylinder. To give it a spooky flair, draw a ghost face on the bag.

Flying Ghost (2)

Now set alight the top edge of the cylinder with a match.

Flying Ghost (4)

The flame will travel down the “ghost”, and when enough heat is trapped in the cylinder, he rises up and flies!

Flying Ghost (5)

Everyone in the room gasped and giggled at this one, from kids to grandparents.

Interestingly, we tried it with a different brand of tea bag on the final go, and it burned faster but didn’t fly as well – so if yours doesn’t work spectacularly at first, consider testing a few tea brands. This final try is the one I caught on video, though, so enjoy!

Play Dough Monsters

Play Monster (6)

Here’s the perfect way to shake up your play dough routine in the spooky month of October! This little craft is great for kids who might be experiencing their first fears about monsters; your silly and cute creations will have them giggling and realizing monsters don’t need to be scary.

Travis didn’t quite understand the concept at first, so I set about making a few goofy monsters as he watched. Beads made for silly fangs and smiles, and googly eyes are always fun.

Play Monster (1)

Trim lengths of pipe cleaner to be smiles, curly hair pieces, or even whiskers!

Play Monster (5)

Once he got the idea, Travis was so into the craft. He loved adding shiny beads as eyes.

Play Monster (3)

And decided that each monster needed a smile, which he drew on with his finger.

Play Monster (4)

We wound up with quite the little monster mash family.

Play Monster (2)

Super Hero Costume

super-hero-2

Need a last minute costume? It only takes a couple of easy items to put together this super hero idea from High Five magazine, and your child can help with most of it!

Draw two eye holes on craft foam, then draw a mask shape around the eyes and cut out. Measure your child’s head and cut two more strips of craft foam to be the straps. Using self-adhesive Velcro, attach the straps to the face of the mask (kids can help with this part!)

Cut two additional strips of craft foam to be the arm bands, attaching the ends of each cuff with self-adhesive Velcro as well.

super-hero-1

Now it’s time to decorate! Add star stickers, or other fun shapes that demonstrate your super powers!

super-hero-4

For the cape, simply attach two ribbons to a towel with safety pins, and drape over your little hero’s shoulders.

Not just for Halloween, this costume will store easily for dress-up play all year long.

Chocolate Pudding Jack o’ Lanterns

pudding-jack-1

The cutest and easiest Halloween snack ever, delight your kiddos with this treat on Halloween or in the days leading up to it.

Cut about 1/4-inch off the top of clementines or tangerines, reserving the tops. Using a paring knife, remove the fruit segments, leaving the peel intact. Draw jack o’ lantern faces on the peels with a permanent marker, then spoon in your favorite chocolate pudding. I used Zen Soy, but you can also use your favorite homemade recipe!

pudding-jack-3

Serve surrounded by spooky decor of course.