Halloween Countdown Day 9: Go Batty

Halloween 9 Get Batty (3)

Today we got silly with our Halloween countdown with an activity that was equal parts imagination and learning. Halloween decor features so many creatures that we think of as scary, but that have fascinating science behind them. Think spiders, black cats, and in this case… bats!

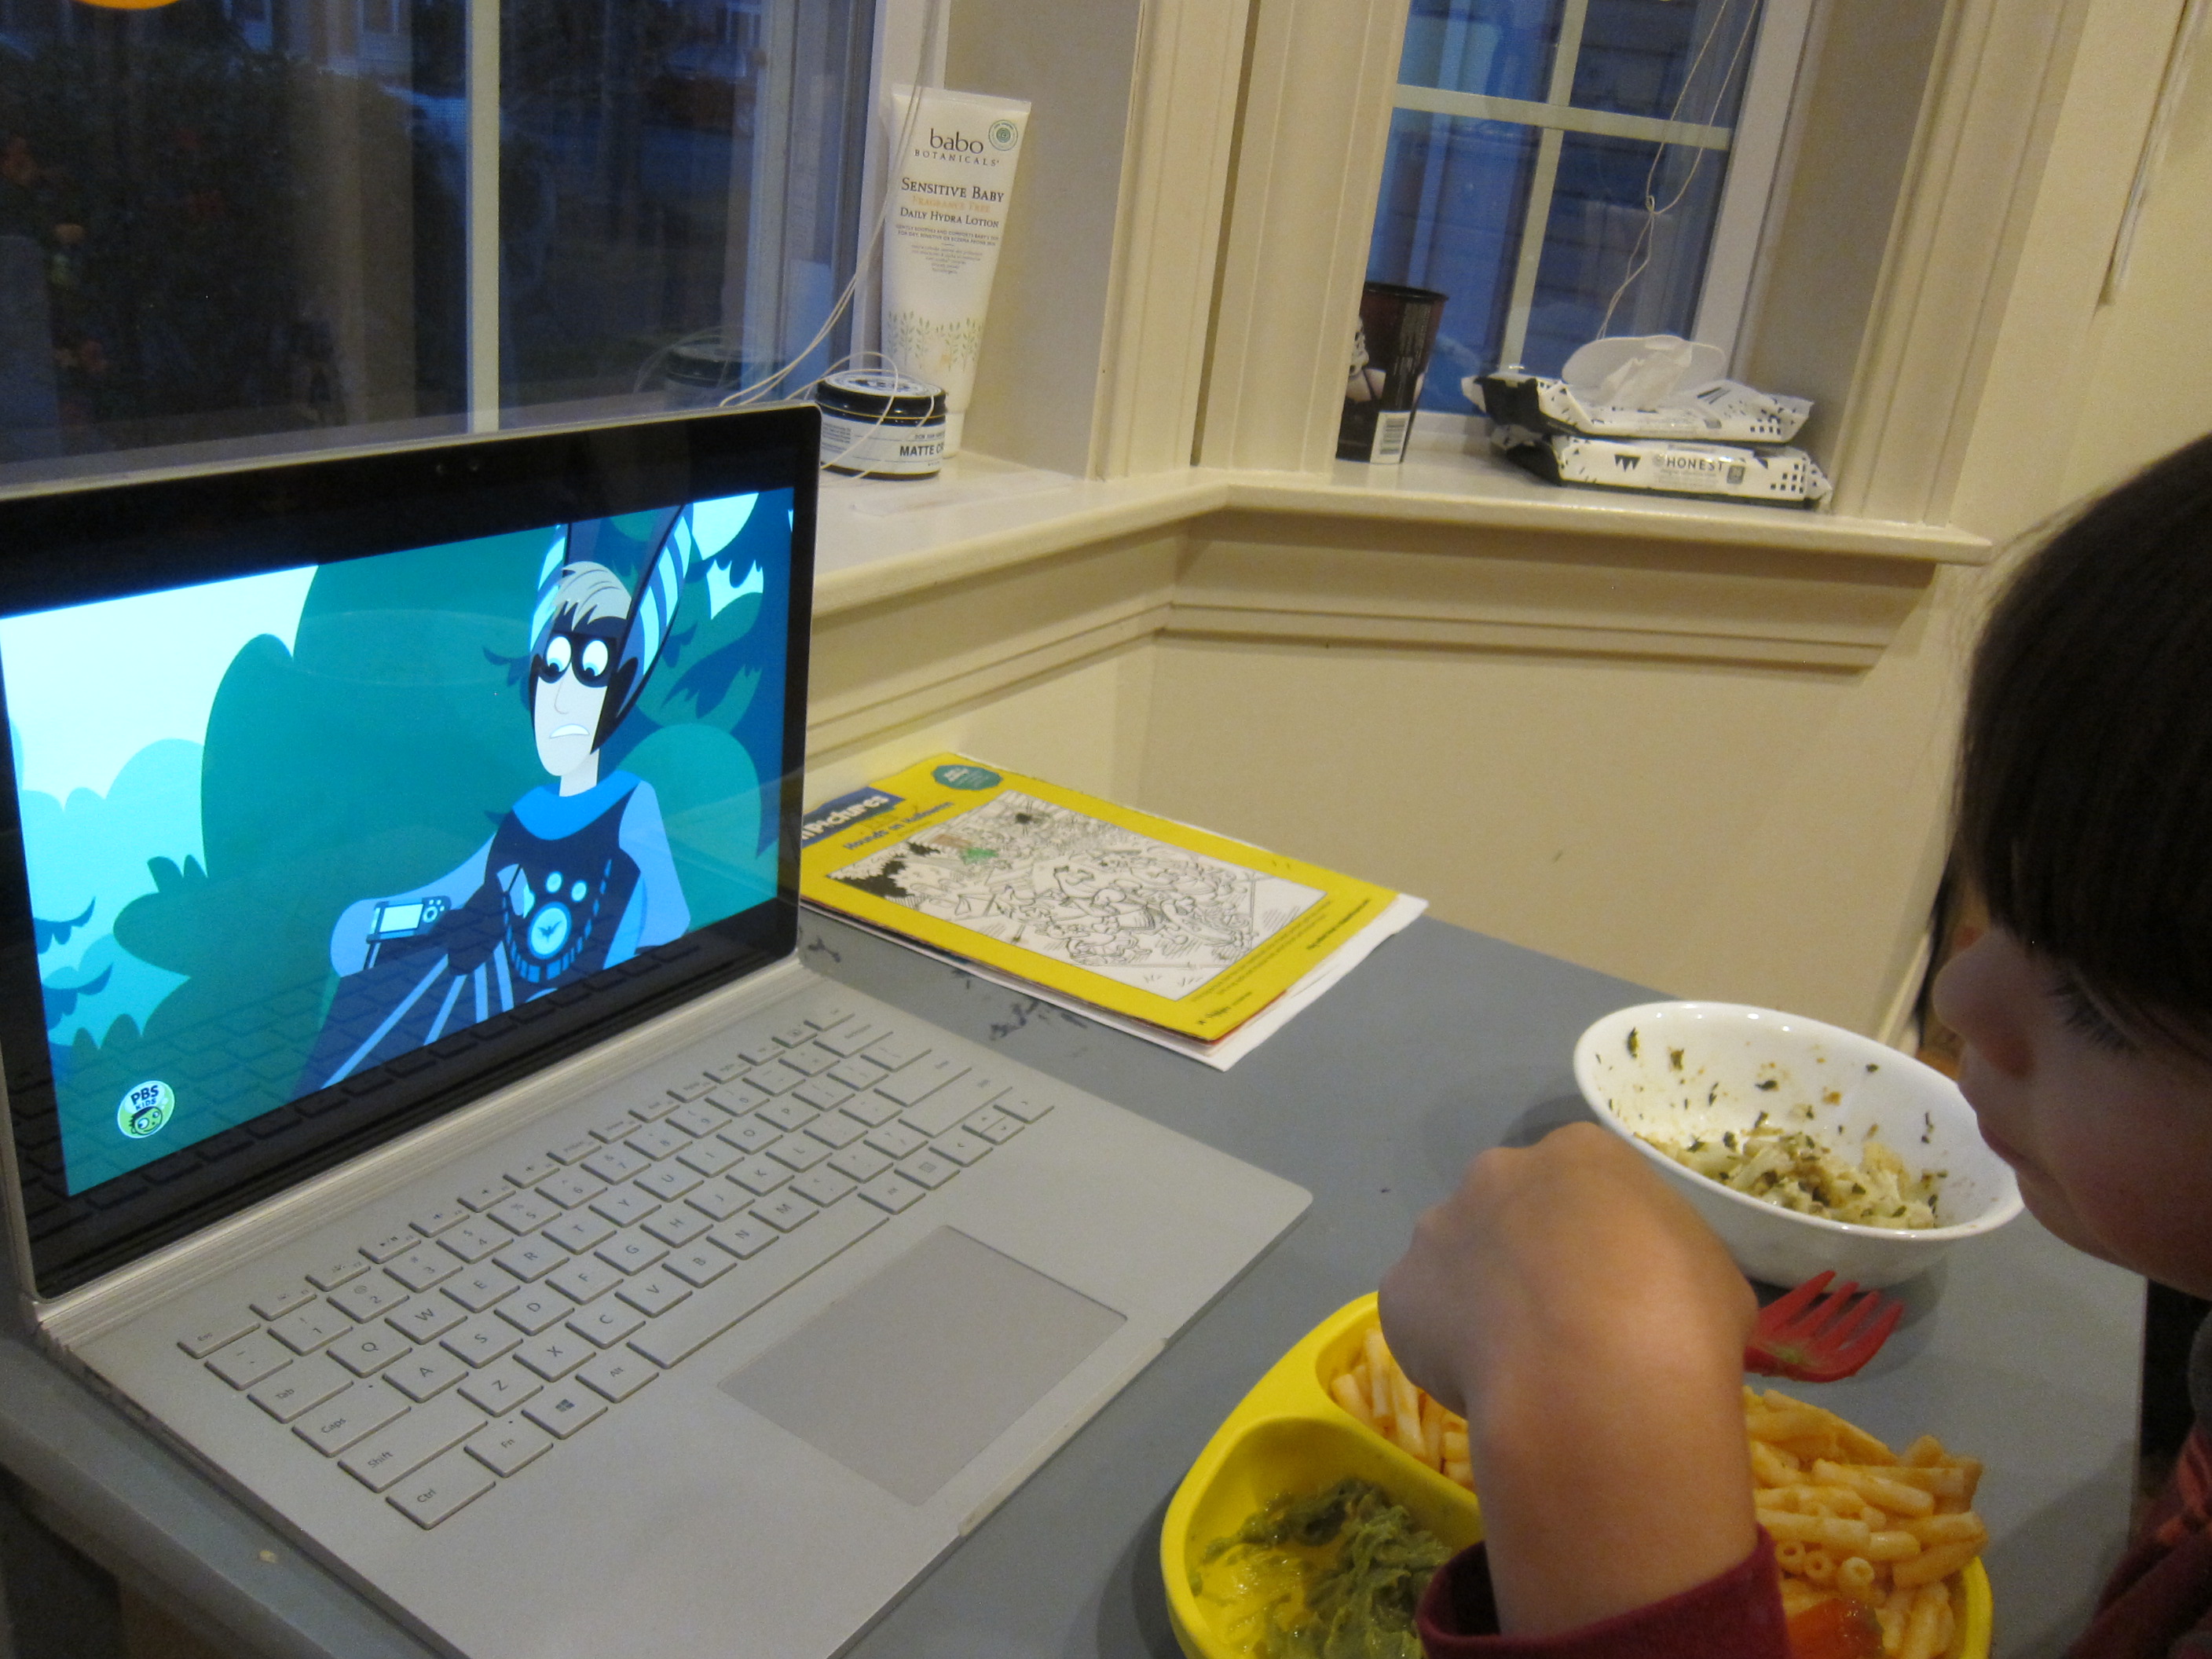
To set the scene, we first watched a Wild Kratt’s bat episode. The kids thought they were just watching a cartoon, but there was lots to learn about echolocation! We also checked out a quick nature clip about the sounds that bats make to echolocate (navigate by bouncing sounds off the walls).

Halloween 9 Get Batty (7)

Now the question was, could the kids do it?

We dressed up in black gear (capes and hats!) and they closed their eyes in the middle of the living room.

Halloween 9 Get Batty (6)

I encouraged lots of chirpy baby bat noises. For Veronika, this was just silly fun, but Travis was so proud that he really could make it through our first floor without bumping into any walls.

Halloween 9 Get Batty (8)

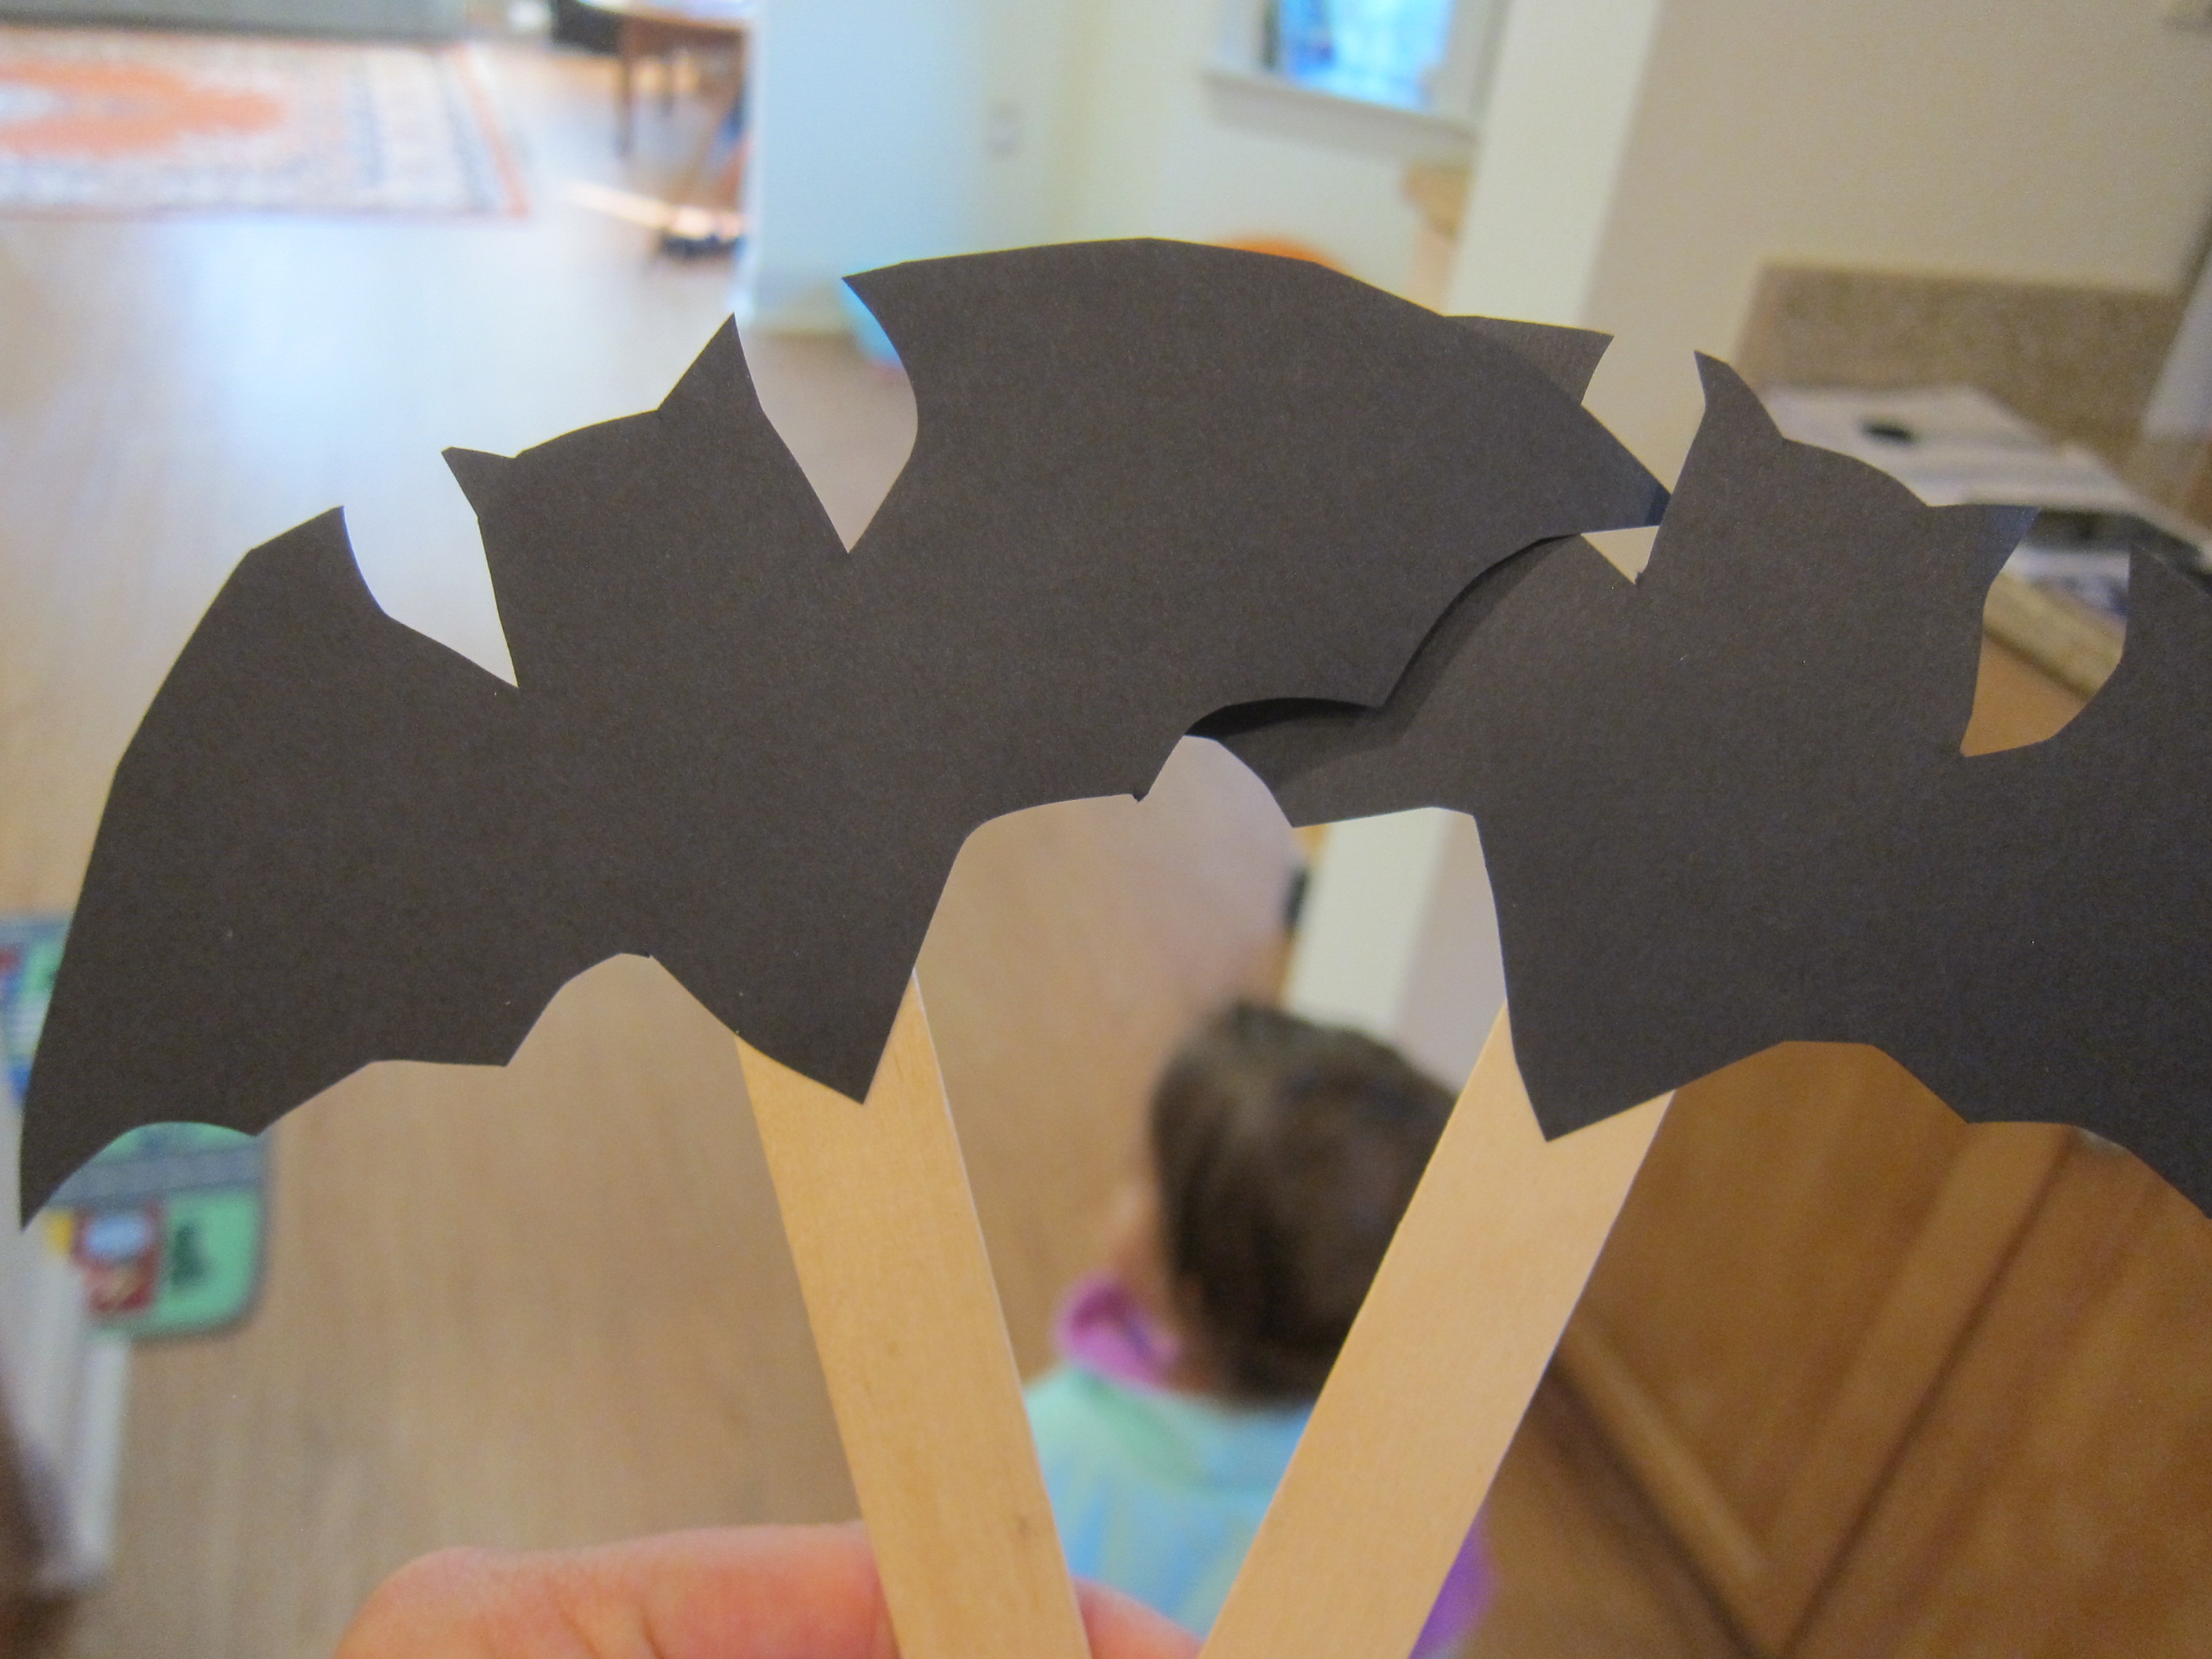
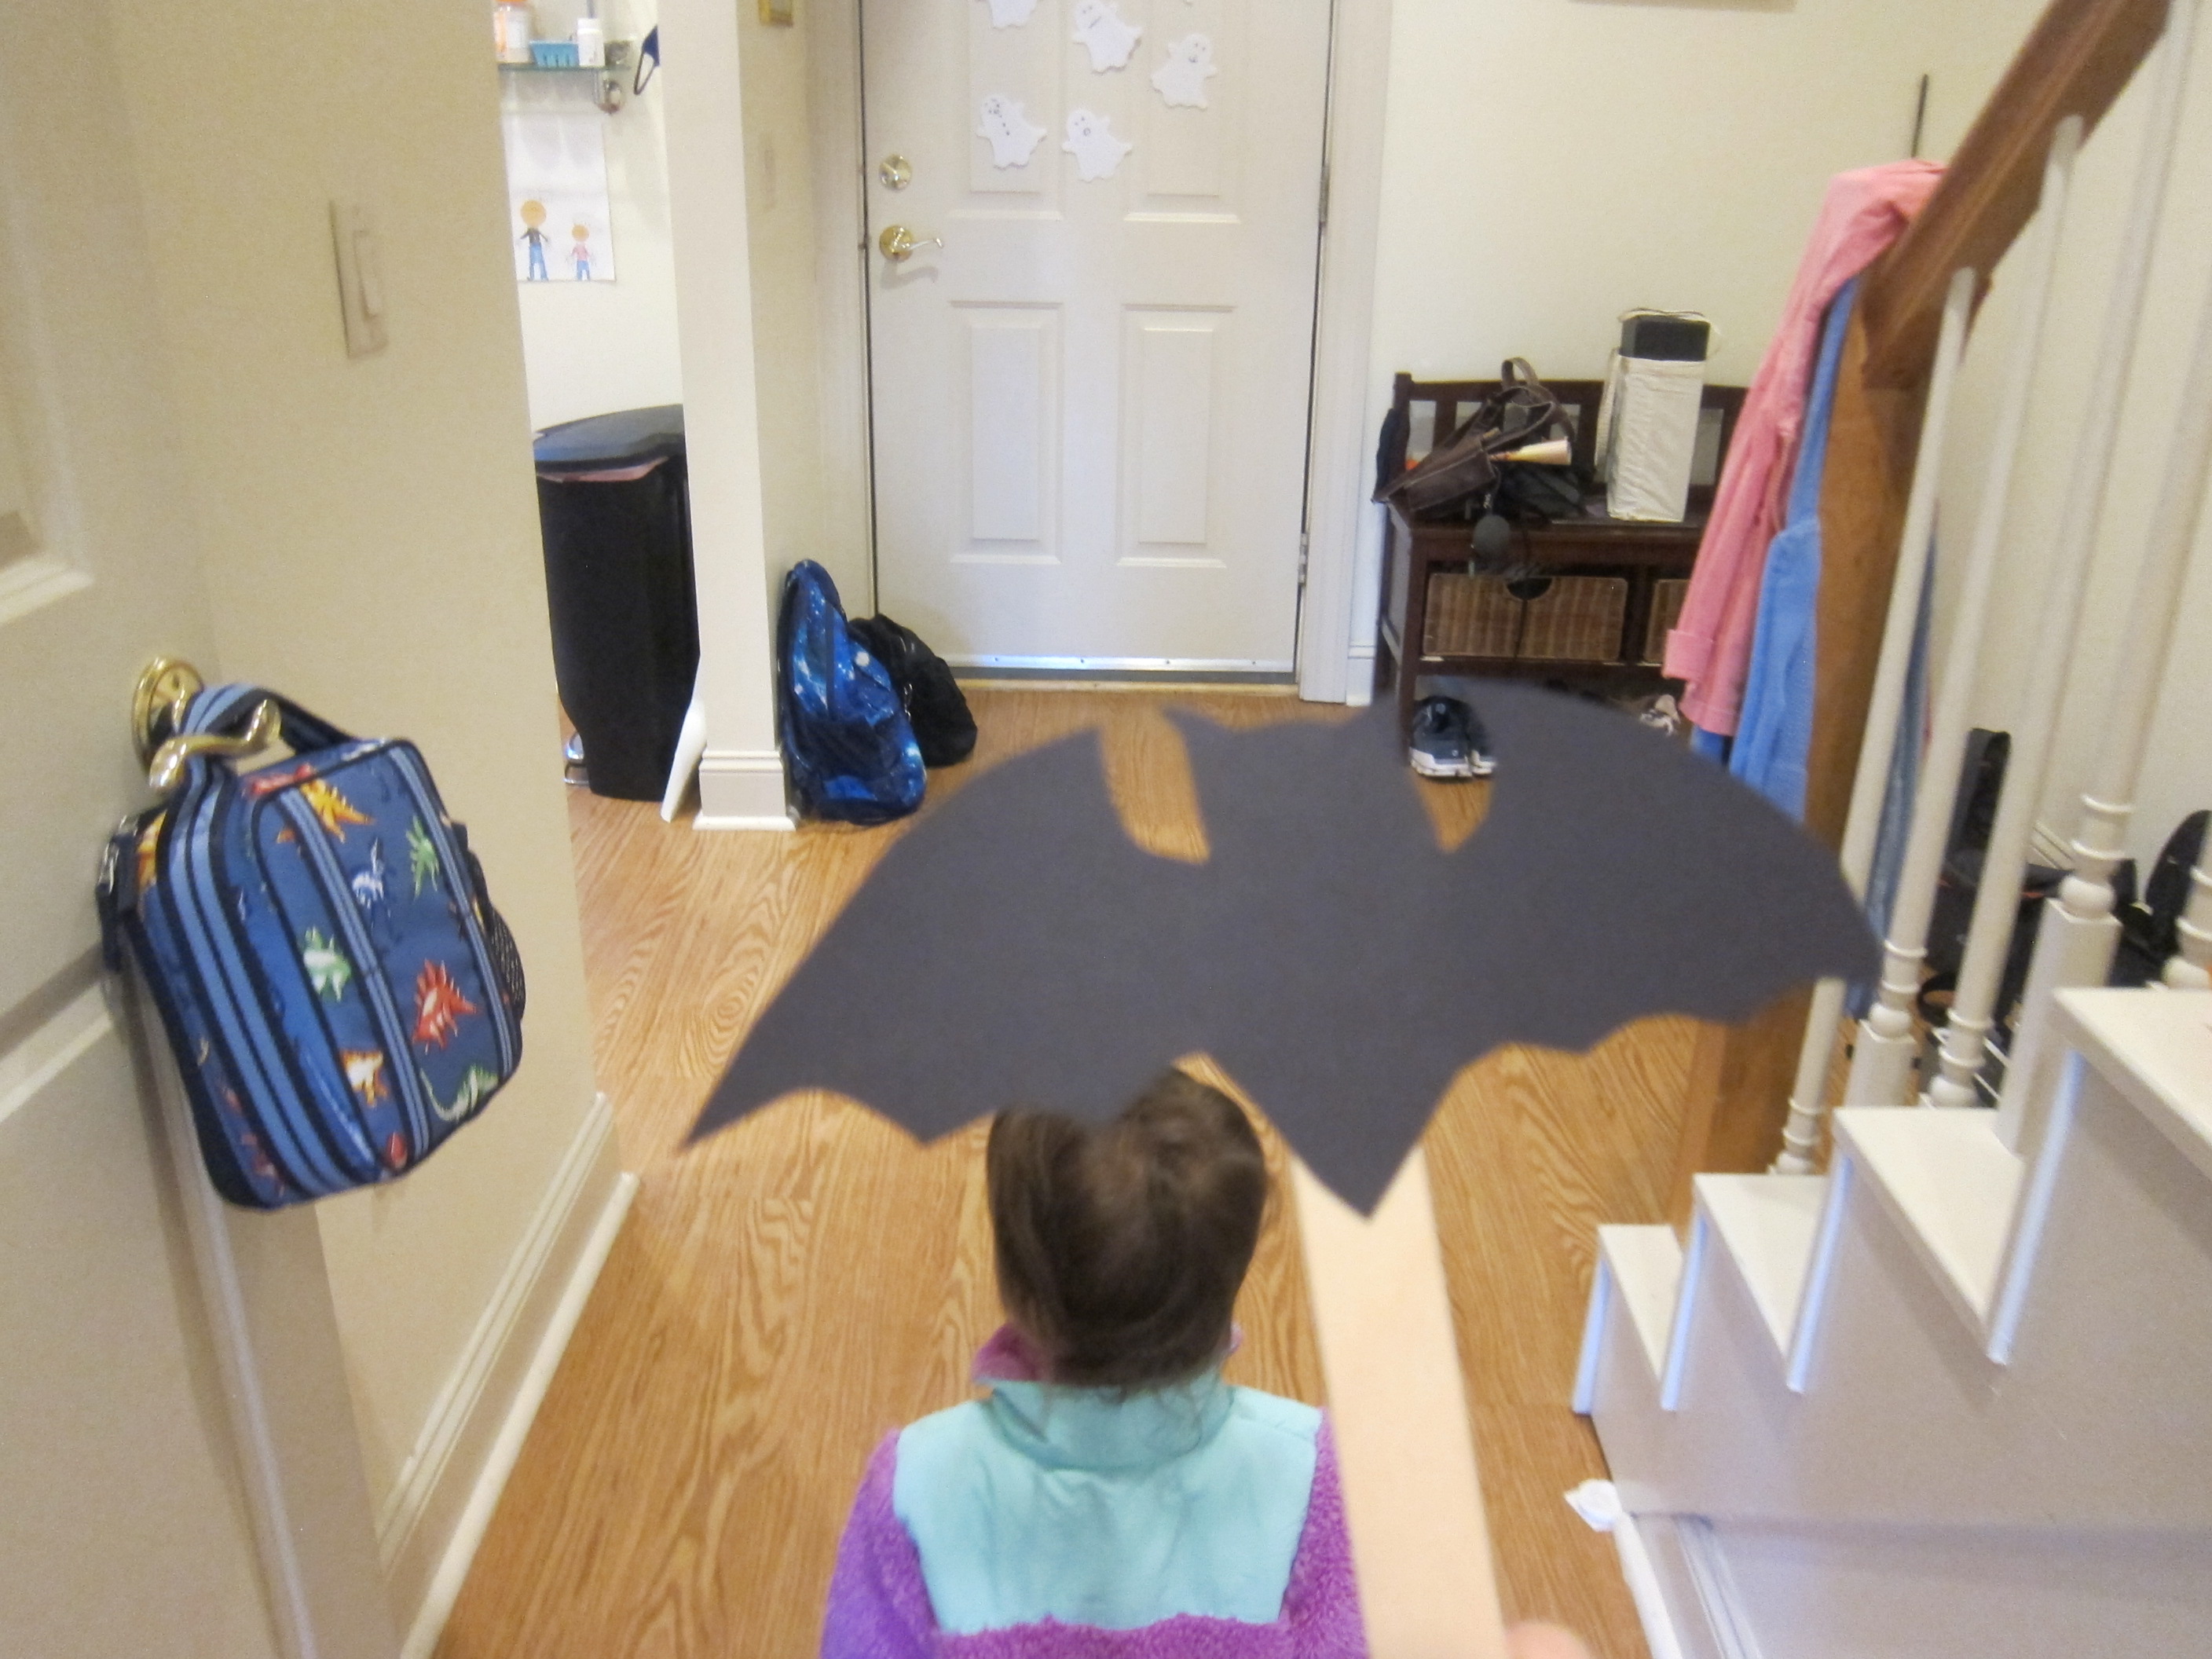
For extra batty fun, I traced a bat template onto black construction paper, then cut these out and taped to craft sticks. Now each kid had a bat to fly around!

Halloween 9 Get Batty (2)

Travis loved hanging the bats upside down on walls and windows, and it led to lots more play throughout their evening.

Halloween 9 Get Batty alt

Now Halloween bats won’t seem quite so spooky!

Grocery Store

Grocery Store (2)

I’ve been saving up empty snack boxes from our pantry for a few days so that Veronika could go shopping in her very own grocery store! Toddlers love to be just like mommy or daddy, so I knew she would love being able to do the “shopping”.

Save up empty boxes (think: crackers, cereal, snack bars, etc.), and tape closed securely with duct tape. You could also include empty juice or water bottles, and some play food. We added fruits and veggies from Veronika’s kitchen set for a “produce section”.

Grocery Store (1)

I gave her a small paper bag and then set her loose in her little store! “Look, crackers!” Veronika said when she saw the “shelves”. I showed her how to put an item in her bag and then keep shopping.

Grocery Store (4)

She was mildly frustrated a few times to learn that favorites (ahem, fruity bunnies) were empty and not really there for a snack. But then she loved going through the veggies and filling up her bag.

Grocery Store (5)

Then she headed over to her kitchen to unpack! This is a fantastic activity to get a toddler playing, imagining, and helping.

Grocery Store (6)

The Floor is Lava!

The Floor is Lava (7)

Veronika is learning how to hop, and this silly game is the perfect way to add a little imagination into the mix.

I taped down sheets of construction paper in all the colors of the rainbow; technically you can use only one color, but this meant I could throw in a little color learning with the jumping.

The Floor is Lava (4)

In retrospect, I should have done the set-up while Veronika was napping. She was eager to “help”, asking for pieces of tape, and I had to work quickly before she pulled pieces of paper off the carpet in curiosity!

The Floor is Lava (5)

But phew, we laid out all the paper pieces, and then I announced, “Oh no! The floor is hot lava. Quick jump onto the islands!”

The Floor is Lava (3)

Well of course she doesn’t know what hot lava is, but she sure felt my excitement and saw my speed and watched me jump on a piece of paper. “Jump!” she said, and hopped onto purple.

The Floor is Lava (2)

Can you jump to blue?” I asked her, and she happily jumped over (“jumped” being a relative term, still more of a quick walk/hop). She loved going from piece to piece, and naming the color. If her feet were on the rug I reminded her, “Oh no the carpet is hot lava!” This had her giggling and playing along.

The Floor is Lava (8)

This is the kind of game that’s great to pull out periodically, and I have no doubts we’ll play again. Older toddlers will be even more into the role play portion (eek, lava!) and will hone their jumping skills each time.

It’s a perfect way to get out some energy when kids feel cooped up, too!

Edible Sno Cone Creation Station

Sno Cone Creation Station (10)

Here’s an activity that will a) cool the kids off; b) provide sensory play; c) fire up the imagination; and d) give them a yummy snack! I told the kids they were going to open up their own sno cone stand, and the excitement began.

I set out a tray of crushed ice (an easy task thanks to our fridge filtration system, but a blender can do this for you, too), then added ice cream scoops.

Sno Cone Creation Station (1)

For “cones”, we folded conic shapes from craft foam. These turned out to be very easy to break, so next time I would probably stick to little plastic bowls.

Sno Cone Creation Station (3)

All they needed now were fruit syrups to flavor the ice! For these, I simply pureed fruits in the blender. We had pink from strawberries and deep purple from a mix of blueberries and blackberries.

Sno Cone Creation Station (9)

If you have condiment squirt bottles, those would be perfect to use here! I gave the kids paper cups filled with each syrup instead, along with plastic spoons.

Sno Cone Creation Station (5)

As with a recent nature soup activity, I loved that this game could engage both my toddler and 1st grader in different ways. For Veronika, it was all about the sensory aspects. First she just loved spooning through the ice.

Sno Cone Creation Station (2)

When she tasted plain ice, she copied big brother and said, “It’s yummy!” but I don’t think she really thought so.

Sno Cone Creation Station (7)

“It’s cold!” she added instead, looking confused. So we showed her how to spoon the berry syrup on top of her ice. Well now she couldn’t be stopped!

Sno Cone Creation Station (11)

In retrospect I would have done this activity in just a diaper to avoid berry stains, but it was worth a few purple splotches. She was having such delicious fun I let it be.

Sno Cone Creation Station (12)

Travis, meanwhile, enjoyed the role-play aspect of the game. He loved using the ice cream scoop to properly fill a “cone,” and then asking me for my order, adding strawberry or purple berries on top accordingly.

Sno Cone Creation Station (8)

And of course he did lots of tasting, too!

Leaf Masks

Leaf Mask (5)

If your toddler has recently collected leaves on a nature walk, here’s a simple way to turn them into a costume for make-believe: make a leaf mask!

I cut a paper plate in half and held it up to Veronika’s face so I could mark the location of her eyes and nose.

Leaf Mask (1)

Cut out eye holes, then snip two sides of a triangle where the nose is (this will help it sit better on your child’s face). Next, Veronika helped glue down the leaves we had collected. She loved painting on the glue with a paint brush while I arranged the leaves in overlapping rows as best I could. If you prefer less mess, you can attach the leaves with tape, too.

Leaf Mask (2)

Once the glue dried, I punched a hole on each side, and added string.

Leaf Mask (3)

Tie around your child’s face and let their imagination do the work from here! Veronika immediately began humming Darth Vader’s theme song and doing his deep raspy breathing.

Leaf Mask (4)

Clearly this was a Star Wars mask in her view! But perhaps your toddler will pretend to be a woodland fairy, or a tree, or anything else that fires up the imagination.

Leaf Mask (7)

One way or another, this is a beautiful way to tie together a nature walk with a little bit of arts and crafts.

Leaf Mask (6)


Scarf Scuffle

Scarf Scuffle (3)

Toddler’s love scarves, and of course you can always turn to go-to activities like dancing with them, or tossing them in the air to watch them float down, or crumpling them up into a tiny ball that pops open. But today, we headed outside with scarves to engage Veronika’s imagination a little, too!

Scarf Scuffle (1)

What could she be with her scarf? First up, we were fluttering birds and butterflies. She loved flapping and tweeting as she pranced around the patio this way.

Scarf Scuffle (4)

How about a flower growing? We pretended we were flowers stretching high towards the sun, the scarves rising up above our head. Pretending to be a leaf would work, too, fluttering down instead!

Scarf Scuffle (2)

Her favorite was when I wrapped one around her waist (this girl loves dress-up!), and told her she was a ballerina. She danced…

Scarf Scuffle (6)

…and twirled…

Scarf Scuffle (7)

…and went up on tippy-toe!

Scarf Scuffle (5)

What a wonderful way to imagine and play. Are there any favorite scarf games in your house? Please share in the comments!

Nursery Rhyme Productions

Nursery Productions (2)

Today Veronika and I played around with the classic nursery rhyme of Jack and Jill, not just as rhythmic and musical play, but by also acting it out. This was great both for her gross motor skills and for developing imaginative play. You might even consider it her first theater performance!

First, I simply refreshed her memory about the rhyme, since it’s not one we sing that often:

Jack and Jill went up the hill,

To fetch a pail of water.

Jack fell down and broke his crown,

and Jill came tumbling after.

We also watched a cute cartoon version of the song, and then it was time to act out her first role! On the first two lines, I helped her climb up onto a step stool.

Nursery Productions (3)

On the last two lines, she climbed down and then filled a bucket with “water” (actually scraps of blue fabric). Torn blue construction paper or blue tissue paper would also work as pretend water.

Nursery Productions (6)

Well she absolutely loved this whole process. She wanted to climb up onto the stool over and over, and graduated to doing it without my hand for support.

Nursery Productions (4)

Then it was time to work on climbing down “all by self”, too.

Nursery Productions (5)

Plus the bucket and fabric scraps were great fun to play with, nursery rhyme or no.

Nursery Productions (1)

She enjoyed the game so much that we’ll have to think of which nursery rhyme to use next for Veronika’s second “play”.


Shape Mail Carrier

Mail Carrier (8)

Today I made a shape matching activity for Veronika, and it turned into a game of playing a mailman who was making deliveries! She was the mail carrier and had to deliver the right shape to the corresponding “mailbox”. I loved that this game was equal parts learning and introduction to imaginative play.

To start, I covered construction paper with sticky contact paper on both sides for durability, and cut out shapes: rectangles, hearts, circles, triangles, and squares.

Shape Match (1)

So first up was a simple game of shape matchup. If I had one of the pair, could she find the other?

Shape Match (3)

She quickly proved to be an ace at this test, not just picking up the right shape…

Shape Match (4)

…but naming them, too.

Shape Match (2)

I wanted to make the game more exciting, so turned it into the mail carrier game. We have a set of toy boxes, each one a different shape with items of the same shape nested inside (i.e. a pizza wedge and watermelon wedge inside the triangle box). We scattered all the shapes on the ground, along with the construction paper set I’d just made, and I placed the empty boxes in front of her.

Mail Carrier (1)

“Special delivery!” I called. “Which mailbox should the triangle go in?”

Mail Carrier (3)

She was so proud making these deliveries!

Mail Carrier (2)

Note: If you don’t have a toy like this, simple cut out and laminate each shape from paper, then tape or glue onto an empty shoe box. These can be your mailboxes!

Mail Carrier (7)

After we’d filled the mailboxes, she decided to get a little impish. I could see the wheels in her brain turning as she deliberately placed the shapes in the wrong box, and then looked at me for a laugh.

Mail Carrier (6)

But if you think about it, this was showing her understanding of shapes on a whole new level.

Mail Carrier (5)

She thought this was hilarious and kept it up for quite some time.

Mail Carrier (9)


Rainy Day Busy Box

Rainy Day Busy Box (3)

Veronika has an obsession with umbrellas, so today I put together this little toy bin for her to play with! It was equal parts sensory play and imaginative play, meant to imitate a “rainy day” in miniature. I had to supervise since the mini drink umbrellas we used have sharp points, but older toddlers and preschoolers could play with this solo as a true busy box.

Rainy Day Busy Box (1)

In a small toy bin, I simply put the following: little people figures, blue pom poms as “raindrops”, and a few small umbrellas (like the type you find in tropical drinks).

Rainy Day Busy Box (2)

Veronika was smitten! The actual role play was a bit lost on her, but we “rained” the pom poms down on the people and sang “Rain rain, go away” one of her current favorite songs.

Rainy Day Busy Box (5)

She eagerly popped open the umbrellas! I needed to help her with the mechanics of this a little bit, but once open she could then slide them up and down.

Rainy Day Busy Box (4)

She loved trying to have her little people hold on to them. This brought a big smile to her face.

Rainy Day Busy Box (7)

In retrospect I would have made this bin on a real rainy day, to help emphasize the theme.


Set Design

Set Design (5)

Here’s an easy hack to turn empty cardboard boxes into play spaces with zero mess: use stickers as the backdrop to create scenery for a “stage”!

To put this together, I simply taped the background pages from a sticker set inside a large cardboard box.

Set Design (2)

We started out with an ocean page, and Veronika could go “under the sea” simply by crawling in. She loved peeking out from this watery cave, and also adding animals to the backdrop. It was almost like a virtual aquarium!

Set Design (6)

As an alternative, you can cut the box so it stands flat, and tape pages to the outside of it. In this way, the box now became her jungle! Use stickers or other pictures to create a farm, beach, or whatever else strikes your little stage actor’s fancy.

Set Design (3)

This was a neat way to build on Veronika’s imaginative play as she becomes less interested in merely manipulating objects, and more interested in acting out stories. I talked about her trip to each place, and the various animals she could see.

Set Design (7)

Other fun ideas? Use stickers to make a backdrop like a castle or outer space! If you’re more artistic than I am, of course feel free to paint these scenes. But relying on stickers was a great hack with no mess.

Set Design (8)