Homemade Rocket Pops and Picnic Celebration

Rocket Pop (4)

Travis and I originally intended to make these homemade rocket pops for the 4th of July, but we were short a couple of ingredients. But there’s no better time than a summer afternoon to declare a random family celebration. Prepare these fun popsicles, set up a picnic, and celebrate… whether it’s a true holiday, or just a hot afternoon! That’s precisely what we did today. Read on for the recipe… and a fantastic chance to win $1,000!

First up: Making the rocket pops:

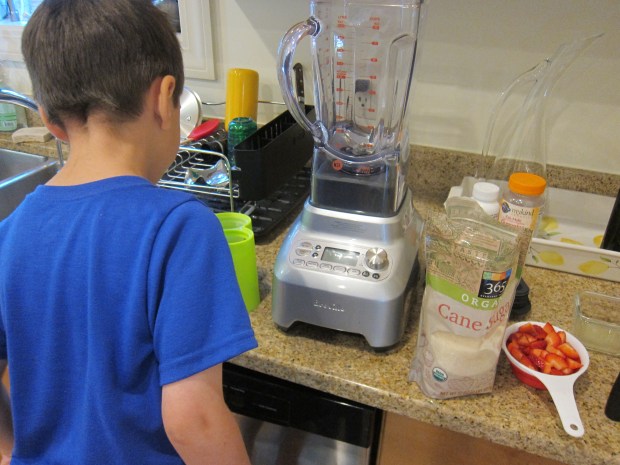
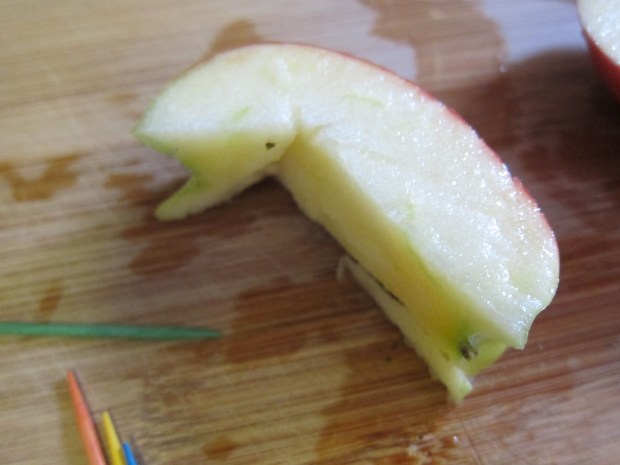
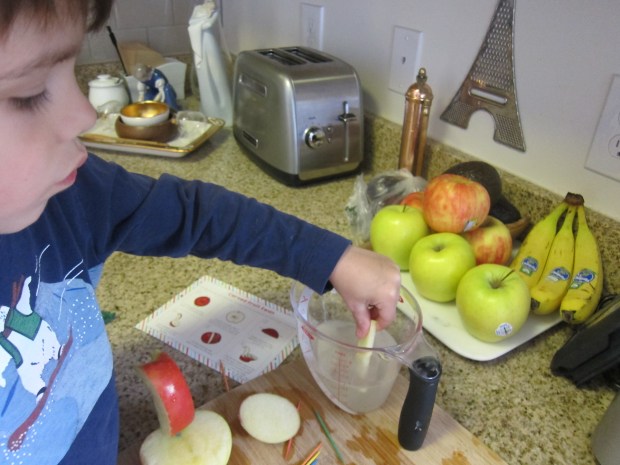
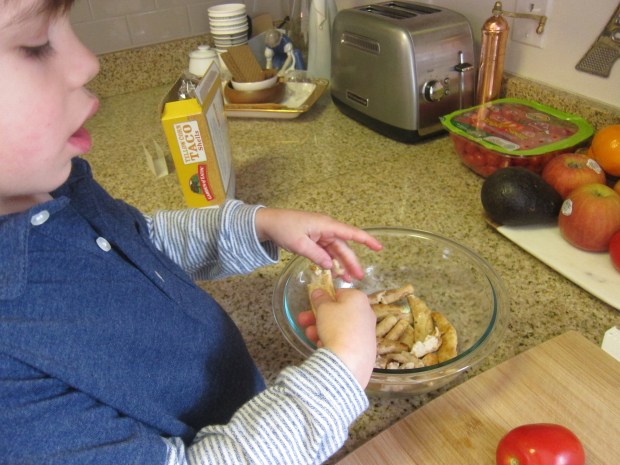
In a blender, combine 1 cup strawberries, 1 tablespoon sugar, and 1 tablespoon water; blend until smooth. Pour into the bottoms of popsicle molds or small paper cups. We tried it both ways since I had a hunch our molds would work better and our 9 oz cups seemed too large. Small (5 oz) dixie cups would have been ideal!

Rocket Pop (1)

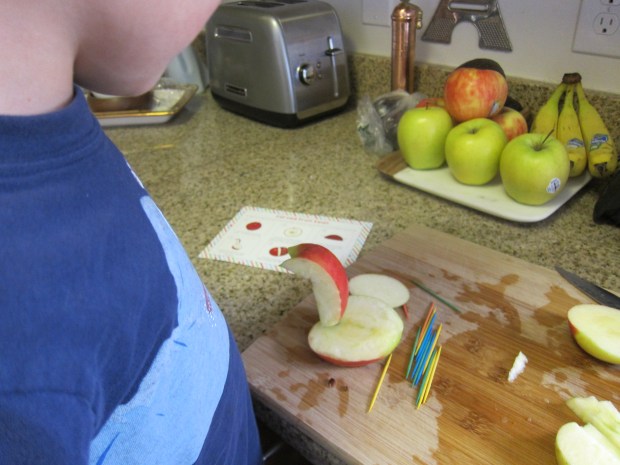
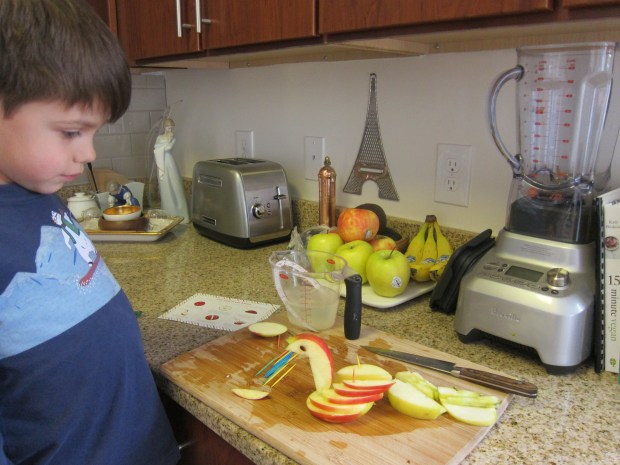
Let the strawberry layer freeze for 30 minutes. Travis was quite intrigued about this layered method of preparation.

Meanwhile, make the blueberry layer; puree 1 cup blueberries, 1 tablespoon lime juice, and 1 tablespoon sugar. Set aside.

Rocket Pop (2)

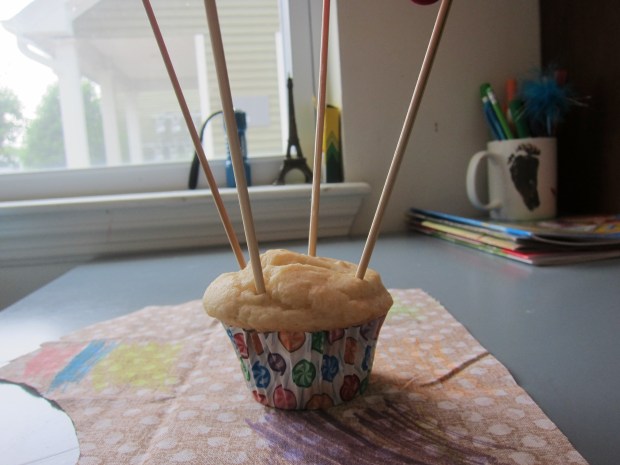
Spoon 2 tablespoons vanilla non-dairy yogurt over each layer of strawberry mixture. Add 2 tablespoons blueberry mixture to the top of each pop. Insert the handles (or, if using cups, cover with foil and insert a popsicle stick). Return to the freezer for at least 6 hours.

Rocket Pop (3)

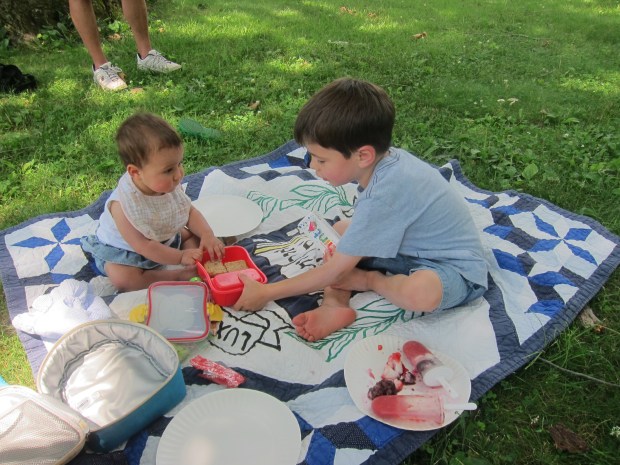
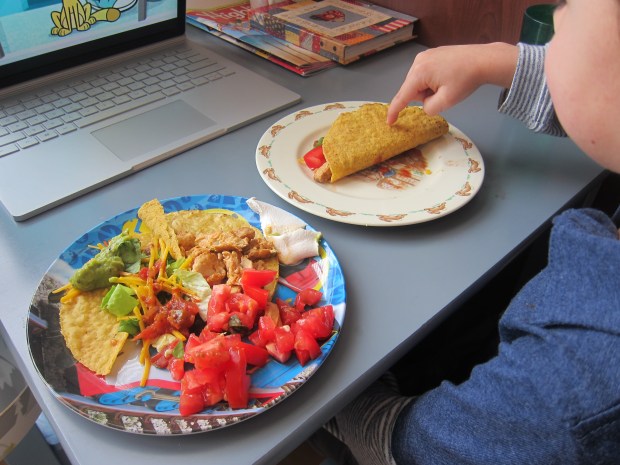
Now it was time for the picnic! We headed to a local national park, laid down a blanket and enjoyed our pops. Okay, so they got a bit melty on a 90 degree day, but that only added to the amusement.

Rocket Pop (5)

We decided ours were Bastille Day pops, since our picnic coincided with France’s day to celebrate red white and blue instead of America’s.

Rocket Pop (6)

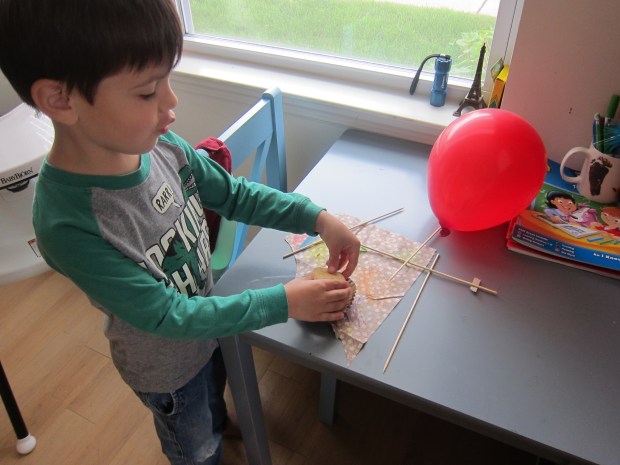
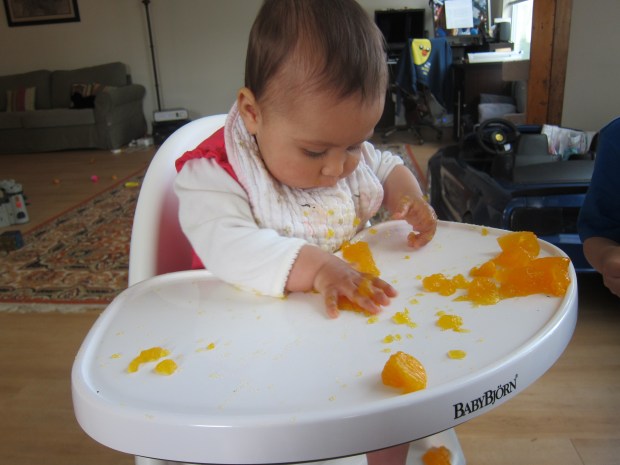
Whatever the reason to celebrate, your child will love being involved in the picnic from start to finish, first by preparing a special recipe and then by helping to clean up at the end!

Rocket Pop (7)

I love projects like this that inspire kids to learn without even realizing it; they use their own creative process and enjoy tangible results. How does your child love learning while having fun? I’m so excited to announce the Limitless Learners Contest through Education.com, where your child can win $500 toward college, $1,000 for a school library, and a lifetime free membership to Education.com by explaining just that!

Children must be entering kindergarten through grade 5 and will think creatively about what education means to them. Using art or writing (depending on age), entrants describe a time they had so much fun they didn’t realize they were learning. A winner will be chosen from each grade level.

I hope my readers will tap into this amazing opportunity. Entries must be received by October 31, 2019. Further details are available at https://www.education.com/contests/

Hot Air Balloon Muffins

Balloon Muffins (7)

Travis has had fun exploring different elements of flight lately, so we brought the theme to snacktime today! Okay, so our muffins didn’t actually fly, but now that we’ve made the recipe, I’d be curious what happens if you fill the balloons with helium!

First we made muffins from a mix (the gluten-free and vegan muffin mix from King Arthur Flour). Divide the batter evenly among muffin liners – since the liners were to be our hot air balloon “baskets,” I chose some with a fun print on them.

Balloon Muffins (1)

The sous-chef needed to lick the spatula, of course.

Balloon Muffins (2)

Bake according to package directions and let cool.

Insert 4 wooden skewers into each muffin.

Balloon Muffins (3)

Blow up balloons and tape onto the skewers with washi tape.

Balloon Muffins (5)

Let snacktime soar!

Balloon Muffins (6)

Needless to say, our balloons were not aloft for long, but Travis was wild about this project!

Balloon Muffins (8)

Purr-fect Pancakes

Purr Pancakes (3)

These kitty-faced pancakes are the purr-fect way to kick off Memorial Day weekend (or any leisurely morning) to set the tone for a lazy summer ahead. After all, no one nails the art of napping quite like a cat. In sum, this fun twist on pancakes had Travis grinning.

Prepare a batch of your favorite pancakes – or  heck, just use a mix!

Purr Pancakes (1)

We spread our pancakes with about 1 tablespoon maple syrup to help our fruit faces “glue” on.

Purr Pancakes (2)

Add ears, noses, mouths, eyes, and don’t forget the whiskers! Ideally we would have used blueberries for the eyes, but a certain sous-chef ate them all up.

Purr Pancakes (4)

Please share your animal face pancakes in the comments!


Carved Fruit Swan

Thai Fruit (6).JPG

As a fun bonus to compliment his Taste of Thai recipes, Travis learned to make a fruit sculpture today, a popular activity with a rich history in Thailand!

To start, juice one lemon.

Thai Fruit

Add the lemon juice to a measuring cup and fill with water to equal 1 cup. This will prevent your apple slices from browning as you work – be sure to dip each slice in the mixture before adding to the “swan”.

Cut an apple into three pieces vertically, so you have two rounded sides and the core.

Make two slits in the core piece to resemble the shape of a swan’s neck, as shown; discard the rest of the core, but save two seeds for the eyes!

Thai Fruit (2)

Now cut the round edge from one side piece, so it sits flat.

Thai Fruit (3)

Add the swan neck, securing with a toothpick. The toothpicks were Travis’s favorite part, and when our actual sculpting was complete, he loved adding a few more toothpicks just for fun!

Thai Fruit (4)

Thinly slice the remaining side piece of apple. Start adding to the base of the swan, using the largest pieces first and ending with the smallest.

Thai Fruit (5)

This was not only a great craft, but a fantastic snack as well. There was something about tearing apart a sculpture before eating that greatly appealed to Travis, too – go figure!

Thai Fruit (7)

Jell-O Hands

Mandarin Jello (4)

Gel desserts are the perfect food edible sensory play sessions with a baby. It’s squishy, it wobbles, and if little fingers get some of it into little mouths, it’s perfectly safe to eat. We love the vegan jel desserts from Simply Delish.

To make a fun mandarin orange version, drain one can of organic mandarin oranges (such as Native Forest) over a bowl. Place the orange slices in a large bowl and set aside. Reserve 1/3 cup of the juice and chill for at least 30 minutes.

Dissolve one sachet of jel dessert in the chilled juice. Add enough boiling water to equal 12 ounces and stir to combine. Pour the juice mixture over the orange slices. Let cool to room temperature, then transfer to the fridge and let set for 1 hour.

Mandarin Jello (2)

I placed the jell-o on Veronika’s high chair tray.  She was quite skeptical at first!

Mandarin Jello (3)

Once I demonstrated with a finger how it wiggled and wobbled, she was game!

Mandarin Jello (4)

Little fists loved squishing and squashing through the jell-o.

Mandarin Jello (5)

And she liked trying to hold on to slices of orange.

Mandarin Jello (6)

Some of it made its way to her mouth, and a lot more ended up on the floor!

Mandarin Jello (7)

The activity looked so fun that big brother Travis wanted to join in, too!

Mandarin Jello (8)

Super Healthy Cookie

Healthy Cookie (5)

Much like the Oatmeal Energy Balls we made a few weeks ago, these cookies are designed to give your kids a boost! They’re perfect for after school or after sports practice.

Healthy Cookie (1)

Ingredients:

  • 3 ripe bananas
  • 1/4 cup melted coconut oil
  • 2 cups rolled oats
  • 2/3 cup flaxseed
  • 1 cup shredded coconut
  • 1/2 teaspoon cinnamon
  • 1/4 teaspoon salt
  • 1 teaspoon baking powder
  • 1 (6-ounce) bar dark chocolate
  1. First comes the fun part: place the bananas in a bowl and mash with a potato masher until very smooth.
  2. Add the coconut oil, oats, flaxseed, shredded coconut, cinnamon, salt, and baking powder.
  3. Chop the chocolate bar into pieces, and stir in.
  4. Drop the dough by tablespoons onto baking sheets. Bake at 350 degrees F for 20 minutes, until lightly browned on the bottom.

Healthy Cookie (4)


Oatmeal Energy Balls

Oatmeal Energy (5).JPG

Travis and I have talked a lot lately about energy and inertia and what makes things move. That’s why it was so clever of Kiwi Co to include this recipe in Travis’s inertia crate – a snack designed to power human energy!

Ingredients:

  • 1 cup quick oats
  • 1/4 cup agave nectar
  • 1/2 cup peanut butter (or other nut butter)
  • 1/3 cup chopped almonds
  • 1/3 cup non-dairy mini chocolate chips
  • 1/3 cups dried cranberries
  1. Combine all the ingredients in a large bowl; refrigerate for at least 30 minutes.Oatmeal Energy (3)
  2. Shape the mixture into balls (you’ll have enough for about 10 servings) and enjoy!

Oatmeal Energy (4)

Build Your Own Tacos

Tacos (5)

When Travis came home for lunch today, we set up a whole taco assembly line in the kitchen. He loved the hands-on nature of this recipe, care of his final issue of High Five magazine.

Ahead of time, I cooked a package of Gardein chick’n strips, and let cool. Travis helped shred the chicken, and we sprinkled it with 1 teaspoon taco seasoning. Microwave for 1 minute to rewarm.

Tacos (1)

Meanwhile, warm up hard taco shells according to package directions. Travis then got to hone his knife skills; together we chopped a tomato and a little lettuce.

Tacos (2)

Time to assemble! We made a big line with everything.

Tacos (3)

In goes:

  • Gardein chick’n
  • Tomatoes
  • Lettuce
  • Shredded Daiya cheddar
  • Non-dairy sour cream
  • Guacamole
  • Mild salsa

Travis loved it! We made one version that was a stuffed taco and one that was more like nachos.

Tacos (4)

If your kids don’t like Gardein chick’n, try the recipe using black beans and roasted sweet potatoes as the base instead.

High Five tacos alt.JPG

Banana Messages

Banana Message (3).JPG

Here’s an adorable way to leave a message for your kids – and to teach them a tiny science lesson in the process!

Use a toothpick to score a message (whether words or a picture) into the peel of a banana. Thanks to the way this bruises the banana peel, your message will darken over time –  the longer it sits, the more visible it will be!

Note that you barely need to puncture the peel at all. The first time, I figured I needed to etch all the way down to the banana flesh, but this turned brown almost instantly.

Banana Message (1)

A more subtle, gentle scoring of the peel reveals itself slowly.

Banana Message (2)

Regardless, Travis was thrilled when I told him his banana had a secret message for him. He was so surprised!

Banana Message (4)

He then needed to try his own hand at it of course. These would be fun for a kid to put together and slip into mom or dad’s lunch for work!

Banana Message (5)

Food as Medicine

Garlic Bread (8).JPG

Travis was very frustrated by a late winter cold, and wanted to know how best to feel better. It was a great way to talk about certain foods and their medicinal qualities!

First, I asked him how he was feeling – finally better! But he thought back to how he had felt in the past, and about a time he’d had a tummy bug – no fun.

Garlic Medicine (1)

I asked him what foods he’d craved at the time, and he recalled wanting watermelon. I then gave him a little background on how past civilizations have used food as medicine, including Ancient Greece, China, and India. I thought all this info might be too dry, but he loved reading the numbers of how long ago these civilizations existed. 2000 years ago? 4000 years ago? Whoa.

Garlic Medicine (2)

Now it was time to see if there was any truth to the claims that some foods are medicinal. We picked garlic for our research. Could it really help? Online sources seemed to back up the claim.

We tested it out with a garlic tonic: Mince 2 tablespoons garlic. Combine the garlic in a mug with hot water, a little lemon juice, and agave syrup to taste.

Garlic Medicine (5)

Then we set out to cure his cold with a garlic bread recipe (our Bonus Bite in this month’s Raddish Kids).

Ingredients:

  • 2 garlic cloves
  • 4 tablespoons Earth Balance butter
  • 2 tablespoons olive oil
  • 1/2 loaf French bread baguette
  • 1/2 teaspoon dried parsley
  • 1/4 teaspoon salt
  • 1 tablespoon vegan Parmesan sprinkles
  1. Smash two garlic cloves; remove the papery skins and mince.Garlic Bread (3)
  2. Transfer the garlic to a bowl, along with the butter and olive oil. Microwave for about 45 seconds, or until the butter is melted.
  3. Meanwhile, slice the baguette into thick slices and arrange in a single layer on a baking sheet.Garlic Bread (4)
  4. Brush evenly with the butter mixture. Sprinkle evenly with the parsley, salt, and Parmesan.Garlic Bread (5)Note: this gets a bit messy! Next time I’d line the baking sheet with foil.Garlic Bread (6)
  5. Bake at 425 degrees F for 6 minutes.

Did we feel better after eating the garlic bread slices? Hard to say they actually made his sniffles less, but his face sure had a big smile!

Garlic Bread (7)

Finally, we have relatives who have also felt unwell most of the winter, and decided to send along a care package of flu fighter cookies. Even better, if you have a nearby friend or neighbor who has been unwell, perhaps you can visit them with a cold-busting superfood.

Garlic Medicine (6)

What do your kids crave when they’re sick? Please share in the comments!

Garlic Medicine (3)