Dirt Balls

Mud Balls (5)

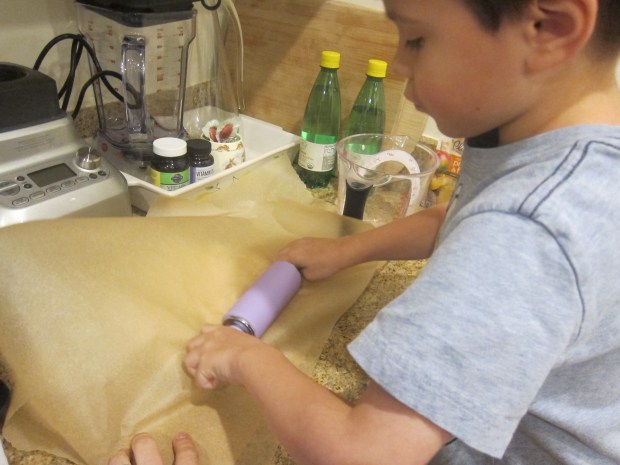
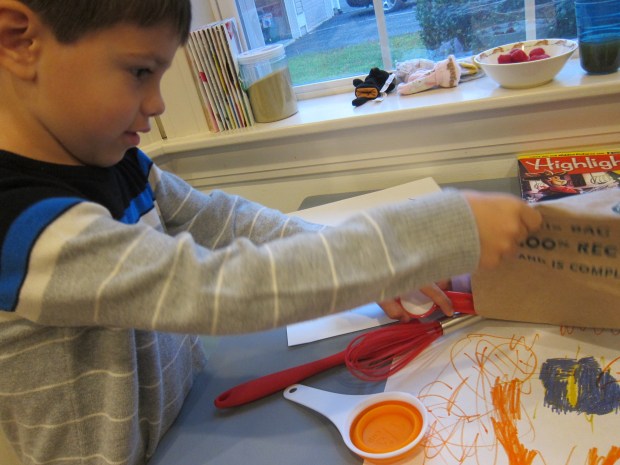
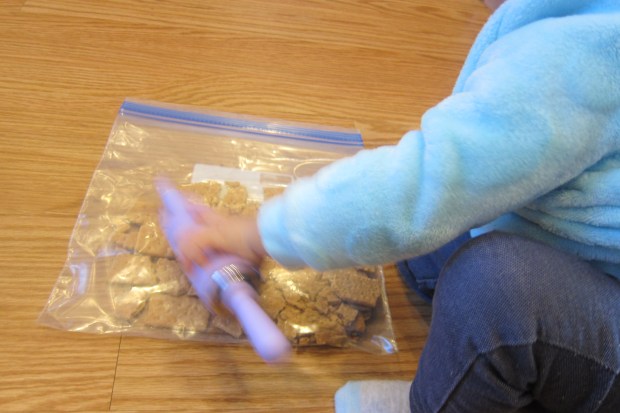
This was my first recipe not just for Veronika, but with Veronika! Yes, even a 16 month old can help in the kitchen, given a simple enough task. In this case, I involved her hands-on during several steps, including crushing graham crackers in a zip-top bag with a rolling pin, rolling sticky balls of dough, and more.

Mud Balls (1)

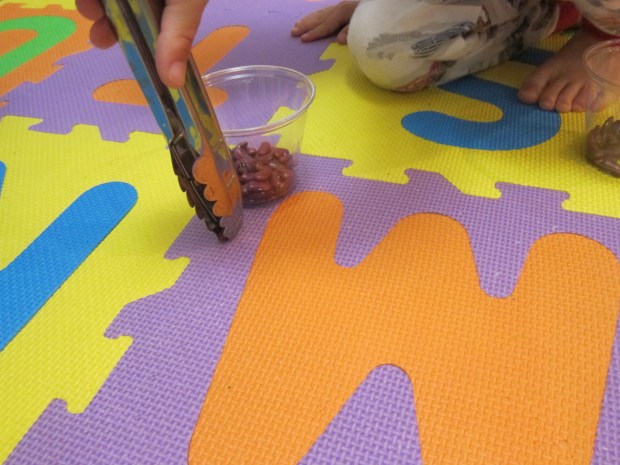
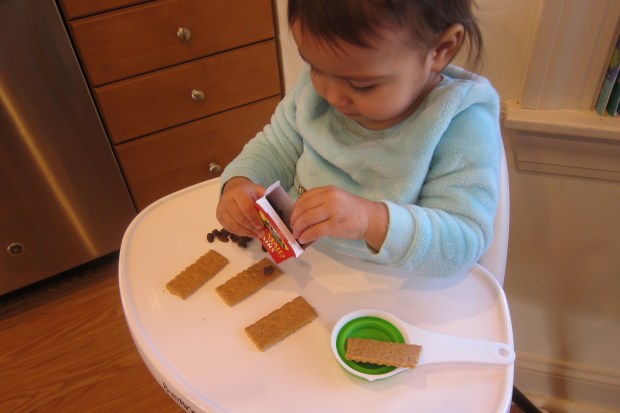
During steps that she couldn’t help with, I sat her in the high chair with a few ingredients to sample. She loved nibbling on graham crackers and putting raisins in and out of a snack-sized box!

Mud Balls (2)

For the actual recipe, you’ll need the following:

  • 1 cup creamy peanut butter
  • 1/4 cup agave nectar
  • 1/2 cup vanilla-flavored vegan protein powder
  • 1/2 cup raisins
  • 1 cup crushed graham cracker crumbs
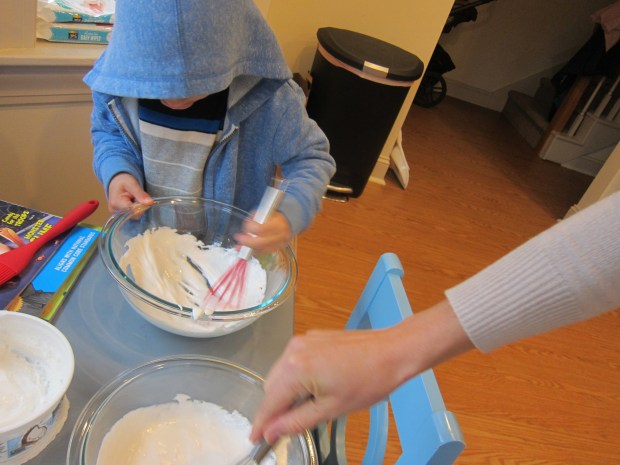
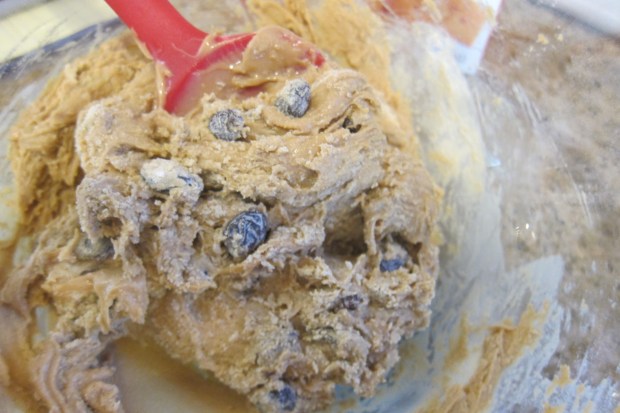
  1. In a large bowl, combine the peanut butter, agave, protein powder, and raisins. Note: If you do eat dairy, you could make this recipe with dry milk powder; however, I like that using protein powder adds an extra nutrient boost to each serving!
  2. Stir in the graham cracker crumbs until you have a workable “dough”; you may need to add a little more or a little less.Mud Balls (3)
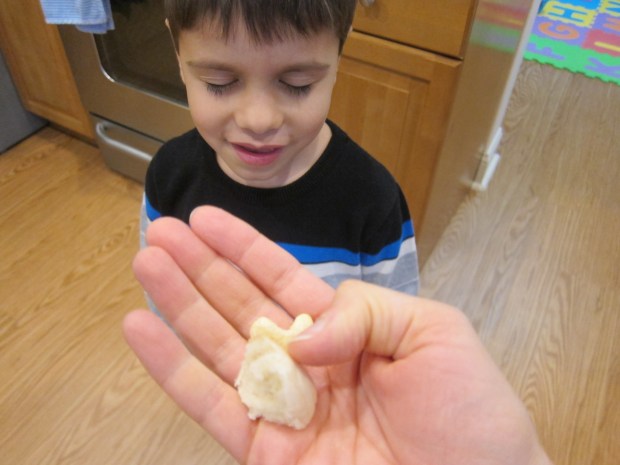
  3. Roll the mixture into small balls. Serve immediately, or refrigerate until ready to eat.

Mud Balls (6)

Note: If you want to make “Mud Balls” instead of “Dirt Ball”, you can roll these in a little cocoa powder.

Mud Balls (7)


Crunch Time Toast

IMG_0045

Travis got to use the toaster for the first time today in this experimental snack project. It was a great edible tie-in to some recent learning about telling time.

The challenge was to toast two bread slices, but for different lengths of time, and then to compare and contrast them. Carefully, Travis popped in the first slice and set the timer for only 2 minutes.

Crunch Time Toast (1)

He was impatient after 1 minute, hence the very un-toasted slice of bread!

Crunch Time Toast (3)

We popped down the second slice and this time set the timer to 5 minutes. Again there was some impatience, so I would say this was a 3 minute slice of toast.

Crunch Time Toast (4)

But he clearly noticed how more time meant a browner slice, as well as crisper. To finish the snack, we added avocado to the top (sliced on the first and mashed on the second). He proudly sprinkled on salt and pepper for this very big-boy snack.

Crunch Time Toast (5)

The verdict was that he liked the toastier toast better!

Crunch Time Toast (2)

Matoke (Plantain Stew)

Matoke.JPG

This hearty stew brought international flair to our kitchen tonight; the plantain-based dish is similar to those traditionally served at birthday celebrations in Kenya, a nice little addendum to some birthday learning Travis has recently enjoyed.

Ingredients:

  • 1 teaspoon canola oil
  • 1 small onion, chopped
  • 1 (14.5-ounce) can diced tomatoes
  • 8 ounces meatless crumbles
  • 3 ripe plantains, peeled and chopped
  • 2 baking potatoes, peeled and chopped
  • 2 cups water
  1. Heat the canola oil in a large saucepan over medium-low heat. Add the onion and cook for 5 minutes.
  2. Add the tomatoes and meatless crumbles; cook for about 10 minutes.
  3. Stir in the chopped plantains and potatoes, then cover with the water. Bring to a boil; reduce heat and simmer for 20 minutes, until the potatoes are very tender.


Fairy Bread

Fairy Bread (2).JPG

If children could invent a snack, Fairy Bread would probably be it. This treat, apparently popular at birthday parties in Australia, sure made our after-school snack feel like a treat!

Spread Earth Balance butter on slices of white bread. Trim off the crusts.

Fairy Bread (1)

Sprinkle with rainbow sprinkles to taste, then cut into triangles. I prepared the first slice for Travis, but let him be in charge of the sprinkles for the second.

Fairy Bread (3)

Clearly this indulgence is meant to be a once-in-a-while treat, but it sure put a big smile on his face today!

Flavor Bases Around the Globe

Flavor Bases (5).JPG

It can be hard to get kids to try new flavors; Travis might enjoy eating his vegan chick’n nuggets, for example, but he doesn’t want them spiced in a new way! So I appreciated this unit on flavor bases from around the world, part of a lesson to go with the Raddish Kids‘ recipe Travis prepared for chickpea soup, one that used a French mirepoix as the base.

I kept the lesson very light for a kindergartner. We watched a quick video on how to chop a mirepoix (carrots, onion, celery), and then discussed how an aromatic base might differ in other countries, whether with a different fat (coconut oil in parts of Asia) or different aromatics (ginger, garlic).  Older kids can delve into math ratios for the best flavor here!

Flavor Bases (1)

The true challenge was to cook one protein in three different flavor bases. I knew Travis would never have the patience to prepare three recipes, but instead presented him with three sauces to spice his chick’n at lunch. We checked them out on a world map next to their countries, first!

He loved dipping into each. “Not the favorite,” he declared after one bite of Chinese hoisin sauce. Indian masala got a maybe, but Mexican taco sauce was the clear winner. He kept asking for more!

Flavor Bases (4)

Have fun flipping through food magazines or cookbooks as a finale to the lesson. Travis pointed out recipes that interested him, and I helped read the ingredients that went into the flavor base. This is a great way to get your little chef thinking even deeper about food and culture.

Flavor Bases (3)

Fortune Cookie Gifts

Fortune Cookie (6).JPG

Travis and I hope to prepare several homemade Christmas gifts this year. This easy twist on fortune cookies is sure to bring a smile to the recipient’s face! It’s what Travis will be gifting to his bus driver this year as well as to a few special neighbors.

You can order fortune cookies online through Amazon, although many packages come in huge bulk quantities. I found one retailer with a more moderate quantity of 50, which was the perfect amount.

To decorate the cookies, heat 6 ounces unsweetened baking chocolate in the microwave at 30 second intervals, until melted.

Fortune Cookie (1)

Working with one cookie at a time, dip half of it in the melted chocolate, then roll in sprinkles for decoration. White ones made a beautiful contrast to the dark chocolate!

Fortune Cookie (4)

Transfer to a baking sheet lined with parchment paper and let stand until the chocolate is completely set.

Fortune Cookie (5)

Travis loved cracking open a few extra cookies to read fortunes as we worked!

To package these, I purchased Christmas-themed takeout containers at the craft store.

Fortune Cookie (7)

As an alternative, look for clear takeout containers and decorate with holiday stickers. Line each container with wax paper and nestle in about 7 to 8 fortune cookies.

Fortune Cookie (8)

Add gift tags as a finishing touch!

Pie Crust Science

Pie Crust Science (2)

The lesson plan that went with Travis’s recent Apple Crumb Pie recipe delved deeper into what makes a pie crust so yummy. This was a hard one to tailor for Travis’s age, so here’s just an abbreviated version.

Start off with a read of Enemy Pie by Derek Munson, which you can find at your library or watch a full read-through online. This interesting story will whet the appetite, if you will, for pie!

Pie Crust Science (1)

Travis enjoyed watching, and afterwards we talked about what role pie had played in the story. We talked about pies we’ve made, and specifically about the components that had gone into our recent crust. I helped him remember that we had used:

  • flour
  • sugar
  • salt
  • Earth Balance butter
  • water

You can go through the reasons for each ingredient, as well as definitions for tenderness and flakiness, the two things that people look for in a “successful” crust. Another quick video clip helped Travis understand the idea better.

Raddishthen suggests letting kids become food scientists, making two different pie crusts but only changing one variable. I knew though that Travis would lose interest in taking time to bake two crusts, plus I worried two full pies would go to waste! The idea of independent and dependent variables was also a bit advanced for a kindergartner.

So instead, we baked a store-bought pie shell from our freezer that differed from our homemade crust in one significant way: palm oil as the fat instead of our Earth Balance butter. I had him do a side-by-side taste test of the crusts, both of which he declared delicious.

Pie Crust Science (5).JPG

Older kids can be much more scientific about this. Consider varying the type of flour used, the tool used for mixing, and more. Chart independent and dependent variables along a graph if your kids are old enough for that kind of math. Invite friends over for a complete taste test, if you have the time!

Pie Crust Science (4)

So this was a brief lesson for my little one, but there is lots more to explain here if desired.

Sticky-Treat Sushi

Sticky Sushi (8).JPG

There is an international festival coming up at Travis’s school, which has us talking about food from around the world. Here’s a sweet spin on the classic Japanese dish! This candy sushi was so fun for Travis to put together.

To start, make the “rice”: melt 2 tablespoons Earth Balance butter in a microwave-safe bowl, heating at 10 second intervals for a total for 30 seconds, or until melted.

Add 2 and 1/2 cups mini Dandies marshmallows. Microwave at 15 second intervals until melted (we needed about a minute total), stirring after each interval.

Sticky Sushi (9)

Stir in 3 cups rice cereal. If you need to use your hands, I recommend having a grown-up do so, as the sticky marshmallows will still be hot.

Sticky Sushi (1)

Spoon the mixture onto parchment paper. Cover with additional parchment paper and use a rolling pin to flatten about 1/4-inch thick.

Sticky Sushi (2)

The rolling pin ended up being a little tricky, so we found it easier to pat with our hands.

Use a pizza cutter to cut into rectangles. Travis was so proud I let him use this tool!

Sticky Sushi (3)

Now you can make sashimi or sushi rolls!

For “sashimi”, place a Swedish fish candy (Wholesome DelishFish are vegan) on top of a rice rectangle. Cut a strip of fruit leather with a pizza cutter and wrap around the fish.

Sticky Sushi (4)

For a rolled version, cut a strip of fruit leather and cover with a rice rectangle. Top with pieces of candy (Travis chose organic Red Vines) and roll up.

Sticky Sushi (5)

If you really want to get creative, tint a little vanilla frosting with green food coloring for “wasabi”!

Sticky Sushi (6)

Autumn Potpourri

Autumn Potpourri (4).JPG

How can you keep the house cozy for your kids when an early winter blast comes barreling through in November? Set this heavenly-scented potpourri to a simmer on the stove, and the whole house will be hygge in no time.

I gave Travis a quick reminder of what potpourri is before we set to work: any fragrant mixture of plant materials, like herbs, spices, fruits, flowers, or wood. Simmering the mixture on the stove gives a stronger scent than dry potpourri in a bowl, plus it adds moisture to dry air!

Autumn Potpourri (2)

Travis loved helping me slice up an orange to start. We added the orange slices to a saucepan, then added:

  • 3 cinnamon sticks
  • 1 tablespoon whole cloves
  • 1 tablespoon vanilla extract

Autumn Potpourri (3)

Take the time to make this a sensory activity, too. Travis loved smelling the spices, and even licking an extra cinnamon stick!

Autumn Potpourri (1)

Add water to the pot until it’s about 2/3 full. Bring to a boil, then reduce heat and simply let simmer. If the pot runs low on water, add more as needed. We kept ours on a gentle simmer all evening and hardly noticed the cold knocking at the windows!


The Kitchen Bowl

Kitchen Bowl (11)

Forget the World Series or the Super Bowl, today Travis and I competed in the… Kitchen Bowl!

This was an adorable idea from Raddish Kids to round out their Game Day crate. If you have a large family, or are hosting a family gathering, or just want to invite friends over, then you can play these games with proper teams. Travis and I had more of a “tennis match”, going one-on-one to see who could win. For a few of the activities, I challenged him solo.

First, of course, we had to name our teams. Travis declared himself the Speedy Lemons (after his favorite food) and made the Melty Ice Creams. We decorated posters with our names and mascots, and Trravis was proud of his very inventive blue lemon.

Kitchen Bowl (6)

The first event was the Ultimate Taste Test. Could he identify items blindfolded? I knew Travis wouldn’t be “game” for anything liquid, so stuck to yummy snacks like mini bagels, graham crackers, and cashews. He aced them all (pun intended!).

Kitchen Bowl (9)

Next we played a round of Basket-foil. Wad up aluminum foil into balls (about 6 per team) and place a mixing bowl across the room.

Kitchen Bowl (1)

See who gets the most baskets in 60 seconds! We tied with 2 each.

Kitchen Bowl (2)

Tong Training got lots of laughs: Each team has two cups, one filled with 1/4 cup beans. See how long it takes to transfer the beans from one cup to the other. The Speedy Lemons had an impressive 45 seconds.

Kitchen Bowl (3)

You’ll need to work those fine motor skills if one drops.

Kitchen Bowl (4)

Uh oh, the Melty Ice Creams upended the cup.

Kitchen Bowl (5)

Then I challenged him to Memory Madness. I placed 5 utensils in a brown bag (use up to 10 items for bigger kids) and had Travis look at them for 30 seconds. Could he remember all 5?

Kitchen Bowl (7)

With some coaching from the sidelines, he proudly recalled all the items.

Kitchen Bowl (8)

Finally, Speed Whipping! I set out two bowls and two whisks. We had vegan Coco Whip which won’t really whisk up into stiff peaks, so this was just a matter of being silly and seeing who could whip fastest. The Melty Ice Creams came out on top!

Kitchen Bowl (10)

Did I mention this was all before the school bus came? What a way to start the morning!

Kitchen Bowl alt.JPG