Starry Night Crate

Starry Night Crate

The Starry Night crate will be Travis’s very last Koala Crate; I can’t believe my baby is going to be a “graduate”! I considered this crate a real test, then, to make sure he’s mastered the Koala and is ready for Kiwi (aimed at 5- to 8-year-olds).

He immediately knows when a crate has arrived, and needs to get his hands on the materials. When I told him the air-dry clay inside was for the moon, he noticed bubbles in it and declared, “Look, craters!”

Starry Crate (1)

So along those lines, first up was the Glowing Moon. Press the air-dry clay over the surface of a provided ball, until it’s as even as you can get it. As a slight flaw, the clay was very sticky. I’m not sure it was supposed to be – Travis may have warmed it up in his hands through the package! But it made the spreading quite difficult. We did then use the provided hard ball to make “craters.”

Starry Crate (3)

This was a neat science lesson for kids, since real space debris hitting the moon makes real craters, in imitation of their miniature version.

Next dab on glow-in-the-dark paint.

Starry Crate (4)

We waited for the moon to dry, then hung it on the provided cardboard stand and watched it light up in his room. Very neat!

Starry Crate (9)

The second activity was a Meteor Toss; Travis was super excited to learn there was a game in this crate, not just crafts. All you need to do is drape the provided fabric over a small ball, gather it up, and tie with a ribbon.

Starry Crate (6)

Travis has just recently begun lacing up shoes, so proudly did this step alone. Now set up the cardboard “galaxy” and take aim.

Starry Crate (7)

Travis enjoyed the challenge of making the universe successively smaller, or standing further away. If you like, keep score!

Starry Crate (17)

Finally, we put together the Galaxy Bottle. First, squirt blue glue into the bottom.

Starry Crate (10)

Next add pom poms and space objects (planets, stars, etc.). Then it’s time to add two colors of glitter, which Travis loved.

Starry Crate (12)

I filled the bottle about two-thirds full with water, and we could play the suggested activity. Use the spinner, then tilt the bottle to find the objects floating in space.

Starry Crate (15)

This was another neat science lesson, since I pointed out to Travis how hard an astrologist’s job is, to locate far off things like galaxies and supernovae among all the black of outer space.

Starry Crate (14)

As a cautionary note, you may want to glue the lid on the bottle – it is very brave of Koala to assume kids won’t try to unscrew the cap!

Starry Crate (11)

Again, this was our farewell crate. Stay tuned for the first post on Kiwi Crate in the new year!

Pirate Crate

Koala Pirate (21)

Ahoy matey! With just a couple months left in our Koala subscription, Travis was eager to see what the Pirate Crate was all about, and dove right in to all 3 projects! As always, you can replicate these projects with materials from a craft store, more or less.

First up was Pirate Dress-Up – a paper hat to fold, and a felt eyepatch. The eyepatch was an instant hit – wow, he felt like a real pirate!

Koala Pirate (1)

Simply thread the provided patch onto a bit of black elastic, and tie a knot to secure it.

Koala Pirate (2)

Next we added the pirate hat, a large piece of black construction paper with dotted lines to fold. These were nicely labeled by both number and color, making it easy for kids.

Koala Pirate (3)

To decorate the hat, use the provided stencils and magic markers. Travis really enjoyed stenciling in shapes (“Look, I made a diamond!”).

Koala Pirate (5)

I helped show him some of the suggested overlapping shapes to make pirate-themed decorations (rectangle + heart = crossbones) but mostly he was content just to scribble and make his own designs.

Koala Pirate (6)

Avast, matey!

Koala Pirate (7)

He eagerly asked if we could make the Parrot Puppet immediately after. Color in the provided template with magic markers. There are also feather stickers to adhere.

Koala Pirate (9)

To make the puppet stand, thread elastic through a cardboard base and secure the elastic on with tape, letting the ends dangle down. Fold the cardboard in half and tape again – now the parrot figure slips right on.

When the parrot is not on the stand, the elastic can cleverly be tied around the wrist – a parrot pal just like every good pirate needs!

Koala Pirate (10)

The third project, a real floating Pirate Ship, was a big hit! Insert a craft stick into a brown foam base, and thread one of the 4 provided sails onto the stick.

Koala Pirate (13)

Kids can decorate the sails with stencils, too, but Travis only gave the decoration a cursory thought. He much preferred to see the sails on the masts, and was delighted he could raise and lower them like a real sail.

Koala Pirate (15)

A cardboard “rudder” inserted into a slit at the back of the foam base allows your boat to go straight, left, or right, depending which slot it’s in. So of course we had to test them in the bathtub!

Koala Pirate (16)

Have fun playing around with the rudder’s position, or racing the boats against one another. Travis also loved “flying” the boats in the air.

Koala Pirate (17)

To round out Travis’s costume, we also put together the suggested Pirate Hook. Roll a piece of aluminum foil tightly – Travis insisted on doing so himself!

Koala Pirate (18)

Adults, poke a hole in the bottom of a plastic cup. Insert the wrapped foil, curling the end into a hook shape. Pop the cup over your child’s hand and ahoy there – it’s Captain Hook!

Koala Pirate (20)

Shiver me timbers! Thanks for a great time, Koala Crate.

Cityscapes Crate

Koala City (16)

Our latest from Koala Crate was a kit all about “cityscapes,” which introduced great city landmarks (i.e. the Eiffel Tower), as well as the various buildings, modes of transportation, or shapes you might find in a city. The crate used buildings as a leaping off point to talk about colors, patterns, and geometric shapes, making this one of the more STEM-related kits we’ve received to date.

To wit, first up were City Building Blocks. This project is clever, of course – for what is a city if not built up of blocks? Cement, stone, brick, you name it. There are 9 blank wooden blocks in the crate and 9 sheets of stickers with which to cover them.

Koala City (2)

I was proud of Travis for latching onto the idea that each cube had six faces, and making sure to turn to an empty face before he added each new sticker.

Koala CIty (1)

Soon we had trees, walls, doors, windows, rooftops, and more. Your child can simply use the blocks to free-build a city…

Koala City (3)

…or use them in a more educational way. Can you construct an all red building? All purple? An alternating pattern? (We tested out: door, window, door, window etc.). You can also talk about the shapes within the blocks, although we didn’t do much of that.

Koala City (17).JPG

One note of caution: the stickers are a bit tricky to peel off, which may lead to a moment of four-year-old frustration… Hopefully easily diverted!

When Travis spotted the glitter paint in the crate, he couldn’t wait for the next two projects. Because glitter makes everything better of course.

Koala City (7)

First, we decorated the Stencil Drawstring Pouch, which is fun as a project and then handy later to store the blocks in. Slip the provided wax paper into the provided drawstring bag to prevent the paint from bleeding through.

Koala City (4)

This project relies on stencil stickers. I paused to explain to Travis that the paint would go inside the blue lines, once I realized he was overlapping his shapes a little. He seemed fascinated by this, and most of our buildings turned out just fine. We talked about what went where in the layers of a city – buildings and trees on the bottom, rooftops in the middle, stars and clouds up top.

Koala City (5)

To paint, dip the provided sponge brush into the provided paint cup, and dab inside the blue lines.

Koala City (6)

Let dry for about one hour before peeling off the stencils and revealing your city.

Koala CIty (10)

The final project, Skyline Paintings, employed the opposite method from stenciling (i.e. resist painting). I loved watching my engineer at work, talking about all the geometric shapes and what we could make from them: a house from a square and triangle, for example, or a bridge from a semi-circle and rectangles.

Koala City (8)

Then he grew creative and started inventing his own. And of course then there was the fun of paint dabbing.

Koala City (9)

Let the paint dry, then peel off the stickers. “How did it make the shapes?” Travis wondered, marveling at how his houses and towers looked once the stickers had lifted away.

Koala City (11)

We’d used up all the stickers, but took some extra time to make our own neighborhood, talking about what shapes we see near our home. Soon we had a cute collage – rectangle buildings, semi-circle driveways, oval ponds, square windows etc.

Koala City (15)

As you can see, this kit was heavy on the geometry, and on seeing and finding patterns. Happy kid, happy mama. Thanks Koala!

Koala City (13)

Nature Crate

Koala Nature (26)

It seemed funny to receive this crate late into Travis’s Koala subscription, especially since we received glowing nature just about a year ago. But we’re always game to explore nature around here, and fall is the perfect time to do it.  So bring on the projects! As always, you can DIY these crafts with materials from your local craft store, with only a little variation.

First, we put together the Scavenger Hunt Box. Color in the provided stickers with the included pack of colored pencils, and decorate the provided cardboard box.

Koala Nature (14)

The mechanics for the inside of the box are simple; slot three foam dividers together, and insert into the box.

Koala Nature (15)

There are various scavenger hunt cards that then can be placed in the box (more on that later!), so choose which you’ll start with, place in the box, and top with the dividers. A simple Velcro sticky dot closes the box, then loop the provided cord through two holes for a handle.

Koala Nature (16)

Travis was so proud of his box, which he toted all around the apartment.

Koala Nature (17)

Indeed, your child may decide that it’s just as fun to fill it with treasures that aren’t from nature, and that’s ok!

Koala Nature (18)

The second project (although actually the one we put together first) was Discovery Tools – a frog measuring tape and a magnifying glass. As with many Koala projects, this involved a nice opportunity to exercise fine motor skills. We folded up the provided green “frog box.”

Koala Nature (1)

Then we pushed a foam ring onto the clothespin and inserted the clothespin into a hole in the box.

Koala Nature (2)

Next, we attached two pieces of sticky pink felt at the bottom of the measuring tape. Now thread the measuring tape through a slit in the box, then through the clothespin. Seal the clothespin with a second foam ring.

Koala Nature (3)

Now twist the clothespin so the measuring tape winds up.

Koala Nature (5)

Travis absolutely adored his frog, and spent the entire afternoon winding up the tape, pulling the “tongue” out as long as it would go, and winding again.

Koala Nature (6)

We took a quick moment to add the finishing touch, two frog googly eyes, before he was back to winding and unwinding.

With the third project, Nature Notes, it was time to put it all together! I confess I was initially disappointed this third activity wasn’t a “craft”, but rather a booklet of nature walk ideas … but I stand corrected, because wow was there lots to discover and do! First, the kit comes with bumpy plastic inserts that slip beneath the pages of the nature notebook to make “nature rubbings.”

Koala Nature (20)

Travis loved watching the images appear!

Koala Nature (21)

But the real fun is in taking it all outdoors. The notebook is so chock-full of activities there were almost too many for me to describe in this post.

For starters, now we could use those three scavenger hunt cards in the box. First we tackled the card simply looking for items: flowers, sticks, clovers etc.

Koala Nature (30)

Next up was a color hunt – definitely the prettiest!

Koala Nature (32)

The final card, a shape hunt, proved quite tricky, especially the rectangle and square.

Koala Nature (33)

Perhaps this square of moss counted, but we couldn’t fit it in our box.

Koala Nature (35)

As we walked, we also used the Nature Notes booklet for lots more activities, including: discovering with all five senses; peering at items with our magnifying glass;

Koala Nature (27)

and his favorite, a bug hunt.

Koala Nature (28)

He loved this worm.

Koala Nature (34)

And look how huge this daddy long legs was!

Koala Nature (36)

Don’t forget to measure with the Froggie, too! Soon we were measuring flowers, leaves, sticks, and more.

Koala Nature (29)

Whoa, this branch was longer than our tape!

Koala Nature (11)

The Nature Notes includes a few helpful prompts, such as finding out how wide across is a leaf…

Koala Nature (31)

… or the width of two flower petals.

Koala Nature (8)

As a final component of our kit, we put together the suggested set of DIY Binoculars, almost identical to a project we put together back in the spring, but we lost the old pair! I hot glued together two toilet paper tubes, then hot glued yarn on the edges. Cut a third toilet paper tube down the middle, and stretch over the top of the other two tubes. Glue into place.

Koala Nature (23)

Travis decorated this set with bees and birds!

Koala Nature (25)

So in sum, lots of fun, lots of learning, lots of getting out there in the dirt, and all kinds of exploration to be had. Thanks Koala!

Koala Nature (19)


Baking Crate

Koala Baking (7)

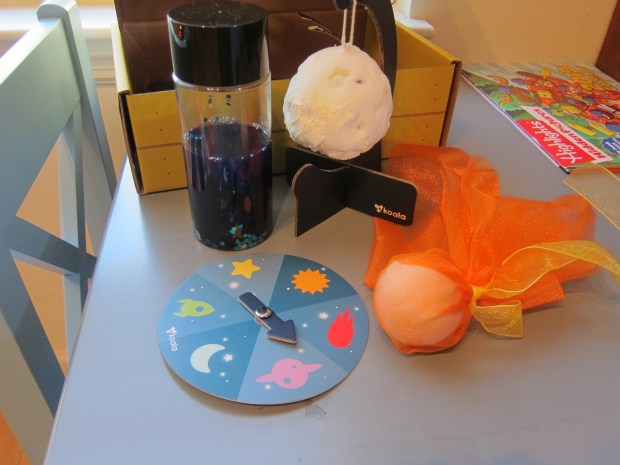
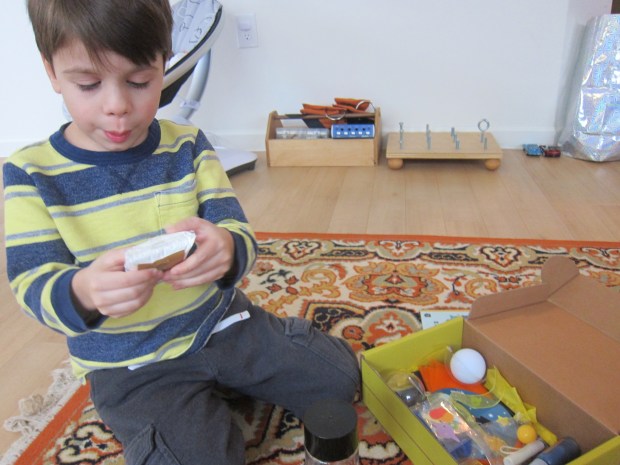
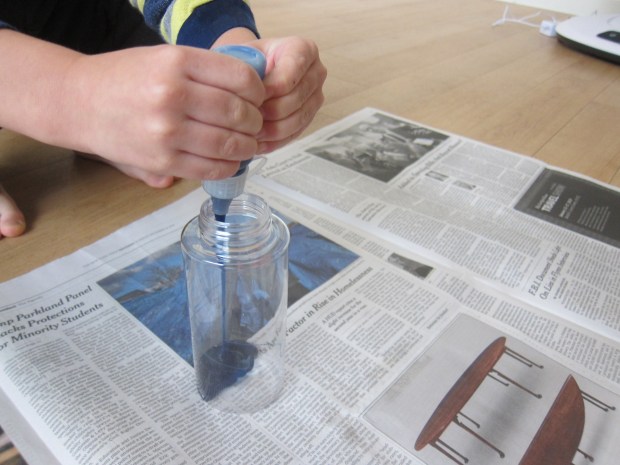
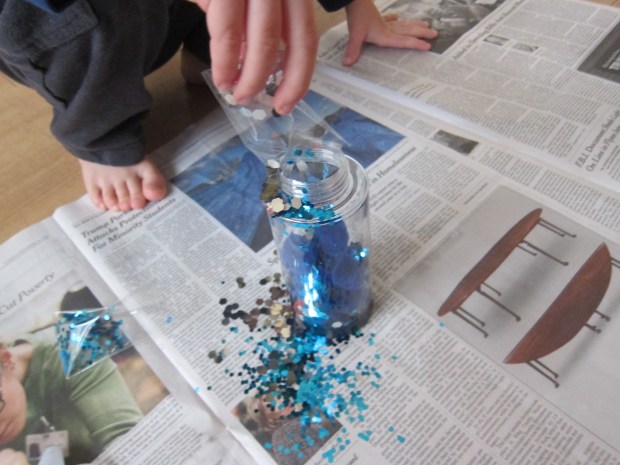
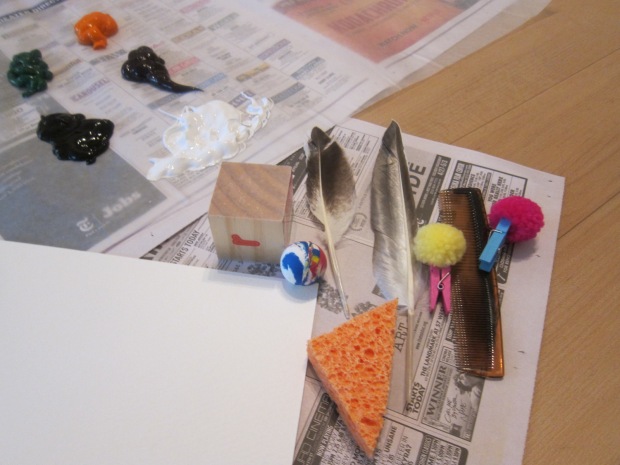
For my boy who loves helping in the kitchen, our latest crate from Koala Crate may have been the favorite of all we’ve received in 2 years of our subscription. A quick warning though: This crate is messy! But in the best way, of course. So grab some newspaper to cover your work surface and get “baking.”

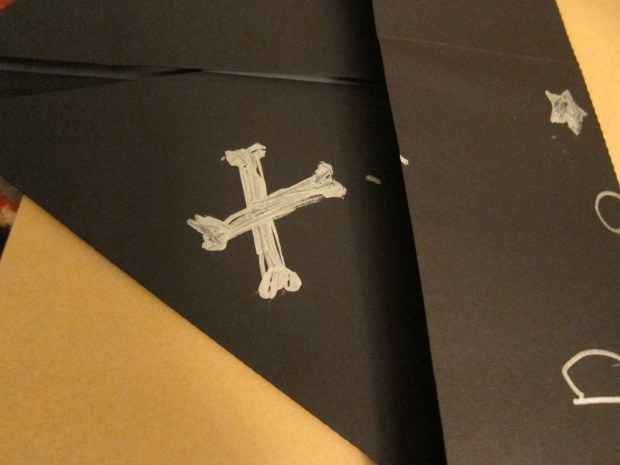
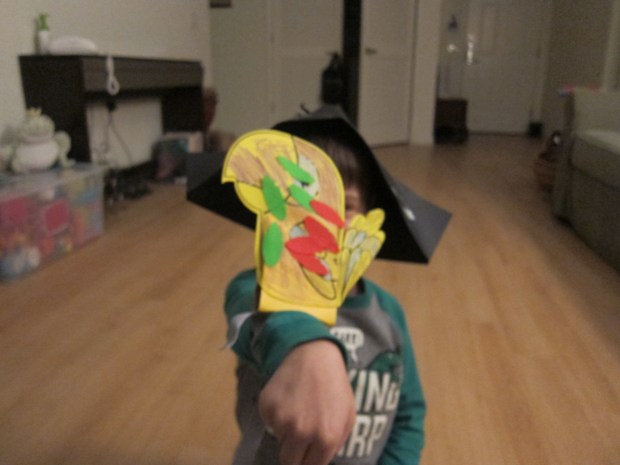
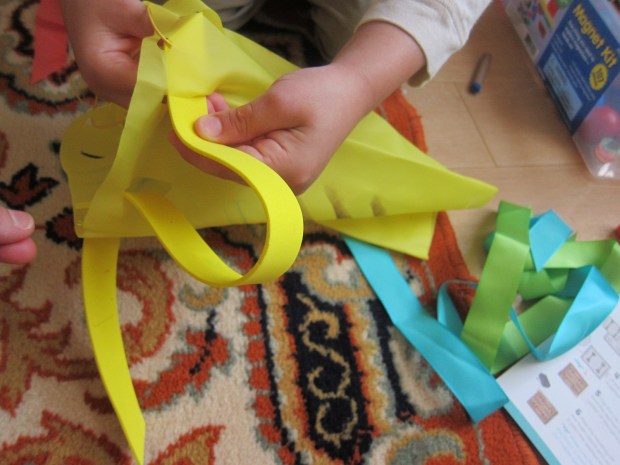
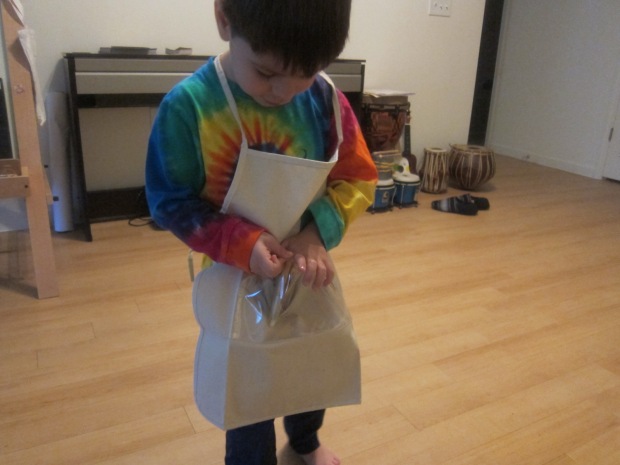
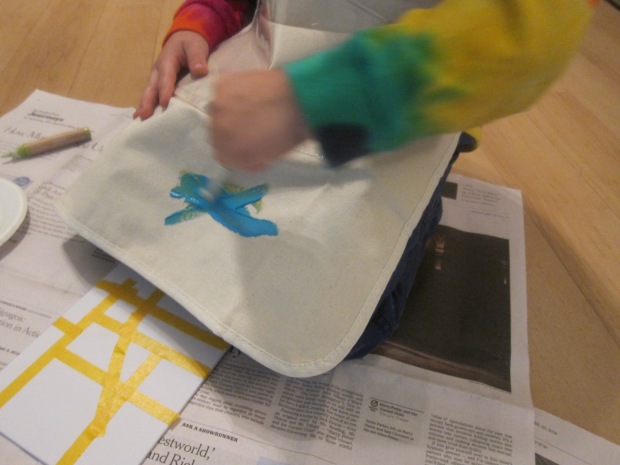
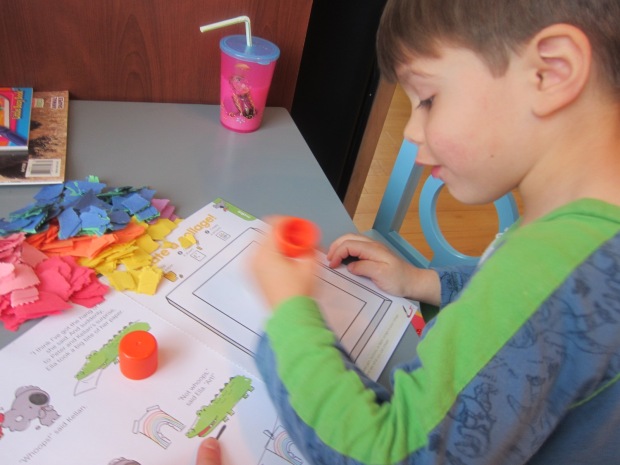
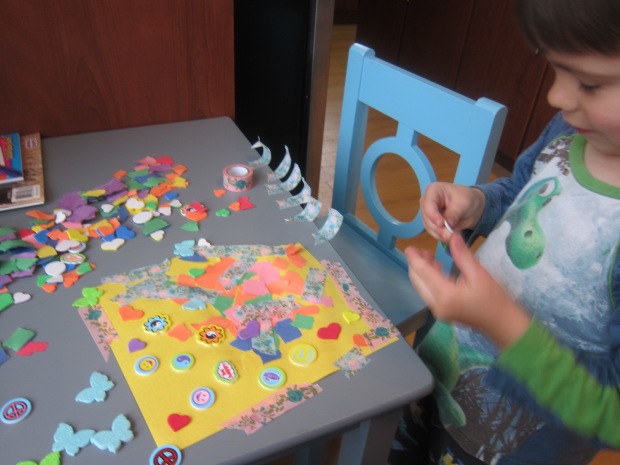
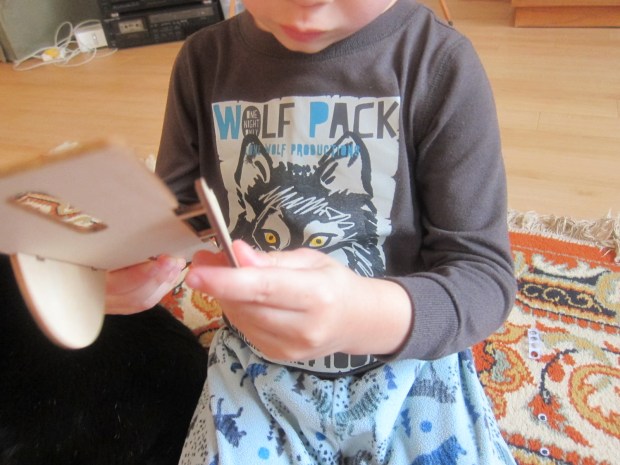
First up, every chef needs a toque, so we decorated the Chef Hat that was project #1.  Squeeze the provided paint pens onto a paper plate, and use the provided foam shapes to decorate.

Koala Baking (2)

Travis had fun dotting the stamps here and there, but I showed him a few of the suggestions in the instructions, too, combining shapes to make ice cream cones, lemons, or apples.

Koala Baking (6)

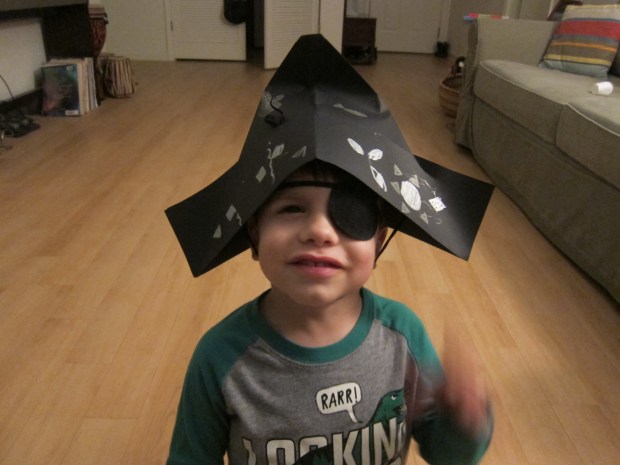
More fun than the decorating was simply wearing it. Look at that baker’s joy!

Koala Baking (1)

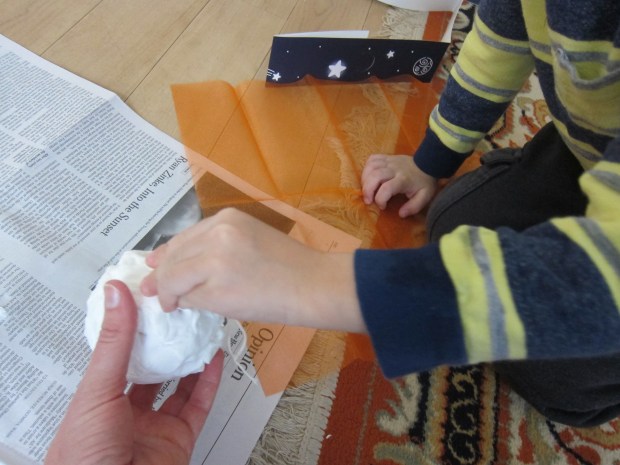
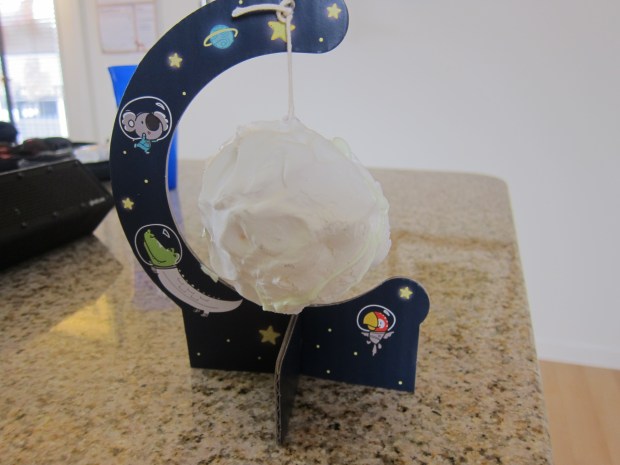
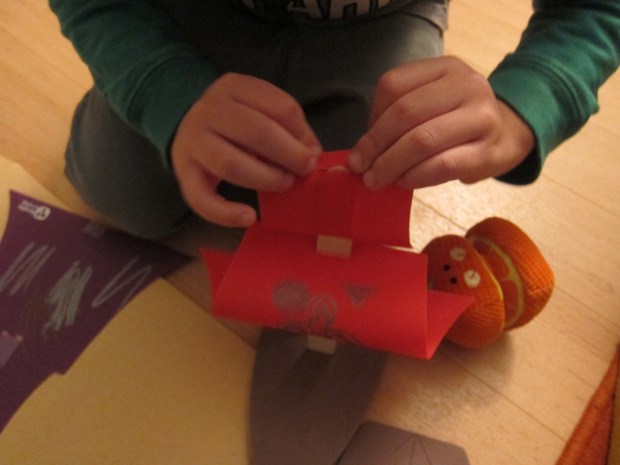
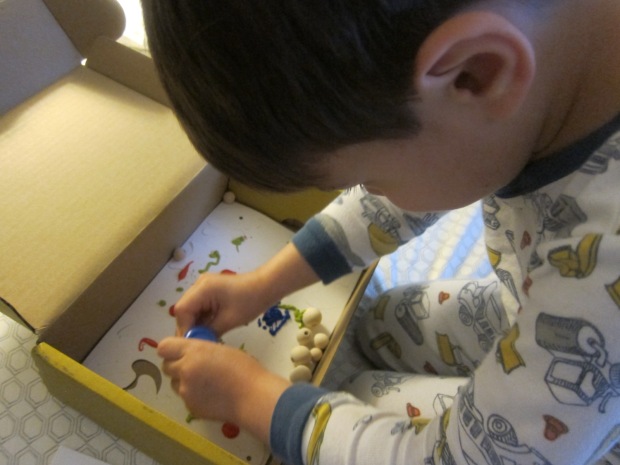
Next up was frosting the Pretend Cake project.

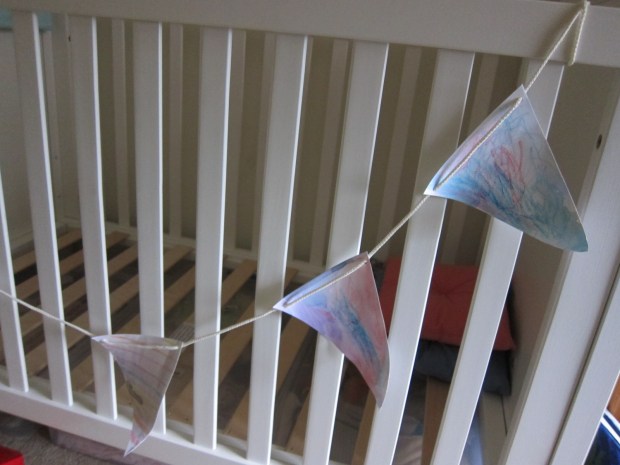
Squeeze out air-dry clay (from adorable little “pastry bags”) onto the provided foam triangles, and spread your frosting with a craft stick.

Koala Baking (3)

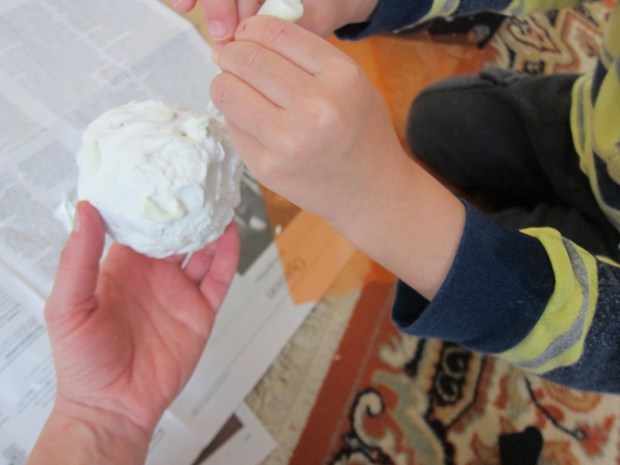
Travis loved that this was just like a Daniel Tiger episode he had seen, and frosted all 8 pieces so seriously and carefully. I showed him how to stack them into a layer cake, and then we used the provided punch-out decorations to add berries and candles.

Koala Baking (5)

Another quick note of warning: The toque and cake will both need to dry for several hours, so make sure your children know there will be a waiting period, to avoid disappointment! Travis was so happy once he could finally play.

Koala Baking (8)

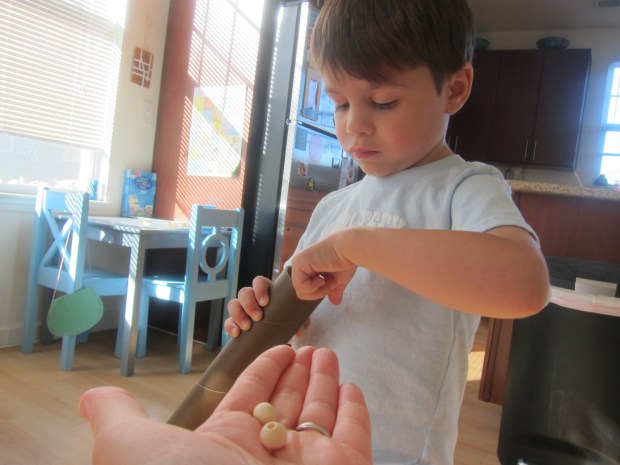
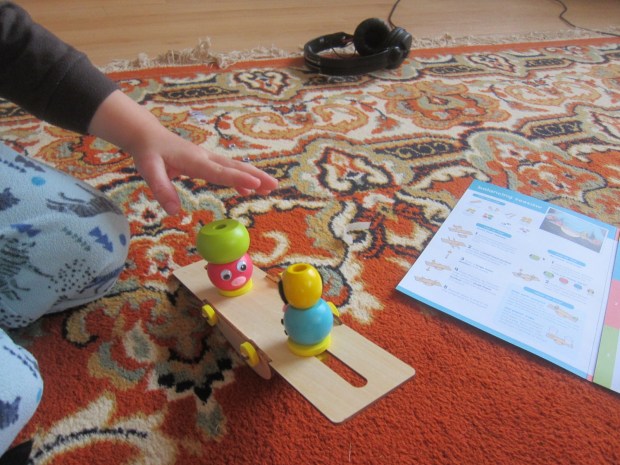
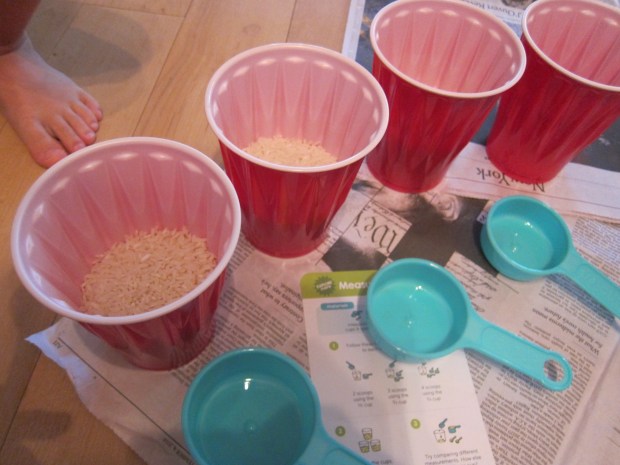
Next up was Measuring Fun, a far more technical and mathematical lesson about cooking, with almost endless variations. First, encourage your child to line up the cups by size.

Koala Baking (9)

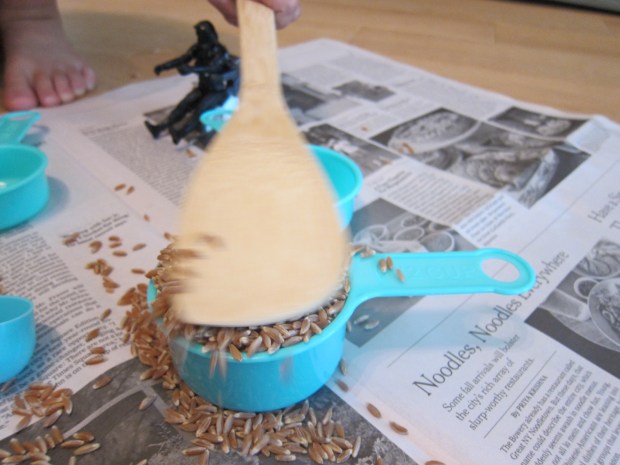
Then try filling the cups (which came in 1/2 cup, 1/3 cup, 1/4 cup and tablespoon denominations) with rice or another dried grain. Travis loved leveling with a spoon!

Koala Baking (10)

We moved on to a wet ingredient (water). Get down at belly level and see the meniscus.

Koala Baking (12)

Show your child how you need different numbers of each cup to make 1 cup of water – 2 of the 1/2 cup, 3 of the 1/3 cup and so on. And a whopping 16 tablespoons!

Koala Baking (13)

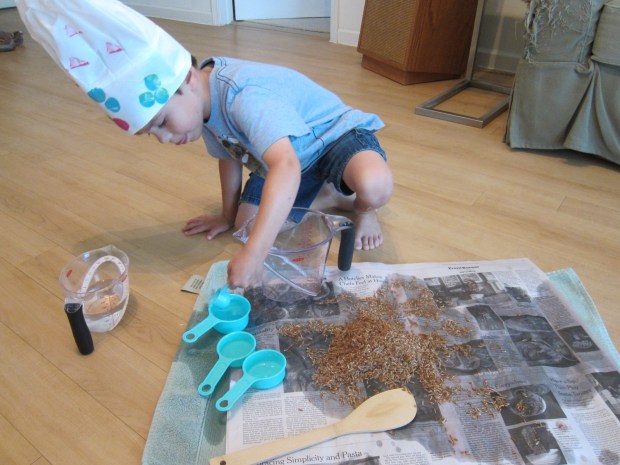
I sort of lost Travis at this point, because he had his own game going, spooning the water into the dried grains and mixing up a “recipe” – a true chef!

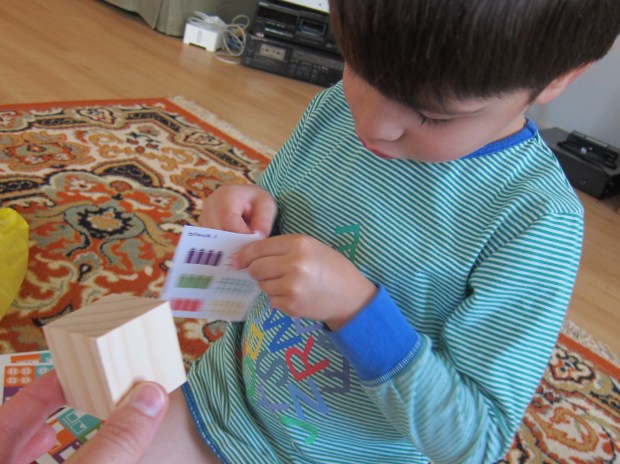
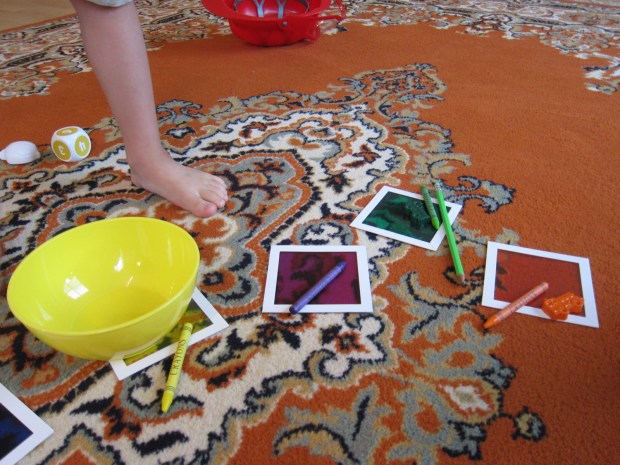
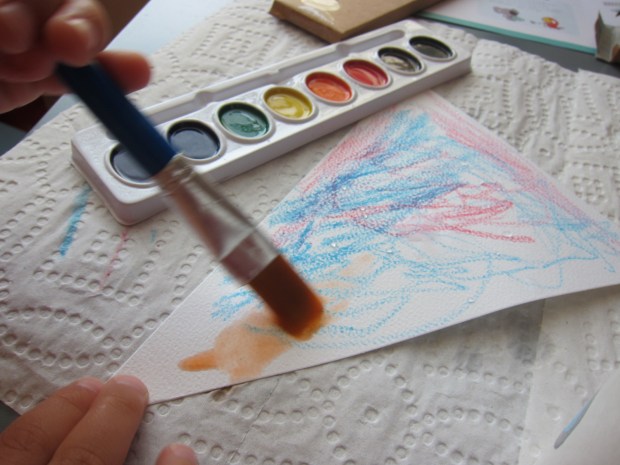
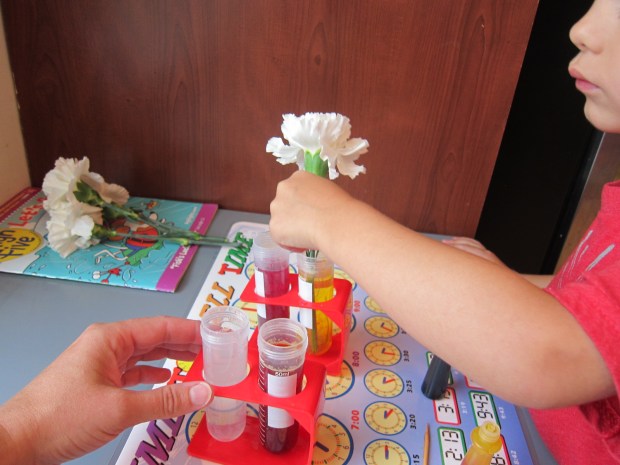
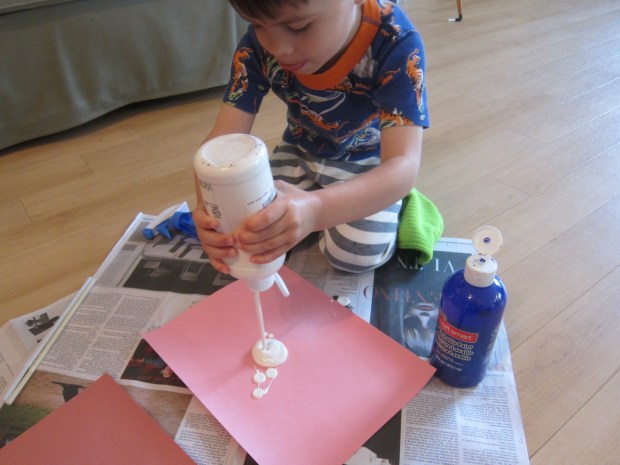
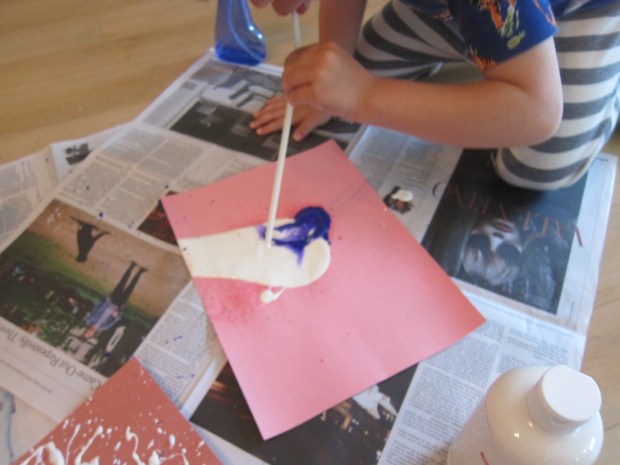
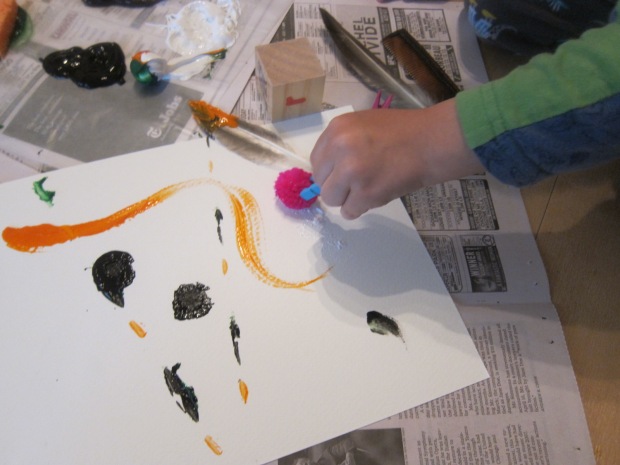
There are 3 activity cards that go with the measuring cups, meaning we played for days thereafter. First up was the yellow card, with two color mixing activities: Rainbow Color Mixing and Shades of Colors.

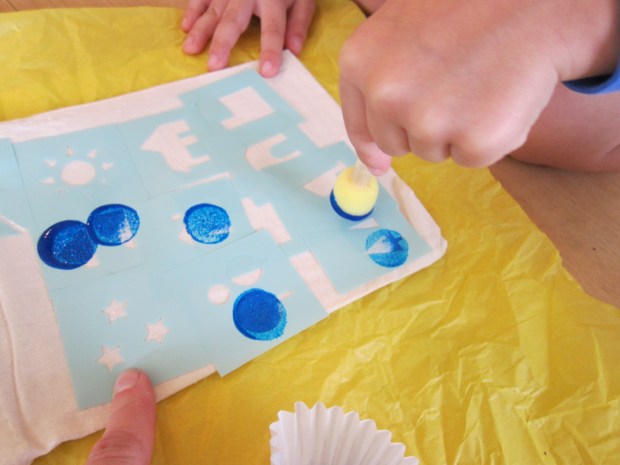
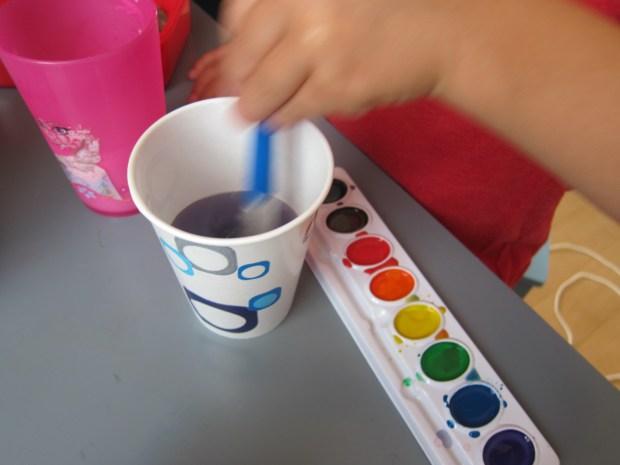
For the former, we squirted our paint pens into three cups of plain water to make red, yellow, and blue, the primary colors.

Koala Baking (14)

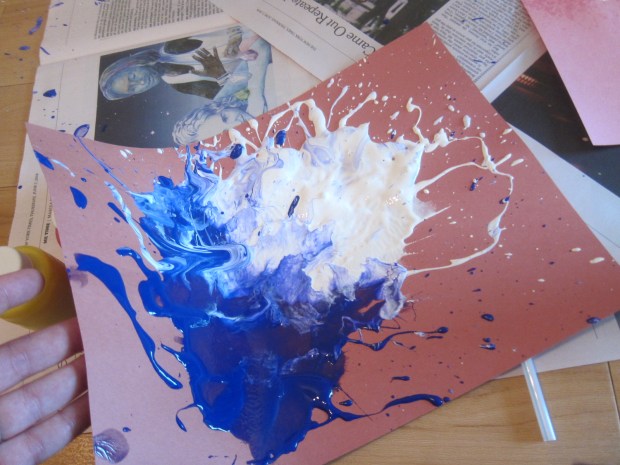
To make the secondary colors, we mixed these primary colors at a 1:1 ratio (using our tablespoon as a guide), and soon had a full rainbow!

Koala Baking (15)

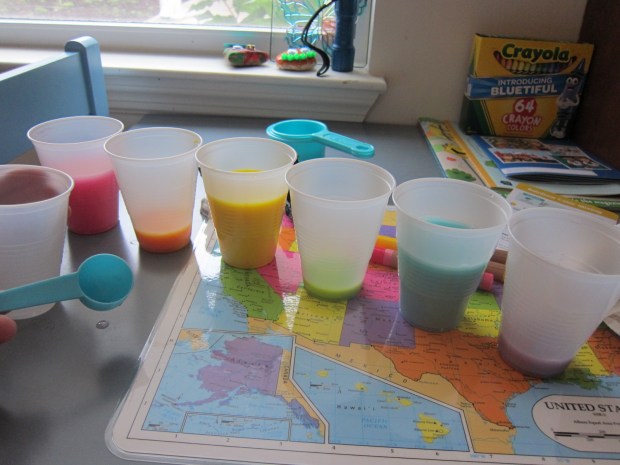
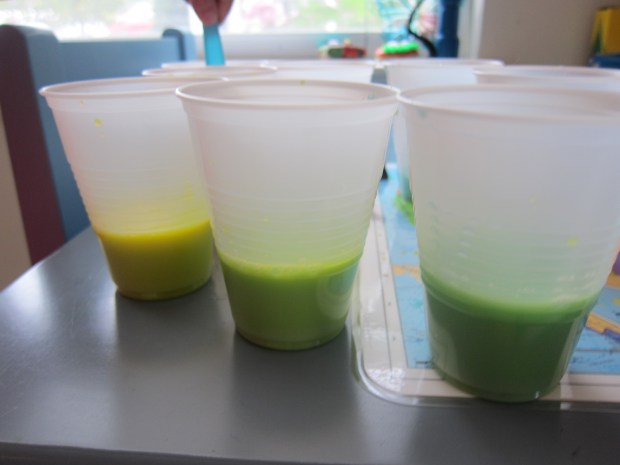
For the latter, we used different ratios of colors to make varying shades. 1 tablespoon of yellow + 8 blue made a very bluish-green, whereas the reverse (1 blue + 8 yellow) made a lime green. Travis loved this, and soon was mixing up oranges, purples and more.

Koala Baking (17)

After lots of playing mixologist, we only had variations of beige and brown.

Koala Baking (21)

While he gleefully poured colors back and forth, we talked about how chefs use this same method – measuring ingredients in varying combinations – to make a recipe.

Koala Baking (19)

Next up was the green card: Measuring Fractions and Measuring Volume. For the former, line up 3 cups of identical size, and show your child that you can make 1 cup of rice in each by using: two 1/2 cups, three 1/3 cups, four 1/4 cups, or 16 tablespoons.

Koala Baking (23)

A neat trick is to show them that the second (bottom) number on the cup (i.e. the denominator) is the number of times they’ll need to use that cup to make 1 full cup. Travis loved helping count out, especially the full 16!

Koala Baking (22)

Then we played around with volume. I poured 1 cup or rice into each of three containers – a tall cup, a short cup, and a wide bowl. Just like most kids will, Travis guessed that the tall glass had the most rice, a cute first lesson on volume. You can try this with different containers and water, too!

Koala Baking (24)

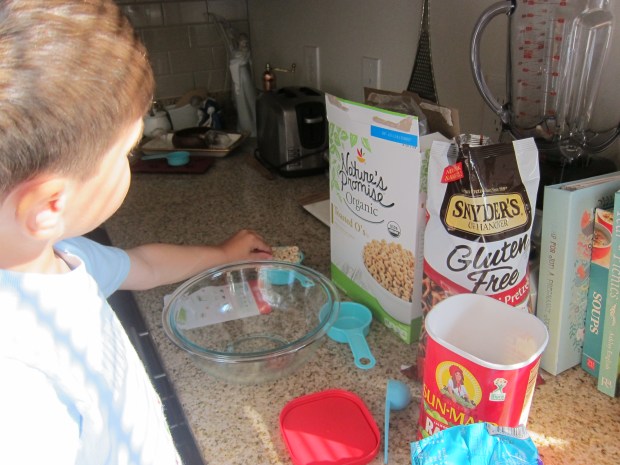
For a final day of fun, we played with the red card. Now it was time to make recipes, one edible and one not.

For Trail Mix, use your cups to combine the following: 1/2 cup cereal, 1/3 cup pretzel twists, 3 tablespoons raisins, and 1 tablespoon chocolate chips.

Koala Baking (28)

Yum!

Koala Baking (29)

Then we mixed up Bubble Water. Use the measuring cups to combine 4 cups water (8 of your child’s 1/2 cup), 1/4 cup dish soap, and 2 tablespoons sugar.

Koala Baking (30)

Not only was this fun to mix…

Koala Baking (31)

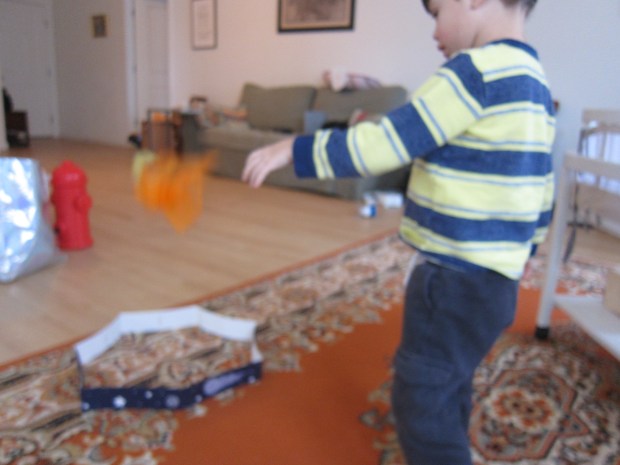
…but it made for fantastic end-of-summer play outside on our patio, blowing bubbles, popping them in the grass, and catching them.

Koala Baking (32)

What else can you do with your measuring cups? We tried whipped up a fruit salad:

Koala Baking (25)

I encouraged Travis to measure each fruit before he added it to the mix, though truth be told he was more interested in eating the fruit than the measuring lesson.

Koala Baking (26)

If you like, write down the recipe you create on an index card so your little chef can repeat it in the future.

Koala Baking (27)

Whew, that was a lot! Apologies for the long post, but thank you for the fun, Koala Crate!

Koala Baking (33)

Colors Crate

Koala Colors (7)

I was surprised when a color-themed crate arrived from Koala Crate this month. Colors seem so basic compared to other topics our subscription has covered, more like something we’d receive toward the beginning. Happily, we found that the activities and crafts inside were surprisingly complex and engaging. The booklet also felt especially interactive this month, including a color-by-shape page, seek-and-finds, and more.

Koala Colors (1)

First up was the Color Scavenger Hunt, using colored cellophane squares in all shades of the rainbow and a set of dice.

Koala Colors (8)

Roll one for color and one for the number of objects, then hunt for items around the house. Travis loved this little challenge!

Koala Colors (9)

The squares can be used for multiple purposes when your hunt is done. Roll a color and then think of something in that hue. Here’s Travis drawing a few items he thought of, like lettuce and carrots.

Koala Colors (10)

You can also hold the colored squares in front of familiar objects around the house and see how the colors shift, as with this apple.

Koala Colors (11)

Next we made the Watercolor Banner, which kids decorate first in crayon and then in watercolor (all materials provided in the kit).

We talked about things we see with lots of colors, which soon had Travis drawing nature scenes (flowers, a swamp) on his flags. I added a flag with rainbows and one with stripes.

Koala Colors (2)

Next, use the provided watercolors to paint over the crayons (a neat lesson in “resist” painting techniques).

Koala Colors (4)

Let dry before threading onto the provided rope, then find a spot to hang your banner. Travis opted for the old nursery!


Koala Colors (6)

Before you put away the watercolors, have some additional mixing fun. We started with the primary colors (dip your brush in the color, then in a cup of clear water), and I asked Travis what shade he’d like to make. Oh no – he requested white! The only one we couldn’t make. But we mixed up the secondary colors first, and then discovering how to make brown was a big hit.

Koala Colors (5)

The third craft, a Colorful Luminary, was a hit – and excellent for fine motor skills. Fit the provided tea light into the provided foam base, and add thin craft sticks in a circle around it.

Koala Colors (13)

Now add colored beads to each stick. I asked Travis if he wanted to do all one color per stick or arrange them in a pattern, but this was a bit advanced and he preferred randomly threading them onto the sticks.

Koala Colors (14)

Cap each stick with another foam piece to seal the beads in place.

Koala Colors (15)

Find a dark spot, and set the tea light ablaze. Beautiful! We talked about the ways the colors changed when the light was lit versus unlit.

Koala Colors (16)

Before we put away the fun, we repeated an old activity, Dyed Flowers, made by dying white carnations with food coloring. This is a great way not only for kids to see fun colors, but also to witness how liquids travel up a plant’s stem. Fill test tubes or small cups with water, and add food coloring to each. Place a white carnation in each tube, and let sit overnight.

Koala Colors (17)

You’ll have a lovely (though faint) color in each flower by morning. Our red worked best.

Koala Colors (18)

In sum, lots of great activities here, including for kids who learned their colors ages ago.


Rainforest Crate!


koala rainforest (14)

Coinciding with the hot, humid summer weather, our latest offering from Koala Crate was all about the rainforest.

The first project, a Butterfly Puppet, as actually quite a bit like a butterfly craft we put together recently from Ranger Rick magazine, illustrating how caterpillars morph into butterflies. The one in this crate simplified things greatly, providing us with a felt butterfly puppet body that we needed only to decorate.
koala rainforest (1)

Travis really took charge on this one with his own vision of how the caterpillar and butterfly should look. We didn’t end up with a version that matched the sample, therefore, but I loved his final caterpillar creation.

koala rainforest (2)

You can talk with your child about symmetry as you decorate the butterfly portion, but rather than insist on a symmetrical orientation to our stickers, I let Travis design it the way he wanted.
koala rainforest (5)

Folding the wings in and out of the puppet’s body for the transformation was a delight every time.

koala rainforest (3)

Flutter flutter!

koala rainforest (4)

Next up as the Musical Rainstick. Cap one end of the provided cardboard tube with a provided plastic cap. Next fold up the indents in the provided cardboard insert; this will help the beads fall at a slower “rainy” rate. Here we are very seriously adding the wooden beads:

koala rainforest (6)

Time to shake shake shake! This was so fun that it was a little while before we decorated the rainstick with the rainforest stickers.

koala rainforest (7)

The rainstick gets used again in the final project, a Balancing Tree Game. Punch out the cardboard branches, and fold the ends up.

koala rainforest (8)

Use a Velcro dot to adhere these branches to one end of the rainstick. You can also add a few more of the rainforest stickers.

Now the challenge was to fill the rainforest tree with pom-pom leaves using the provided tweezers. This was great fine motor skill practice.

koala rainforest (10)

A note of caution: The game is hard, even for grown-ups, so be prepared to ease some preschooler frustration.

koala rainforest (13)

As a nice touch, the pom-poms store handily in a provided pouch when you’re done with play.

koala rainforest (11)

As a final craft, we put together a suggested Venus flytrap. Parents, cut little triangles all along the edges of a paper plate. Use markers to color the inside of the plate red and the outside green.

Venus Fly (1)

We didn’t even finish coloring before Travis eagerly made his flytrap chomp on some pom-pom flies!

Venus Fly (3)

Oh no, can a Venus flytrap eat a whole caterpillar?

Venus Fly (2)

I loved seeing Travis’s imagination at work with this one.


Wind Crate

Koala wind (15)

I was slightly skeptical when our latest offering from Koala Crate arrived, a package very specifically about… wind. It turns out this crate was fantastic, so my skepticism was unearned. As always, you can put together the following projects after a visit to your local craft store.

The first project was a Wind Car. Travis seemed slightly skeptical, too, as we put it together. A brief run down of the mechanics: push a dowel through the holes in the craft paper base. Koala Wind (1)

Slide a foam wheel onto each end of the sticks, then place the base into the slightly larger craft paper car “body”; the slots in the body will hold the wheels in place. Tape the body and base together (clear stickers are provided).

Place a piece of sticky foam in the center. This foam has a slit in it to hold the craft stick “masts” and sails.

Decorate the provided sails (the kit came with oil pastels, a nice deviation from crayons), and slide on to the provided craft sticks. Your child can opt which sail to test in their car, or swap them out whenever desired.

Koala wind (3)

Travis wasn’t very interested in the fan that came with the kit to propel the car along (wind power!).

Koala wind (5)

But once we set up an electrical fan, he was smitten!

Koala wind (6)

Many a game followed, playing with the different strength settings on the fan and changing out the shape of the sail to see what made the car race along the furthest and fastest. So much fun that we had to capture a quick video clip!

Next up was the Windsock. This craft was great for building fine motor skills, particularly knotting and lacing, and Travis was an eager participant. First he scribbled on decorations with those oil pastels.

Koala Wind (16)

Thread a piece of foam through the slits in the top; this will hold the top of the windsock open.

Koala Wind (17)

Next, thread in the provided string from which it will hang, and tie into a knot. Finally, fold ribbons in half, slip through a slot in the wind sock’s bottom edge, and knot. This was great for shoe-tying practice!

Koala Wind (18)

The windsock needed to be tested in front of the fan, of course.

Koala Wind (20)

We found a place to hang it, and then just needed to add the final project to tie it all together… A Weather Chart!

I’ve been wanting to make Travis a weather wall calendar for some time, so was delighted to find this was the crate’s third project. This one was super simple: a chart with re-useable stickers showing weather and temperature with simple pictures for pre-readers to understand.

Koala wind (10)

Hang it to the wall with the provided suction cup. Travis was delighted! He ran to the window (“We do this in school too!”) to determine which sticker to use, and then asked if he could just play with the stickers. Soon he was making up silly combinations like a sunny day with lightning.

Koala wind (13)

There is also a round sticker to move along the Beaufort scale each day, depending what kids observe on their windsock.

Koala wind (14)

For some additional “windy” fun, we did a variation on painting through straws, using our lungs as the wind power. This time, Travis squirted big blobs of paint onto paper first.

Koala Wind (21)

He loved watching the way he could make the colors move and mix.

Koala Wind (22)

And got a kick out of the mess I made!

Koala Wind (23)

Finally, the booklet provides prompts for questions to get your kids talking even more about wind and weather. What do they see moving in the breeze outside? What kinds of things can the wind do? What’s your favorite kind of weather? Enjoy the exploration!

Little Artist Crate

IMG_0001.JPG

Travis has not been very into fine arts crafts lately, so I worried our latest kit from Koala Crate might not hold his interest… To my great surprise, he was the one insisting we do each project, and mama was happy to comply! As far as Koala goes, this was a great crate to get kids simply, well, making art; in other words, heavy emphasis on the A in STEAM.

A quick note: You’ll need the provided paint markers for all three projects, so make sure you use them sparingly in each.

The first project is a nod to Piet Mondrian: a Color Block Painting using a provided canvas, paint, and washi tape. That name won’t mean much to your kids, but you can show them some of his canvases online! For Travis, the biggest thrill by far was the washi tape, which he impishly loves unwinding.

Koala artist (2)

We managed to get a few strips down onto the provided small canvas – don’t worry if you don’t wind up with exact rectangles or squares.

Koala artist (3)

The provided paint markers are good fun to squeeze onto the provided paper plate for a little artist’s palette. Needless to say, Travis didn’t exactly color block his paints into each of the washi tape squares…

Koala artist (6)

…but he loved mixing his colors all over.

Koala artist (7)

Once the paint is dry comes the big reveal, peeling back the layers of tape. Neat!

Koala artist (8)

The kit comes with a piece of cord and a sticky tab so you can mount your child’s masterpiece on the wall, a nice little touch that is sure to make them proud.

Koala artist (21)

The next project, the Art Smock, looked so exciting to Travis that he had to try it on right away.

Koala artist (4)

And then wanted to paint it at 7 o’clock at night, right before bath. I nearly said no, until remembering how much trouble I’ve had getting him to paint recently… If he was into it, then so was I! It was an important reminder to seize the right moment for your child’s creativity.

Koala artist (5)

He loved not only using the paint markers on the provided paper for his name, but also directly on the smock. Smears by Travis, slightly-smeared name by mama:

Koala artist (10)

Next up was the Abstract Sculpture, which started with the thrill of ball painting. Travis was delighted we did this on the bed – how taboo! Place the sheet of provided shapes in the Koala Crate (or other shoebox with lid); add the provided wooden beads, then squirt in the paints. We were nearly out of our paint markers (see my cautionary note above), but luckily I had some puffy paints on hand to supplement.

Koala artist (11)

Close the box. Now ready, set, shake! Pardon the mid-shake expression.

Koala artist (12)

Now we were looking at a cool Jackson Pollock result!

Koala artist (13)

Once the paint is dry, pop out the shapes. Now you can build a 3-D sculpture using the provided base full of holes; pipe cleaners; and painted beads and paper pieces.

Koala artist (14)

Travis preferred to bead me a full bracelet.

Koala artist (16)

No complaints from me!

Koala artist (17)

I showed him ideas for how to make the rest of the sculpture, but he wasn’t very interested. Finally, use the provided sticky foam to attach onto a cardboard base; this will keep your pipe cleaner pieces in place.

Koala artist (18)

You’ll end up with something very haphazard, like so:

Koala artist (19)


The kit didn’t end there! As befitting a crate that was all about art, there were suggestions for projects galore in the provided booklet.

First, we put on an art show. Travis and I talked about different kinds of pictures – portraits, landscapes, still lifes – as he scribbled with crayons and mama made some, er, inexpert drawings.

Koala artist (15)

He was very proud to see the art mounted on the wall and displayed for a “show.”

Koala artist (20)

The booklet also suggested several ways to explore painting, using everything but… a paintbrush!

Koala artist (25)

I set up a station for Travis with a feather, wooden block, sponge, pom poms (clip them with a clothespin for easy handling), comb, and ball.

Koala artist (26)

Travis loved the pom pom best, and then painted the block… with the feather!

Koala artist (28)

Use the ball at your own risk, ha. We didn’t even get around to painting with a q-tip or leaf, two other suggested items.

Koala artist (29)

Next we put together clay pictures. It was novel to use cardboard as a background, pressing pieces on. Travis said he had made a propeller plane, proudly wielded here.

Koala artist (23)

Mama showed him how to add texture to the clay with a pencil in this little pond scene.

Koala artist (24)

Finally, we ripped up tons of colored construction paper for a collage.

Koala artist (31)

I thought Travis might find this ho hum, but he had so much fun that soon he’d filled up all the space provided…

Koala artist (32)

…and we migrated over to the next page!

Koala artist (33)

He wanted to make a second collage, and we added bits like stickers, washi tape, and beads. Other good collage items include yarn, buttons, and fabric scraps.

Koala artist (35)

Overall, super high marks for this crate. All 3 activities were engaging and relevant, and we loved the suggestions for further exploration.


Playground Crate

koala playground (9)

What fun! We discovered that our Koala Crate this month had a big emphasis on gross motor skills – something we definitely need more of around here. Of course there were also crafts and learning thrown in. And as always, you can replicate these projects with materials from a craft store.

Before we jumped into those gross motor skills, though, we put together the Balancing Seesaw. I loved that this was a math lesson disguised as playground play, since what is a seesaw really if not a balance scale?

koala playground (4)

Travis enjoyed the mechanics of building it, sliding wooden pieces together and securing with foam buttons.

koala playground (5)

Next we decorated the provided wooden beads with felt stickers to be little animals (Travis particularly loved the googly eyes).

koala playground (8)

The challenge was to put the animals on and observe what made the see-saw lean one way or the other, and if we could balance it. Neat!

koala playground (7)

For extra fun, we placed two paper cups on the see-saw’s posts instead. Fill with coins or other items around the house, and again challenge your child to find the balancing point.

koala playground (22).JPG

Travis was not very into the second activity, a playground scene Jigsaw Puzzle. Aside from a few crayon scribbles, he left mama to color in the rest.

koala playground (3)

But he did later take some time to piece it together.

koala playground (17)

The next day we followed the kit’s suggestion and taped a coloring book page to a cereal box; cut into pieces and voila, you have a homemade jigsaw puzzle!


IMG_0002

Finally, it was time for the aforementioned gross motor skill fun: an Indoor Playground. This involved using the provided washi tape in orange and blue to set up various obstacle courses or challenges. Of course the washi tape itself was a huge hit.

koala playground (1)

Travis was not very into the long jump…

koala playground (10)

…but he did some neat moves along the lines I set up on the ground, following the kit’s suggested movements like jump, tip-toe, walk backwards, or dance.

koala playground (15)

There was also a miniature inflatable ball to make part of the games; we set up a “maze” with the washi tape and had fun kicking or rolling it through.

koala playground (2)

We ran out of washi tape (the rolls aren’t big) by the time we got to the spiderweb suggestion… so plan on having some extra masking tape on hand! Travis absolutely adored this challenge of going over and under the sticky strands…

koala playground (13)

and loved ripping off the sticky tape after!

koala playground (14)

The Imagine magazine included even more ways to get moving, dancing to the rhythm of your favorite song like you are jumping rope, swinging from monkey bars etc.

As a final project, we put together the suggested DIY jump rope – a simple trick of straws and duct tape! Ideally use nylon cord as the thread, but a piece of twine worked just as well.

First, have your child stand on a length of the cord or twine, so that it stretches armpit to armpit. Here is a slightly-skeptical Travis wondering what we were up to.

Jump Rope (1)

Knot one end, and wrap around the knot with duct tape for the first handle.

Jump Rope (2)

Cut plastic straws into pieces about 2 inches long and thread onto the cord until nearly filled. Knot the other end and secure with a second piece of duct tape. Jump away!

Jump Rope (5)

Overall, I loved the way this crate got us moving. Now it has us even more eager for outdoor spring weather and a big playground to run around on!

koala playground (16)