Pond Play Dough

Pond Playdough (11).JPG

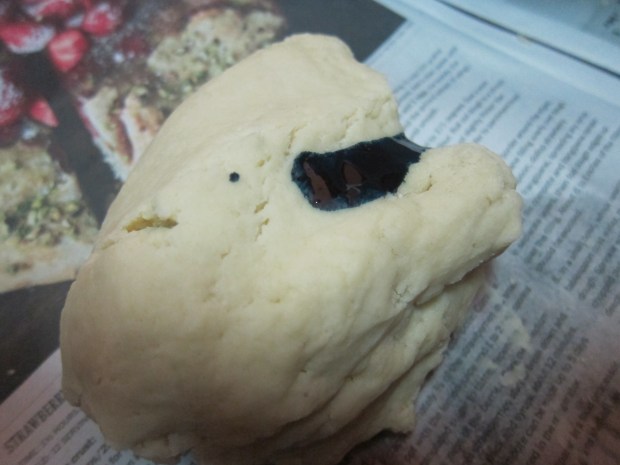
This was an activity that first got botched, then turned out to be fun with a plan b, and then which we finally made correctly!

My first batch of homemade play dough didn’t come together quite right – I think because I ought to have left it on the heat a little longer. But I had already promised Travis “pond-scented” play dough, so thinking quickly we added tea tree oil to the store-bought play dough we had at home.

Pond Playdough (2)

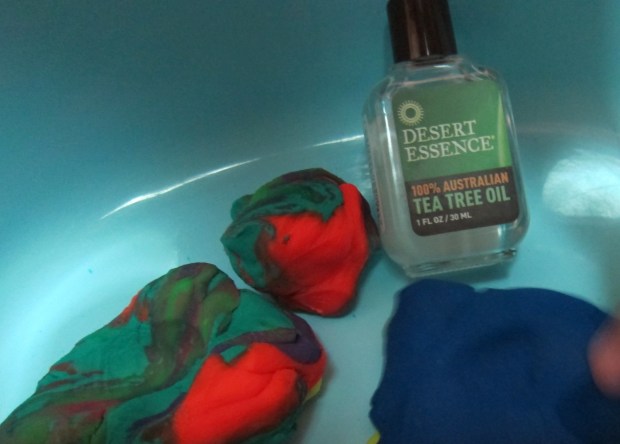
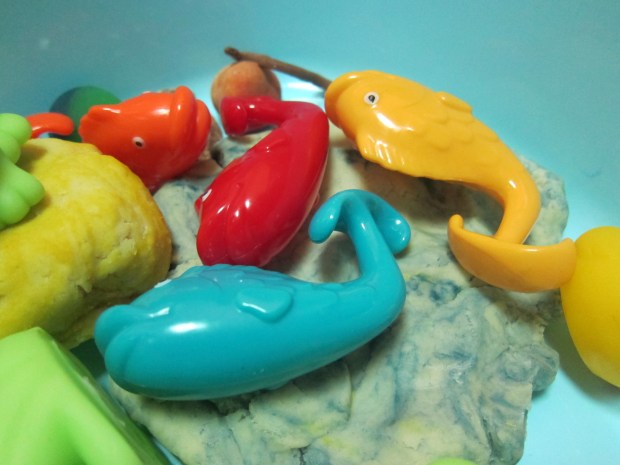
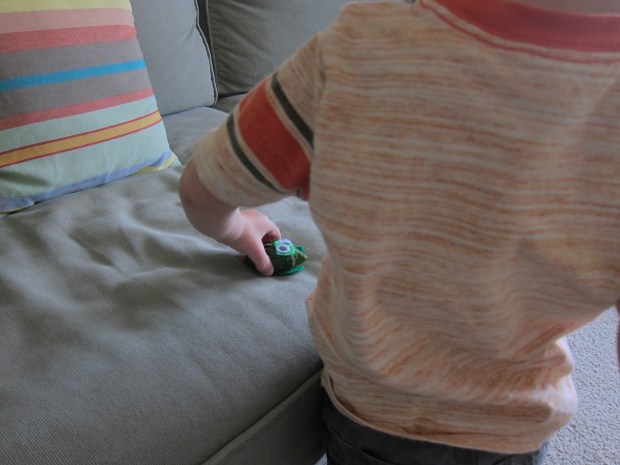
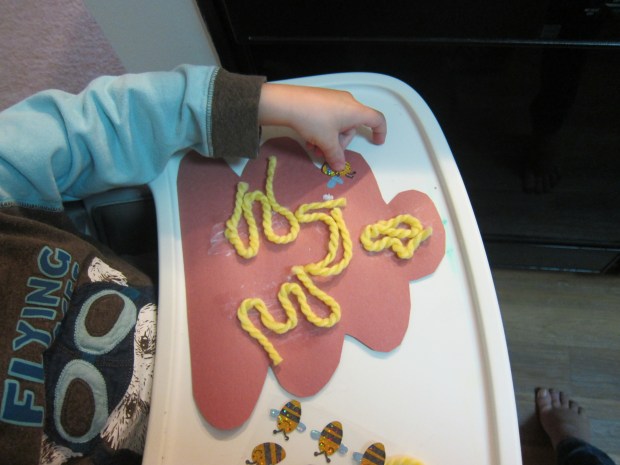
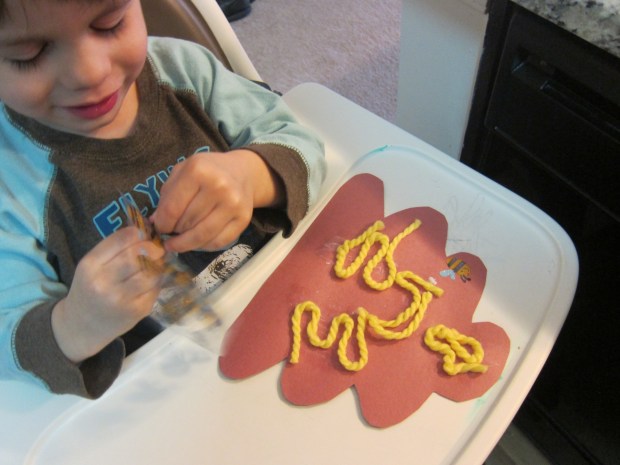
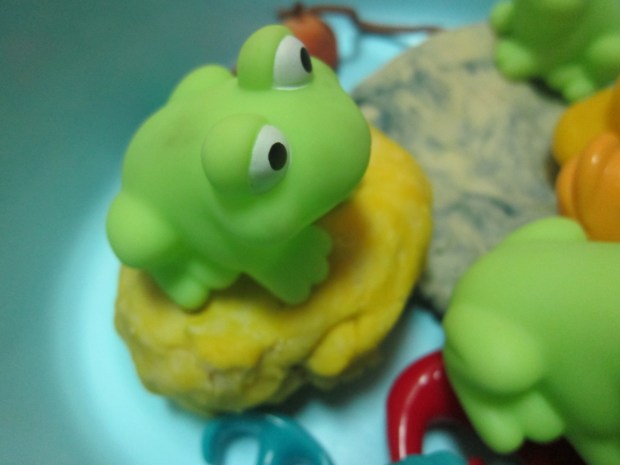
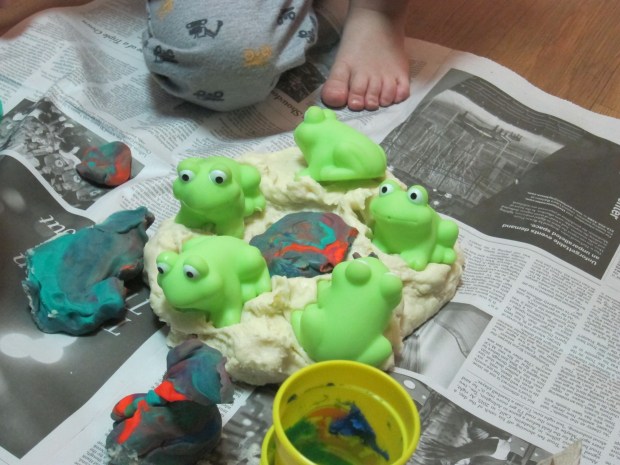
Travis was fascinated by the way it smelled, and soon our play dough became lily pads and water for frogs and fish to play around on.

Pond Playdough (5)

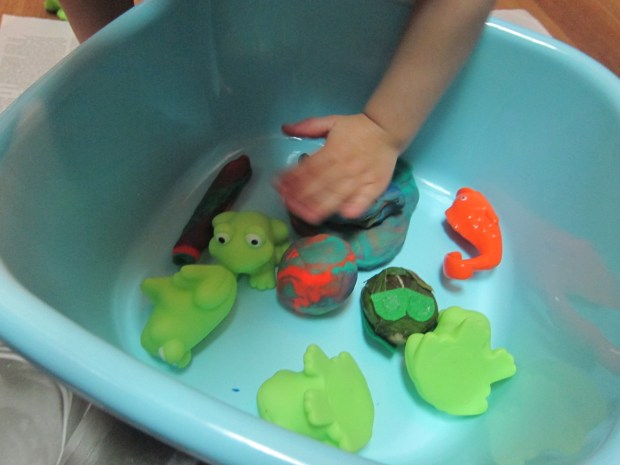
For extra gooey fun, I pulled out the botched batch of play dough anyway. Travis loved the way the frogs sank into it and left impressions behind. Goopy but a good time!

Pond Playdough (6)

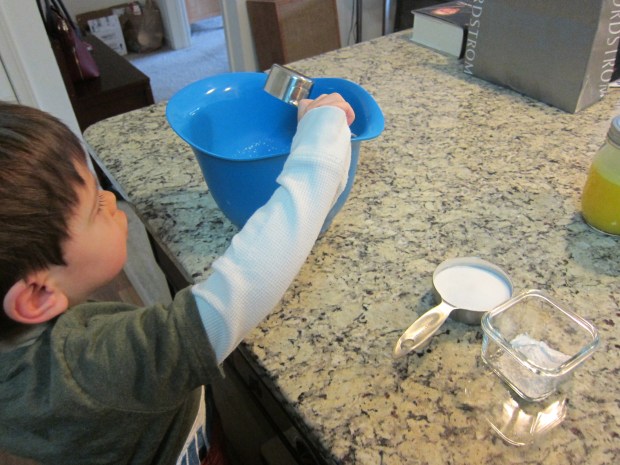
The next day I pulled up a more foolproof recipe. In a bowl, combine:

2 and 1/4 cups flour

1/2 cup salt

2 tablespoons cream of tartar

3 tablespoons oil

1 cup boiling water

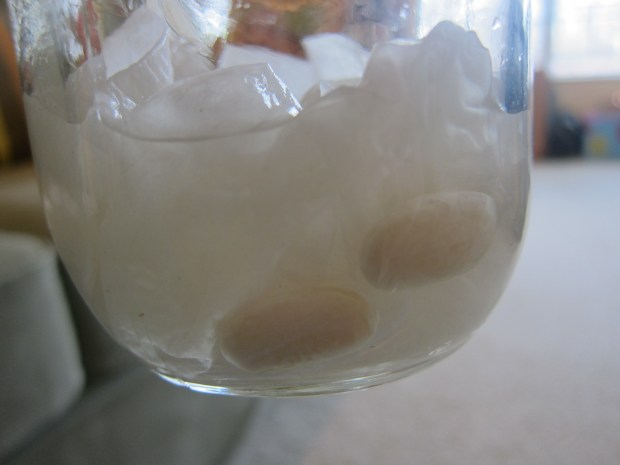
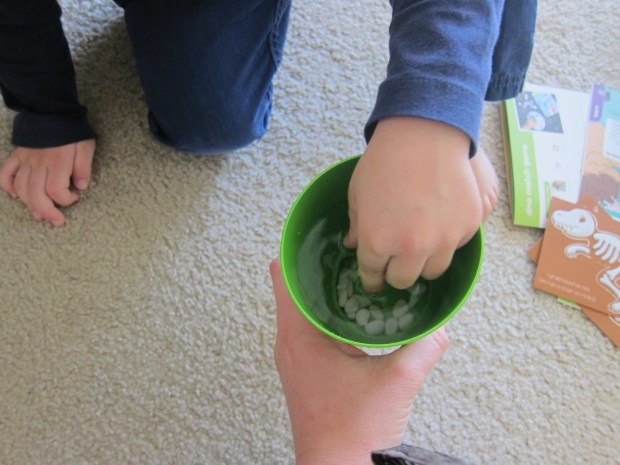
Travis helped combine all the ingredients, except the water, which I poured in last (definitely a grown-up step). Let your dough cool slightly, then need until smooth and workable.

Pond Playdough (7)

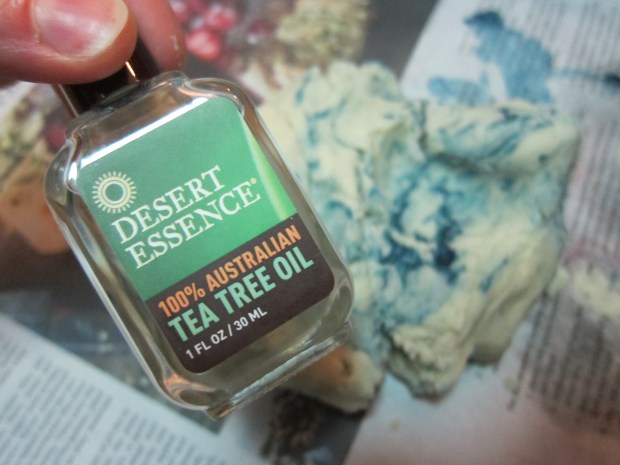
We added natural food coloring for a blue pond.

Pond Playdough (8)

And then of course the tea tree oil.

Pond Playdough (9)

And had fun all over again!

Pond Playdough (12)


Frog Rock

Frog Rock (6)

Here’s a sweet and simple project that comes together fast, with super cute results.

The best part by far was our spring nature walk – we always come home with treasures! Travis found the most perfect rock, and I decided we should turn it into a little frog. This sent us hunting for green leaves to cover our frog with amphibian skin, and Travis loved finding leafy treasures.

Frog Rock (1)

At home, we tore some of the leaves into smaller pieces, and glued them in overlapping patterns on the frog.

Frog Rock (3)

When the glue dried, I added little felt eyes and feet.

Frog Rock

Travis had so much fun leaping his frog about!

Frog Rock (5)

Rock On!

Rock On (3)

As any parent of a rock collector knows, rocks pretty much, well, rock! We’re always finding great stones to add to our collection, but I loved this project from High Five magazine because it upped the stakes a little – we needed to find flat rocks in order to make the project work.

Luckily an outdoor foray yielded just enough smooth flat ones to build a sculpture.

Rock On (8)

The first step was to paint them. I thought we’d use all three primary colors, but yellow didn’t show up very well on the dark gray rocks, so we mostly had a blue and red result.

Rock On (6)

This mama was particularly proud of a green shade she mixed, until a toddler came along and turned it brown – such is motherhood!

Rock on (9)

Let your rocks dry completely.

Rock On (1)

Once dry, we used our largest rock as the base and began gluing them together into a sculpture.

Rock On (2)

And of course what sculpture doesn’t need a healthy heaping portion of extra glue on top?

Rock On (4)

Overall, a very cute twist on rock collecting. What does your sculpture look like? Please share in the comments!

Exploring Seeds

Exploring Seeds (6)

My goal with this project was to show Travis the life cycle of a seed, from dried and hard, to sprouting its first green shoot. Alas, it didn’t entirely work out, but we still had fun!

We started out simple, feeling the bean seeds both before and after we soaked them in water for about an hour.

Exploring Seeds (2)

It was very cool how quickly the skins become wrinkly.

Exploring Seeds (1)

The next morning, the beans were soft enough to split apart with a finger. Travis was really interested in how the soaked beans looked compared to a new set of dried ones – much softer and nearly twice the size.

Exploring Seeds (4)

Select several of your soaked seeds to sprout (not any of the ones you have split in half). Line a mason jar with a paper towel on the bottom, and add about 1 inch of water, swirling to soak the paper towel. Repeat until the paper towel is completely wet and you have about 1 inch of water above it. Add your seeds, placing them between the wet paper towel and the side of the jar.

Exploring Seeds (5)

Now place it some place sunny and wait!

Whether because we’ve had very gray weather and little direct sunlight or because I have no green thumb and drowned our beans, I can’t say… but one way or another, our beans disintegrated instead of sprouting. I will try a different method next time, but this was still a neat nature lesson for a toddler!

Exploring Seeds (7)


Clean Up for Earth!

Clean Up (4)

It’s never too early to teach your children love for this little planet we call home. We set out as a family this Earth Day to pick up trash at a local running trail. Find a park or trail near you on a beautiful day, and your kids will love it… and learn that everyone can help make a difference, no matter how small.

Travis was arguably most excited about the trash bags we carried along and the rubber gloves we got to wear, and headed off very proudly.

Clean Up (2)

Lots of bottle caps and candy wrappers in this neck of the woods!

Clean Up (1)

Whenever we found plastic or metal, we’d point out to Travis that those items don’t belong in the Earth.

Clean Up (3)

It was a beautiful nature excursion to appreciate Earth too, of course – butterflies and ants galore. Travis proudly helped throw our collection into the trash when we had finished.

Once we got home, I made a little pamphlet so we could remember what we had done and invited Travis to draw our adventure inside.

Clean Up (5)

The yellow was his plastic bag…

Clean Up (6)

…and then he told me this blue circle was Earth!

Clean Up (7)


Beehive Card

Beehive (5)

We’re not the only ones happy to be back outside – the bugs are out in force now that spring is here, too! Travis has been very fascinated by the bees this season, so we decided to welcome spring with this cute project. You can hang it at home, or send it as a lovely card to a friend!

I cut a hive shape from brown construction paper to start, and then Travis went to town with a glue stick.

Beehive (1)

Once the paper was very gluey, we added thick yellow yarn.

Beehive (2)

Then of course we needed bee stickers, which I happened to have from the craft store. Travis didn’t stop until his hive was full of a big bee family.

Beehive (3)

We needed a few flower stickers as the final touch of course!

Beehive (4)

Sink or Float? Nature Experiment

Sink Float (4)

Spring is finally here, and we are getting outdoors as much as we can! Yesterday we turned it into a treasure hunt, and I posed a question to Travis… what did he think would sink or float, once we returned home?

Sink Float (1)

We returned with our bag of treasures and he couldn’t wait to find out, so I drew a tub of very full water in the middle of the afternoon. This in and of itself was super exciting!

Sink Float (2)

Now it was time to start tossing in our items one by one. Floating pinecones and bark were a big hit…

Sink Float (7)

…as were flowers, pine needles, and bits of grass.

SInk Float (3)

While we collected things, Travis was very into teeny tiny pebbles, and he was quite surprised that these sank! This was a great way to talk about how floating didn’t depend on the size of something, but on its density compared to that of water.

Sink Float (5)

Once all the items were in the tub, it was time to swish them about with a rake for a while. The play only ended once his shirt was soaked! All in all, great fun.

Sink Float (6)

Acorn Jewels

Acorn Jewels (5).JPG

Although this project didn’t turn out quite as well as I hoped, I still love the idea and want to share!

The first thing you’ll need to make acorn jewels is… acorn caps! We didn’t let winter deter us from heading outside to collect a few. In fact, with all the acorns eaten up by animals, we found lots of large empty caps that were perfect for this project.

Next we needed to wash the winter dirt off of them, so gave the acorn caps a quick bath. This was arguably Travis’s favorite part of the entire project.

Acorn Jewels (1)

Color in each acorn cap with marker, preferably in a variety of jewel tones and bright colors. We used fabric marker, but I think maybe those Mr. Sketch scented markers would work better.

Acorn Jewels (2)

Now fill each cap all the way with glue.

Acorn Jewels (3)

Let sit for 24 to 48 hours – the glue should be completely dried up, and the color will have seeped into it, leaving a jewel tone behind.

Acorn Jewels (4)

What will you do with your acorn jewels? Please share in the comments!

Butterfly Balancing Act

Butterfly Balance (6)

This balancing experiment is a nice way to talk about things like symmetry and centers of gravity, no matter how young your child is! They’ll love the beautiful butterfly you make, and absorb just a little science in the process.

First, I folded a piece of white paper in half and traced butterfly wings. Cut out the wings and unfold – you now have a perfectly symmetrical butterfly!

Butterfly Balance (1)

Now place that paper over something sturdier (we recycled a cereal box) and cut out – this part was definitely a grown-up step.

Travis loved decorating his butterfly with dot paints.

Butterfly Balance (3)

Once dry, it was time to see how it flew!

Using a little bit of playdough to anchor it, I inserted a straw. This will be the stand for the butterfly.


Butterfly Balance (5)

Tape a penny to each corner of the butterflies wings for weight.

Butterfly Balance (4)

Now balance it on the straw! You may need to shift a little until you find the center of balance, but once you do, your little butterfly friend will be aloft.

Butterfly Balance (7)

I confess, I think I was more impressed with the final results than Travis was!

Button Tree

Button Tree (9)

We haven’t let the icy weather deter us from outdoors adventures, including collecting treasures like sticks and winter leaves. But that doesn’t mean we’re not excited to see blossoms on the trees! This adorable button tree is a nice harbinger of spring.

The first step of course is to collect your sticks – head some place beautiful in the summer sunshine for this part!

100 happy (72)

Once home, Travis loved sorting through our collection. I quickly realized that he would be way more in to playing with the sticks than shaping them into a tree on poster board…

Button Tree (1)

…so after he had fun for a while, I took care of gluing our sticks in place.

Button Tree (3)

Once the glue dried, it was time to add the buttons! Travis was very proud to add big drops of glue and press a button “leaf” into place over each one.

Button Tree (6)

We had fun choosing which color buttons to place where.

Button Tree (5)

The final creation was so whimsical!