Meet the Animals

Meet Animals (4)

I find it funny that we still place such emphasis on farm animals and animal noises with babies; most of us, I would bet, do not live on a farm anymore, and yet somehow this has persisted as one of the earliest things children should know. As a vegan family, I also face a dilemma; I want my children to know and understand animals that have traditionally been farmed, but don’t want to visit places that mistreat the animals.

Enter the sanctuary: These places are fantastic for children to get right up close to animals and learn about them. They’re becoming more common, so do seek one out near you!

First, Veronika spent the morning playing with animal toys and reading some of our favorite animal books.

Meet Animals (1)

Then it was off to meet our animal friends! She loved the chickens.

Meet Animals (2)

And this chicken loved her.

Meet Animals (3)

We took the time to stop and watch each animal, and I described their behavior to her. Have you ever watched a chicken take a dust bath? It’s fantastic! Next we checked out the goats.

Meet Animals (6)

If you’re allowed to feed the animals, it will be fun for babies to watch. They obviously can’t do it themselves yet, but a big sibling or parent can help.

Meet Animals (5)

This adorable sheep was delighted watching Veronika after a taste of fresh grass from us.

Meet Animals (7)

Next we checked on some adorable new pigs. “Oink oink,” I said as we watched them play. For each animal, you can make lots of noises in echo every time the animals do; it will help your little one understand the sounds during playtime at home.

Meet Animals (8)

The last stop was this beautiful big steer.

Meet Animals (9)

Now when you continue the play at home, your child will have a true frame of reference for each animal. Veronika later had fun with her plastic bath animals and we moo-ed, baa-ed, oink-ed, and neigh-ed our way through bathtime.

Go On a Nature Trail

Nature Walk (13).JPG

Spring has sprung!

For my baby girl, born just as autumn turned cold and gave way to winter, I have been waiting and waiting for this first spring day to show her that the world can be warm and wonderful. So today we took advantage and took her on a nature walk! You can do this activity in any park or wooded trail near you, or even in your own backyard. The goal is simply to engage all the senses and introduce baby to nature.

Strapped in the front carrier, I narrated everything we could see to Veronika, including trees and the first spring flowers. Hello purple!

Nature Walk (17)

If you want, let your baby get up close and feel interesting finds, like the bark of a tree or a smooth stick or soft leaf.

Nature Walk (8)

You can also stop to smell, whether the fresh grass of the meadow we walked through, or any plants you find.

Nature Walk (7)

Don’t forget abut the sense of hearing. We were delighted to happen upon a pond full of chirping sounds! At first I assumed it was birds, but then realized it was more likely frogs.

In sum, the simplest of outdoor trails will be full of wonders for your little one.

Nature Walk (9)

Leaves + Contact Paper = Fall Placemat

Fall Placemat (5).JPG

It’s been a rather disappointing autumn for leaf color in our neck of the woods, with oddly warm temperatures keeping the leaves stubbornly green. Happily, we returned home from a recent nature walk with enough leaves that had managed to turn shades of red, orange, and yellow, and knew we needed a quick project for them. Here we are on the hunt – it’s finally cold!

Nature alph (4)

If you want to make this a science project as well as an art one, talk about how the leaves stop producing chlorophyll this time of year, which reveals the hidden autumn shades under the green. I touched on the matter briefly, but really we were just happy to come home with pretty finds.

Fall Placemat (2)

To easily preserve your leaves, make this placemat:

Place a piece of contact paper, sticky side up, on a work surface. Travis got impish at first, and wanted to stick his hands to the paper a few times!

Fall Placemat (1)

Encourage your child to arrange the leaves in whatever manner they see fit, varying the shapes, size, and colors until they are happy with their arrangement.

Fall Placemat (3)

Seal the leaves by placing a second sheet of contact paper, sticky side down, on top. Trim to size and voila – you have the perfect fall placemat.

Fall Placemat (4)

If you have the inclination and enough leaves, go ahead and make several; these would make wonderful holiday placemats. For Thanksgiving decor, perhaps?

Fall Placemat (6)


Nature’s Alphabet

Nature alph v

How do you keep the alphabet fresh and fun for a preschooler who knows all his or her letters? Search for the letters outside, of course! This nature activity will challenge your child’s brain to see letters in whole new ways, all while getting some fresh air.

Take about a crisp fall day – we needed to pull out our winter coats, but the sunshine was gorgeous.

Nature alph (3)

First we made a list of the alphabet so we could keep track as we hunted. This is a good chance to review all the letters, or sing the ABC song if your child is learning alphabetical order.

Nature alph (1)

If your child has a camera or nature notebook, this hunt is also a great opportunity to use both! Travis is so proud whenever he takes pictures, although I had my camera, too, to catch closeups of the letters we spotted.

Nature alph (2)

Don’t try and find the letters in order – you’ll drive yourselves crazy. Instead, we stretched our eyes and imaginations, and saw what came to us.

Nature alph x

A few are easy, like x’s and A’s.

Nature alph a

Don’t forget to look up! There was a D in the curve of the branches when we looked up at this tree.

Nature alph d

Travis thought the three holes in this leaf looked like an M


Nature alph m

If we squinted, this funny shape in a tree’s trunk became a Q.

Nature alph q

Y’s are relatively easy to spot (think of Y-shaped sticks), but we liked finding them in shadows, too.

Nature alph y

We loved this spiderweb sparkling in the sunshine. No letter was immediately evident, but perhaps you can make out E’s or F’s marching along the side.

Nature alph f

In sum, this hunt was a great way to spend the afternoon outside together, and sneak in some learning! We didn’t find every letter, but we had fun trying.

Nature alph o

Twig Stars

Twig Stars (10).JPG

There is a beautiful, yuletide feel to these stars, although here we are crafting them in October! Make them now, or set the idea aside for the upcoming Christmas season.

For each star, you’ll need 5 sticks that are roughly the same thickness and length; break any to the proper size if they are too long.

Twig Stars (1)

I hot glued the stars together, then set Travis up with tidbits to decorate them – berries, pine needles, a bowl of glue, and a bowl of glitter. Little pinecones would look sweet, too.

Twig Stars (2)

First dunk the berries in the glue, then immediately transfer to the glitter. He loved this part!

Twig Stars (3)

If you like, dunk in the tips of your pine needles, too, or any other nature finds you have to add to your stars. Let dry completely.

Twig Stars (5)

The next morning, we dabbed glue all over the stick stars, and added our berries and other treasures.

Twig Stars (6)

Travis got a bit impish and loved smearing glue over the leftover glitter on our work surface, too. Good thing I had things covered with a layer of foil!

Twig Stars (7)

Hang the resulting stars from twine, indoors or out.

Twig Stars (9)

As mentioned, these would be beautiful at Christmas, but will light up a windowsill or other area of your home any time!

Twig Stars (8)

Nature Hunt Treasure Stick

Nature Hunt Stick (6)

This neat idea from KiwiCo’s website is a great way to bring home treasures from the outside world. Bonus points if you craft it while you’re still out in the woods!

We went for a short walk after a morning of classes, bringing along two Y-shaped sticks that I’ve hoarded just for this purpose.

Nature Hunt Stick (1)

As we walked, we gathered anything we deemed a “treasure” – leaves we liked, little flowers, berries, and more.

Nature Hunt Stick (4)

Back at the park entrance, we seated ourselves at a picnic table and I showed Travis how to wind yarn (which I’d brought along) around the Y of his stick. Keep wrapping all the way up the Y, then tie the yarn off.

Nature Hunt Stick (3)

Now tuck in your treasures!

Nature Hunt Stick (5)

Travis and I each made one, reflecting the various things we’d found beautiful along the way.

Nature Hunt Stick (8)

A great way to get outside with your little one in these wonderful autumn days.

Nature Hunt Stick (7)


Acorn Owls

Acorn Owls (3)

It’s autumn, and for us that means the best time of year for nature walks. Some of the supplies we bring home are perfect to play with together, crafting into games or animals. But this one was more of a grown-up project that I put together for Travis, involving very fine fingerwork. He loved playing with the resulting toy! Bigger kids can, of course, help make the “owls” as well.

The longer and taller an acorn you can find for this project the better, and you’ll also want acorns without the caps. My acorns actually weren’t ideal, but I worked with what I had after a pretty stroll.

Acorn Owls (1)

Cut out tiny owl features from various colors of felt. We had pink wings and yellow beaks. If I had been patient enough, I would have cut small felt eyes, but instead used a sharpie for this final step.

Acorn Owls (2)

Glue on the details, and let dry completely. You can also cut out a felt tree or branch for the owls to hang out on. Travis delighted in these little creatures.

Acorn Owls (4)

Perhaps next time we’ll turn our acorns into different animals – what would you suggest? Please share in the comments!

Acorn Owls (5)

Leaf Drawings

Leaf Drawings (7)

A recent nature walk yielded up the first of fall’s changing leaves, and we knew we had to make art with them when we got home!

My original title for this post was going to be “leaf butterflies”, since when I saw all the pretty leaves, I immediately thought of little butterfly and bug wings. Travis had plans of his own, hence the more generic title of “leaf drawings.” Read on!

For the original butterfly idea, I drew a few bug bodies in crayon, and Travis helped select which leaves would be their wings.

Leaf Drawings (2)

Liberal application with a glue stick was all we needed to attach “wings” and googly eyes to each critter.

Leaf Drawings (4)

But Travis wanted to make his own picture with the remaining leaves, and began gluing and coloring.

Leaf Drawings (3)

“It’s you and me in a leaf pile!” he explained proudly, showing me his first one. A second “leaf pile” work of art soon followed.

Leaf Drawings (6)

What other drawings would you make featuring leaves from a nature walk? Please share in the comments!

Leaf Drawings (5)

Nature Crate

Koala Nature (26)

It seemed funny to receive this crate late into Travis’s Koala subscription, especially since we received glowing nature just about a year ago. But we’re always game to explore nature around here, and fall is the perfect time to do it.  So bring on the projects! As always, you can DIY these crafts with materials from your local craft store, with only a little variation.

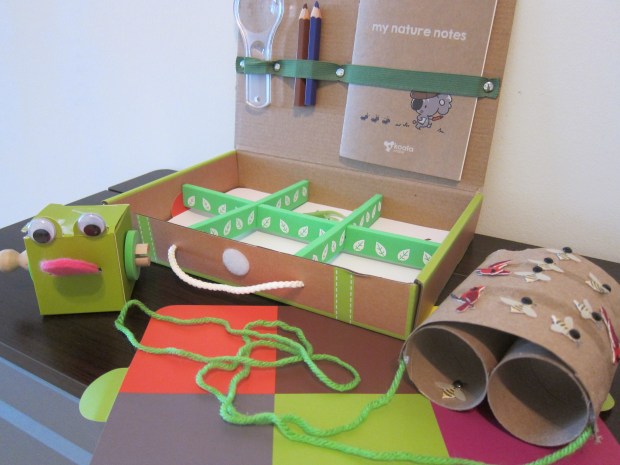
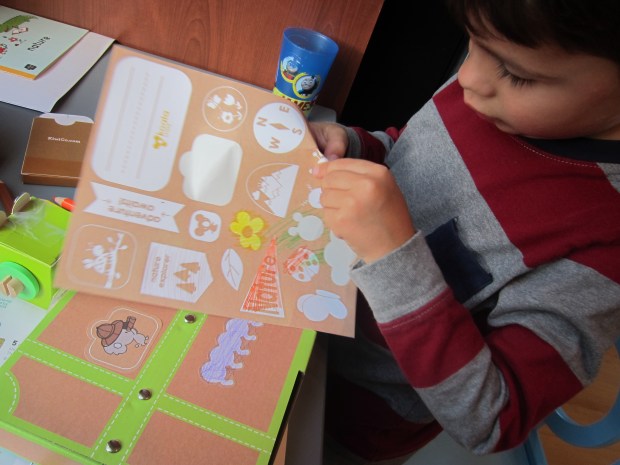
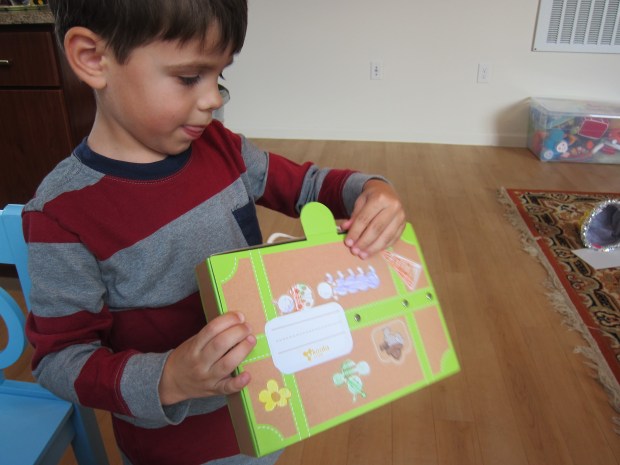
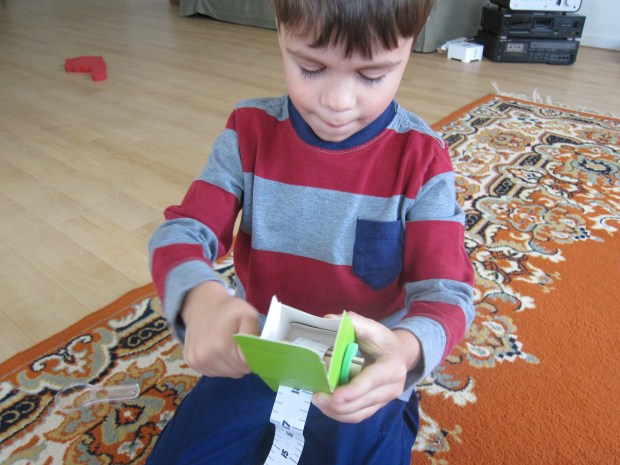
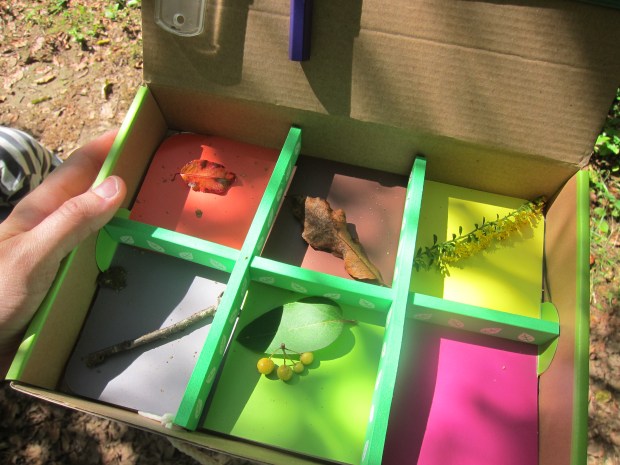
First, we put together the Scavenger Hunt Box. Color in the provided stickers with the included pack of colored pencils, and decorate the provided cardboard box.

Koala Nature (14)

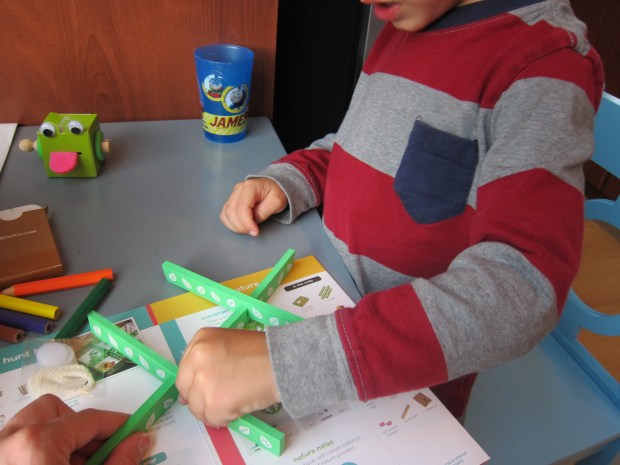
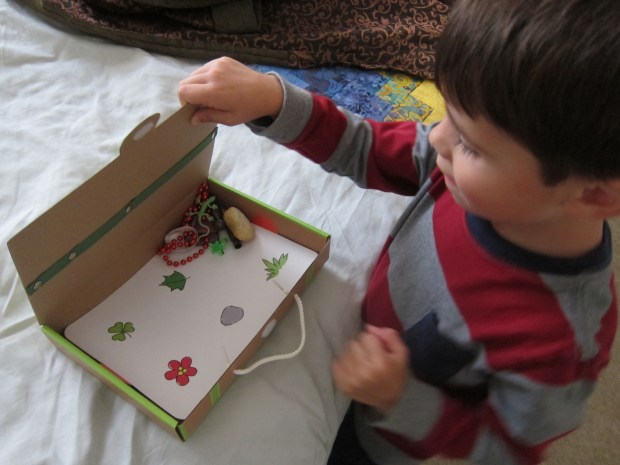
The mechanics for the inside of the box are simple; slot three foam dividers together, and insert into the box.

Koala Nature (15)

There are various scavenger hunt cards that then can be placed in the box (more on that later!), so choose which you’ll start with, place in the box, and top with the dividers. A simple Velcro sticky dot closes the box, then loop the provided cord through two holes for a handle.

Koala Nature (16)

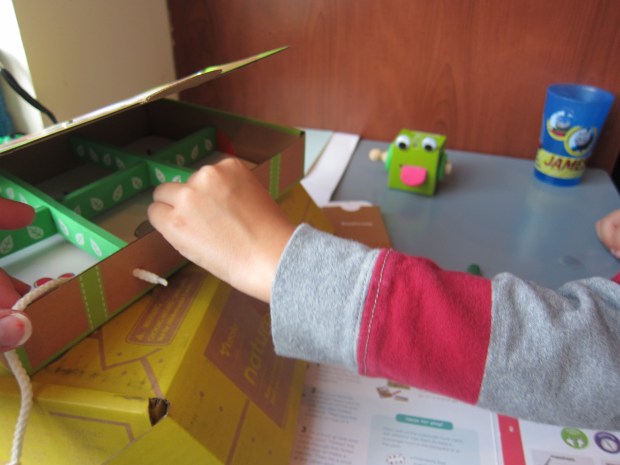
Travis was so proud of his box, which he toted all around the apartment.

Koala Nature (17)

Indeed, your child may decide that it’s just as fun to fill it with treasures that aren’t from nature, and that’s ok!

Koala Nature (18)

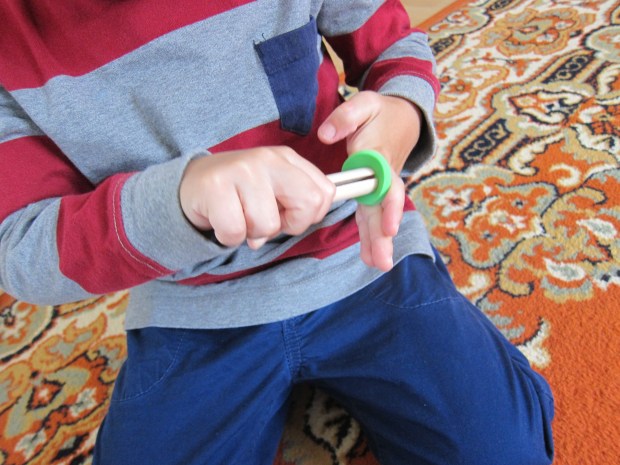
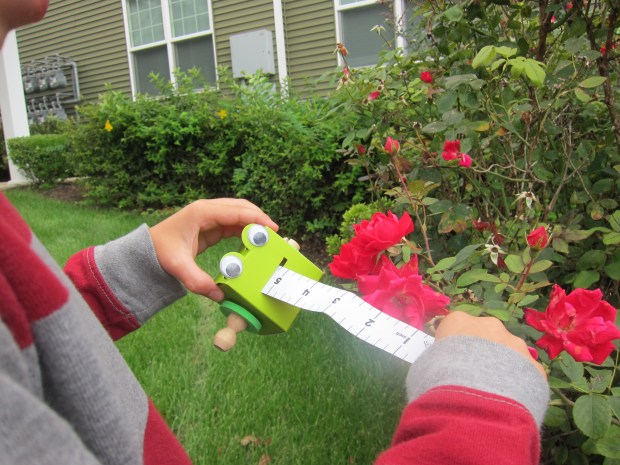
The second project (although actually the one we put together first) was Discovery Tools – a frog measuring tape and a magnifying glass. As with many Koala projects, this involved a nice opportunity to exercise fine motor skills. We folded up the provided green “frog box.”

Koala Nature (1)

Then we pushed a foam ring onto the clothespin and inserted the clothespin into a hole in the box.

Koala Nature (2)

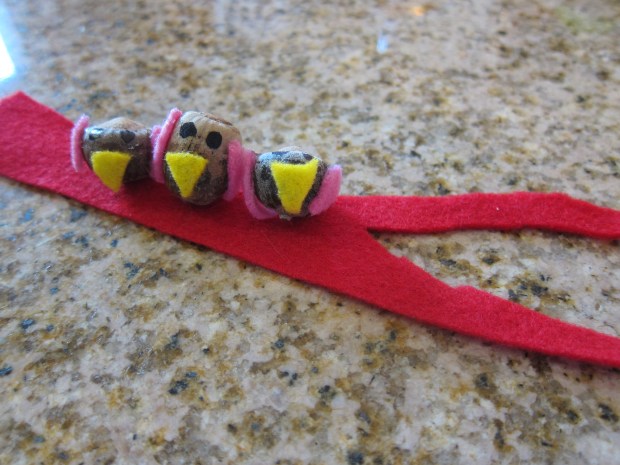
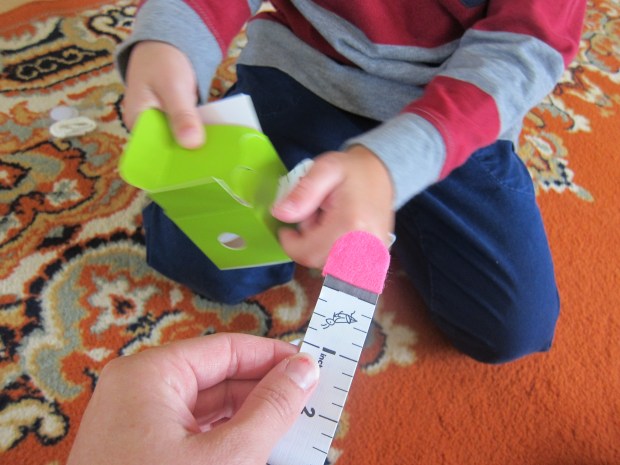
Next, we attached two pieces of sticky pink felt at the bottom of the measuring tape. Now thread the measuring tape through a slit in the box, then through the clothespin. Seal the clothespin with a second foam ring.

Koala Nature (3)

Now twist the clothespin so the measuring tape winds up.

Koala Nature (5)

Travis absolutely adored his frog, and spent the entire afternoon winding up the tape, pulling the “tongue” out as long as it would go, and winding again.

Koala Nature (6)

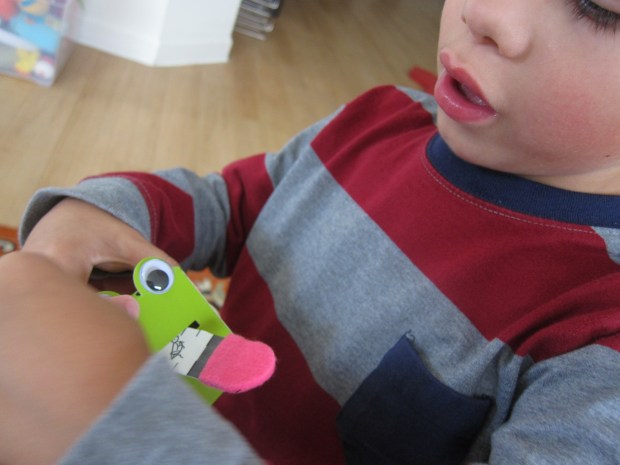
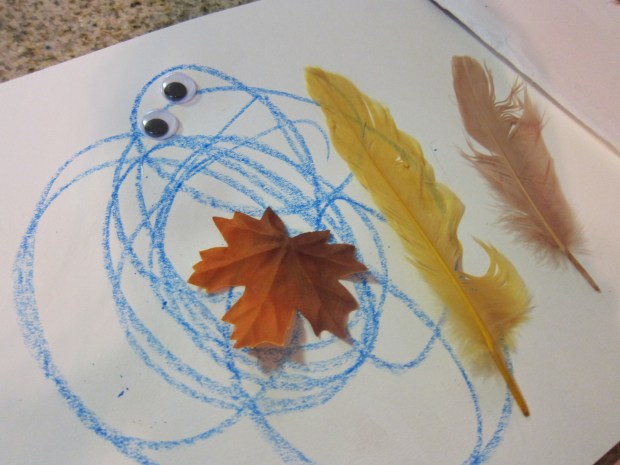
We took a quick moment to add the finishing touch, two frog googly eyes, before he was back to winding and unwinding.

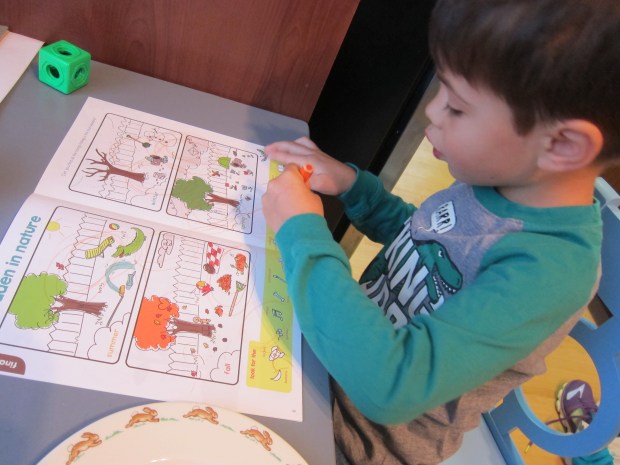
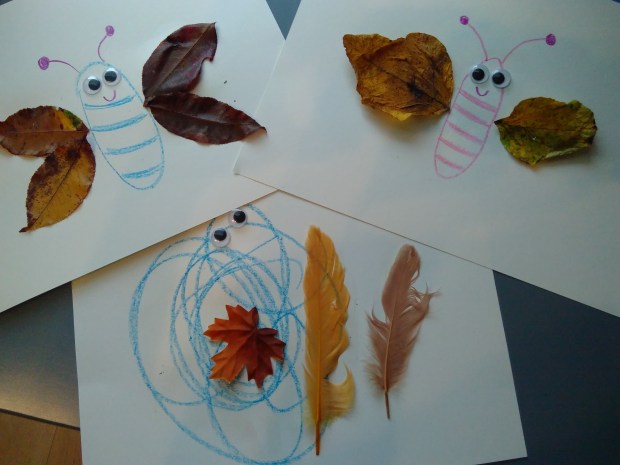
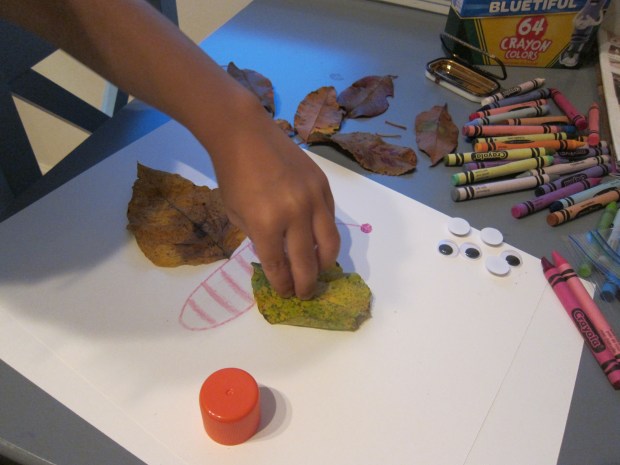
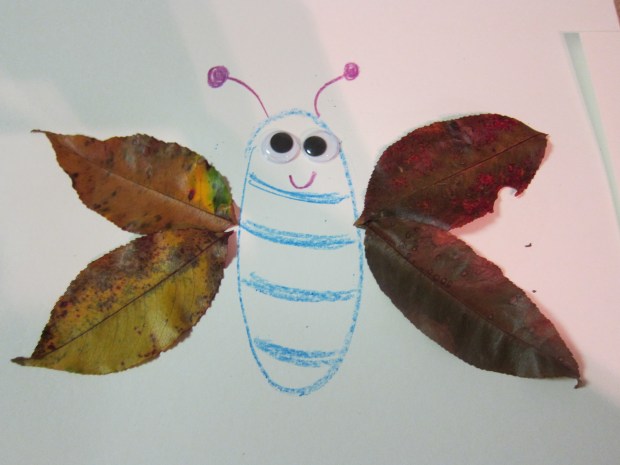
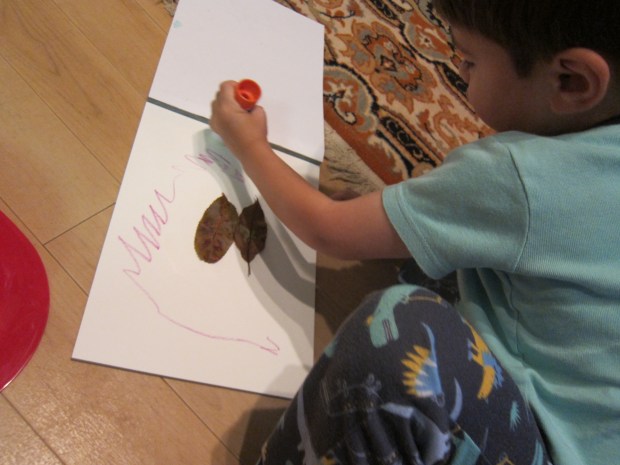
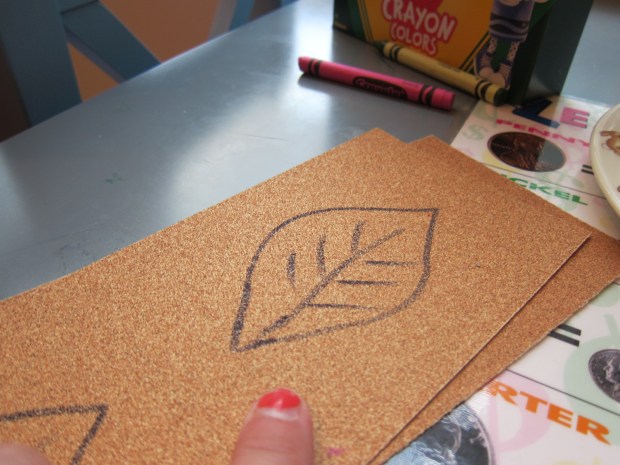
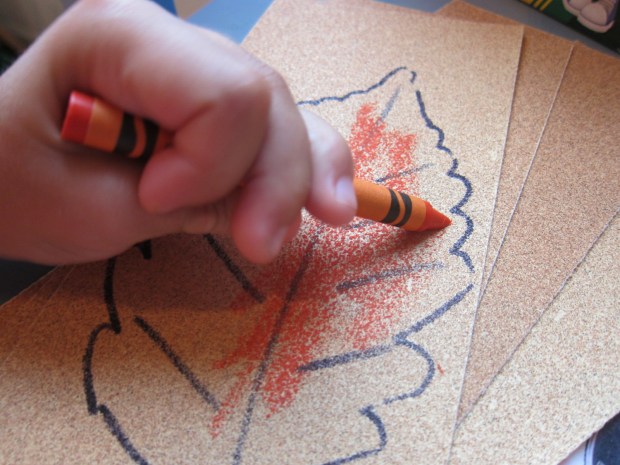
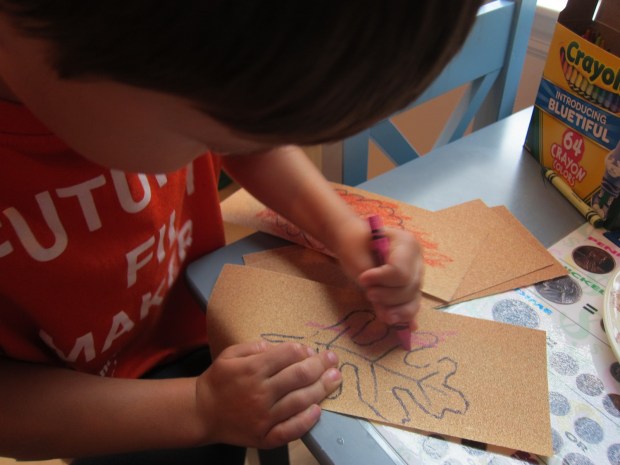
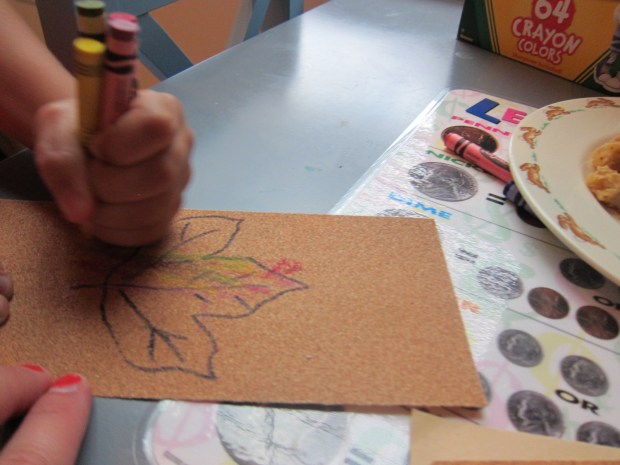
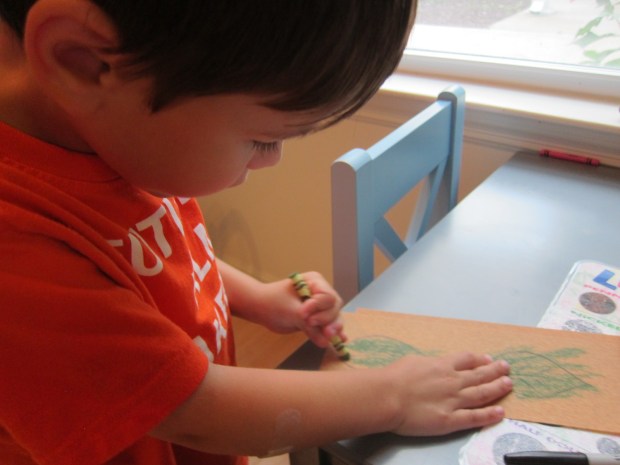
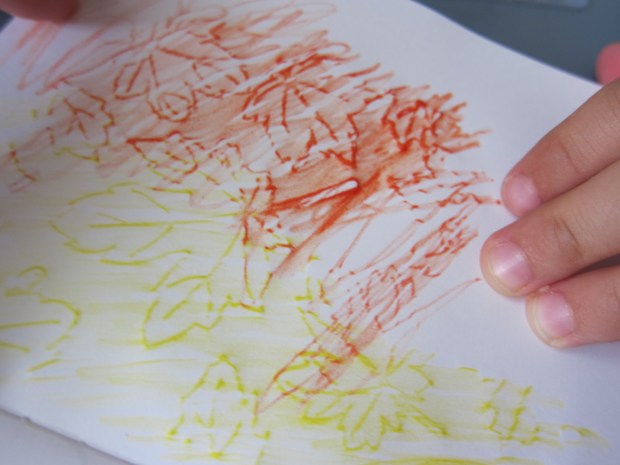
With the third project, Nature Notes, it was time to put it all together! I confess I was initially disappointed this third activity wasn’t a “craft”, but rather a booklet of nature walk ideas … but I stand corrected, because wow was there lots to discover and do! First, the kit comes with bumpy plastic inserts that slip beneath the pages of the nature notebook to make “nature rubbings.”

Koala Nature (20)

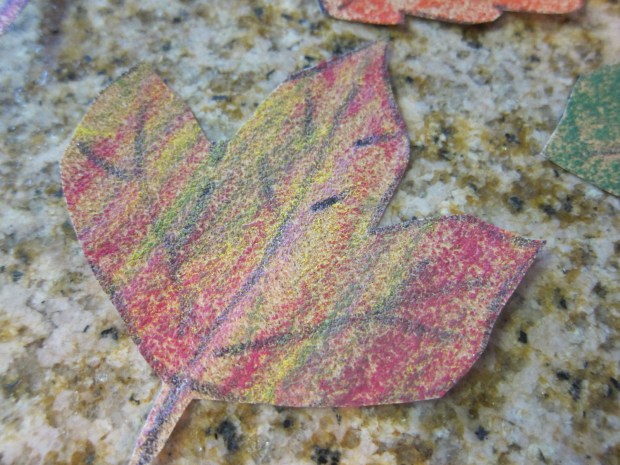
Travis loved watching the images appear!

Koala Nature (21)

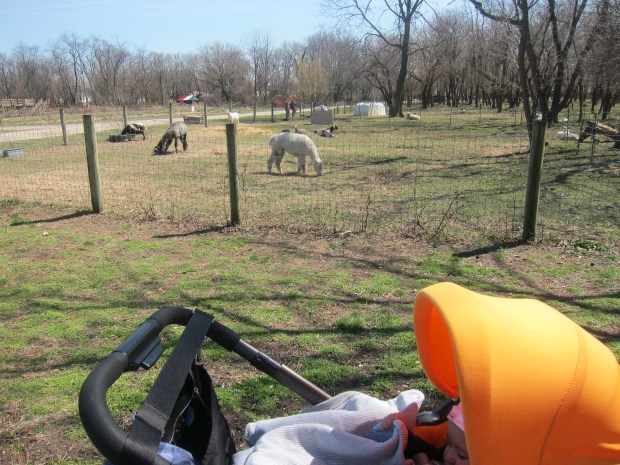
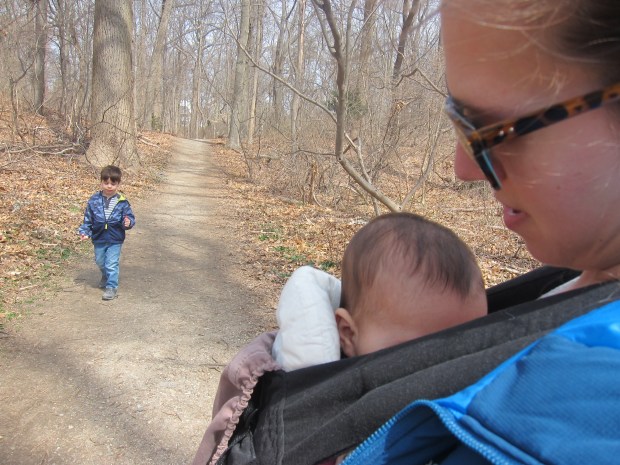
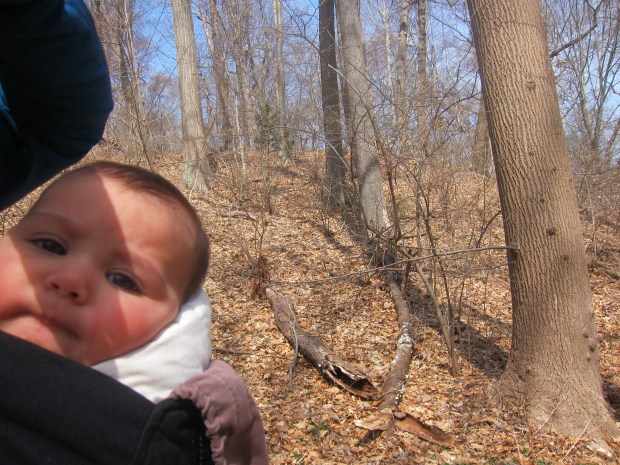
But the real fun is in taking it all outdoors. The notebook is so chock-full of activities there were almost too many for me to describe in this post.

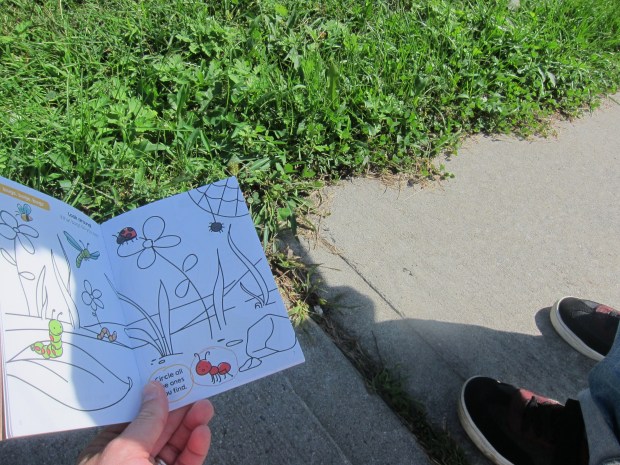
For starters, now we could use those three scavenger hunt cards in the box. First we tackled the card simply looking for items: flowers, sticks, clovers etc.

Koala Nature (30)

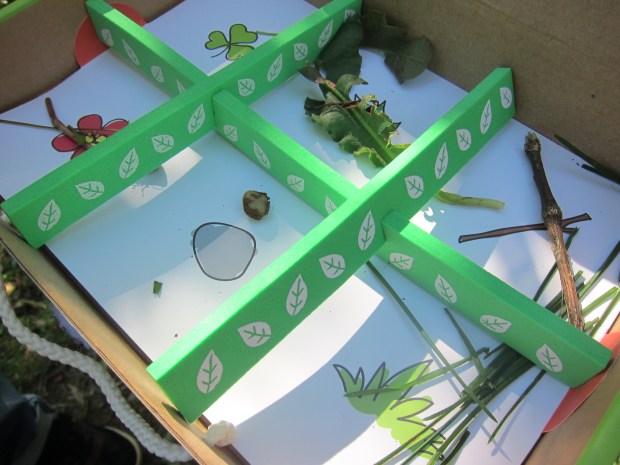
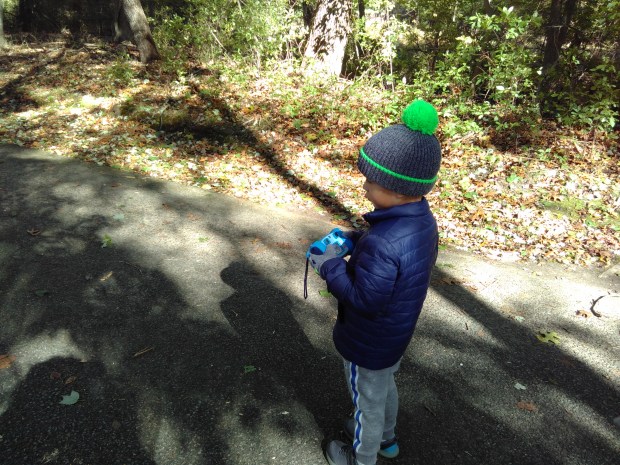
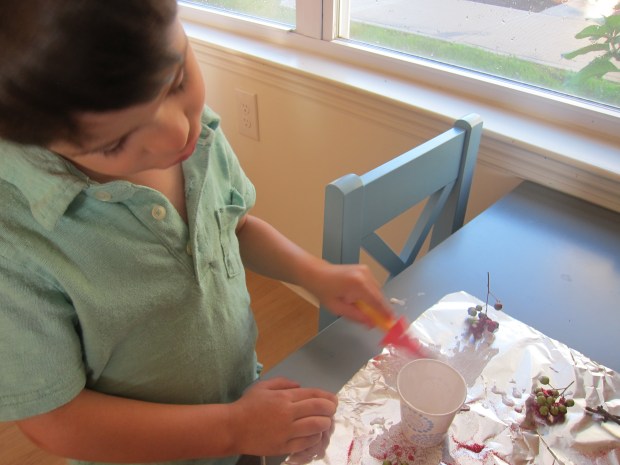
Next up was a color hunt – definitely the prettiest!

Koala Nature (32)

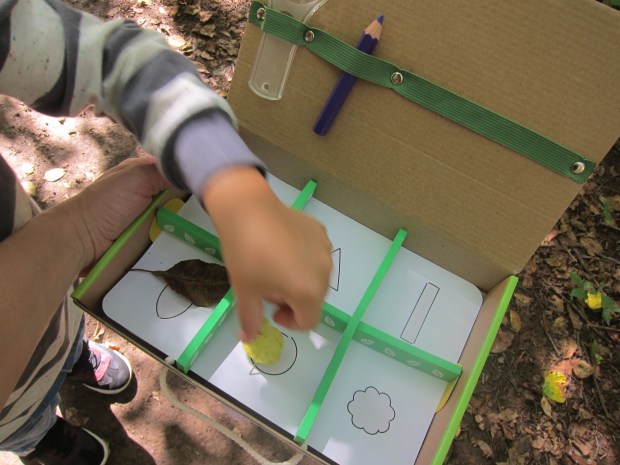
The final card, a shape hunt, proved quite tricky, especially the rectangle and square.

Koala Nature (33)

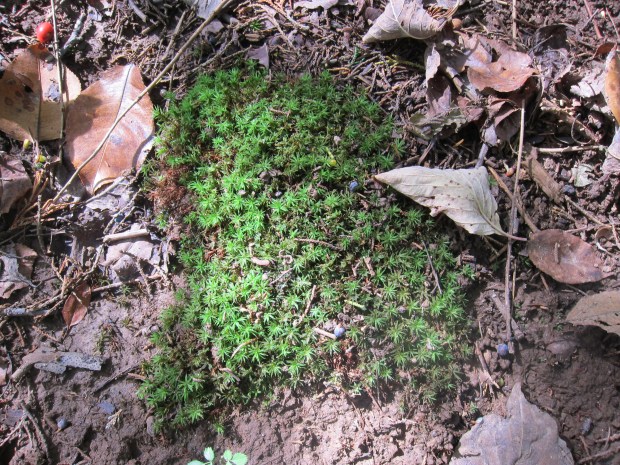
Perhaps this square of moss counted, but we couldn’t fit it in our box.

Koala Nature (35)

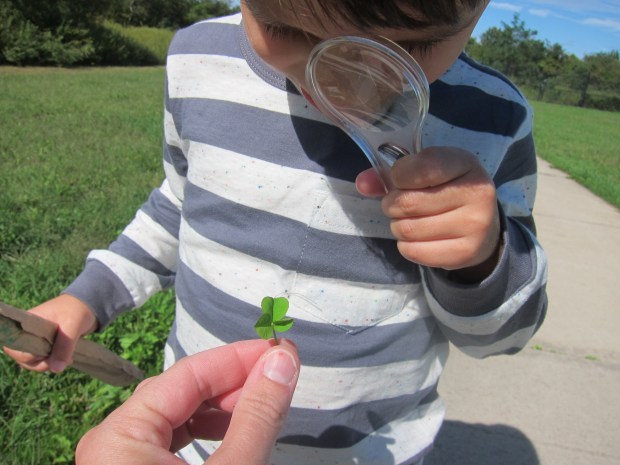
As we walked, we also used the Nature Notes booklet for lots more activities, including: discovering with all five senses; peering at items with our magnifying glass;

Koala Nature (27)

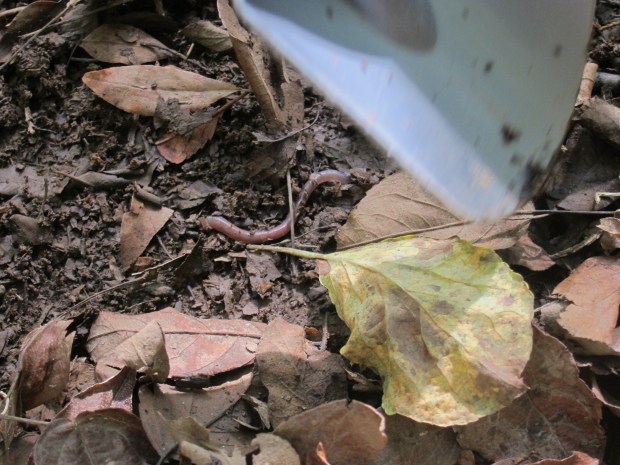
and his favorite, a bug hunt.

Koala Nature (28)

He loved this worm.

Koala Nature (34)

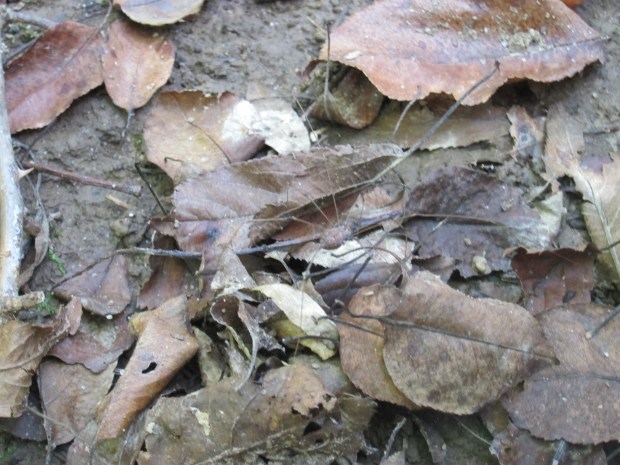
And look how huge this daddy long legs was!

Koala Nature (36)

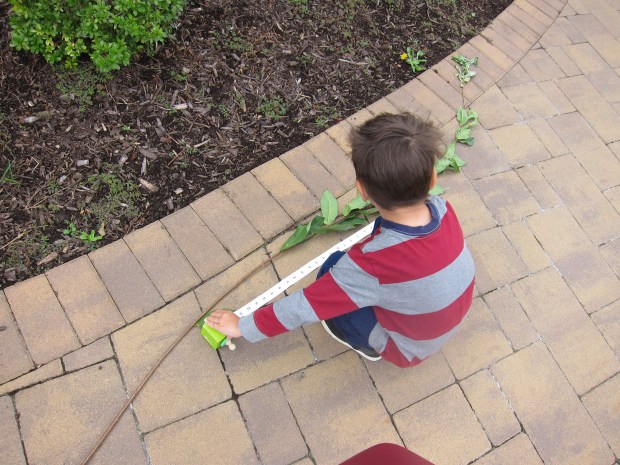
Don’t forget to measure with the Froggie, too! Soon we were measuring flowers, leaves, sticks, and more.

Koala Nature (29)

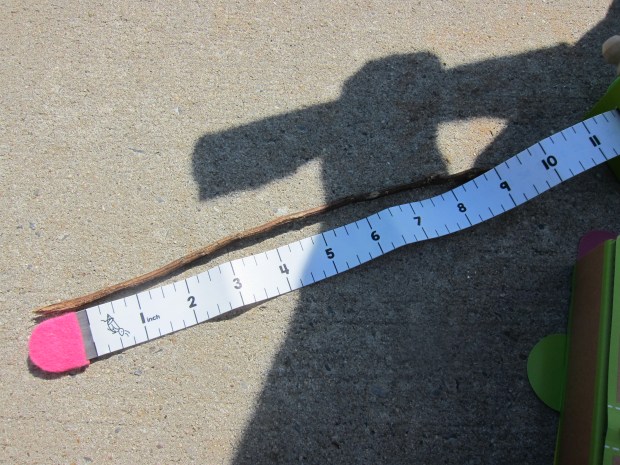
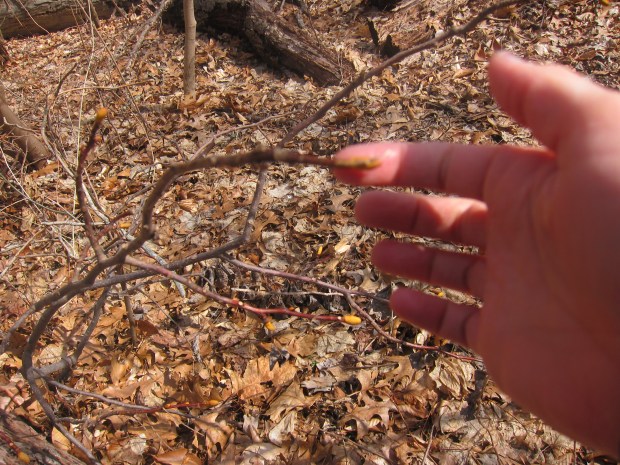
Whoa, this branch was longer than our tape!

Koala Nature (11)

The Nature Notes includes a few helpful prompts, such as finding out how wide across is a leaf…

Koala Nature (31)

… or the width of two flower petals.

Koala Nature (8)

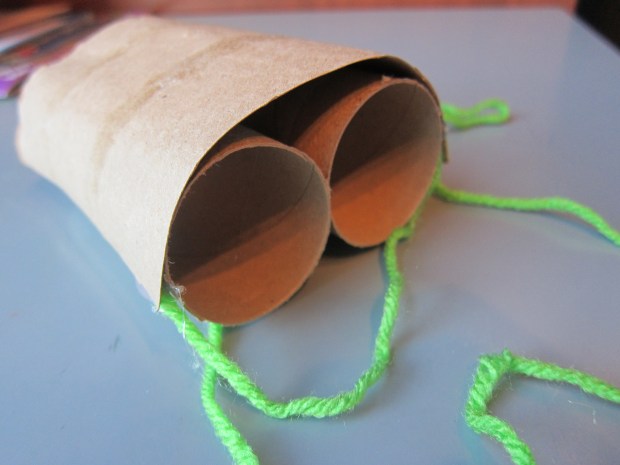
As a final component of our kit, we put together the suggested set of DIY Binoculars, almost identical to a project we put together back in the spring, but we lost the old pair! I hot glued together two toilet paper tubes, then hot glued yarn on the edges. Cut a third toilet paper tube down the middle, and stretch over the top of the other two tubes. Glue into place.

Koala Nature (23)

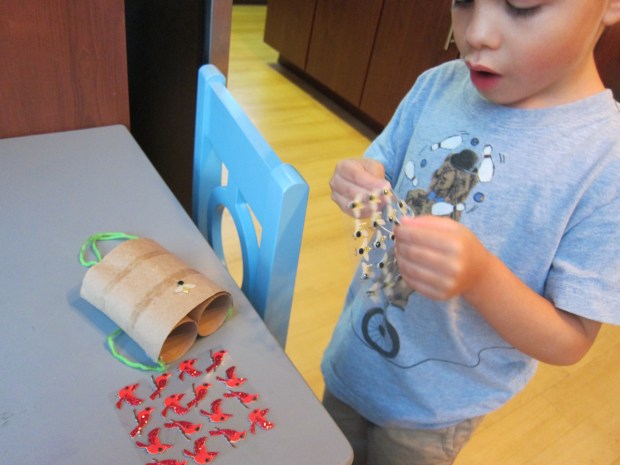
Travis decorated this set with bees and birds!

Koala Nature (25)

So in sum, lots of fun, lots of learning, lots of getting out there in the dirt, and all kinds of exploration to be had. Thanks Koala!

Koala Nature (19)


Sandpaper Leaves

Sandpaper Leaves (7).JPG

We often think of leaf crafts as projects for the autumn, but here’s one that can be done in nearly every season (except winter!). It combines a little bit of nature, a little bit of sensory art, and a little bit of coloring all in one.

After a full family day at the park, we returned home with a collection of leaves. All of them were green this time of year (late summer), but we found leaves in as many different shapes as possible, everything from nearly oval, to trefoil, to pointy.

Sandpaper Leaves (1)

Once home, I traced the leaves in permanent marker on sandpaper, making sure to include lines for the veins (a quick little science lesson on how leaves drink their water!)

Sandpaper Leaves (4)

Travis loved selecting colors and filling in each leaf, with the sandpaper adding extra tactile fun.

Sandpaper Leaves (2)

He made some leaves true to life (oranges, greens), and went beyond nature with a few others in vibrant pinks.

Sandpaper Leaves (3)

Best of all was when he grabbed a handful of crayons for a rainbow leaf – his own invention.

Sandpaper Leaves (6)

Cut out the leaves and paste up on the walls or use as pretty gift cards the next time you send a loved one something special.

Sandpaper Leaves (5)

We loved this variation on leaf art!

Sandpaper Leaves (8)