Smelly Christmas Tree

Smelly Christmas Tree (7)

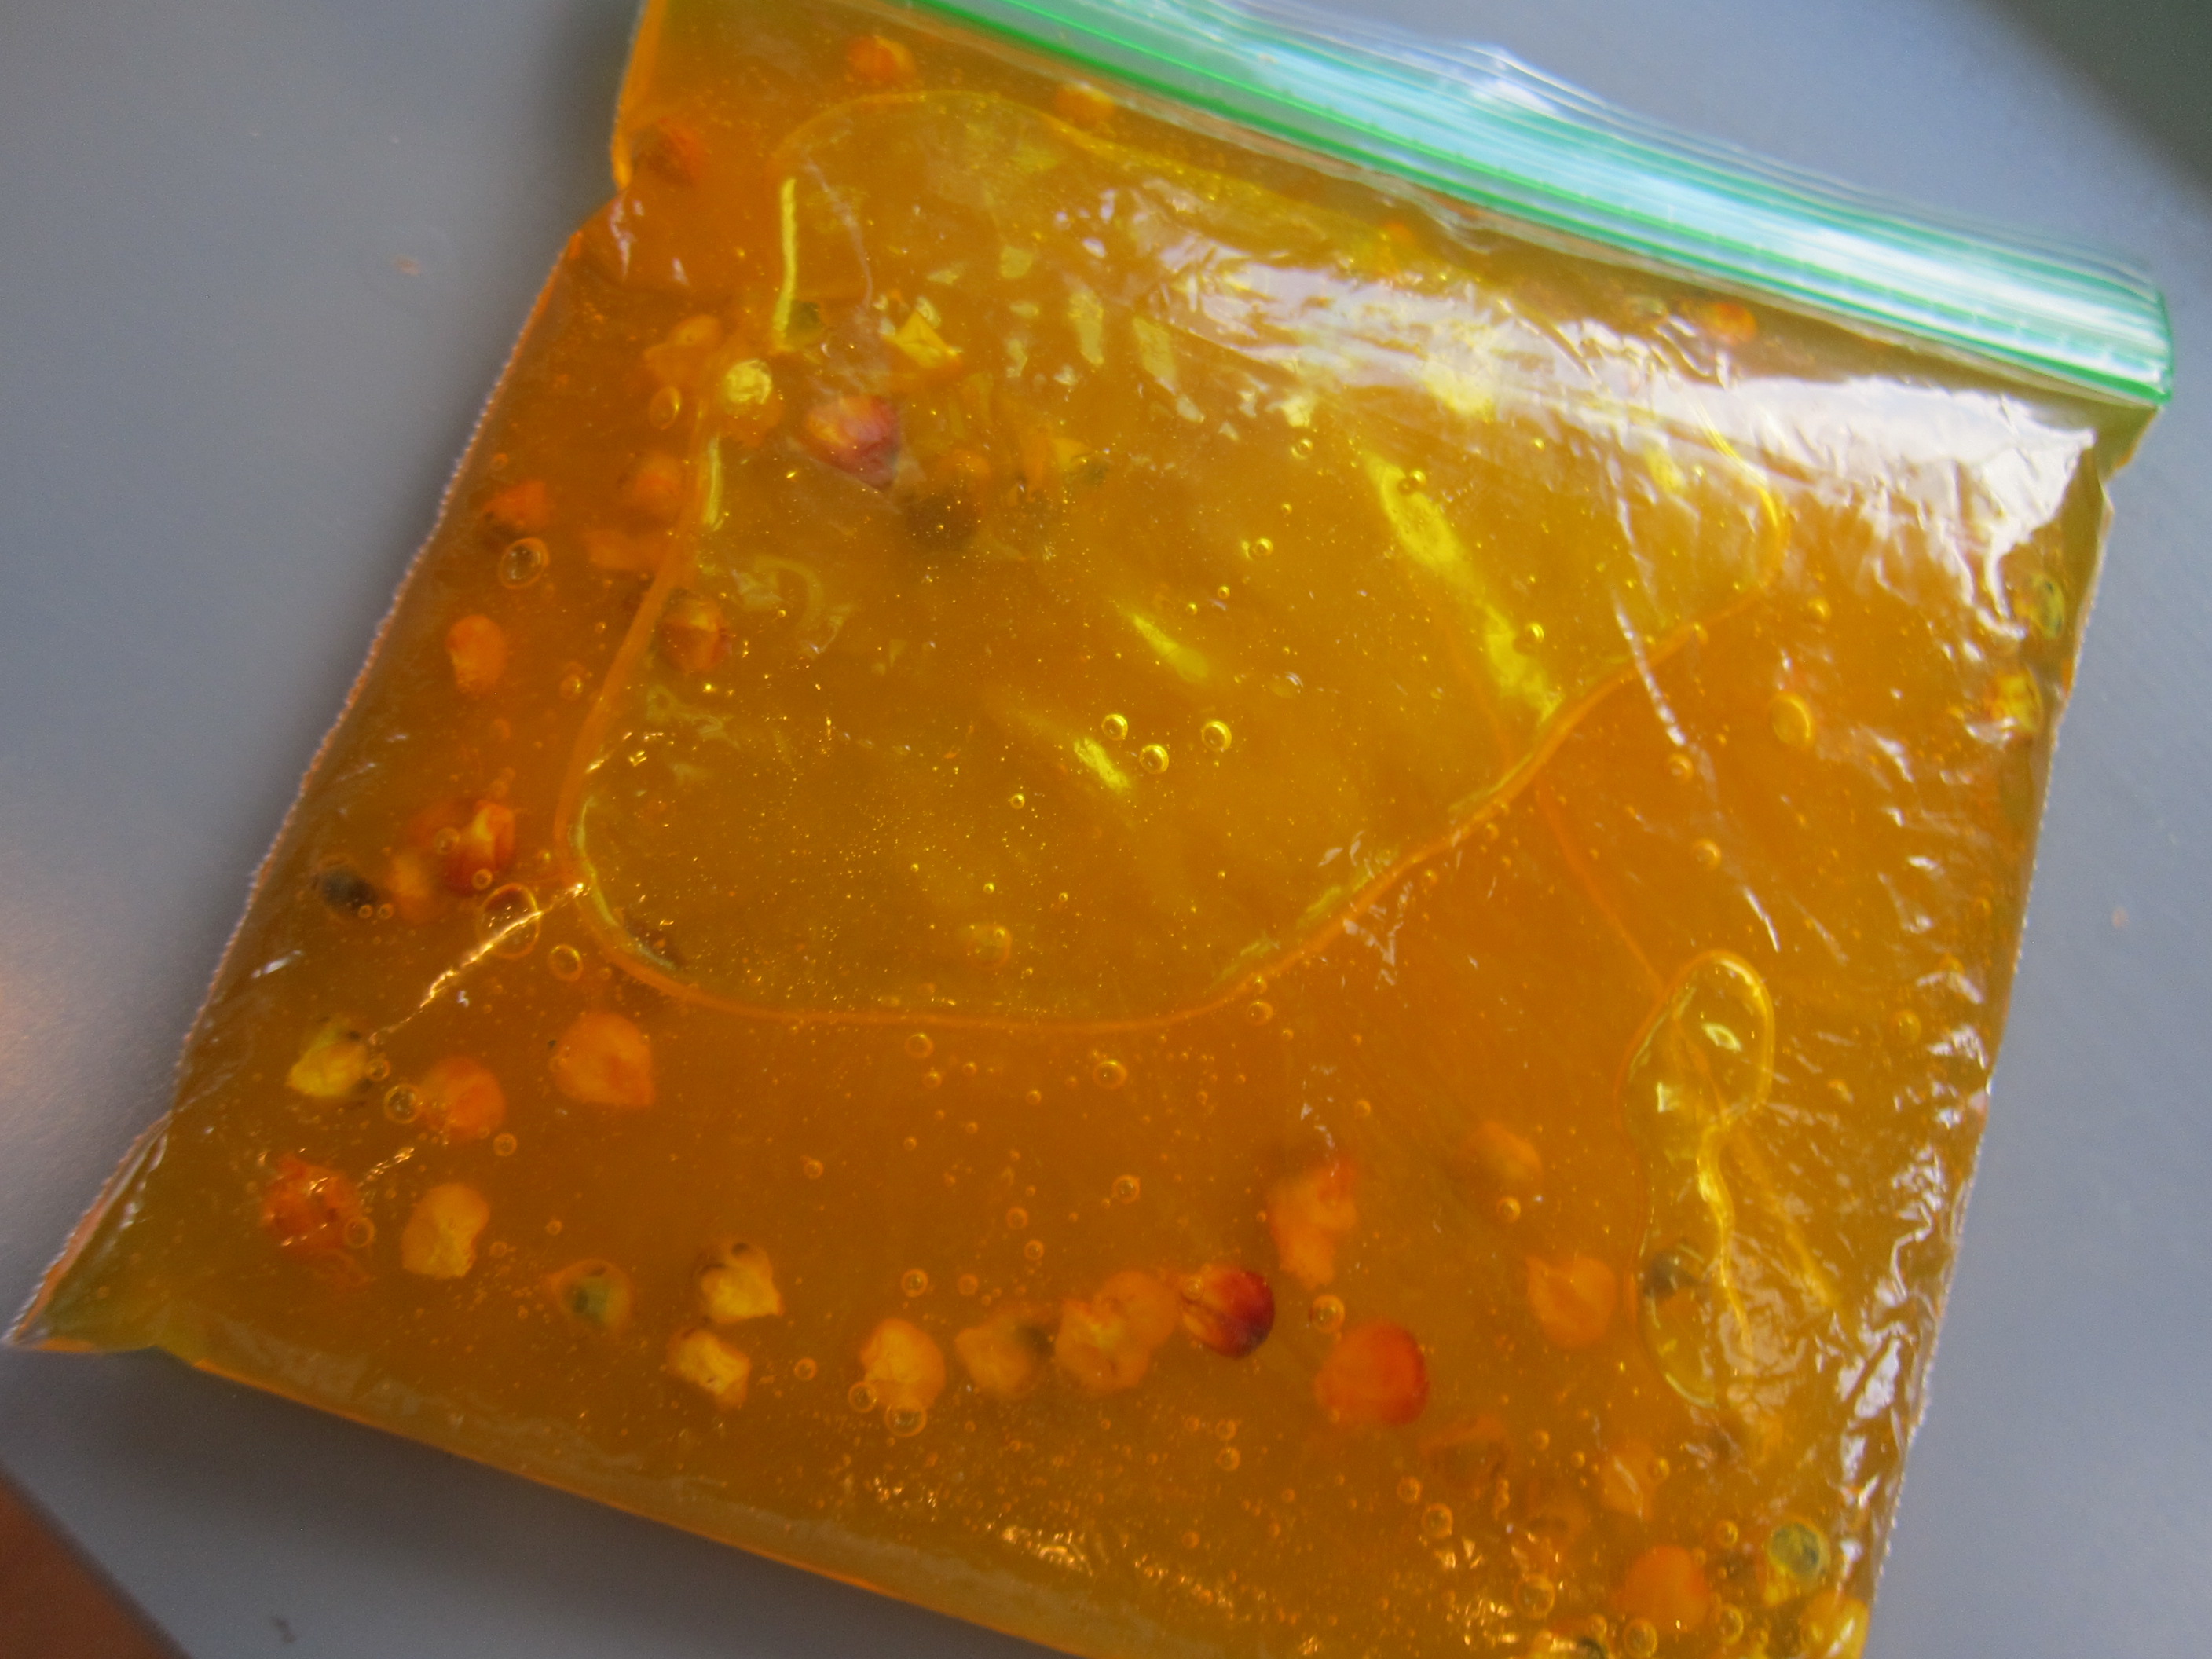
This is a holiday craft I’ve wanted to do for a while, but never followed through because I couldn’t find a vegan jel dessert that was green. This year, I decided not to let that stop us, though it did require a little improvising!

If your family eats regular Jell-O, all you need is white construction paper and green Jell-O powder. For our version, I drew a Christmas tree shape on green construction paper and hoped that the yellow (peach) vegan jel powder would look nice against this background.

Smelly Christmas Tree (1)

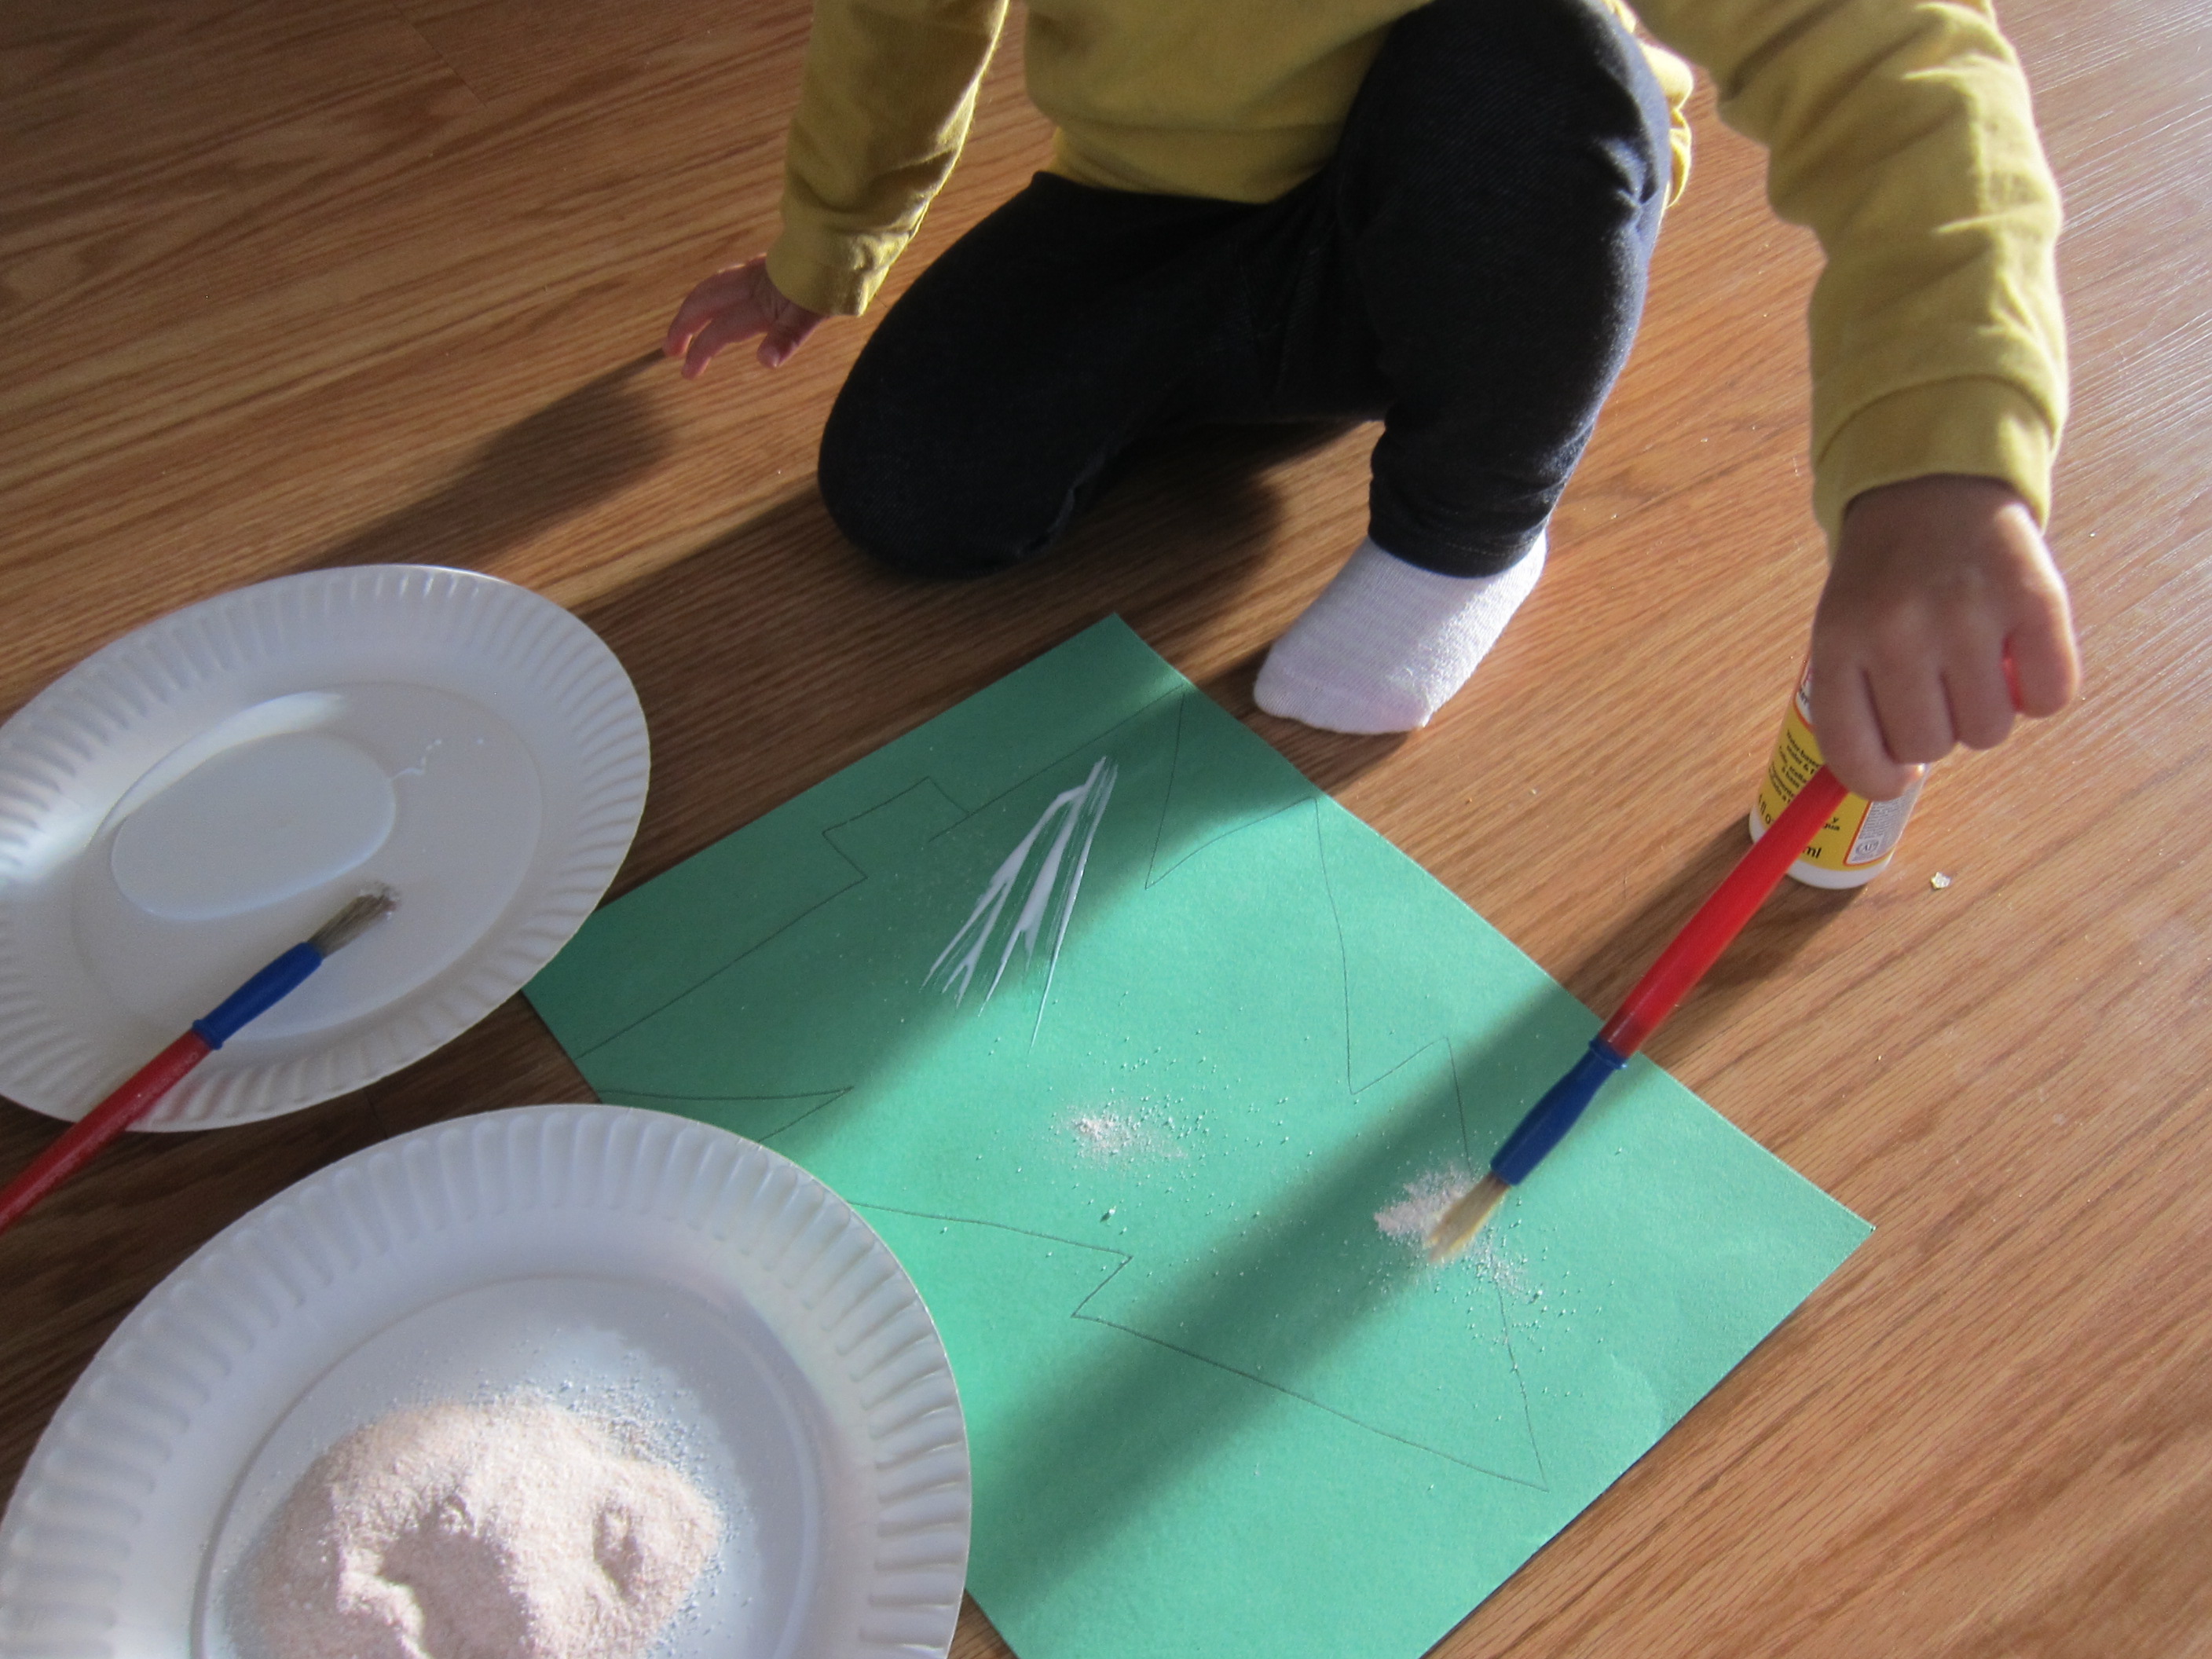
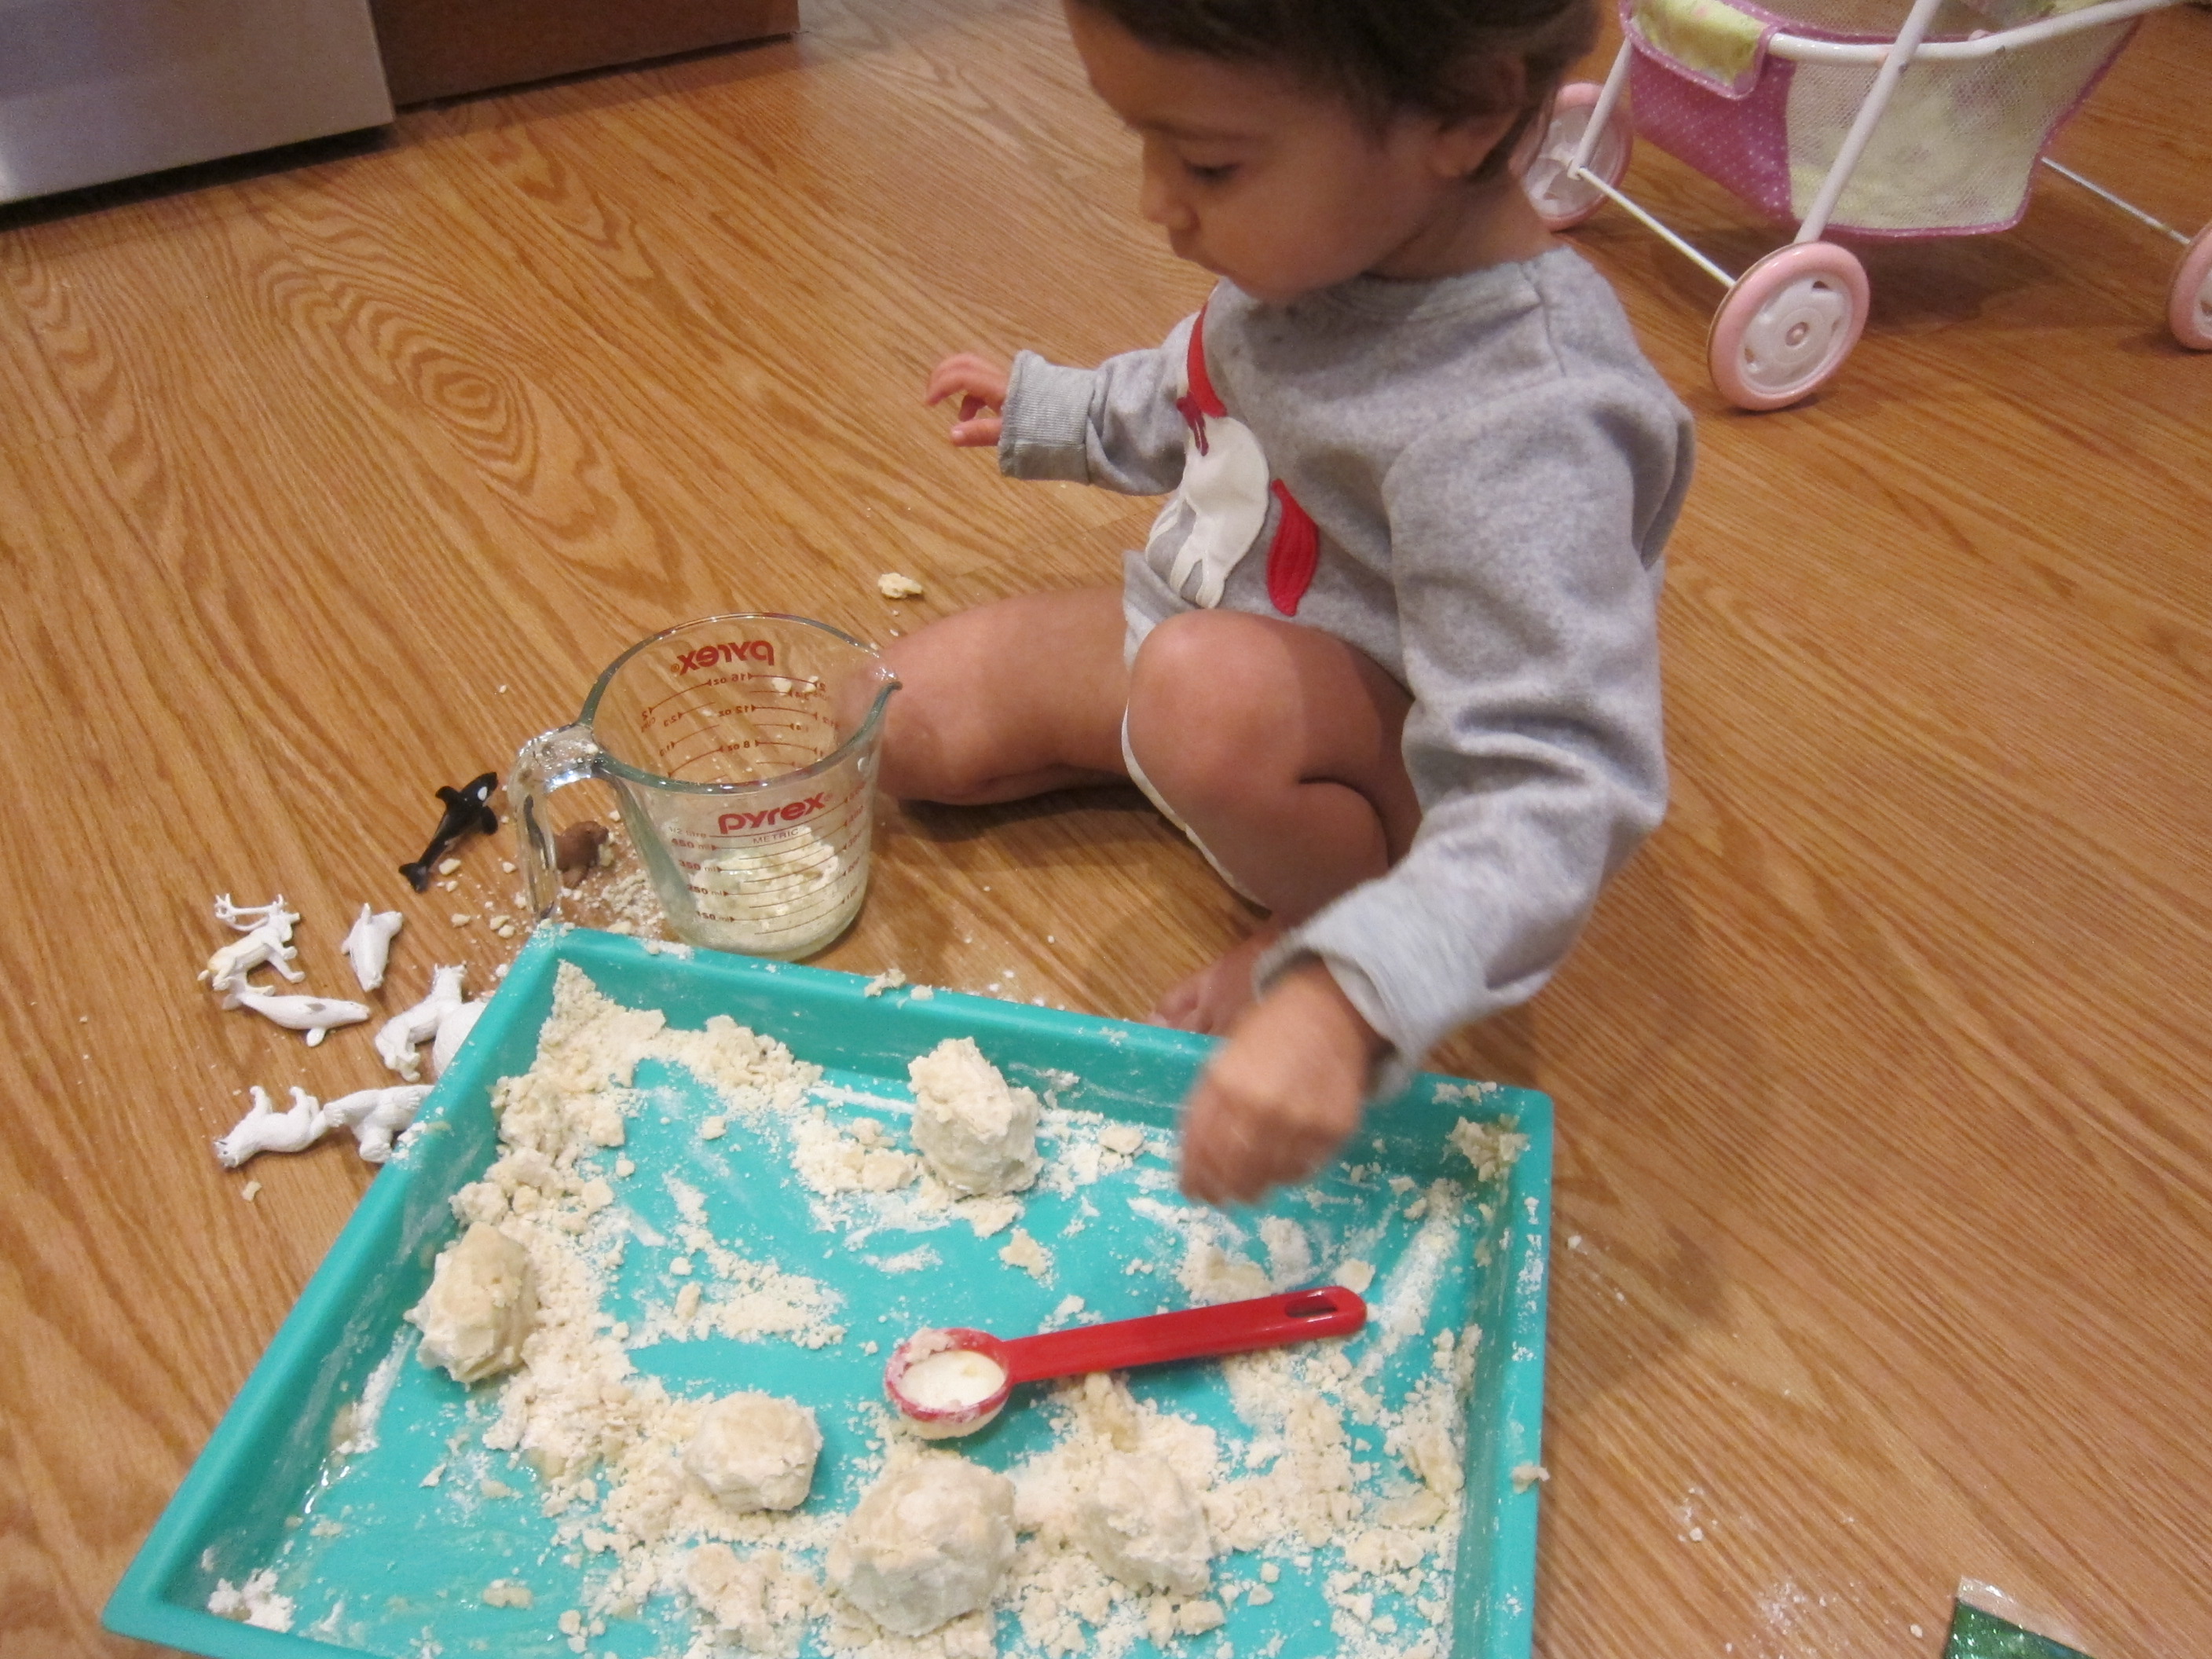
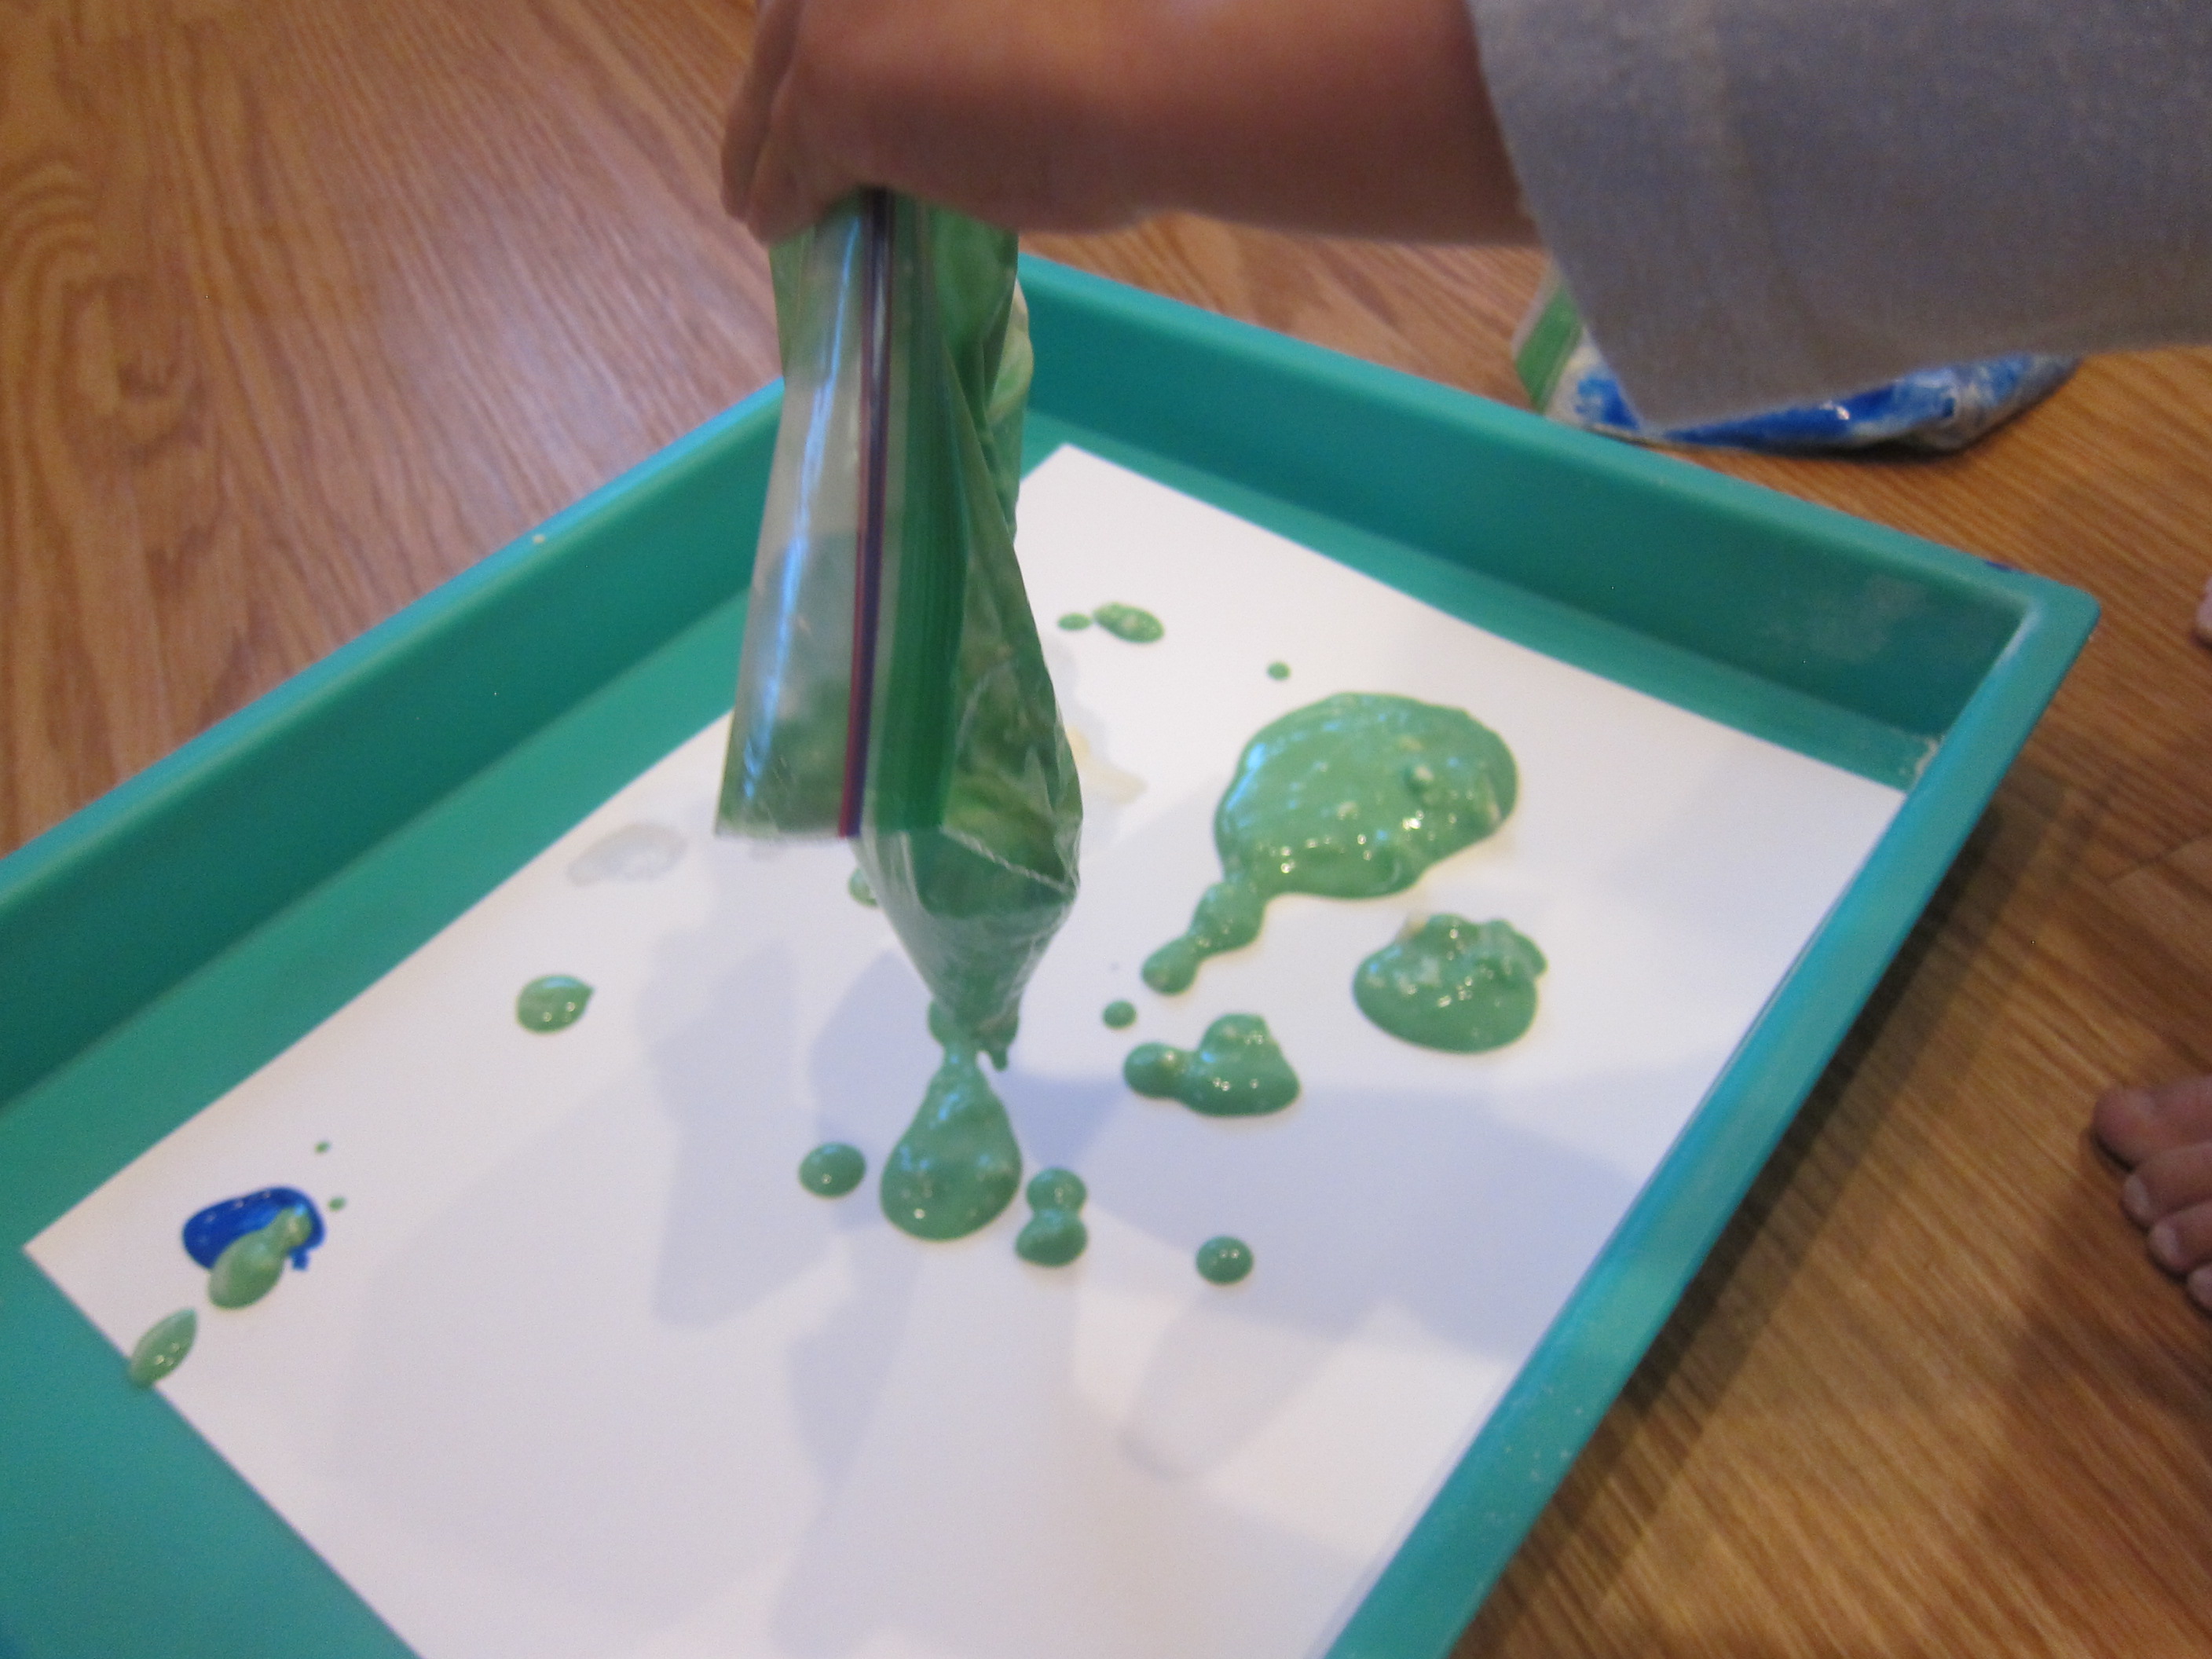
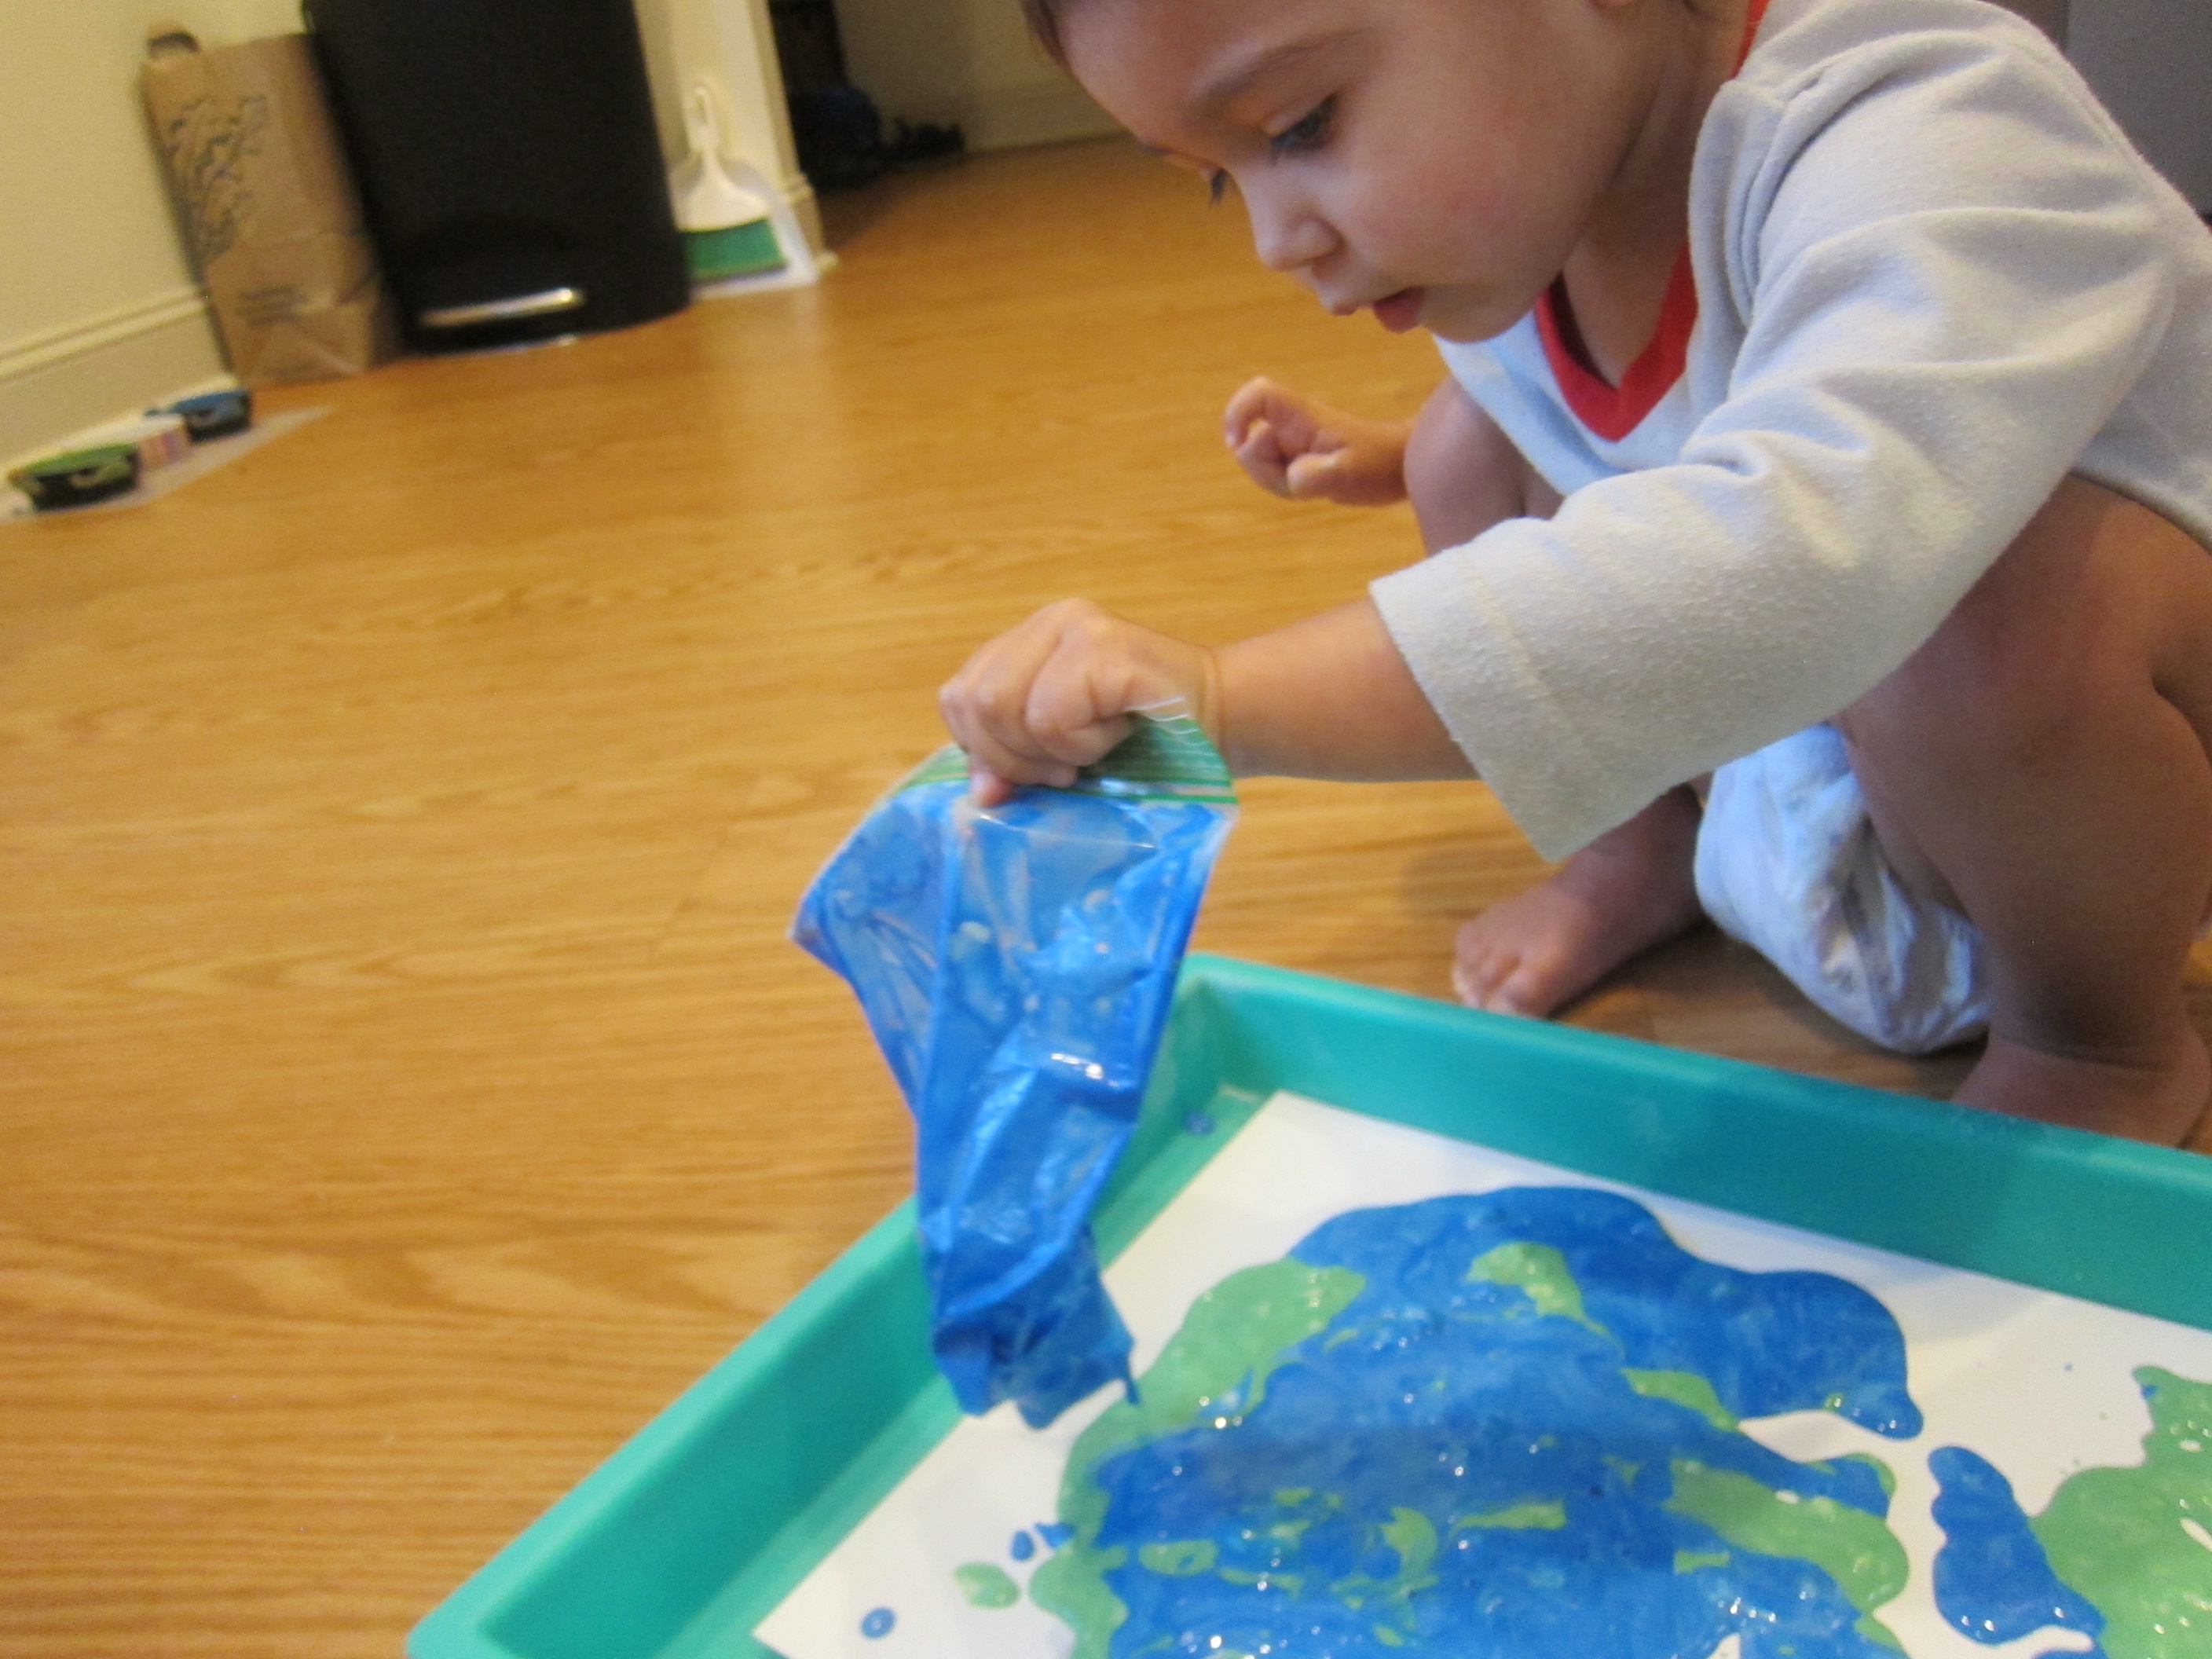
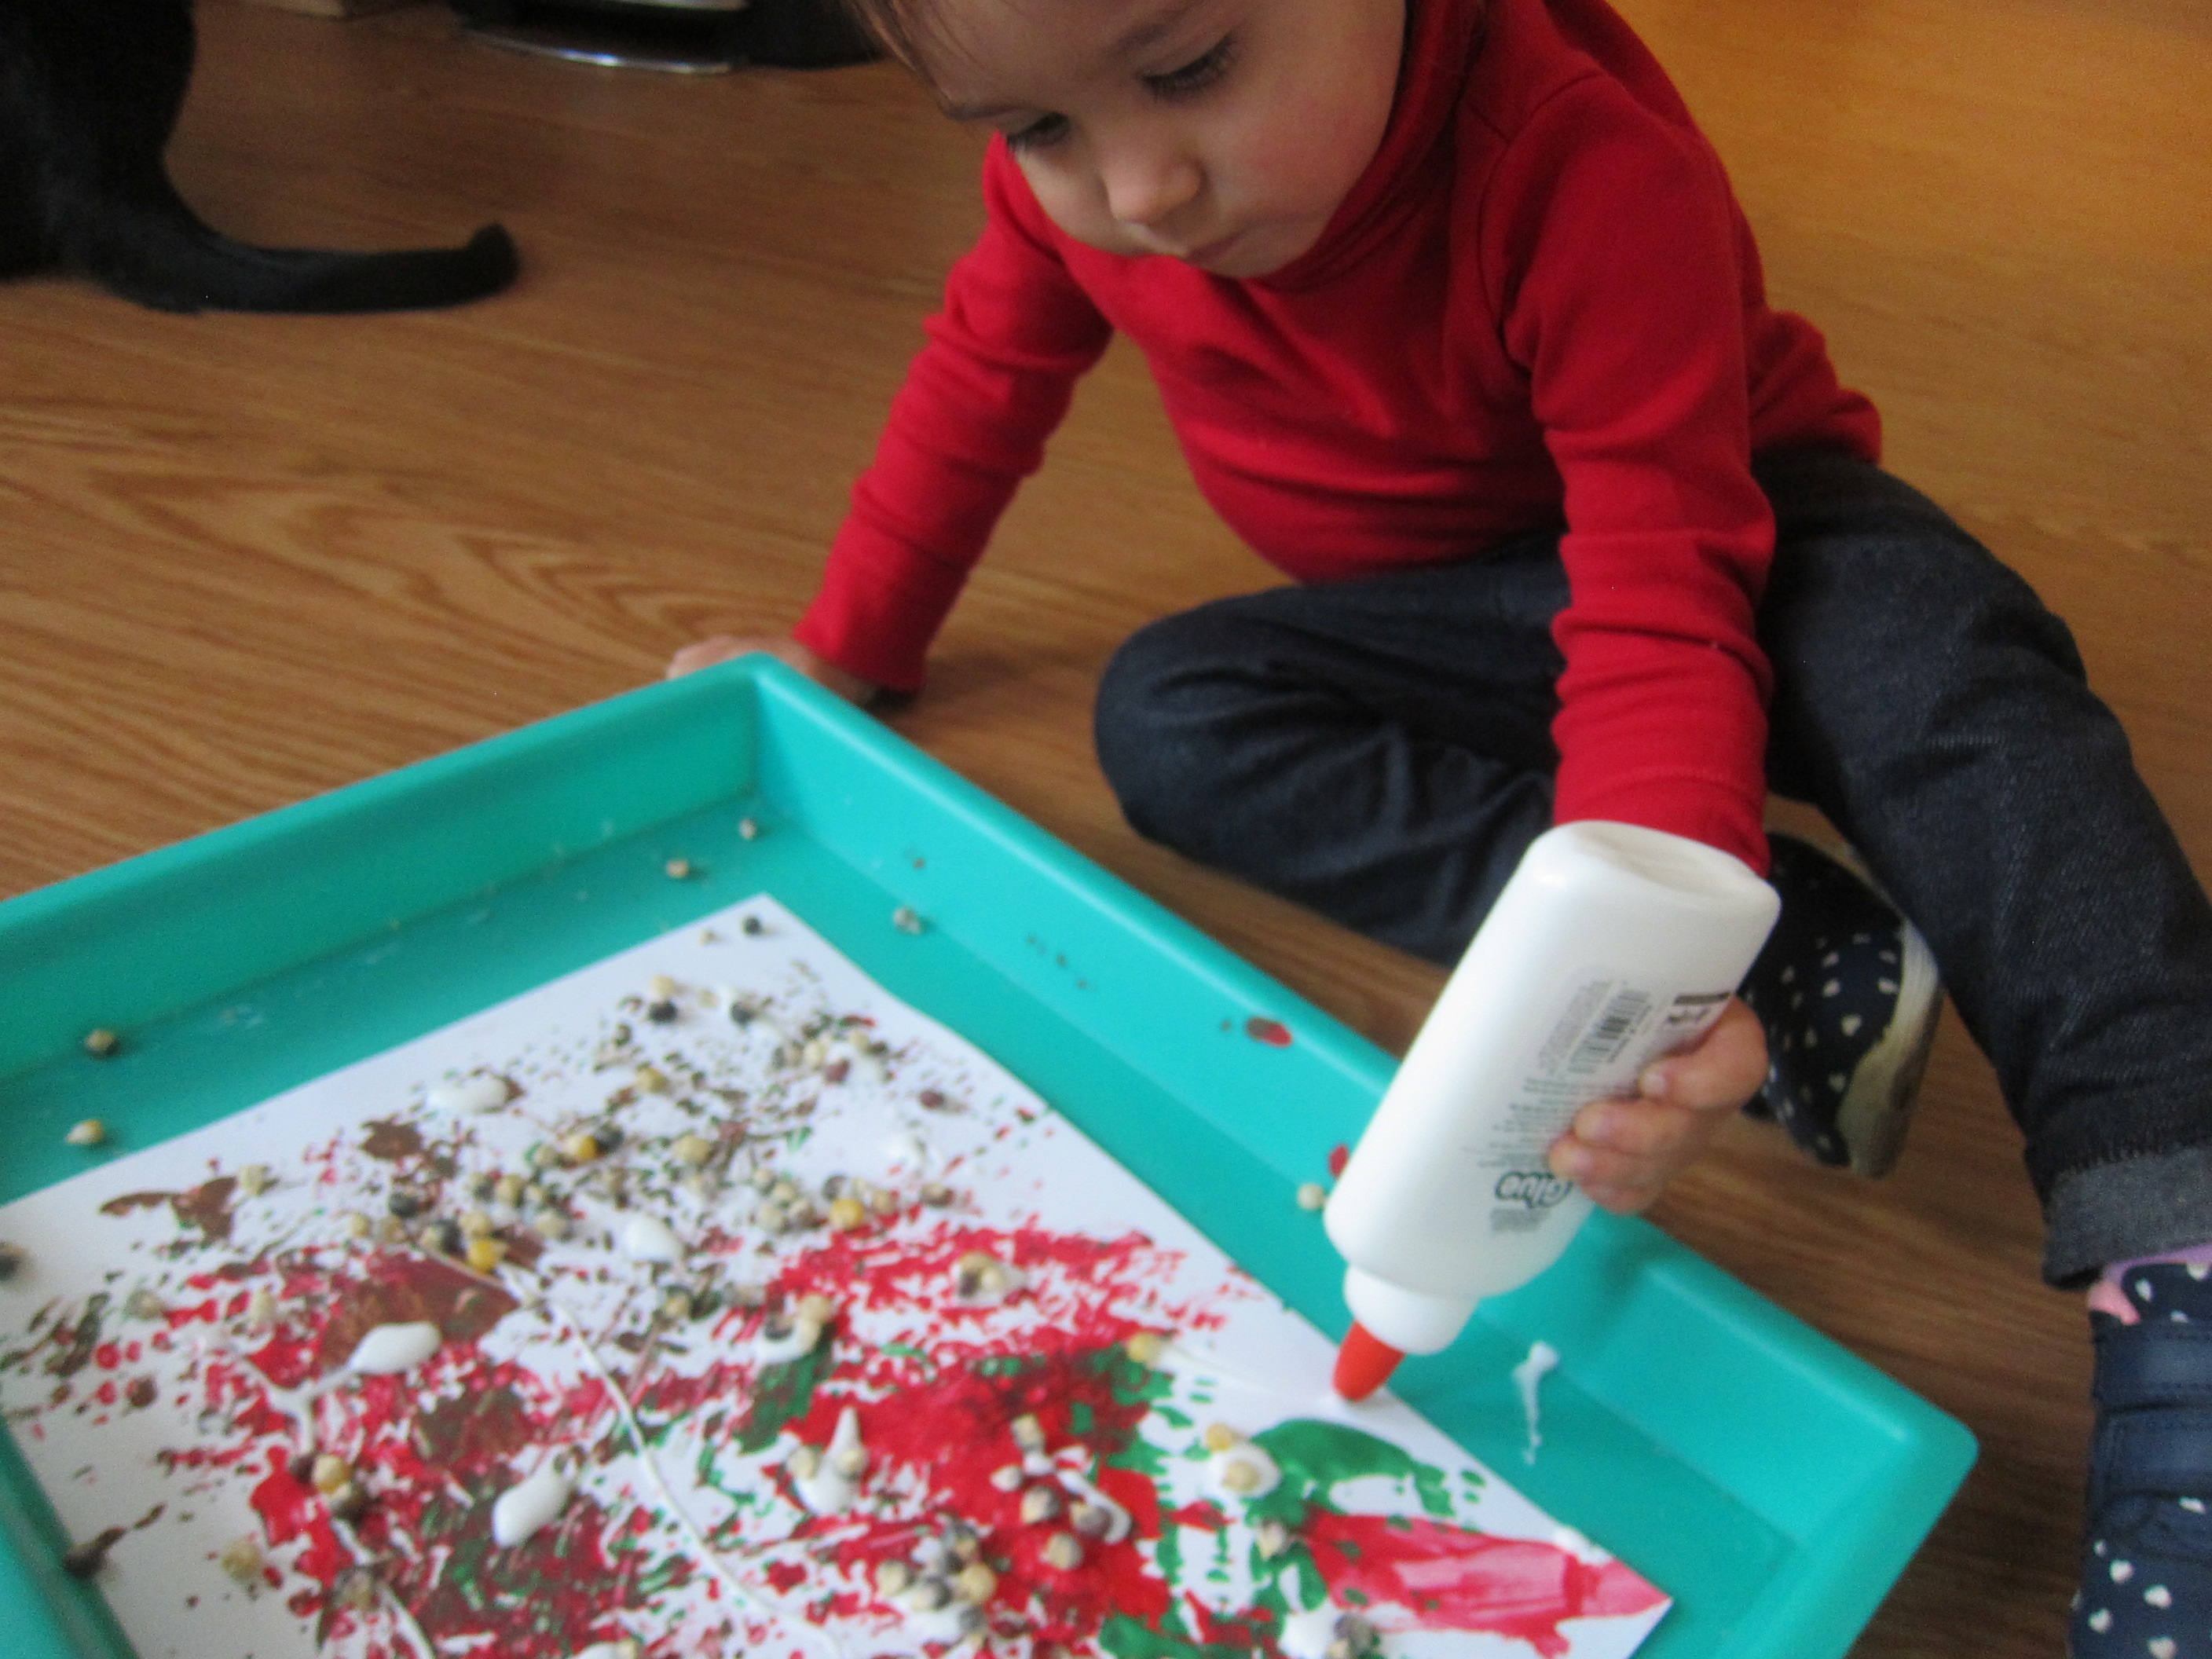
All those logistics aside, Veronika loved brushing glue over the tree shape.

Smelly Christmas Tree (2)

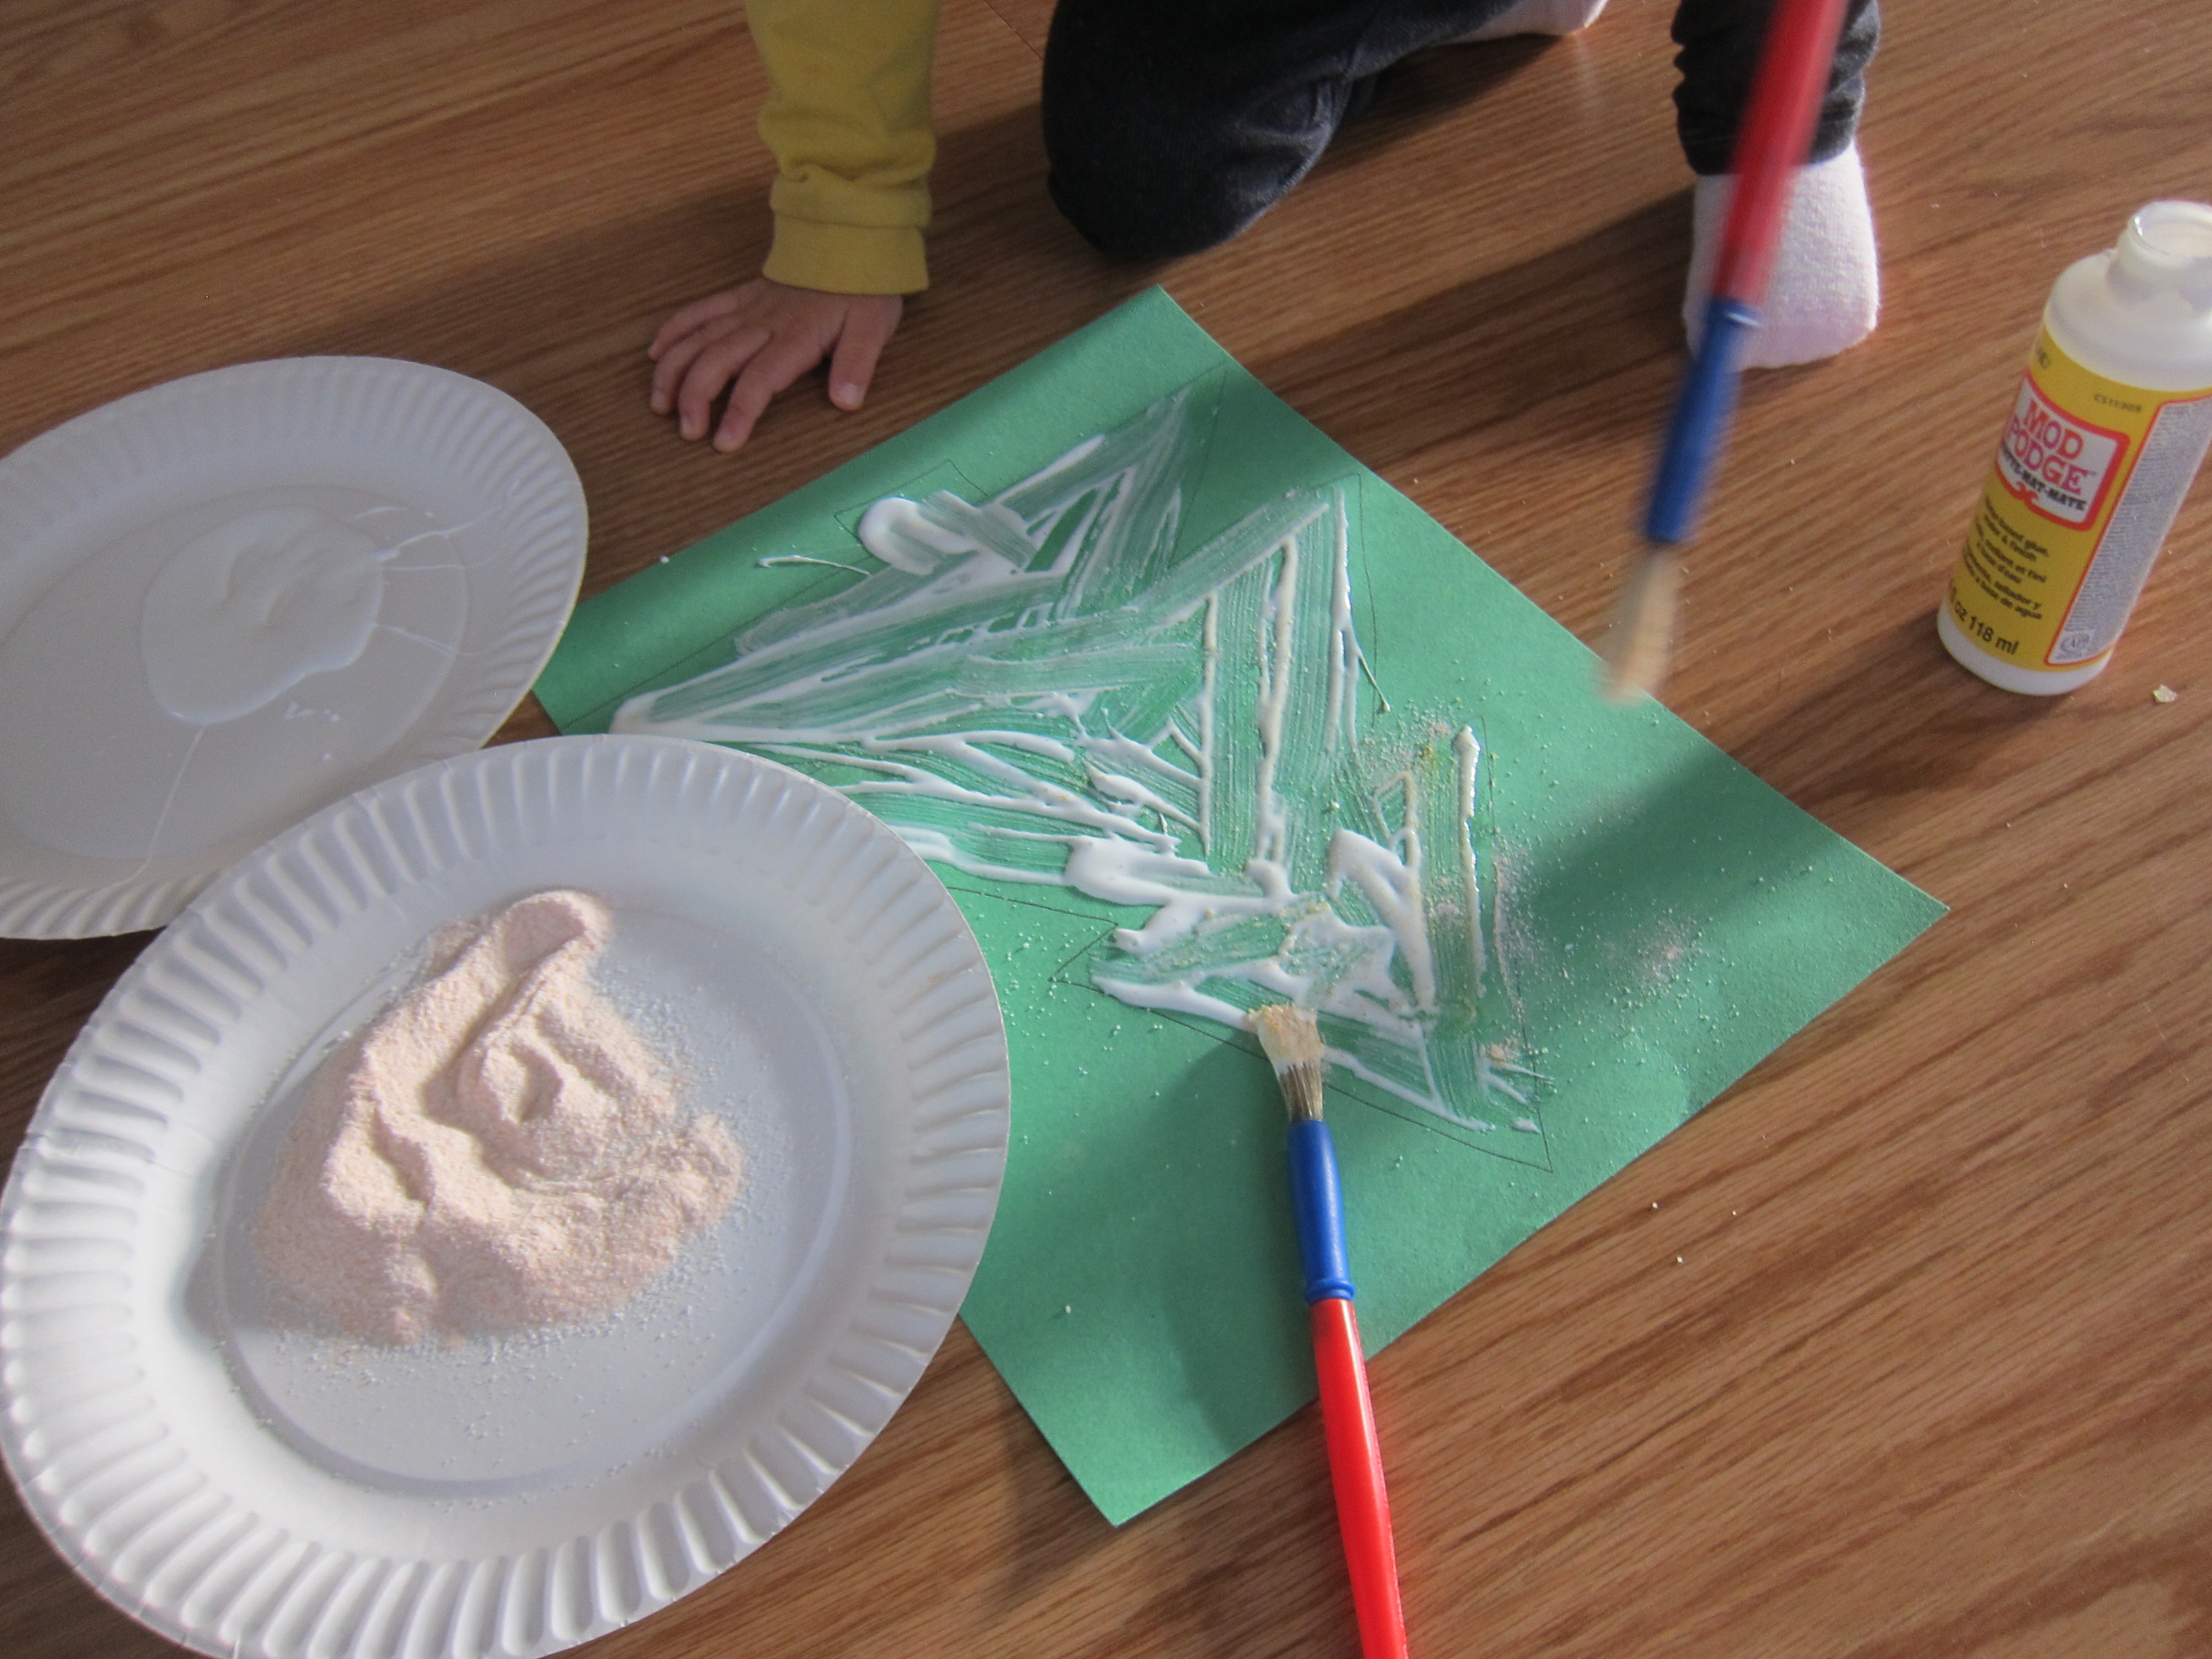
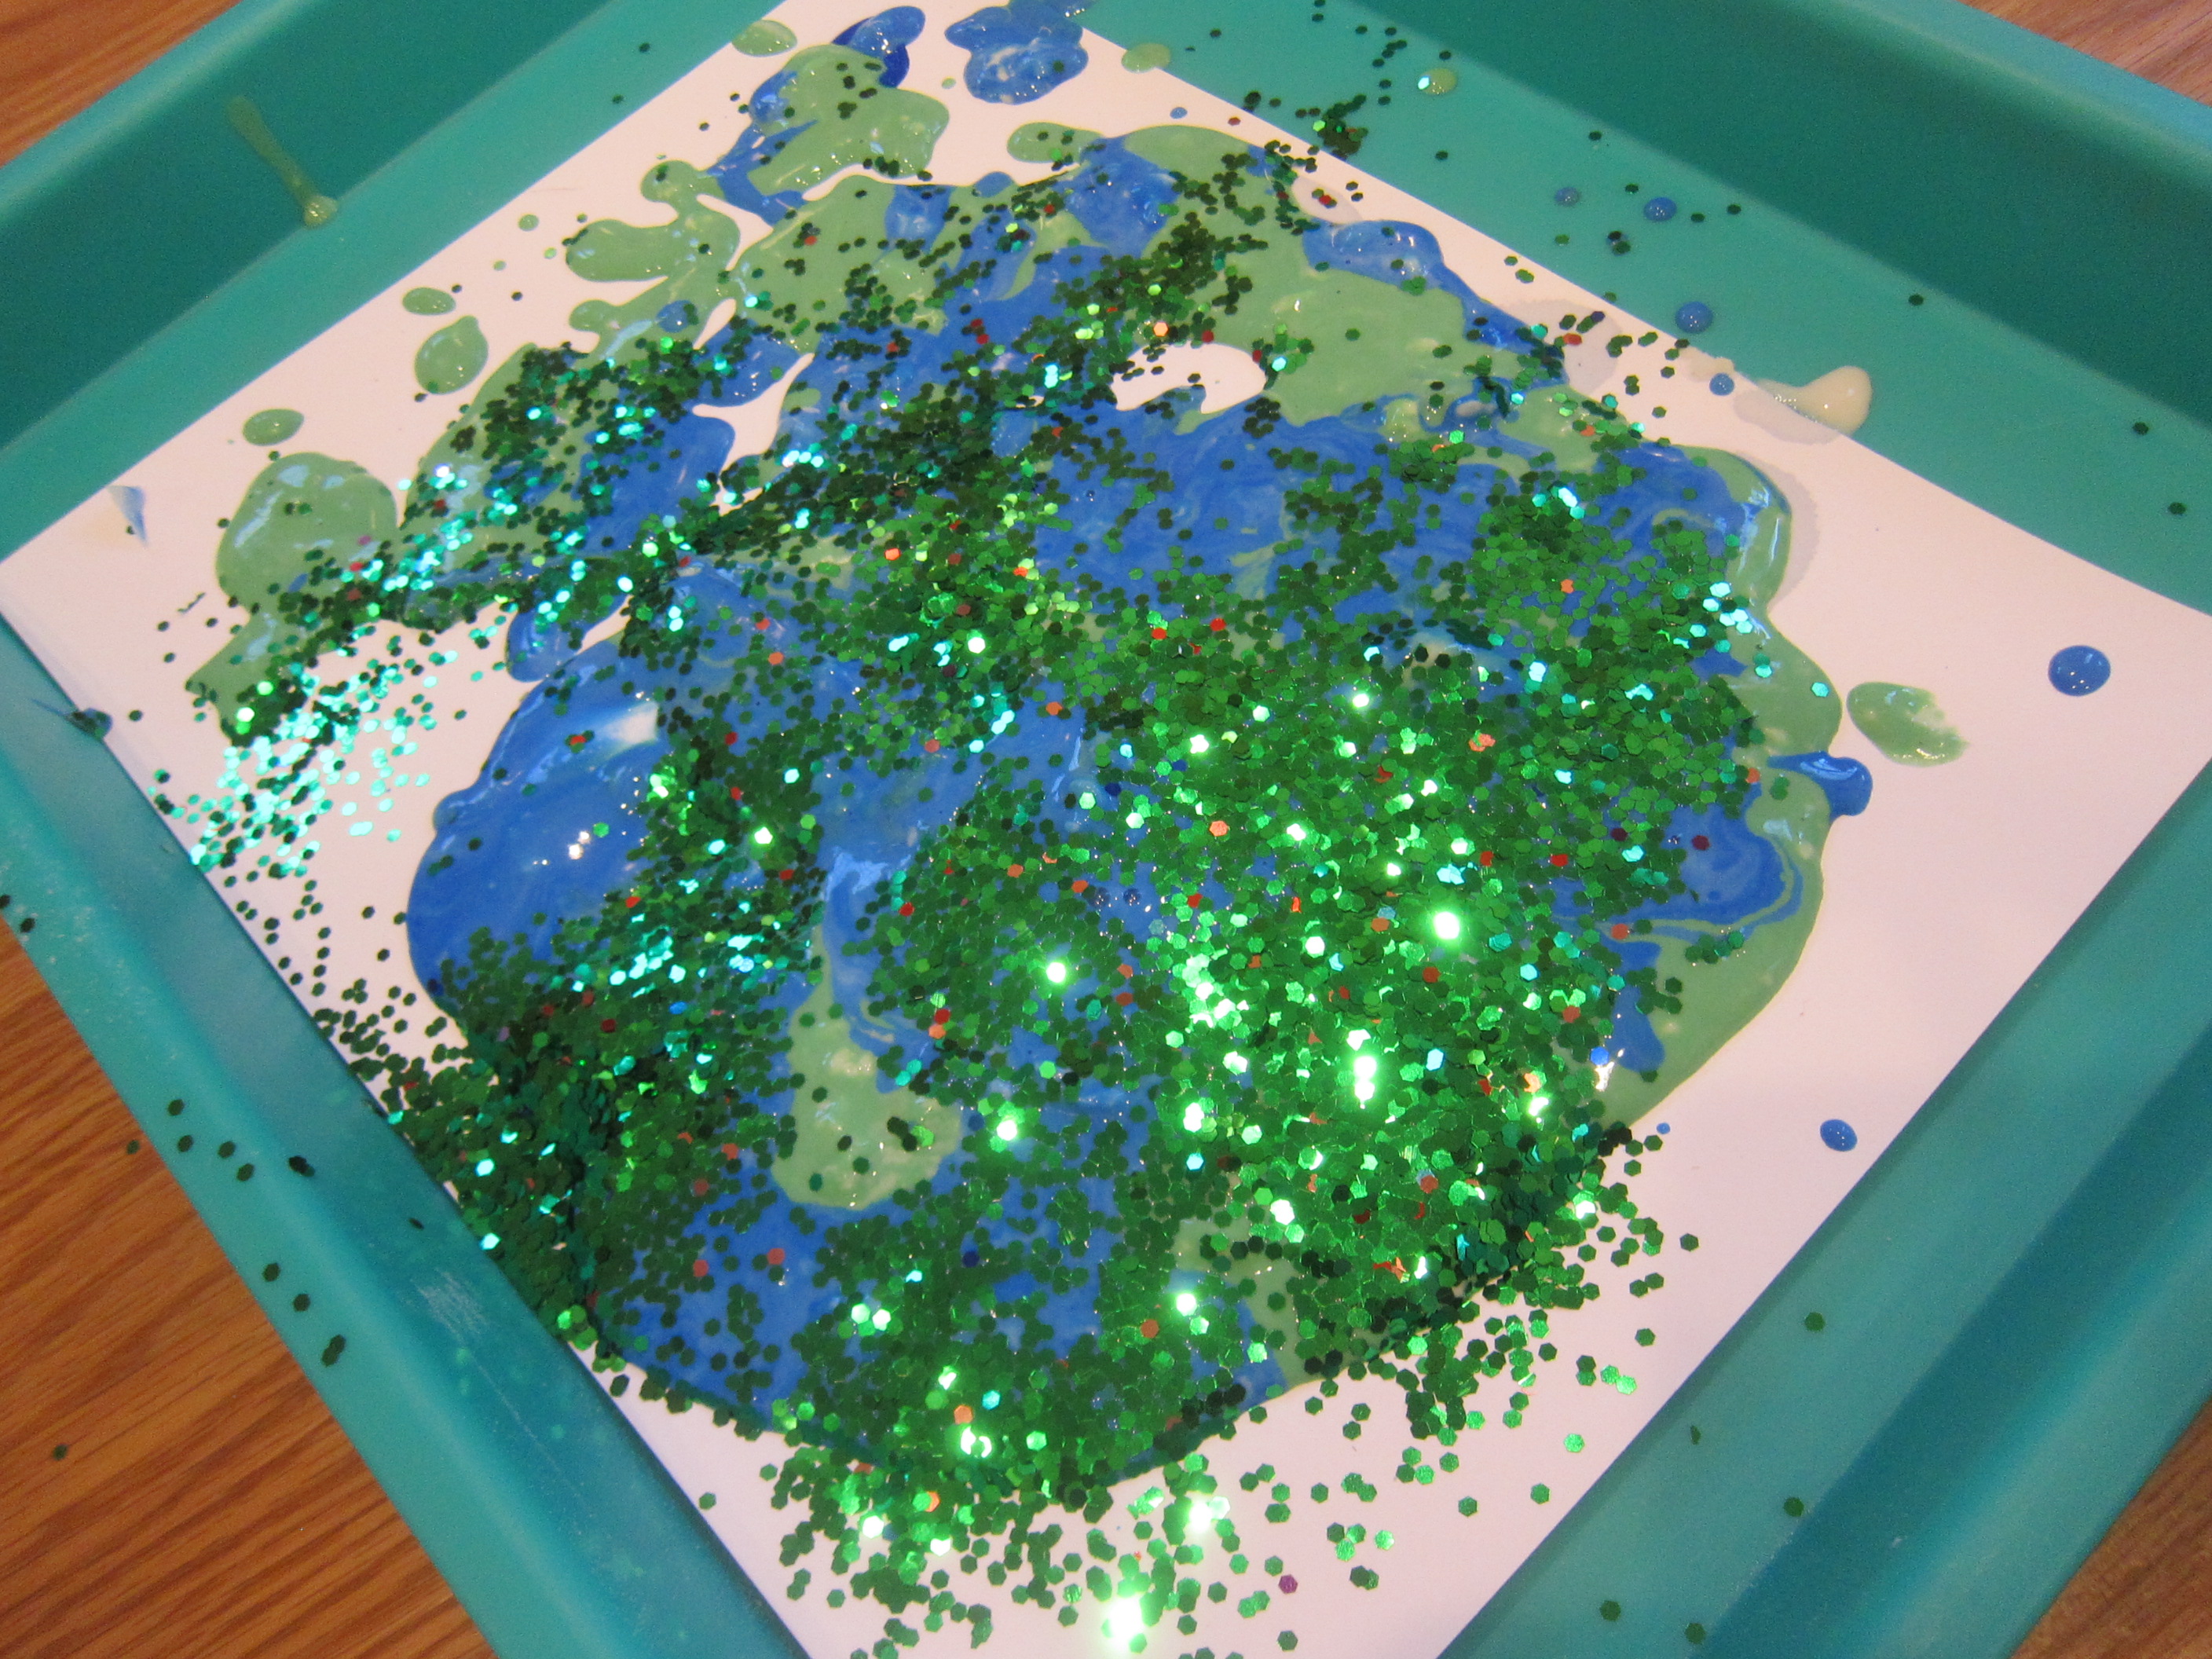
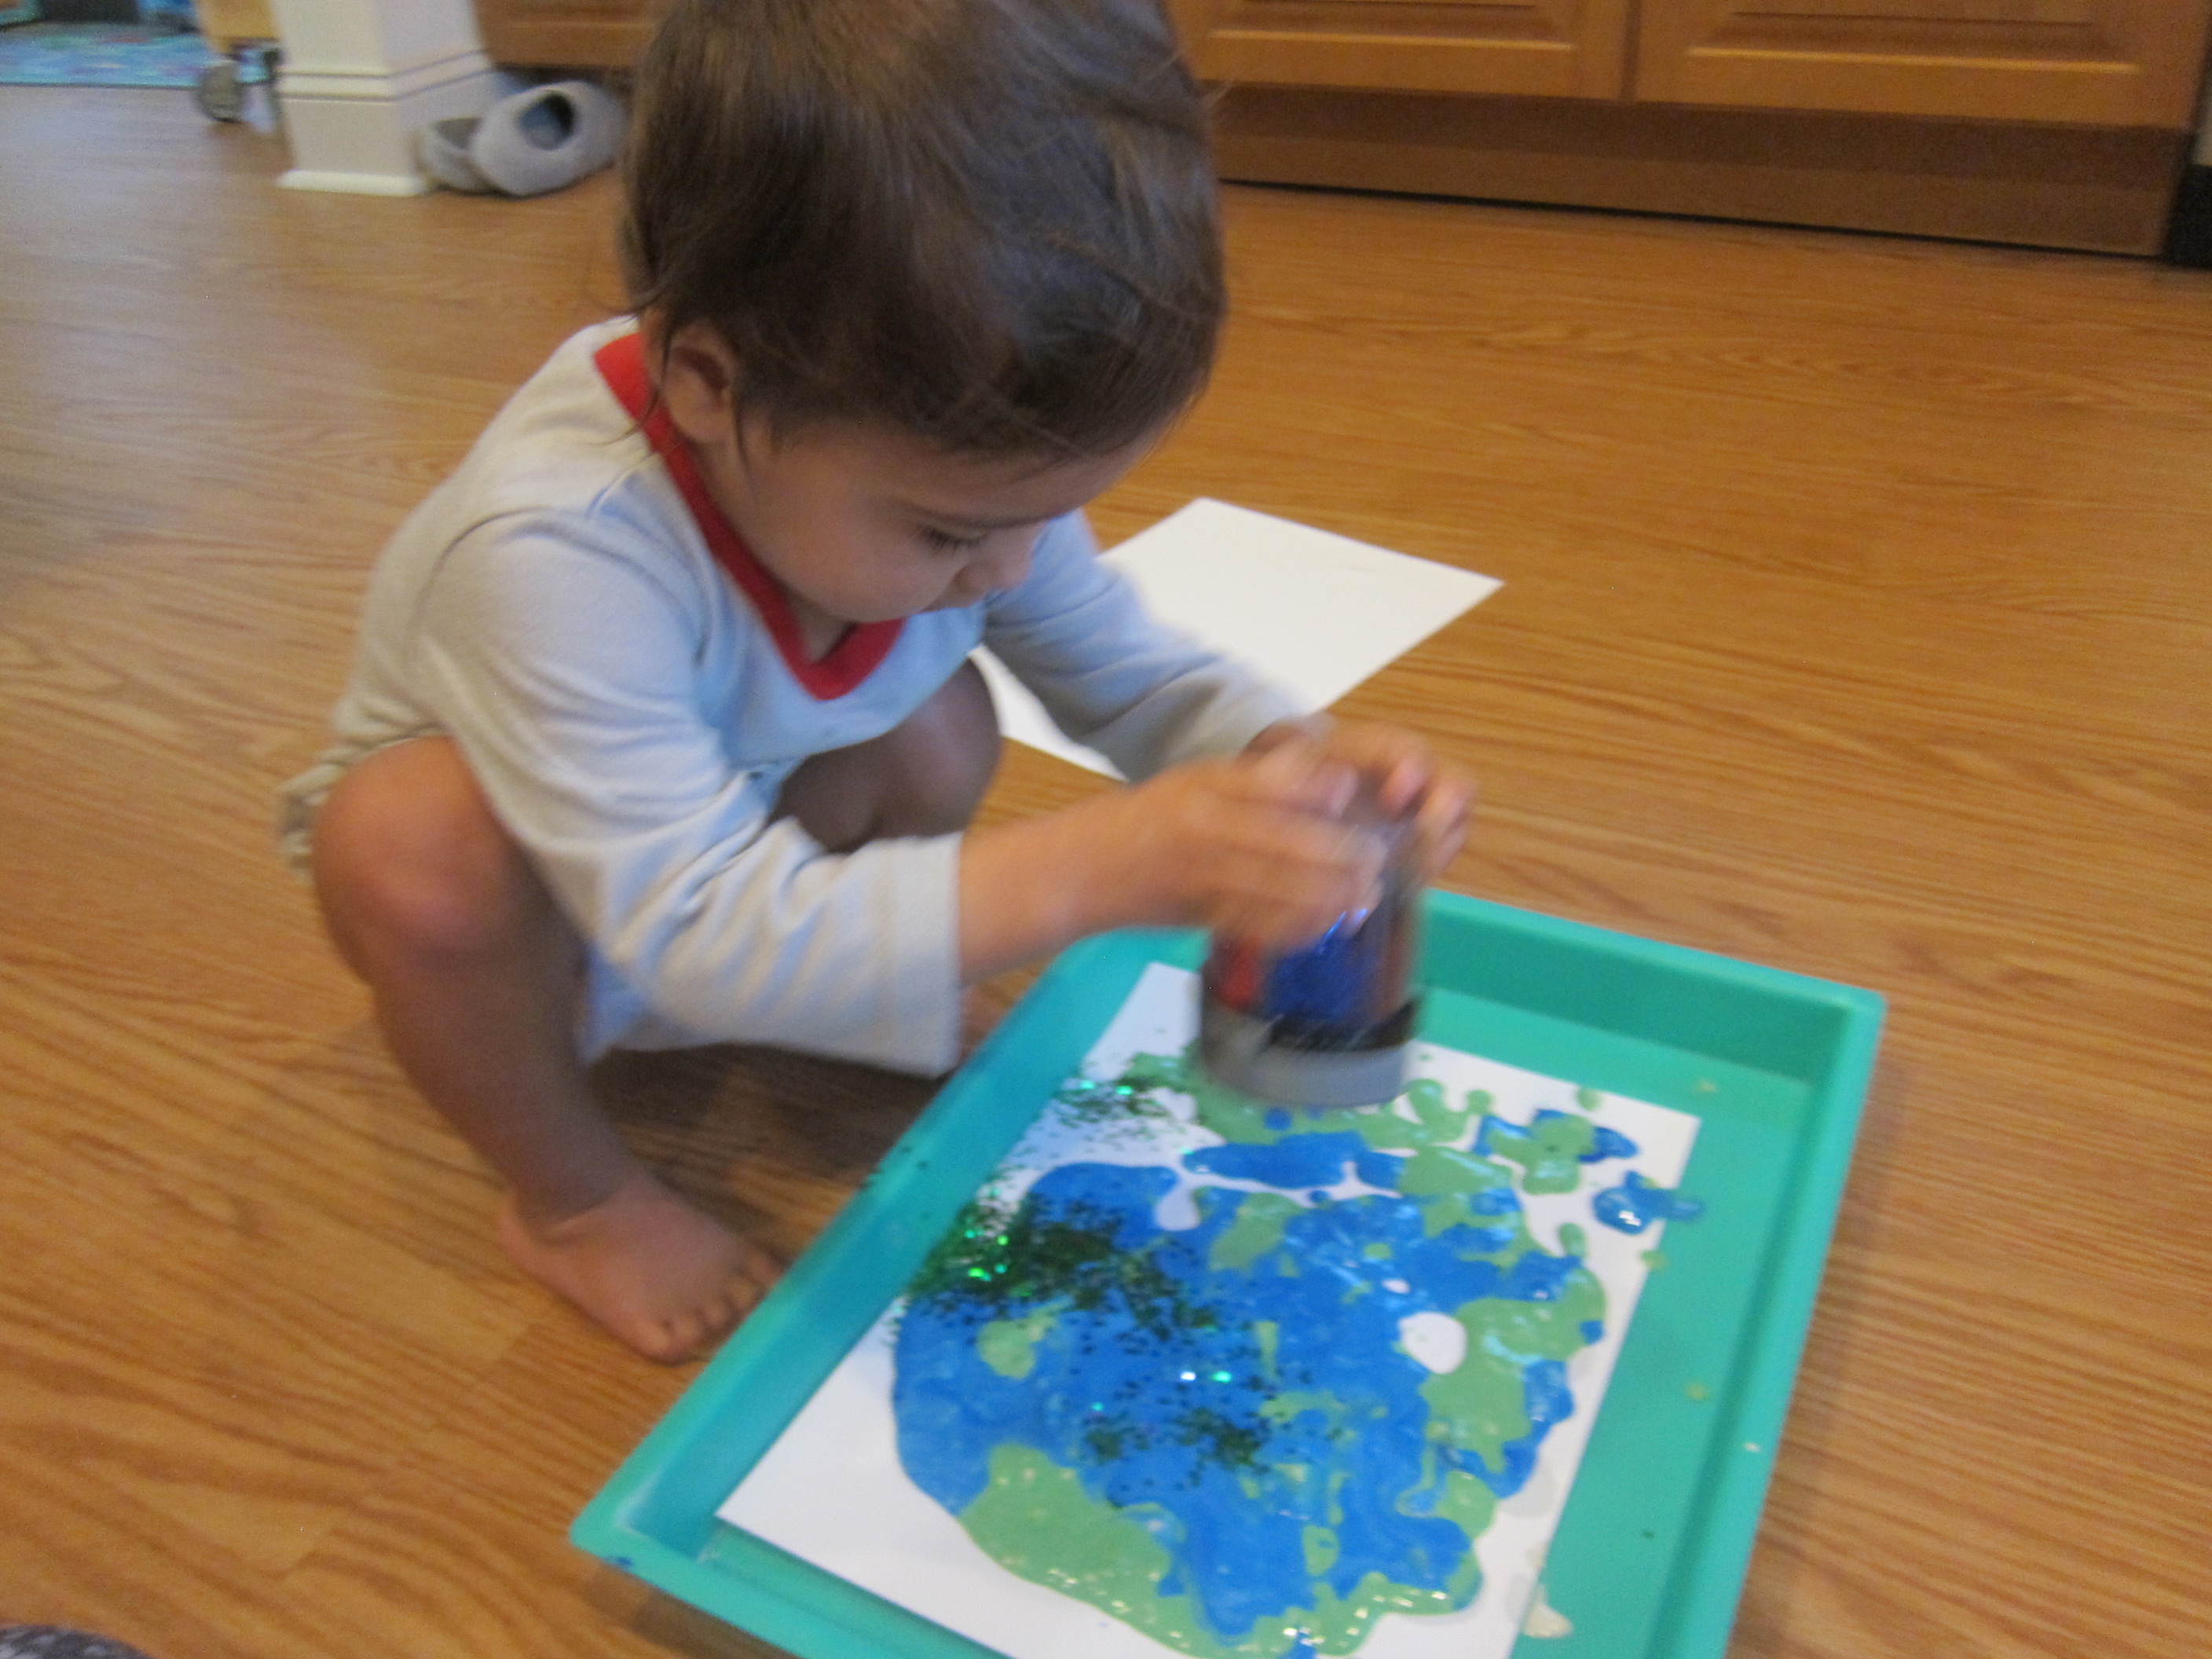
The next step was even better: sprinkling on the jel powder! She tried applying it with a paintbrush first, but this was sticky and difficult. Instead, she loved scooping it on with a plastic spoon. This was great for her fine motor skills, too!

Smelly Christmas Tree (3)

The big payoff is that as soon as the powder hits the wet glue, it smells delicious. Veronika loved that sensory element of the craft.

Smelly Christmas Tree (6)

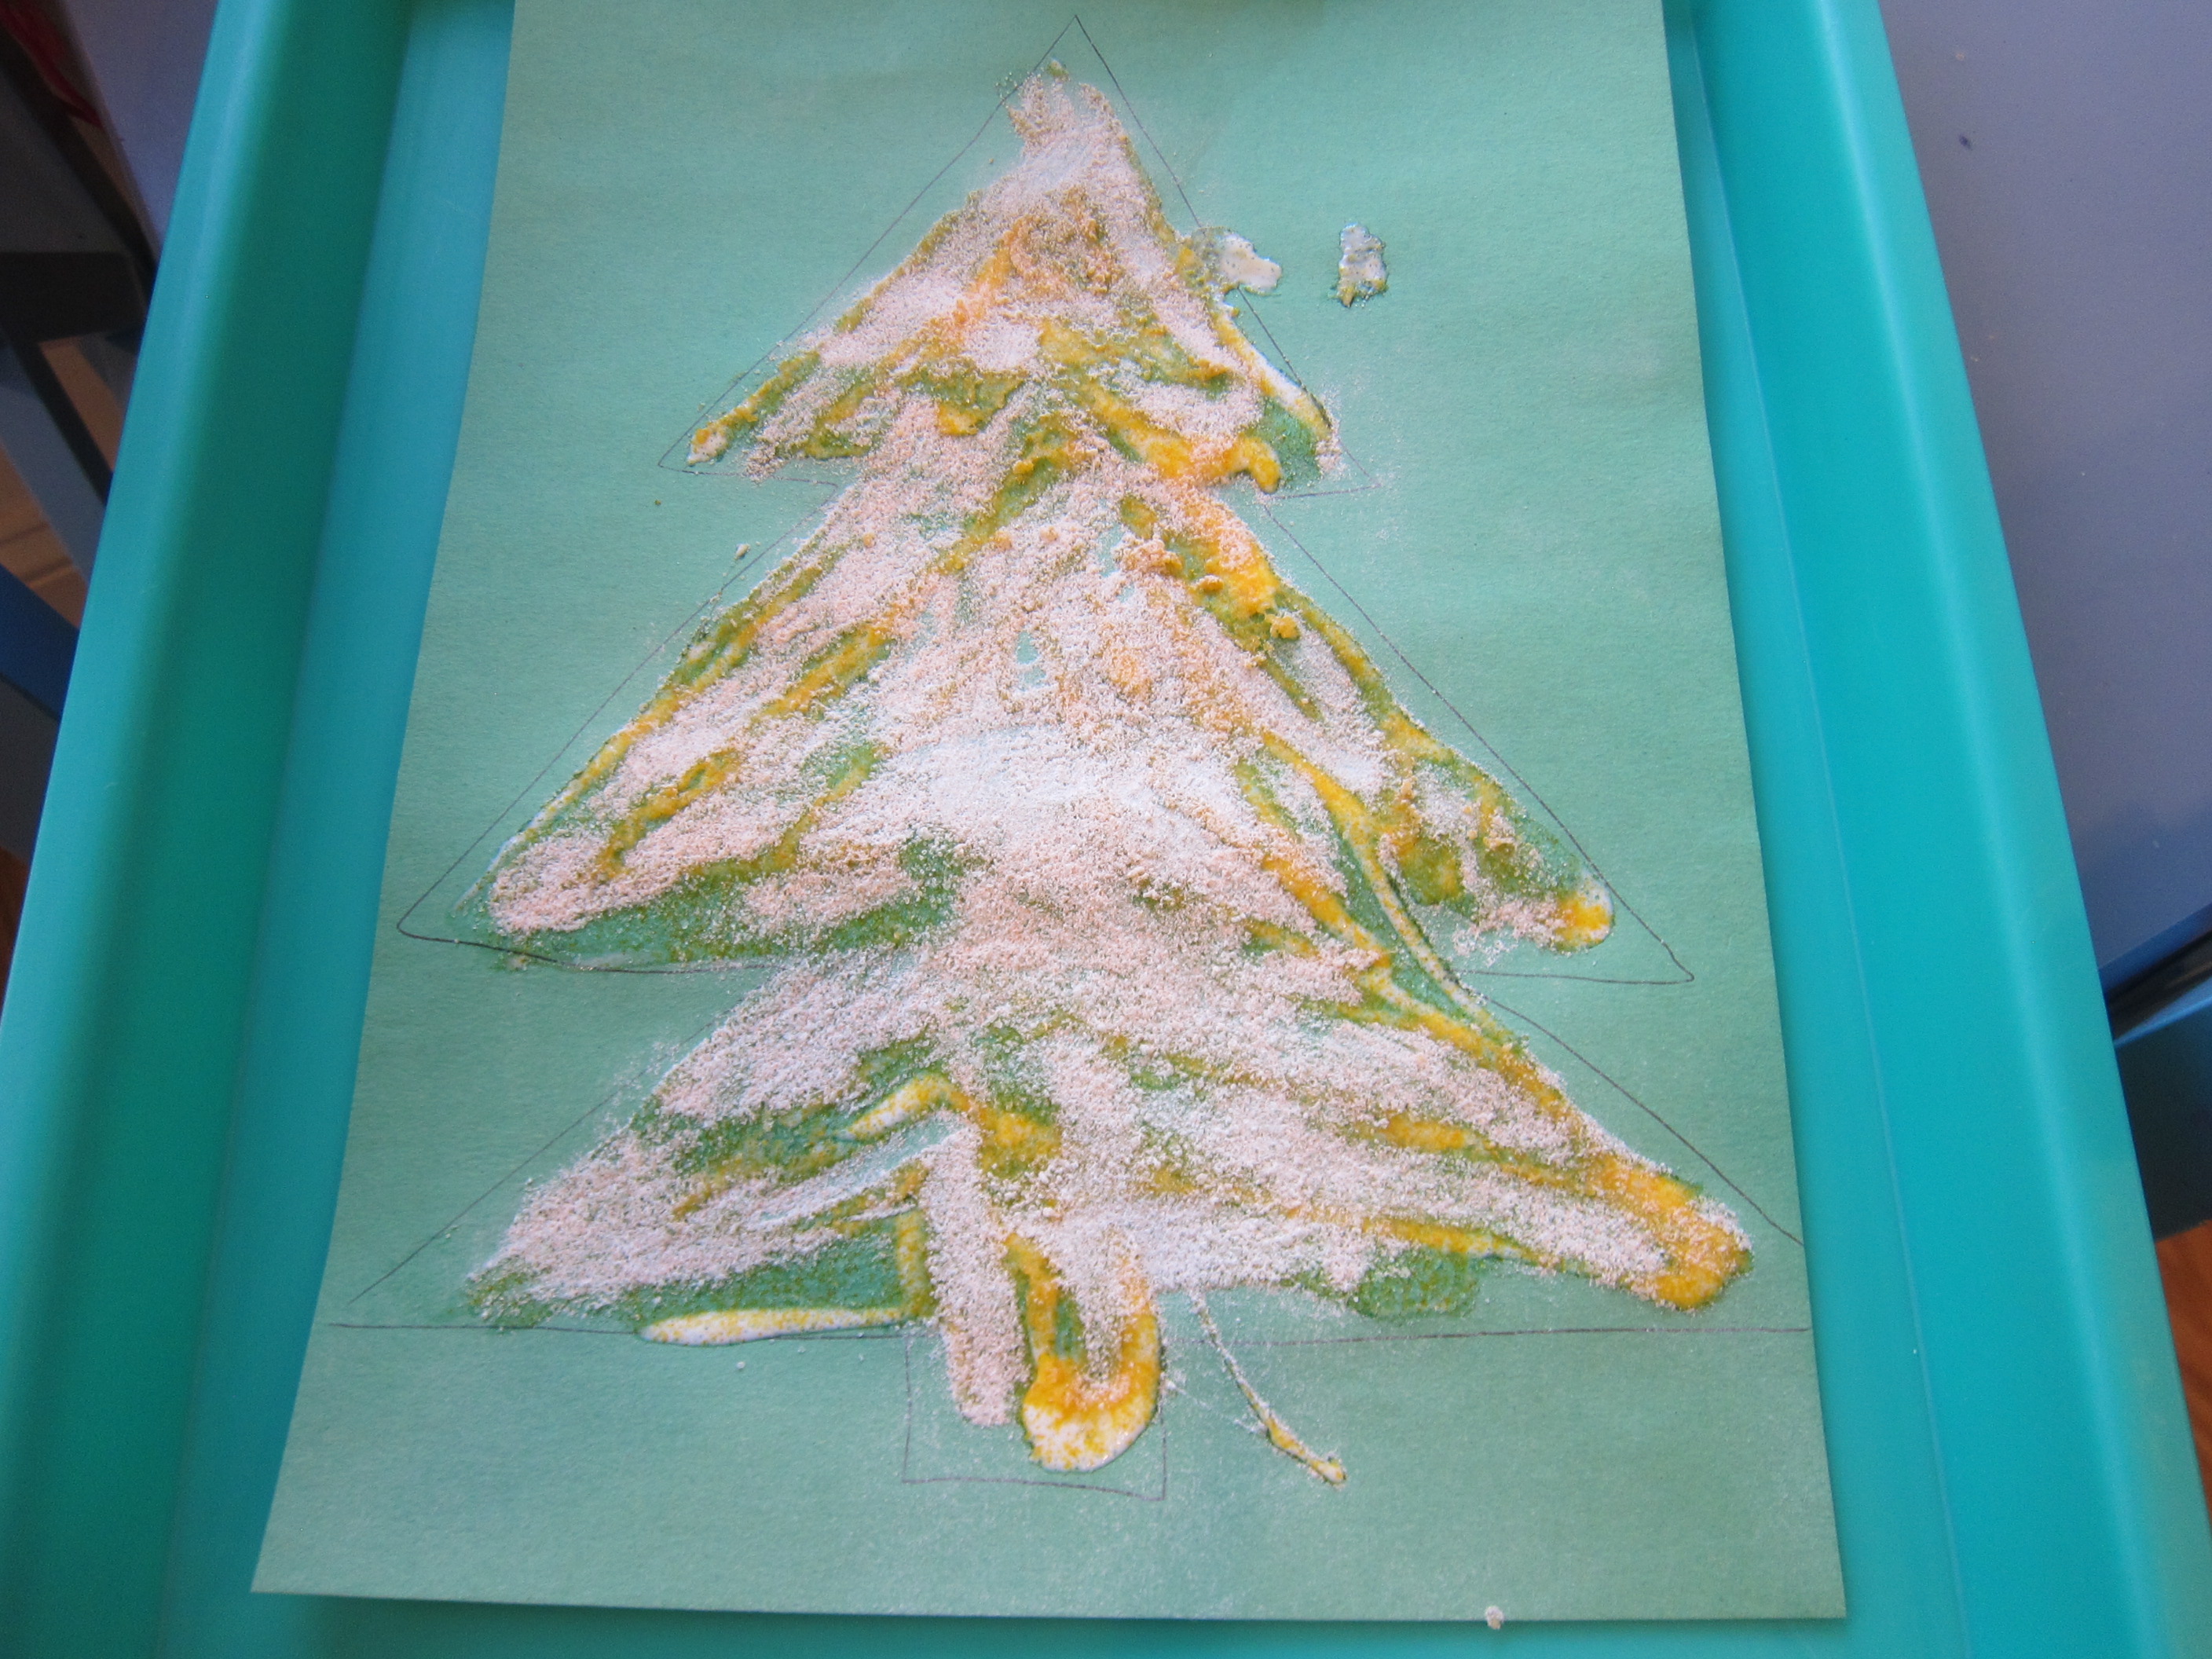
We ended up just using this activity for the fun and sensory aspects. That said, it can make a nice keepsake! You could mail it to a relative for a delicious-smelling Christmas card. Or, punch a hole near the top and hang it as an ornament from the tree. That said, ours had so much powder on it (Veronika sprinkled it on liberally!) that I worried it would make a mess in either of those scenarios.

Christmas Sparkle Cloud Dough

Christmas Cloud Dough (10)

Cloud dough is a great alternative to homemade play dough since it comes together from just two ingredients. Plus it’s one of those great sensory materials that you can vary only slightly to make it fit each season!

To wit, today it was time for sparkly Christmas cloud dough. I added 2 cups flour and 1/2 cup vegetable oil to a craft tray, and simply mixed it all together with my hands. (Note: You can use an equal amount of cornstarch in place of the flour if you want the dough to be a more pure snow white).

Christmas Cloud Dough (2)

We then added green glitter for some Christmas spirit! Veronika was thrilled to see the sparkles and began spooning through the mixture with a little scoop.

Christmas Cloud Dough (3)

I showed her that she could squeeze it into balls, which we called “Christmas cakes”.

Christmas Cloud Dough (5)

It also made great snowmen if we piled a few atop each other.

Christmas Cloud Dough (6)

We then pulled out an arctic set of plastic animals she loved tromping them through the dough, adding an imaginative element to the sensory play.

Christmas Cloud Dough (7)

Overall, this was very simple but clearly great fun!

Christmas Cloud Dough (8)

Toddler Treasure Box

Toddler Treasure Box (2)

It’s never too early to introduce the fun of treasure hunts and pirate play, even for toddlers who don’t understand the nuances of the make-believe. Here’s a way to let even a toddler dig for “gold”!

We have a collection of old foreign coins, which are perfect for pretend play like this. I clinked a few down in the bottom of a craft bin (making sure Veronika saw), and then buried them under “gold” crinkle paper. (Note: You can pick up the latter at any party store or craft supply store).

Toddler Treasure Box (1)

Veronika immediately began taking out big handfuls of the crinkly paper to find that treasure underneath. Not only does the crinkly paper make for fantastic tactile play, but it sounds neat, too!

Toddler Treasure Box (3)

Once she reached the bottom of the bin, I made a big deal about finding the treasure.

Toddler Treasure Box (5)

“Let’s hide it!” she said. She plinked the coins back in the bin, and this time we layered everything: some paper, a coin, some paper, a coin, and so on.

Toddler Treasure Box (7)

Time to dig it all up again!

Toddler Treasure Box (9)

My little pirate kept busy with this one for quite a while even after I stopped our joint play.

Toddler Treasure Box (10)

Flour Piping Sensory Activity

Flour and Water Piping (8)

A word of warning parents: this game is a messy one, but definitely worth it. It combines food play, painting, sensory play, art, and more!

To start, I set out a bowl for Veronika filled with flour, which immediately grabbed her attention. We started pouring in water and she was fascinated watching it change from powdery flour into, well, goop!

Flour and Water Piping (1)

Keep adding water until your mixture is a thick paste, then use a ladle to scoop some into zip-top plastic bags. Veronika chose blue and green when I asked what colors of paint she wanted. Add a little drop of paint to each bag, then seal and show your toddler how to squish the bag so the color mixes.

Flour and Water Piping (2)

Snip a small hole in the bottom corner of each bag. Veronika could now “pipe” the paint onto sheets of thick craft paper I had laid down.

Flour and Water Piping (3)

Note: I recommend a tray or newsprint underneath the paper, since the flour mixture is quite messy.

Flour and Water Piping (4)

She absolutely loved this step, using great concentration as she dribbled out the contest of the bag. I would make our flour mixture a little thicker next time so that it required more squeezing on her part. With that said, she was pleased as punch watching the results of her work as she dribbled the bag back and forth across the paper.

Flour and Water Piping (5)

Inadvertently, her final “painting” almost looked like planet Earth!

Flour and Water Piping (6)

As the final touch, we added glitter because, well, everything is better with glitter. She loved shaking out lots of it from the jar and making her final work of art gleam.

Flour and Water Piping (7)

Indian Corn Squish Bag and Painting

Corncob Painting (7)

Indian corn makes a beautiful decoration this time of year. And not only does it look great on a harvest table or doorway, but it makes for fantastic sensory play, too!

Indian Corn Squish Bag (1)

Today, I set out three ears of this multicolored corn on a tray for Veronika and first just invited her over. She wanted to smell it, one of the first ways she likes to approach a new item.

Indian Corn Squish Bag (8)

We discovered that if we cracked an ear in half, we could then pick off the hard kernels. This left behind smooth divots underneath. She loved running her finger over the cob, feeling the contrast between these soft and hard parts.

Indian Corn Squish Bag (3)

Next, we turned the corn kernels into part of a sensory bag. I didn’t have any hair gel on hand to fill a small zip-top bag, but corn syrup worked in a pinch. I added a little seasonally-appropriate yellow food coloring, and then some of the corn kernels we’d pulled from the cob.

Indian Corn Squish Bag (4)

Seal tightly and pass over to your child. “It’s a squishy bag!” Veronika said with delight, now familiar with the concept. And this one was great for squishing. She could squeeze it between two fists…

Indian Corn Squish Bag (5)

…or chase around little kernels of corn with a finger.

Indian Corn Squish Bag (6)

With a few corn cobs still on the tray, we decided that they would be fun to paint with. I pulled out brown, red, and green, and poured a little of each color onto a plate.

Corncob Painting (1)

Show your toddler how to roll a cob in one of the colors and then across a piece of sturdy paper. I placed the paper in a craft tray to contain (most of) the mess.

Corncob Painting (4)

Note: If you do this project with red, green, and black paint in December, it would also make a lovely Kwanzaa craft given corn’s symbolism during the holiday.

Corncob Painting (3)

As a finishing touch, we decided to add dots of glue over the dried corncob painting and pressed on a few of the final loose kernels of corn.

Corncob Painting (5)

What fun play we had simply by exploring a piece of seasonal decor!

Indian Corn Squish Bag alt

Exploring Pumpkin Guts

Exploring Pumpkin Guts (8)

Pumpkin carving is an obvious Halloween activity, but don’t neglect what a fantastic sensory experience the whole process is, even before you get to that spooky carved face. And that goes not just for toddlers, but for big kids, too!

Exploring Pumpkin Guts (3)

First, I set out our biggest pumpkins, along with newspaper underneath, a tray to catch all those insides, and a few zip-top bags. The kids had eagerly awaited this moment, as we’ve decorated smaller pumpkins here and there in anticipation. I invited them to explore the giant pumpkin first: the texture, the color, the smell, etc.

Exploring Pumpkin Guts (1)

Then we cut off the top (grown-up step!). Now, the lid is like a puzzle piece that kids could take off and fit on over and over again.

Exploring Pumpkin Guts (2)

Time to scoop! Pumpkins are fascinating inside, starting with those stringy guts and slippery seeds, and then scraping down to the firmer flesh. I spooned some of the insides onto a tray for Veronika to explore with bare hands.

Exploring Pumpkin Guts (7)

She also wanted to smell it!

Exploring Pumpkin Guts (5)

I also sealed some in a zip-top bag in case the goop made her squeamish, but she actually preferred the stuff on the tray!

Exploring Pumpkin Guts (6)

She also loved stirring through the mixture with our pumpkin scoop, which we could also tap against the pumpkin to play it like a drum!

Exploring Pumpkin Guts (9)
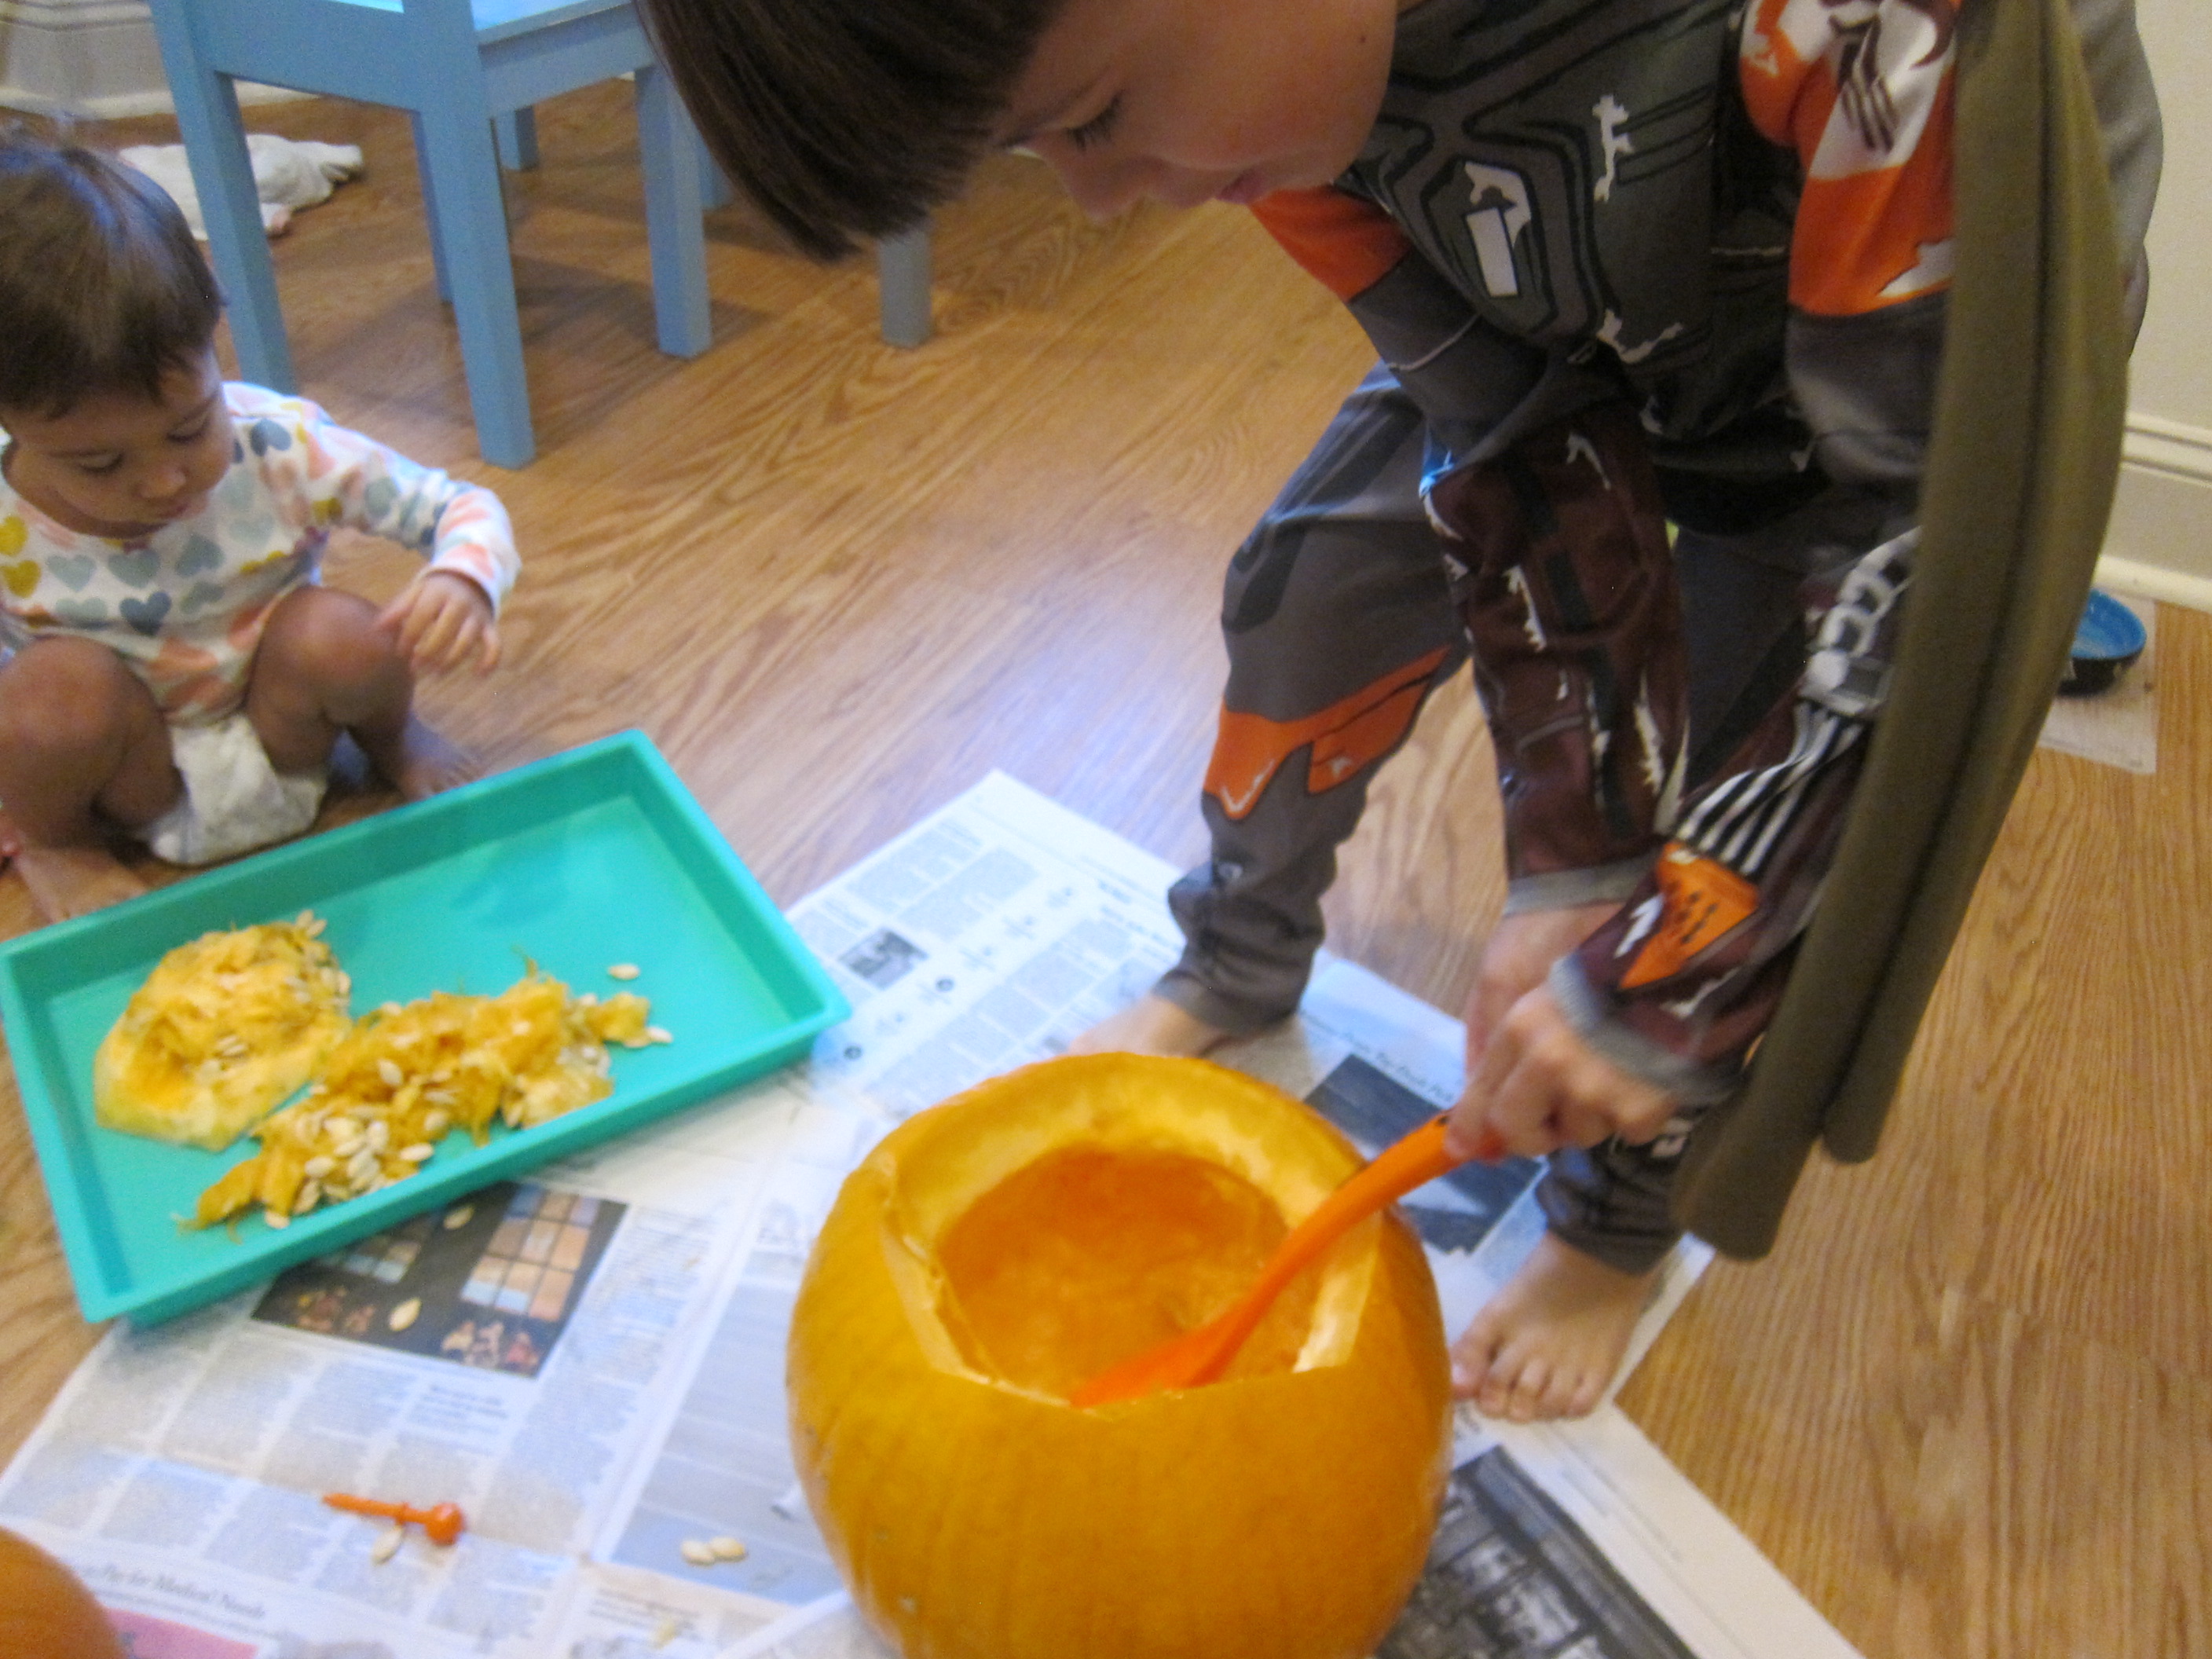
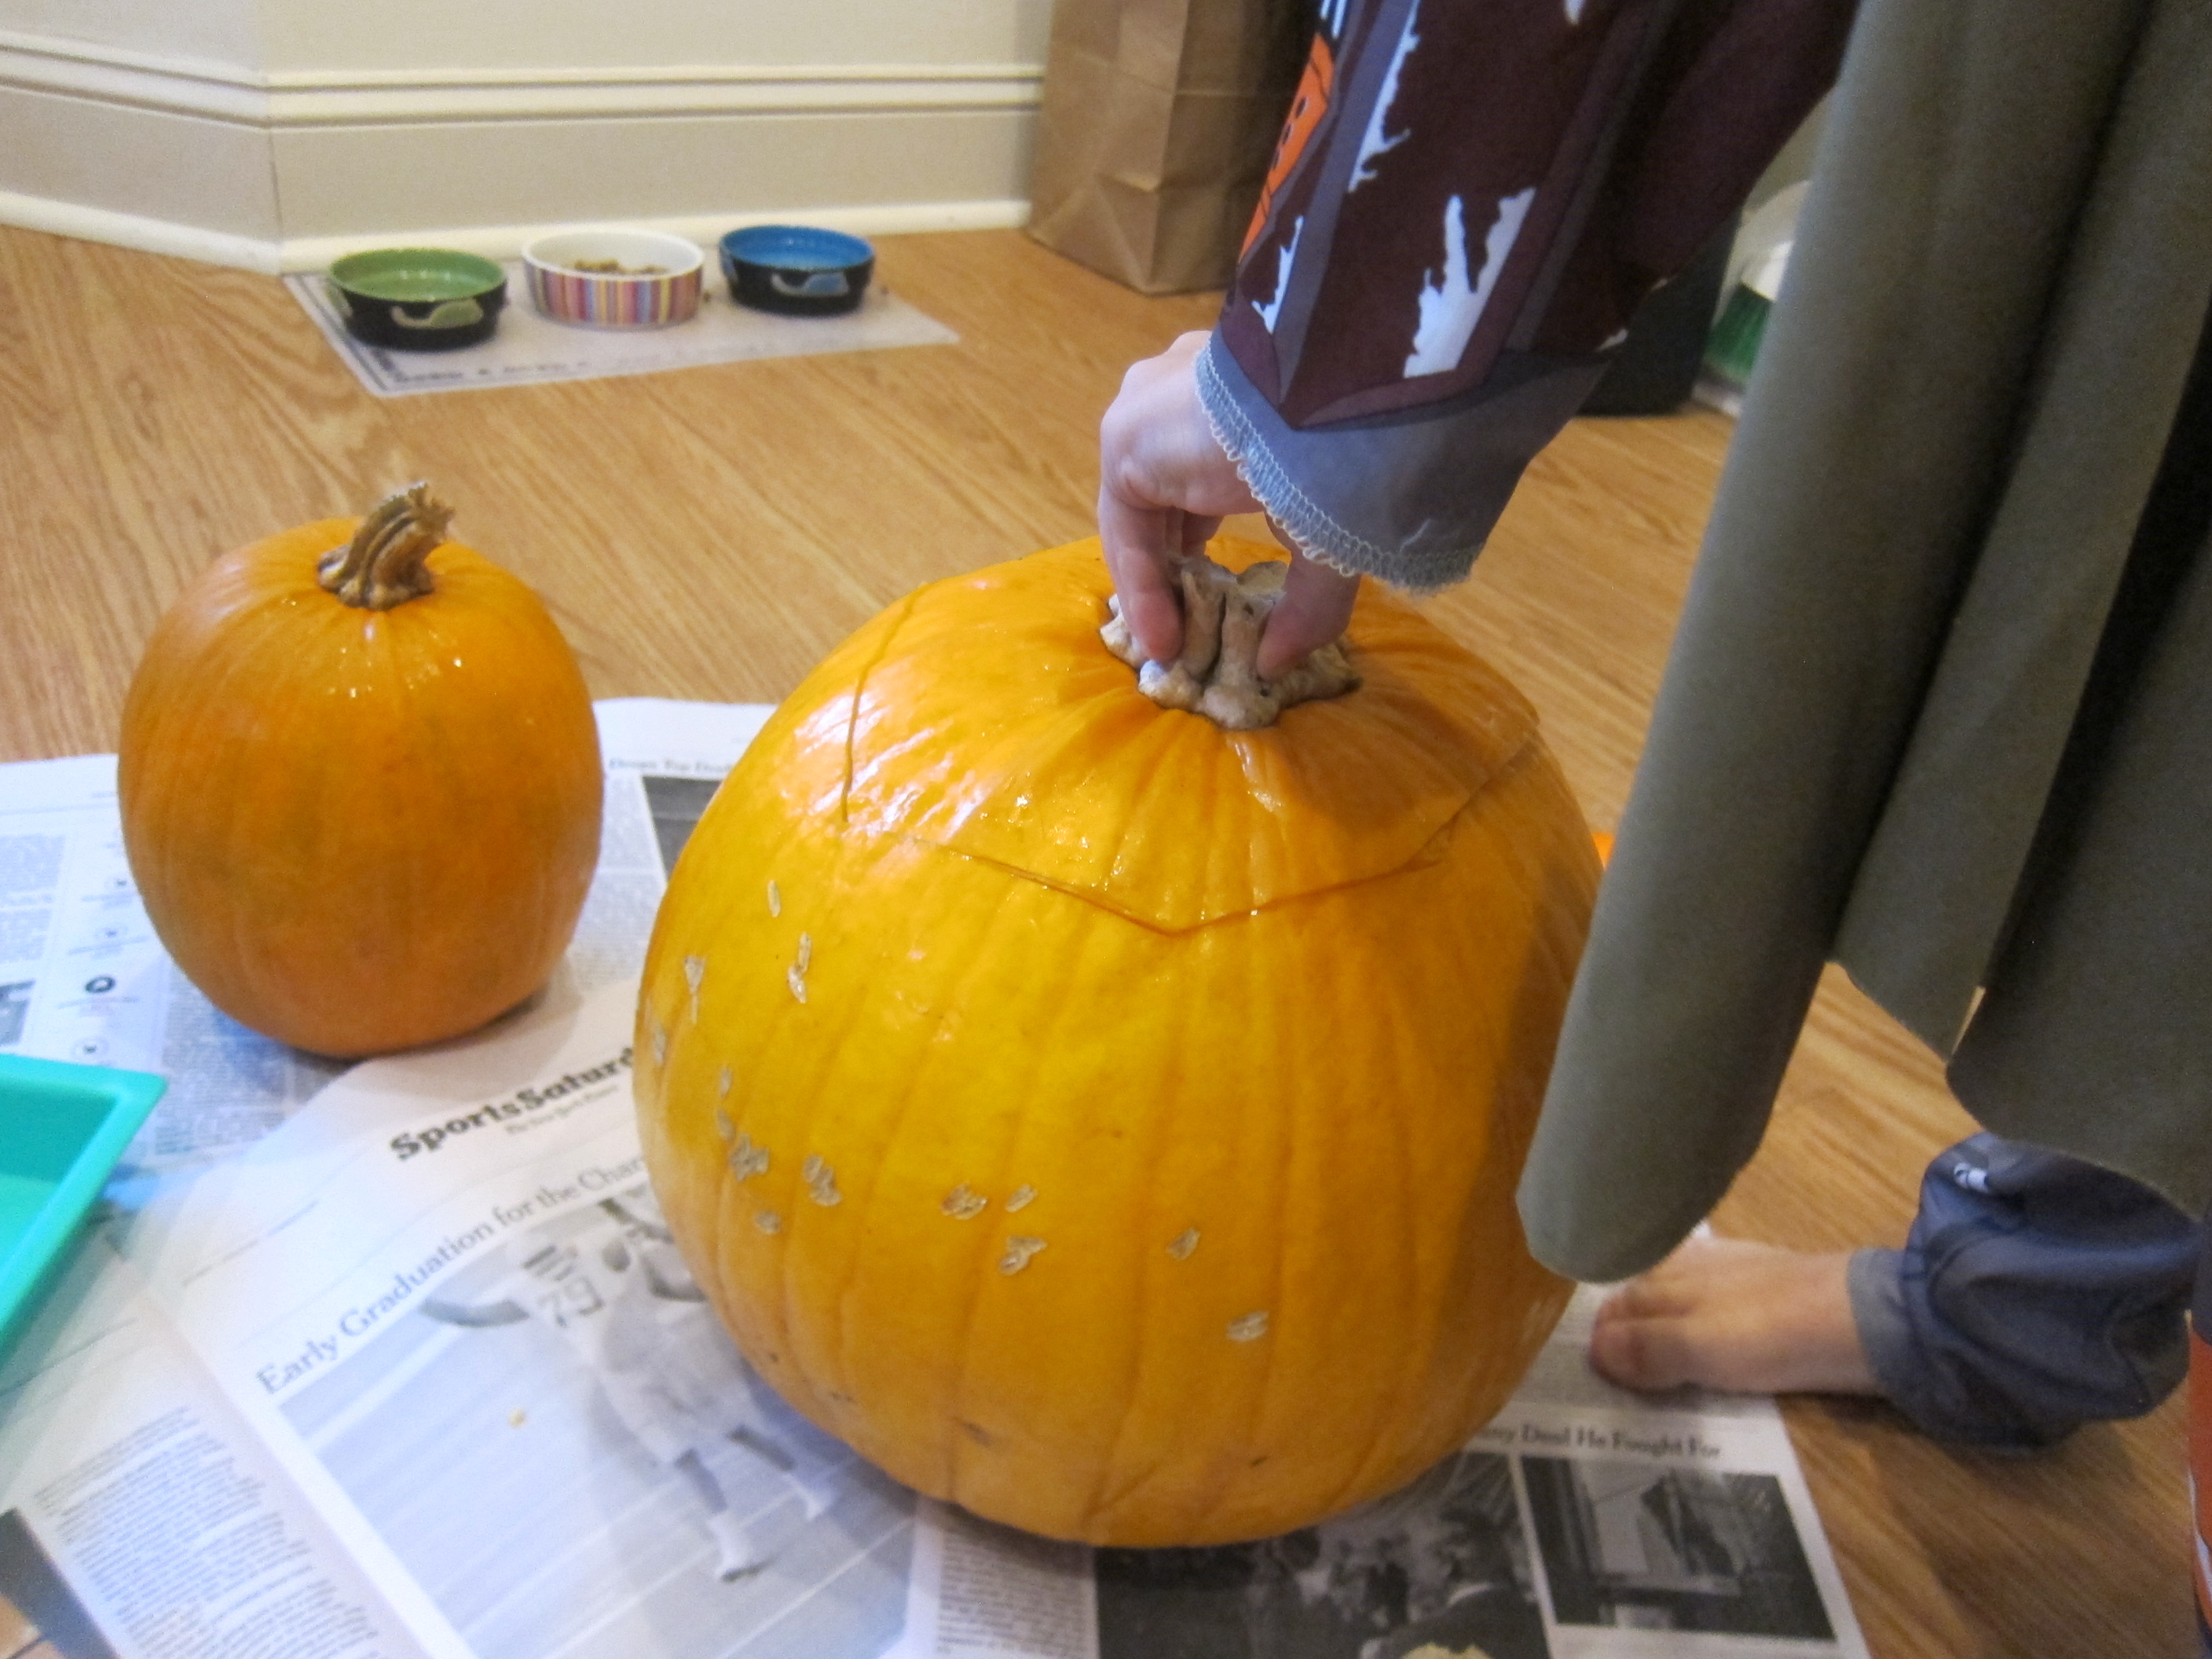
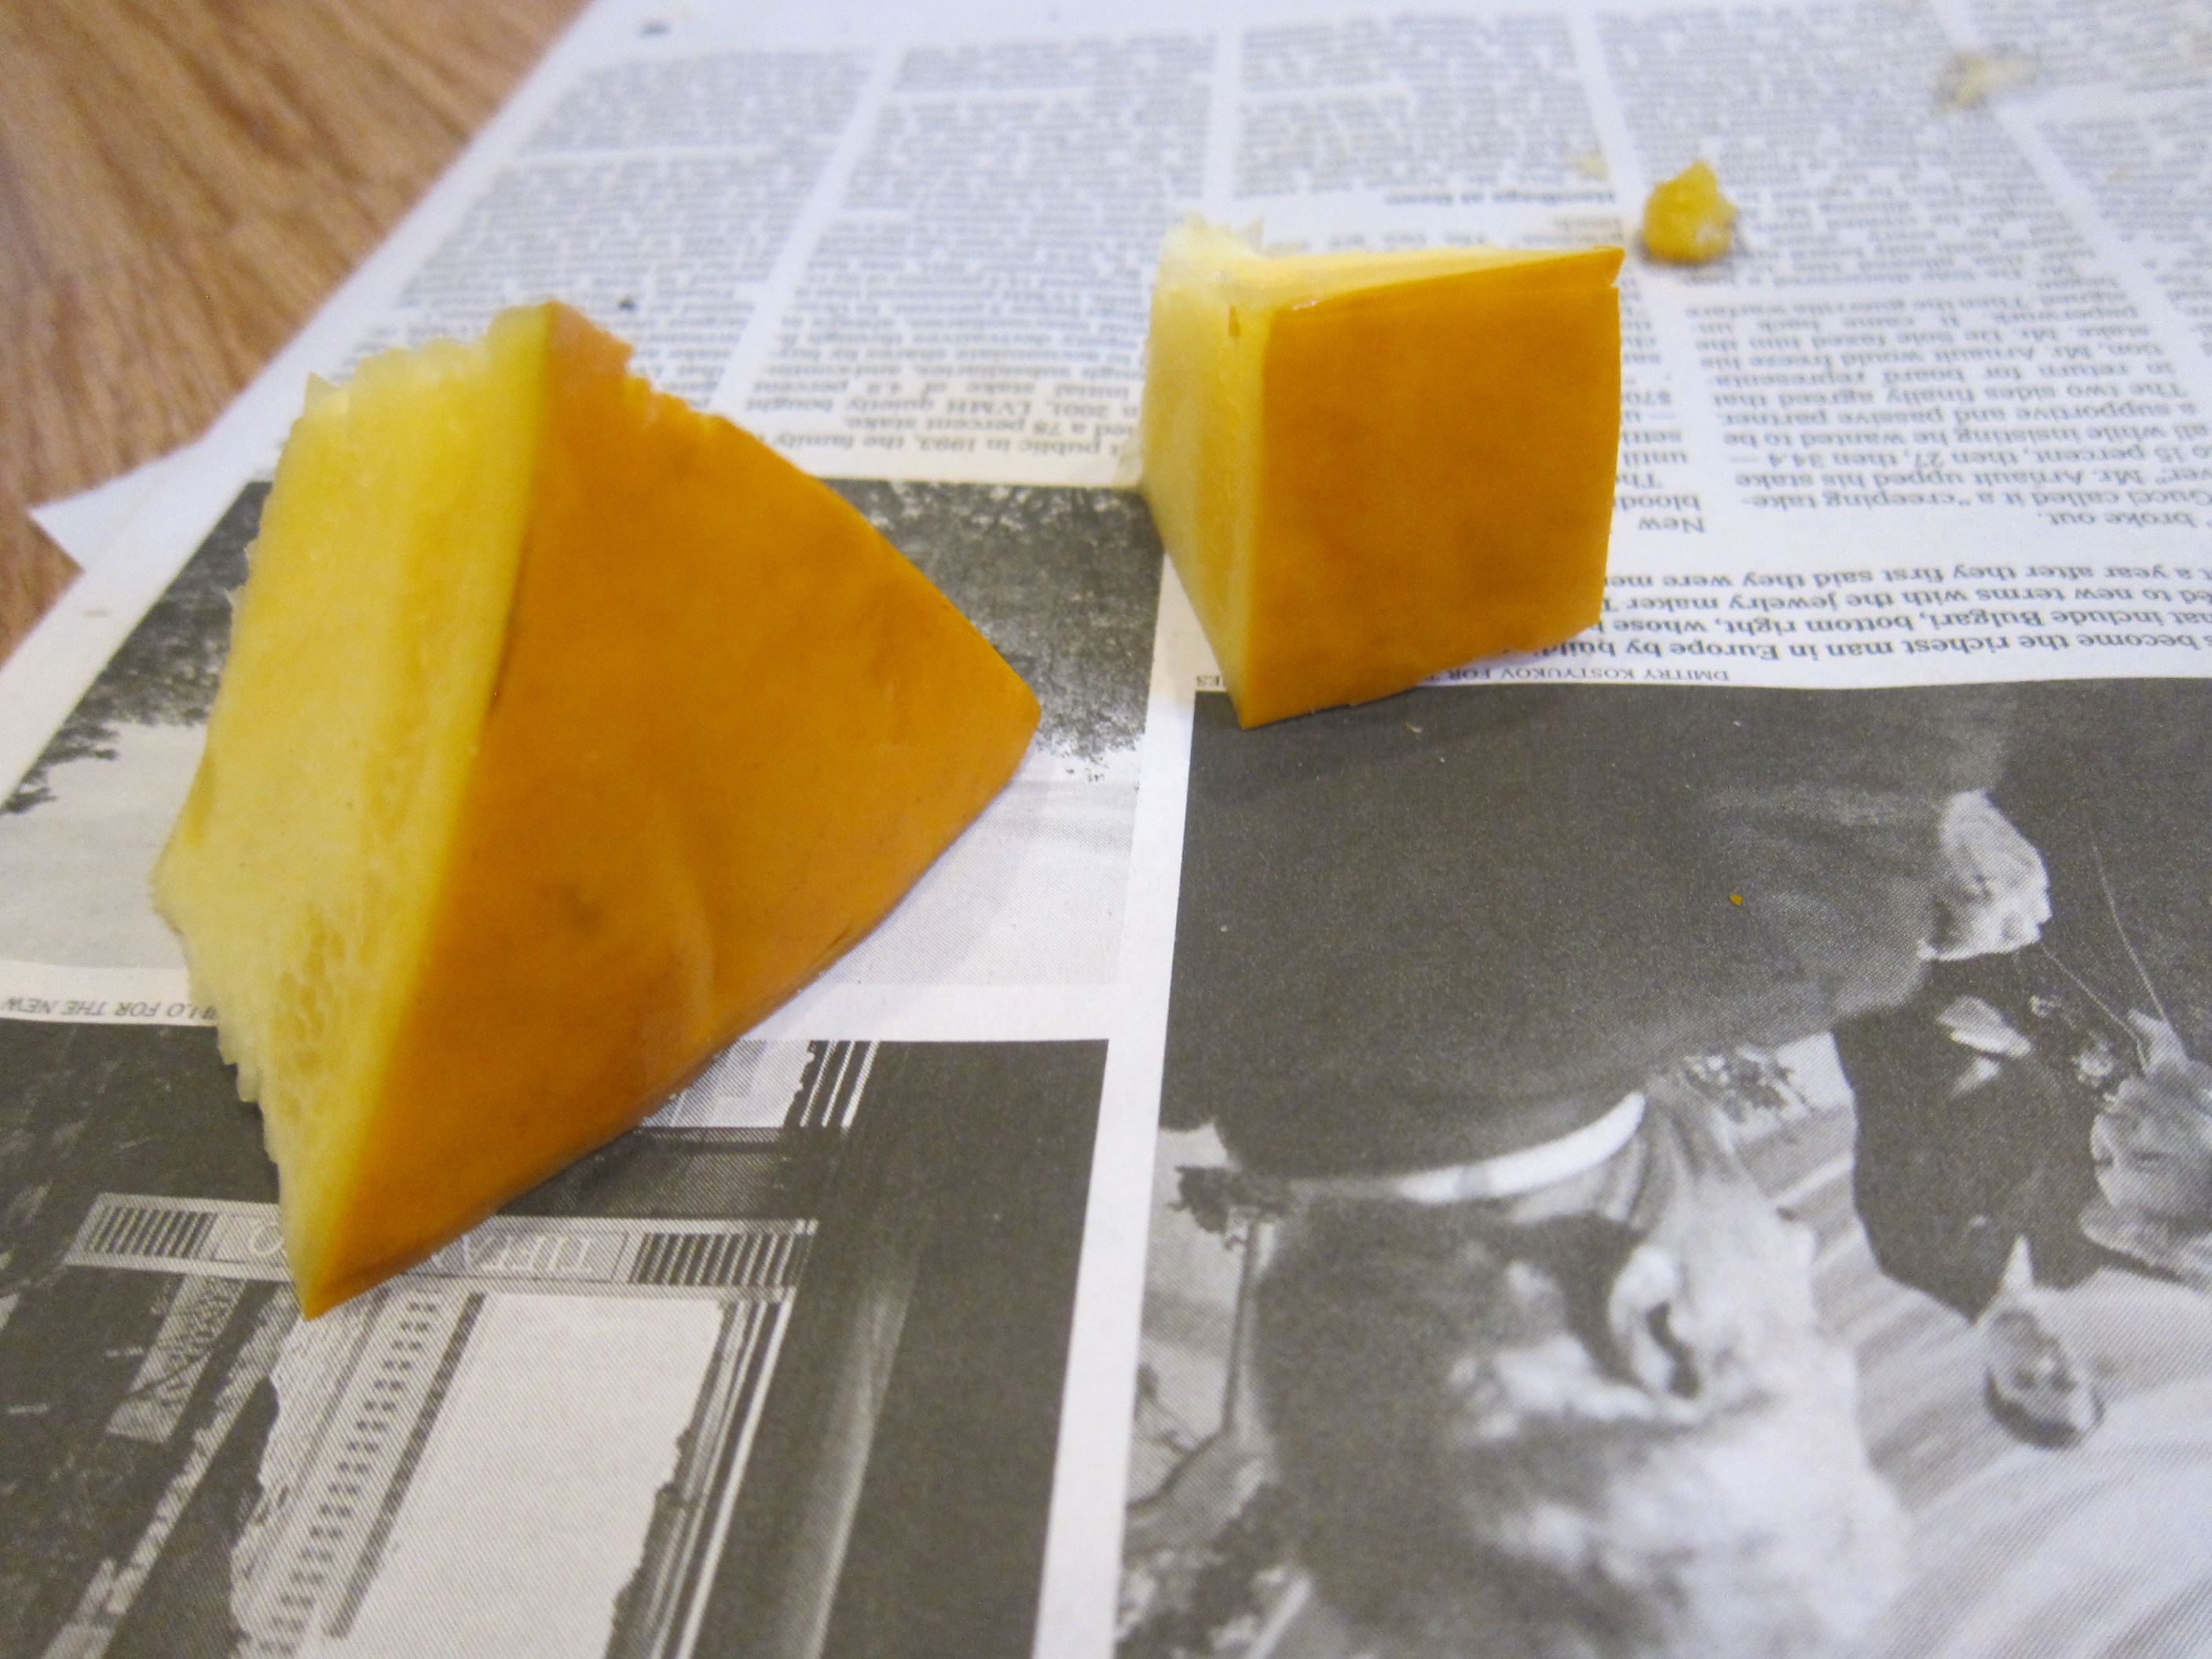
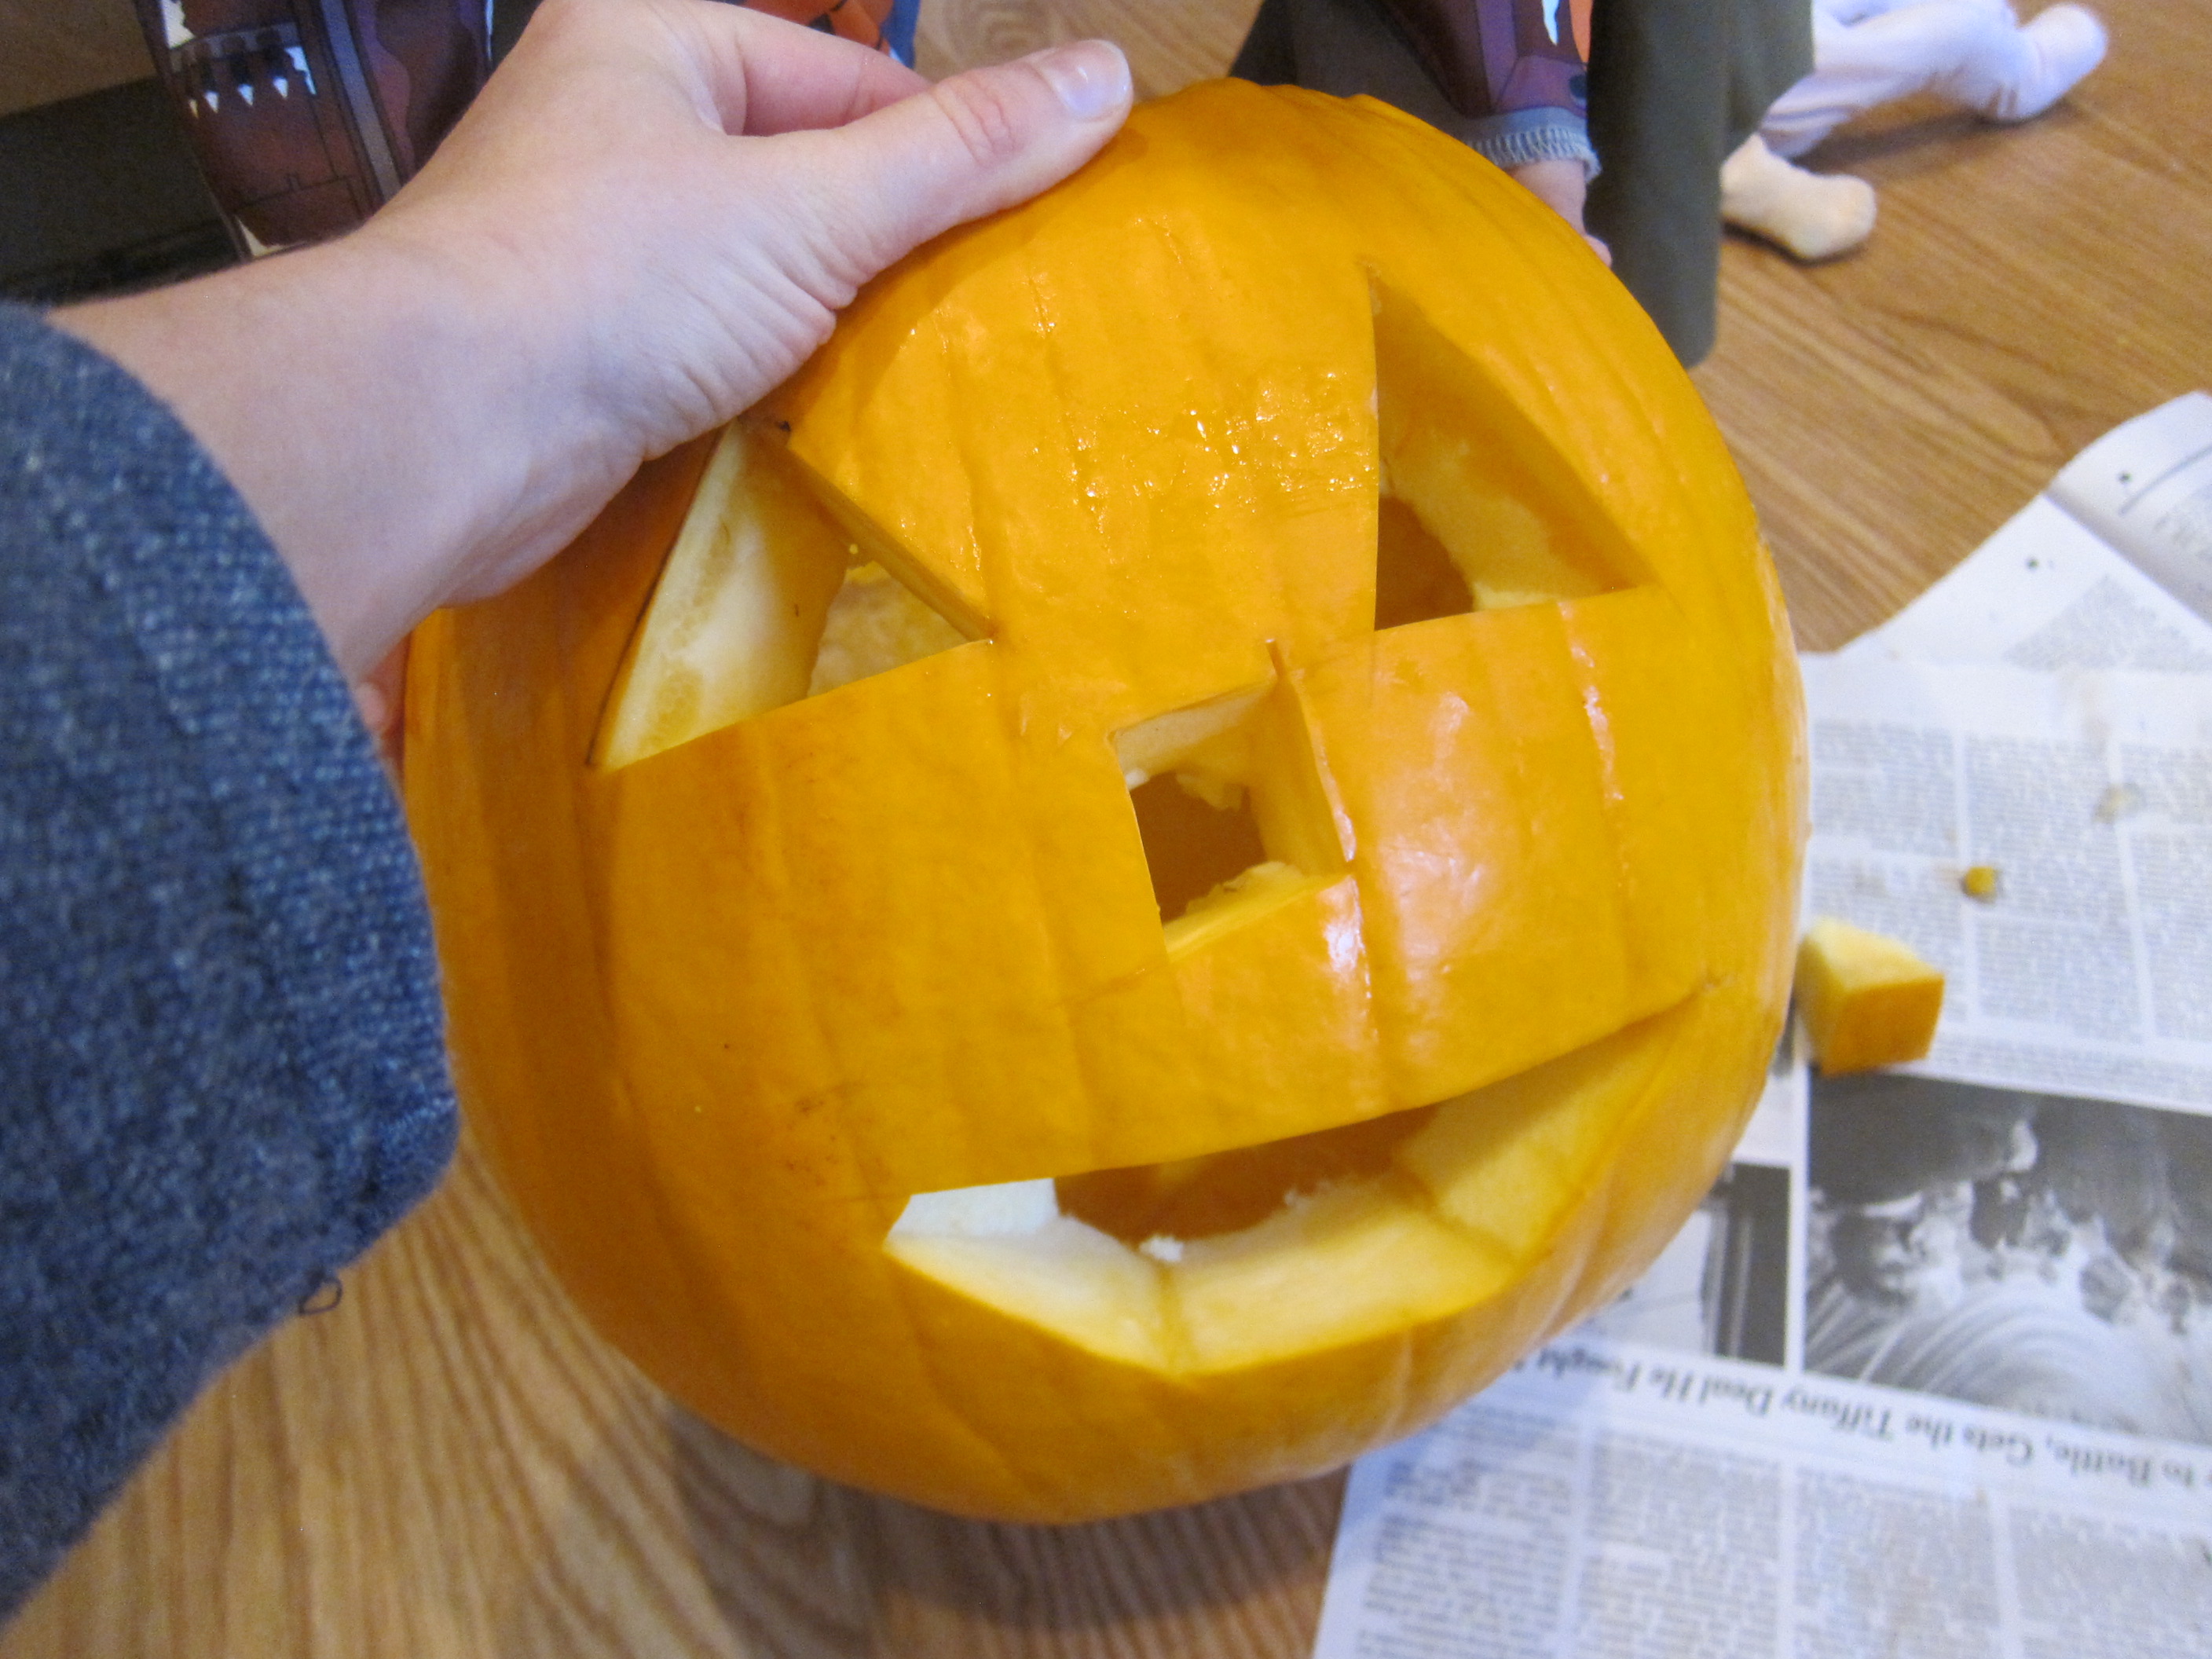
At last it was time to carve. We shifted a bit from sensory mode to learning mode, because as I popped out the first eye, Veronika said, “A triangle! I want a square.”

Exploring Pumpkin Guts (10)

So now I was on the spot to carve a square nose!

Exploring Pumpkin Guts (11)

The final sense to explore in a pumpkin is taste of course. We rinsed the seeds (which easily separate from the stringy stuff). Pat dry, then toss with about 1 tablespoon olive oil and 1/2 teaspoon salt. (Note: We had one cup seeds, so use more or less oil and salt depending how many seeds your pumpkin yields).

Exploring Pumpkin Guts (13)

Roast at 400 degrees F for 10 to 15 minutes, then enjoy!

Exploring Pumpkin Guts (12)

Happy Birthday Sensory Bin

Birthday Sensory Bin (1)

For toddlers who don’t entirely understand what it means to have a birthday yet, here’s a beautiful way to greet them the morning of their big day and introduce some of the items they’ll be seeing now and in years to come!

I filled a craft bin with bright and birthday-themed items. Birthday goodies included cupcake liners and candles, lots of bows and ribbons, and birthday-themed stickers. I also added neon pipe cleaners and a huge pile of pom poms, just for pops of color.

Birthday Sensory Bin (2)

Veronika barely let me finish setting up before getting her hands in the mix! She loved pouring the pom poms from one cupcake liner to another. Then we started baking pom pom cupcakes! Fill the liners and add a candle in the center for an introduction to the tradition of making a wish.

Birthday Sensory Bin (5)

The ribbons were so fun for to pull at or twist apart.

Birthday Sensory Bin (6)

Or to place on Veronika’s head like a birthday crown!

Birthday Sensory Bin (7)

At one point, she realized she could walk all the way around the apartment while unraveling a strand of gold ribbon, which was a pure delight to watch.

Birthday Sensory Bin (9)

I also set down some construction paper so she could peel off stickers (in fun shapes like cupcakes and balloons), and sticker all over the paper at will.

Birthday Sensory Bin (10)

In sum, you’ll have a very happy birthday boy or girl on your hands if you start a toddler’s birthday with this activity!

Birthday Sensory Bin (4)

Fall Hair Gel Sun Catchers

Orange Leaf Bag (9)

I wanted to make a couple of orange sensory bags for Veronika this morning, with Halloween and autumn in full swing, only to realize I didn’t have any orange food coloring! I didn’t have yellow, either, which meant I couldn’t even mix red and yellow to make orange.

On a whim I decided to see if I could dye things the old-fashioned way (spices!) and there was orange turmeric in the spice rack. The result wasn’t perfect, but adding the spice turned out to be half the fun.

Orange Leaf Bag (1)

I squirted a generous amount of clear hair gel into each of two small zip-top bags to start. In the first, I added about a teaspoon of turmeric and mushed around until it was orange. Veronika loved the smell of the turmeric, and wanted to help measure out the spoonful!

Orange Leaf Bag (2)

Then I added orange leaves we’d brought home from the playground yesterday. The turmeric did make the bag slightly cloudy and hard to see the leaves, but it worked fine if in direct sunlight.

Orange Leaf Bag (3)

For the second version, I drew jack o’ lantern features directly on the plastic bag with a black sharpie. Again I added 1 teaspoon turmeric, along with 1 drop of red food coloring. This made a great orange!

Orange Leaf Bag (6)

Because the black features were on the outside, the graininess of the spice didn’t matter this time. Veronika loved playing with this squishy bag where I taped it against the window.

Orange Leaf Bag (8)

These turned out to be so fun, and spot-on for the season, too.

Orange Leaf Bag (7)

Maze Through Lentils

Maze Through Lentils (9)

Veronika is obsessed with tractors and other farm machinery, so this sensory bin was a great way to bring the farm play home. It also doubles as a learning maze!

To set up, make a line of masking tape on the bottom of a shallow tray, forming a path from start to finish.. I wanted this to be fairly simple for Veronika to follow, but made a few zigs and zags.

Maze Through Lentils (1)

Add the words ‘start’ and ‘finish’ for early sight words!

Maze Through Lentils (5)

Next, I covered the whole tray with red lentils. Add miniature farm-themed items, whether miniature animals or seasonal miniatures, or anything else that fits the theme. We used mini hay bales, tiny gourds, and of course a little wheelbarrow.

Maze Through Lentils (2)

Could we get the wheelbarrow from start to finish? I showed Veronika how to scrape her finger through the lentils to uncover the path.

Maze Through Lentils (6)

Big brother Travis wanted to jump in for this part!

Maze Through Lentils (7)

Now the goal was the drive the wheelbarrow along the path, making this count as Veronika’s very first maze. Of course she also loved driving it all through the lentils, leaving the tape path behind completely.

Maze Through Lentils (10)

The mini farm items were so fun to play with in further imaginative play.

Maze Through Lentils (8)

She moved items around and “planted” the gourds in the field, and kept busy with the sensory tray for nearly half an hour.

Pumpkin Scented Rice Bin

Pumpkin Scented Rice (5)

This was easily one of the prettiest sensory rice bins I’ve put together for Veronika. And it certainly smelled the best!

To prepare the rice, you’ll want to start the night before. I didn’t have orange food coloring, but I dripped in a good sized blob each of red and yellow, then added about 2 tablespoons of hand sanitizer. Add a bag of plain white rice, along with 1 tablespoon pumpkin pie spice, and stir until it’s all combined.

Pumpkin Scented Rice (3)

I ended up really liking the striated effect this achieved, since some pieces were more yellow, some more red, and some a perfect blend of orange. All the fall colors! Spoon the mixture onto a shallow tray so it can dry overnight.

In the morning, I laid out the rice for Veronika, along with pine cones and whole cinnamon sticks. Feel free to add other whole spices if you have them, like nutmeg or star anise.

Pumpkin Scented Rice (6)

Veronika loved the bin right away, first wanting to get her hands on the cinnamon sticks. “Can I smell them?” she asked.

Pumpkin Scented Rice (8)

I also added in a few orange pipe cleaners so she could thread the cinnamon sticks onto them, almost like long beads.

Pumpkin Scented Rice (7)

Cinnamon bracelets!

Pumpkin Scented Rice (10)

Then she started sprinkling handfuls of rice over the pine cones. She loved the sound it made!

Pumpkin Scented Rice (4)

It was fun to bury the pine cones in the rice and then unearth them. And of course she paused often to lift the rice near her nose and take a deep breath in. There’s nothing better than the smell of pumpkin pie!

Pumpkin Scented Rice (11)

This one kept her busy for a while!

Pumpkin Scented Rice (9)