Shopping Green

Green Grocery (1)

To go along with copious plant-based recipes from Raddish Kids this month, one lesson plan was about not just eating green but shopping green. Unfortunately, some of the suggestions are impossible under current coronavirus regulations. But the gist of the lesson wasn’t lost on Travis, even with a little improvisation.

This actually was a two-part lesson, spaced a week apart, and we began after my weekly foray to the grocery store last Sunday.

Green Grocery (2)

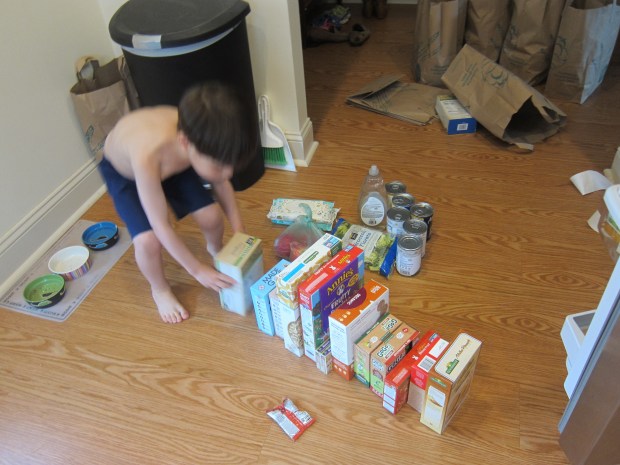
Travis helped me unload the bags so we could look at how much waste we were generating. We laid out all the boxes, metal cans, and plastic bags full of fruits and vegetables. Travis helped tally up the total in a chart, including 21 boxes (!), 8 plastic bags of produce, and 7 metal cans.

I also had purchased some items with the intent of showing him how we could improve. Which did he think was better for the planet: a single-serve peanut butter pouch or the whole jar?

Green Grocery (7)

Bottled water (which we normally never buy!) or the filter in our fridge? Individually wrapped snack bars or a bag of chips? Fruit that came in its own wrapper (a watermelon rind!) versus pre-packaged and chopped? I could see his eyes widen with realization a few times as we talked through all this.

Green Grocery (4)

The following week, it was time to see if we’d improved! Travis’s hypothesis was that our cost would have gone down, too.

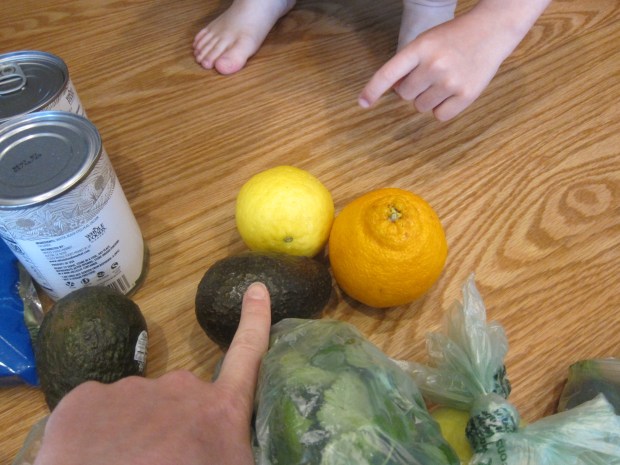
Again we lined up all the groceries and tallied on our chart. The biggest difference was in the number of boxes: only 5! We’d also purchased way less produce in plastic bags, choosing items deliberately in their own “packaging” like bananas, oranges, and avocados.

Green Grocery (3)

Of course, as mentioned, there are certain things we just can’t do right now, like bring reusable shopping bags, buying from the bulk section, or bringing along our own glass jars.

Green Grocery (8)

But we’re newly motivated moving forward! As a finale to the lesson, he watched an online read of Michael Recycle by Ellie Bethel.

Finder’s Keepers

Finders Keepers (3)

With a large cardboard box in the house today, it was the perfect opportunity to play a variation on hide-and-seek. This time, Veronika’s toy was the hider, and she (the seeker) got to be the keeper.

I placed a favorite toy (a big stuffed puppy named Marshmallow) in the box, and asked her, “Where’s Marshmallow?”

Finders Keepers (1)

To make the search exciting, I draped a blanket over the opening and handed Veronika a flashlight. The flashlight was novel, so of course she had to check that out for a while.

Then the hunt began! I asked questions as she got closer. “Is Marshmallow behind the box? Is he on top of the box? Is he inside the box?”

Finders Keepers (2)

She’s getting closer…

Finders Keepers (4)

There he is! She was so pleased once she found her friend. Finder’s keepers!

Finders Keepers (6)

Of course then your toddler will probably want to play in the cave for a while.

Finders Keepers (7)

It was even more fun to shine the flashlight on the walls inside where it was darker! Next time maybe we’ll play this game after dark.

Finders Keepers (8)

Set Design

Set Design (5)

Here’s an easy hack to turn empty cardboard boxes into play spaces with zero mess: use stickers as the backdrop to create scenery for a “stage”!

To put this together, I simply taped the background pages from a sticker set inside a large cardboard box.

Set Design (2)

We started out with an ocean page, and Veronika could go “under the sea” simply by crawling in. She loved peeking out from this watery cave, and also adding animals to the backdrop. It was almost like a virtual aquarium!

Set Design (6)

As an alternative, you can cut the box so it stands flat, and tape pages to the outside of it. In this way, the box now became her jungle! Use stickers or other pictures to create a farm, beach, or whatever else strikes your little stage actor’s fancy.

Set Design (3)

This was a neat way to build on Veronika’s imaginative play as she becomes less interested in merely manipulating objects, and more interested in acting out stories. I talked about her trip to each place, and the various animals she could see.

Set Design (7)

Other fun ideas? Use stickers to make a backdrop like a castle or outer space! If you’re more artistic than I am, of course feel free to paint these scenes. But relying on stickers was a great hack with no mess.

Set Design (8)

Rainbow in a Bag

Rainbow in a Bag (5)

This is a neat, no-mess way for toddlers to paint a full rainbow!

To start, I needed to make a thick goopy paint. Based on a recipe I found online, I combined 1 cup flour, 2 cups water, and 1 tablespoon salt in a saucepan, then cooked over medium-low heat, stirring with a whisk. It didn’t get as thick as I hoped, but stirring in 1 tablespoon cornstarch did the trick.

Rainbow in a Bag (1)

Once thick, I divided the mixture among 6 paper cups and added about 20 drops of liquid watercolor to each, one for each color of the rainbow. Note: If you are worried about staining, use food coloring instead of the watercolor. However, because I knew this project would be sealed in a bag, there would be no chance for Veronika to smear it on her clothes… Or taste it!

Rainbow in a Bag (2)

I placed a piece of thick white paper in a gallon-sized zip-top bag, then arranged the colors in rainbow order across the paper. Because the paint was so sticky, it grew harder to work as I went, so the colors sort of ended up at a diagonal! But this still worked fine; I sealed the bag and handed to Veronika.

Rainbow in a Bag (3)

At first she was frustrated she couldn’t touch the paint, looking at me with disappointment. Oh that toddler glare!

Rainbow in a Bag (7)

But then she realized the paint blobs felt mushy and squishy beneath her hands, and she loved poking around at them.

Rainbow in a Bag (4)

By the end she had smeared the paints in such a way that we had a full rainbow of stripes across the bag.

Rainbow in a Bag (8)
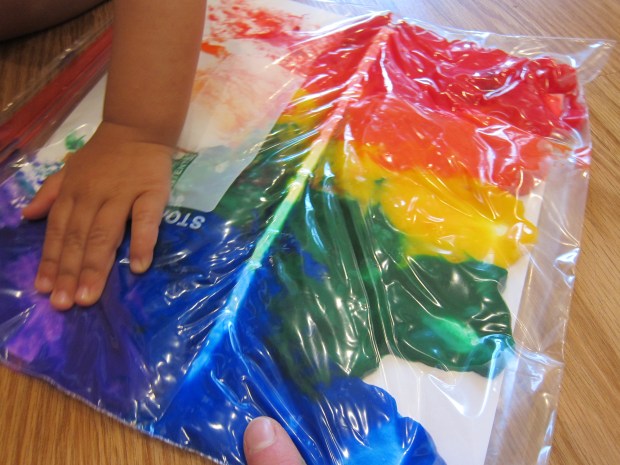
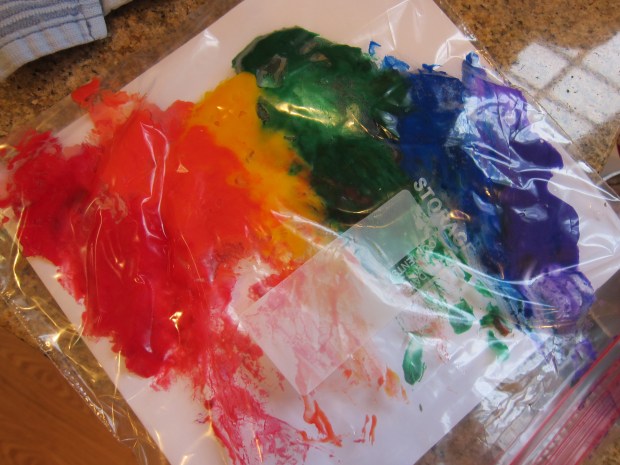
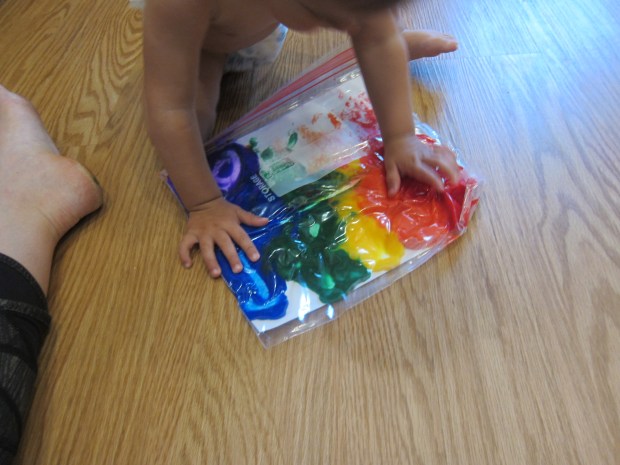
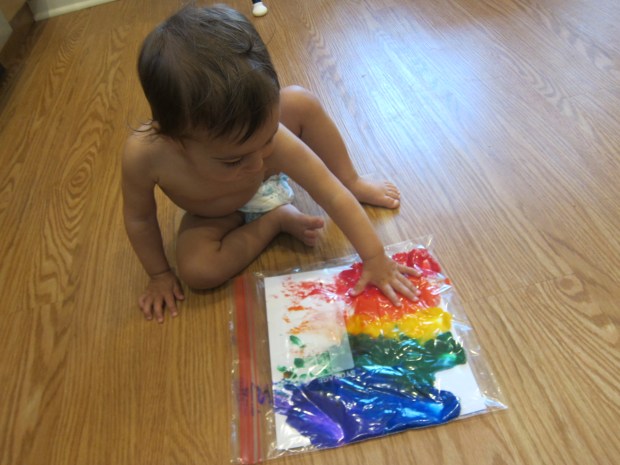
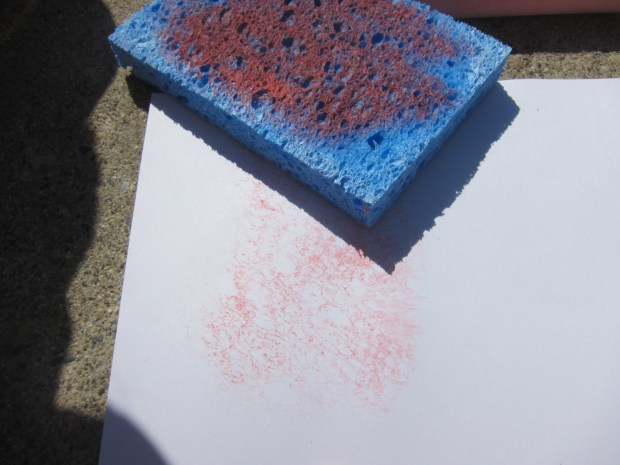
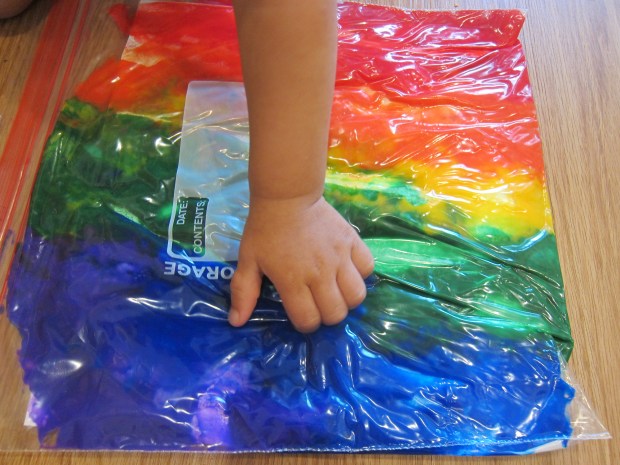
It’s actually too bad that the paint was so goopy, or I would have pulled the white paper out to dry and hang on the fridge. Next time!

Engineer with Water

Engineer Legos (6)

Children’s museums are closed for coronavirus, so today we recreated one of Travis’s favorite exhibits here at home! The museum version involves a large base where kids can dam water with Duplo pieces. We recreated that on a smaller scale with Legos!

Ideally you’ll need one of the large Lego baseplates for this project. Technically it would work on any small Lego base, too, but your results will be in miniature.

First we built a high wall of interlocking bricks so our baseplate could stand upright. Attach this to your Lego base with any Lego hinges.

Engineer Legos (3)

Next Travis began adding paths for the water. On the first round, I gave him no guidance and he designed a very complicated set of Legos that were vertical and horizontal and all over the place. He thought he was being tricky leaving tall openings.

Engineer Legos (2)

We set the whole apparatus in a shallow tray and poured in a cup of water. Of course it pretty much ran straight down over everything.

Engineer Legos (4)

After we poured, he realized that he needed to be much more deliberate in his placement. We removed any vertical Legos except those on the very edges, and soon had horizontal walls. He loved the idea that we were “tricking” the water.

Engineer Legos (7)

To visualize our results, we added small red Lego pieces that could run through this “maze”. You could also use glitter or any other tiny object for this part. Now he could really see the flow of water. Check it out!

Then he wanted to try blocking the water entirely. It sort of worked, although his walls  needed to be higher to truly block any flow.

Engineer Legos (8)

There are so many ways to play with variations on this, and your child will be engineering all the while!

Engineer Legos (6)

Kindergarten Home School Week 10: Friday

Home School 50 f

We ended the week on a strong note, and are heading into the weekend in a state that has slightly reopened. Wishing everyone a safe and healthy Memorial Day!

Home School 50 b

9-9.30: Letter L. After completing a workbook page that focused on letter L (writing out L words, coloring in L pictures), we played “Last to the Lake”: our fish playing pieces moved from sight word to sight word in a race to the lake at the end. He loved it so much that he wanted to play longer after winning!

Home School 50 c

9.30-10: Math. His workbook page involved combining numbers from the tens and ones column. This was new stuff and he tackled it well. We then got silly, thinking of other groups of 10. How many fingers live in our house, if 4 people each have 10? 40! How many fingers and toes were there? 80! We counted out tens with a pretzel snack, too.

Home School 50 d

10-10.30: Snack/recess. (Little sister was getting good and messy on the patio, in the meantime!).

10.30-11: ELA. Travis 20 minutes on Lexia, proudly reaching a new level in the program.

11-11.30: Social studies. After learning a bit about the upcoming Memorial Day holiday, Travis made a simple craft: we cut the centers from paper plates, then glued on red and blue stars cut from construction paper.

Memorial Wreath (1)

It was a simple but patriotic decoration for our door!

Memorial Wreath (3)

We also talked about gallant actions we can take for the holiday, like laying flowers on veteran’s graves.

Memorial Day flowers

Honestly, we began the long weekend early, thereafter. It was a gorgeous day to get outside to a local pond for some sand and water play, and he had a social hour with his high school buddy over Zoom.

walden (5)


Ooey Gooey Noodle Worms

Ooey Gooey Noodle Worms (3)

I love activities that introduce new textures to a toddler, even if they might seem a little gross to us grown-ups. Veronika has no qualms about getting her hands dirty, so on today’s menu was mud worms!

I cooked up a batch of linguine for the “worms”, and then placed them on a shallow tray that we could take out to the patio. Now we just needed to bury them in “dirt” a.k.a. chocolate pudding.

Ooey Gooey Noodle Worms (9)

She gleefully began scooping through, using both fingers and a sand shovel

Ooey Gooey Noodle Worms (2)

In retrospect, I would have used a lot more pudding and a lot fewer “worms”, as this wasn’t really hunting or digging. We just had lots of worms crawling all over the tray! But of course the pretend play was a bit advanced for her anyway, and she loved scooping.

Ooey Gooey Noodle Worms (1)

We got our fingers in the mixture together and used words like “slimy” and “goopy” as we played.

Ooey Gooey Noodle Worms (4)

When the noodles landed on the patio, they did sort of look like little worms after a rainstorm.

Ooey Gooey Noodle Worms (5)

Then Veronika decided it was even more fun to scoop them up from the tray and toss them on top of other items on the patio.

Ooey Gooey Noodle Worms (7)

Admittedly that made clean-up a little tougher, but she was having so much fun I didn’t stop her! All in all this was good gooey fun.

Ooey Gooey Noodle Worms (8)

Safari Binoculars

Safari Binoculars (4)

Here’s a classic craft that I knew Veronika would love because it involves one of her current favorite things: stickers!

To assemble your toddler’s very own binoculars, start with two empty toilet paper tubes. I had bug and fish stickers, both perfect themes for this project, and she loved placing stickers all over.

Safari Binoculars (2)

I find it helpful to peel up the edges of stickers slightly at this age, so she can then pull them the rest of the way off the sticker sheets without frustration.

Safari Binoculars (5)

Resist the urge to correct your toddler’s sticker placement; it was just fine if a few overlapped, or if she clustered them in one spot!

Safari Binoculars (3)

I glued the tubes together (or you can use tape if you don’t have time to wait for the glue to dry), then punched a hole near the top of each tube on the outer edge. I threaded yarn through to make a loop so Veronika could wear them around her neck.

Safari Binoculars (6)

Now it was time to head out into the wilderness! Off she goes for her first safari.

Safari Binoculars (8)

Honestly she was probably more into them as an accessory than a viewfinder, but they were particularly neat for watching bugs up close.

Safari Binoculars (11)

Older siblings may just clamor for a turn, too!

Safari Binoculars (9)

If you prefer to have your safaris indoors, consider using these on a stuffed animal hunt instead.

Kindergarten Home School Week 10: Thursday

Home School 49 b

I’m so happy to report we had a successful day. Travis was focused and motivated on his lessons in the morning, so much so that the afternoon was very light on schoolwork, everything already accomplished.

9-9.30: Math. He started with a workbook page counting up summer vegetables. I then gave him a few challenges. What would the number be if he added 10 to each (hint: a number in the teens). Then we made a number line and used it to answer simple equations. What was 1 more than 16? Three less than 16? Two more than 18? I could tell the visual number line really helped him think.

Home School 49 a

9.30-10: ELA. He did a page in his Star Wars writing workbook, and laughed so hard when we made up silly answers to fill-in-the-blanks. A proud 20 minutes on Lexia followed (while little sister drew with cars).

Home School 49 c

10-10.30: Snack/art/free play.

10.30-11: Music. Travis recorded himself singing high and low for the music teacher.

11-1: Lunch/free play.

1-2: Science. After reading an encyclopedia page about cameras, we headed outside (in gorgeous weather!), to take pictures.

Home School 49 d

I let Travis play around with settings, especially the zoom function. His photos were actually quite artsy! This counted as great fresh-air time for the day, too.

Home School 49 f

2-2.30: Spanish. There was a live Zoom today, a fun chance to go over familiar songs and watch a Spanish puppet show of the Three Little Pigs. I had hoped to engage him with an activity on fast and slow animals (rapido/lento) but it was late in the day and we called it quits.

Sponge Printing

Sponge Printing (12)

I recently introduced Veronika to the idea of stamping, by making Duplo prints. Today, we made sponge prints instead!

This was a great activity for outside on the patio, since first we needed to get the sponges wet. I misted them with a spray bottle until saturated, then showed her how to chalk all over the surface of the sponge.

Sponge Printing (4)

Press down firmly on a piece of thick white paper and the mark of the sponge will be left behind. The sponges have a bubbled appearance, with more surface twists and turns than you might expect!

Sponge Printing (1)

Next I cut a few of our sponges into shapes like hearts and plus signs.

Sponge Printing (10)

She liked seeing the various shapes in our prints.

Sponge Printing (6)

Then we discovered that if we used the chalk on wet pavement and then dipped the sponge in the colored water, we ended up with a more saturated print.

Sponge Printing (8)

The wetter the sponge the better the print, so eventually we used a bucket of water to dip instead of the mister bottle.

Sponge Printing (9)

Of course then Veronika just loved dipping the sponges in the bucket and squeezing them out, and lost interest in stamping!

Sponge Printing (11)

But this just fine; it meant this craft was a great way to spend some time making art and simply playing outside.

Sponge Printing (13)