Shaving Cream Polar Bear

Shaving Cream Polar Bear (6).JPG

We’ve just come through a blizzard and we were snowed in for a couple of days. So what better animal to make than a snowy white polar bear? I decided we needed sensory paint for this one, not boring old regular paint.

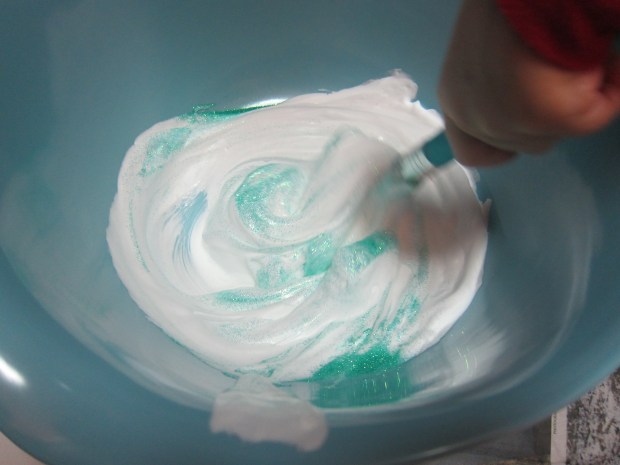
I wish I could tell you what ratio of shaving cream to glue we used, but to be honest I just let Travis have a blast squeezing both ingredients into a foil pie plate.

shaving-cream-polar-bear-1

My guess would be a roughly 1:1 ratio. Mix together until you have a creamy sticky paint.

shaving-cream-polar-bear-2

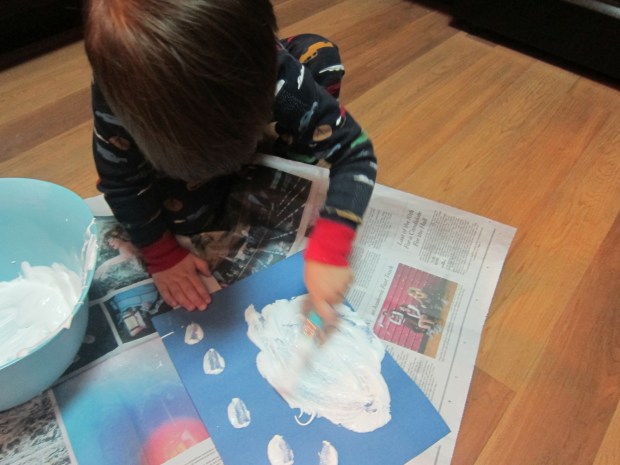
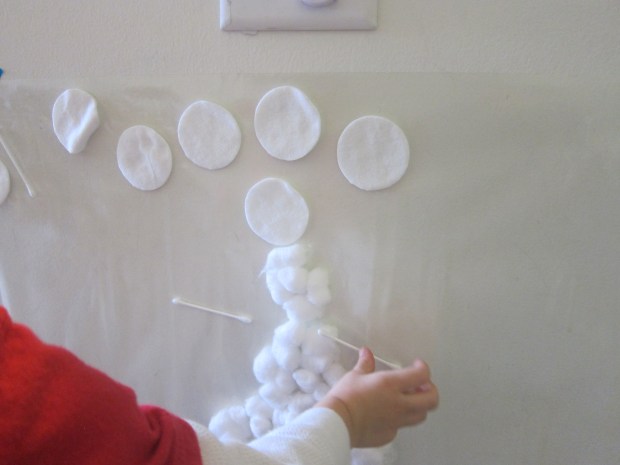
I didn’t even tell Travis to start painting – he just began glopping the mixture onto the paper plate that I had set out for the polar bear’s face.

shaving-cream-polar-bear-3

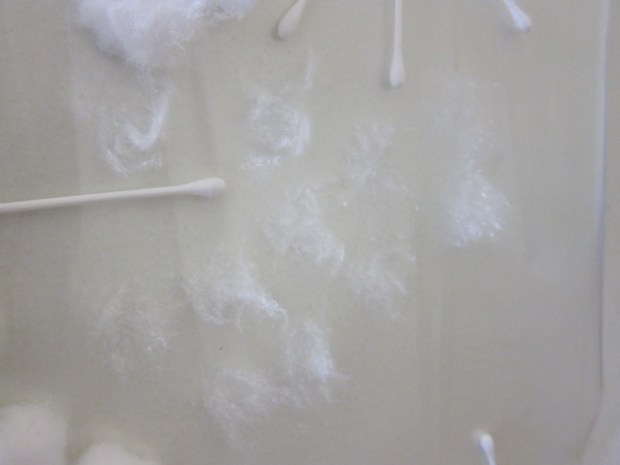
Travis being a toddler, it wasn’t long before he discovered how awesome the mixture felt on his hands, too!

shaving-cream-polar-bear-4

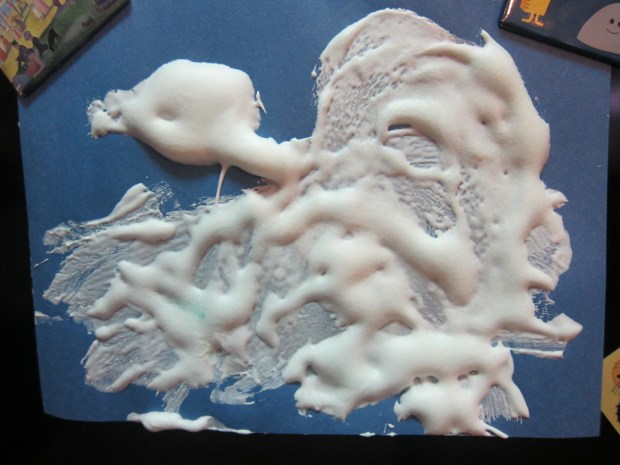
I loved how this paint made a nice imitation of fluffy polar bear. We set the plate aside to dry overnight.

shaving-cream-polar-bear-5

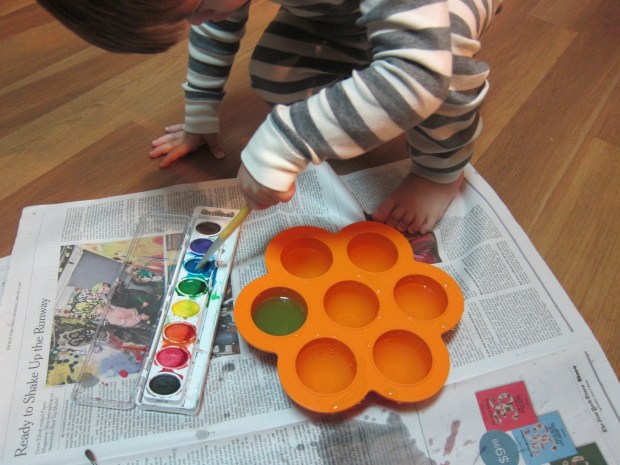
In the meantime, I cut one cup from a recycled egg carton and we painted it black for the nose. Set that aside to dry, too.

Travis had sort of lost interest in the polar bear by the next morning, so I was a solo act to glue on two googly eyes, white cotton pads for ears, and our black nose.

shaving-cream-polar-bear-7

Once he saw the face, though, he loved the new friendly polar bear in our house, and carried him around for quite some time. He also loved that it smelled like his dad’s shaving cream!

Be careful, that black nose will be hard for toddlers to resist pulling off…

Sticky Winter Wall

sticky-winter-wall-8

We loved this idea so much from our blogging friend at D.I.Y. Unlimited Fun that I had to put the game together right away for Travis! Luckily, I keep contact paper on hand for precisely these situations.

I attached a large rectangle of contact paper to a low wall, sticky side out, and provided Travis with various “wintry” items – cotton balls, cotton pads, and white q-tips.

sticky-winter-wall-4

He barely needed me to demonstrate before avidly diving in to create a winter scene.

When we made a snowman, he came up with the cotton pad hat and q-tip arms all by himself.

sticky-winter-wall-2

I also showed him how to make snowflakes with q-tips in a pretty pattern.


sticky-winter-wall-3

His favorite discovery was that the cotton balls left behind a bit of fluff if you pulled them up off of the contact paper. He loved dabbing one onto the paper several times, leaving a “snowy” scene behind.

sticky-winter-wall-7

Thanks for the fantastic idea!

Ice Towers

ice-towers-5

It’s an arctic 20 degrees outside, so – acting on a suggestion from Kiwi Crate’s app – we made ice towers!

I thought Travis would have the most fun if the towers were different colors, so we filled various Tupperware and plastic cups with water, and then swirled in watercolor paint with a brush. Now it was time to set them on the balcony to freeze!

ice-towers-1

As luck would have it, it snowed overnight, so when we brought in our ice the next morning, we also shoveled a bucket of fresh snow.

ice-towers-7

Now it was time to play with it all. I put out 2 disposable foil pans to catch the mess. The ice “towers” unfortunately hadn’t frozen all the way through, so we had very short little ice circles, but lots of cold colored water. When we shoveled in our fresh snow, it immediately took on beautiful hues wherever the colored water ran into it.

ice-towers-8

We added Duplo animals to play in our wintry landscape.

ice-towers-3

Because the paints ran together and soon turned a muddy brown, I took the watercolors back out so Travis could paint on the ice more vividly again.

ice-towers-4

Next time I would let our Tupperware containers freeze longer so we had taller ice towers and mountains, but Travis didn’t seem to mind! As someone who used to dislike winter, it’s projects like these that remind me to find joy on even the coldest days.

ice-towers-6

Ice Luminaries

ice-luminaries-7
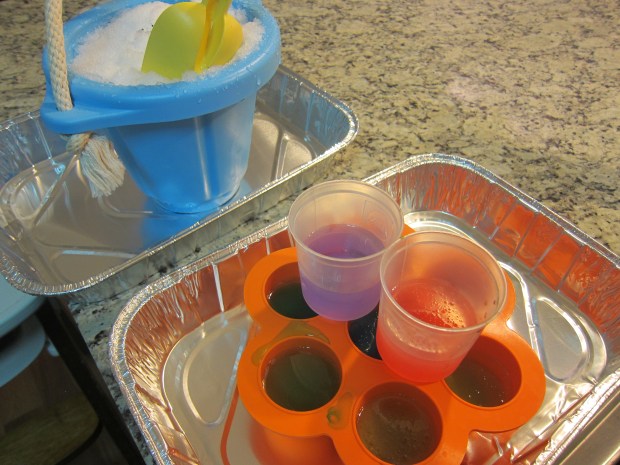
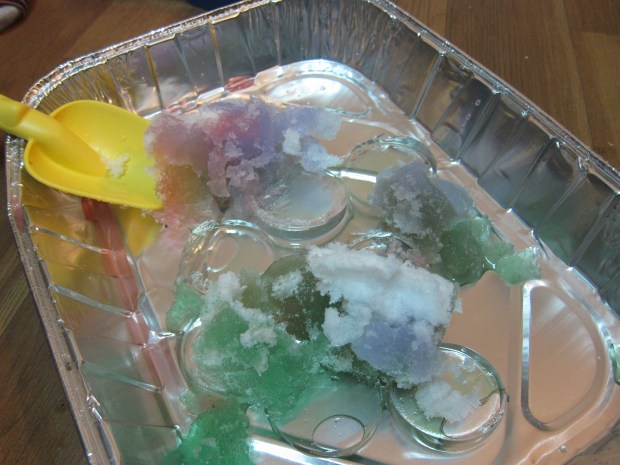
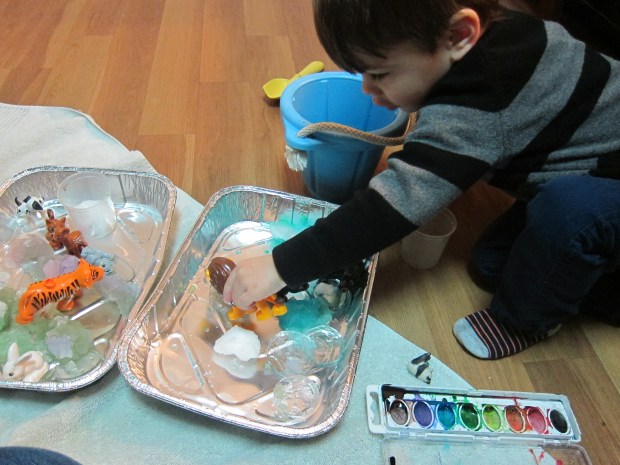
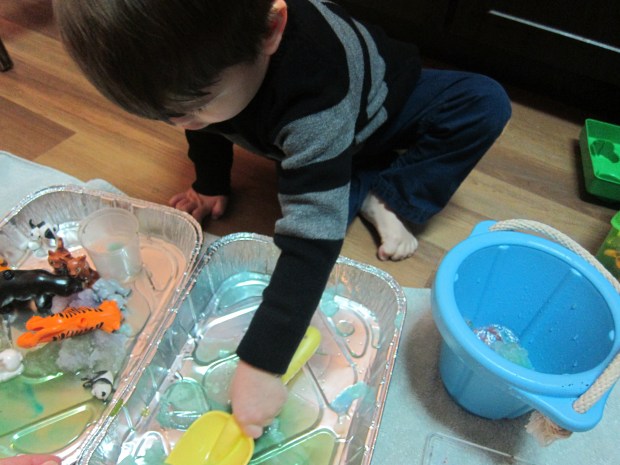
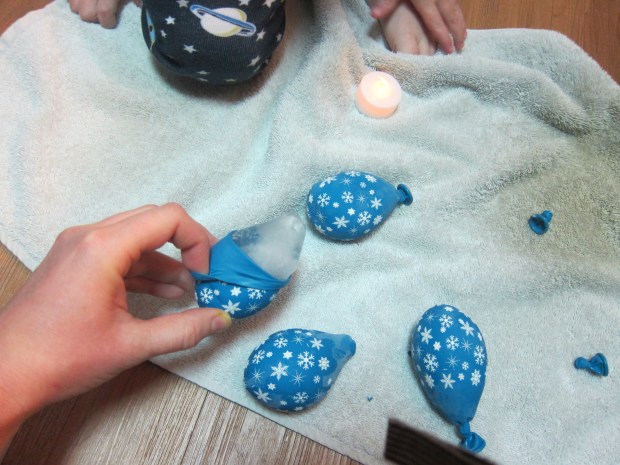
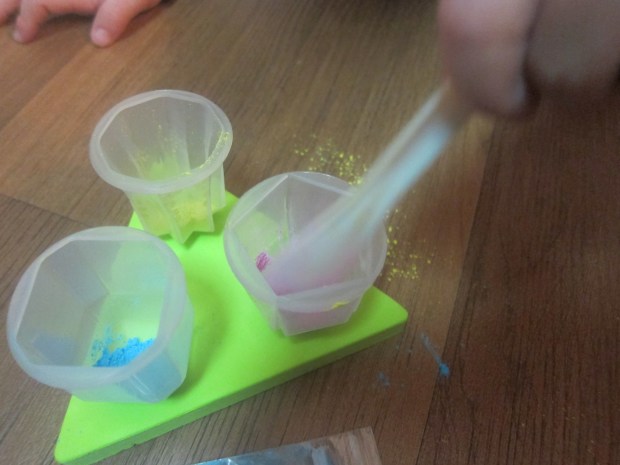
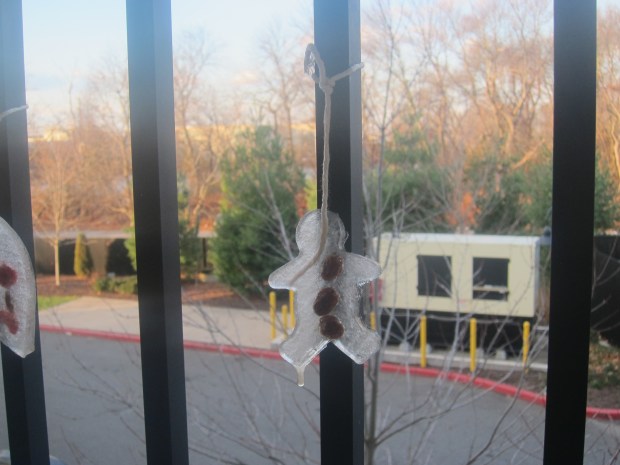
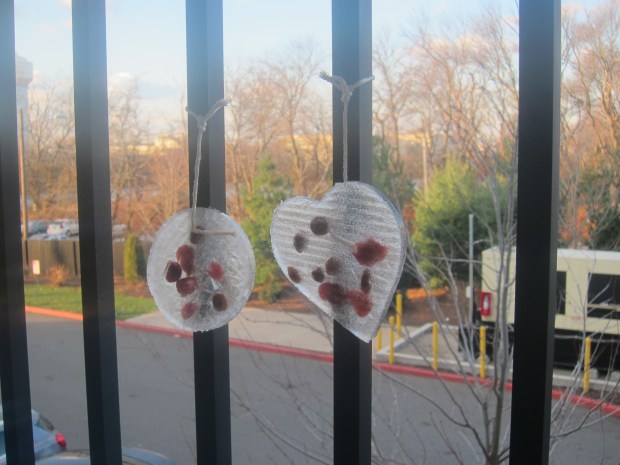
The purpose of this winter project was to make beautiful glowing ice lanterns. They were beautiful… but as you’ll see, we found numerous ways to enjoy the game beyond that stated purpose. Read on!

To make the luminaries, fill balloons with water and knot off securely. I used a funnel to fill the balloons since our faucet taps are too big for stretching the mouth of a balloon onto them.

Travis impishly discovered that the project was fun already, threatening to pop open the balloons and get water everywhere, testing just how hard he could squeeze them.

ice-luminaries-3

Luckily, the balloons were strong! Once he’d had his fill of fun, I popped them into the freezer to freeze overnight.

The next morning, it was time to reveal the ice bulbs we had made. Cut the knot off each balloon with scissors, and you’ll be able to peel down the rest of the rubber, leaving a globe of ice behind.

ice-luminaries-5

When you place the ice in a jar with a battery-operated tea light behind them, they create an ethereal glow. (In retrospect, we ought to have waited until after dark to remove from the freezer!).

ice-luminaries-6

Travis enjoyed the luminaries for a time, but then he just wanted to play with the ice! I thought I’d show him how salt makes ice melt faster, so we placed the ice globes in an old baking sheet and poured salt on top.

ice-luminaries-9

Travis easily spent the next 45 minutes with the game – pouring more salt, scooping at the resulting slushy mixture of water and salt, shoveling out the chunks of ice that remained, and so on.

ice-luminaries-10

A delightful morning of icy enjoyment. How have you and your child made winter mornings fun recently? Please share in the comments!

Snow Paint

Snow Paint (6).JPG

This homemade paint is deliciously goopy, and as thick as snow after a blizzard, but it won’t melt away!

Place a can of foaming shaving cream and a bottle of glue in the fridge for 1 hour to chill.

Combine 3/4 cup shaving cream and 1/2 cup glue in a large bowl, mixing well. Travis was instantly enthralled with the texture.

snow-paint-1

Next we added heaps of icy blue sparkles because of course we needed sparkly snow!

snow-paint-2

Then it was time to paint a winter scene! With Travis so young, his was very abstract, but as he worked he told me he was painting first a horse, then an elephant, and so on. I loved the imagination at work.

snow-paint-4

Meanwhile, I painted a proper snowman, so Travis could enjoy the final result. He helped me press down cardboard cutouts of buttons and a hat – they will stick right to your gluey paint mixture as it dries.

snow-paint-7

We also added extra blue sparkles as the finishing touch.

Snow Crate

Koala snow (22).JPG

Just in time for the first winter storm of the season, we received our snow-themed crate from Koala Crate. Travis enjoyed some projects more than others, but overall I found this crate to be nicely educational, a timely prompt for talking about weather and winter, and featuring a diversity of projects.

To my surprise, Travis was not interested in the first craft, a clay snowman to place inside a homemade “snow globe.” He normally loves clay, and the project was very toddler-friendly, with a plastic container instead of glass, paper confetti for the whirling snow, and convenient air-dry clay.

koala-snow-3

But Travis insisted that I make the snowman, so I put the craft together while he played, including cardboard decorations pressed into the clay. He only briefly helped shake the provided confetti into the snow globe, after the snowman had dried overnight.

koala-snow-17

But once complete, he loved shaking the globe to make our “snow” fall down.

koala-snow-19

The second craft was a much bigger hit – ice painting! First we had to mix the paints, and Travis enjoyed using the provided spoon to measure powdered paint into molds. We let the paint freeze overnight.

koala-snow-16

The next morning I laid out the provided “mess mat” and postcards, and Travis and I unmolded the paints – give them a few minutes to thaw or you’ll have trouble! Travis was intrigued with the way the paints popped in and out of the mold, and would re-cap each one in between uses.

koala-snow-26

He scribbled a few paintings, liking the way the colors melted.

koala-snow-27

I showed him examples of color mixing while we were at it – the red paint + blue paint = purple, for example.

koala-snow-23

When the postcards dried, we had fun writing make-believe postcards… but you could also really send these to a friend or relative!

koala-snow-30

The final craft was cute and silly – penguin bowling! We slipped the provided cardboard penguins into the provided stands to make “bowling pins.” Travis loved the stands… or is that a hat?

koala-snow-6

He wasn’t as in to decorating them with the provided stickers and marker as I thought he would be; after a few scribbles, he lost interest.

koala-snow-31

But since the stickers are reusable, I imagine he’ll have fun decking out his penguins down the line.

koala-snow-7

Much more fun was using the small “snowball” to knock the penguins down!

koala-snow-12

On further prompts from the kit, we also watched a video of the aurora borealis online, talked about igloos, and told silly snow jokes. Ready for my favorite?

Q: What do you call a snowman in the summer?

A: A puddle!

koala-snow-11

Wishing you a winter full of happy snow days!

koala-snow-29

Cookie Cutter Ice Ornaments

cookie-cutter-ice-8

These sparkling ice ornaments are the perfect way to bring joy to even the coldest of winter cold snaps!

To wit, we have weather in the teens this week, which meant the perfect chance to try out the project.

In the evening, we filled an old baking sheet about 1/2-inch deep with water. Travis enjoyed placing the cookie cutters on the sheet, and we decorated a few of them with dried cranberries and raisins.

cookie-cutter-ice-3

If you’re feeling extra artsy, you could add drops of food coloring, too, but Travis said he wanted ours clear.

Drape a length of string into each cookie cutter, so the water will freeze around it and enable you to hang the ornament once frozen.

cookie-cutter-ice-2

I asked him what he thought would happen when we placed the water outside in the cold. To my surprise, he knew the answer was, “Ice!” Precisely!

We left the baking sheet on our balcony overnight, while the temperature dipped near 10 degrees with the wind chill.

In the morning, I told Travis it was time to check on our ice – he was so excited. The sheet got some experimental taps and pokes first.

cookie-cutter-ice-4

To liberate our ornaments, we simply jiggled the cookie cutters a little, and the shapes came free. Travis had fun playing with the leftover ice chunks for a little while.

cookie-cutter-ice-5

I tied them up to our balcony, where they were a gorgeous reminder of the beauty in even the coldest of days.

cookie-cutter-ice-7

Christmas Cookie Crate

koala-xmas-6

We received this delightful holiday kit from Koala Crate, featuring both pretend and real Christmas cookies. The craft would be easy to put together yourself, simply by purchasing felt and stickers! I love that we not only engaged Travis’ imagination with the make-believe cookies, but then got to whip up real Christmas cheer with the included recipe.

First, we played with the felt cookie set. Travis thought the cookie cutters were very neat, since the pre-cut felt let him pop the trees and gingerbread people right out.

koala-xmas-2

The stickers for decorating were a big hit, and although we didn’t decorate the suggested Santa, snowman, and gingerbread people as depicted, we certainly had fun creatively applying the decorations!

koala-xmas-4

Then it was time to really bake! This recipe is super kid-friendly; tots can help measure, pour, or mix ingredients, as well as help to roll the dough and use cookie cutters.

For the sugar cookies, you’ll need:

1 cup Earth Balance butter

1 cup sugar

1 Ener-G egg

1 tablespoon vanilla extract

2 tablespoons baking powder

3 cups flour

  1. Cream together the butter and sugar in a large bowl. Mix in the vanilla and Ener-G egg.
  2. Combine the flour and baking powder in a separate bowl, then add to the wet ingredients. Once a dough forms, finishing kneading the dough with wet hands.
  3. Divide the dough into portions (we worked with one quarter at a time) and roll out to 1/4-inch thick on a lightly floured surface.
  4. Use round cookie cutters (or holiday ones!) to make shapes, and place on a cookie sheet. Bake at 350 degrees F for 10 to 12 minutes.
  5. Cool the cookies briefly on the baking sheet, then transfer to a wire rack.

koala-xmas-8

Travis did take a quick turn with the rolling pin, but then he loved crumbling the dough and pressing cookie cutters into his mess, so we lost some of our dough to toddler madness!

koala-xmas-9

Luckily, we still managed to bake enough cookies to decorate.

koala-xmas-10

For the icing, you’ll need:

1 cup powdered sugar

2 tablespoons non-dairy milk

3 tablespoons brown rice syrup

Food coloring

  1. Mix together the powdered sugar and milk. Add the brown rice syrup – your frosting should be thick.
  2. Divide into zip-top plastic bags, and add a sprinkle of food coloring to each bag, kneading to incorporate. Snip a small hole in one corner of each bag and squeeze onto the cookies.

Travis loved this part – be prepared to get messy!

koala-xmas-13

For a final dose of fun, we added colored sprinkles to some of our cookies, and crushed candy canes to others.

koala-xmas-14

In sum, a crate-ful of holiday cheer!

koala-xmas-15

Christmas Tree Alphabet

christmas-alph-1

Why not sneak in a little learning with your holiday decorating? If you don’t celebrate Christmas, you could try this idea on a drawing of a dreidel or menorah instead – or any time of year with the appropriate seasonal picture!

Draw the outline of a Christmas tree on poster board, and fill in with the letters of the alphabet, in random order.

Next, write out all the letters on blank stickers, and present your toddler with both.

christmas-alph-2

Now it’s time to match the letters to the tree!

christmas-alph-4

Travis loved the activity, especially the find-and-seek aspect of it.

christmas-alph-3

Preschoolers may have the attention span to get through the whole alphabet in one sitting, but Travis lost patience and instead returned to the game over the course of a few days.

christmas-alph-5

It’s a fantastic way to test recognition of the alphabet without going through the letters in rote order.

Penguin Cup Cozy

penguin-cozy-3

What could be cozier in the winter than a warming cup of hot cocoa? This adorable craft came to us care of High Five magazine. Travis was fascinated by the sock, and could help with the gluing portion of the craft, but I put the rest of the cozy together. Preschoolers can make the whole “penguin” themselves, though!

To start, cut the feet from a pair of black tube socks; discard or save for another use (like puppets!).

penguin-cozy-1

Slide the tube of the sock over a cup that can hold hot beverages. Cut white felt into the shape of a penguin’s face and a small triangle from orange felt for the beak. Glue to the sock.

penguin-cozy-2

You can either glue on googly eyes or draw on eyes with black marker.

Here’s our penguin doing an excellent job of keeping hot cocoa warm and cozy!

penguin-cozy-4

And here is Travis having his first-ever cup of hot cocoa. Needless to say, the project was a hit!

penguin-cozy-5

Instead of keeping the cozy for your child, it’s also a great do-it-yourself project that kids can make as a gift. If gifting, don’t forget to decorate a card with crayons for your recipient, then tuck inside the cup with the cozy on the outside!