Farmers’ Market Fun: Homemade Fruit Leather and Apple Chips

Fruit Leather (4)

Farmers Markets are fantastic this time of year, featuring the last of the summer fruits (think berries, peaches, and plums) and the first of the fall harvest (apples!). To celebrate the end of summer, we headed to the market on a warm Sunday morning, then brought our bounty home to turn it into delicious fruit leather and other snacks.

Fruit Leather (5)

Bonus: The following recipes are perfect for packing in your kids’ lunch boxes for school.

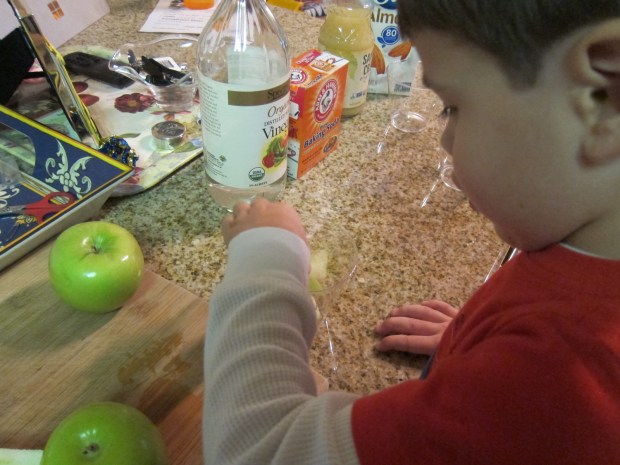
For our first batch, Travis and I used peaches. He was so proud helping me peel the skin from 4 large peaches (parents, use discretion on whether or not your child needs help with this tool).

LP Jobs (3).JPG

I sliced the peaches and Travis was in charge of transfering them to the blender, so proud to do so!

LP Jobs (4)

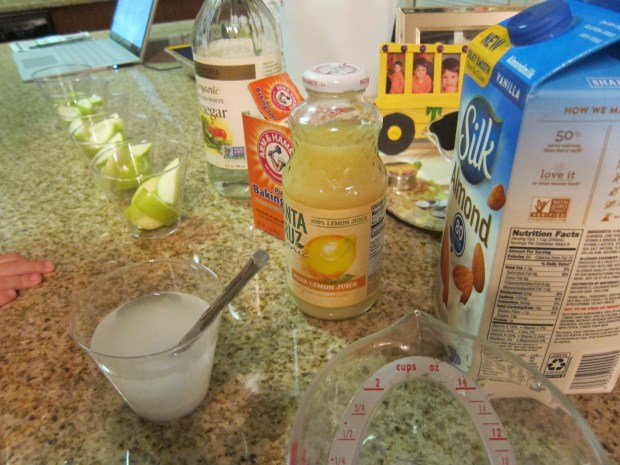
We added 2 tablespoons agave nectar and 2 teaspoons lemon juice. It was Travis’s very important job to be the taste tester, and I asked him if it needed either more agave or lemon. Nope, just right!

LP Jobs (5)

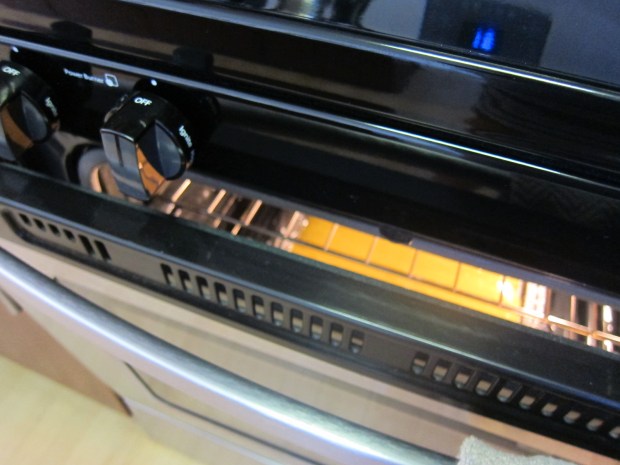
Pour the mixture onto a baking sheet lined with plastic wrap. Bake at 170 degrees F for 4 hours, leaving the door of the oven cracked open just slightly (this step made me slightly nervous, but I guess it can be done!).

Fruit Leather (1)

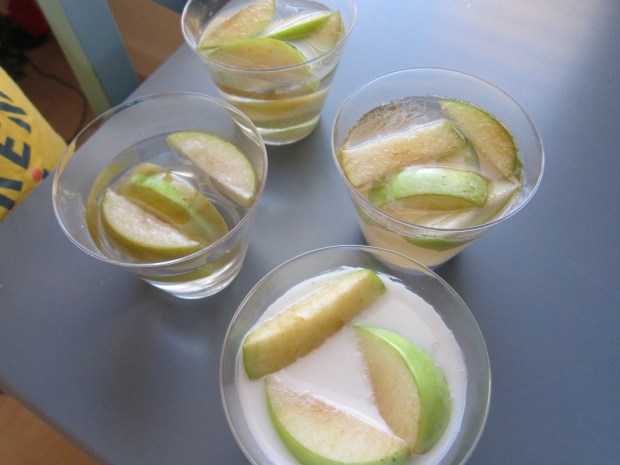
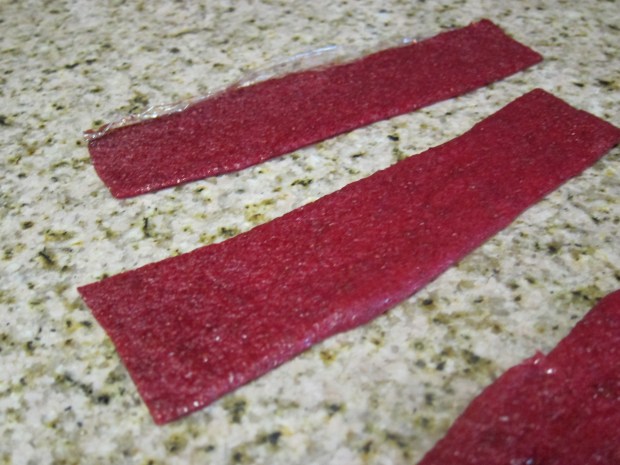
Cut into slices (leave the plastic wrap on for easy backing) and store in an air-tight container.

Fruit Leather (3)

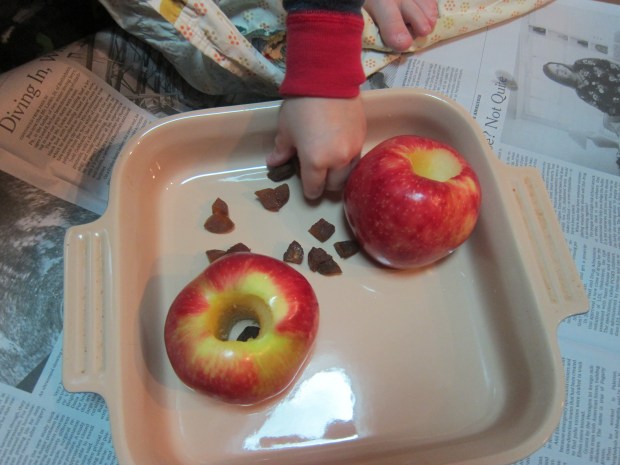
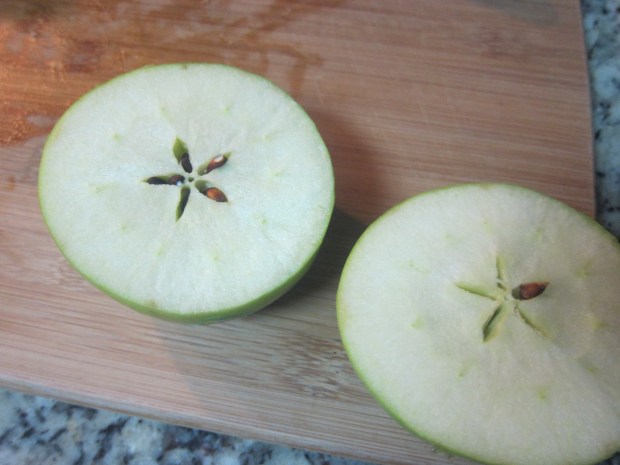
To prepare an apple chip version, we pureed 5 apples (cored but not peeled) with 1/2 cup water until smooth. Note: next time I would use less water.

Apple Chips (1)

Pour into a 13×9-inch baking dish lined with plastic wrap. Again, bake at 170 degrees F for 4 to 5 hours, leaving the door cracked. Because I used too much water, our apples turned out more like another fruit leather, not true apple chips. But still yummy!

Apple Chips (2)

Don’t stop there! Try strawberry fruit leather in late summer, or pear fruit leather as autumn arrives. For the strawberry version, use 4 cups strawberries in place of the peaches. We had to give this one a full 6 hours in the oven!

Fruit Leather alt.JPG

The pear version ended up being our best and favorite! For this one, I used 3 pears and cooked for 4 and 1/2 hours.

Pear Leather (2)

Happy Apple Discs

Happy Apple Discs (1)

What is it about a cored apple cut into circles that just makes you feel happy as you eat it? I remember a far-from-gourmet dinner from my childhood called Happle Apple Bagels, (a round sliced apple on a bagel with melted cheese, enough said!) and certainly that was all it took to make us happy for dinner. These Happy Apple Discs are fantastic for an after school snack or a protein boost first thing in the morning.

Ingredients:

  • 2 Granny Smith apples
  • 4 tablespoons non-dairy cream cheese
  • 1/4 cup creamy peanut butter
  • 1/8 teaspoon cinnamon
  • Non-dairy chocolate chips (such as Enjoy Life)
  • Shredded coconut
  1. Core the apples and cut each into 8 thin slices; set aside.
  2. In a bowl, stir together the cream cheese, peanut butter, and cinnamon until blended.
  3. Spread the peanut butter mixture evenly over the apple slices. Serve as is, or add mini chocolate chips and shredded coconut as toppings, if desired!

Happy Apple Discs (2)

Apple Experiment

Apple Experiment (7)

Wondering what to do with any leftover haul of apples from fall apple picking? This experiment introduces kids to several concepts, namely: oxidation (the apple turning brown); PH levels (a quick overview of acids and bases); and of course the fun of making a hypothesis and testing to see if it was correct!

To start, we needed to cut two apples into wedges. Travis insisted on being my helper for this step. Use a butter knife or other child-safe knife.

We then divided the apple slices among 5 cups.

Apple Experiment (1)

Now it was time to add our 5 solutions. Fill one cup each with the following:

Vinegar

Lemon juice

Non-dairy milk

Water

Baking soda solution

Note: for the baking soda, stir about three spoonfuls of baking soda into water and dissolve first, then pour over the apples.

Apple Experiment (3)

Travis instantly guessed that the vinegar would stop the apple from browning, and ran to share the news with his dad that we had to wait until morning! I loved that he understood a) that we were doing a scientific experiment and b) came up with his own hypothesis with no prompting.

In the morning, it was time to check on our solutions. We discovered that 4 of them had turned quite brown.

Apple Experiment (6)

As grown-ups will have guessed, it was the lemon juice that did the trick. Give your child a quick lesson on how the lemon is acidic, and prevents the enzymes in the apple from reacting with the oxygen in the air.

Apple Experiment (8)

Overall, I found this to be an easy and seasonable way to introduce a few scientific concepts.

Apple Experiment (9)


Erupting Apples

Exploding Apples (3)

We pretty much never tire of making baking soda explode with vinegar around here. To add an autumnal spin to the project, this time we erupted “apples” instead of volcanoes!

To make your apple mixture, combine 1 cup baking soda, 1 tablespoon dish detergent and 1 tablespoon water. We had everything ready to go in a bin for outside, since we knew this was going to be a messy one…

Exploding Apples (1)

Time to get your hands dirty! Get in there and mush your baking soda mixture around, until you can form it into balls as the apples. We squirted in a little red food coloring, but oddly this made our apples purple, not red! Ah well, a little leaf as the finishing touch made them super cute.

Exploding Apples (2)

I gave Travis an old ketchup bottle filled with white vinegar, and he went to town squirting onto the apples, delighted by the foamy erupting result.

Exploding Apples (4)

He couldn’t stop there of course; half the fun is stirring around the foamy mixture afterwards. Look, a leftover apple!

Exploding Apples (6)

Travis also decided he wanted to cover one of our gourds with the foam – why not, since this added to the fall feel of the project.

Exploding Apples (7)

As always, this activity is the perfect way to blow off energy when your kids just want to get messy!

Exploding Apples (5)

Apple Theme Sensory Bin

Apple Sensory (4)

It might not officially be autumn yet, but back-to-school has us thinking of all things apple. I put together this little sensory bin to delight Travis in the afternoon when he returned from school.

Almost any assortment of apple-themed objects will work for a sensory bin like this, so use the suggestions below as a template. I filled a tub with a base of green split peas, then added in miniature apples and a rake, great for sensory digging and pouring.

Apple Sensory (5)

Add any cute finds you have at home, like this dollhouse barrel of apples!

Apple Sensory (6)

Cinnamon sticks made this bin a multi-sensory experience, bringing our sense of smell into play as well.

Apple Sensory

For the little trees, I glued leaf shapes cut from green felt onto old toilet paper tubes. Tiny red pom poms were the apples, and Travis could “pick” them from the trees, or stick back on again.

Apple Sensory (2)

A nice way to kick off the fall season!

Apple Sensory (9)

A Week!

A week (17)

I can hardly believe it, but we’ve reached the end (beginning) of our Letter of the Week journey, begun last September. Twenty-six letter weeks (plus a few holiday weeks) later, I can say I have loved every step of this project. Travis can identify every letter, and understands the concept that letters are connected to words, the very first step toward reading. In addition, these weeks have helped me to be creative and joyful as a parent, deciding what would fill our activities and games based on the current letter each week. So please, go back through all my letter posts and I hope you enjoy as much as we did!

But first, don’t forget to take a look at our A week…

A week (2)

Animals: Pull out all your animal toys of course, whatever you have. You’re guaranteed to have some lying around, whether stuffed animals, plastic animals, puzzle animals, and more. In addition, we went back to old favorite games like an animal safari this week, and then acted out animals with a game of charades.

A week (6)

Put your child’s toy animals in a bag or bin, and take turns selecting. Act out the animal you selected and let the others guess what you are.

A week (9)

Apron: Pop a toddler-sized apron over your little one’s head and have them join you in the kitchen this week!

A week (13)

For bonus points, make sure your main ingredient starts with an A, as in the stuffed baked apples we put together.

Acorn Jewels (6)

Acorns: We used a little collection of acorn caps (gathered at last week’s bird sanctuary!) and turned them into acorn jewels. Acorns lend themselves to any number of arts & crafts, so if “jewels” aren’t your cup of tea, fashion them into whatever your child will like best.

aquarium (1)

Aquarium: For our field trip of the week, we headed to a local aquarium! (Please note that I do not recommend facilities keeping dolphins and whales in captivity).

A week (14)

Alphabet: How appropriate that A week could also be a sort of recap week, since alphabet begins with (of course) A. We put together an alphabet flower garden, played with alphabet tiles, and searched for alphabet beads in a big bin of colored rice.

A week (7)

And some extras…

Fine art: The suggestion from Letter of the Week was to assemble paper bag animal puppets. I wanted to Travis to have full range of creativity, so rather than assign him a specific animal to make, I let him create and then built off his design to finish our puppets. He loved using glitter glue and stickers, and we wound up with an alligator and a tiger.

A week (12)

Food: In addition to painting with apples, we ate them in the form of applesauce. Travis also enjoyed animal crackers, avocados, and alphabet soup

A week (10)

Songs: Ants Go Marching is a big hit around here, and we also watched the clip of April Showers from Bambi (which brought back nostalgic memories!).

Books: Some favorites this week included apple books (Secrets of the Apple Tree and The Apple Pie Tree by Zoe Hall), Let’s Be Animals by Ann Turner, Eating the Alphabet by Lois Ehlert, and Alligator Wedding by Nancy Jewell. Check out your library’s non-fiction section for a cute intro to astronauts as well!

A week (15)

Math: An abacus was the perfect tool to help Travis visualize his age. I started by showing him two beads for his own age, then showed my age, my husband’s, and the ages of his friends and cousins. He loved seeing two ages in comparison (i.e. himself versus his 6 year old cousin). For preschoolers, you can use your abacus for early addition lessons as well!

A week (16)

All’s well that ends well… Thanks for reading along on this journey!

Stained Glass Apples

Stained Apple (8)

This whimsical creation is a neat way to do stamp painting with your child!

Cut an apple in half crosswise (not lengthwise, as your normally would) – you’ll be able to see the pretty star where the seeds are, which will make for the prettiest prints!

Stained Apple (1)

Squeeze different colors of paint onto paper plates so that each apple half will have a mosaic of colors. Travis loved helping with this step.

Stained Apple (2)

Now dip the apple in the paint, and transfer onto tracing paper. Here’s the key – don’t smoosh the apple around.

Travis got the hang of this so much faster than I anticipated! He really liked the challenge, in fact, of pressing down the apple only once and then pulling up without disturbing the circular image, which is a bit tricky because the apple suctions to the paper. So this project turned out to be great for our motor skill development.

Stained Apple (3)

Once the paint dried, I covered all the apple prints with contact paper (sticky side down), and cut out around the circles.

Travis helped punch holes in the apple circles…

Stained Apple (5)

… and then I laced them together using twine.

Stained Apple (7)

Suspend from a window where the apples will catch the sun!

Stained Apple (9)