Craft-Stick Matching

Craft Stick Matching (7)

Here’s a great DIY puzzle for toddlers who have recently learned their shapes. Matching up the outlines of craft stick is great for fine motor skills, too!

To set up, I arranged jumbo craft sticks on plain white paper and traced the outlines. I made one page each for a triangle, square, and diamond, and decided to trace each shape with a different color just in case we wanted to add a color component to the game.

Craft Stick Matching (1)

I also then colored on the craft sticks with crayon in corresponding colors. We now had a red triangle, green square, and purple diamond.

Craft Stick Matching (3)

Now slip each shape into a zip-top plastic bag and show your toddler how to line the craft sticks up over each outline.

Craft Stick Matching (5)

Because there’s nothing to hold the craft sticks in place as in a puzzle board, Veronika’s shapes were always a little askew, but she certainly had the right idea!

Craft Stick Matching (8)

There was even a happy victory dance after she finished the triangle!

Craft Stick Matching (10)

I loved watching her puzzle through exactly where each stick should go.

Craft Stick Matching (11)

It turned out that she mixed and matched the colors, rather than placing a purple stick in a purple outline, etc., but that was just fine, too.

Craft Stick Matching (9)

Summer Boredom Bucket List: Day 3

Boredom 13 b

Welcome to the third installment of ways to bust boredom! Hopefully these suggestions are already helping you avoid the dreaded “I’m bored” in your summer of social distancing.

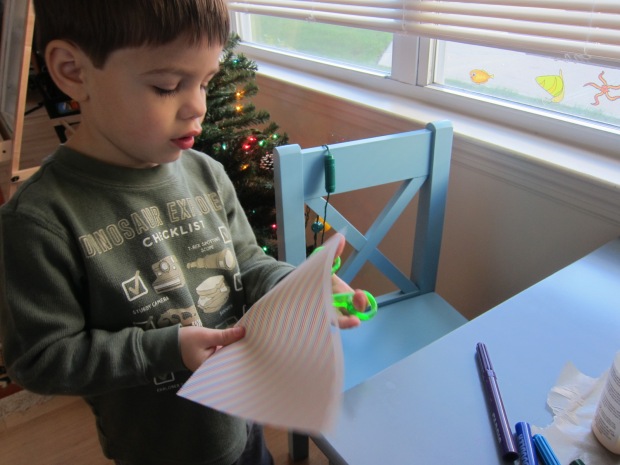
Idea 9: Math-a-Mowing. Want to trick your kids into mowing the lawn? Okay, maybe not really, but I’m not joking when I say that this activity kept Travis happily busy for almost an hour.

Boredom 12 a

The original challenge was to see how long it took to snip the grass in 1 square foot of our yard. Using school scissors, we calculated it took about 1 minute. You can then extrapolate from there. If your yard were 10 feet square, then it would take you 10 minutes. Just imagine how long it would take to do a full football field this way! (Come to think of it, sit your older kids down to solve that problem with math, for another boredom buster…).

Boredom 12 b

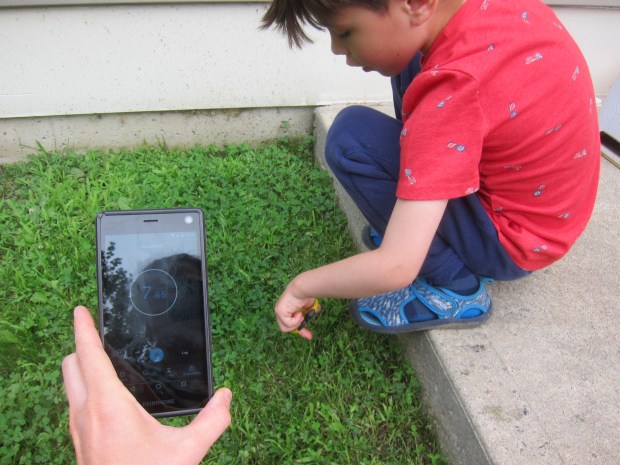
Now Travis had discovered the simple thrill of using scissors in the grass, and he couldn’t be stopped. He loved trimming clover flowers and blades of tall grass, and proudly showing me how neat he had made each patch of lawn. Plus he discovered lots of bugs as he worked, popping up from his work to tell me about the latest six-foot critter he’d found. So it turned into a morning of nature exploration!

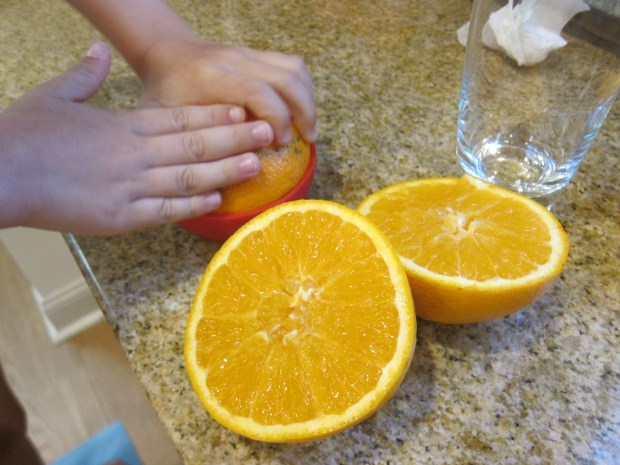
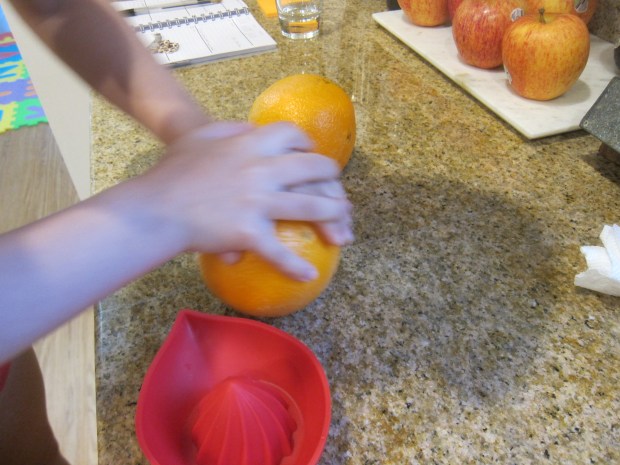
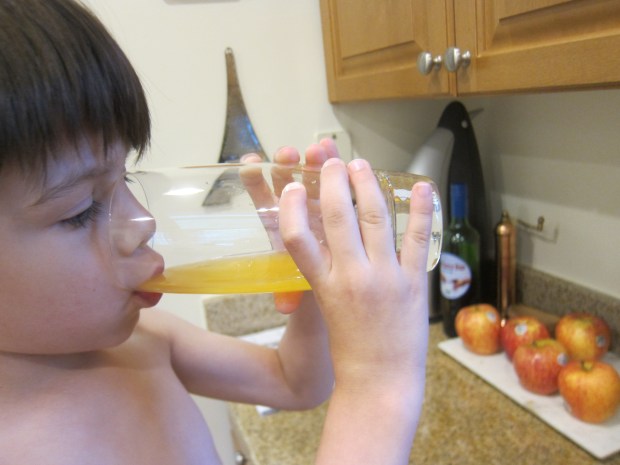
Idea 10: Squeeze Fresh and Fruity Orange Juice. Start the day off right with this fun activity. First, make oranges nice and squishy by rubbing them under your palms. This will help get the juice out to the max in the next step!

Boredom 13 a

Squeeze out with a citrus juicer, or just squeeze the oranges over a bowl. Pour into a glass and watch your kids’ eyes pop at the freshest juice they’ve ever tasted.

Boredom 13 c

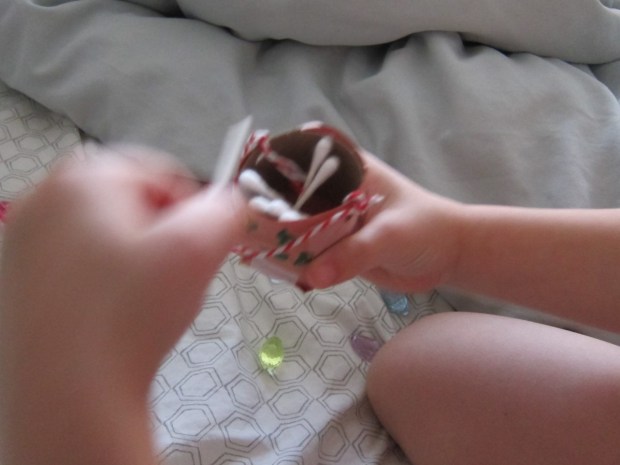
Idea 11: Learn to Juggle. Here was another suggestion that was a bit advanced for a 6-year-old. Highlights had broken the lesson down into three steps, and we took it one step at a time. First was just tossing one bean bag back and forth. Travis mastered this quickly. In fact, he mastered it with his eyes closed, standing on one foot, looking over his shoulder, you name it!

Boredom 14

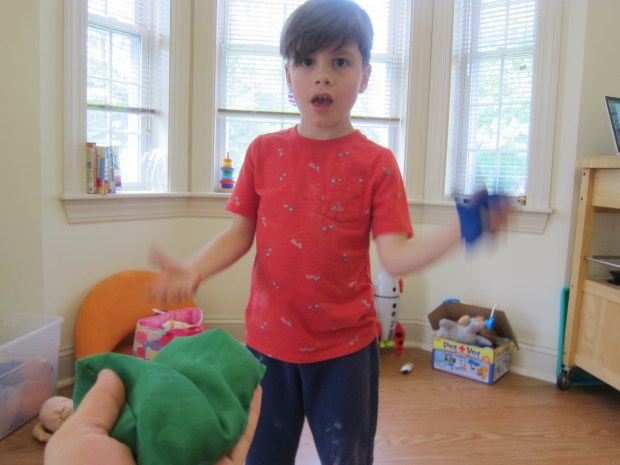
I was glad he was so proud because step two was beyond his coordination: Toss up one bean bag, then toss the second up when the first one reaches its apex. At least now we have a goal to keep working toward! Even this mama wasn’t very good at moving to step three – 3 bean bags!

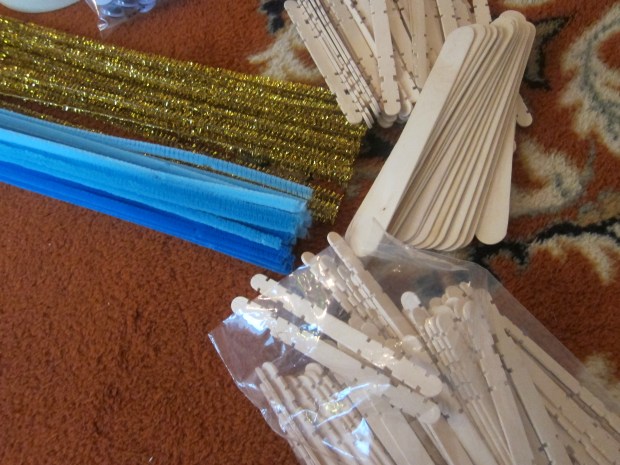
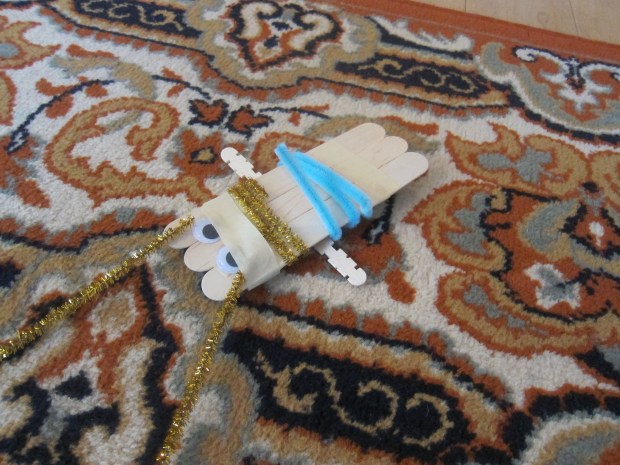
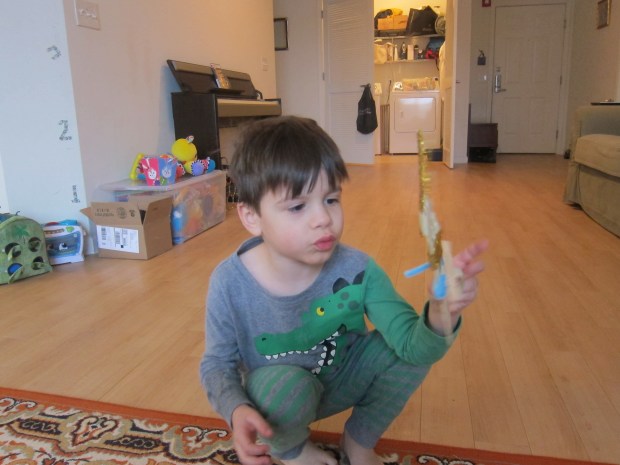
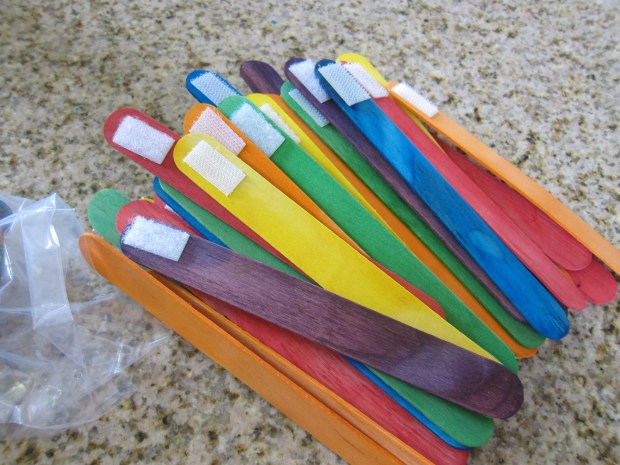
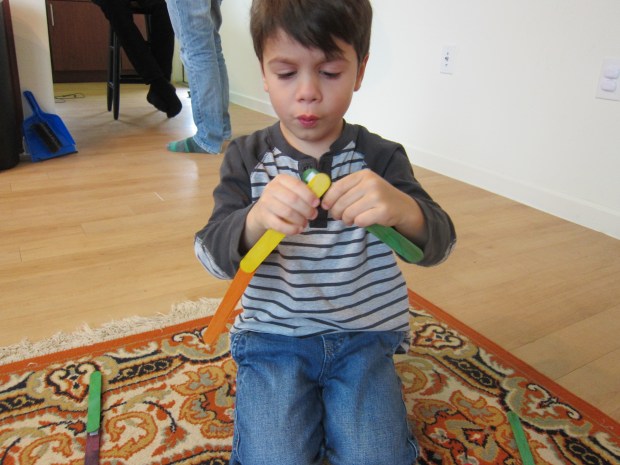
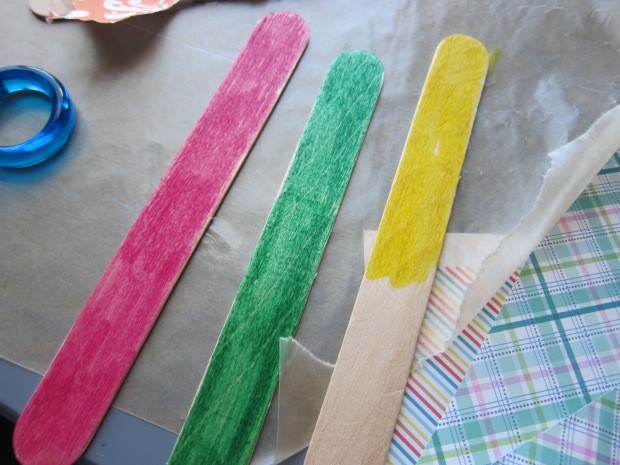
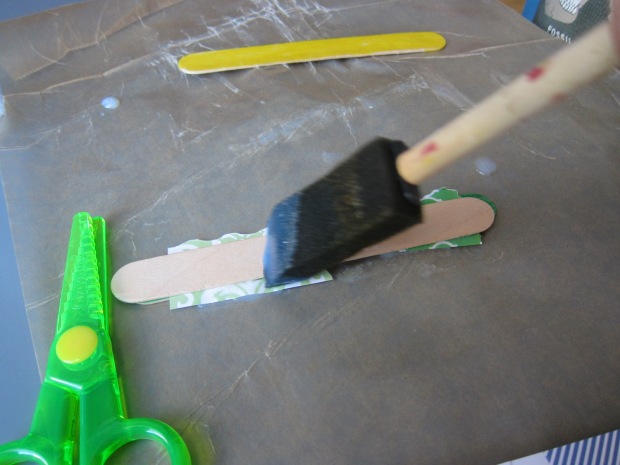
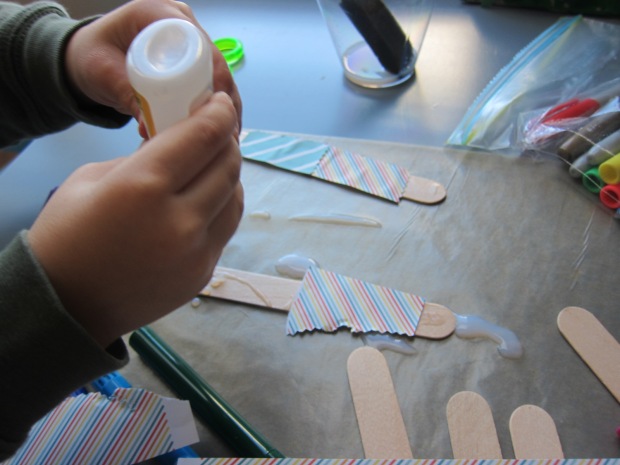
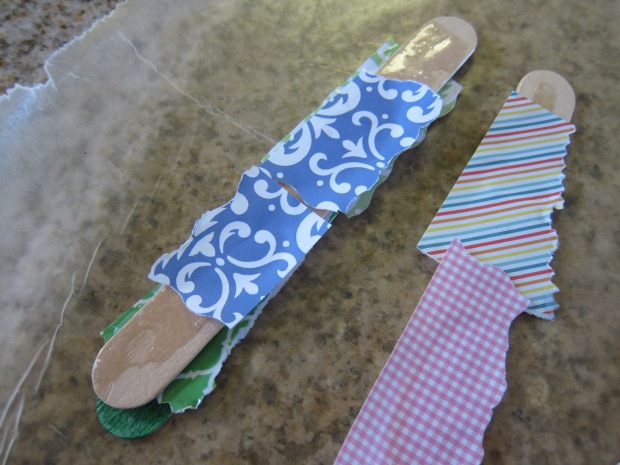
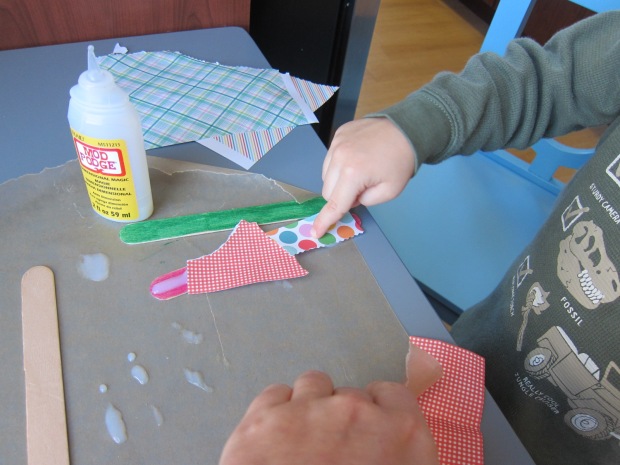
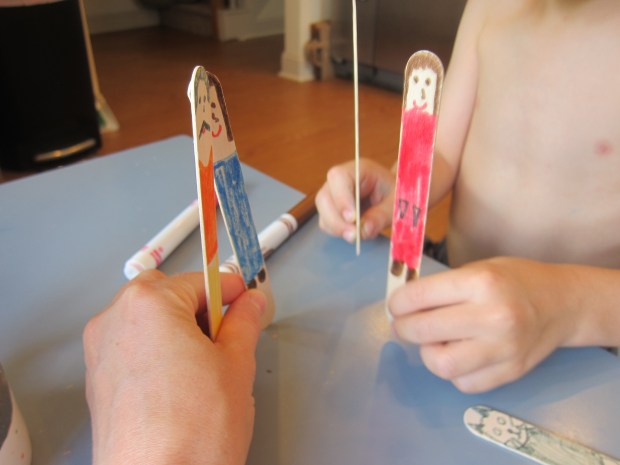
Idea 12: Make Stick Puppets of Family Members. As was the case with our doodles from fingerprints, this game started simple and became loads of silly fun. At first Travis didn’t understand when I said we should make stick puppets of our family on craft sticks. But I showed him that we were imagining the stick itself was the body, and we needed to draw on features.

Boredom 15 c

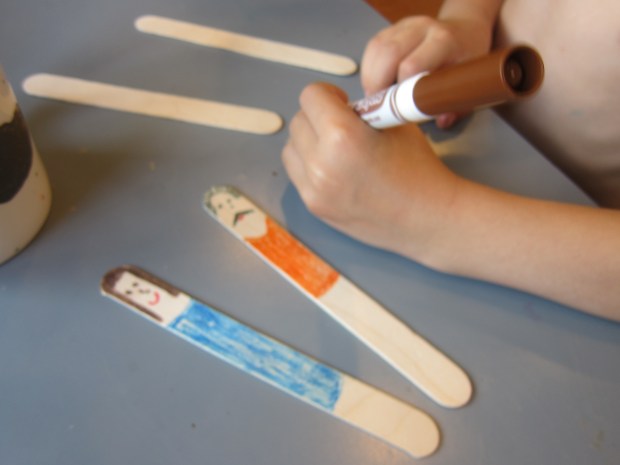
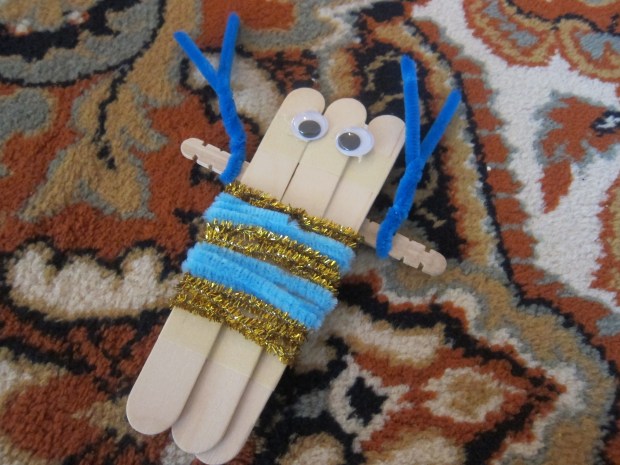
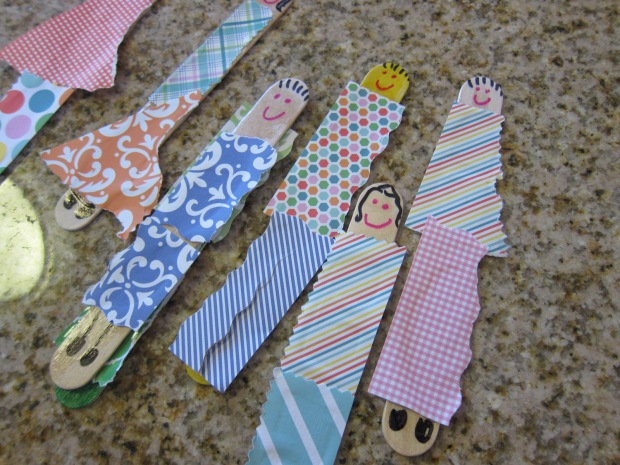
Now he caught on to the idea, filling in hair, eyes, clothing, and other details. He insisted we make a puppet for the cat, too! (Note: If your kids prefer to be craftier, try making these puppets from fabric or felt, instead!).

Boredom 15 e

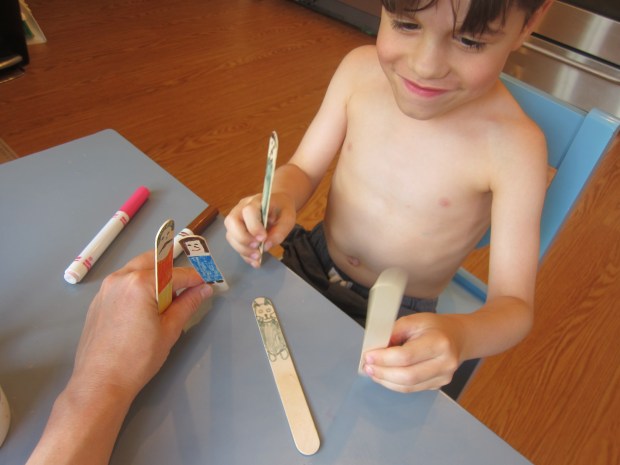
We then acted out silly stories about our family. And I do mean silly! This brought out the little kid in me, acting out tales that had us swimming through swamps and giggling at family inside jokes.

Boredom 15 d

We’ll be back tomorrow with a new batch of boredom busters!

Popsicle Stick Drop

Popsicle Drop (1)

Coordination, learning colors, and the endless surprise of watching a stick disappear and then reappear; this game has it all for toddlers!

As prep, simply use masking tape to attach an empty paper towel tube to a wall. I recommend using multiple strips of tape for extra security. I then provided Veronika with craft sticks to drop into it and placed a bucket at the bottom to catch them. That’s it!

Popsicle Drop (3)

The game will have the most visual appeal if you use a rainbow assortment of craft sticks (which you can purchase already colored at the craft store).

Popsicle Drop (6)

It took Veronika a few tries watching me release a stick into the tube before she realized she needed to release her grip to achieve the same affect. And then she was hooked!

Popsicle Drop (2)

Of course toddlers will also just love playing around with the sticks in the bucket at the bottom.

Popsicle Drop (4)

For a touch of color learning, I sorted the sticks for her into different colored piles. Needless to say, they didn’t stay sorted for long!

Popsicle Drop (5)

Craft Stick Puzzles

Craft Stick Puzzle (5).JPG

This is a fast, easy way to make a puzzle at home, much more reliable than the cereal box version Travis and I tried earlier in the week!

Craft Stick Puzzle (1)

Cut a pretty greeting card into strips the width of a jumbo craft stick. I drew guiding lines for Travis, who so proudly cut straight along the lines. “This is fun!” he said, before we even got to the puzzling.

Craft Stick Puzzle (2)

Apply a layer of mod podge to each craft stick and glue on a piece of your puzzle. Let dry completely, then apply a second layer of mod podge over the strips.

Craft Stick Puzzle (3)

Once dry, I numbered the craft sticks 1 through 7.

Craft Stick Puzzle (4)

This numbering allowed him to puzzle in two ways; the harder way was simply to put it together relying on the picture. For a little assistance, Travis only had to refer to the numbers at the bottom!

Craft Stick Puzzle (6)

Happy puzzling!

Craft Stick Puzzle (7)

Popsicle Sticks Bow and Arrow

Bow and Arrow (9)

When your son requests a bow and arrow at 6 am on a Saturday, you pray to the craft gods that you have all the materials in your craft bin. And when in fact you do, it feels like a little miracle, especially when that includes wooden bobbins that I’d purchased only the day before for a different craft, but had never owned before. Clearly it was meant to be!

So here is the quite-complicated bow and arrow we put together. For my preschooler, it mostly meant watching mommy since it involves lots of hot glue. If your child is 8 year old and up, they can get more hands on!

First, glue together 6 jumbo craft sticks in an arc, securing at each meeting point with hot glue.

Bow and Arrow (1)

Repeat with 6 additional craft sticks for the other side of the bow. It’s very important that you line these up exactly right, or your two sides won’t glue together properly.

Bow and Arrow (2)

Although not necessary, we added reenforcements and embellishments with decorative craft sticks, making V and T shapes. Hot glue these down.

Bow and Arrow (3)

Add wooden bobbins at each of the craft stick intersections, gluing the right side of the bow to the tops of the bobbins and the left side of the bow to the bottom of the bobbins.

Bow and Arrow (4)

Ideally, we would have used a very stretchy elastic for the bow string. Since I didn’t have one that was large enough (the craft bin gods weren’t perfect!) we tied on two taut pieces of twine instead. This wasn’t ideal, but it worked in a pinch. Add duct tape around the center for a smoother arrow launch.

Bow and Arrow (5)

To prepare the arrows, insert two straws together and tape where they meet.

Bow and Arrow (8)

Hot glue a pom pom to one end and cut the other end into a V so it can notch onto your bow string. Again, what I had on hand (bendy straws) wasn’t ideal. Next time we’ll use thicker straight straws, which will make much sturdier arrows.

Bow and Arrow (6)

But my little knight/samurai/warrior now had a bow, and that was all that mattered!

Bow and Arrow (10)

We might not have had perfect launches, but we did have imaginative fun!

Bow and Arrow (11)

Robot Craft Challenge

Robot Challenge (6).JPG

This morning, I challenged Travis’s creativity. Could he make a robot with nothing more than 3 items from our craft bin: craft sticks, pipe cleaners, and googly eyes? He was instantly up for it!

I laid out the materials (we also added tape) and watched him ponder.

Robot Challenge (1)

He very quickly decided a few sticks taped together could be the body. “I can do it!” he insisted, ripping the tape and sticking it on by himself. Then of course we added eyes, which Travis wanted to tape on all by himself.

Robot Challenge (8)

Next up came embellishments. He insisted we use shiny gold chenille sticks, since robots are usually shiny metal.

Robot Challenge (2)

He wanted to add arms, so another craft stick went on crosswise. But then he thought his robot needed wings. Some pipe cleaners twirled around the arm stick did the trick.

Robot Challenge (5)

The fun didn’t end there. We used chenille sticks to twist “bodies” and “arms” of more craft sticks together for baby robots.

Robot Challenge (7)

Then, because Travis is obsessed with all things Spiderman and his villains these days, we added 8 chenille stem pieces to another body as “Dr. Octopus.”

Robot Challenge (3)

What a great morning of fun we had, using just these three items from the craft bin!

Building Sticks

Building Sticks (3)

This project is so simple and yet so great for engaging minds and hands. If you like, you could even throw together a travel set to take these on long car rides!

All you need are Velcro dots and craft sticks – plain wood will do, but for added fun, I like the pre-colored craft sticks for this purpose.

When we first set up the game, I only had enough Velcro for one side of each stick. I intended to buy more Velcro in the morning, but this didn’t stop Travis from wanting to build right away.

Building Sticks (2)

Soon he was making “wands” and “books.” He came up with the idea of using tape himself, to put together some more complicated structures (a teepee!)

Building Sticks (5)

Once we actually had enough Velcro the next day, we made sure each stick had a dot on each end. This enabled much more complicated structures.

Building Sticks (7)

It was still hard to build up (for that you’d need Velcro on both back and front of each stick), but we soon had long complicated structures moving across the carpet.

BUilding Sticks (8)

Travis declared these were machines, and enjoyed the challenge of making sure he was attaching the “fluffy” side of the Velcro to the “scratchy” side.

Building Sticks (9)

A simple activity to keep hands busy!

Mini Archery

Mini Archery (12)

After way too much fun with our medieval Koala Crate, we needed to continue our exploration of the Middle Ages. This project was too cute for words. Putting it together was mostly a grown-up task, but you’ll love watching your kids imagination go wild as they play with the final product!

To prepare the bow, notch a craft stick on both ends, on each side, for 4 notches total. I was entirely unsure how to go about making the notches, and just slivered into the stick with scissors. This may not have been the safest or best method, but it worked!

Mini Archery (3)

Soak the stick in water for at least one hour to soften the wood.

Mini Archery (4)

Once soft, carefully bend the stick into an arc. Wrap a piece of dental floss a few times through the notches on one end. Stretch the floss taut while curving the bow, and secure through the notches on the other end.

Mini Archery (2)

For completely safe mini arrows, simply snip one tip off of a q-tip.

Mini Archery (10)

Now we needed something to aim at! We cut two circles from poster board (paper plates would work, too), and decorated with a bull’s eye marking. Little poster board strips taped to the back helped them stand upright.

Mini Archery (5)

The mechanics of nocking and launching the q-tips turned out to be quite tough for Travis.

Mini Archery (6)

He loved watching though while we had some family time trying to hit the target. The arrows go quite far!

Mini Archery (9)

As the finishing touch, we needed a quiver for the arrows. I cut a toilet paper tube until it was only a little taller than the q-tips, then wrapped in brown construction paper to cover the bottom and sides. We added a few Sherwood Forest-y decorations, as well as a ribbon handle.

Mini Archery (11)

It turned out the quiver was Travis’s favorite element of the whole game. He loved loading it up with his “arrows” and running around with it…

Mini Archery (13)

… but in full disclosure, he also decided it would be fun to run around naked while doing so. So you’ll have to take my word for it that there was lots of enjoyment going on, but I couldn’t capture photos for the blog!

Mini Archery (7)

Craft Stick Dolls

Craft Stick Dolls (12)

Travis attends an art class where one of the free-play toys is a set of fabric swatches and wooden doll figures to dress up in different patterns. It’s a huge hit with kids in the class, so we recreated it at home!

Instead of fabric, I purchased a pad of decorative craft paper, in dozens of different patterns. For the dolls, we simply used wooden craft sticks!

If your child would like to, they can color in the craft sticks first with marker. I colored a few, but Travis decided he wanted the rest left plain.

Craft Dolls (6)

He was way more into applying a layer of mod podge to the craft sticks, proudly squeezing a line of glue down the middle of each.

Craft Dolls (1)

Another option is to brush on the mod podge with a foam brush, which we did a few times, too.

Craft Dolls (9)

Then it was time to dress our dolls! I told Travis he could pick a shirt and skirt for each figure, and he loved selecting “fabric” patterns from the craft paper.

Craft Dolls (4)

My plan was to cut rectangles out for him, but Travis insisted on cutting pieces himself.

Craft Dolls (2)

And proudly glued them on.

Craft Dolls (3)

As a result, we soon had very inventive fashion designs popping up. This one turned out to be the perfect shape for a skirt!

Craft Dolls (5)

Then Travis layered two popsicle sticks together; I thought the resulting doll looked like she was wearing a kimono.

Craft Dolls (11)

And we even had one wearing pants instead, when Travis made an accidental snip down the middle.

Craft Dolls (10)

Once the glue dried, I markered in smiles, hair, and shoes on our dolls as the finishing touch.

Craft Stick Dolls (13)

Overall, I loved watching his creativity with this simple activity. Leftover craft paper soon turned into “leaves” around the apartment, so don’t let the inventiveness stop just because the dolls are done!

Craft Dolls (7)

Craft Stick School Bus

Bus Frame (10)

Ok, Travis might not actually take a bus to his nursery school, but kids understand quickly the link between school buses and school. That makes this craft an adorable one to hold the Picture Day photos for kids of any age!

To start, paint 5 regular craft sticks and 3 jumbo craft sticks with yellow paint. I love watching Travis’s dexterity with painting projects increase; he now knows to hold the craft stick with the tip of a finger, in order to paint it as much as possible without getting his fingers yellow!

Bus Frame (2)

We set the craft sticks aside to dry while he was – appropriately! – at school on Picture Day.

To complete the craft, glue one regular-sized stick horizontally across the tops of the other 4 regular-sized sticks; these will be the window frames of the bus. Glue the 3 jumbo sticks horizontally at the bottom, to be the body of the bus.

Bus Frame (5)

Cut two circles from black craft foam for the wheels. We glued on buttons as the center of the wheels.

Bus Frame (7)

From here, embellish your bus any way you’d like! A few sequins served as the headlight and pretty adornment, and a T sticker for his initial was the final touch.

Bus Frame (8)

As has often been the case lately, Travis used the craft materials to play with in his own way once we were finished. He glued together additional craft sticks and sprinkled them with more sequin pieces, and was very proud of his creations.

Bus Frame (9)

When Picture Day photos are ready, simply tape behind the windows of the bus!

Bus Frame.JPG