Easter Banner

Pull out those dot markers and let your toddler help make this easy breezy Easter banner!

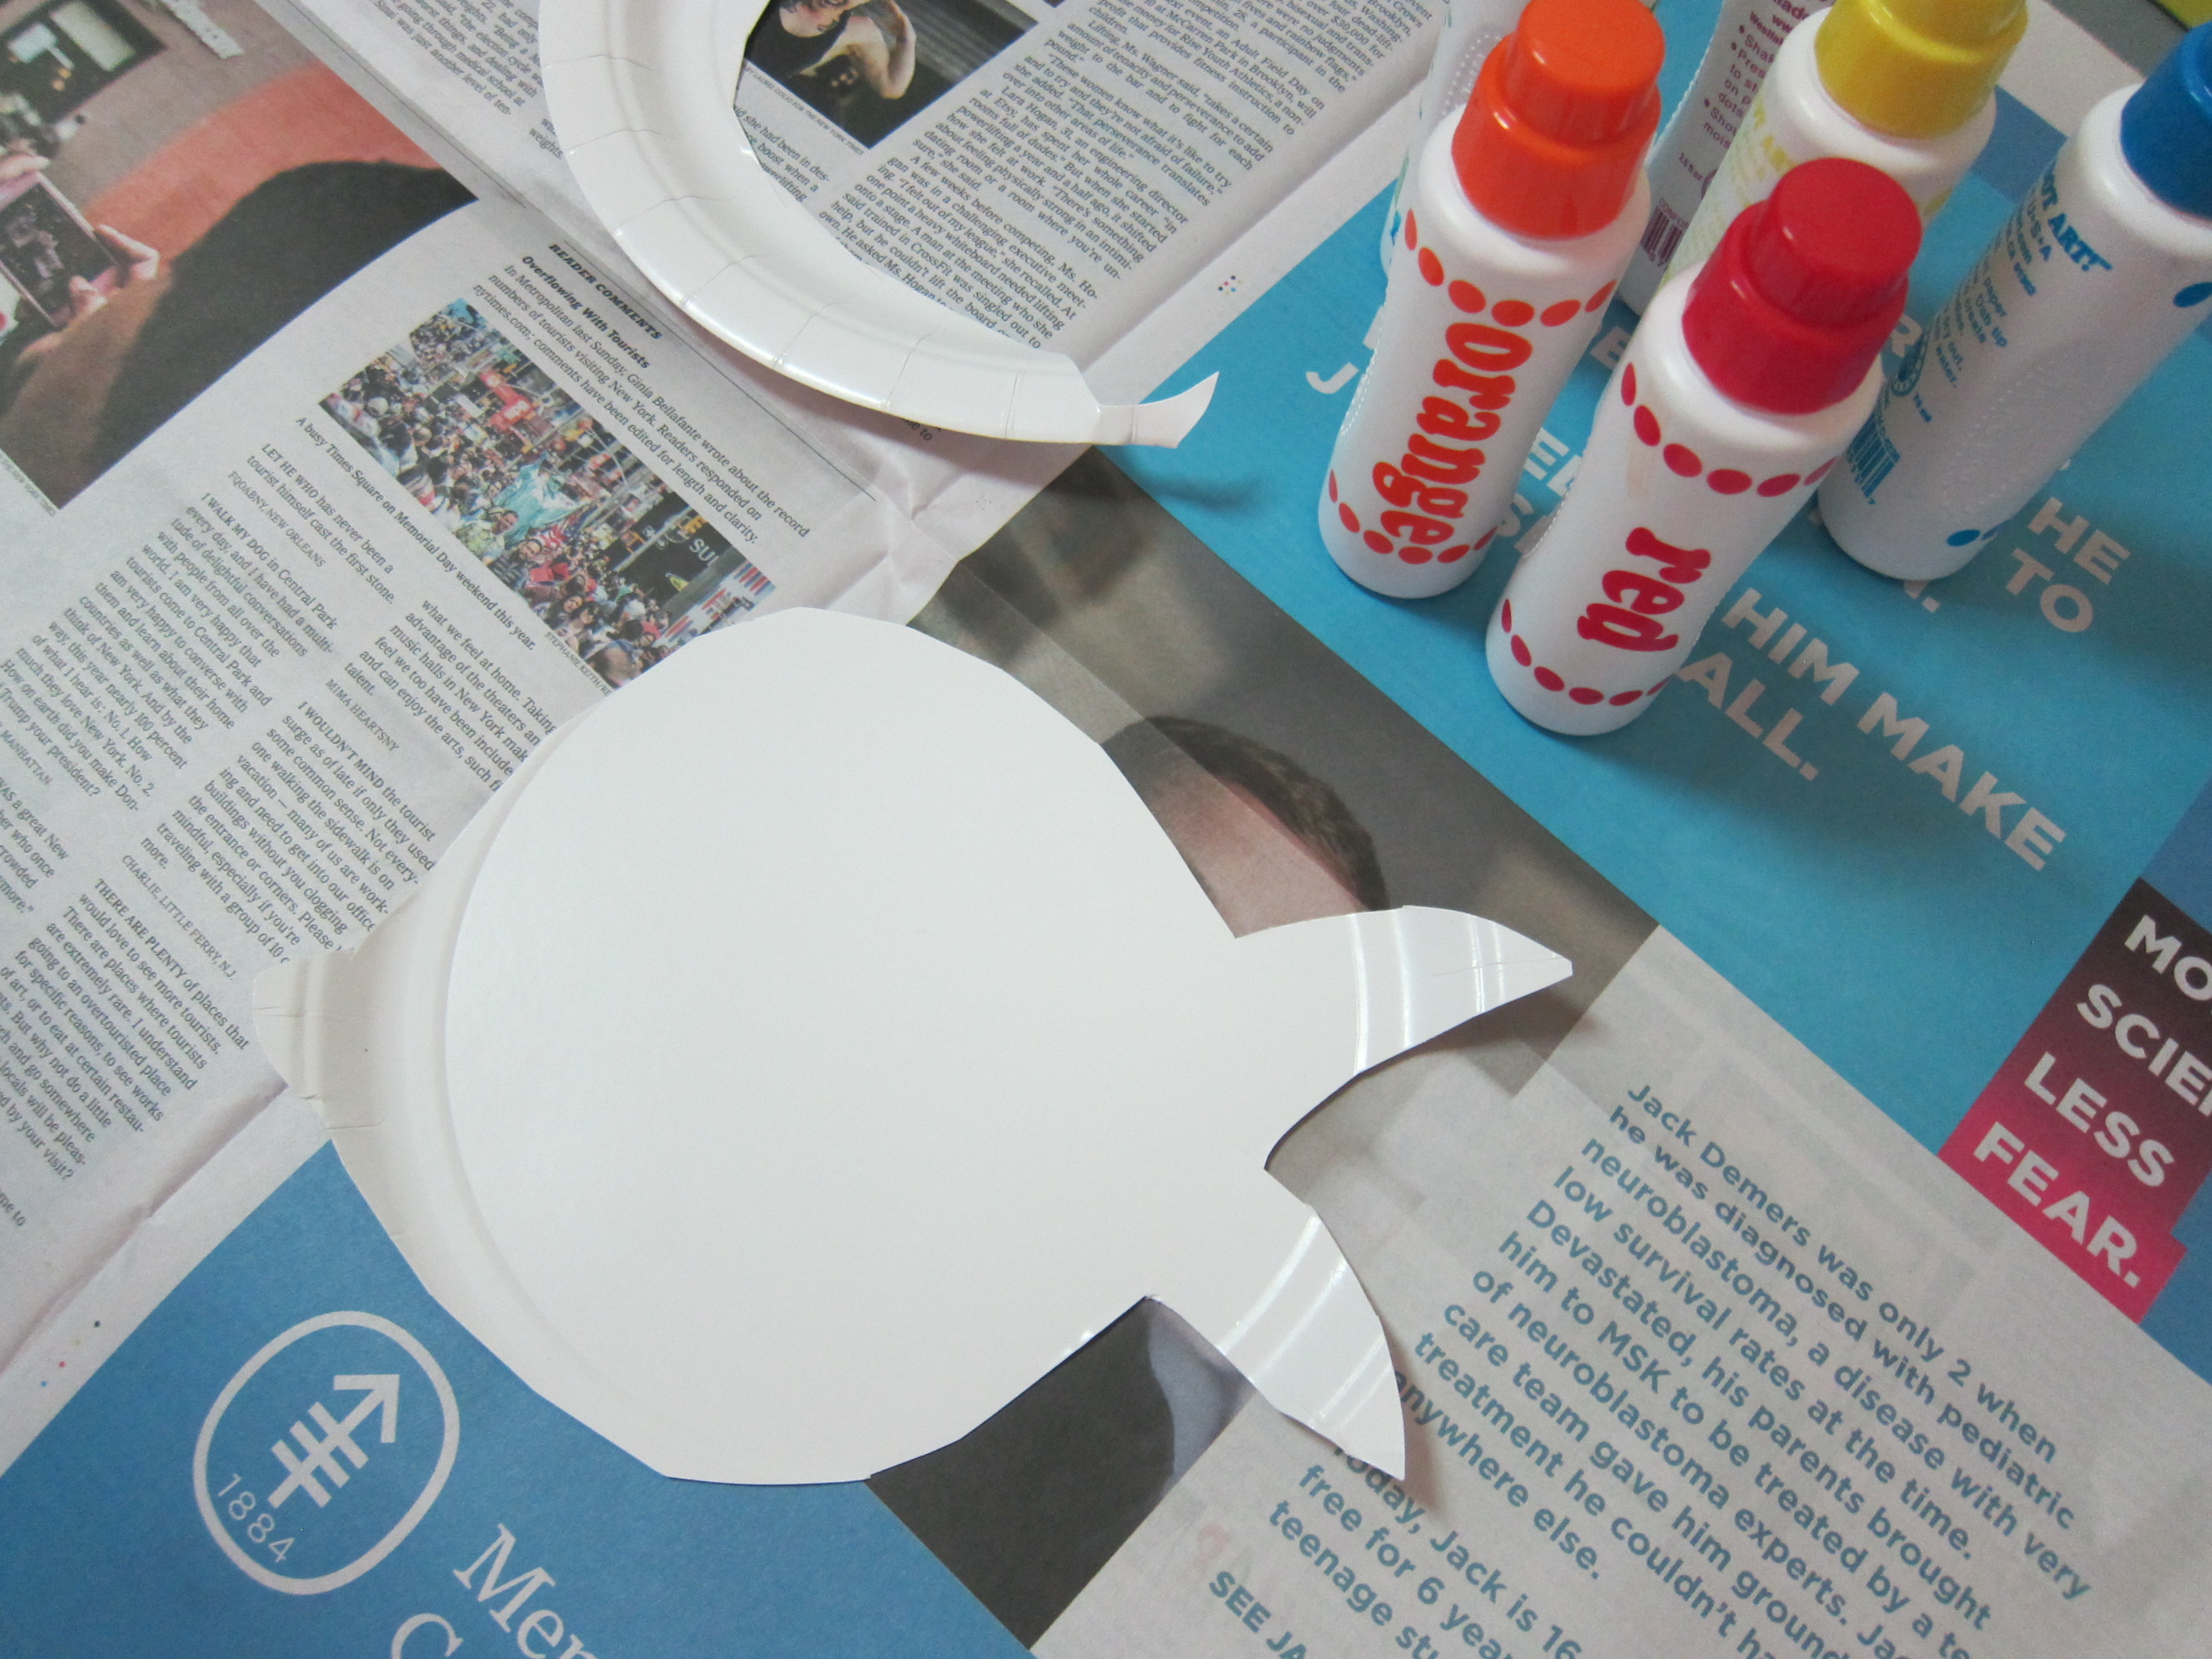
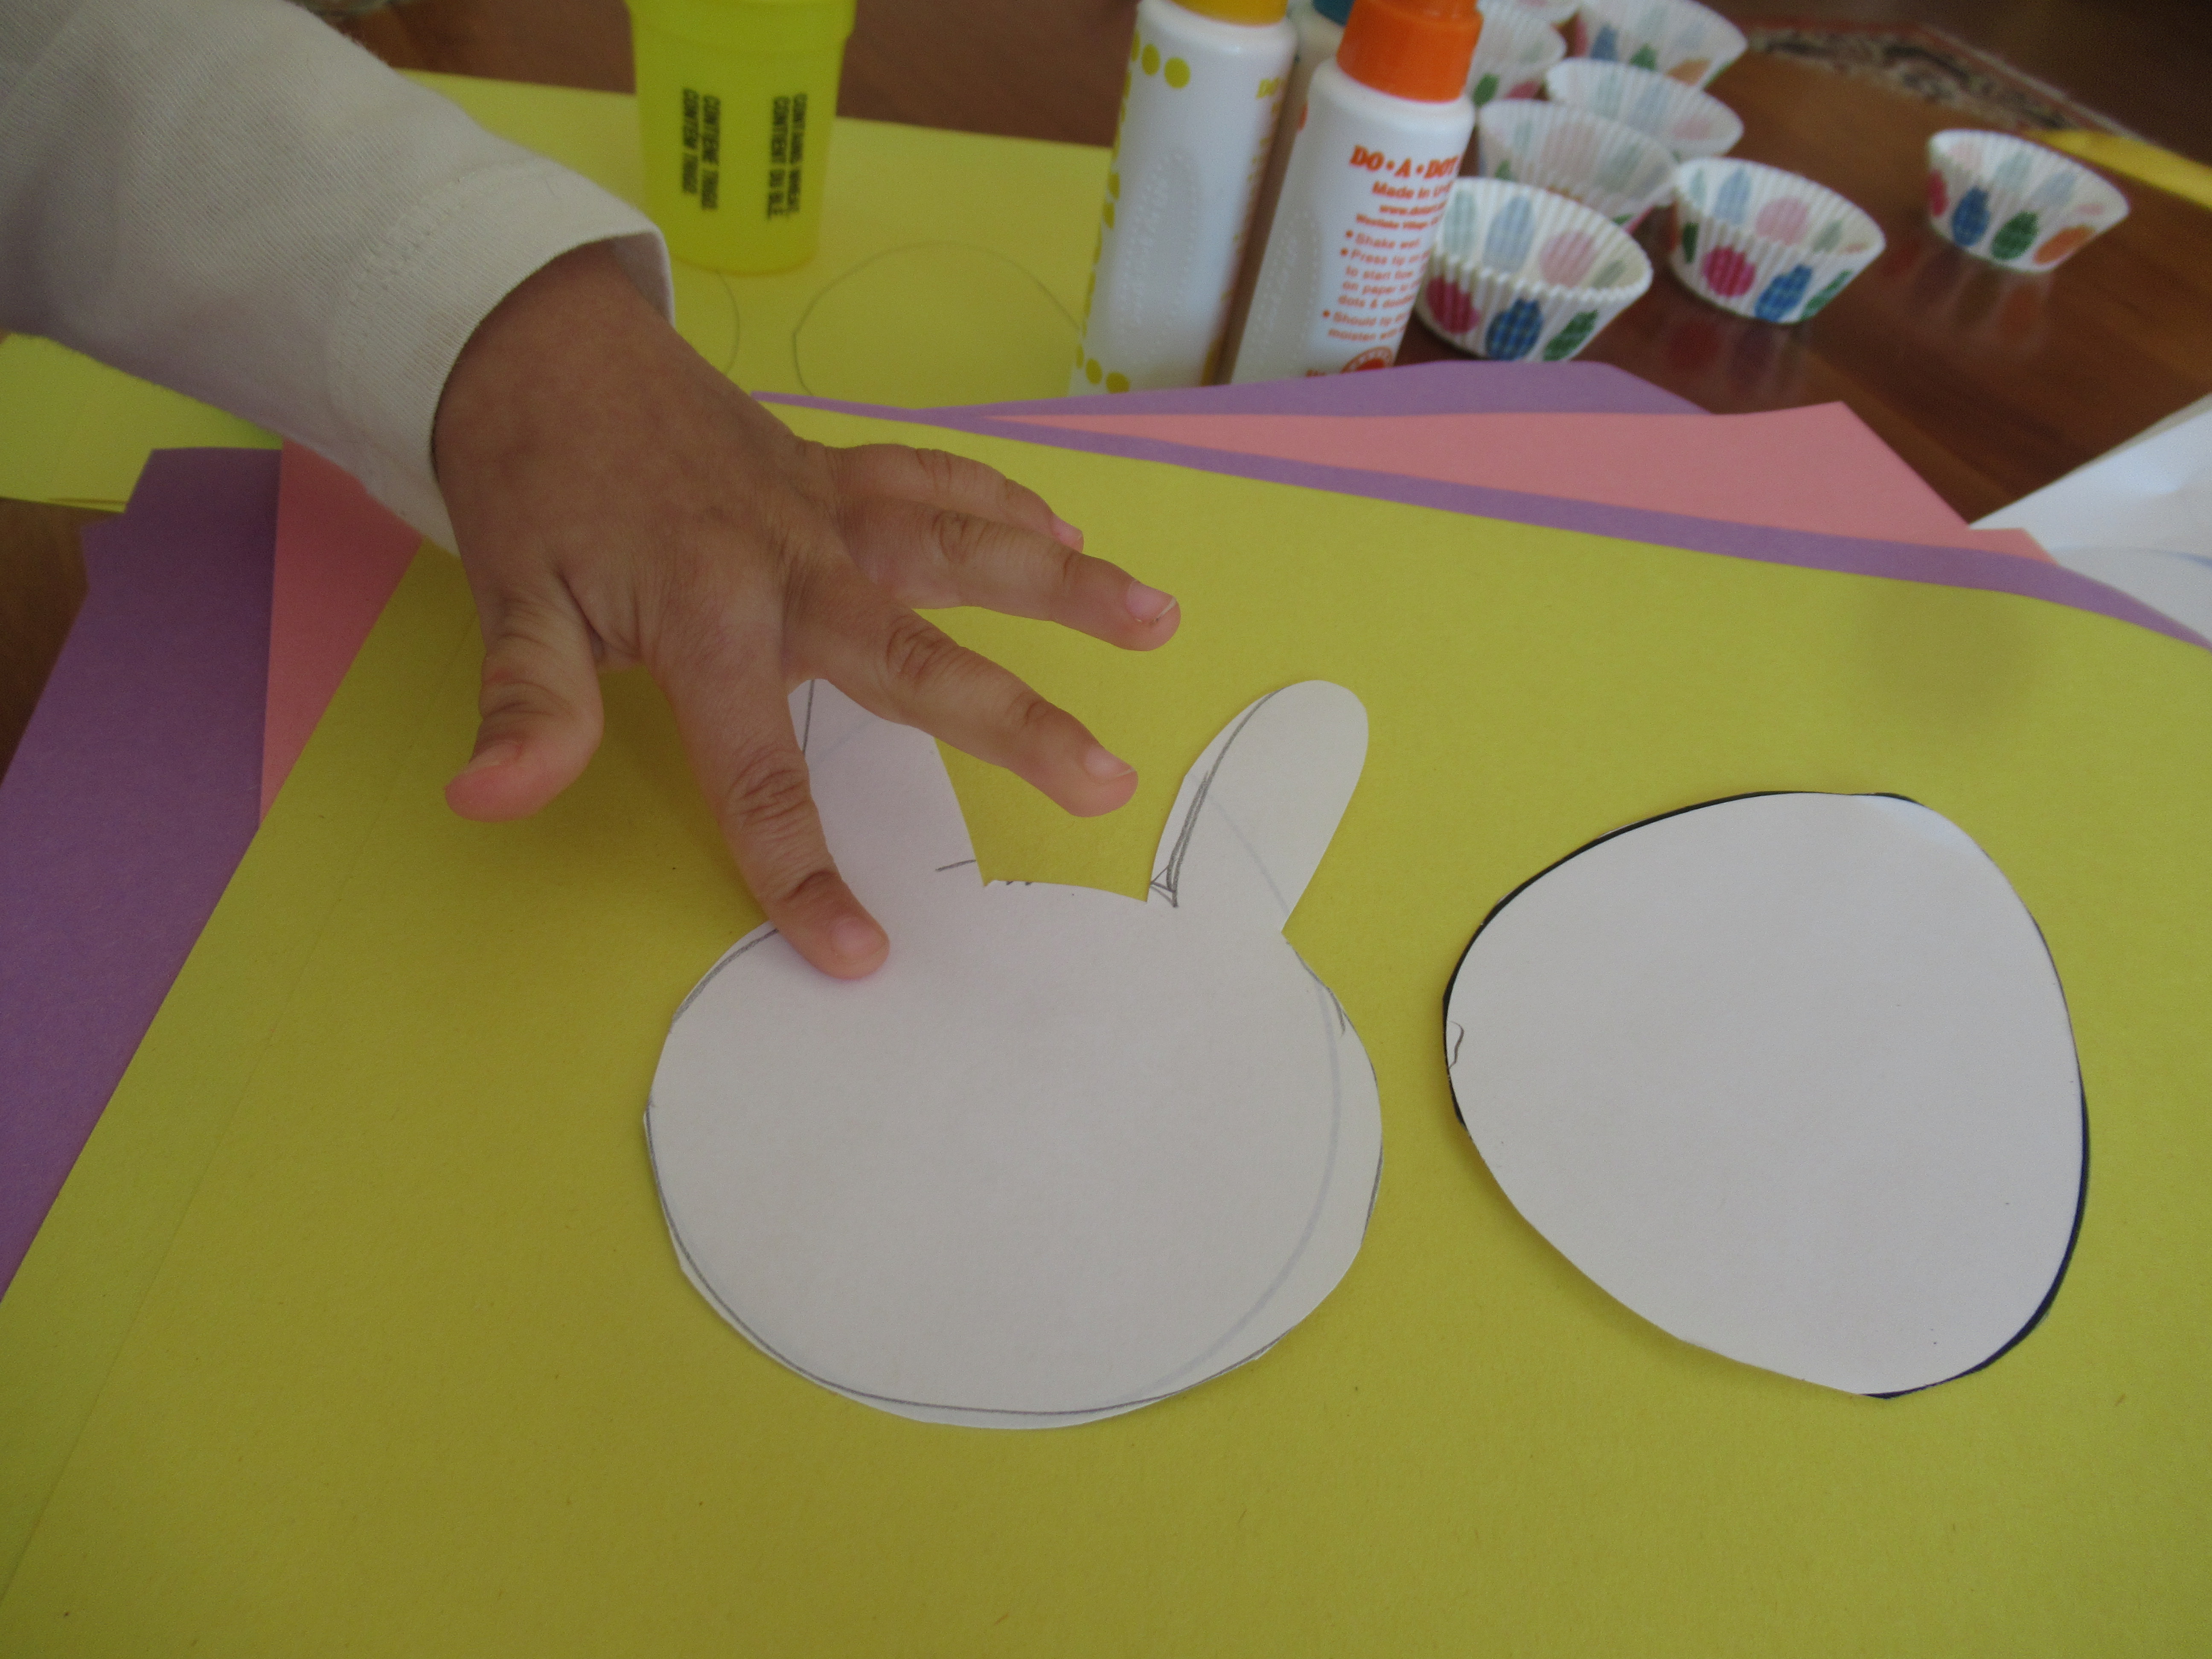
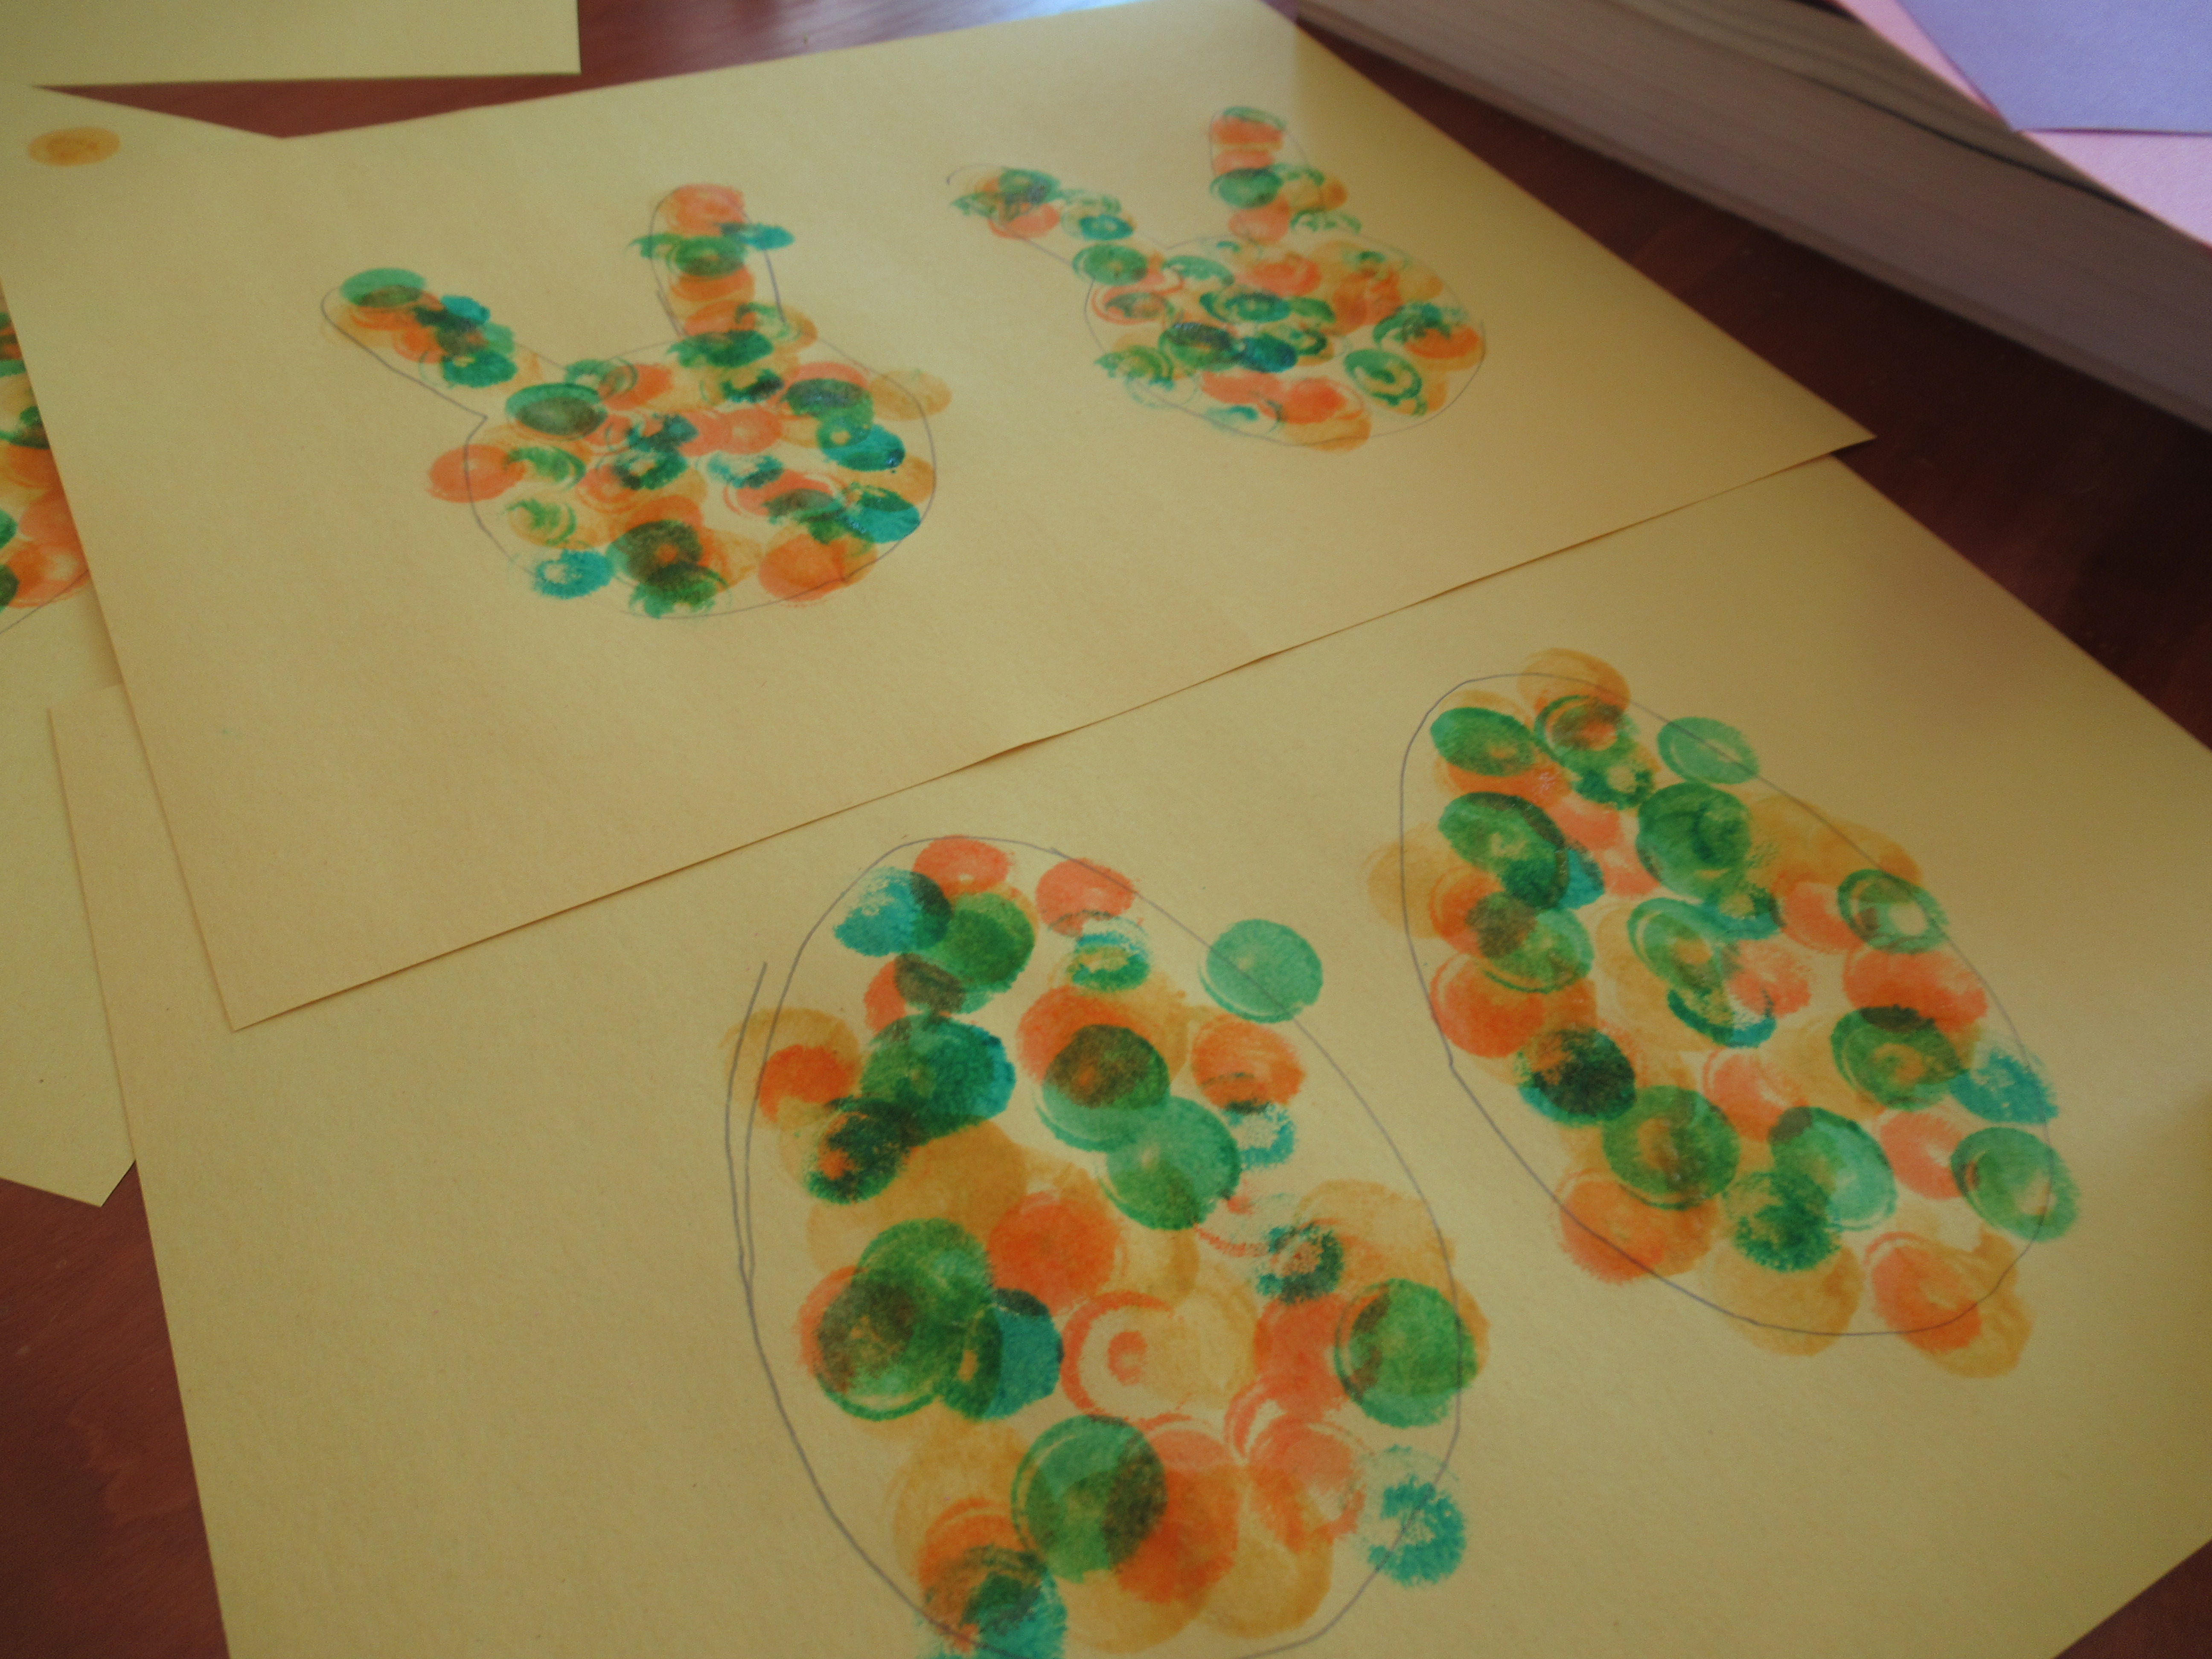
To start, the plan was to trace bunny and egg shapes onto yellow construction paper. I easily found an egg template online, but couldn’t find a bunny head in the same size so just free-handed it. I traced four of each shape.

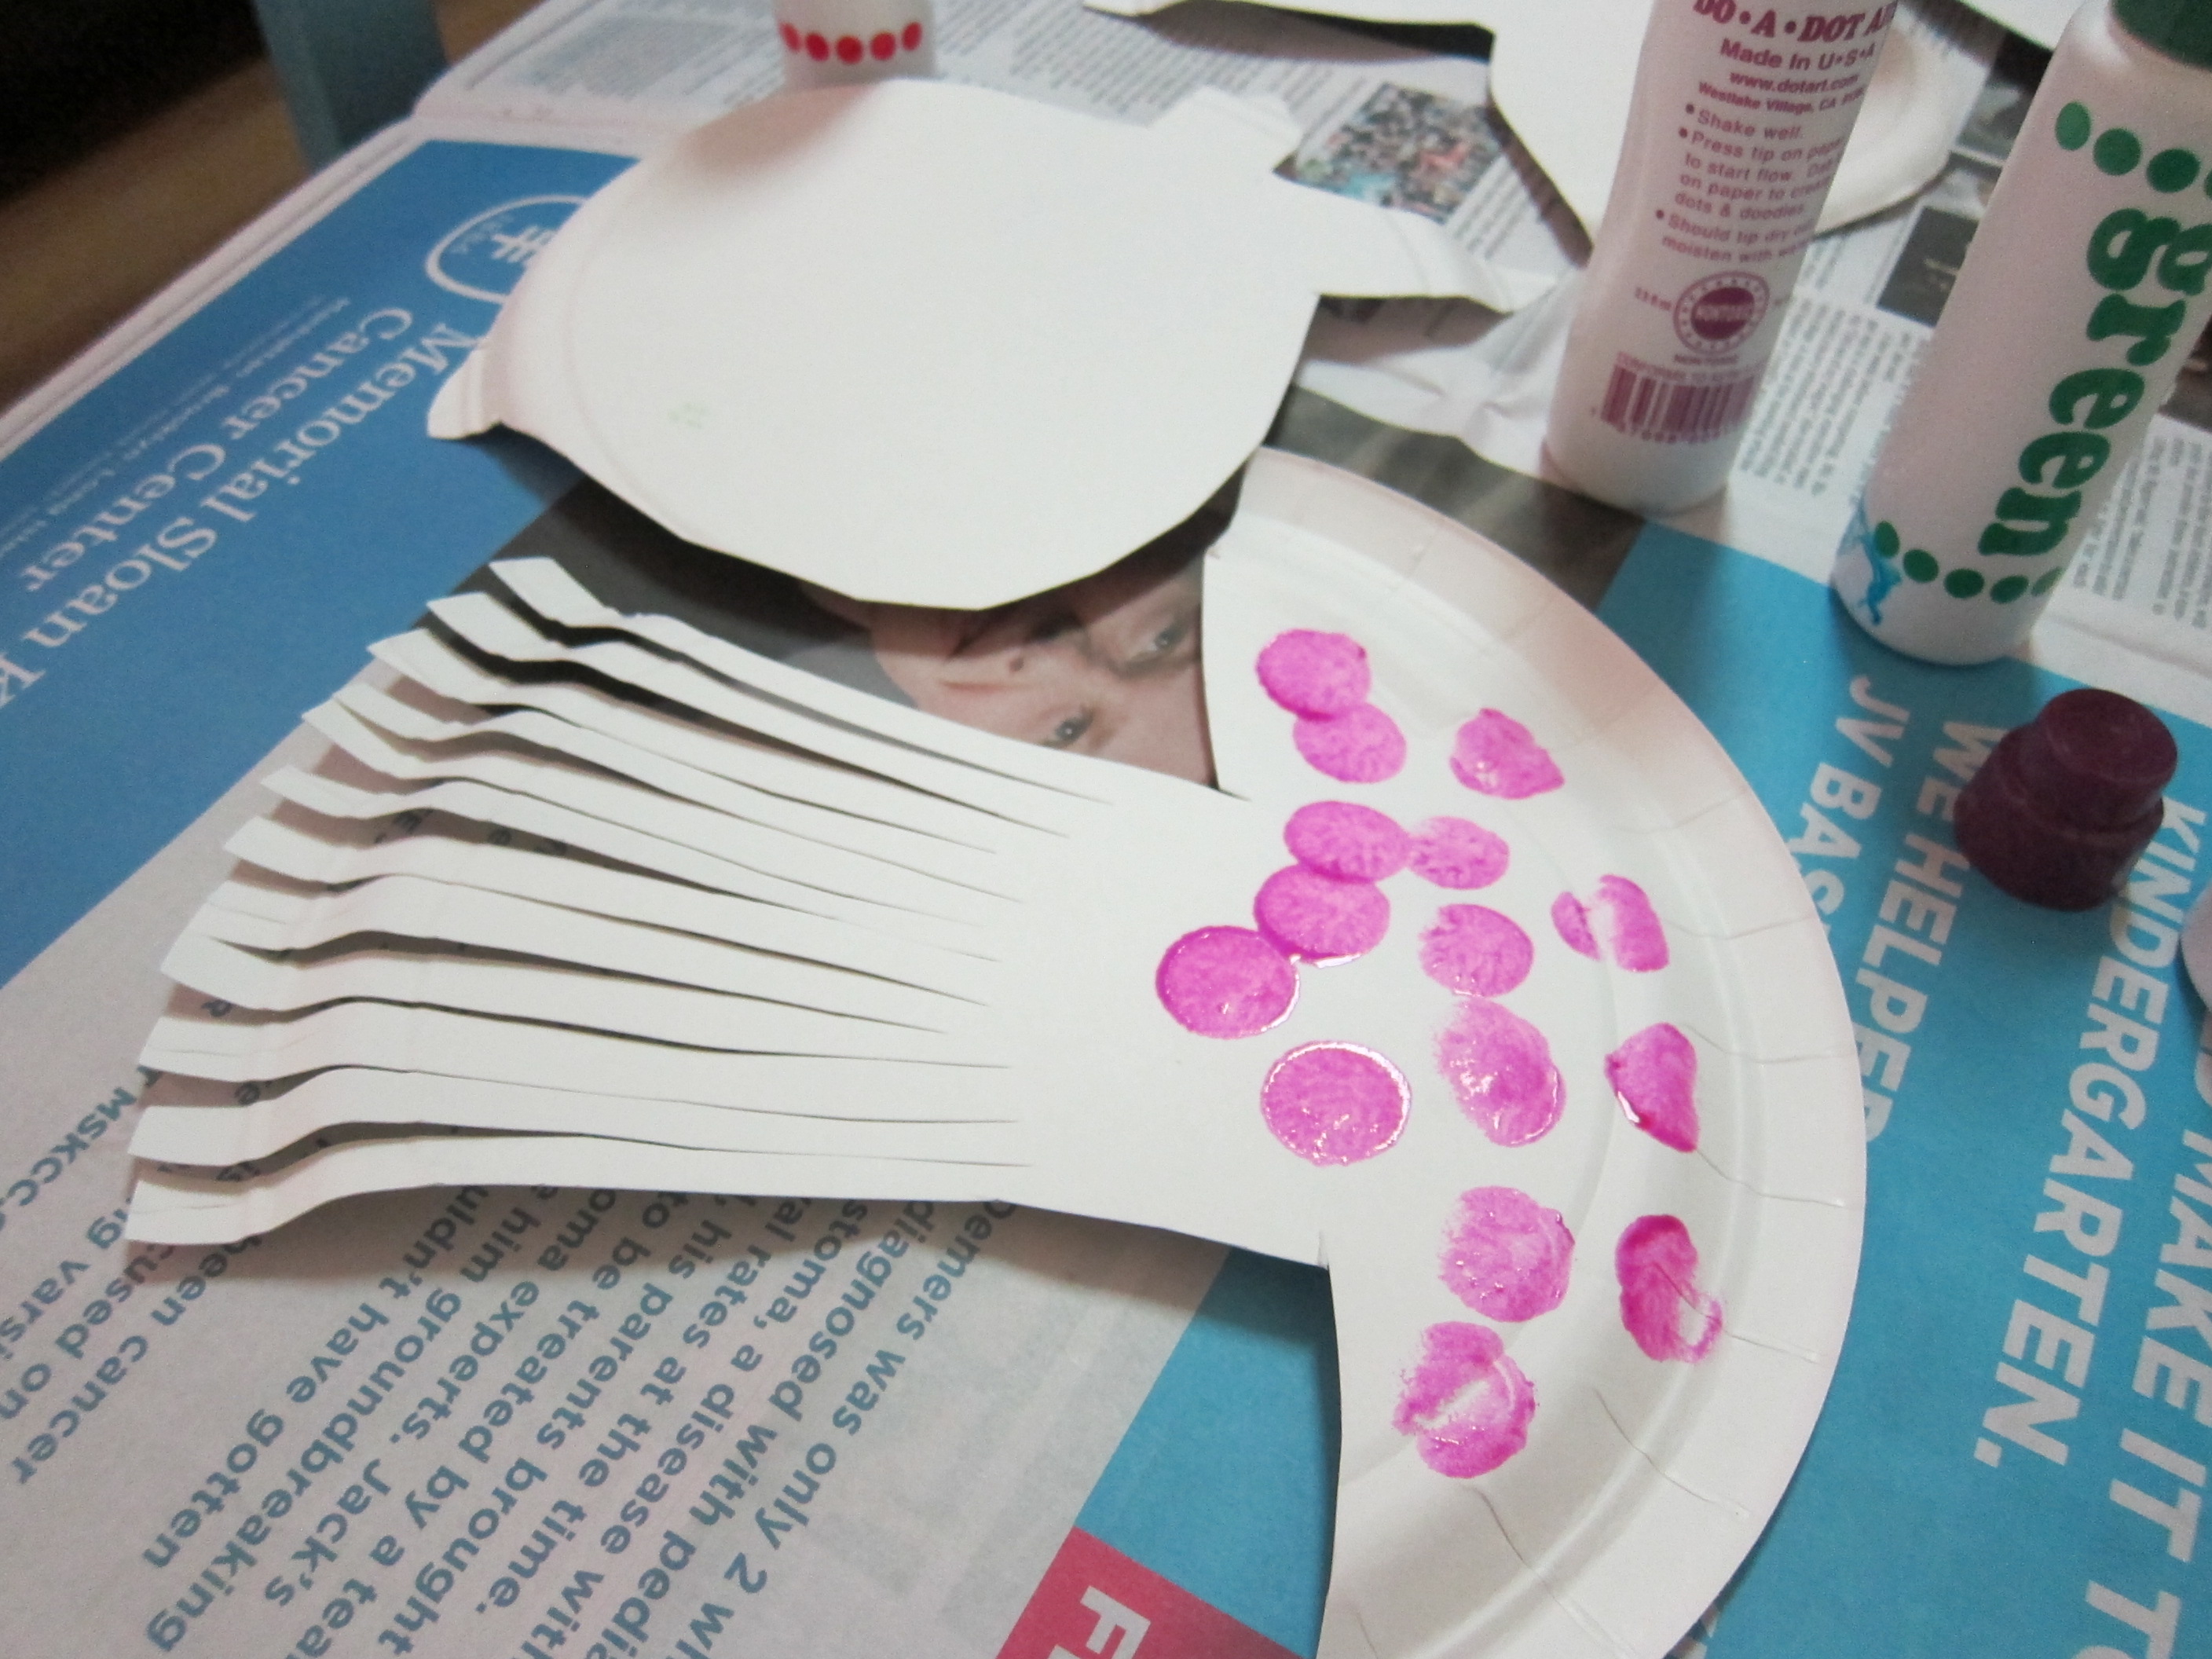
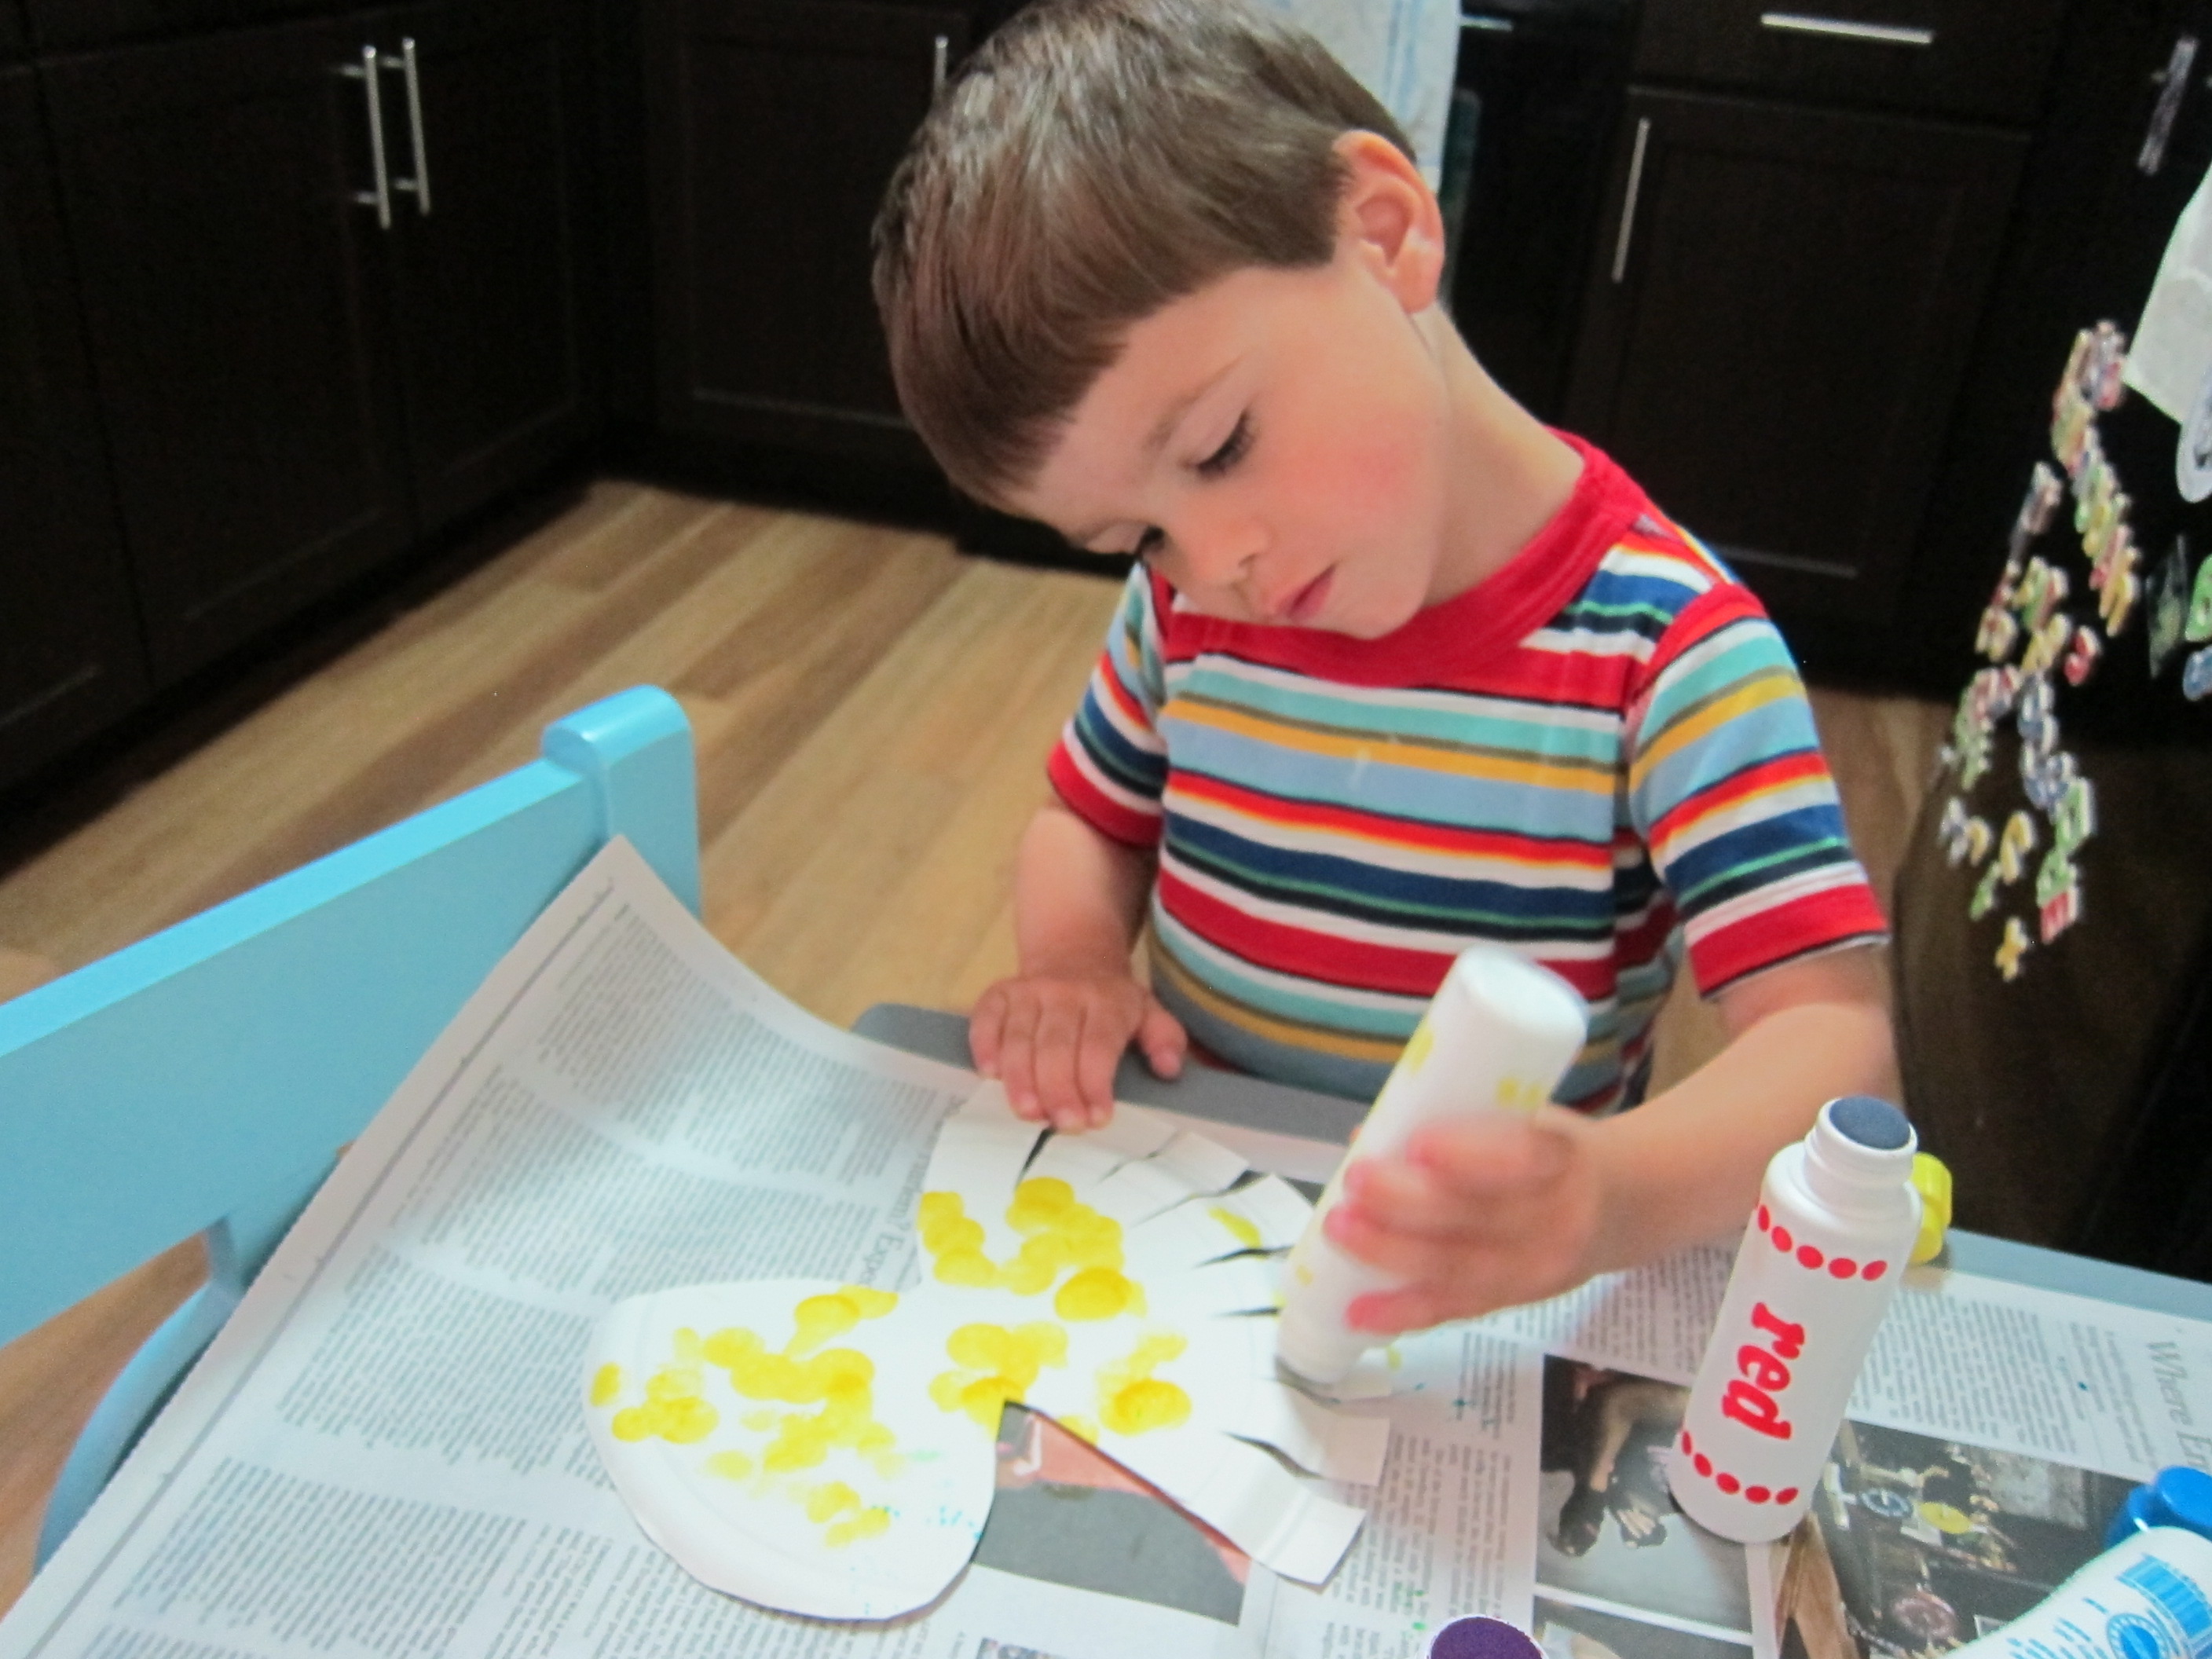
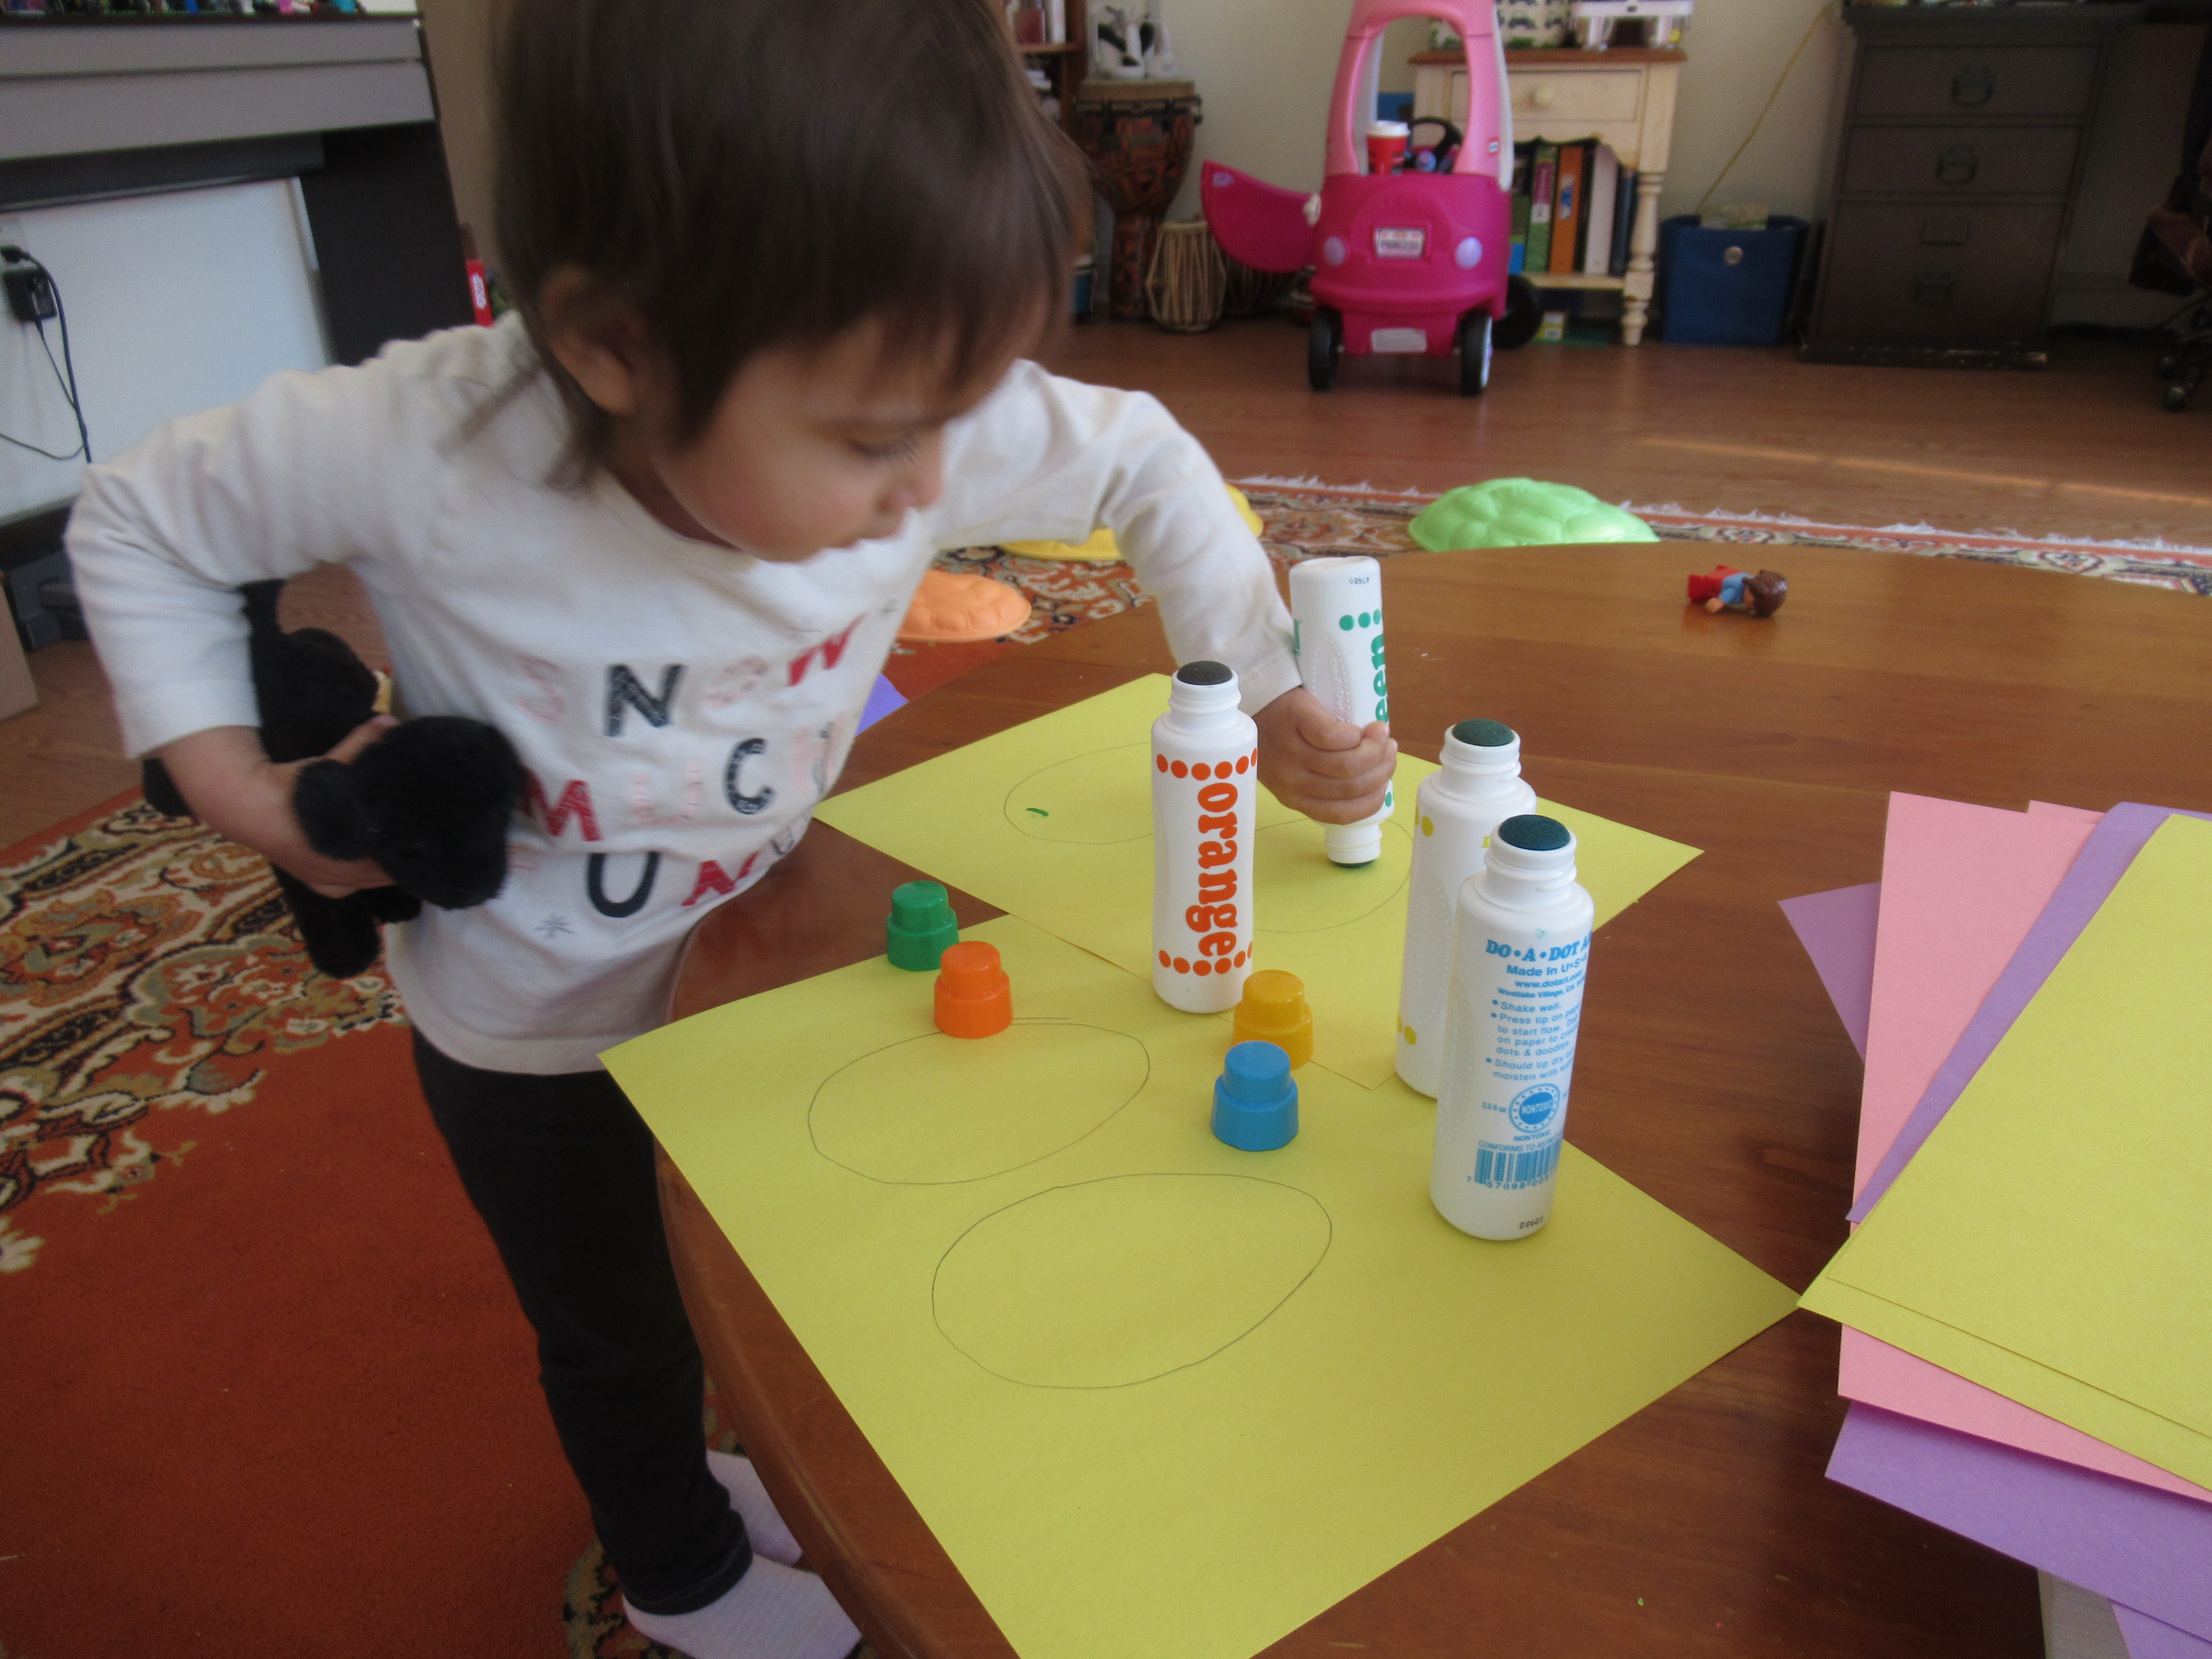
Veronika was so excited that she trotted over to get the dot markers from our craft bin all by herself! She loved seeing the colors appear, although was slightly disappointed that the blue marker appeared a bit greenish on the yellow paper.

Once we’d covered the shapes, I cut them out.

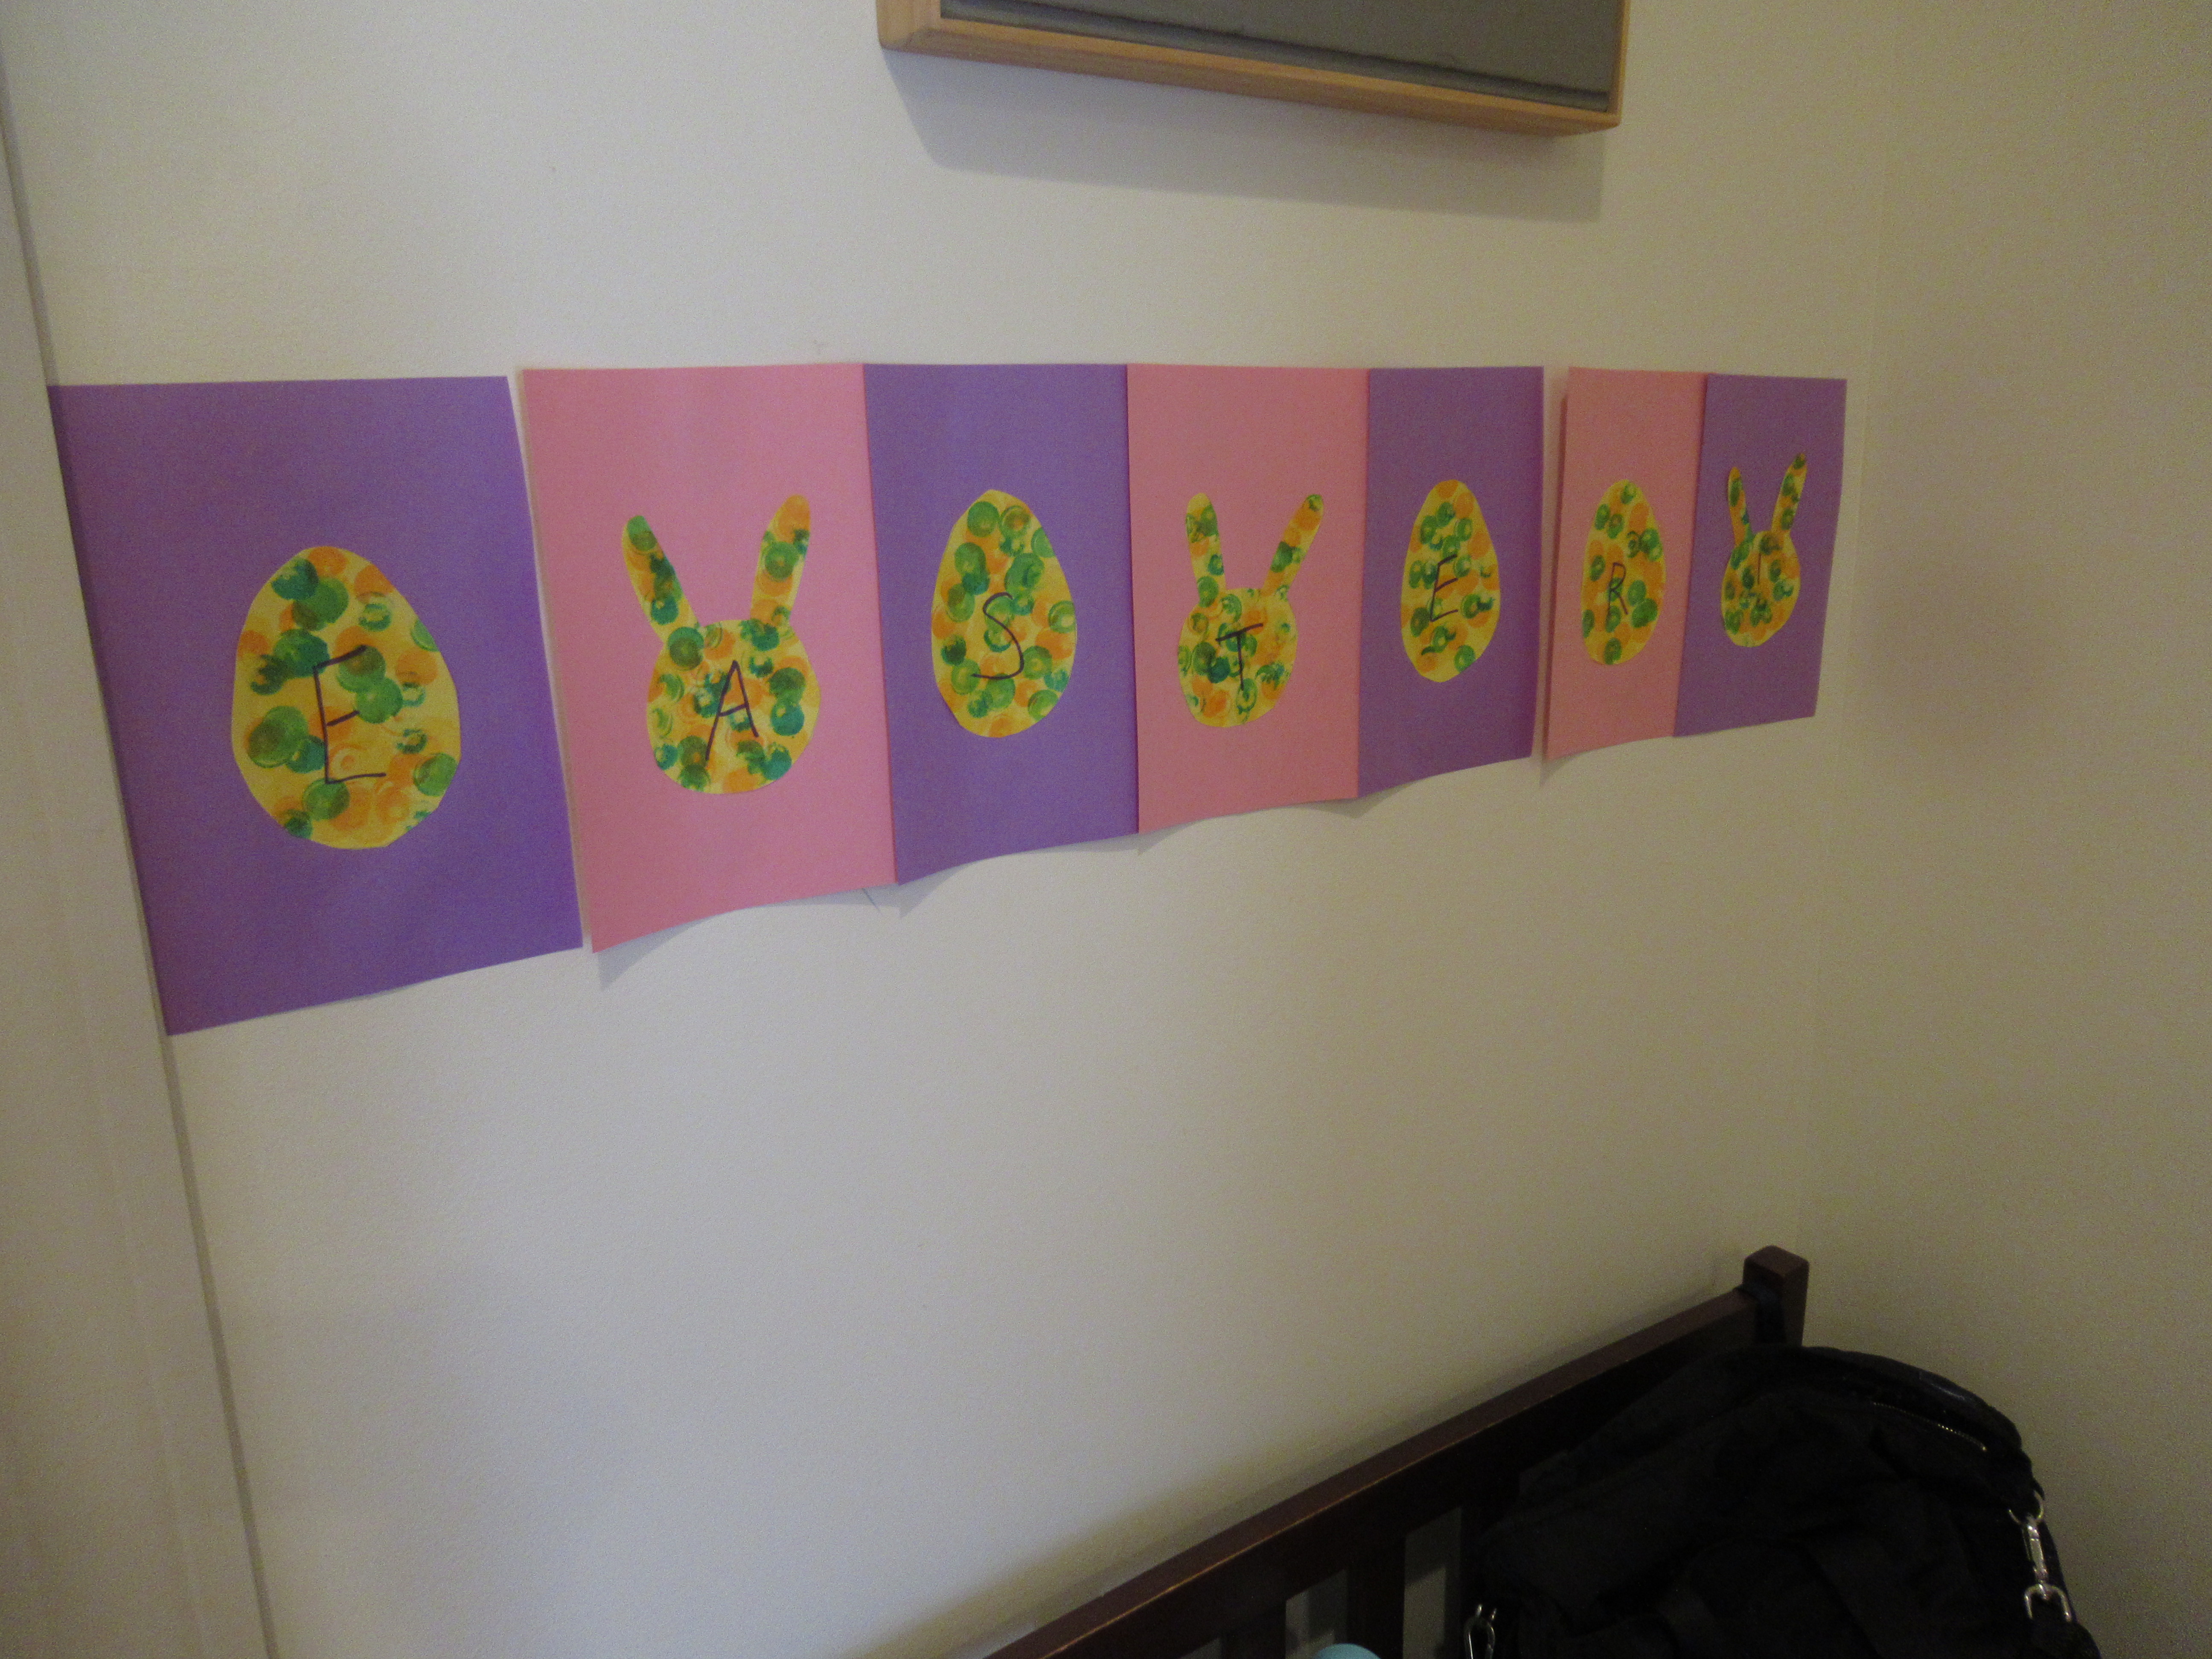
Cut additional sheets of construction paper (we used pink and purple) in half so you have 8 pieces. Glue down the bunnies and eggs with a glue stick.

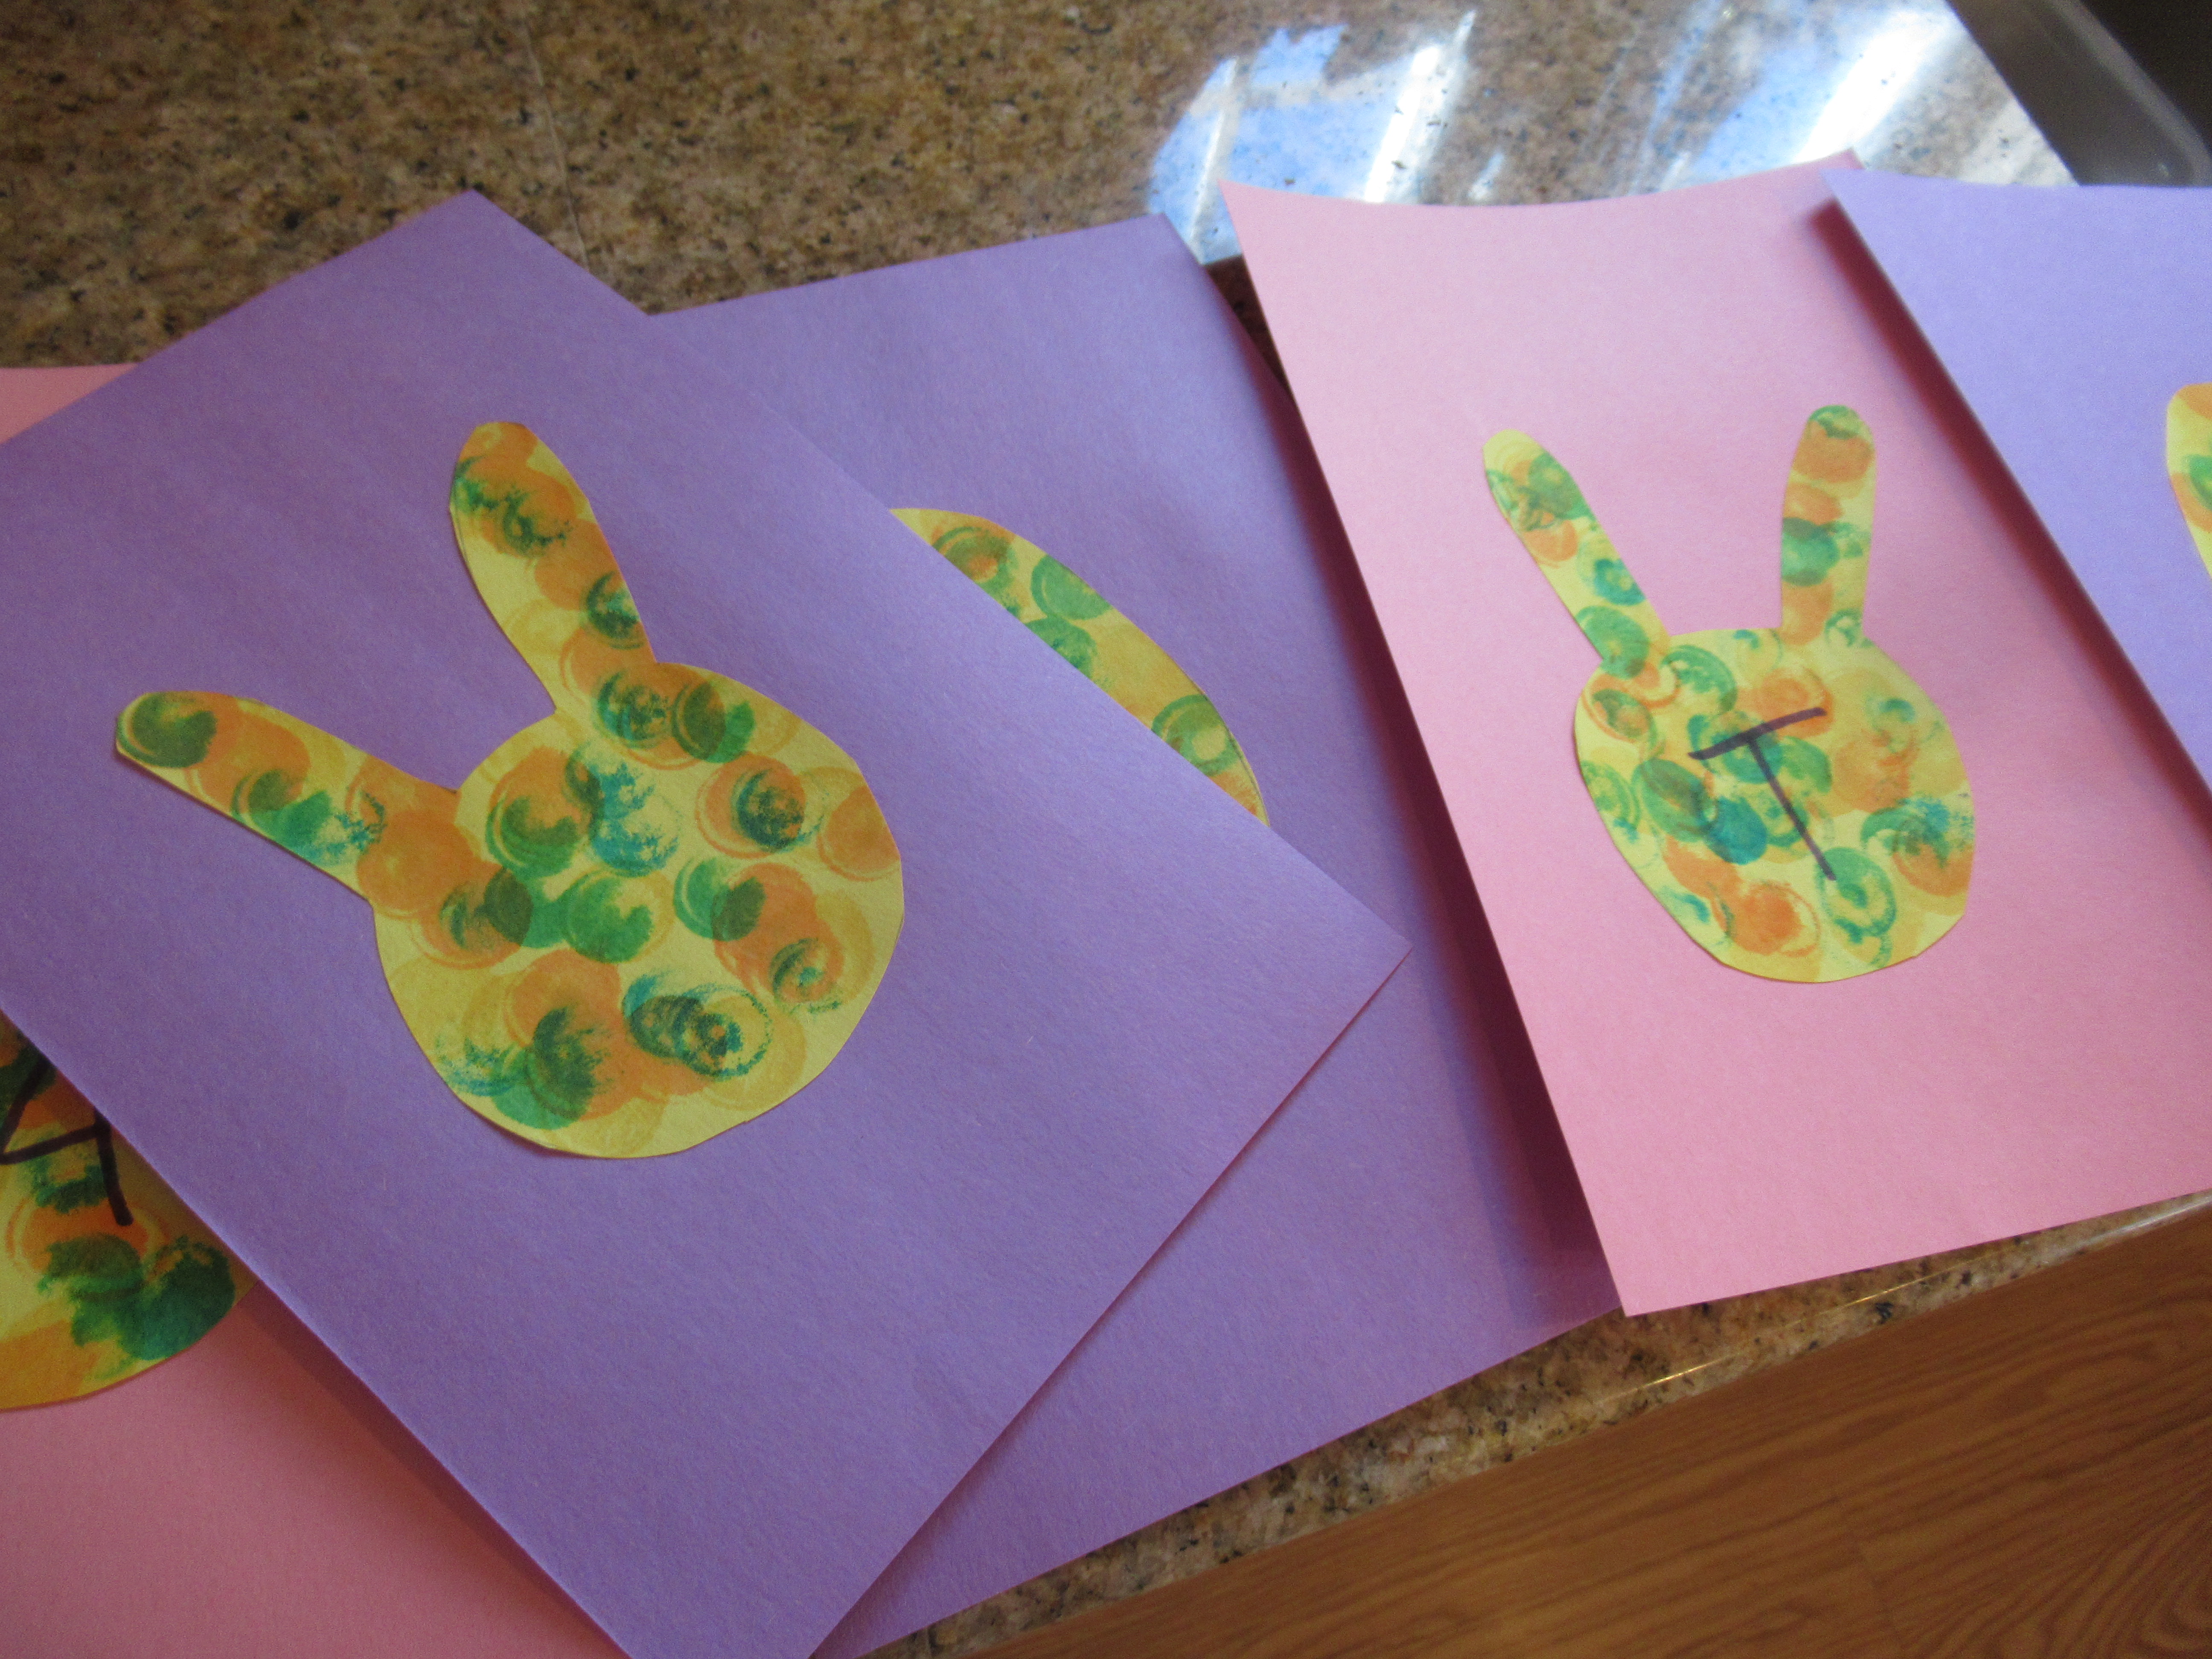
Now hang up somewhere prominent in your home! We decided last minute to spell out E-A-S-T-E-R on the shapes, but you can also leave them plain. Or, if you make just a few more, you can spell out a full H-A-P-P-Y E-A-S-T-E-R. The banner makes a lovely spring welcome above the bench in our entry hall.

Q-Tip Painting

Q Tip Paint (6).JPG

Sometimes it seemed like every other project Travis brought home from pre-k involved dot markers; teachers sure do love this art medium! This craft is almost like a homemade version, but will help with precision and letter tracing.

I wrote Travis’s name all in capital letters on construction paper and set out bowls of paint and q-tips.

Q Tip Paint (1)

He thought the idea of “homemade” dot markers was so neat! At first he intended to smear along the lines of the letters, but when I showed him how to dot the q-tip, he quickly took to it. I had imagined he’d dot at intervals, but he wanted his dots right up against each other so no line showed through.

Q Tip Paint (2)

This activity is nice reinforcement if your child already knows how to spell his or her name. Because he had to move slowly through each letter, Travis noticed that an upper case R starts out looking like a P, until you add the last diagonal line. What a way to notice the building blocks!

Q Tip Paint (3)

He wasn’t satisfied until he’d added the last dot.

Q Tip Paint (4)

And loved mixing up the colors, too.

Q Tip Paint (5)

Paper Plate Sea Creatures

Paper Plate Sea (8)

Travis is enamored with sea creatures now that we’ve returned from the shore. Luckily I had paper plates on hand upon our arrival home, which was all we needed to bring the sea to us!

Paper Plate Sea (1)

To start, I cut out several sea animal shapes from the plates. Travis was eager to help with the scissors, so with some adult guidance he helped cut the snips for jellyfish tentacles and octopus legs.

Paper Plate Sea (2)

Then it was time to decorate! Dot markers were a mess-free and perfect way to make our sea creatures colorful.

Paper Plate Sea (4)

Travis declared his orange and blue fish a clownfish without any prompting!

Paper Plate Sea (3)

Mommy added the smile and eyes onto our jolly octopus after Travis had dotted him all over with yellow.

Paper Plate Sea (5)

Let the paint dry, and then turn your living room into a giant ocean full of swimming sea creatures.

Paper Plate Sea (6)