Planter Friend

Plant Friend (5)

Veronika has been so excited for spring because it means gardening! “We get to water the flowers!” she keeps telling me. Finally we’re getting around to some flowers for our patio, and Veronika helped create her own planter “friend”.

To start, rip a colored napkin into small pieces (which is great for fine-motor skills), and use mod podge to adhere around the bottom of a clean and empty soda bottle. Let dry.

Plant Buddy (4)

Your child can use felt, construction paper, and wiggle eyes to make any animal friend they want. Veronika chose an elephant, so I cut a trunk, eyes, and ear shapes from construction paper.

Plant Buddy (3)

We had purchased a small plant at the market and Veronika very carefully helped transfer dirt and the plant into her new planter.

Plant Buddy (2)

Be sure to add water! This is a great and easy intro to gardening for preschoolers.

Plant Buddy (1)

Fun Flower Garden Containers

Flower Garden (3)

I’ve long wanted to get the kids into gardening (beyond the plastic cup seeds we’ve planted!) but I hesitate to buy planters since I have no green thumb myself. Enter this adorable upcycling idea for garden containers, made from empty soy milk cartons. They’re just right for kids to plant flowers or herbs, with no commitment.

To start, I cut one side flap off each of two empty soy milk cartons, then thoroughly washed with soap and water and let dry.

We headed outside with our containers on a hot morning. I had a new set of garden toys for the kids, to add to the fun, including a mini wheelbarrow, gardening tools, and even pretend flower pots. These will be fun to mime garden play even when we’re not actually planting!

Flower Garden (10)

But now to set up our real containers, Veronika helped scoop potting soil into each of the cleaned out cartons.

Flower Garden (1)

Pat down the dirt and then water until moist. Our elephant watering can is always a big hit.

Flower Garden (2)

Next, we made small holes in the dirt with our fingers to about 1/4-inch deep, and dropped in seeds. Big brother Travis loved this part! We used one carton for flowers (you could even plant homemade paper seed bombs)…

Flower Garden (4)

… and the second carton for herbs.

Flower Garden (6)

Of course we’ll have to wait a while to see the fruits of our labor, but for this morning, the kids weren’t done yet! First there was fun to be had planting the fake flowers in real dirt.

Flower Garden (7)

Then they wanted to water the grass and clover in the yard.

Flower Garden (5)

Gardening is such a beautiful way to get kids outside and interacting with nature, even when it’s as simple as beginner gardening like this.

Flower Garden (8)

Update: We have growth! It’s been just over two weeks since we planted the herbs, and now they are just starting to pop up. Travis in particular is so excited for when the plants are large enough to snip off some and use in our kitchen.

Planter var

The Magic of Mulch

Magic of Mulch (3)

For a final science experiment in his summer workbook, Travis learned a bit about gardening and soil. You’ll need potting soil for this experiment, as well as any “mulch” that your child gathers, either from your yard or on nature walk. Simple dried leaves and pine needles work just fine!

Travis helped measure out potting soil into two small plastic containers, making sure each contained the same amount (we used 3/4 cup soil per container). Add water to make the soil very wet, and again measure to make sure the containers have an equal amount; we used 1/2 cup.

Magic of Mulch (1)

Now cover only one with the mulch you’ve gathered. Travis proudly patted this on.

Magic of Mulch (2)

Place the containers some place sunny and wait 3 days!

After the third day, we headed out to check on our soil, but rain had skewed our results! The idea was that the soil with mulch should remain moister, but instead, both our containers were swamped. Luckily, we had a teachable moment; the soil with no mulch was washed away completely. But the soil under the mulch had been protected! So without intending too, Travis also learned how mulch enhances a garden’s drainage.

Magic of Mulch (4)

He finished the lesson by answering a few workbook questions about the experiment, which was a great chance for inventive spelling.


Plant a Seed

Plant a Seed (8)

Although toddlers won’t grasp the idea of a plant life cycle yet, or how a single seed can grow into a full plant, toddlers do love the components of gardening, namely: water, dirt, and seeds. So today Veronika “planted” her first seed, partly as a sensory experience, and partly for a little science.

Plant a Seed (1)

First I set out a little cup of dried beans for her to play with, simply to explore. She loved transferring these back and forth between two cups.

Plant a Seed (2)

Using a little dirt from the yard outside, we began scooping dirt into one of the cups.

Plant a Seed (4)

I filled our watering can with just a little water so she could make the dirt damp but not soaked. Of course I knew this would turn into lots of play scooping dirt and pouring water, and that’s exactly what happened. But that was half the fun! A little bug even hitchhiked its way in with the dirt, and she loved watching it on the tray.

Plant a Seed (7)

Before she could tire of the game, I showed Veronika how to sprinkle a few of her bean seeds into the dirt, and press them in gently.

Plant a Seed (5)

We gave them a little extra water as a finishing touch.

Plant a Seed (6)

I don’t expect these to really sprout, since we didn’t germinate them properly). But the cup is in a sunny spot on our windowsill, and Veronika looks at it proudly! Either way, the whole process is a fantastic intro to gardening.

Note: If you want to include a little art, use a paper cup instead of a plastic one and have your toddler draw on it first. Or you could even decorate a proper clay pot!

Edible Parts of the Plant

Parts of Plant (13)

To complement a recent Strawberry Shortcake recipe from Raddish Kids, Travis and I had fun with this homeschooling lesson on the various edible parts of a plant.

Ahead of time, I gathered two examples of each of these six plant categories:

  • Roots: carrot and potato
  • Stems: asparagus and celery
  • Flowers: broccoli and flowers
  • Seeds: peas and pinto beans
  • Leaves: spinach and lettuce
  • Fruit: tomato and apple

I hid all of these under a blanket, and called Travis over.

Parts of Plant (2)

He was immediately intrigued, of course, checking out the blanket with his hands and using his nose, too, when I invited him to use all his senses. Could he guess what was underneath? Tada! The big reveal.

Parts of Plant (3)

I challenged him to put the items into pairs, using whatever criteria made sense to him. This confused him a bit, but he began to match them up. Some he got correct without understanding why; it was easy to see that the spinach and lettuce leaves were similar, for example, or that the tomato and apple were both big and round.

Parts of Plant (4)

When he was finished, I shifted his answers around slightly. Aha, the asparagus and celery went together… because they were both the stems of plants. Same for the potato and carrot – both roots!

Parts of Plant (6)

I ran through a quick definition of each of the six parts. As a bonus, I asked him why the mushroom was leftover. Aha – a fungus!

Parts of Plant (7)

Big kids may want to pause here and make a chart and then brainstorm other foods that fit each of the six categories. But Travis and I hopped right along to the next activity: artwork! We used all of the items to make a picture. I gave him complete free reign, which meant that at first he wasn’t depicting anything, just enjoying the materials. He discovered, for example, that you can pull strings from the celery that glued down nicely.

Parts of Plant (8)

Then he got a bit more purposeful. There was a flower rimmed in pinto beans with a celery stem and mushroom center. And orange carrot curls for a sun.

Parts of Plant (11)

This, he proudly informed me, was a whale.

Parts of Plant (14)

Big kids may want to make a plant with their plants, or perhaps a funny plant person!

Parts of Plant (12)

We next checked out a few of Raddish’s suggested links, including a read-aloud of the very funny Tops and Bottoms. As he watched an informative clip about plants, Travis kept running over with tidbits. “Did you know rice is a seed??” I love seeing him so excited about learning!

We next made an art collage of the six plant parts using a grocery store flyer.

Parts of Plant (15)

After he cut out all the pictures of fruits and veggies, we talked through where on our collage each item belonged.

Parts of Plant (16)

This was also great for sightreading words!

Parts of Plant (17)

As a bonus activity, we tested out Raddish’s suggested Kitchen Garden Experiment to regrow food scraps. We read about how plants can stockpile nutrients to keep growing for a short time, provided with water and sunlight, even if they no longer have soil.

I set out three different vegetable scraps for Travis: green onion bulbs, the bottom of a head of celery, and the bottom of a head of romaine lettuce.

Regrow Food (1)

We placed each in a container filled with water and set them on the windowsill. Travis’s hypothesis was that celery would grow fastest.

Regrow Food (3)

Each day we changed the water and observed. It was immediately apparent that green onion grew far faster than the other two.

Regrow Food (4)

After a couple of days, we measured the progress.

Regrow Food (8)

We also drew a picture of what he had observed. Then Travis wanted to eat the green onion, so that was the end of our scientific method!

Regrow Food (10)

There is so much more that older kids can do to learn about plants. Consider cooking a recipe that uses all 6 parts of a plant, or perhaps sprouting seeds.

Sprout Sculpture

Chia Sponge y.JPG

This little project is sort of a DIY chia pet, but you get to control what it looks like! It’s a neat way to introduce kids to the concept of a greenhouse, too.

To set up our “greenhouse,” Travis and I first spooned about 2 teaspoons chia seeds into a measuring cup, and filled with 1/2 cup water. Let sit while you put together the sponge structure.

Sprout Sponge (2)

We glued two sponges to a paper plate as a base, then built upwards using other colored sponges.

Sprout Sponge (3)

Have fun cutting some of the sponges into smaller pieces or shapes, or perhaps getting architectural with your design!

Sprout Sponge (4)

Note: We found that hot glue worked best for holding the sponges in place; a few of them had a slight tower-of-Pisa lean when we tried to use white glue.

Spoon your chia mixture over the sponges. Travis thought it was so goopy!

Sprout Sponge (5)

We spritzed with a water bottle until the sponges and chia seeds were nicely saturated.

Sprout Sponge (6)

Place inside a clear plastic container (this is your “greenhouse”) and set the container some place with plenty of sunshine.

Chia Sponge x

We made sure to spritz at least twice daily and within about four days, we had some sprouts!

Chia Sprout var

By one week, it was looking quite sculptural! Definitely a neat experiment.

Chia Sponge z

Eggheads

Eggheads (5)

Got leftover plastic Easter eggs? We’ve got you covered! This cute little gardening project will use up any spares you have lying around.

We borrowed a real egg carton from the festivities at a relative’s house, and took it home to set up the project.

Twist plastic eggs until the top breaks off. Discard the tops and draw faces on the bottom. I gave Travis free reign for this part, and loved seeing the “expressions” he came up with.

Eggheads (1)

Next, we scooped potting soil into each egg. Cover your work surface because this part might get messy!

Eggheads (2)

Sprinkle a little grass seed into each egg.

Eggheads (3)

Now place them somewhere sunny and wait! Be sure to water daily. I’ll update this post when our “eggheads” sprout “hair”!

Eggheads (4)

Update: Our heads have hair! How adorable are these little eggheads?

Eggheads alt.JPG

Early Explorers Plants

LP Plants (28)

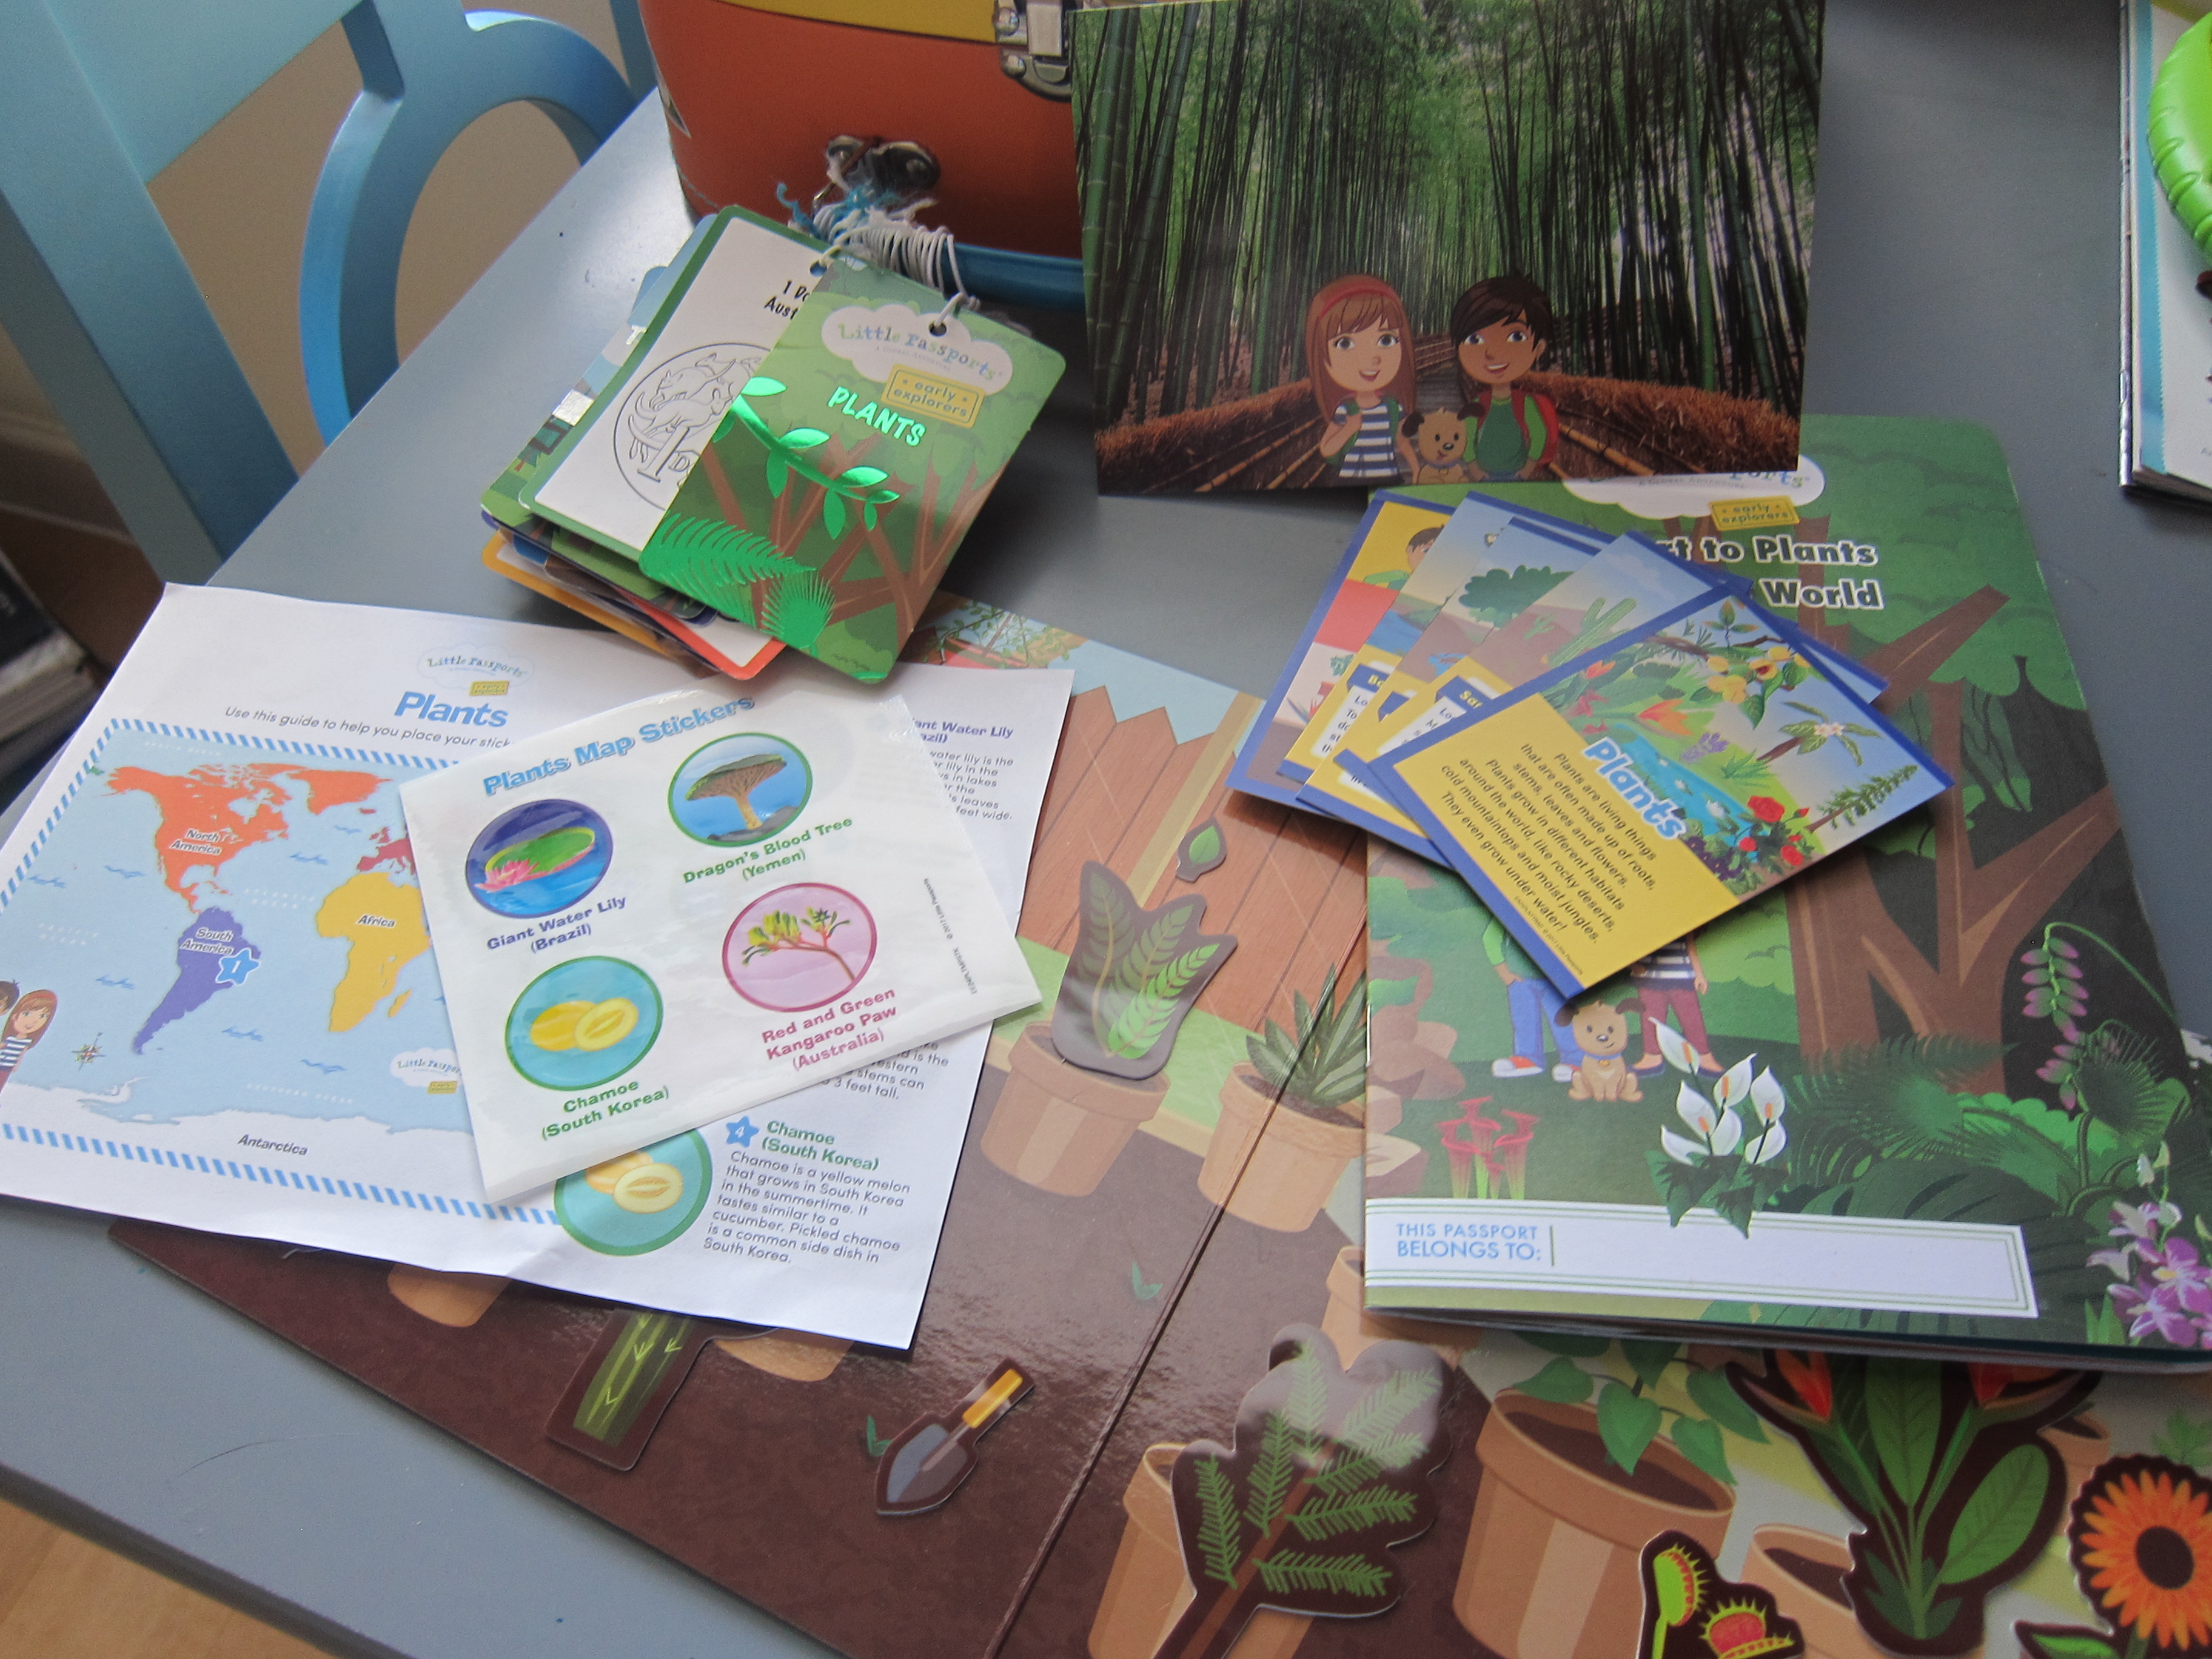
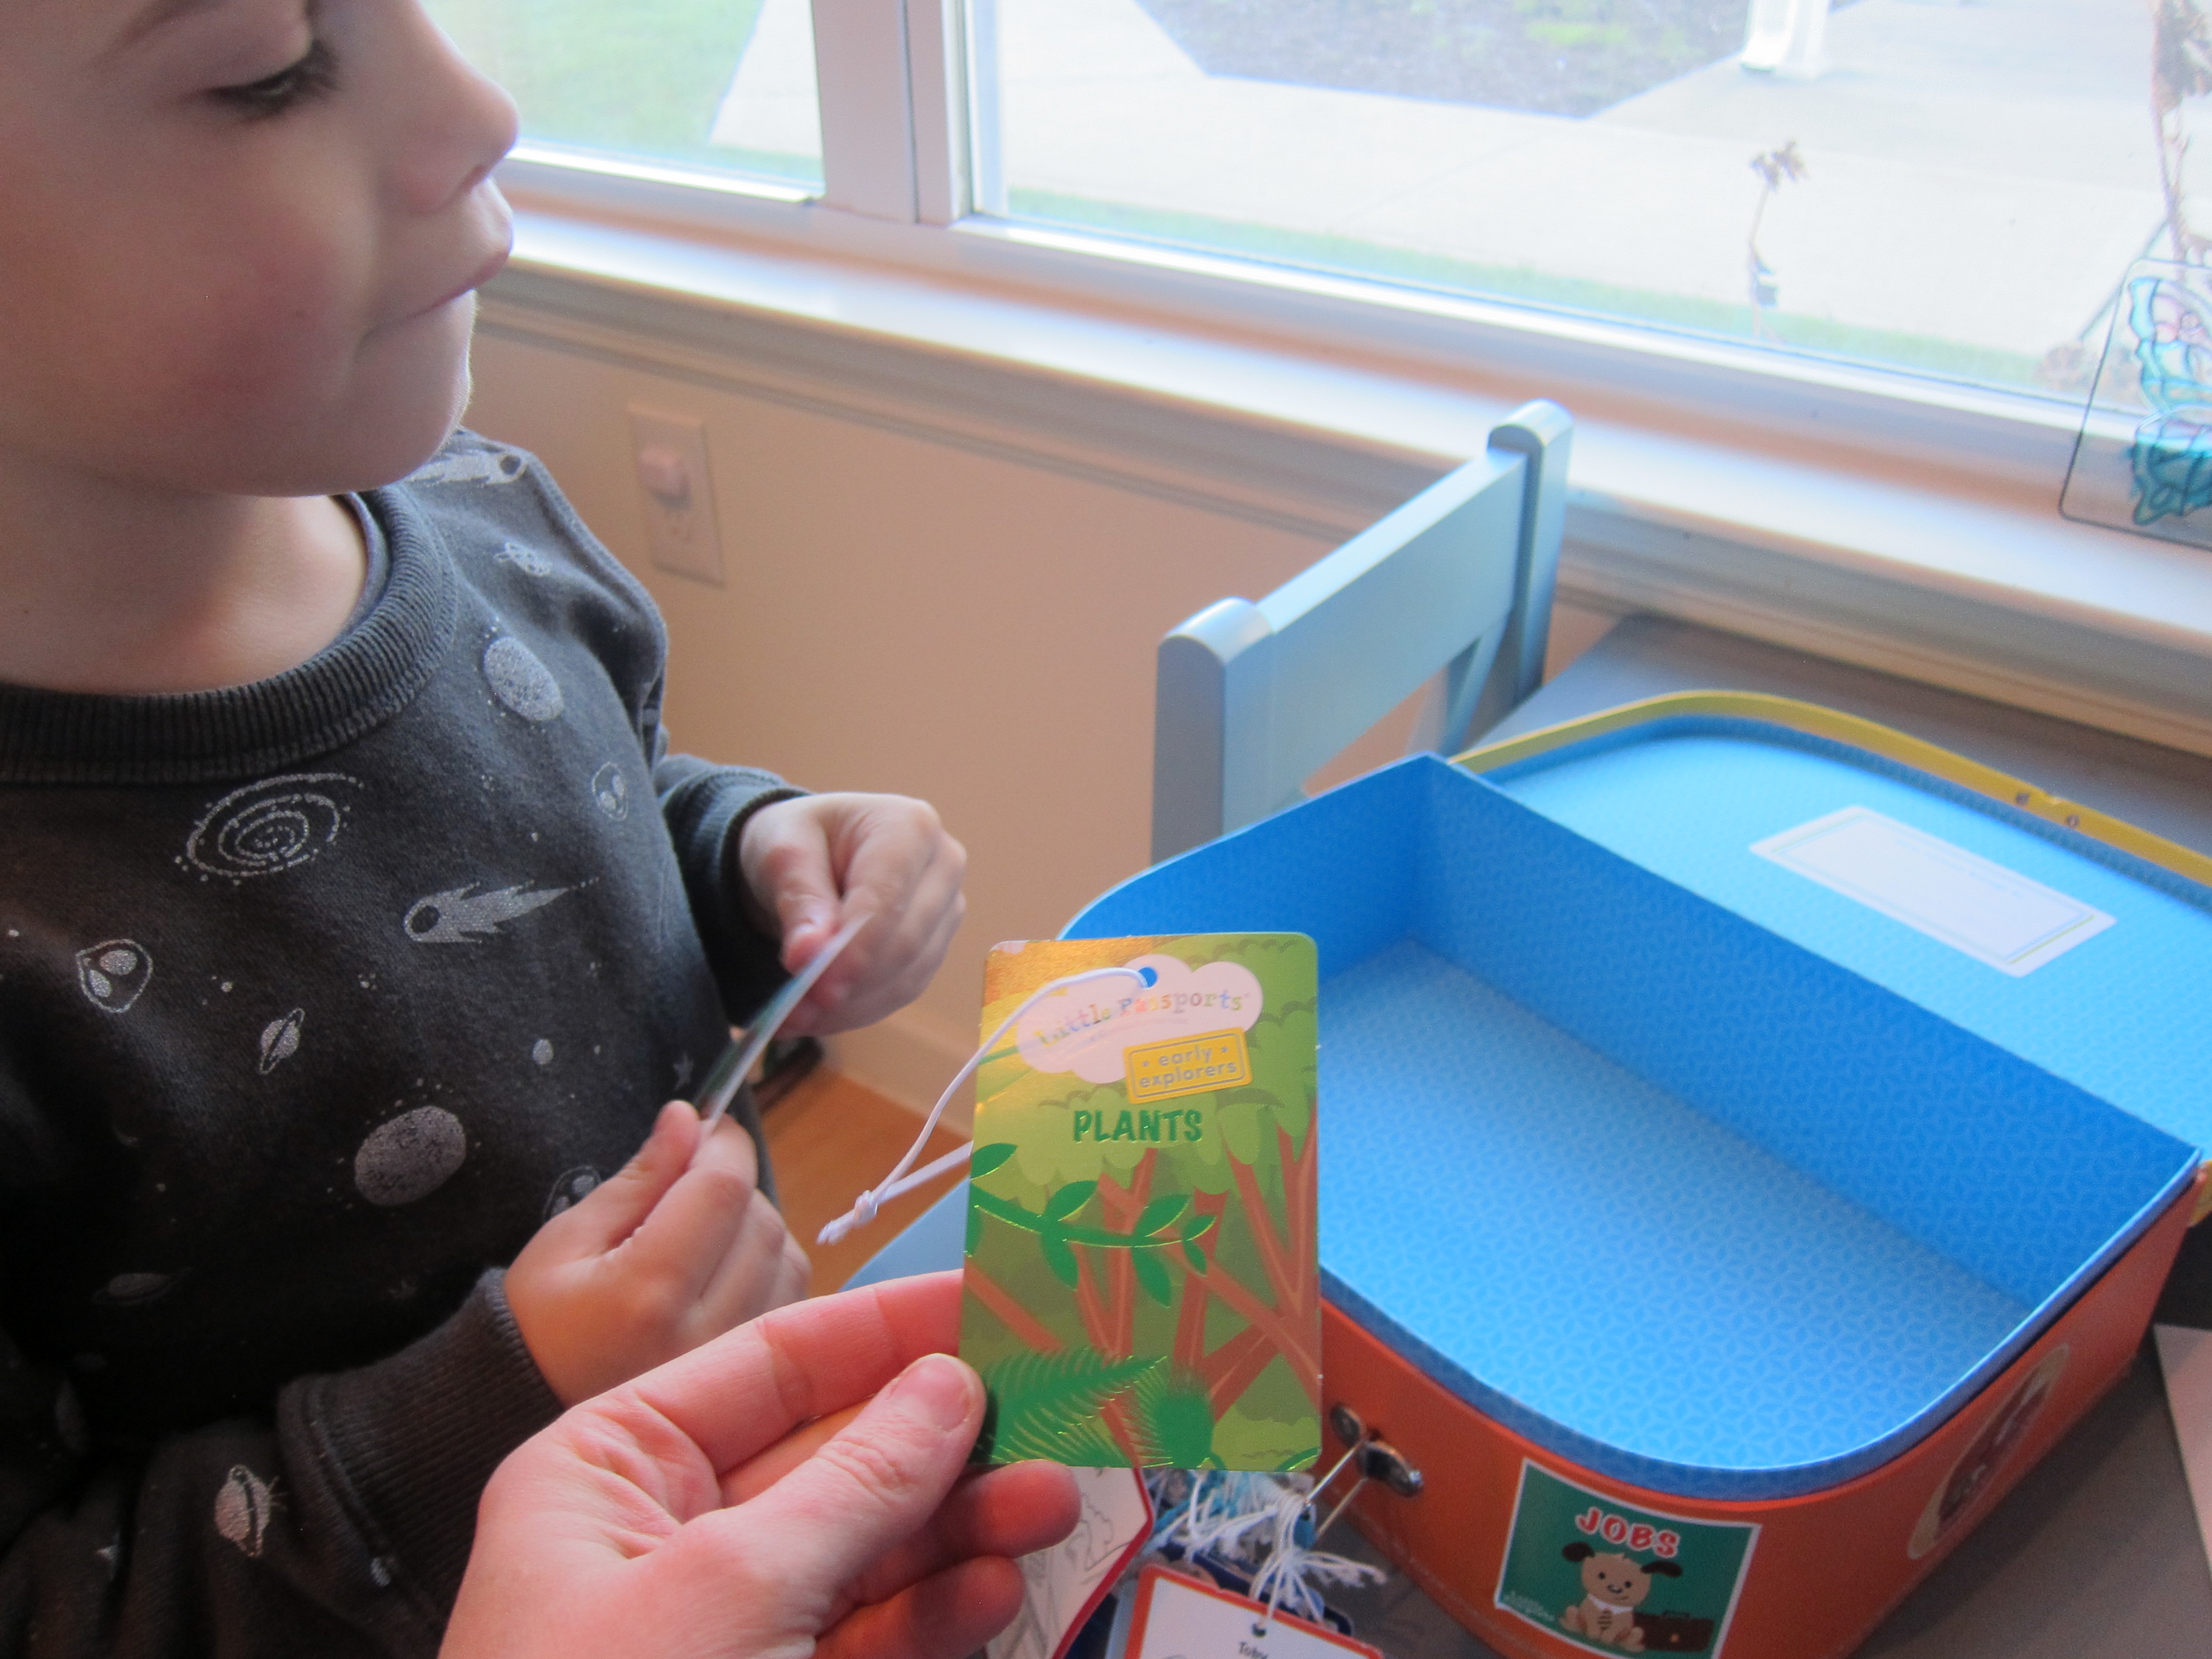
Travis’s mailing from Early Explorers this month was all about… Plants! I worried this topic might be dry for a four-year-old, but as always, Little Passports made it approachable and, well, great!

LP Plants (1)

Travis continues to take to the booklet and its exercises with alacrity now, eagerly telling his dad or friends what unit “Max and Mia” have sent us. To wit, the last time we had a traceable alphabet in our booklet, he did one or two letters grudgingly. This time he wouldn’t let me stop until we’d filled the page.

LP Plants (5)

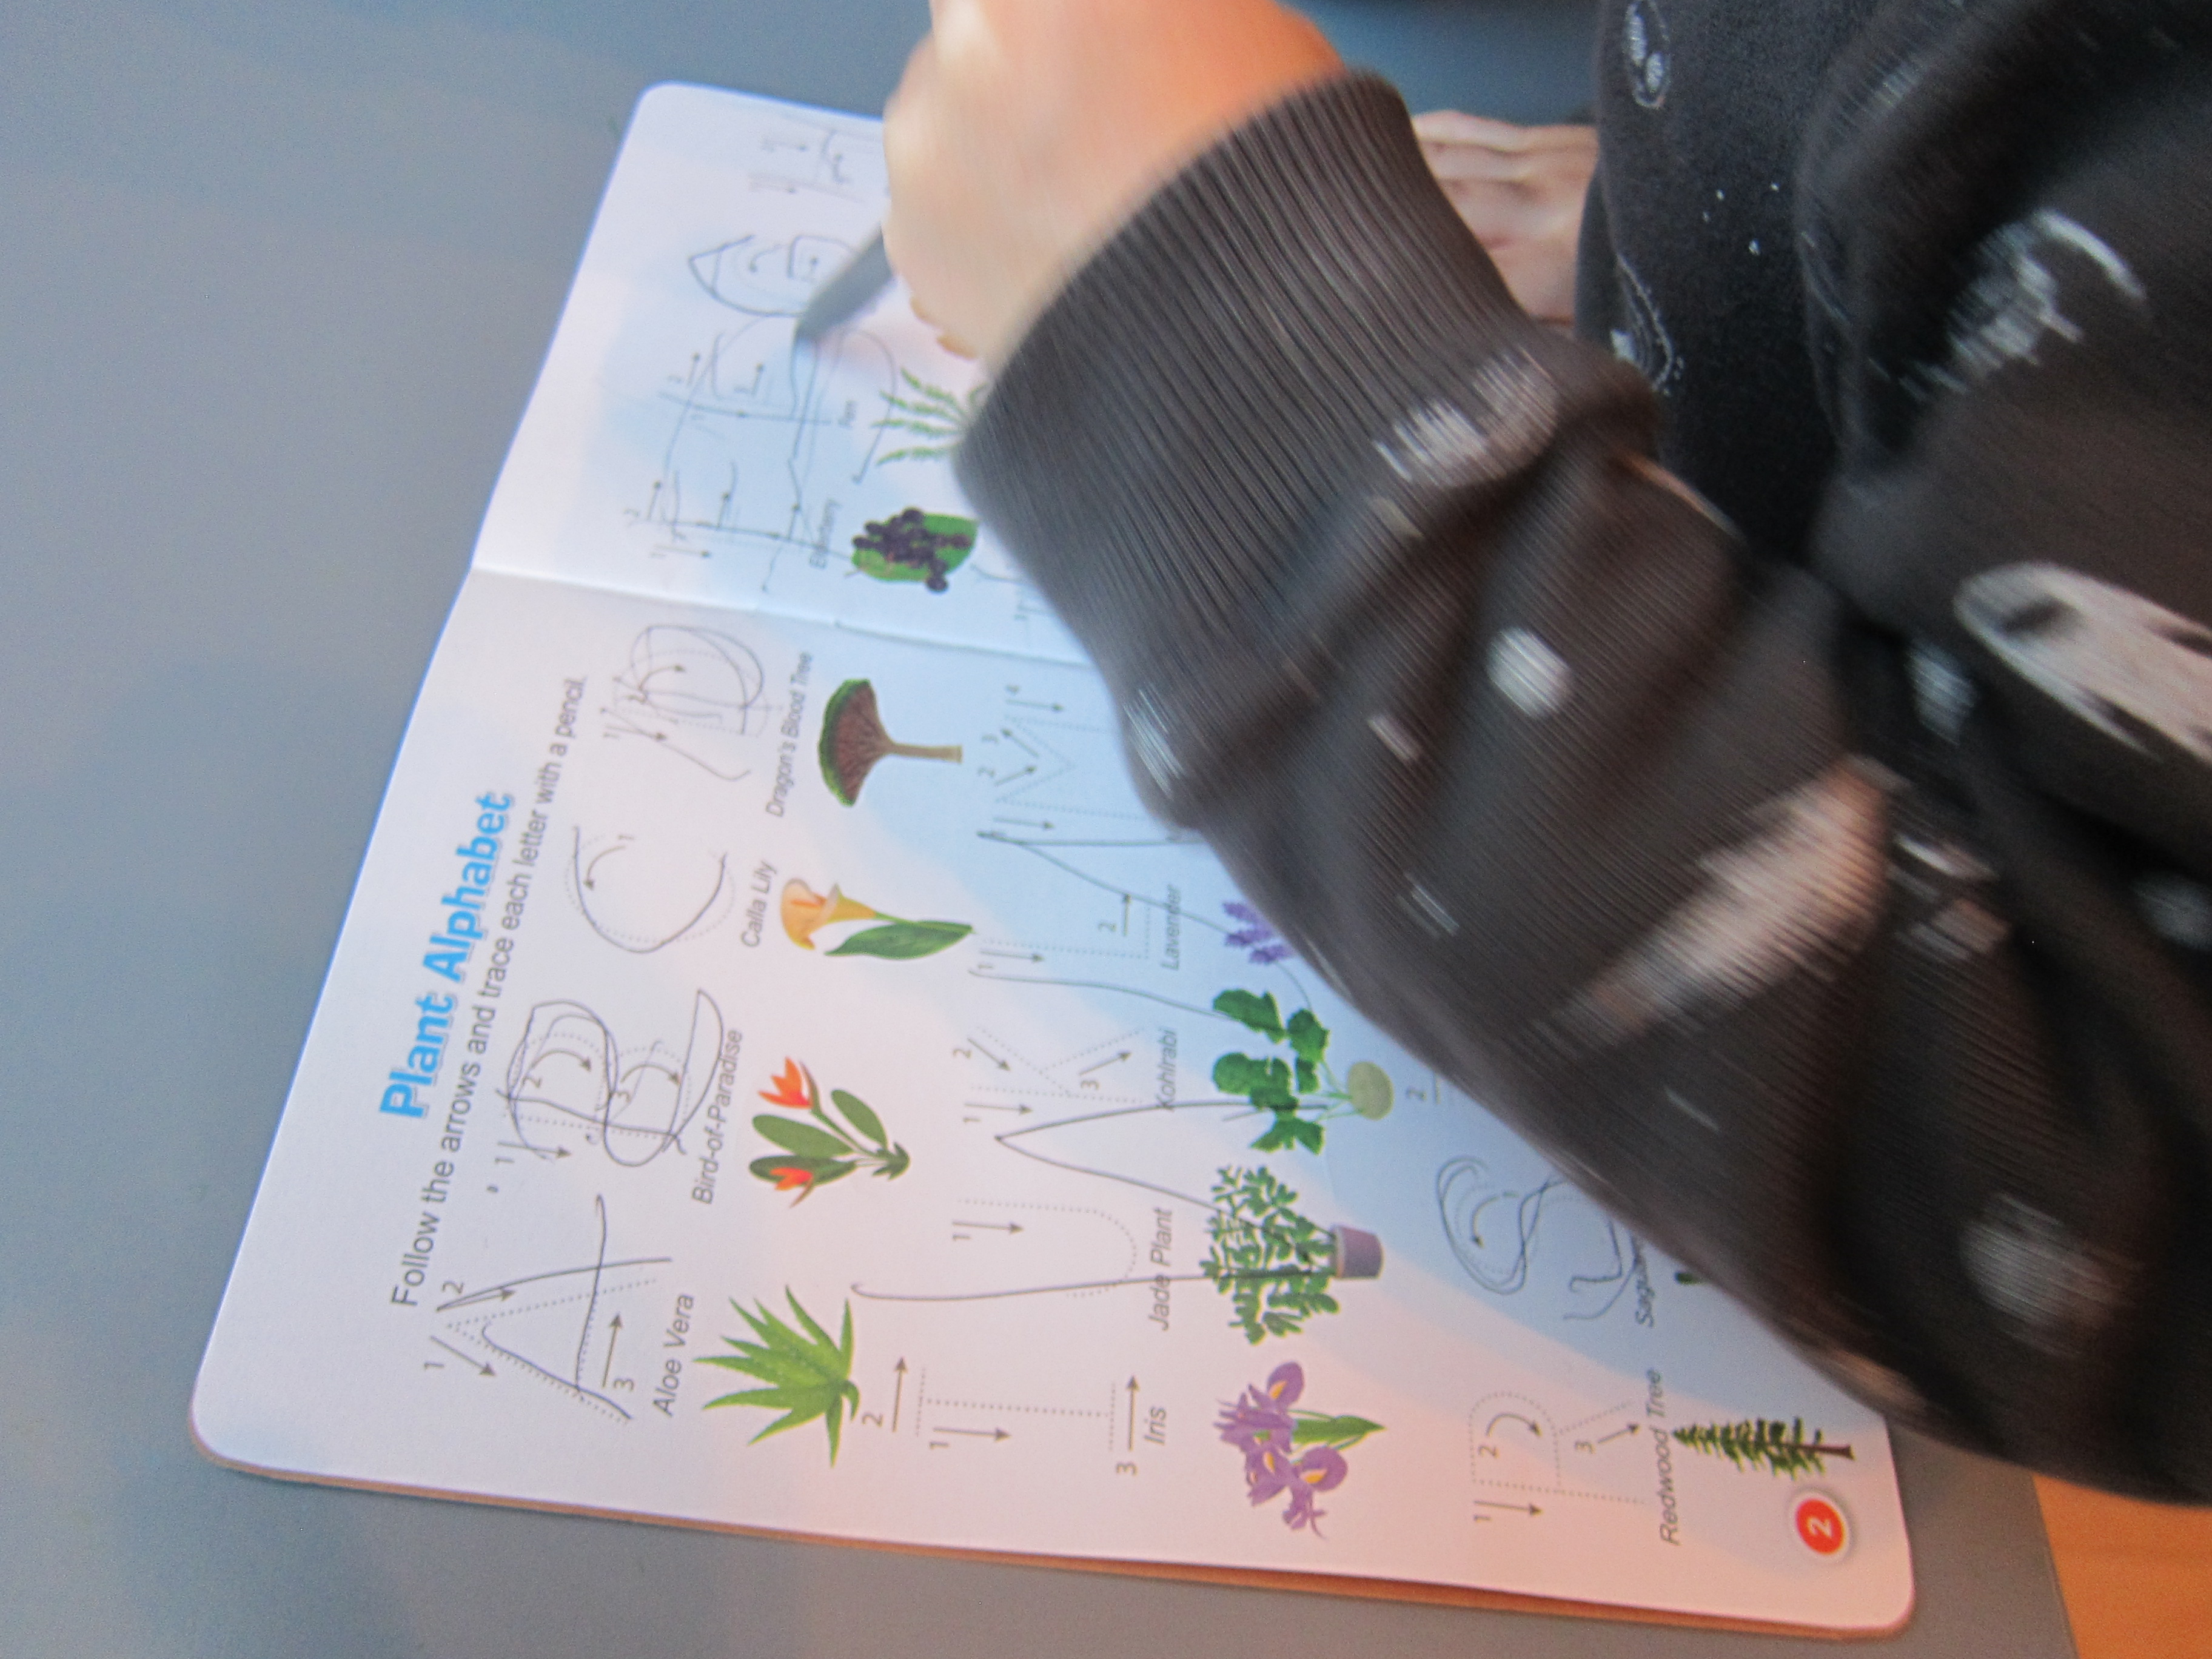
Plus we had great mazes, coloring, counting, and even early spelling.

LP Plants (16)

And of course the mailing included stickers for his wall map, the flashlight find it, and flash cards with more info. Here’s what else we delved into…
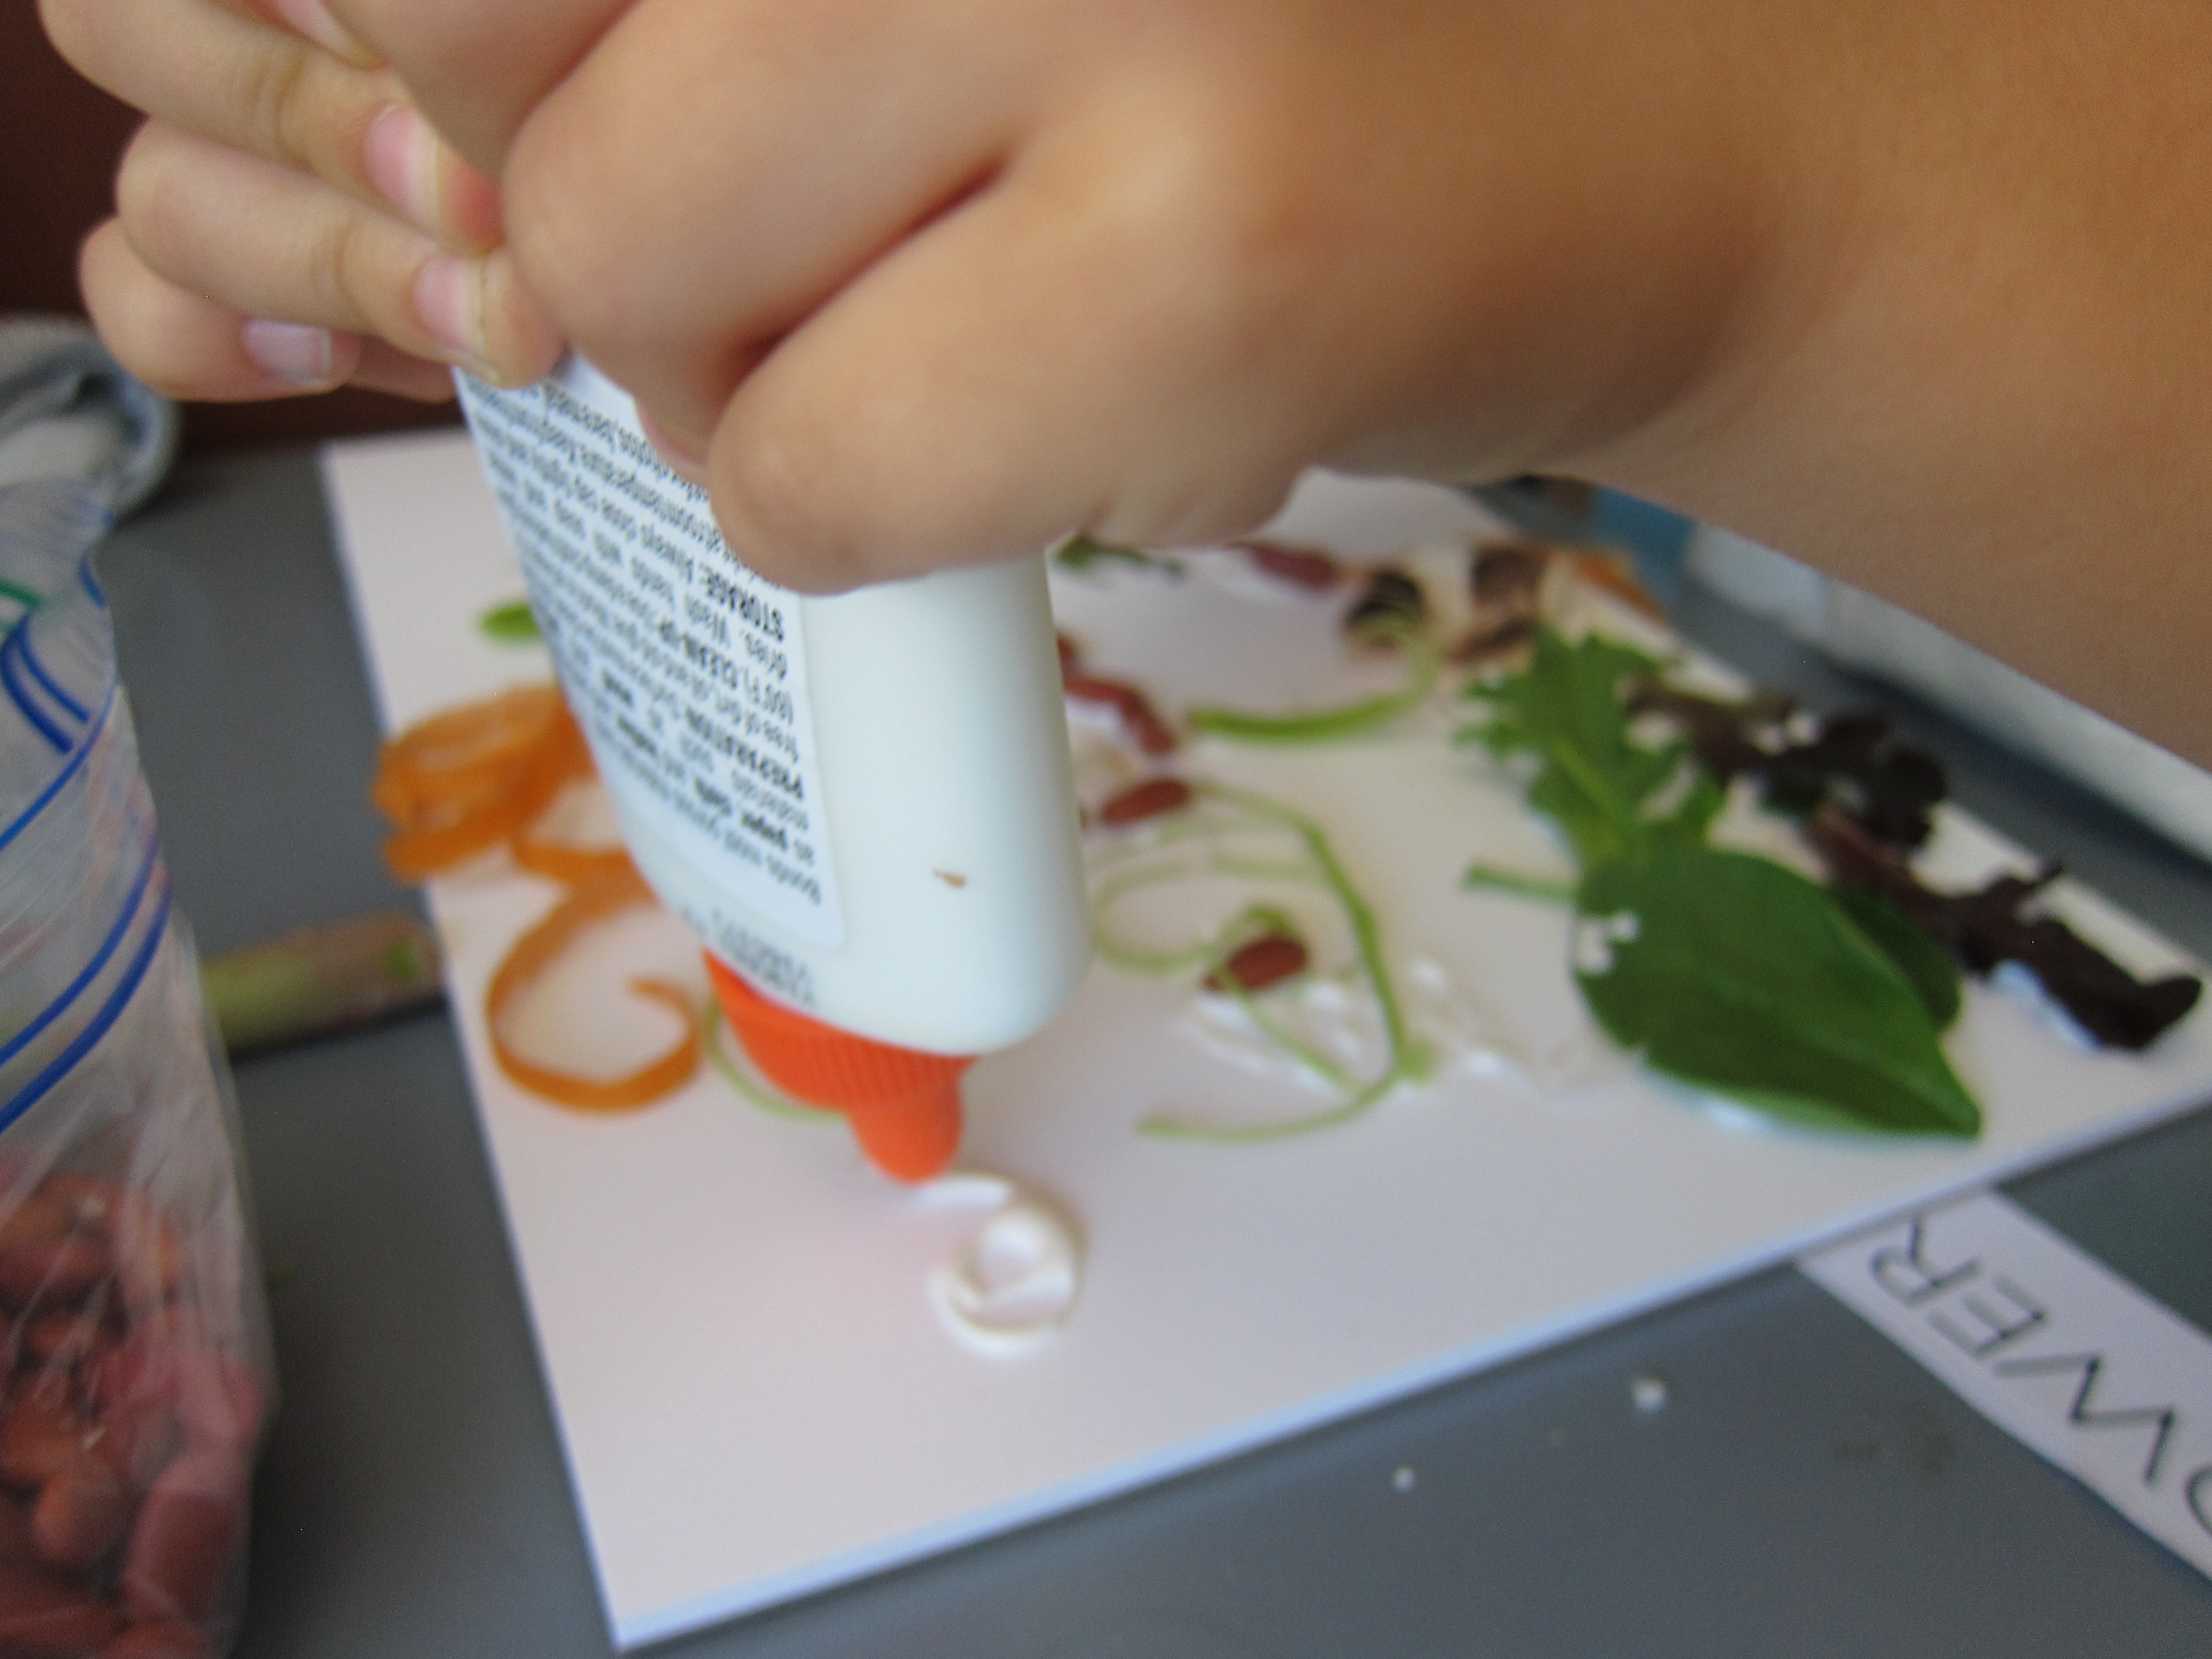
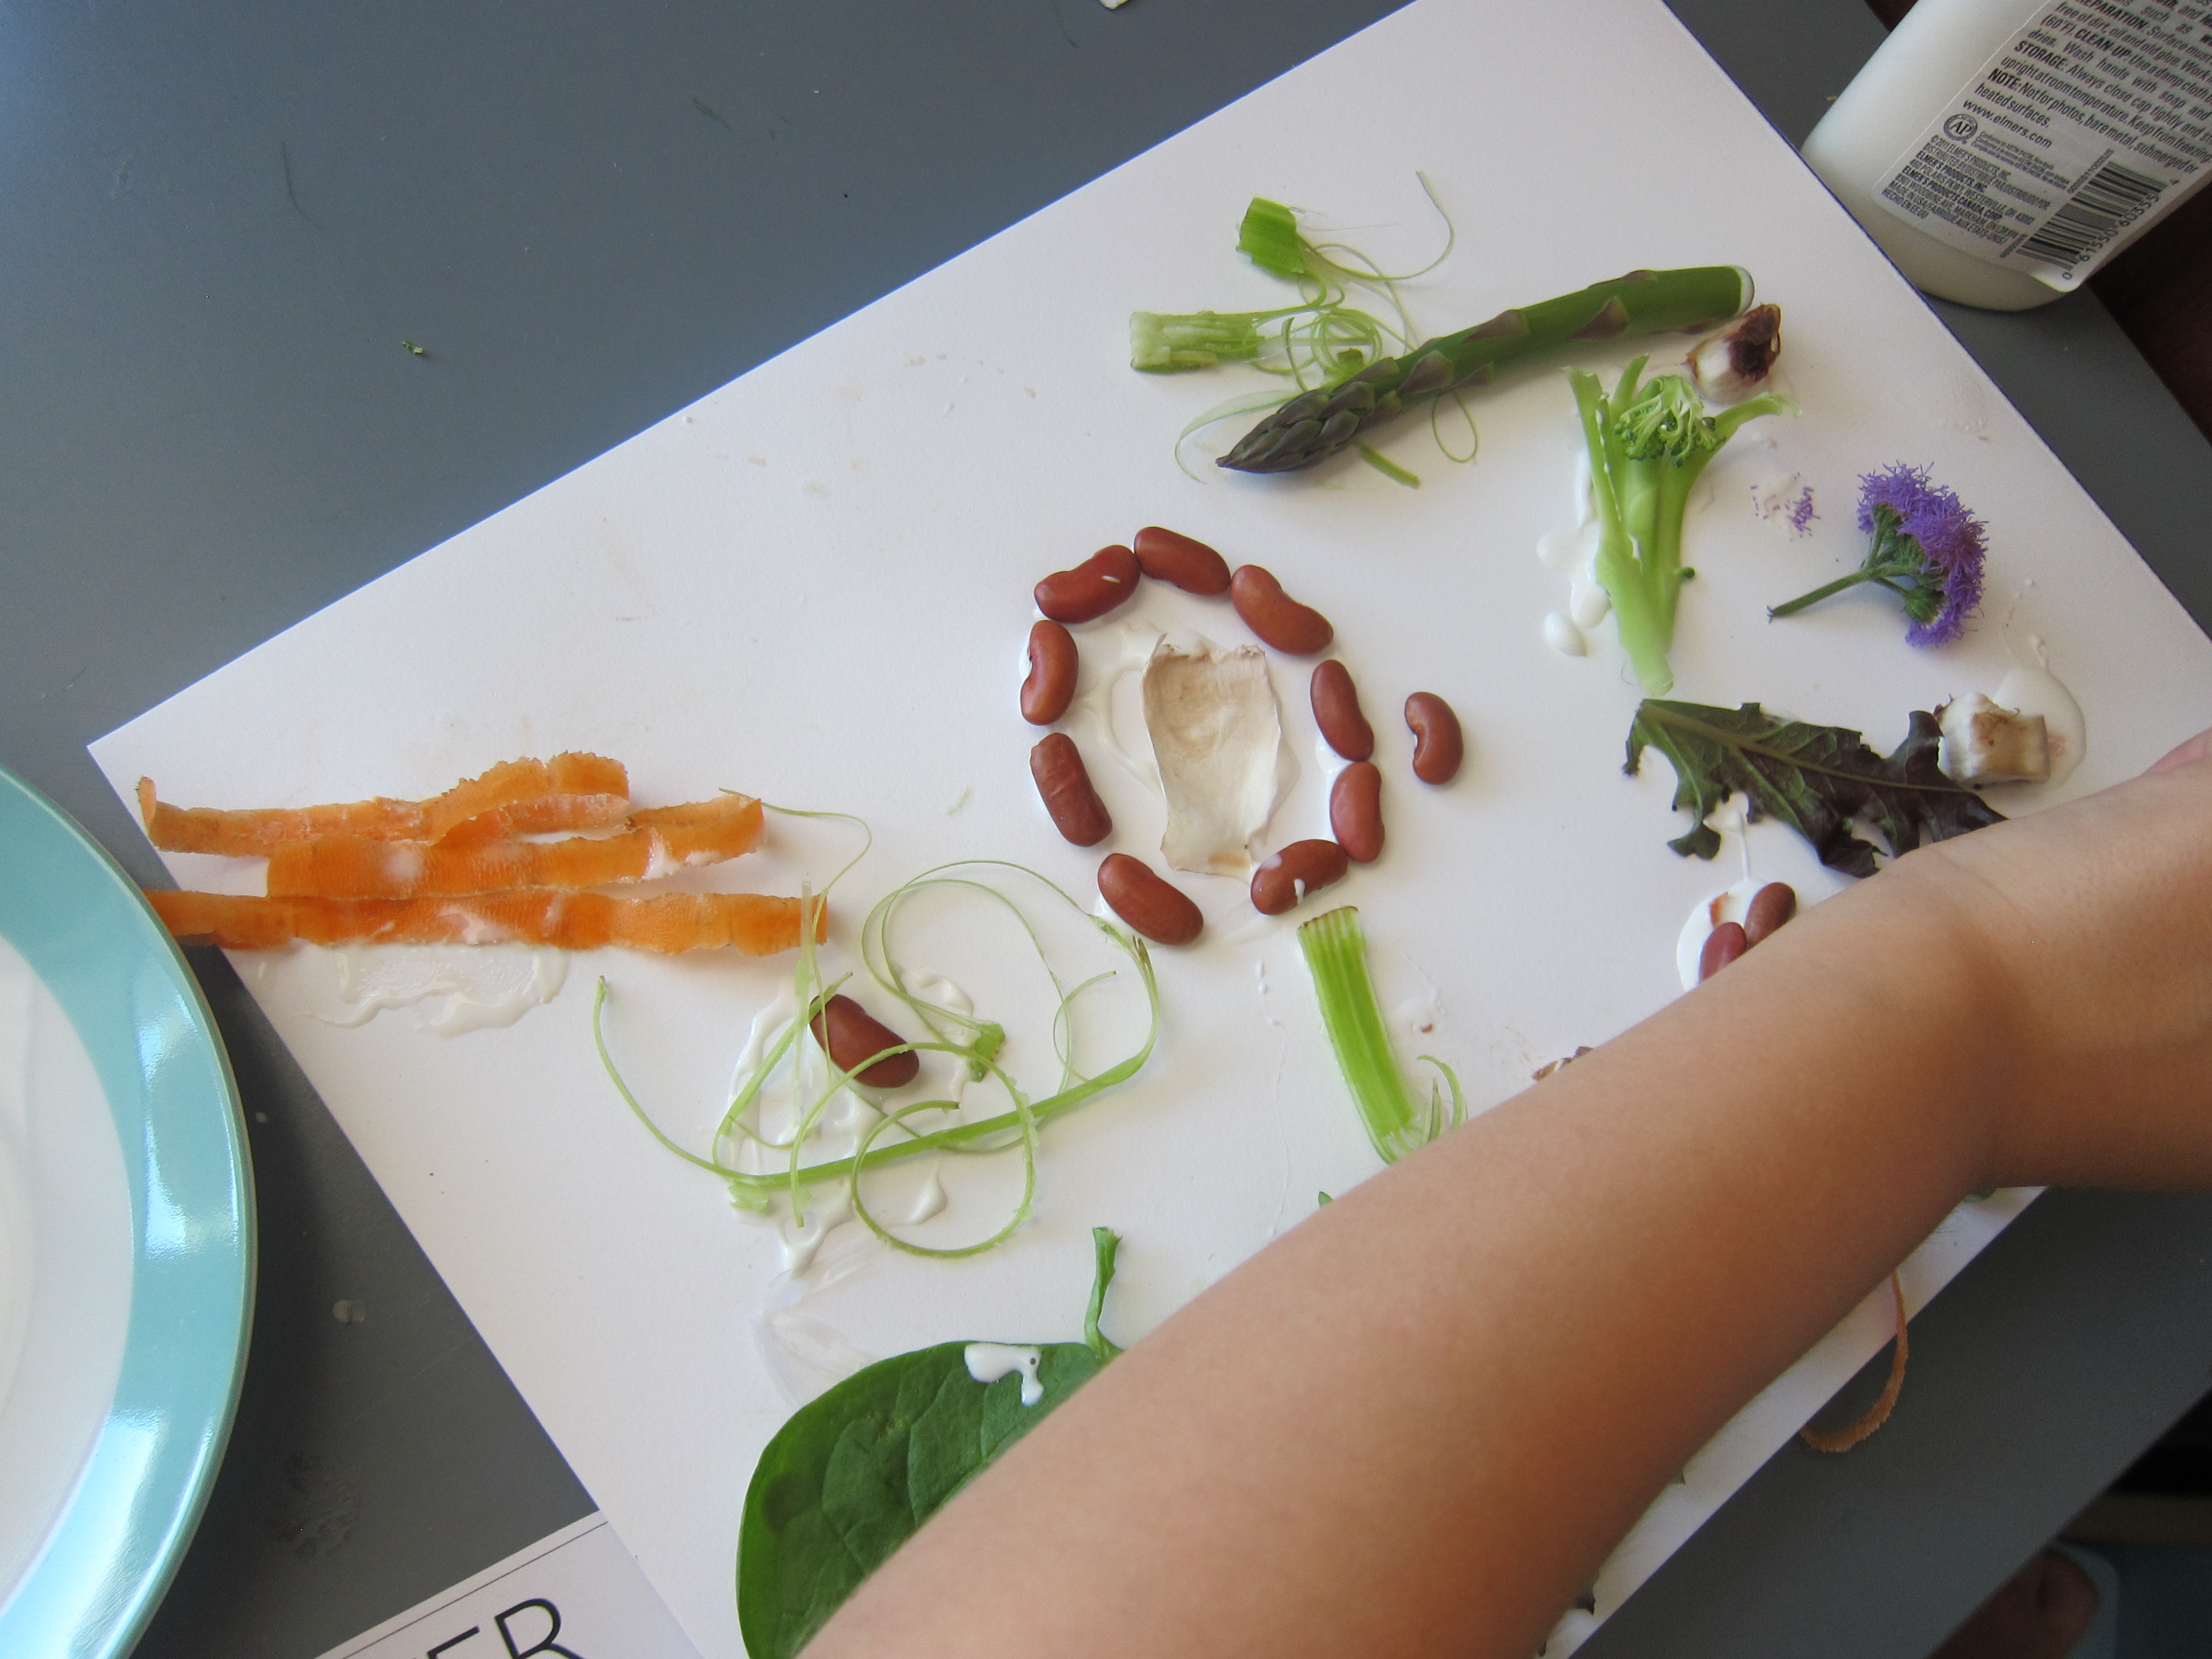
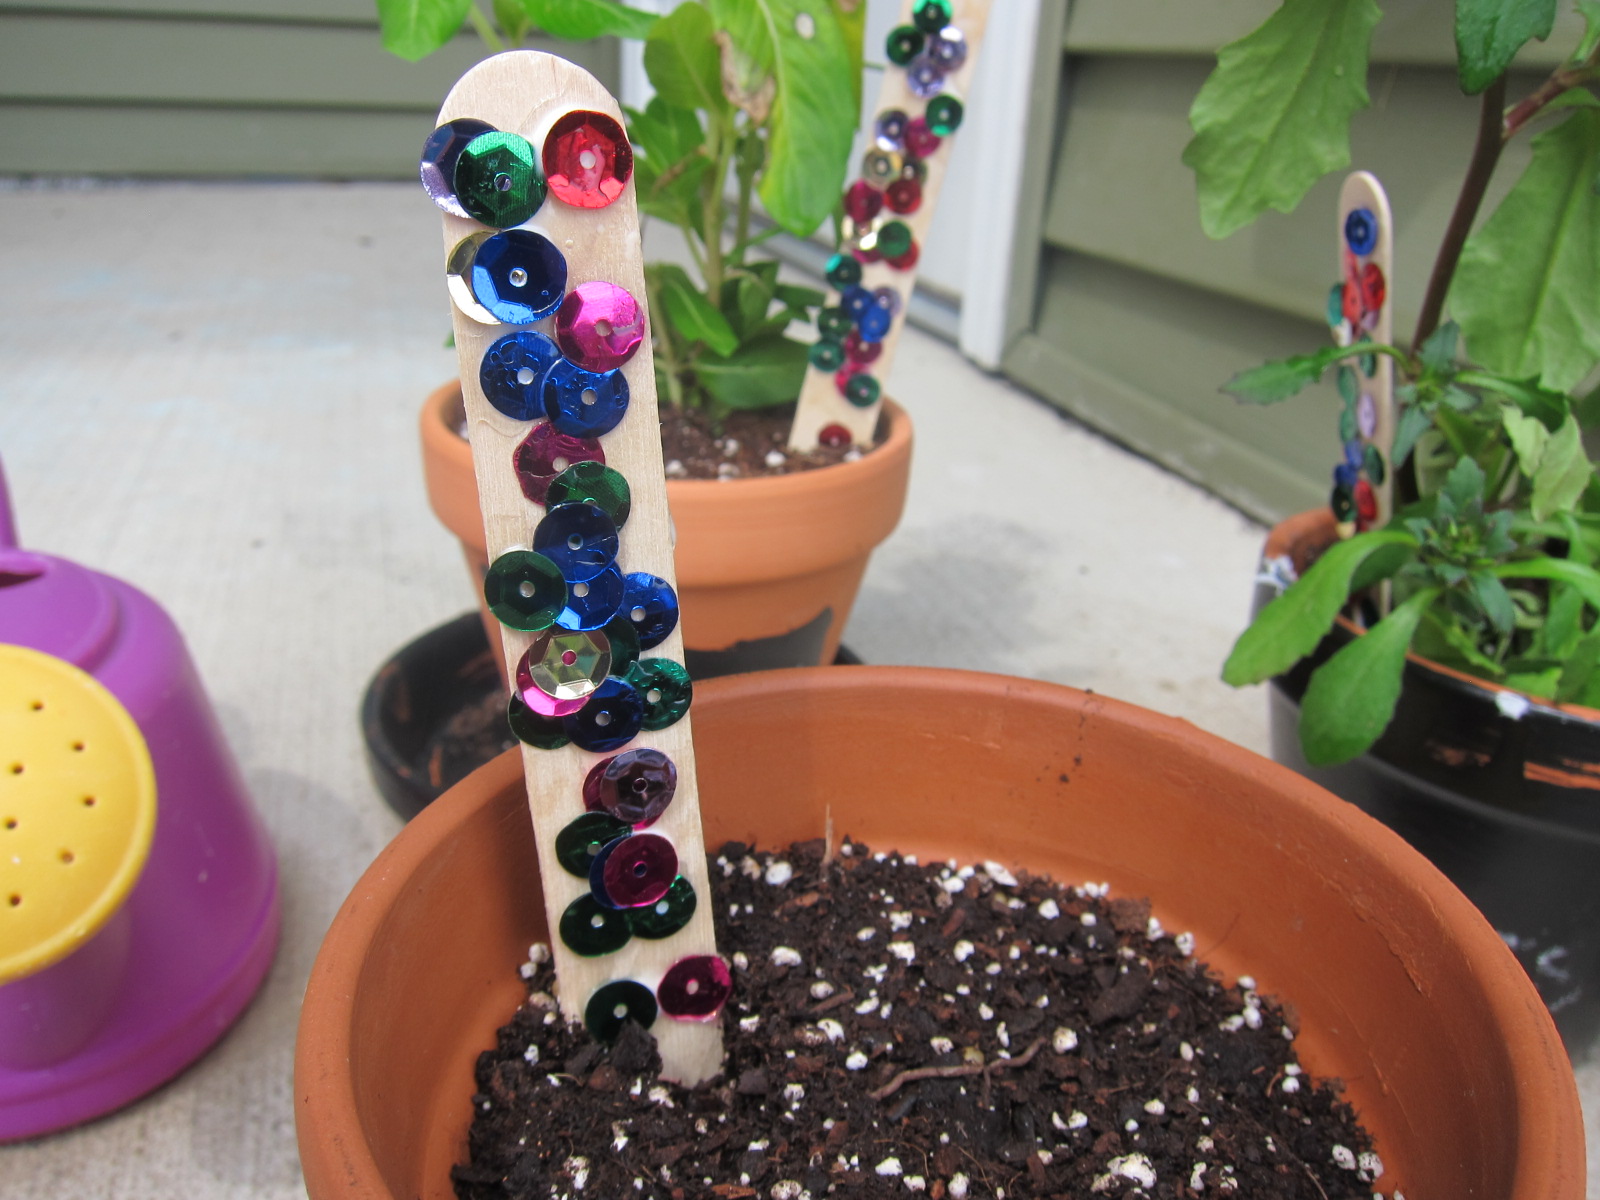
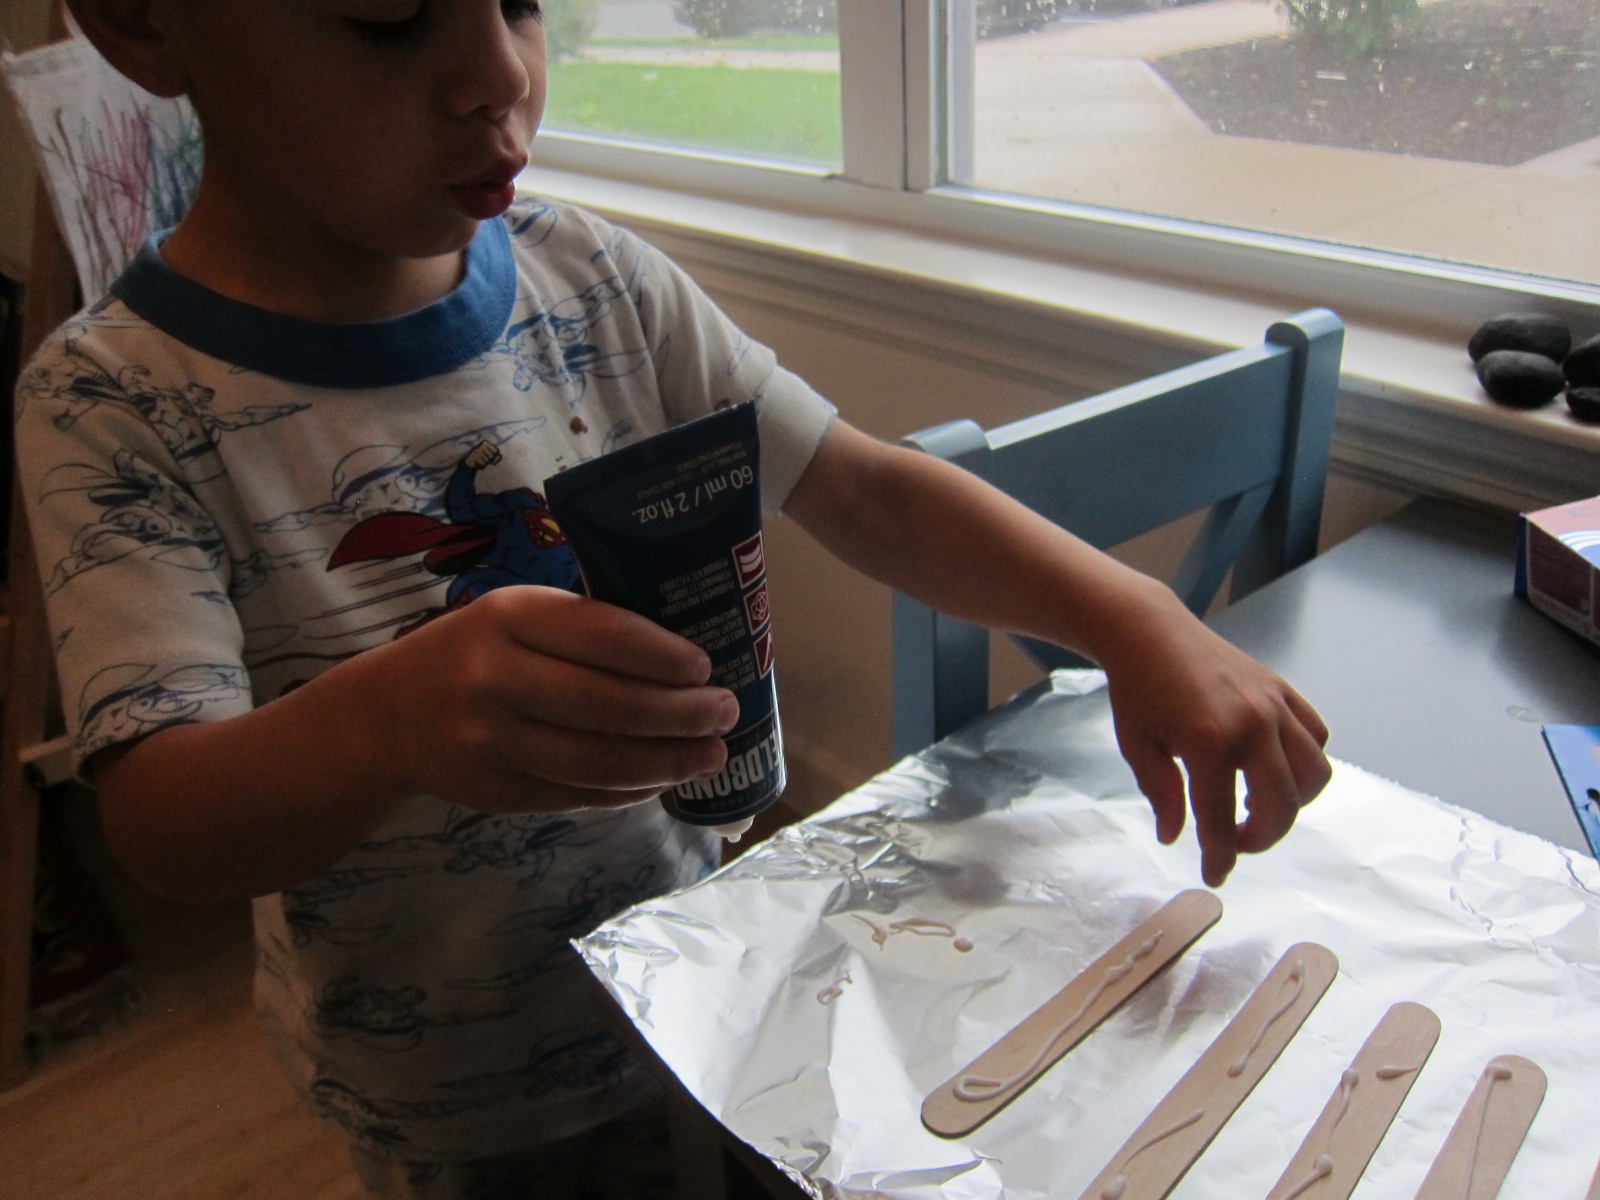
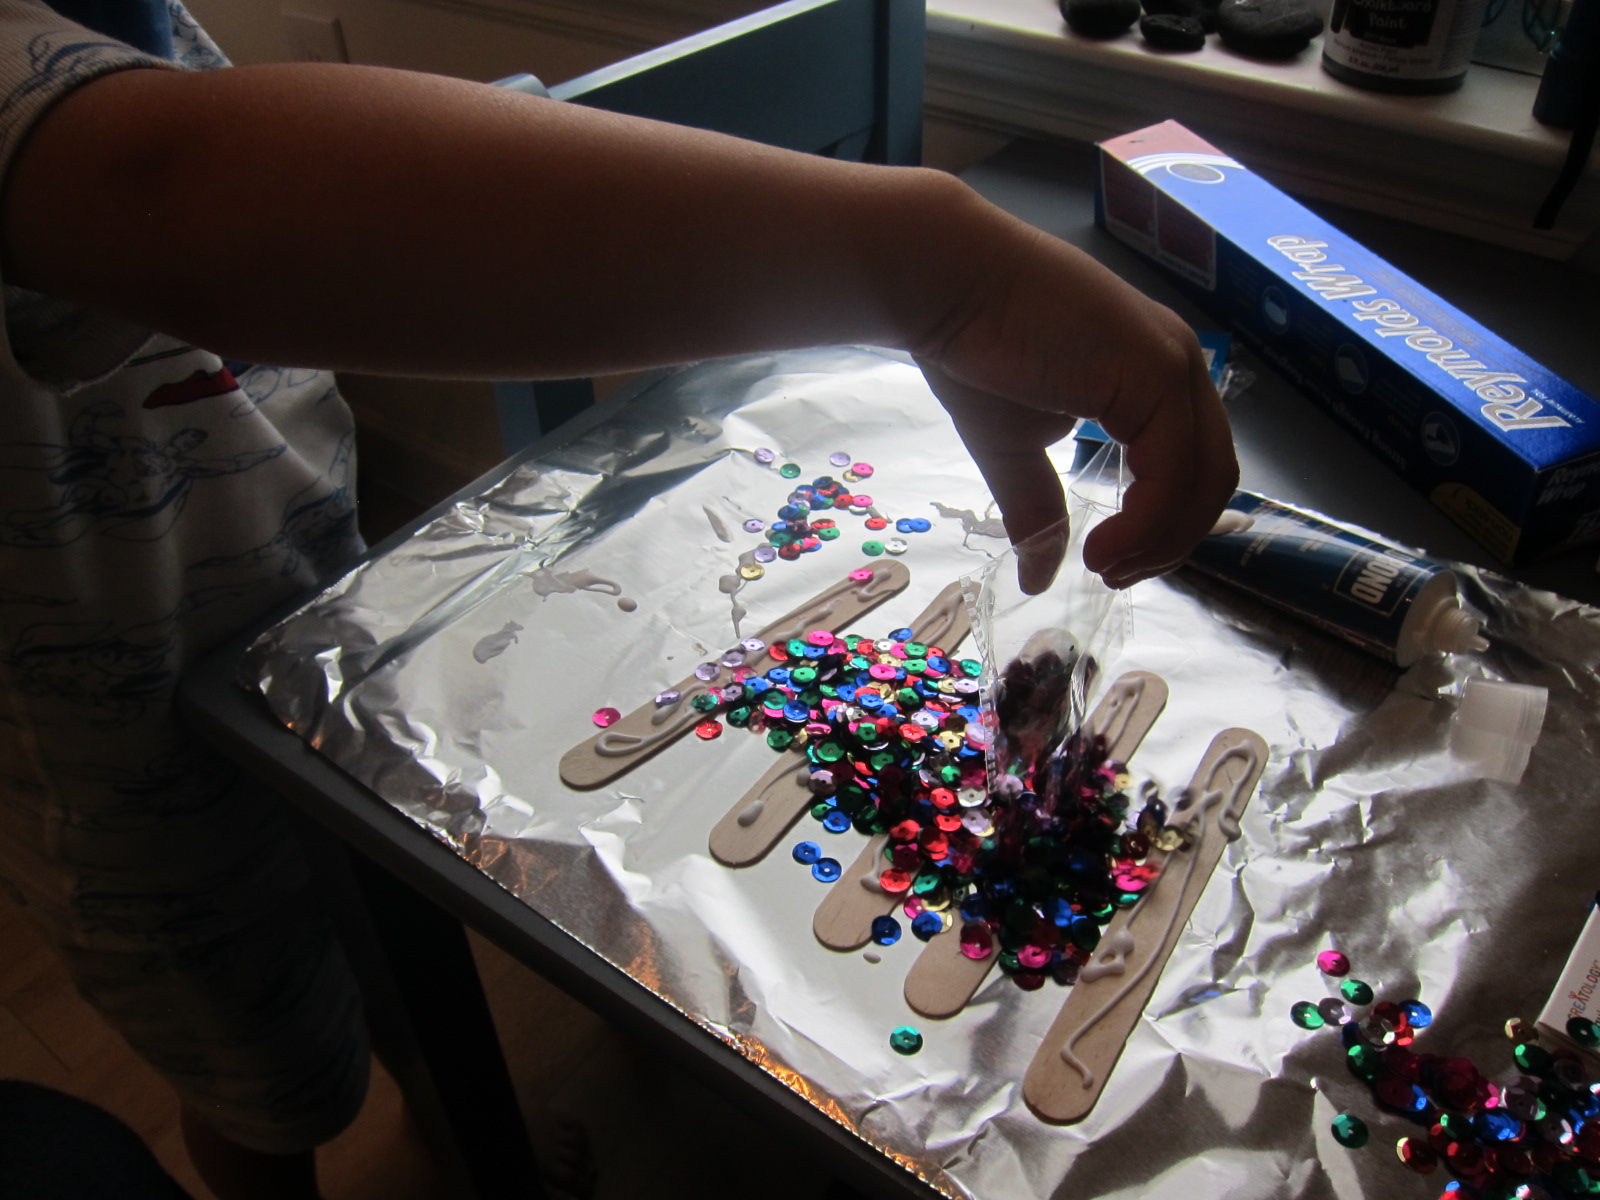
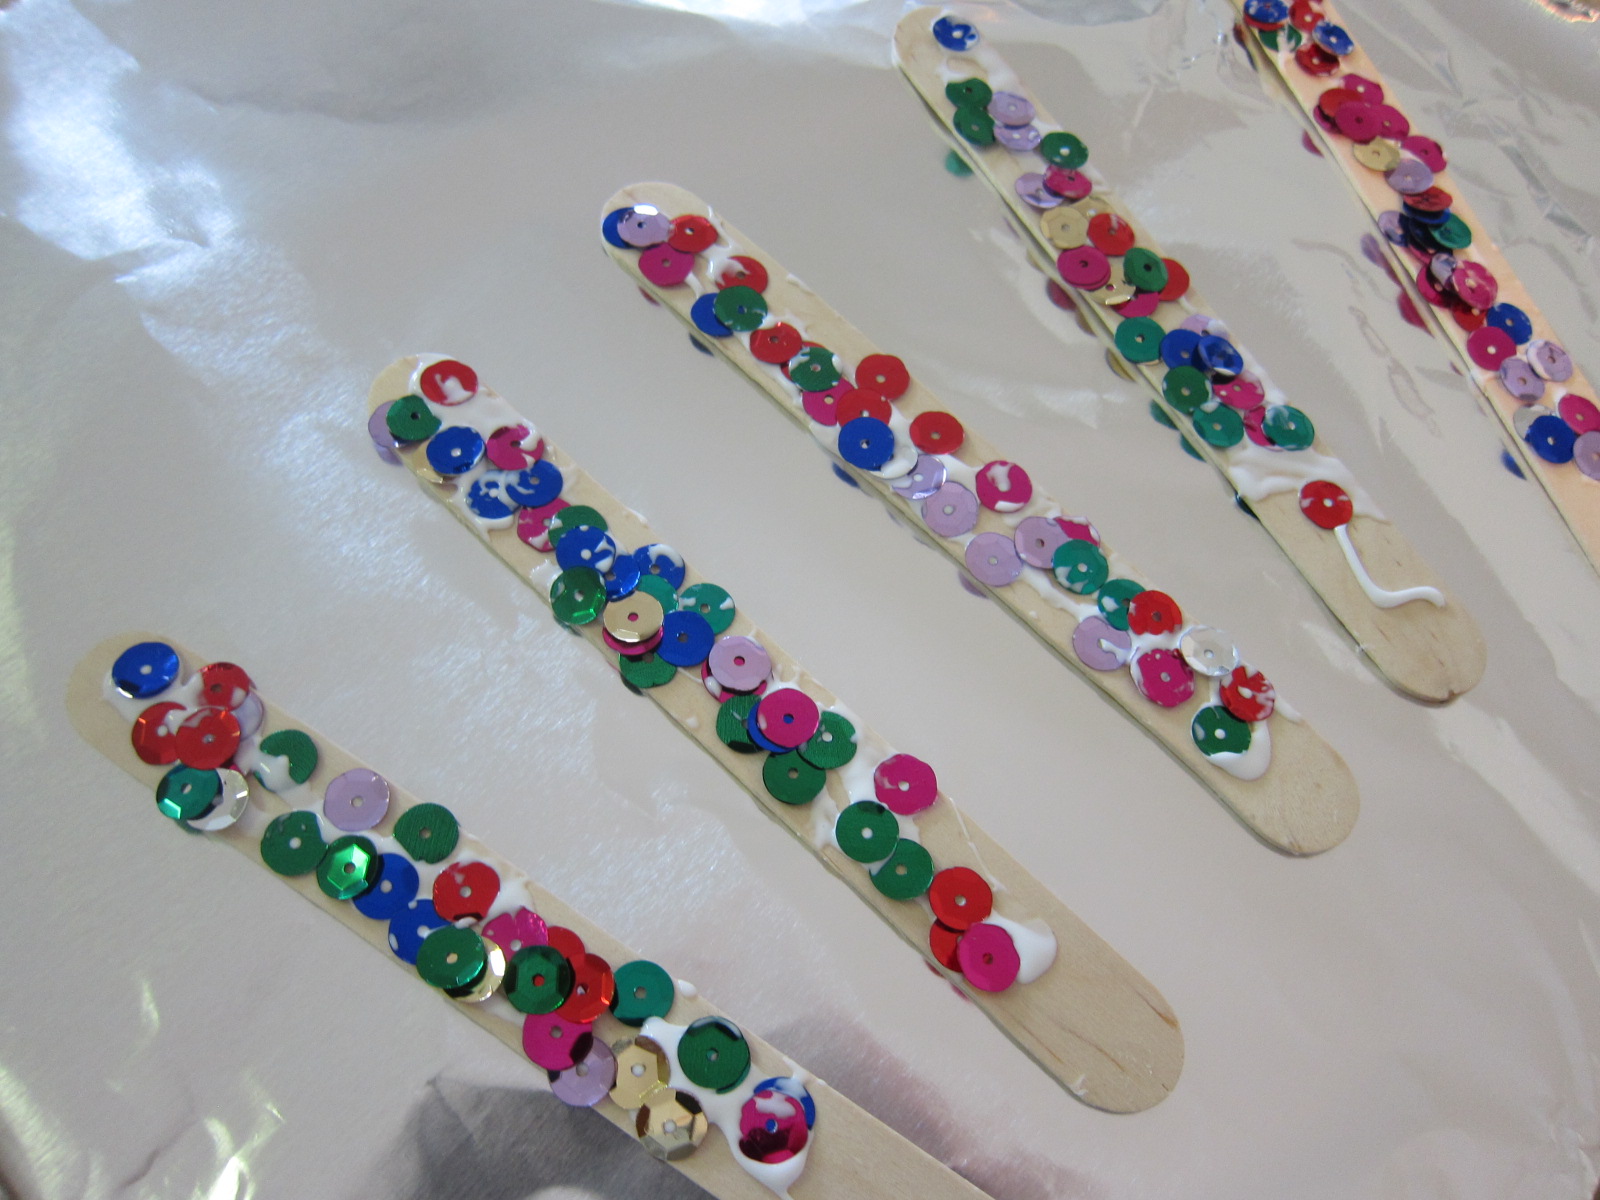
Plants Craft:

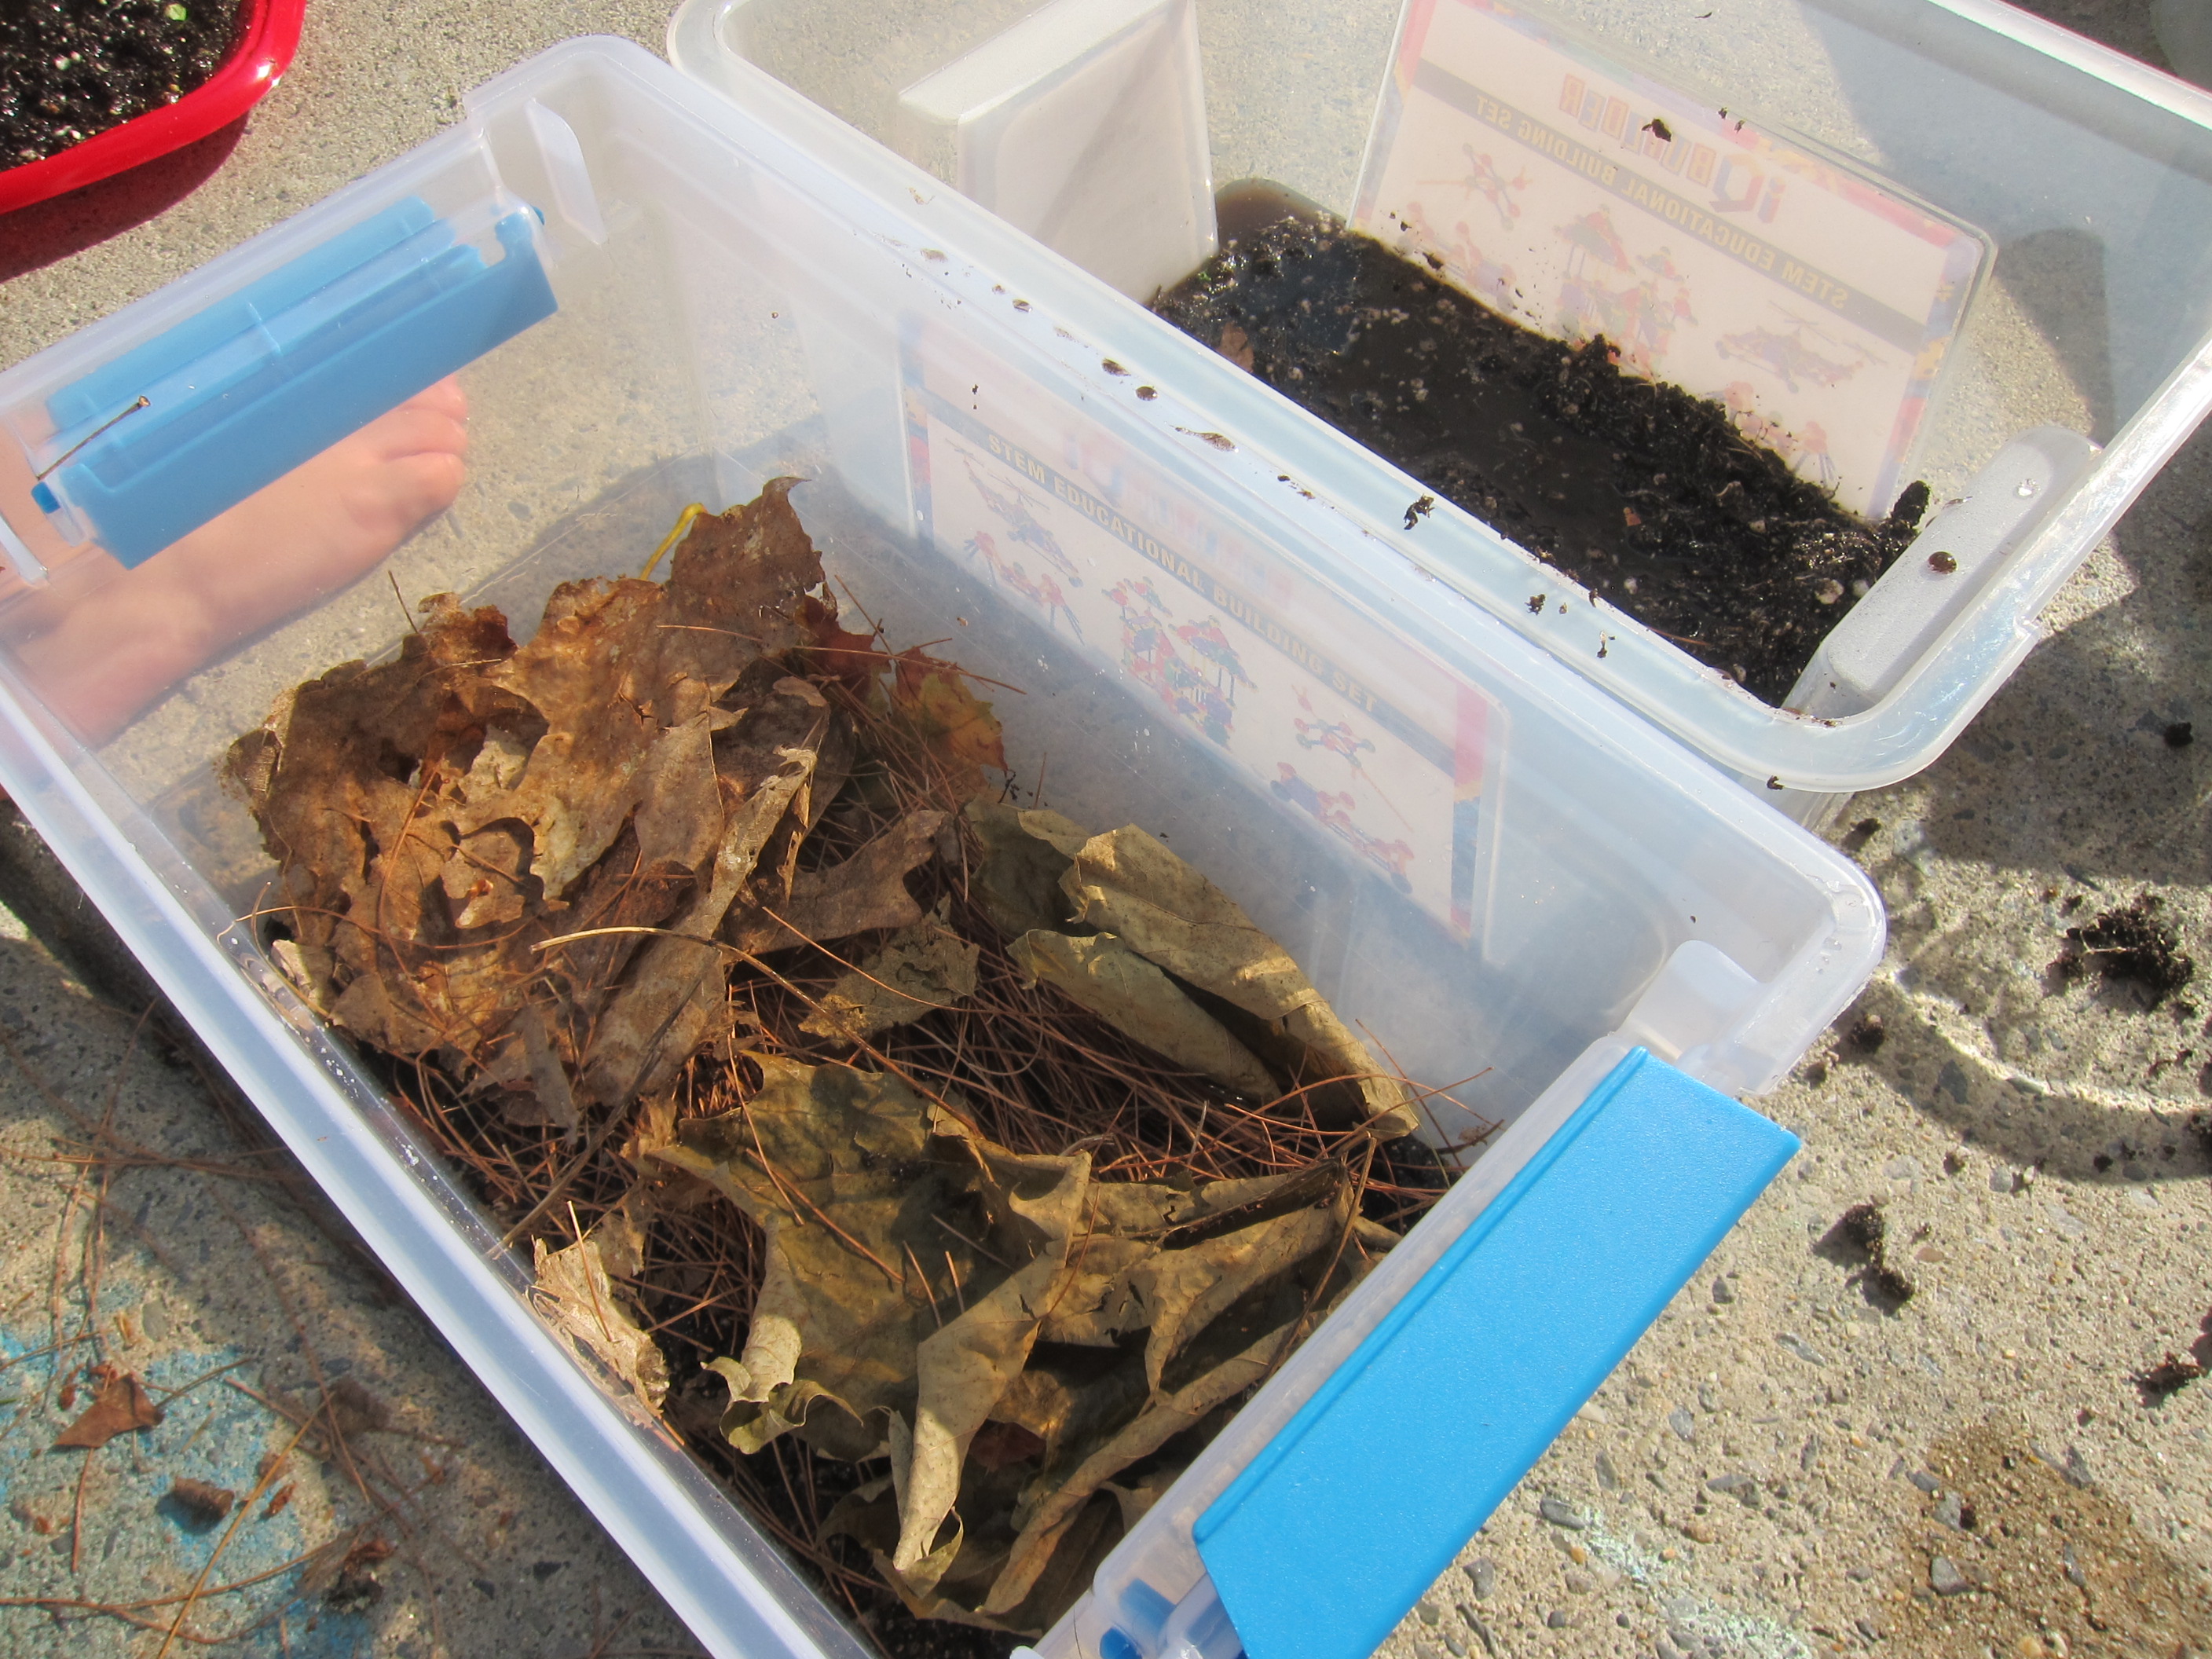
The suggested art project was very simple: gather leaves and come home to trace them. Unfortunately it’s not the right time of year where we live! I was able to find a few withered oak leaves and a leaf from a holly plant, which at least showed Travis that different plant leaves have very different shapes.

LP Plants (11)

If it’s spring or fall, you can have a blast with this, and likely make a beautiful collage!

Plants Science:

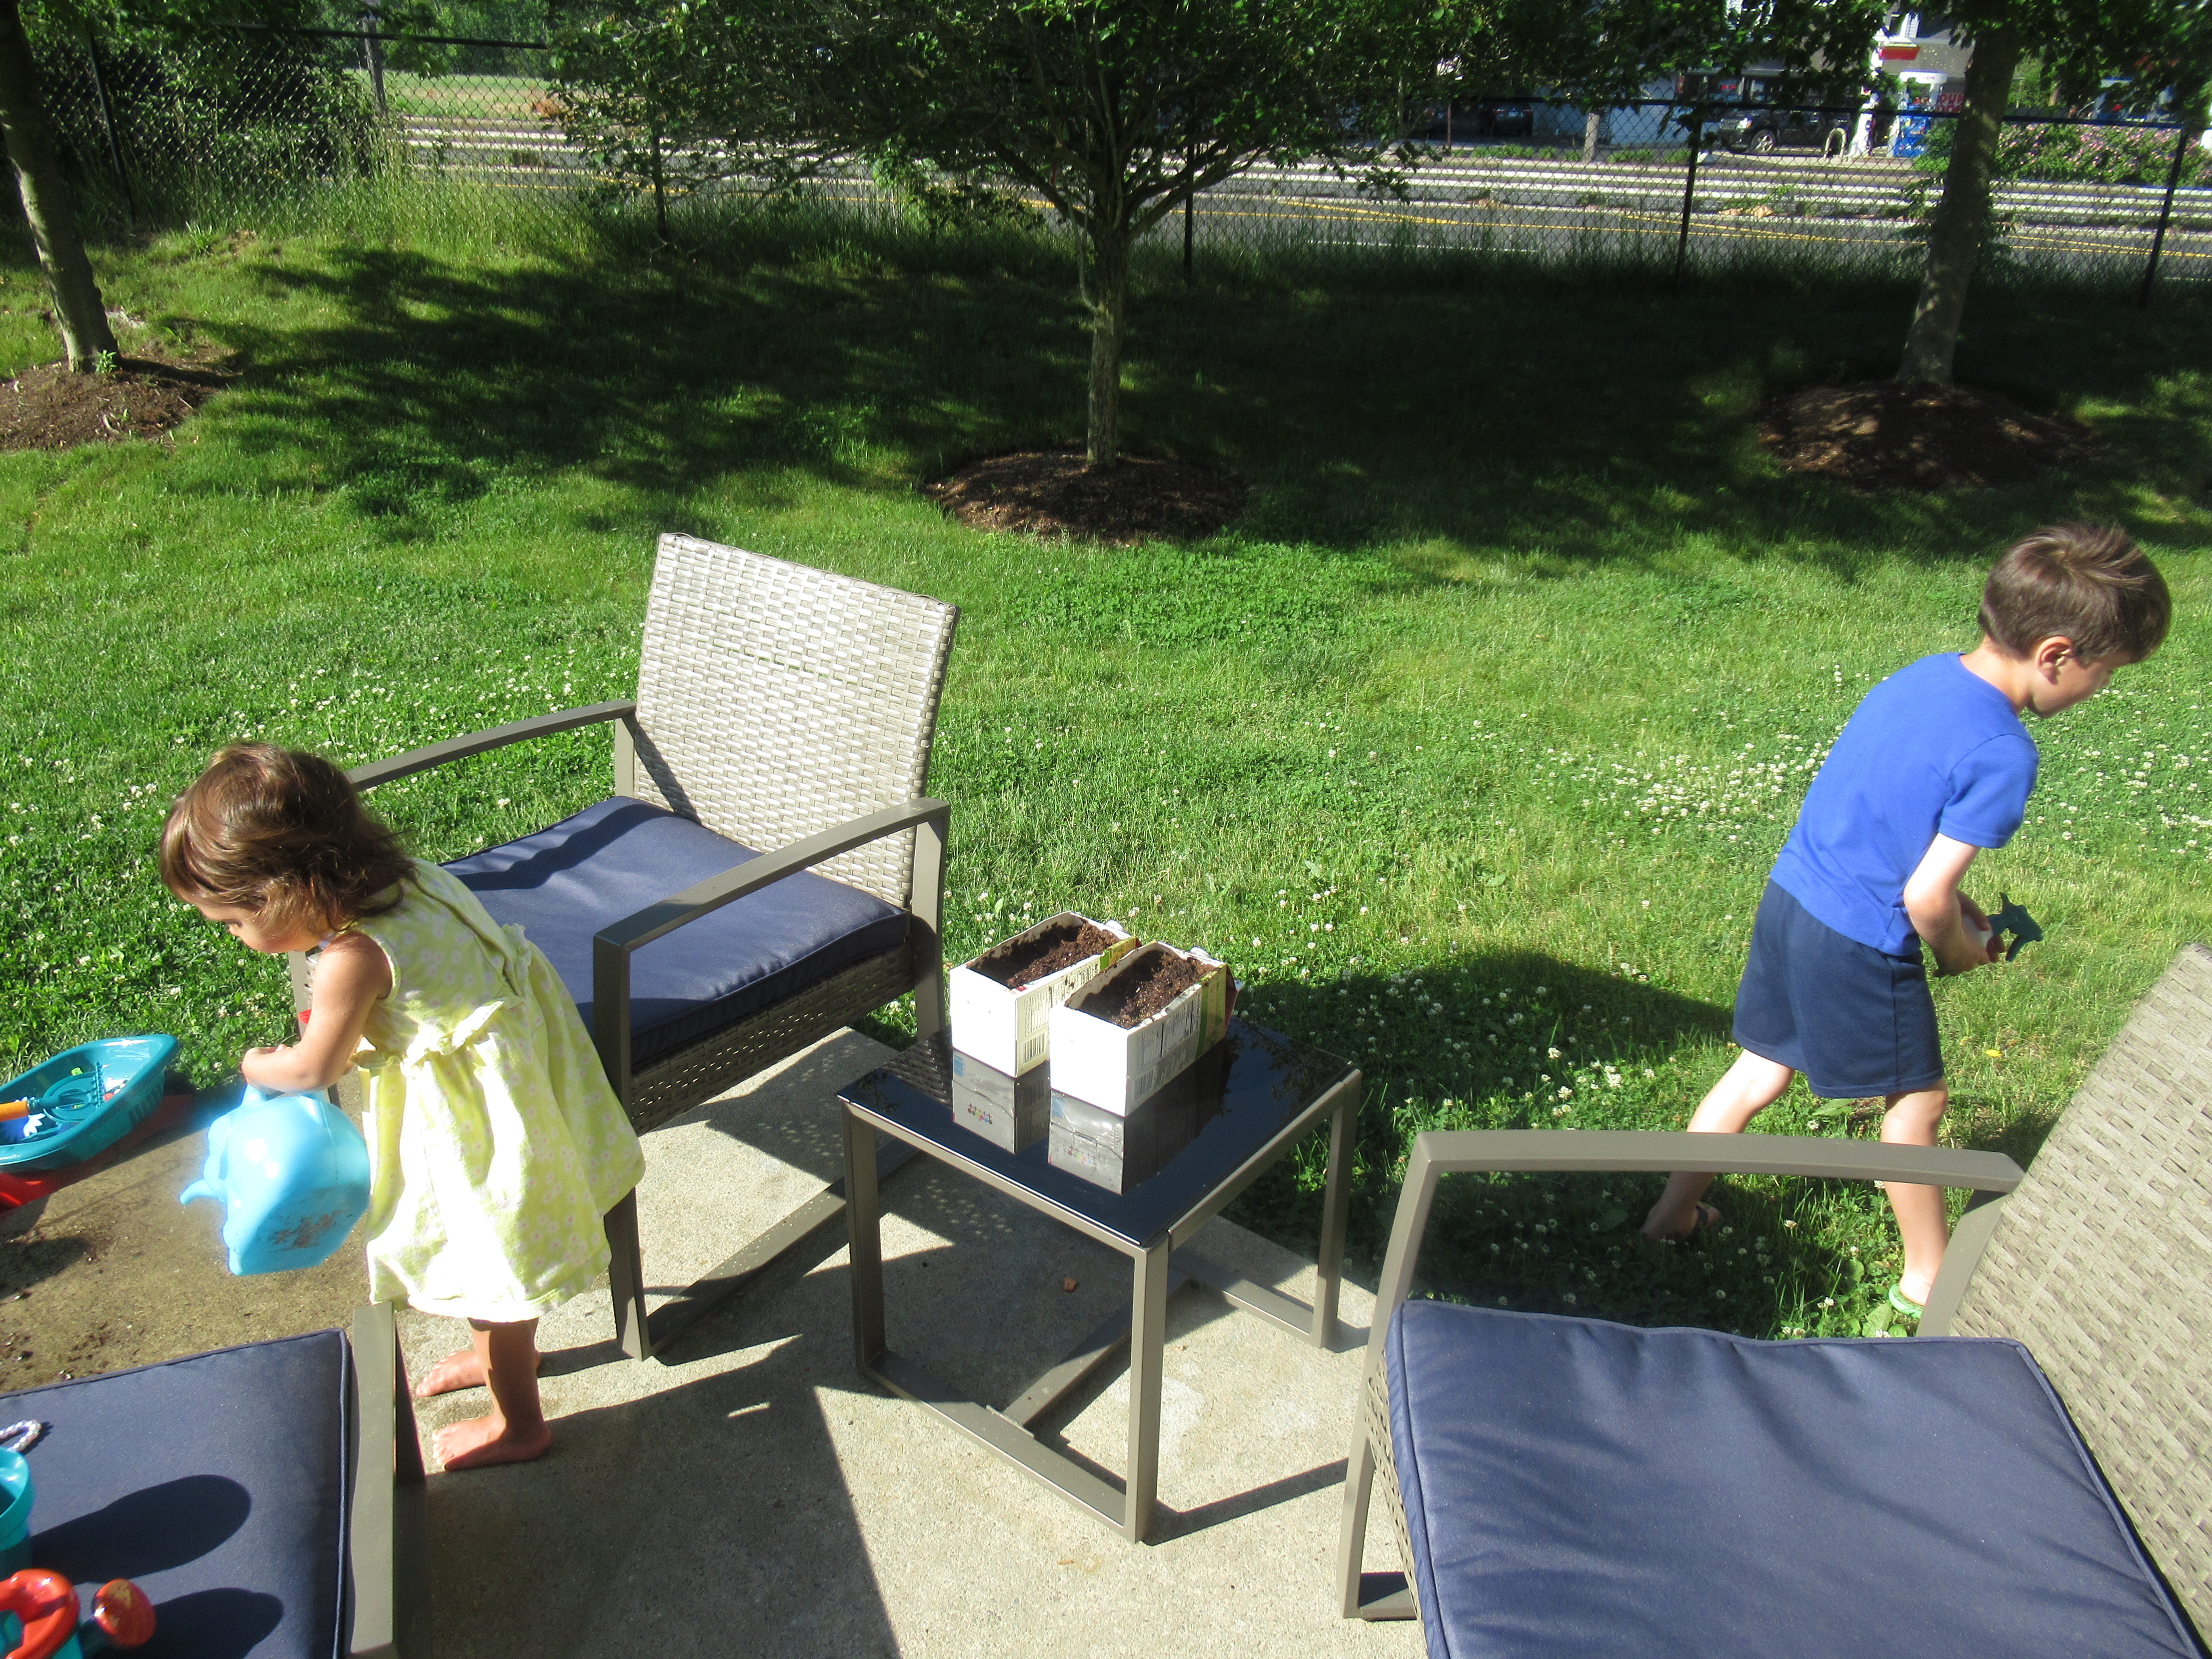
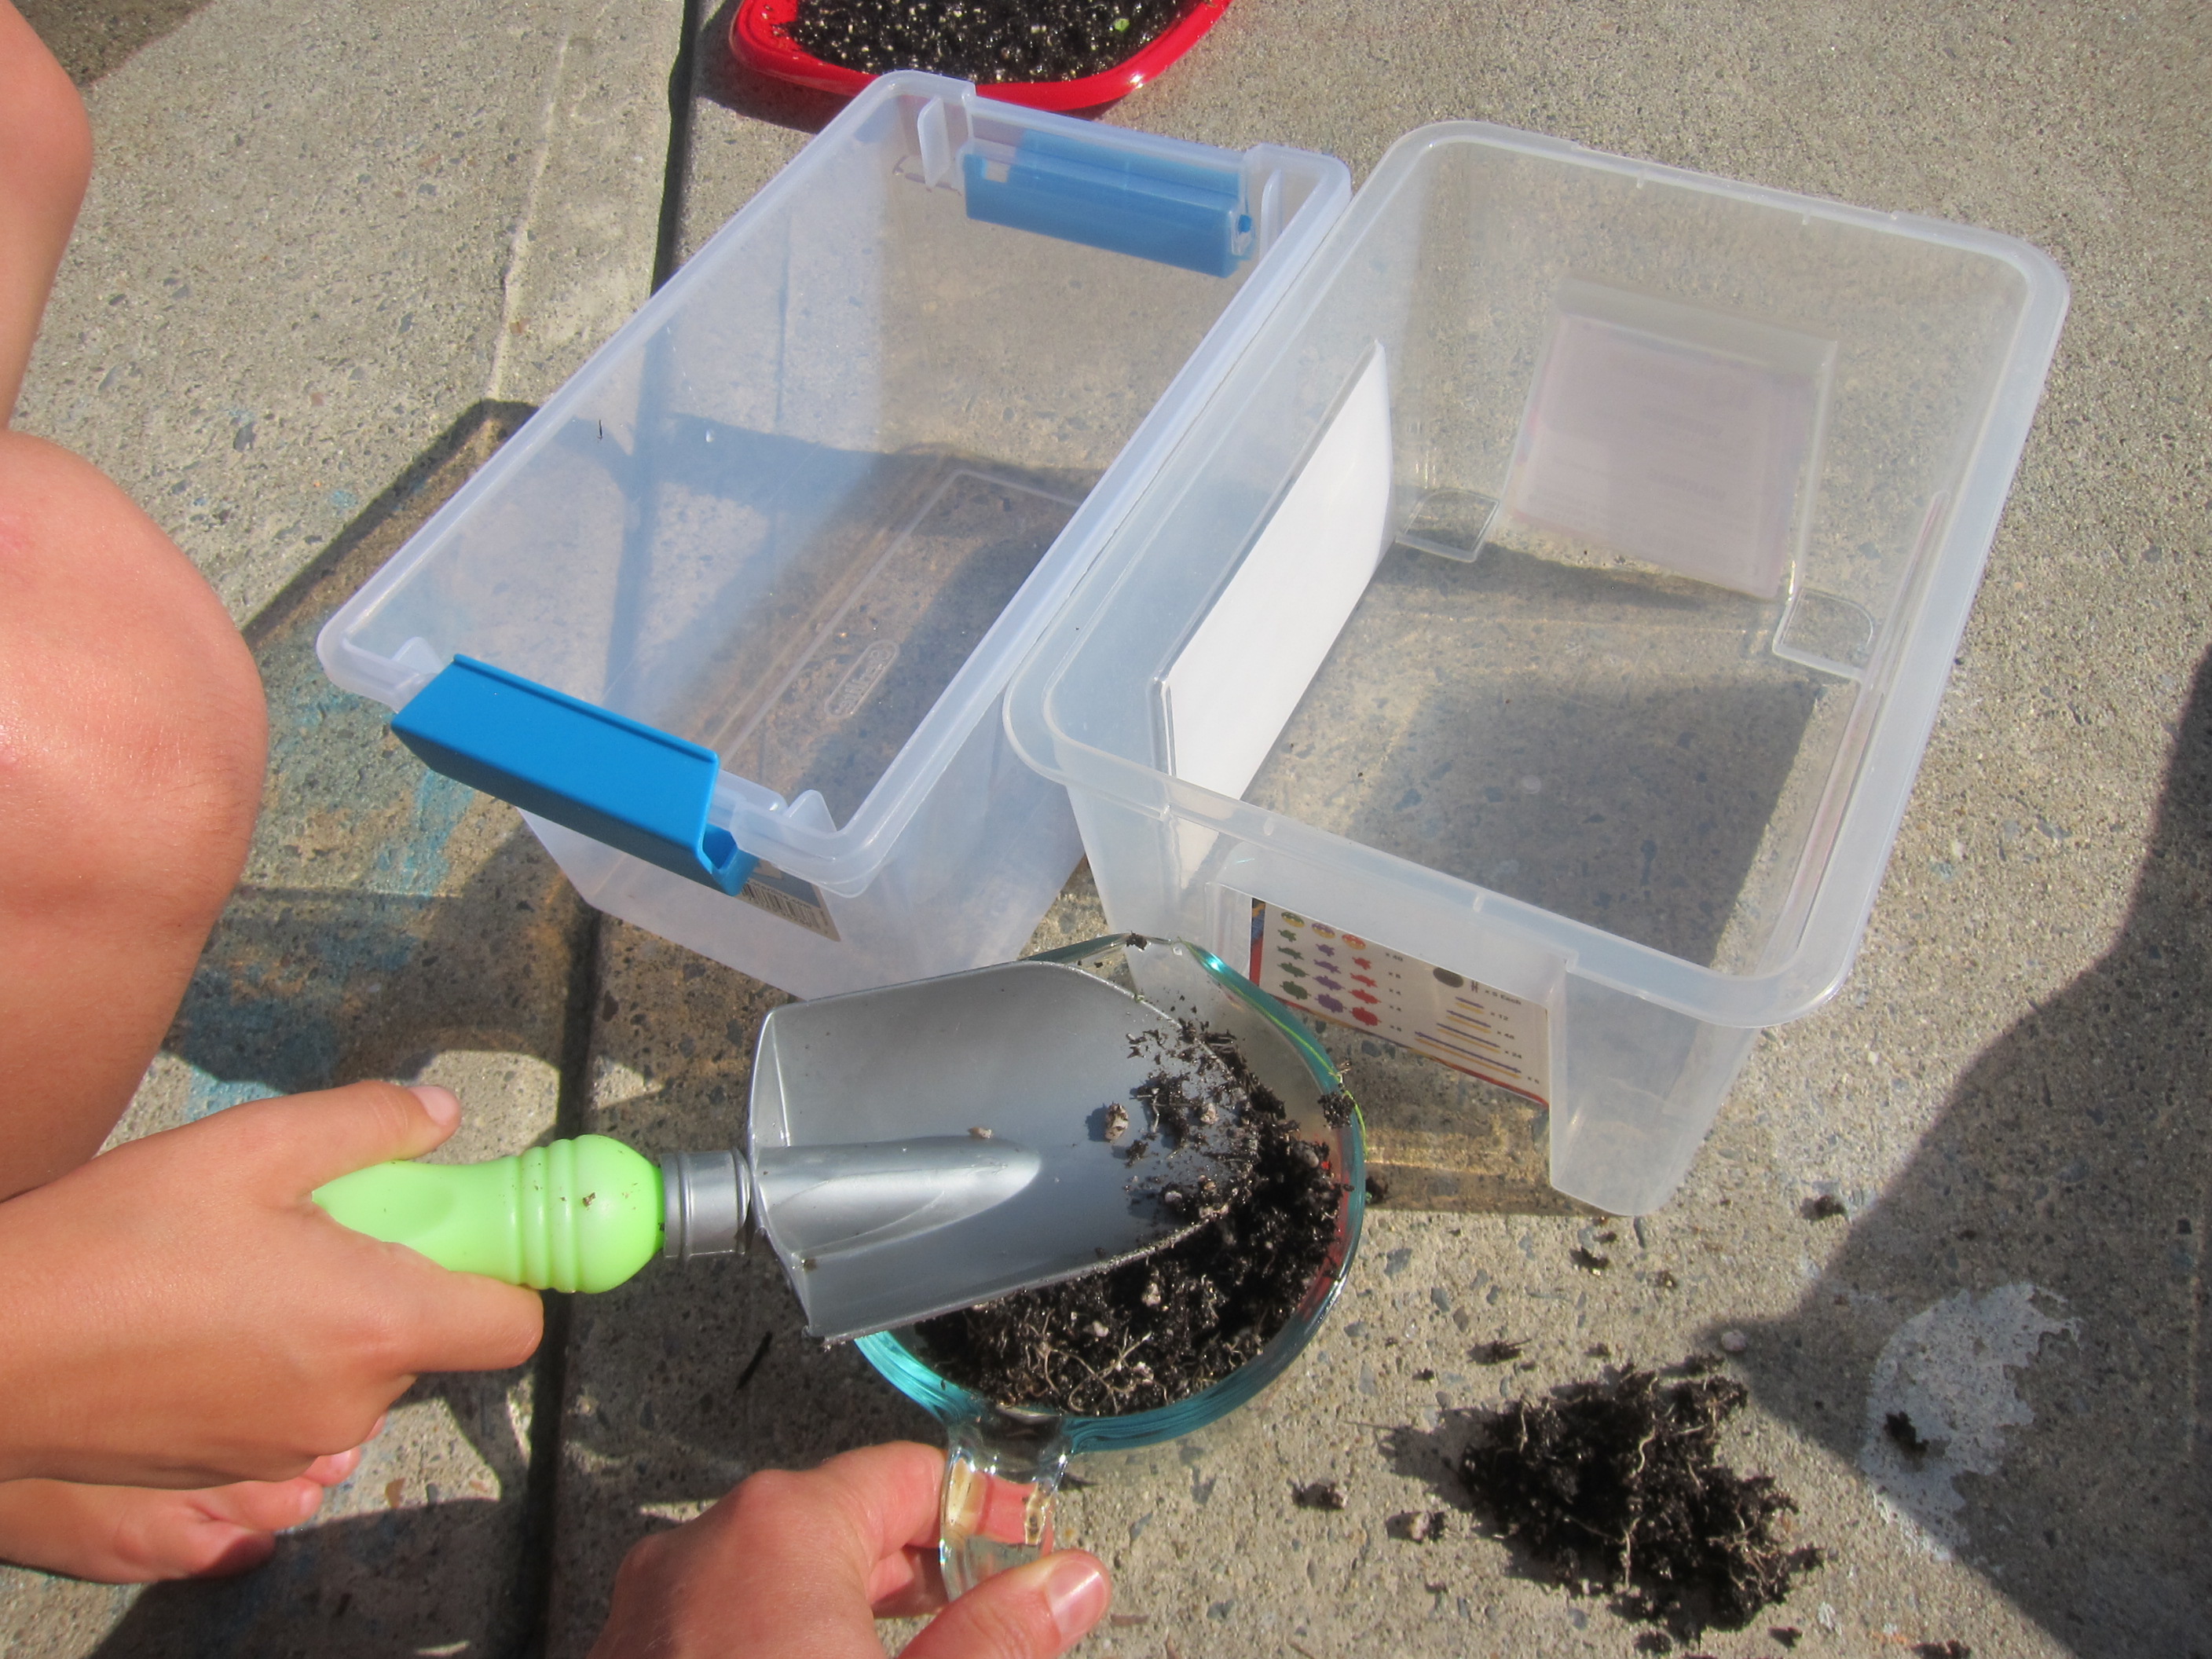
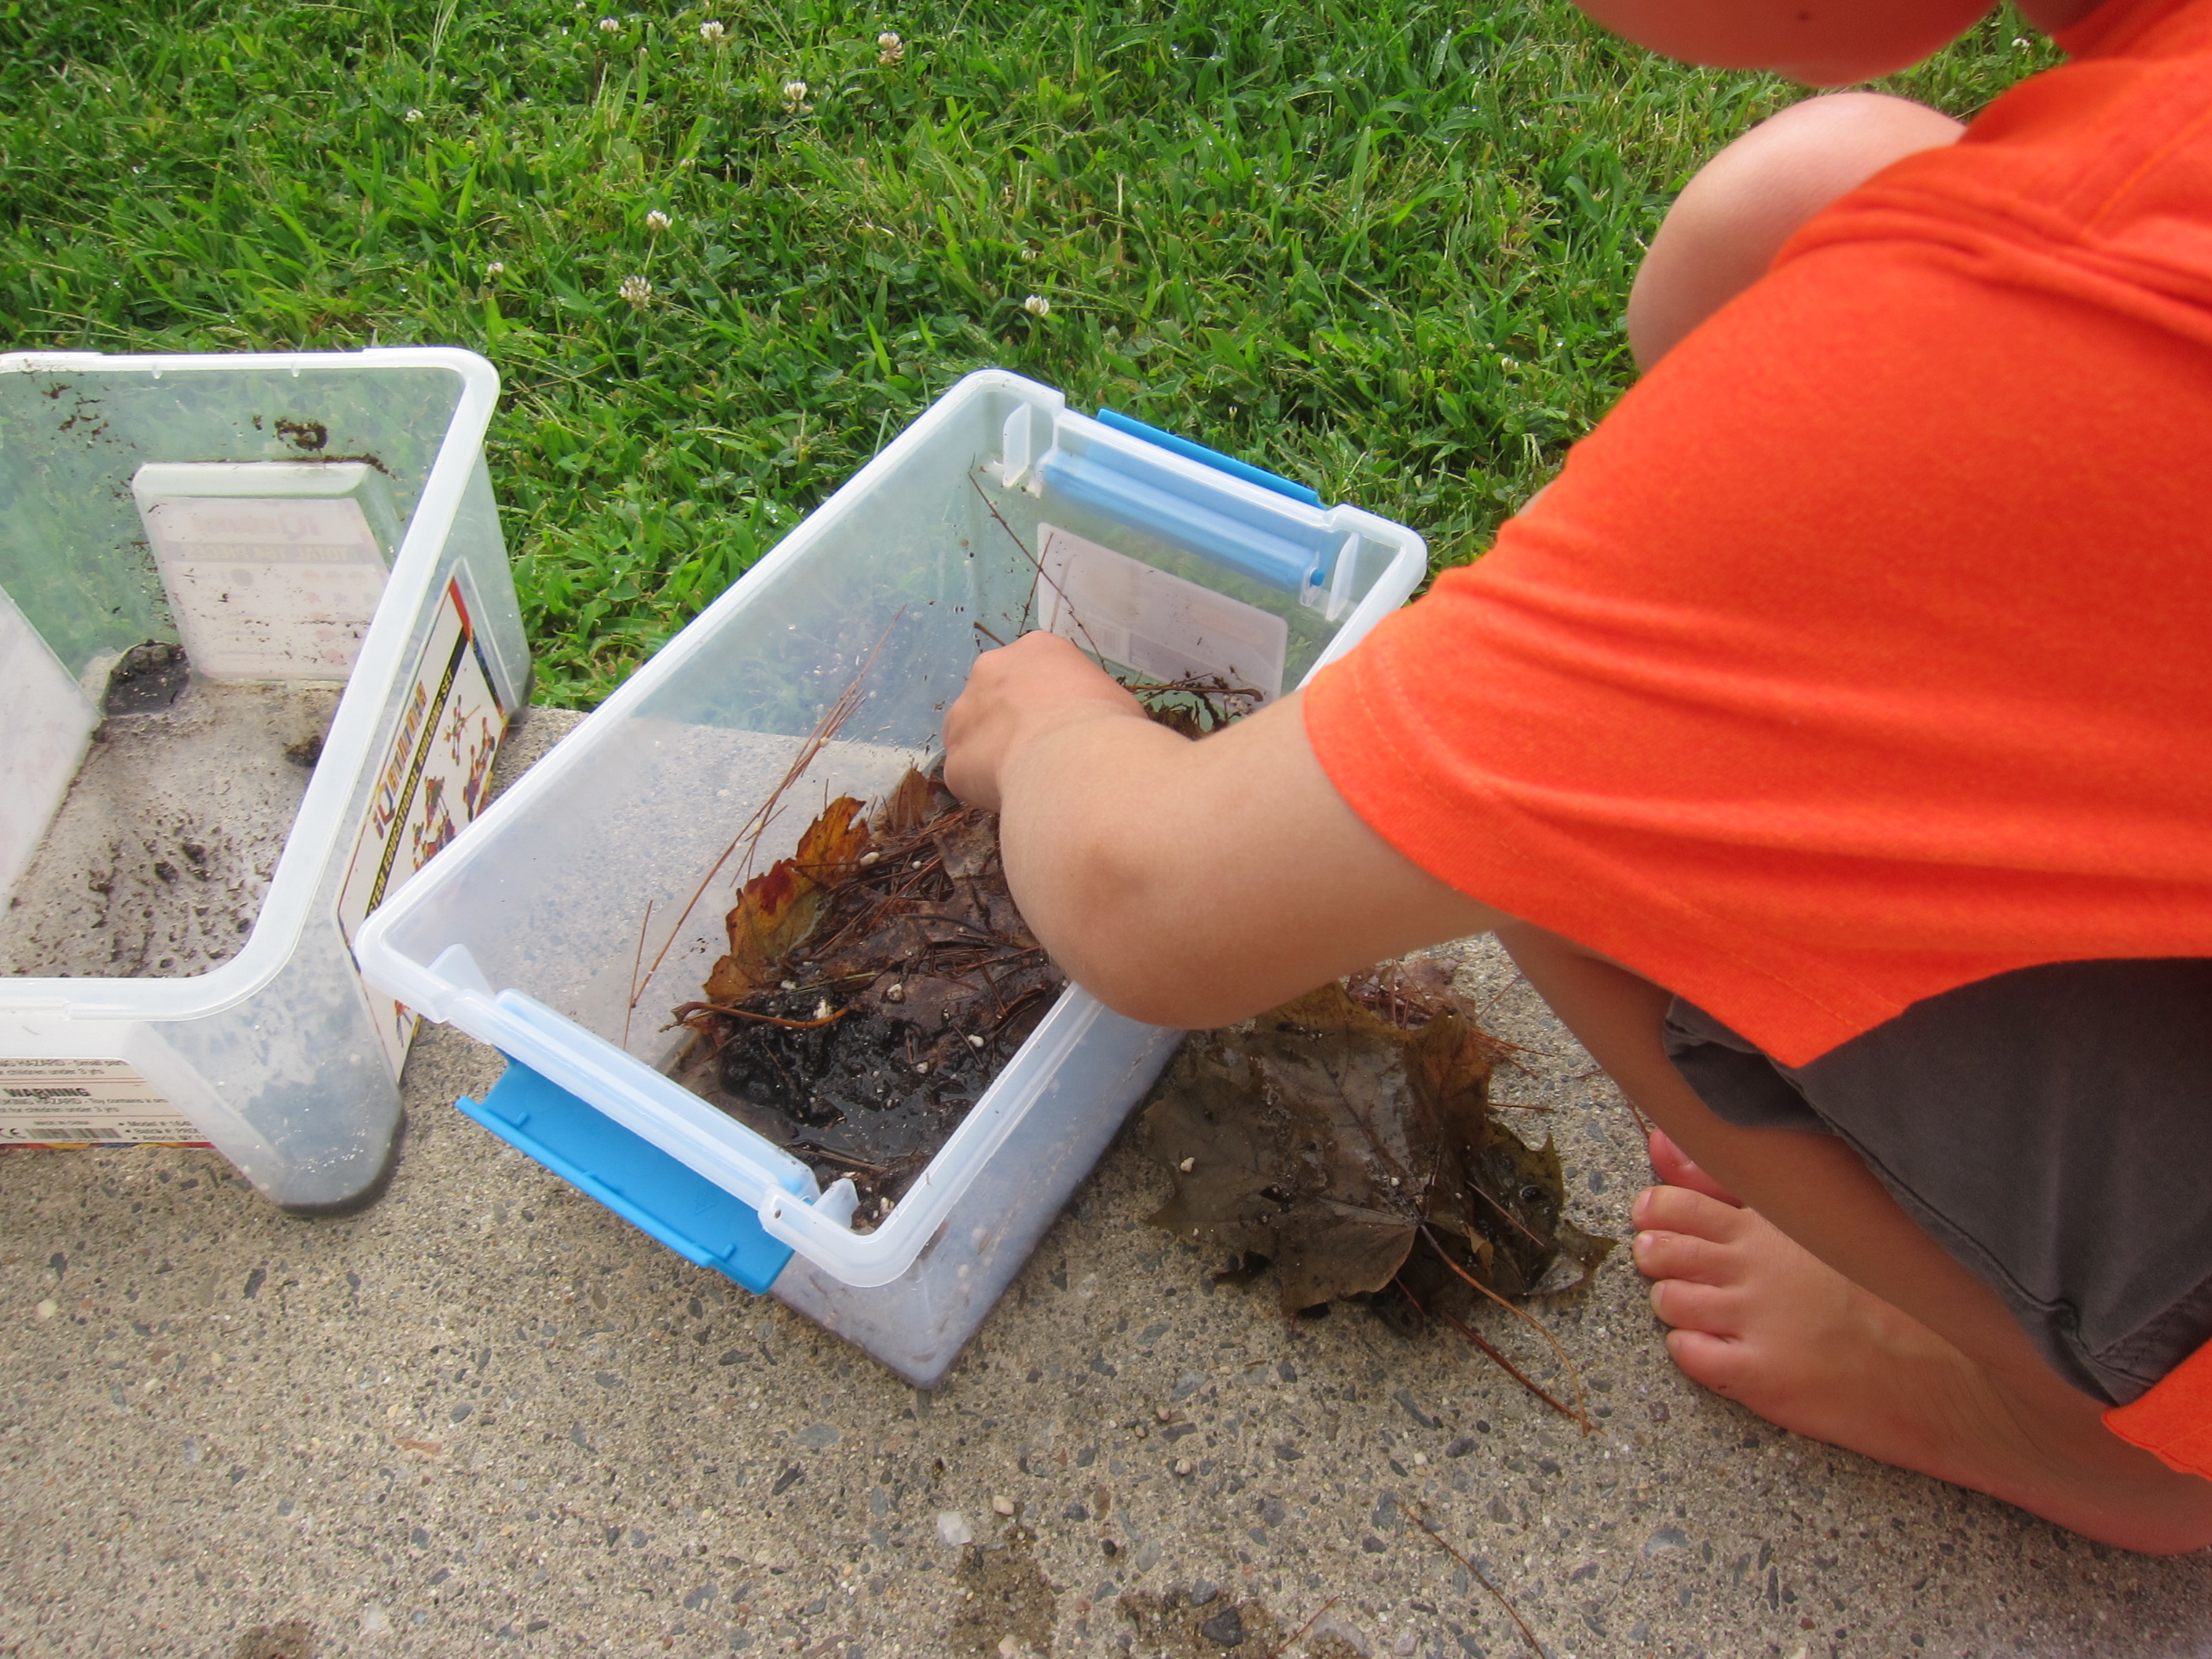
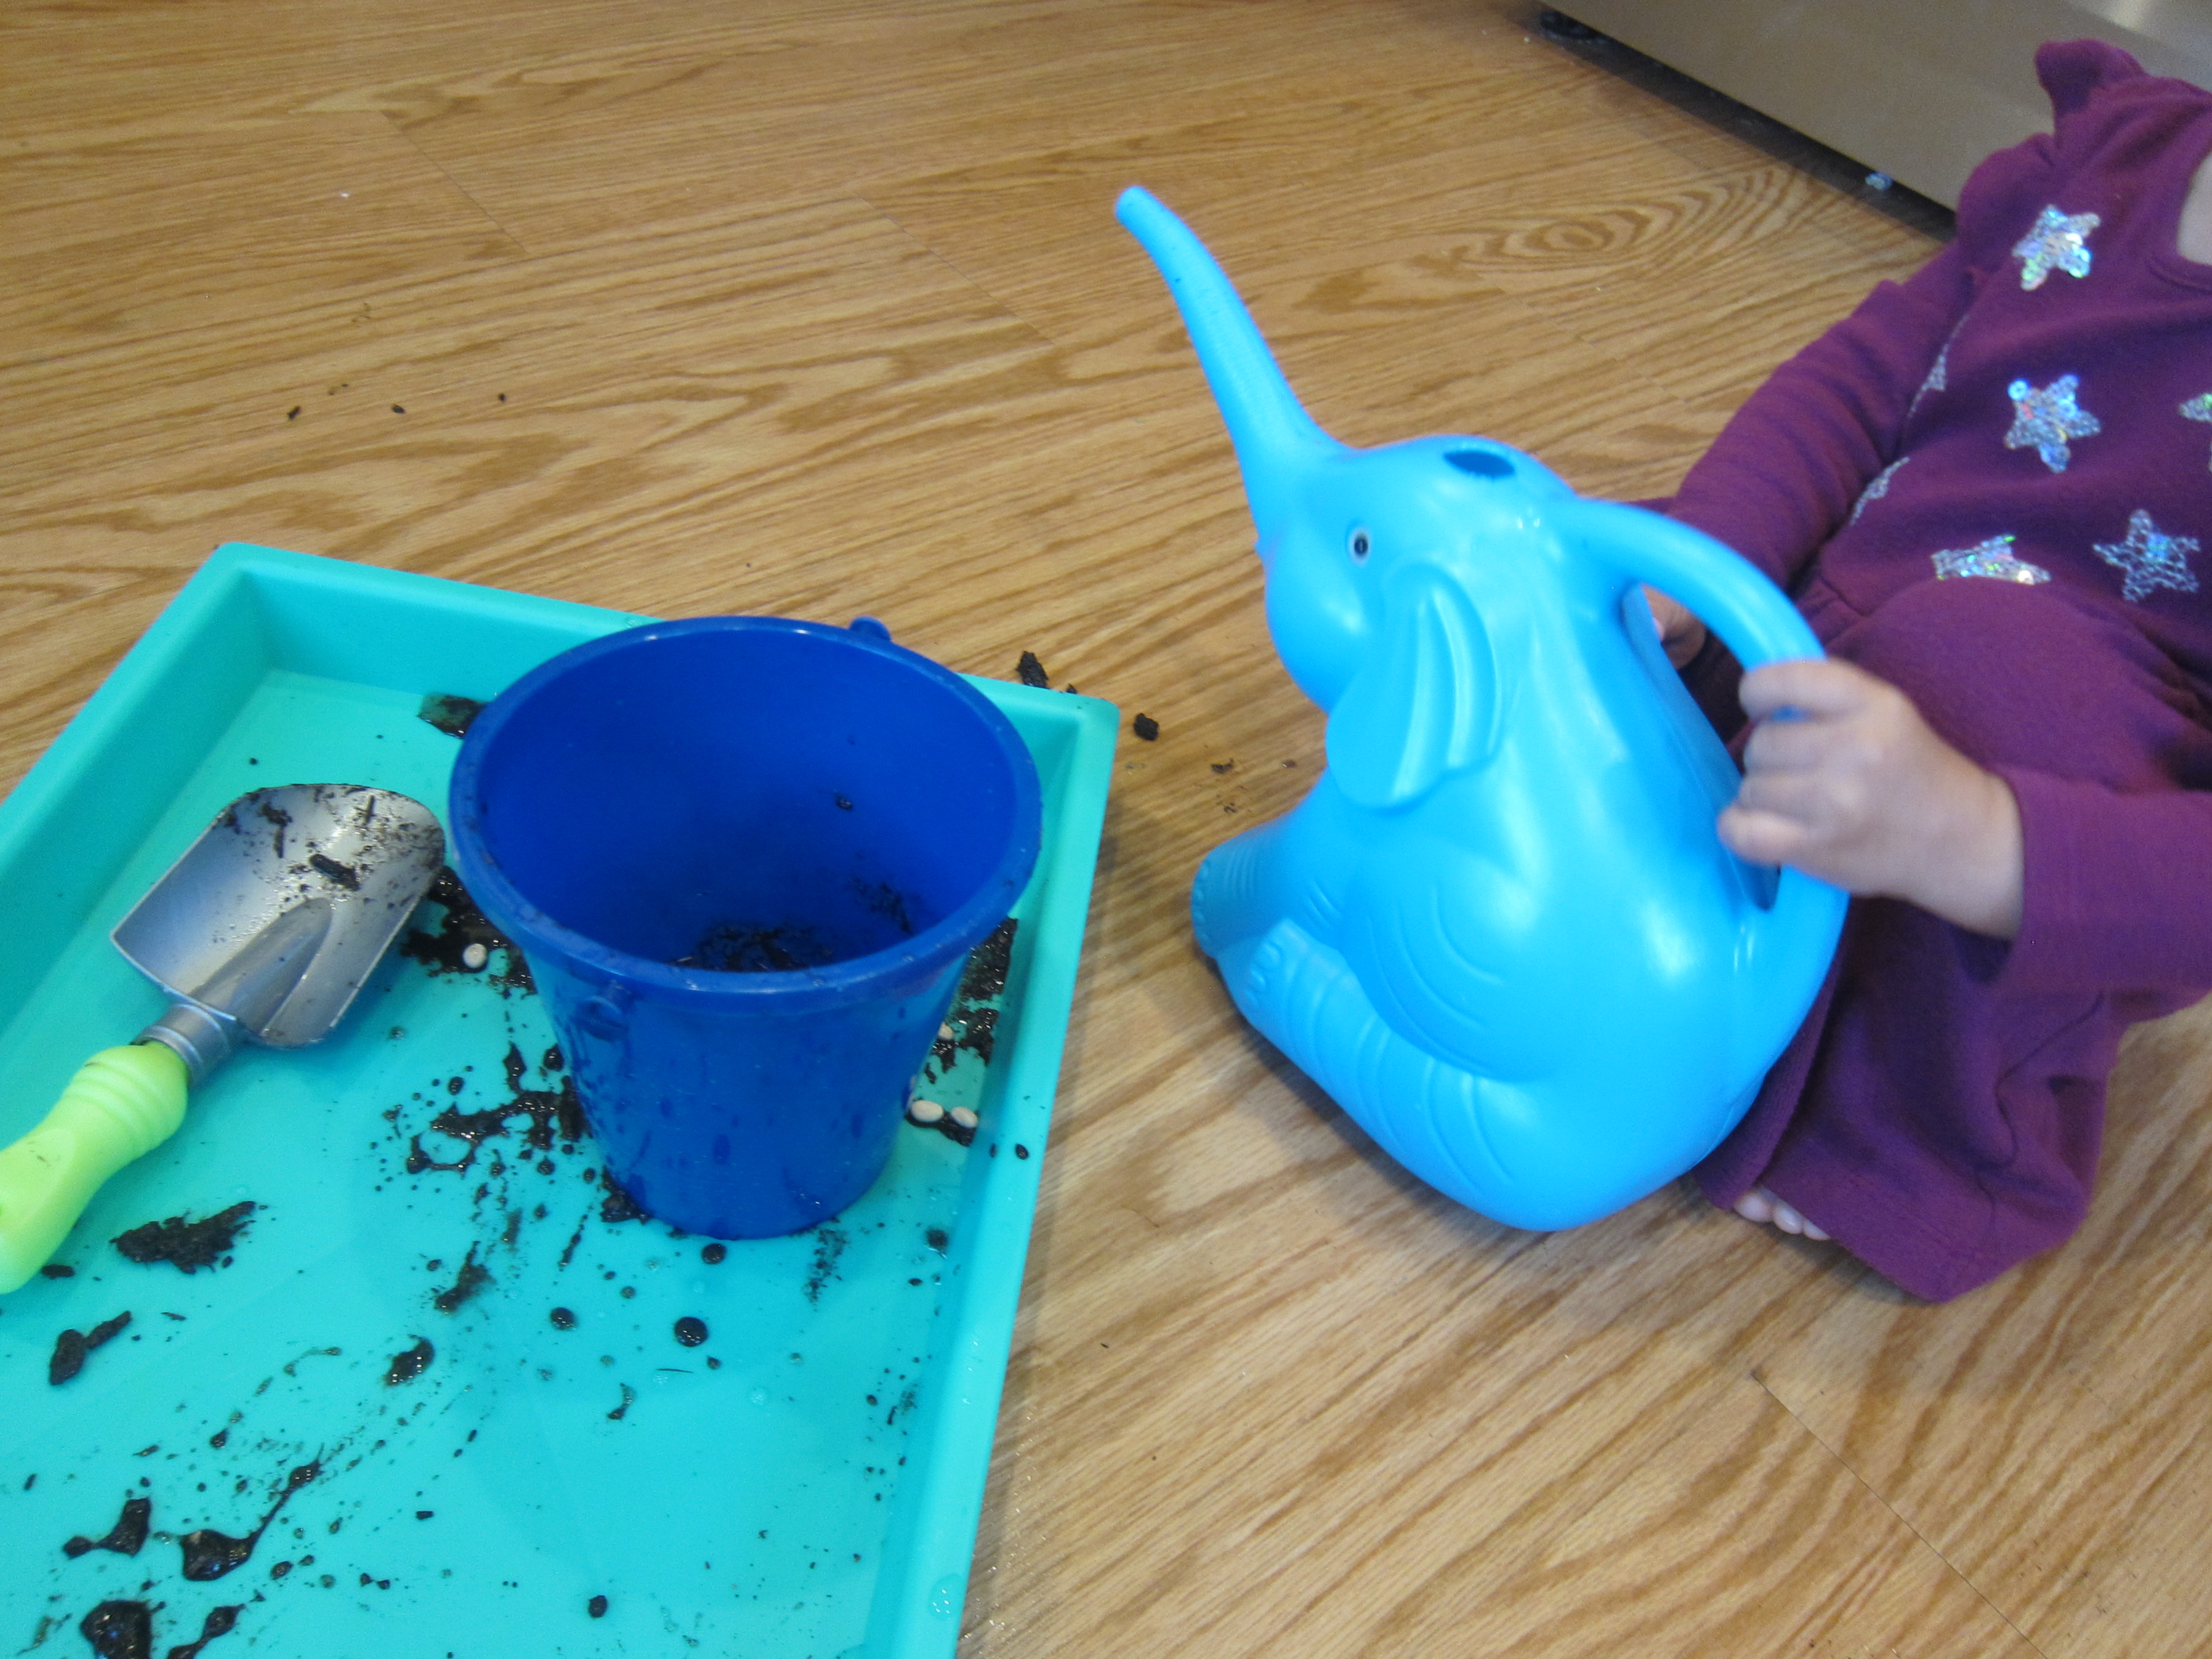
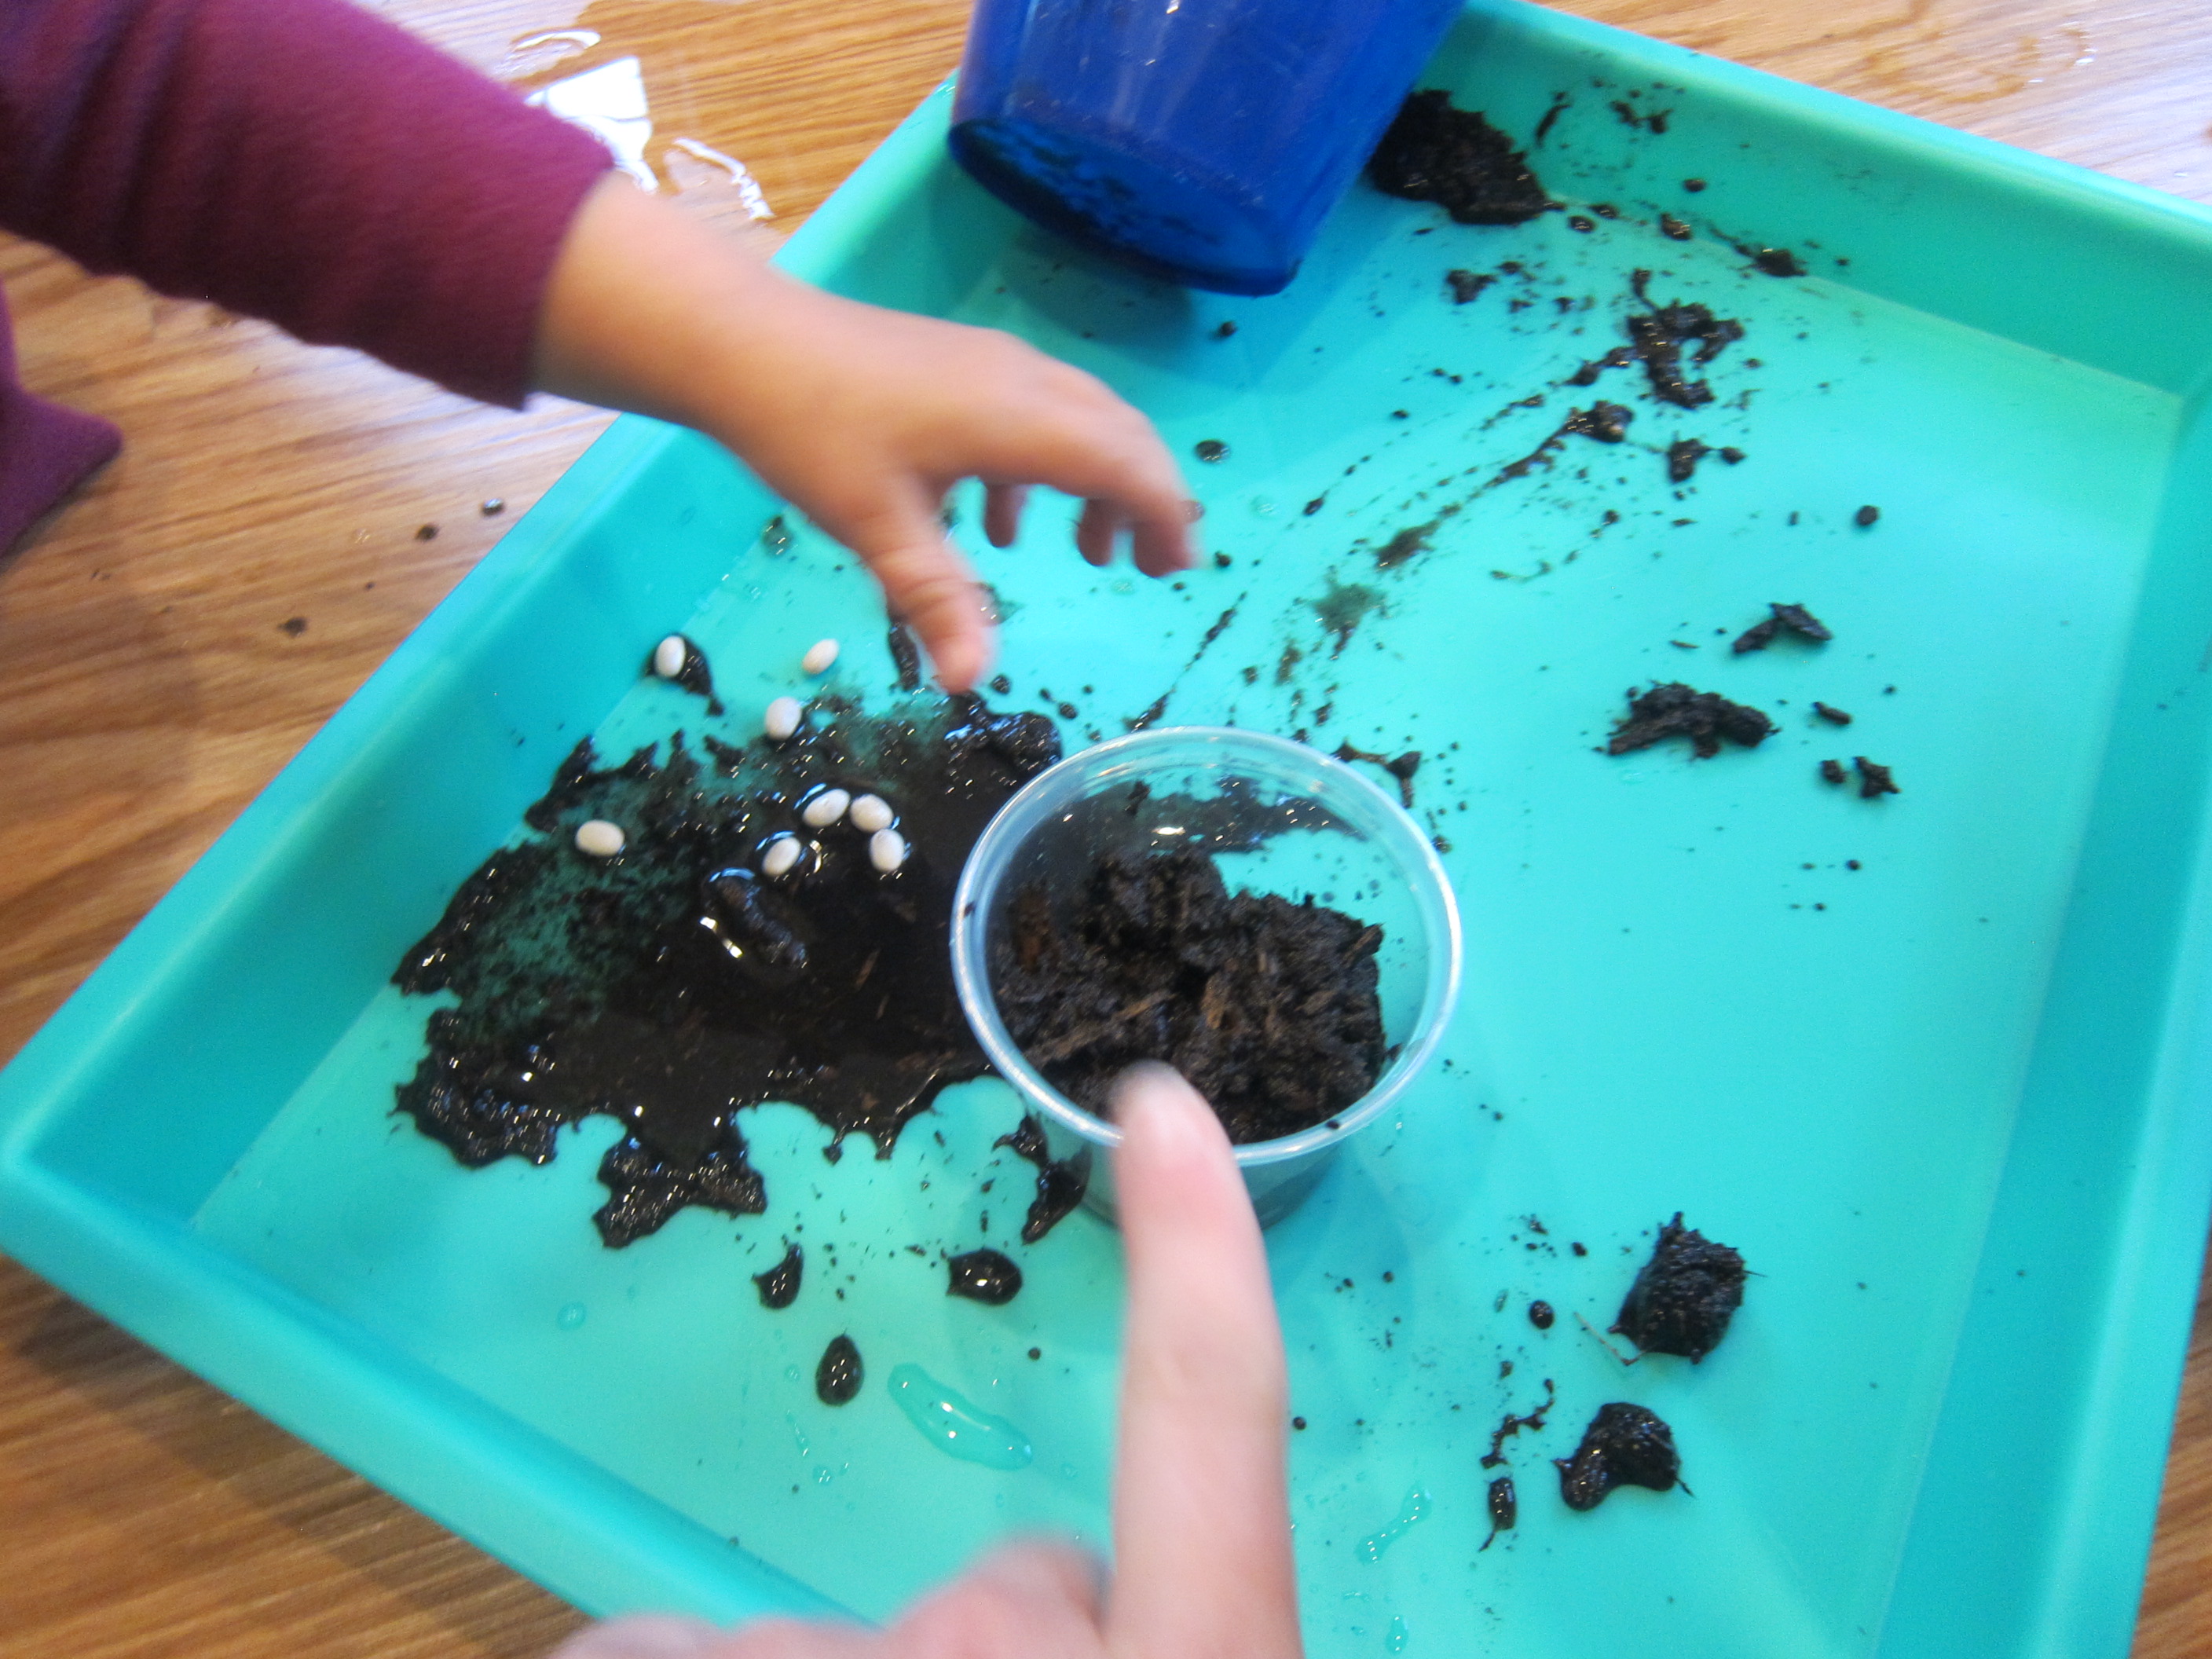
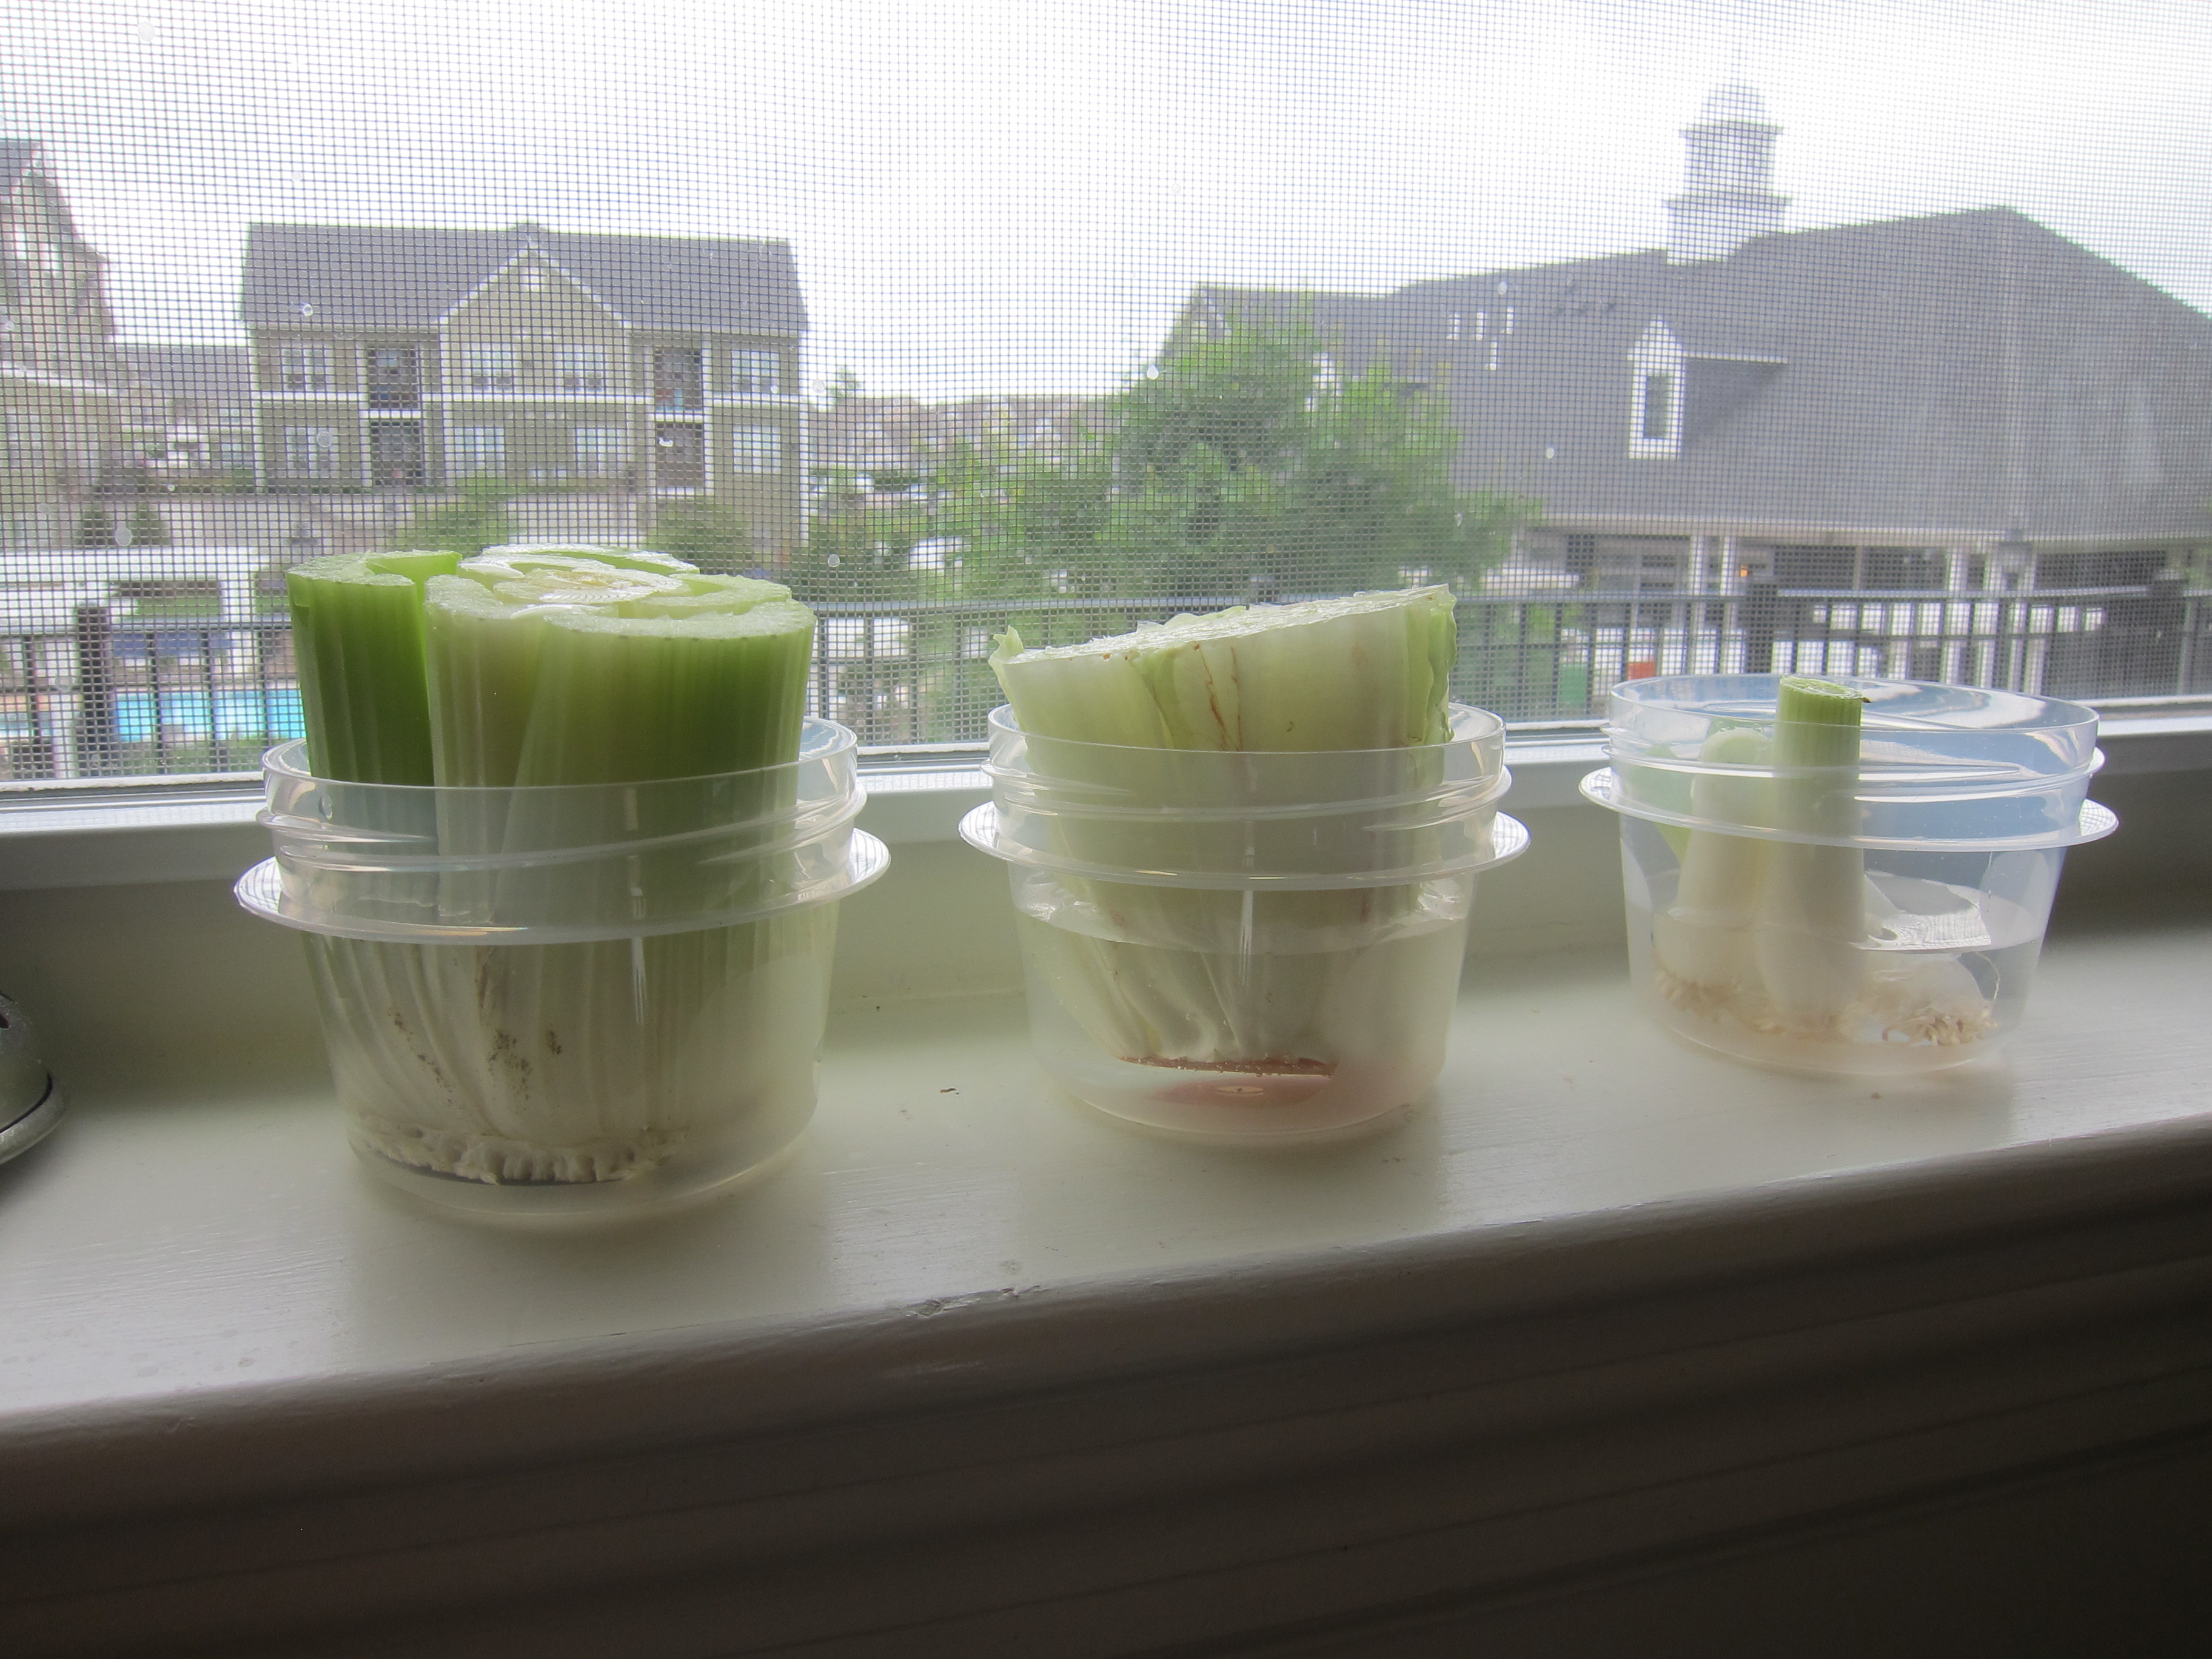
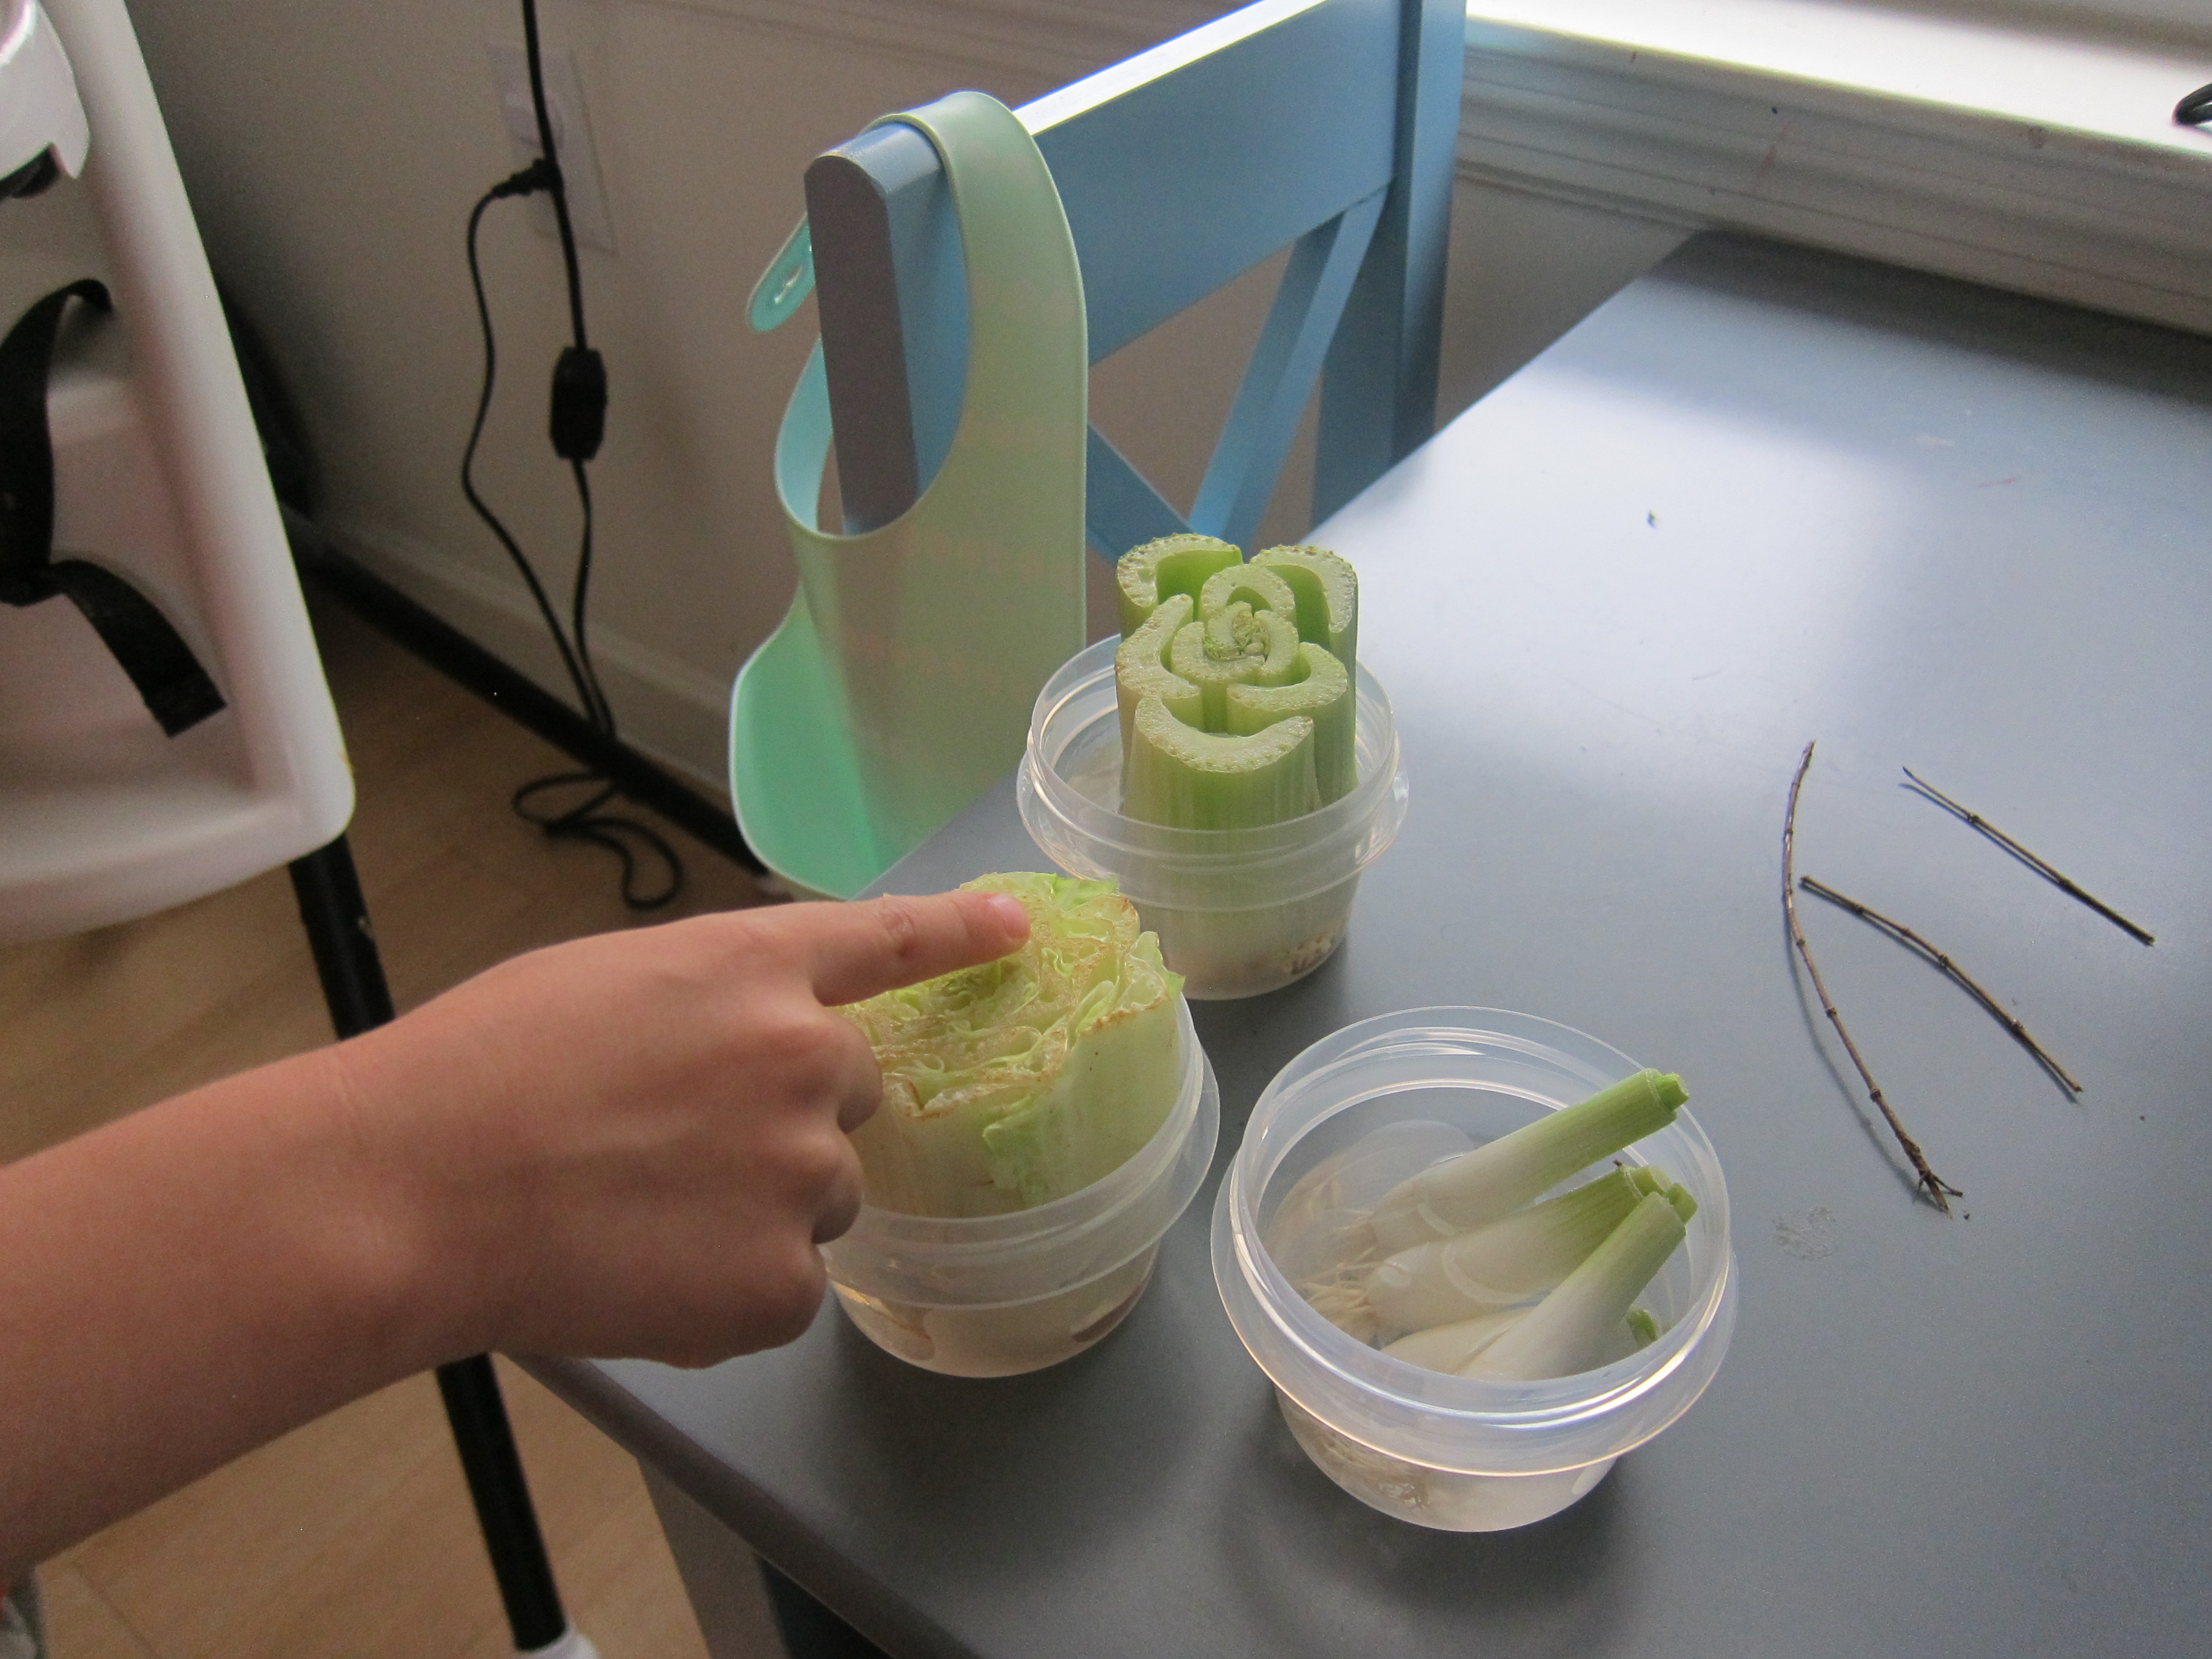
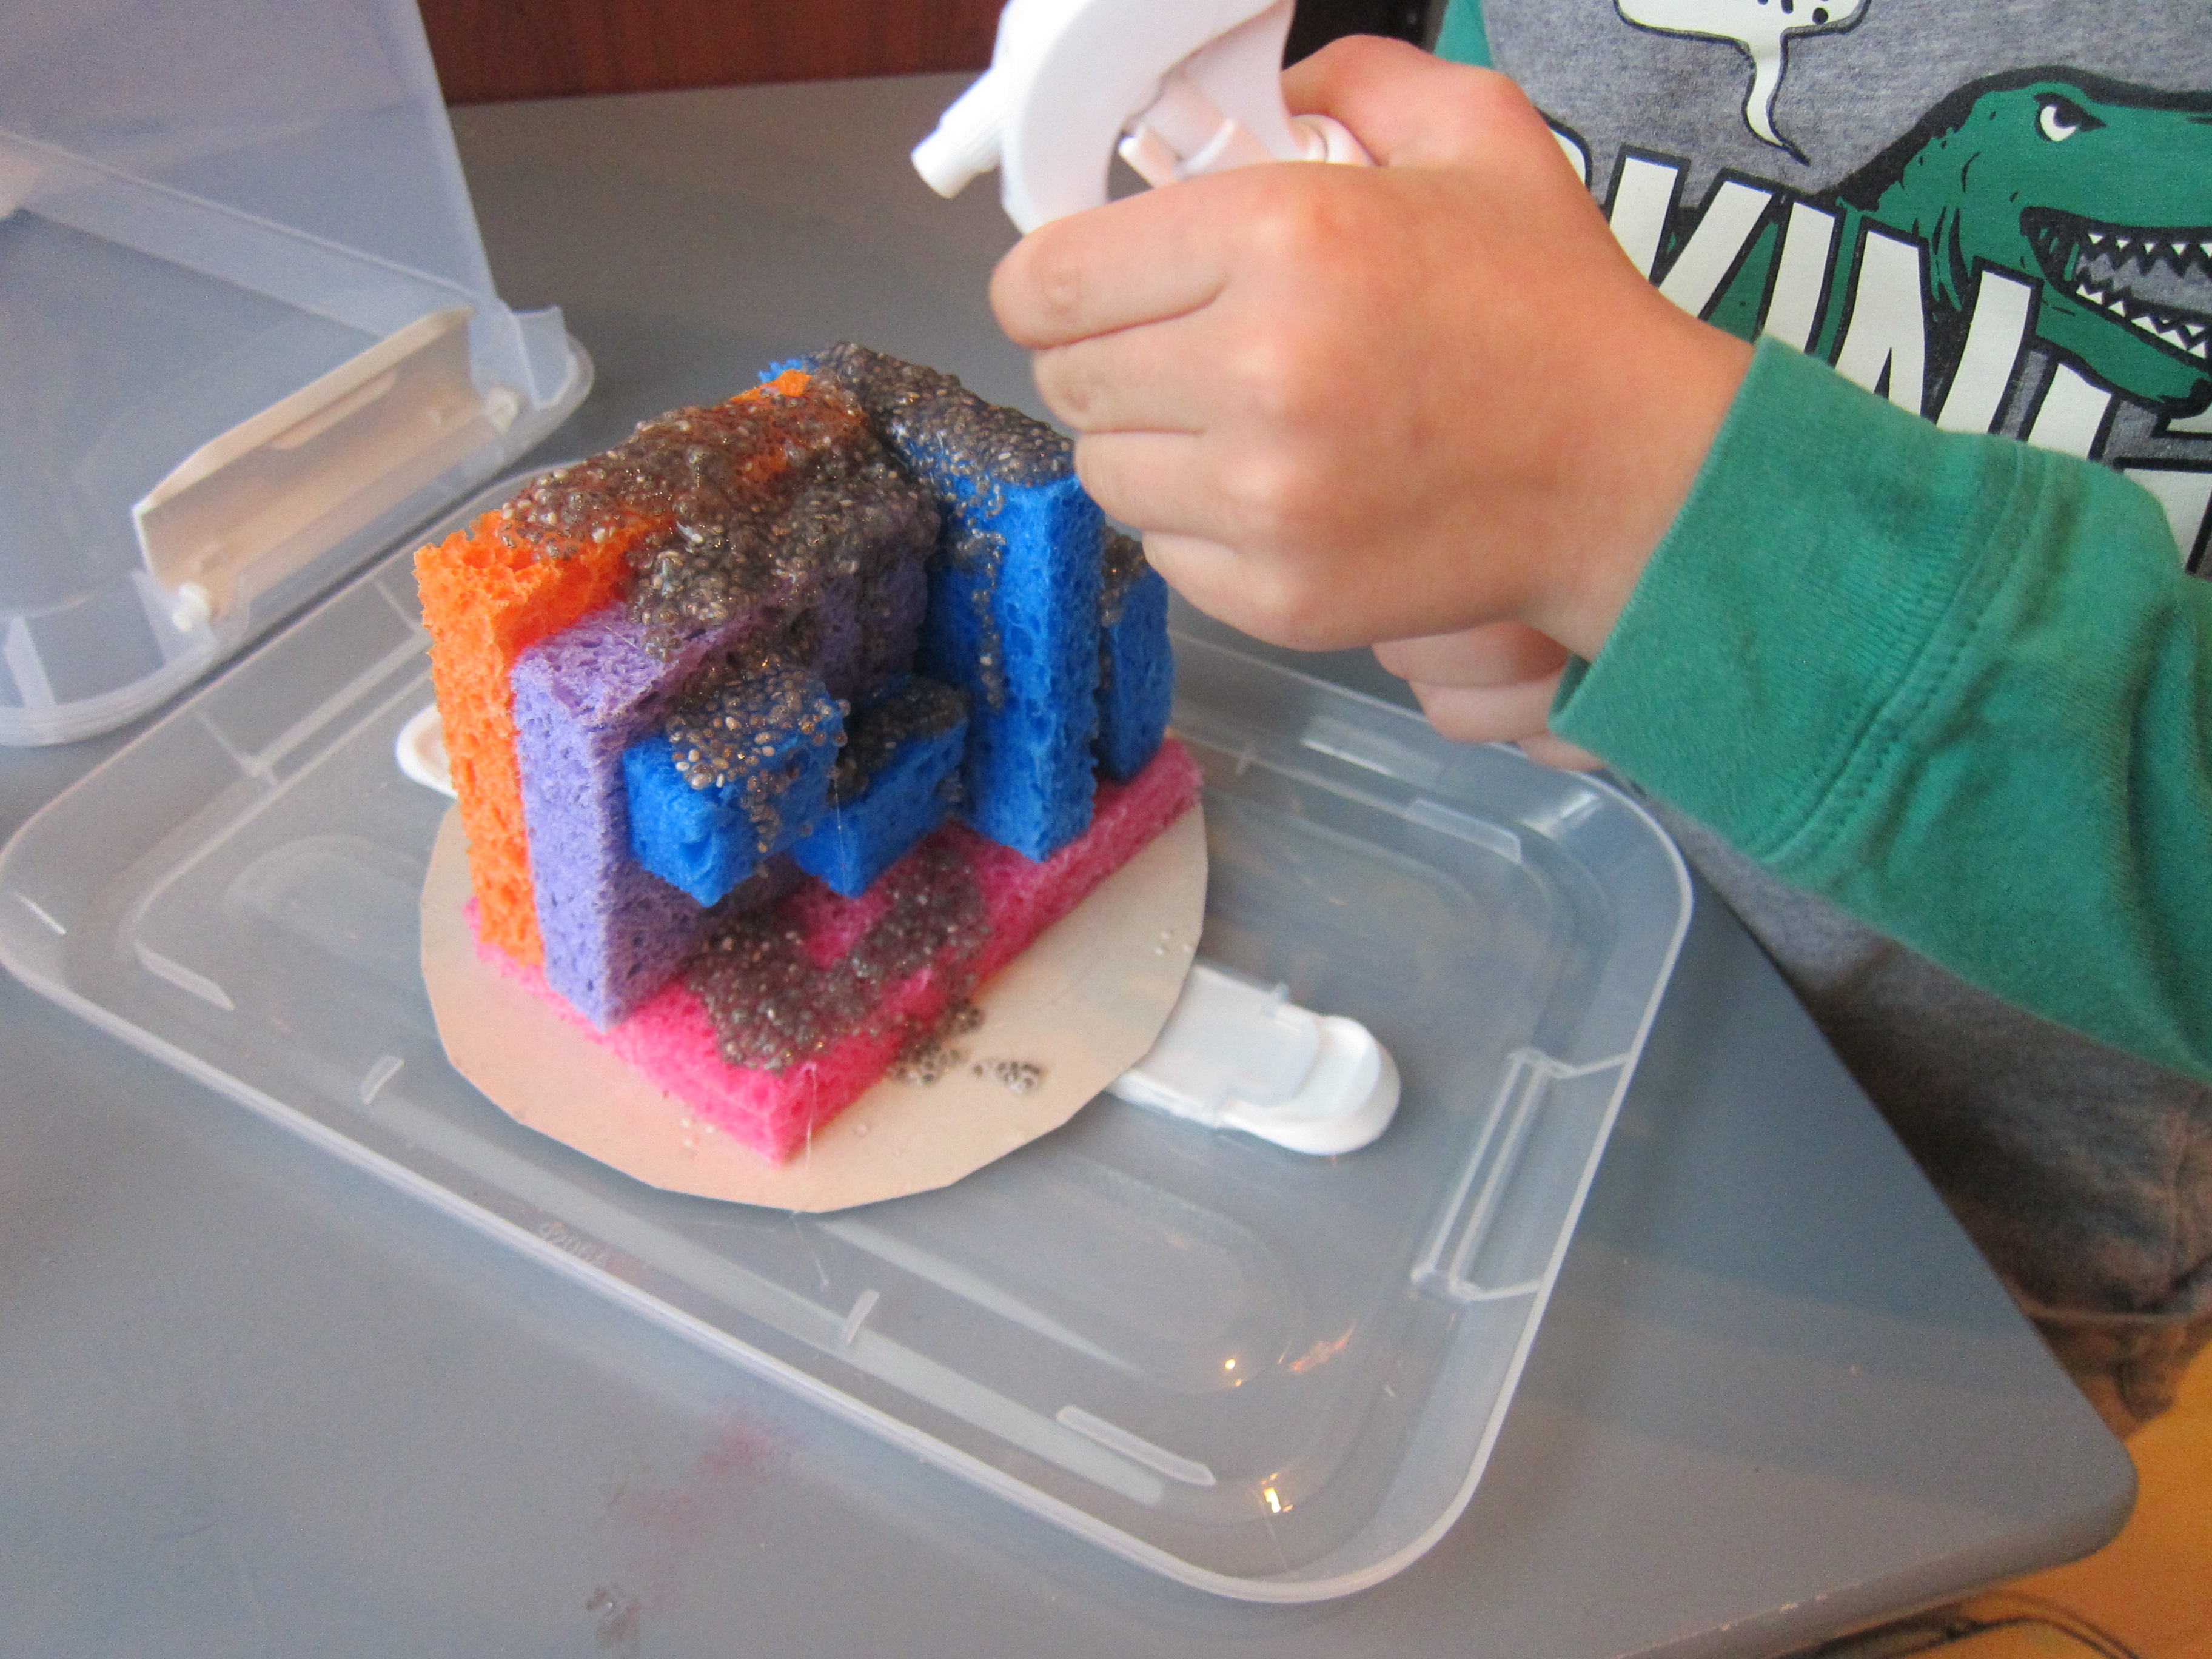
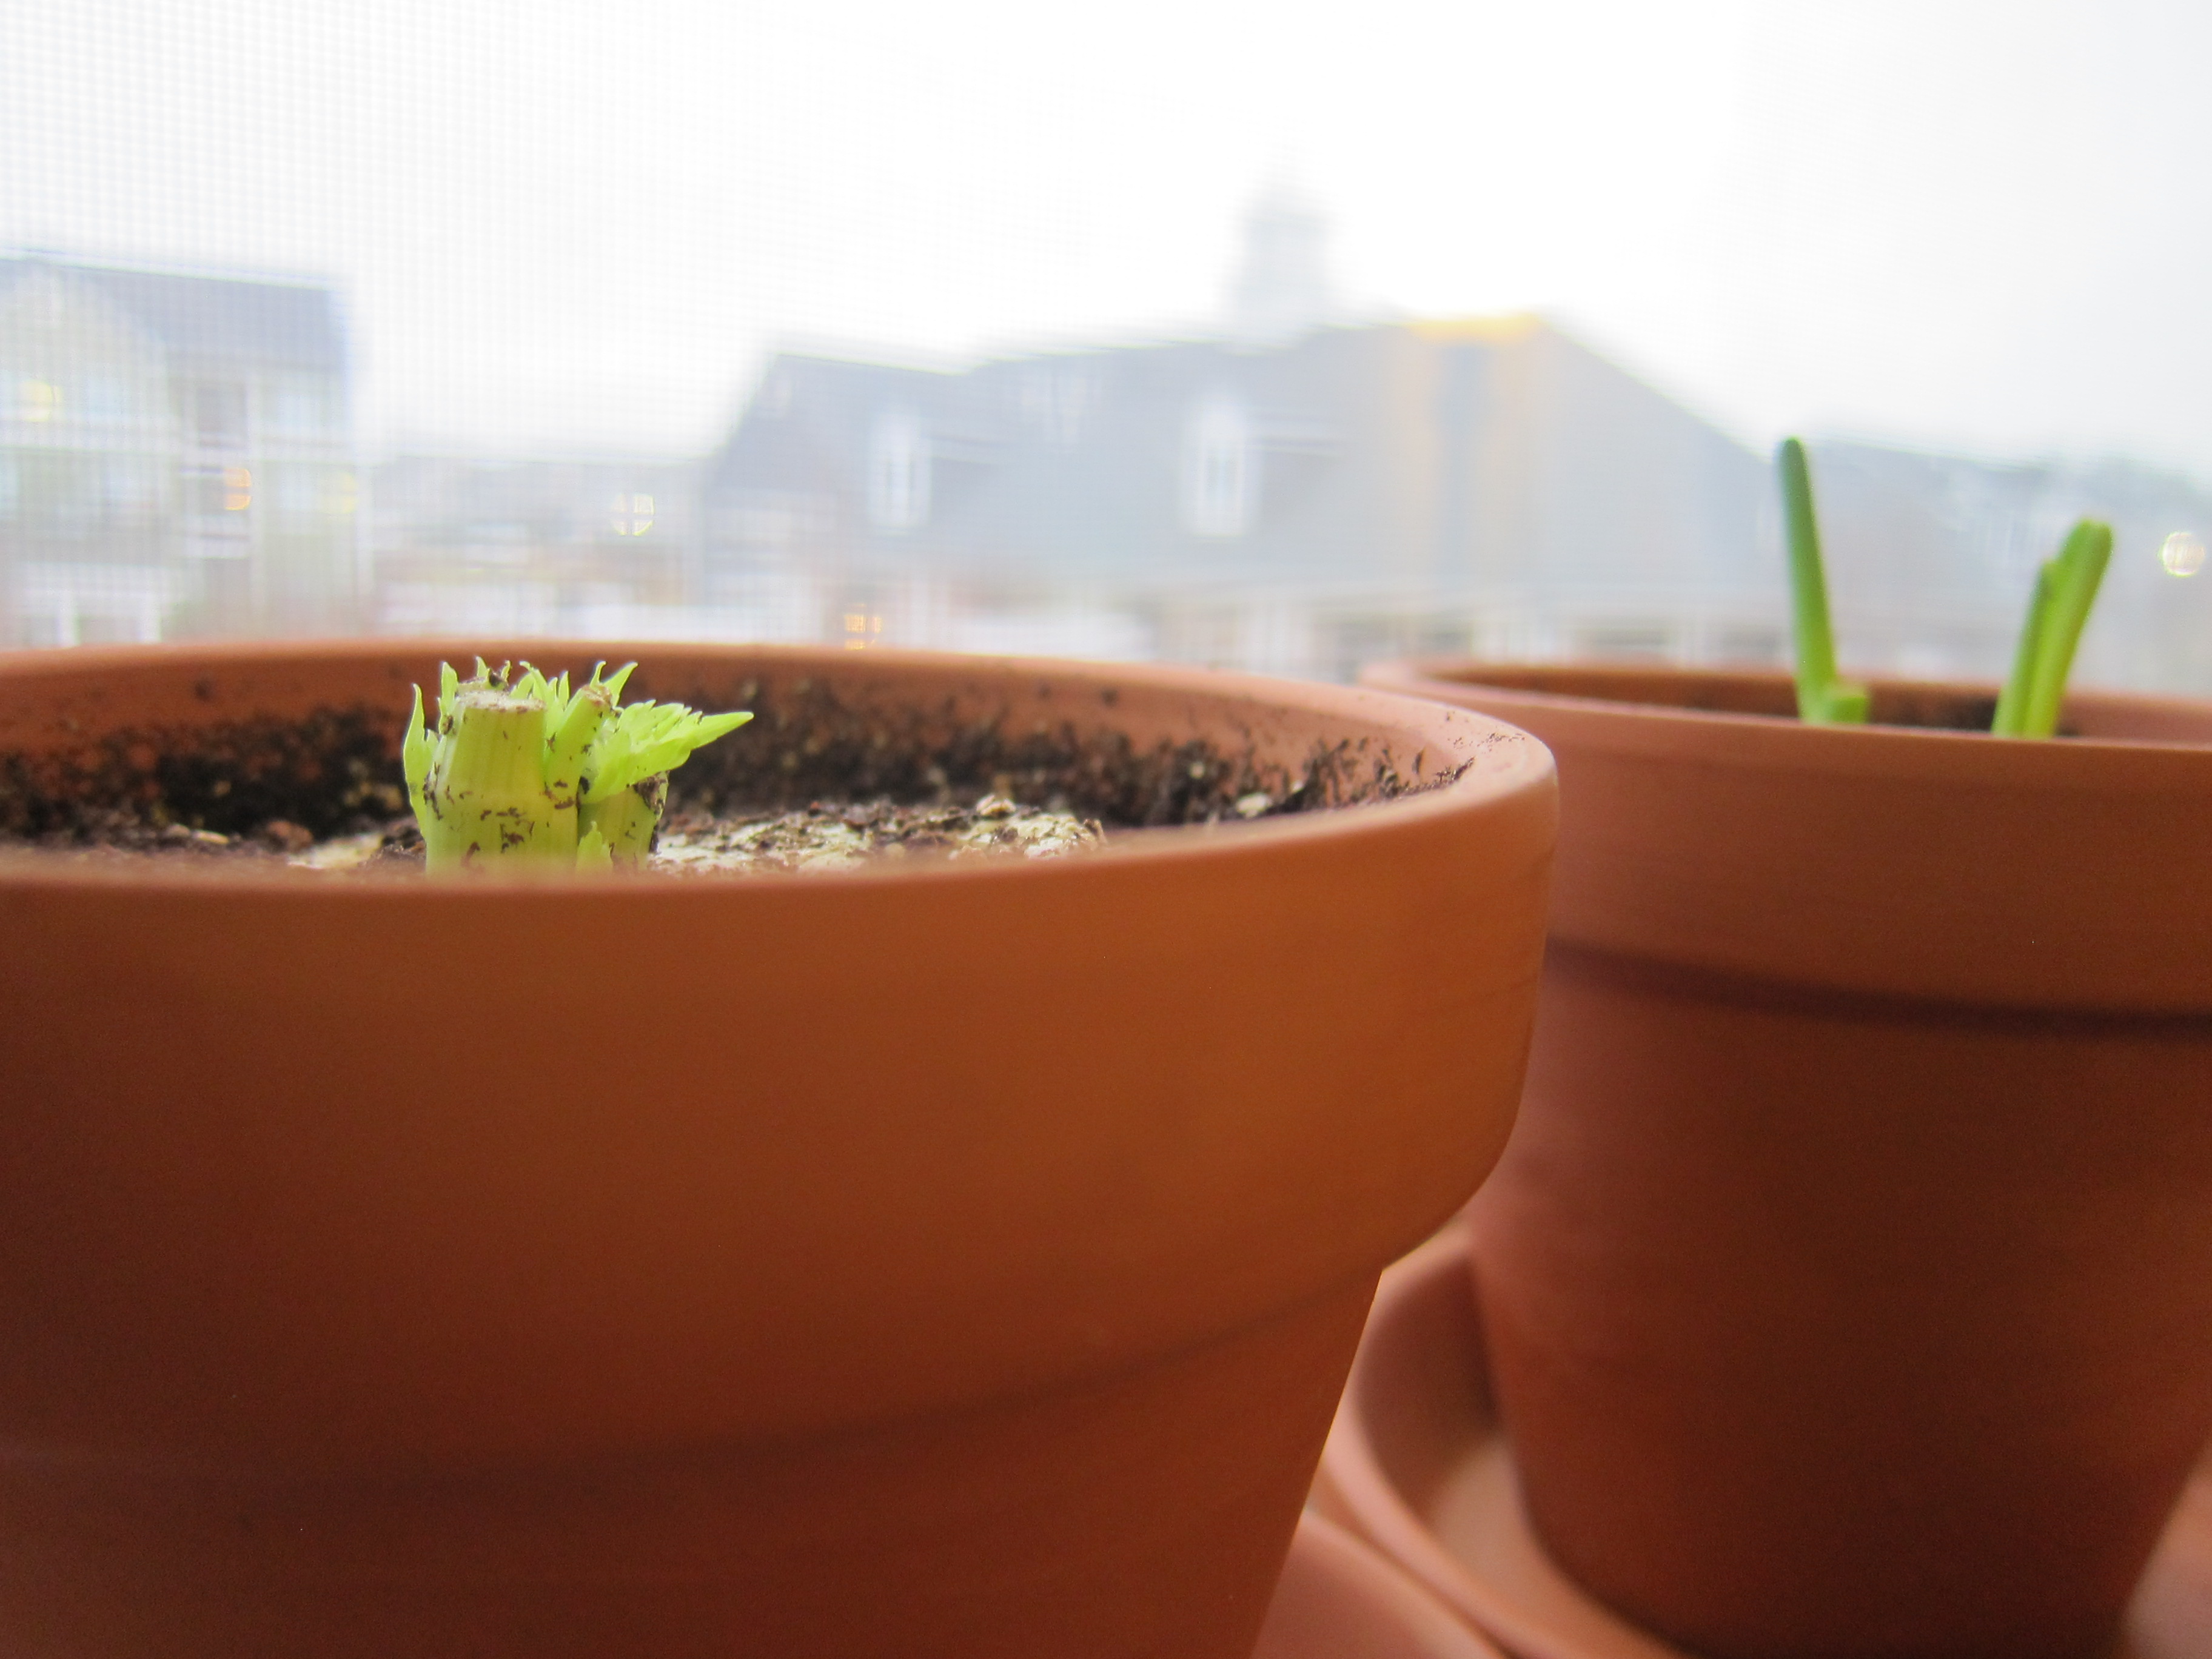
Here’s where the kit really got hands-on, with instructions on how to grow your own celery plant. Travis returned from school to find pots and dirt, and couldn’t wait. First, help your child cut the base off a full stalk of celery. Place the base in a dish of shallow water.

LP Plants (9)

Change the water every few days, and dribble a few drops of water on the top daily. You should start to see new celery growth within a few days.

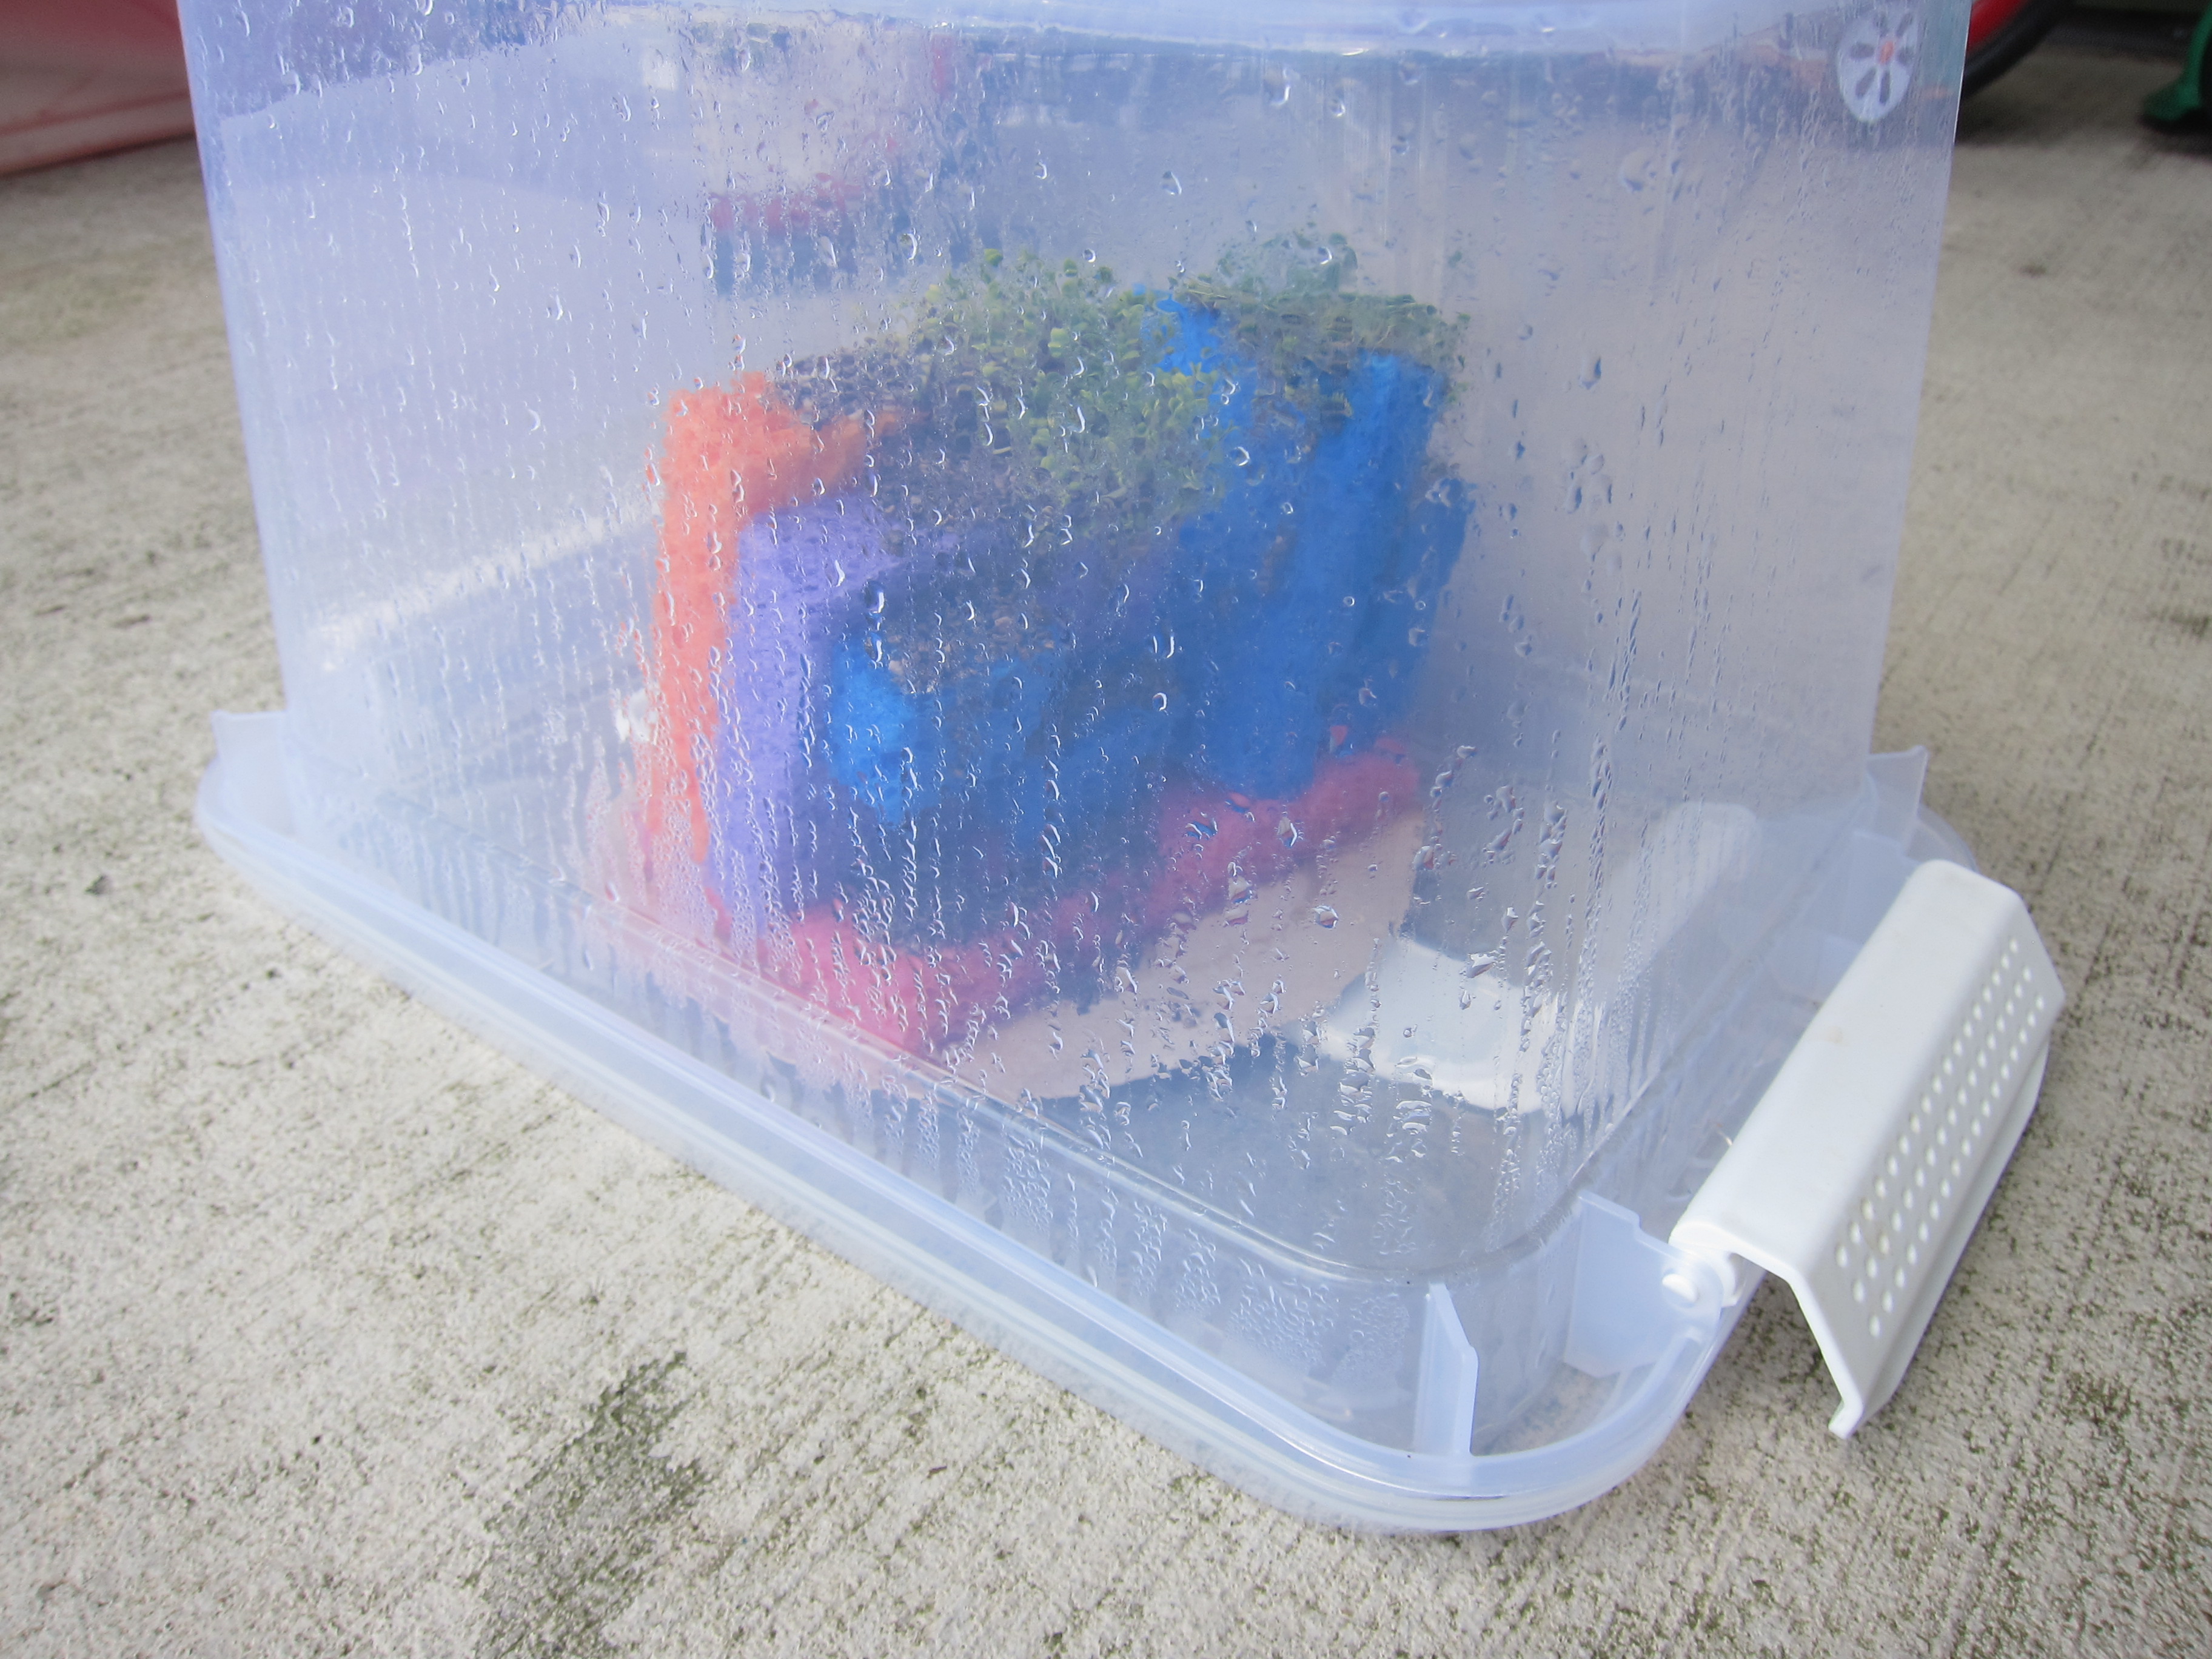
We waited about five days, then placed the celery in a pot, and covered with soil. The fresh leaf tips should stick up from the dirt. Place in a sunny spot, and water every 3 days or so (I watered daily, which seemed to work fine).

LP Plants (18)

It will continued to grow! You can actually use this celery for soups, salads, or snacks. This is a great way to teach kids where food comes from, and we can’t wait to harvest our little plant!

LP Plants update

Plants Keepsake:

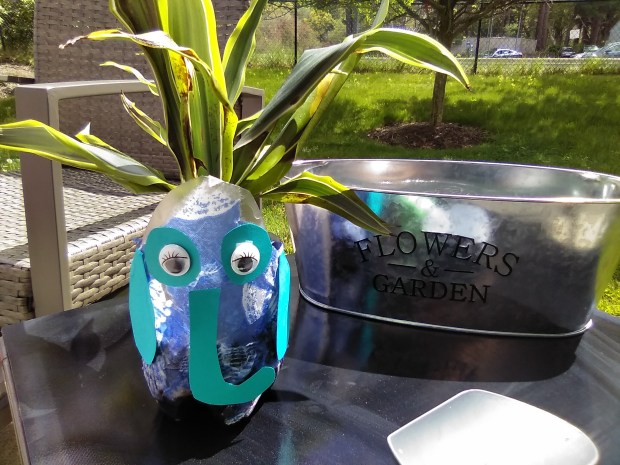
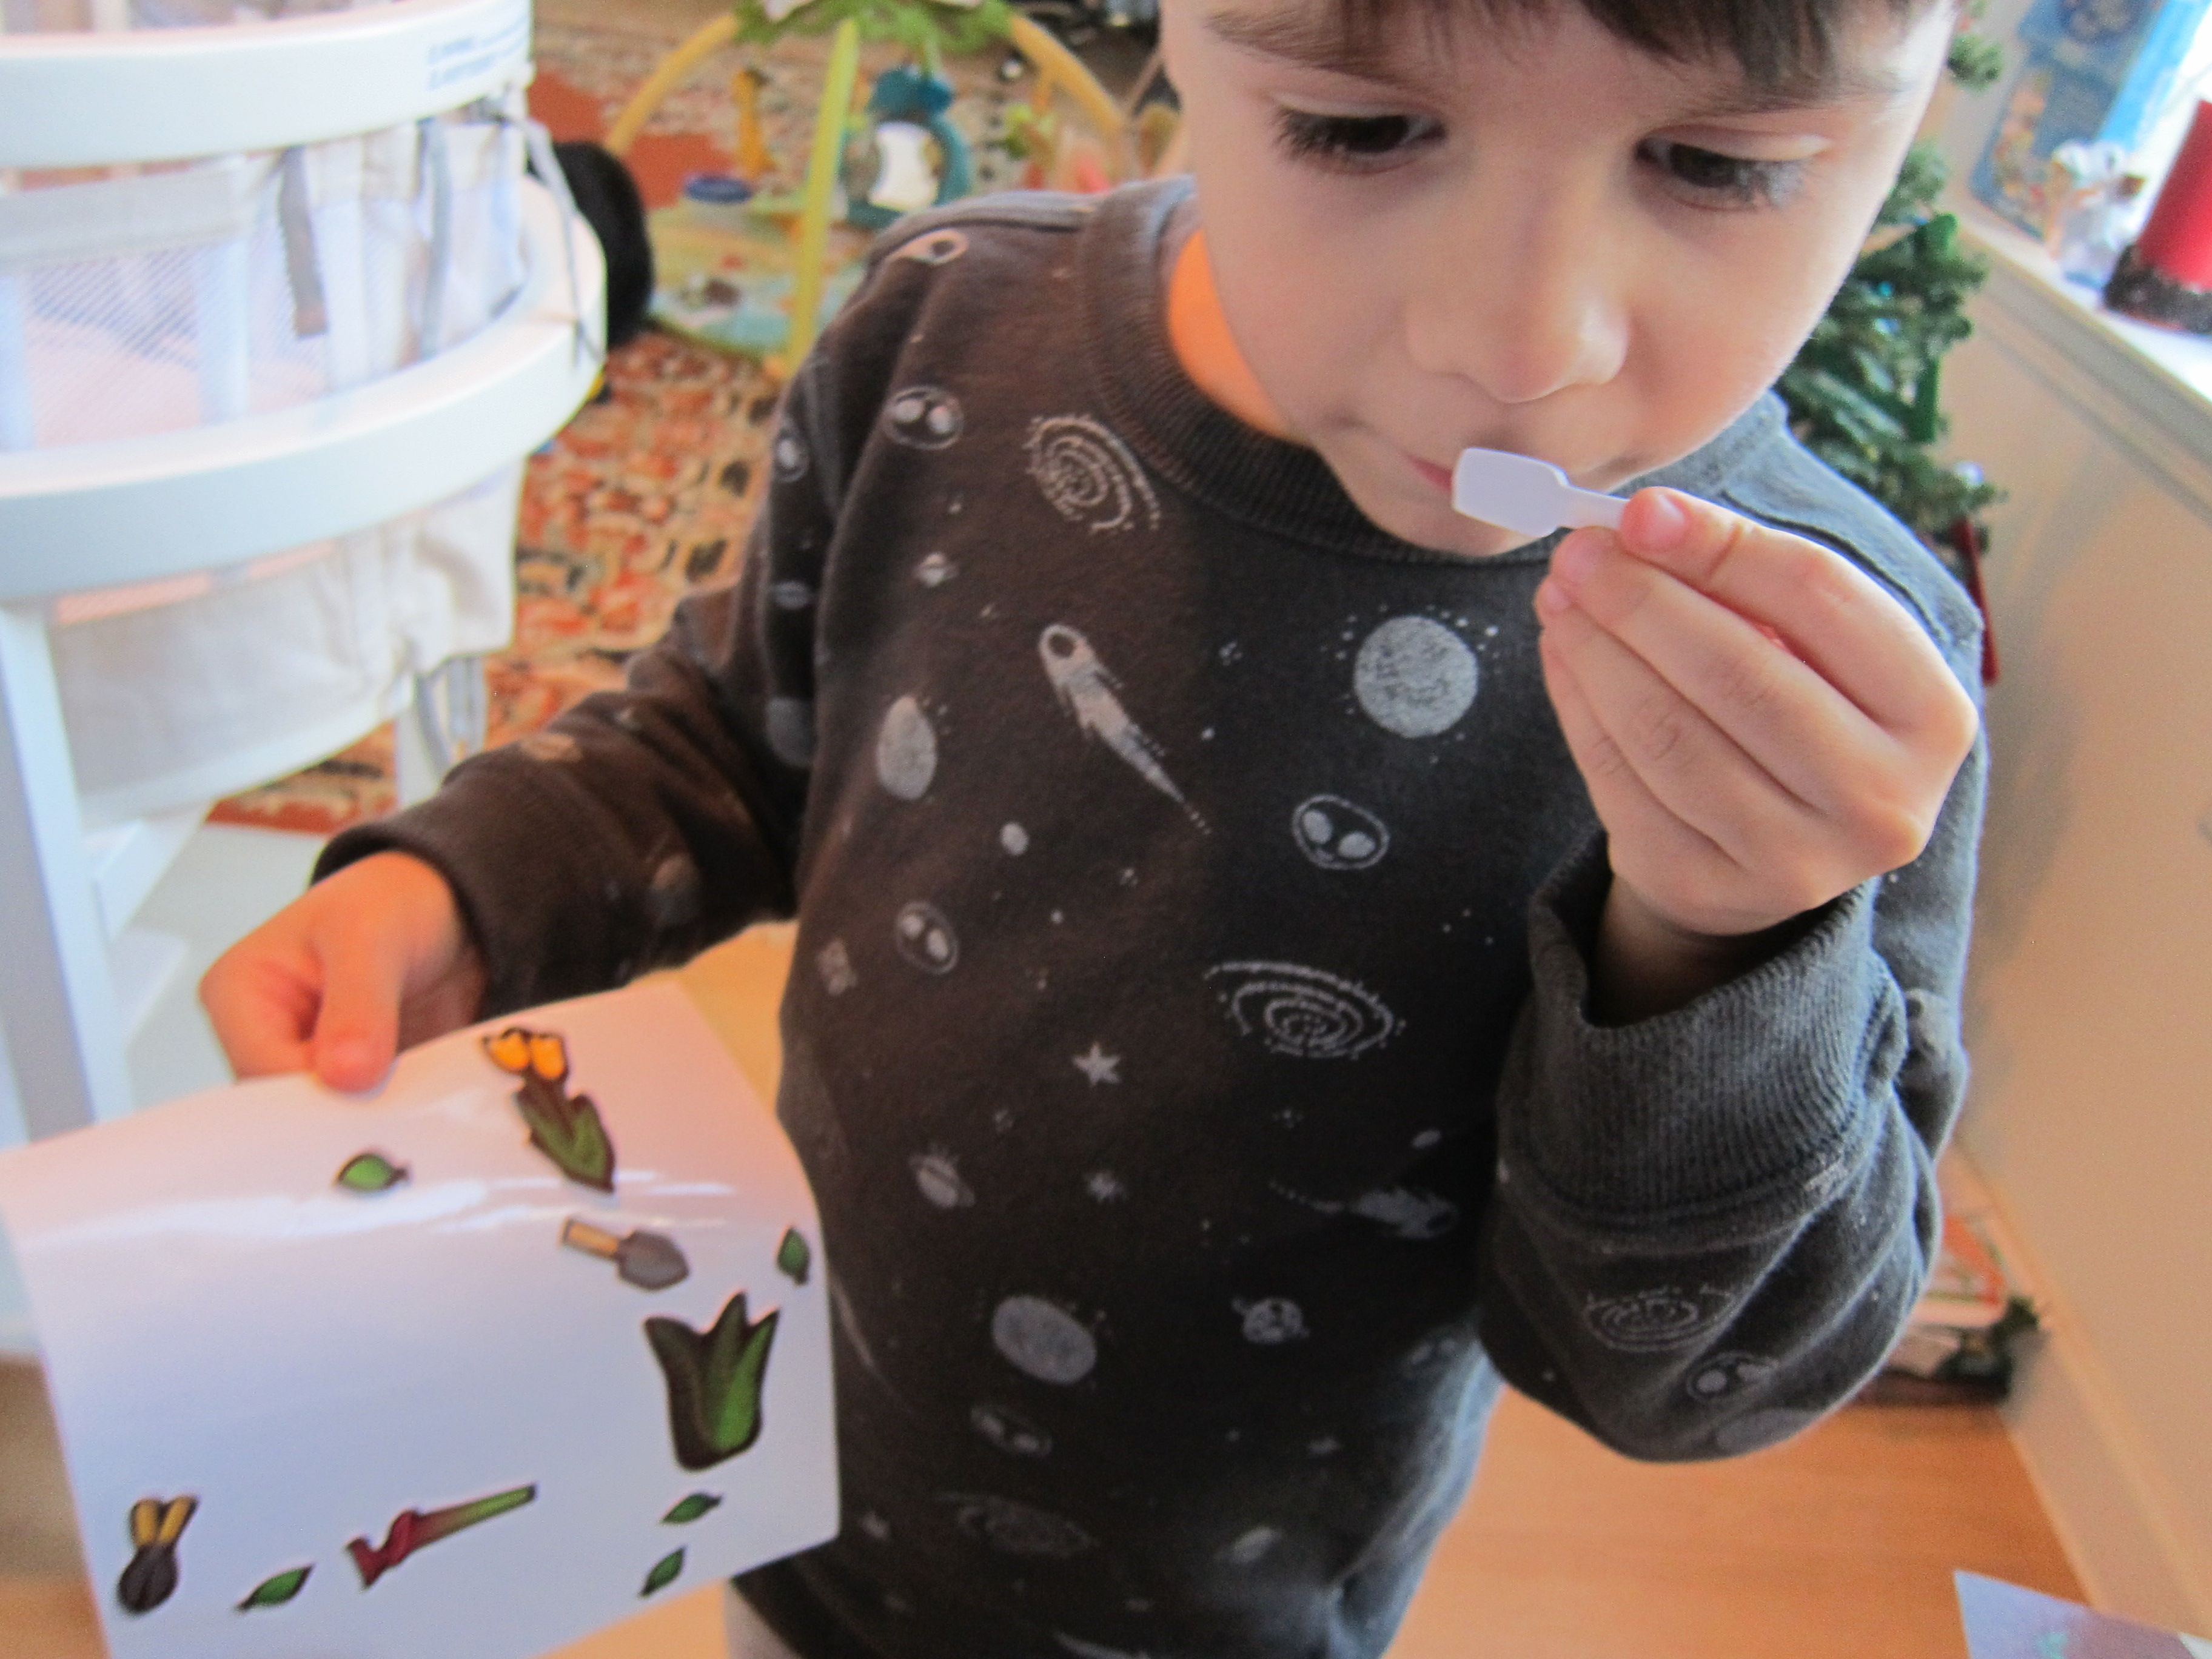
The very first thing Travis wanted this month was his “present”, and he was thrilled to find puffy stickers and a garden background in which to place them, and even more thrilled to learn the stickers are reusable.

LP Plants (2)

He insisted each sticker smelled differently, too. I couldn’t tell a difference, but if so, that is a very clever trick on the part of Little Passports!

LP Plants (3)

As a parental aside, I was a touch disappointed by the repeat keepsake. Perhaps a flower pot or seeds might have been more novel.

Plants Field Trip:

Head off to a botanical garden of course! Since it’s winter here, we visited a favorite local garden, but concentrated on the greenhouse instead of the grounds.

LP Plants (20)

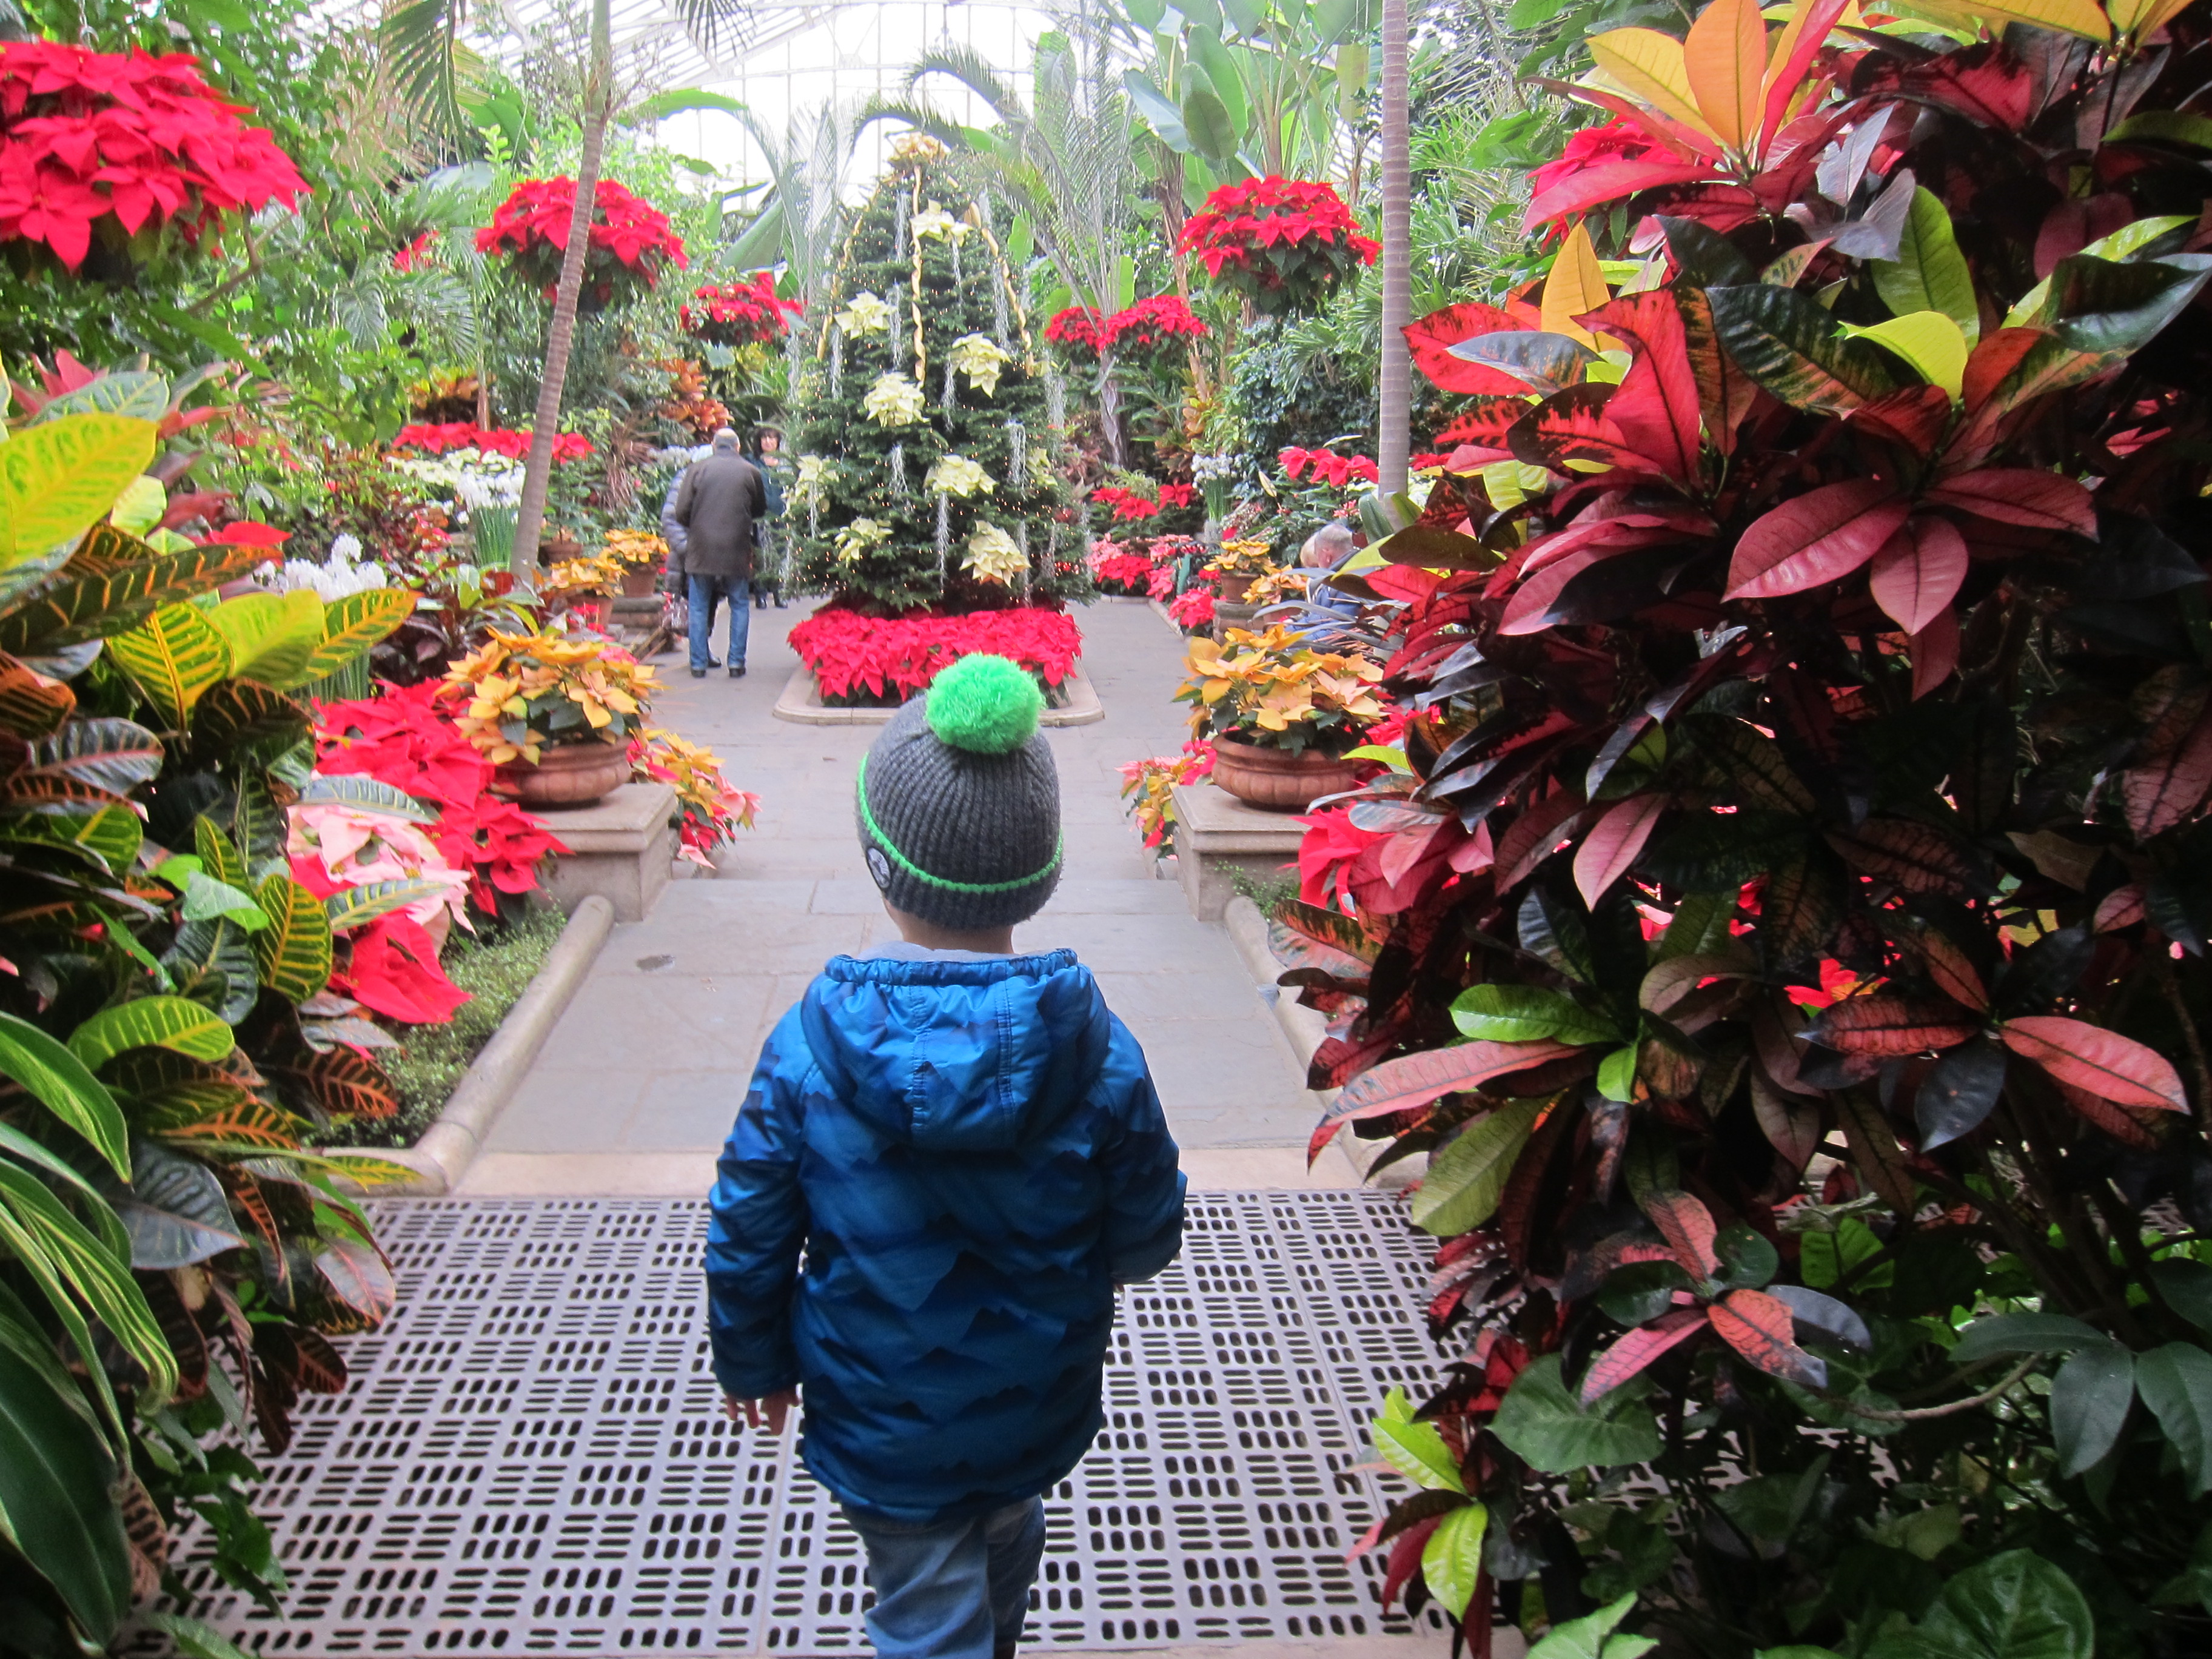
Travis loved the hibiscus room, ready for Christmas! And the cacti were a fast favorite.

LP Plants (23)

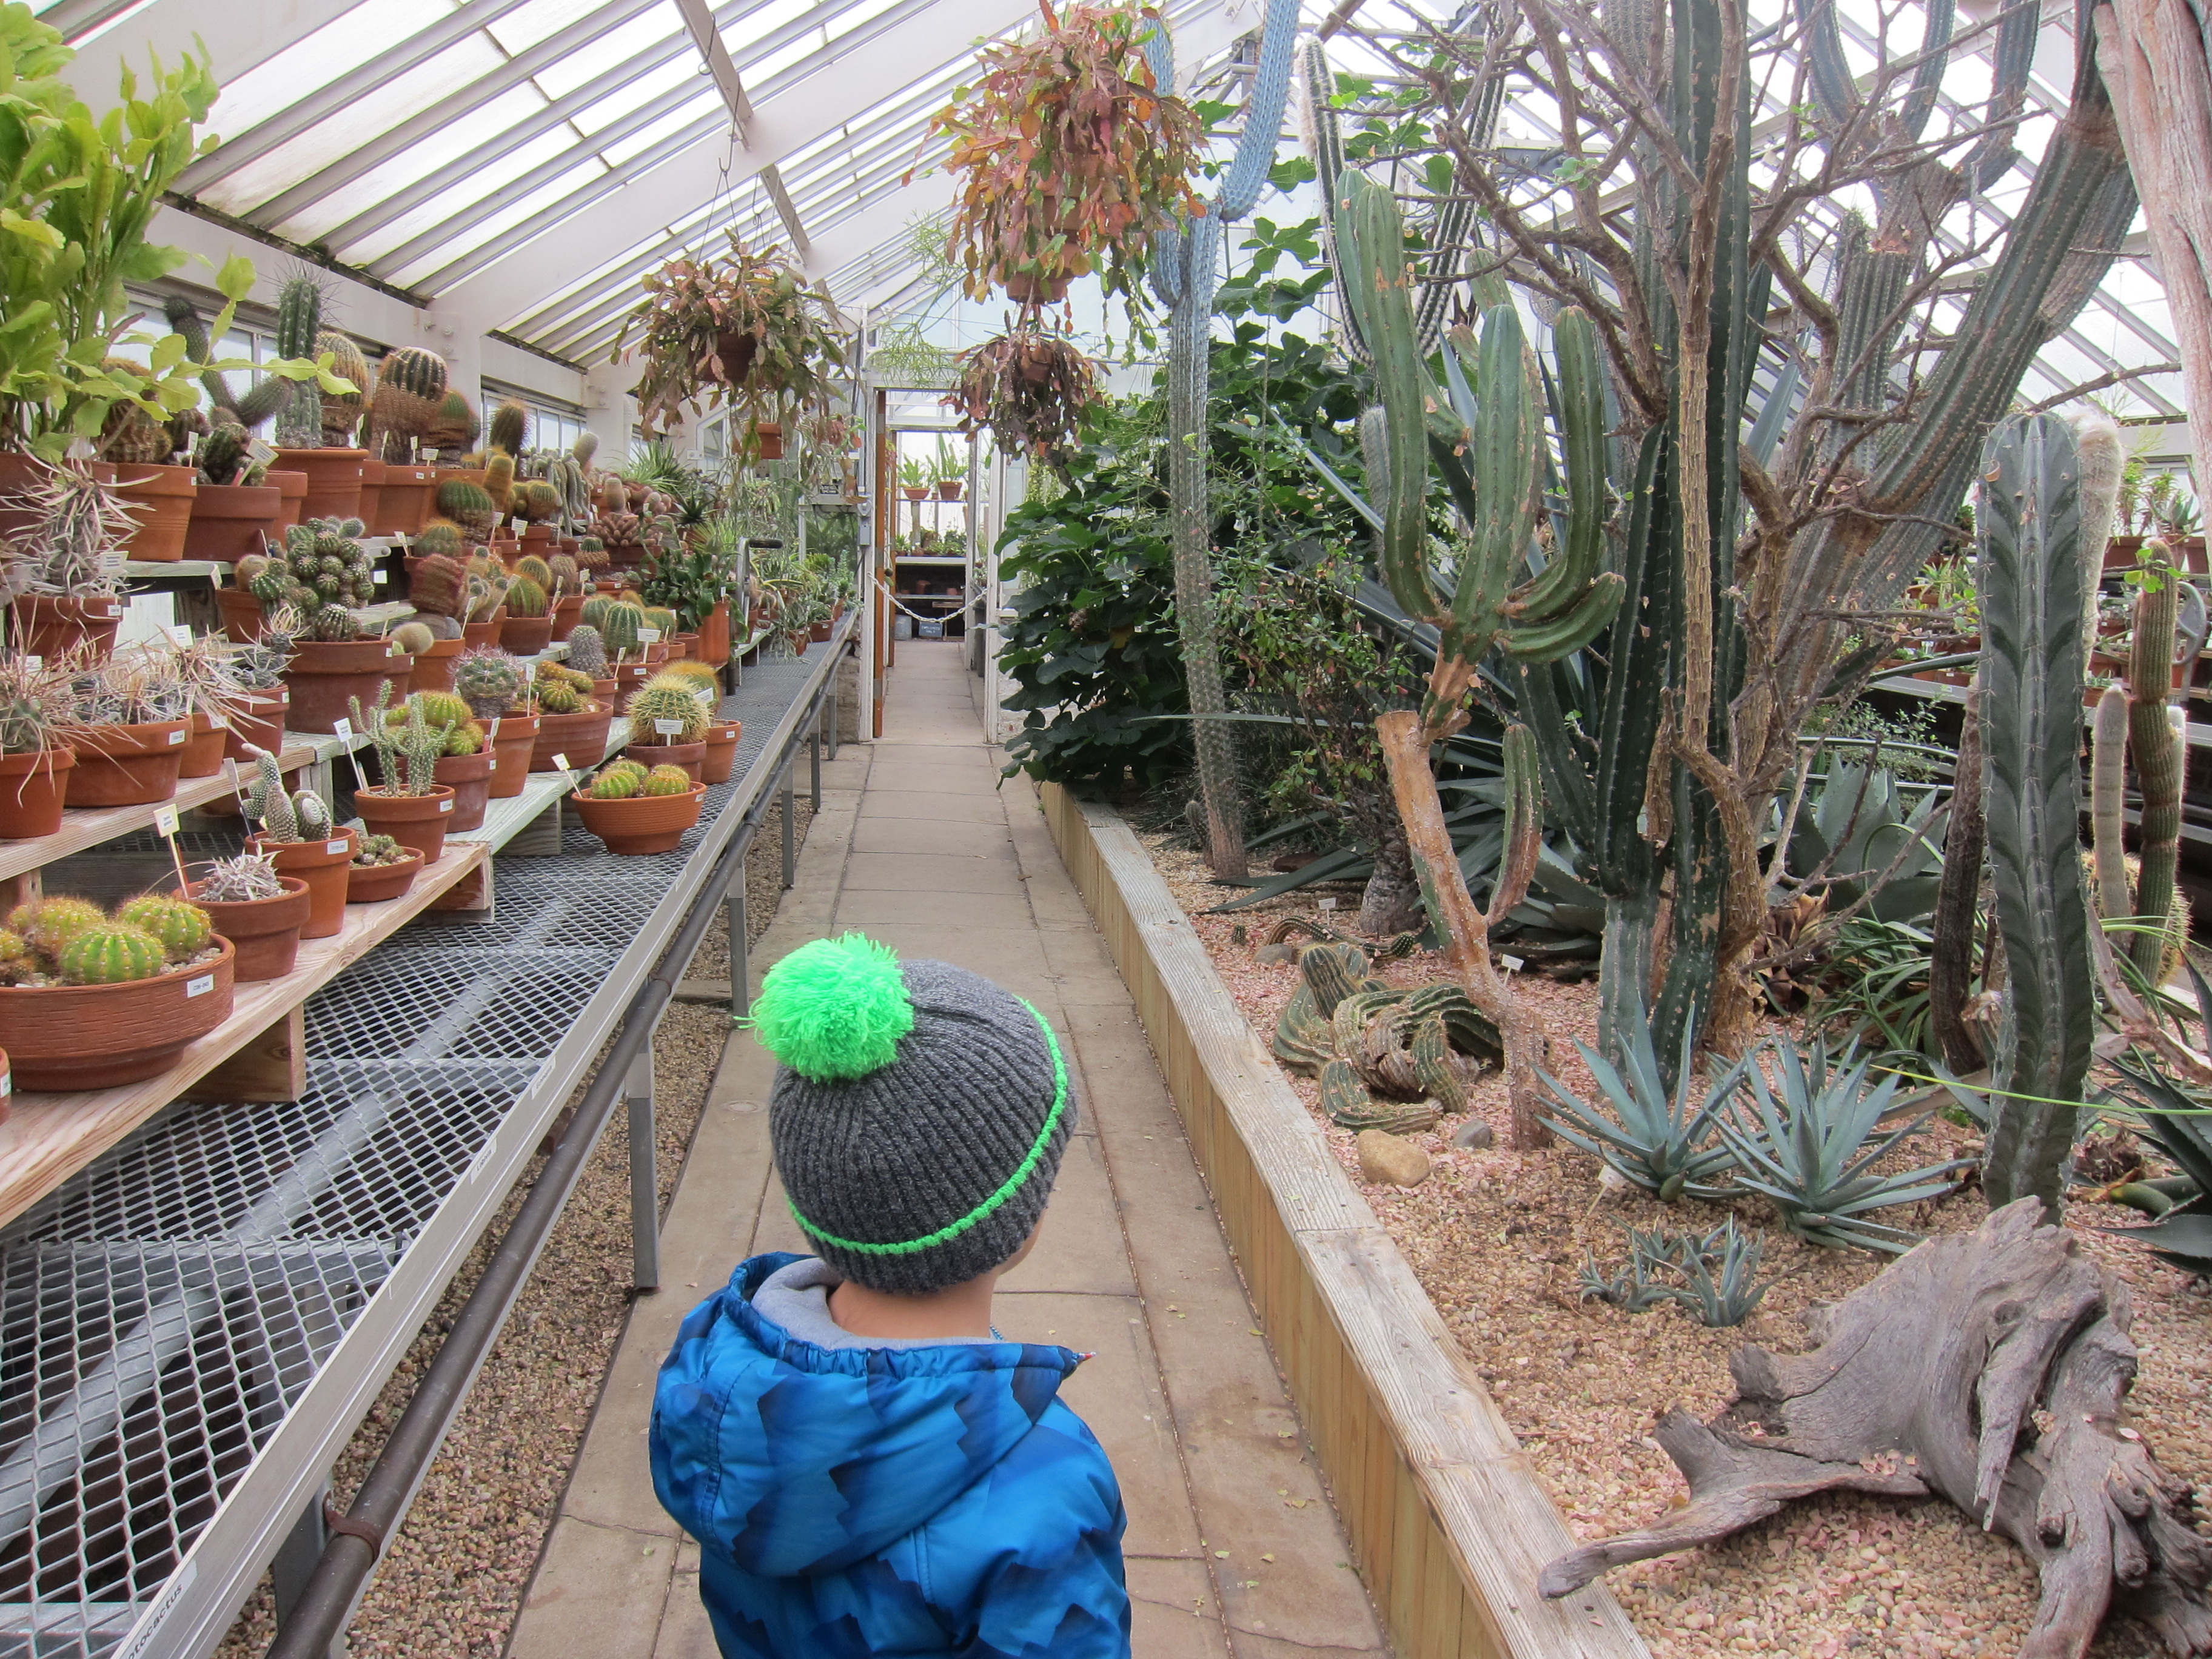
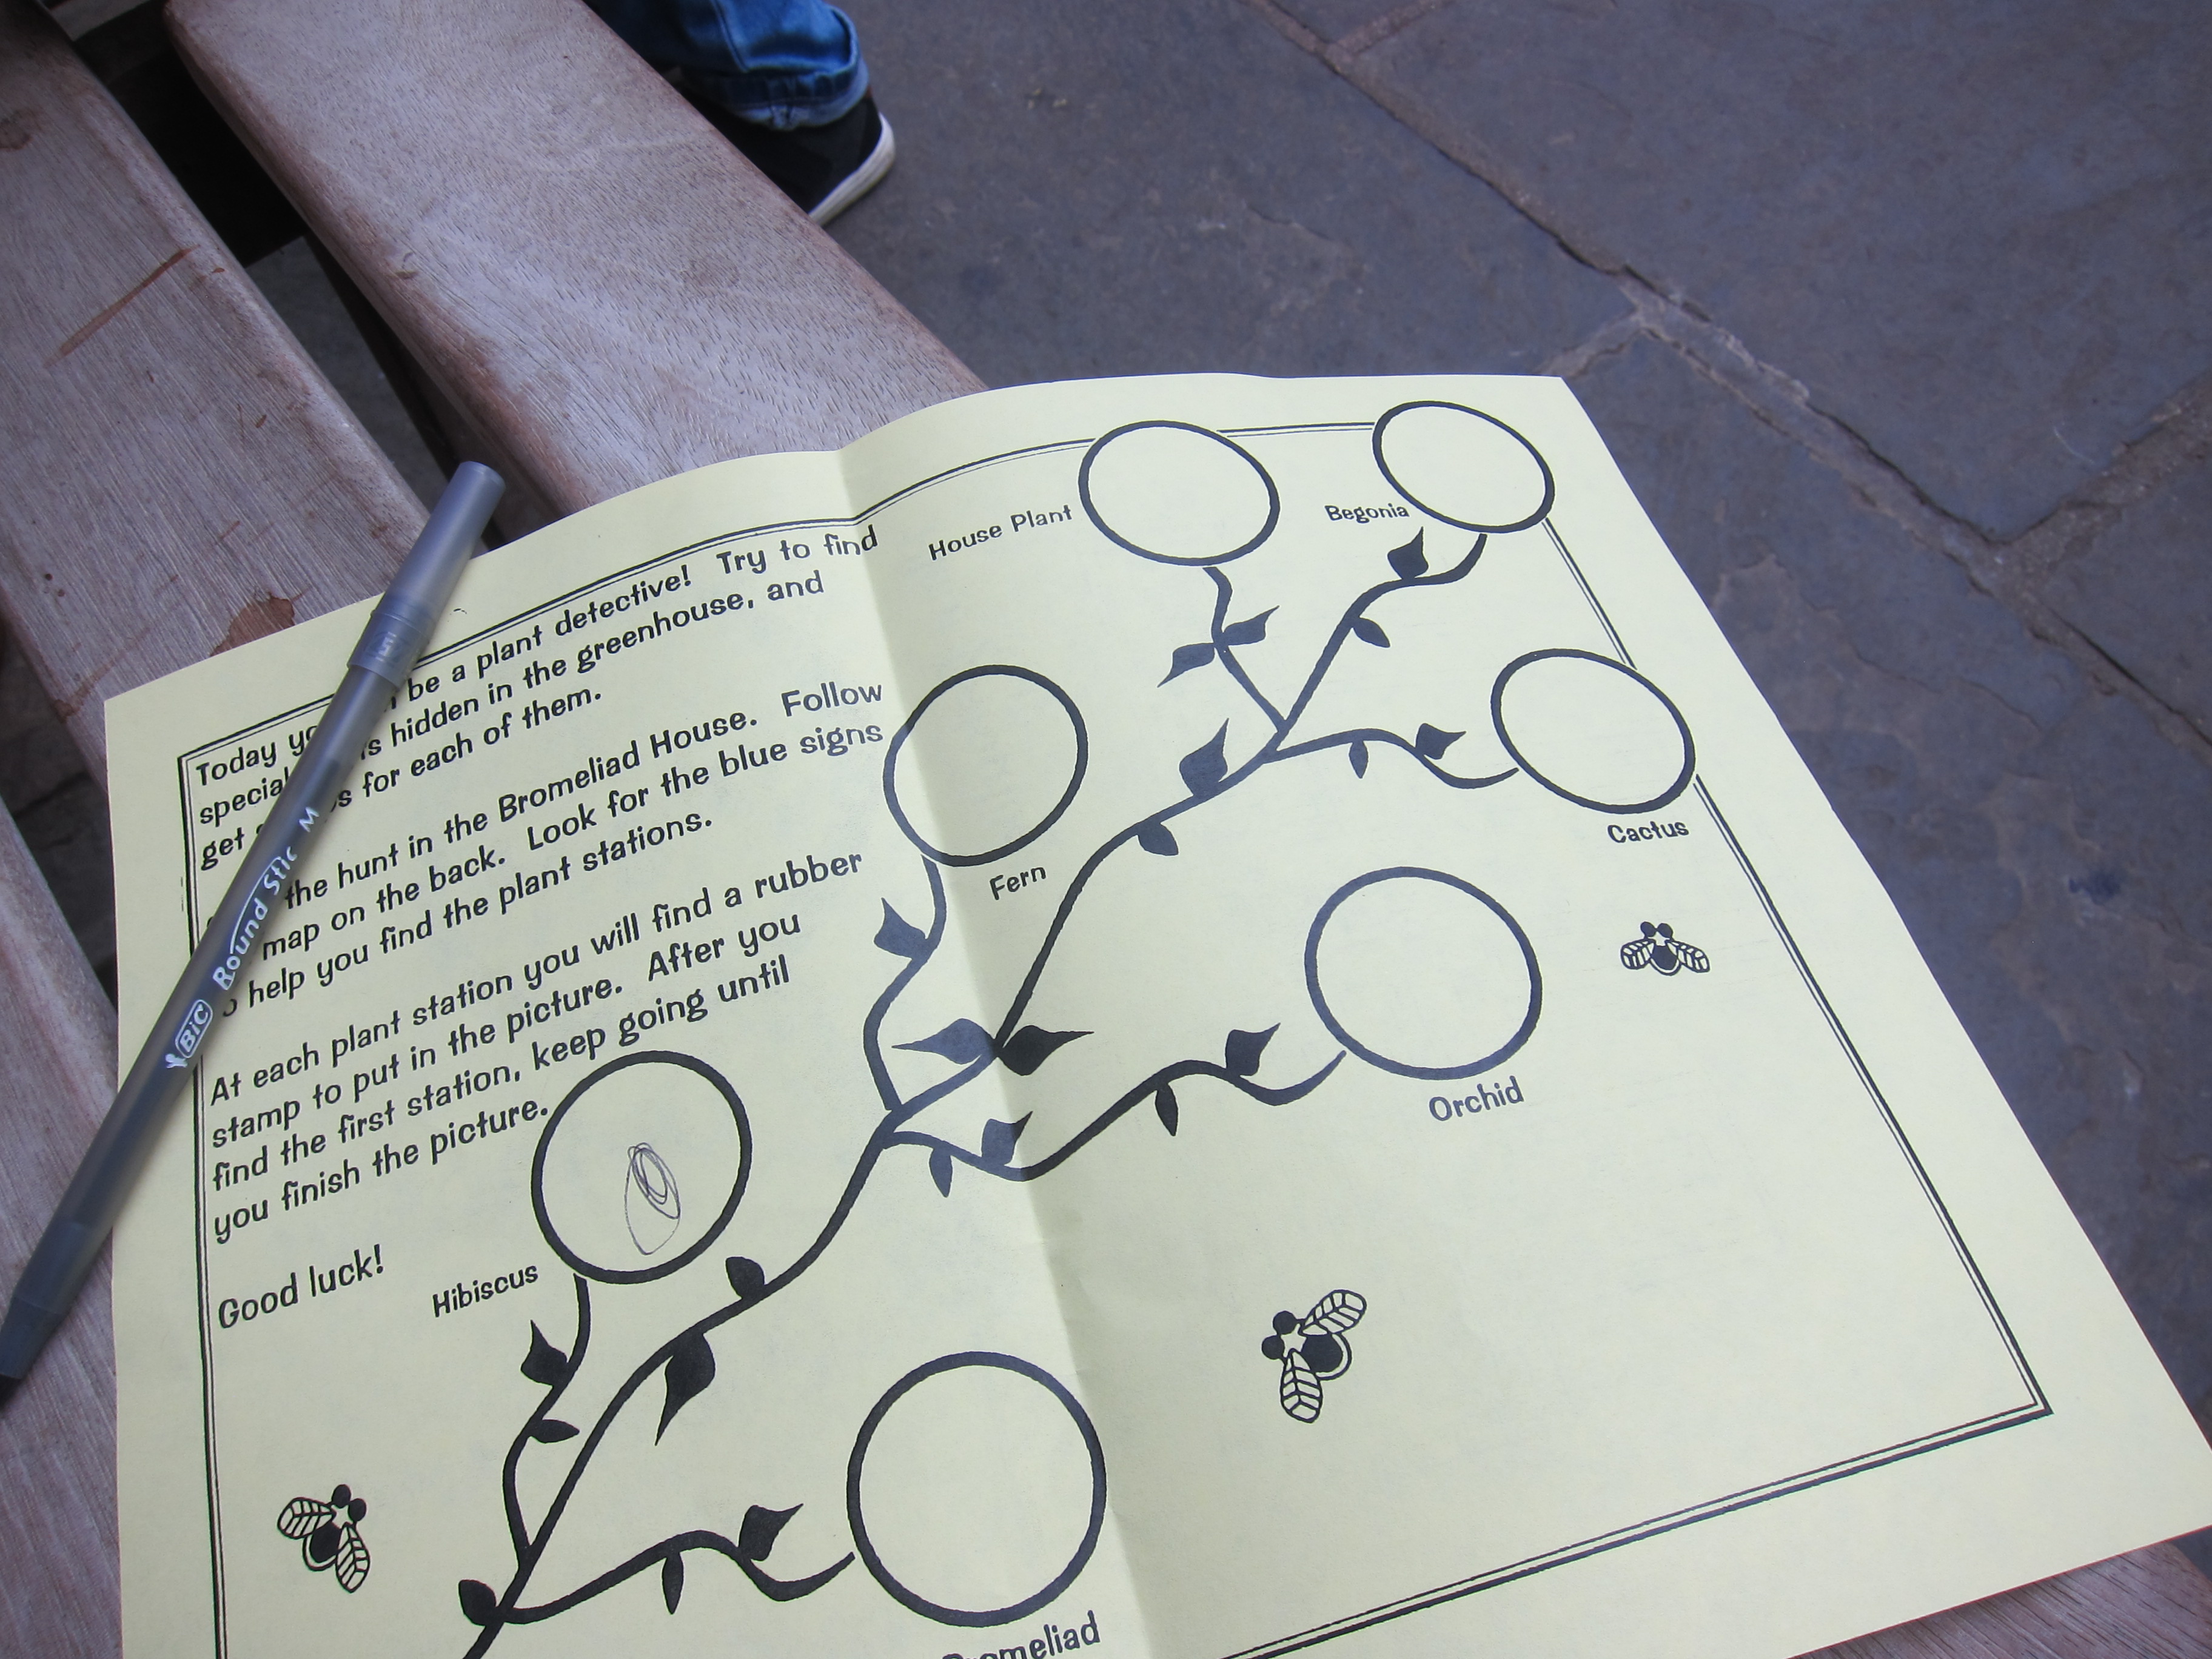
It was hard work to convince him that he really couldn’t touch any of the prickles, but I managed. Our garden also had a wonderful find-it hunt for kids.

LP Plants (22)

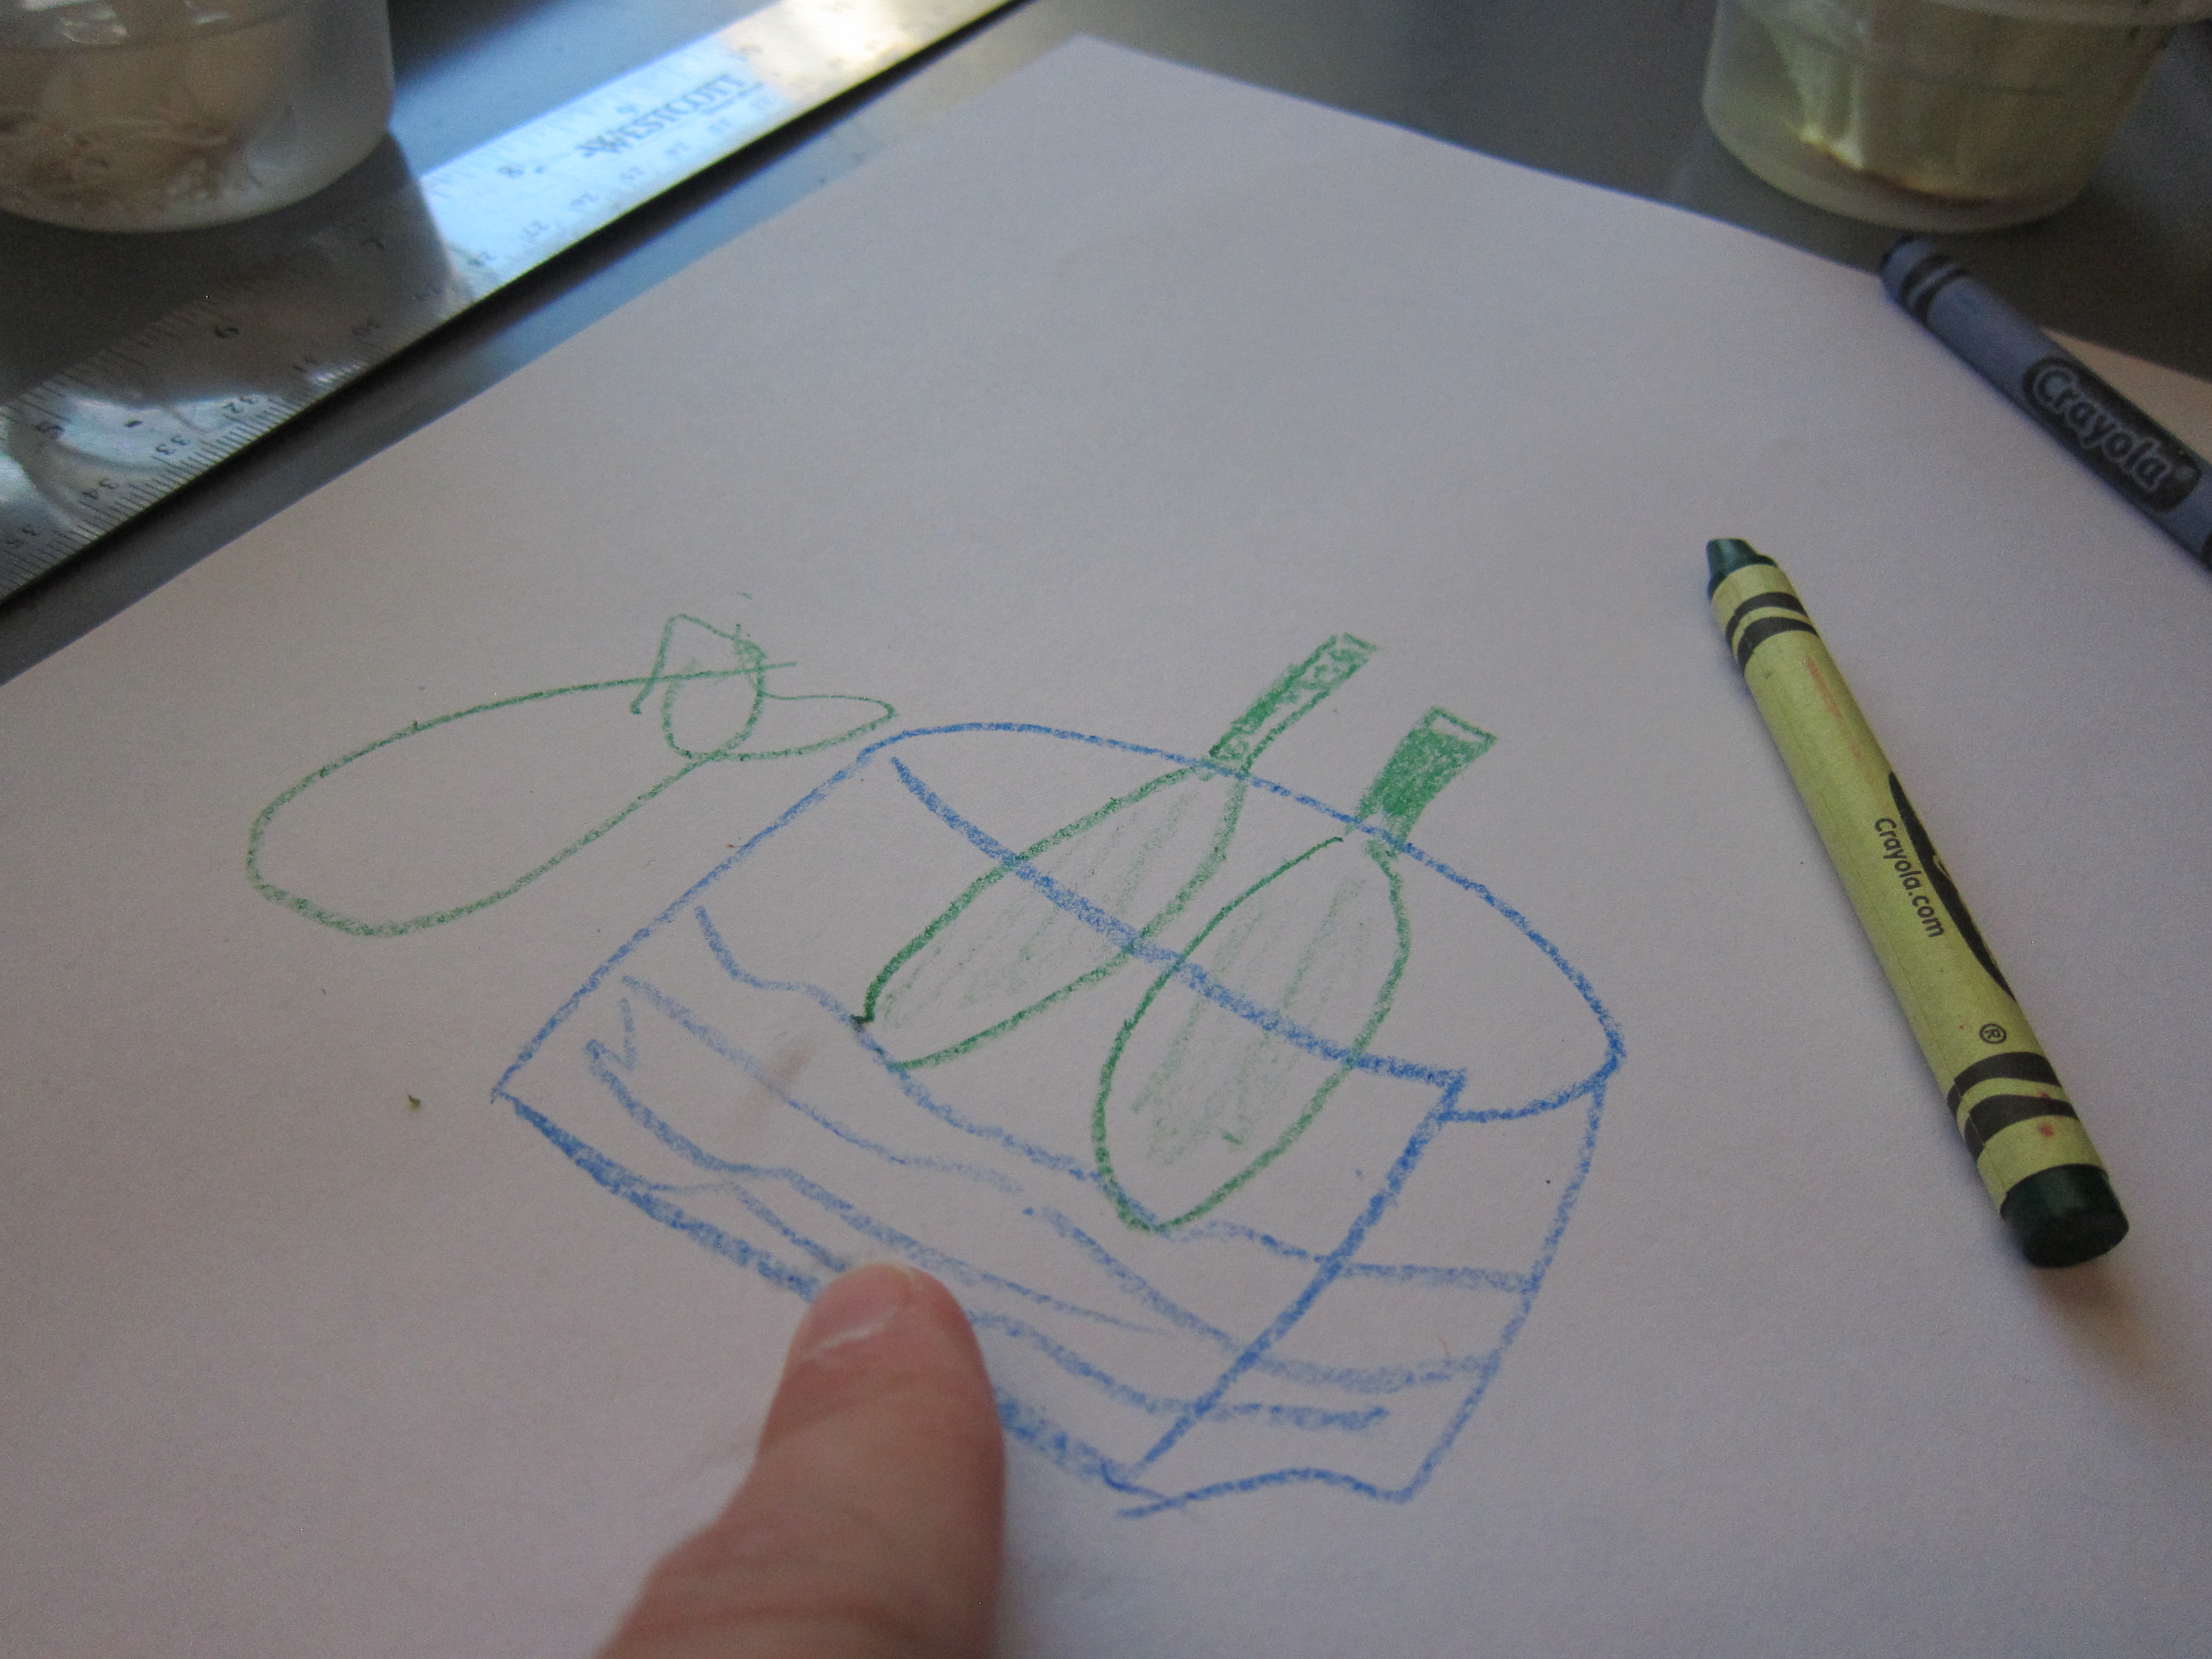
Your children might also enjoy drawing some of their favorite plants, though Travis opted out of this suggestion.

Plants Further Activities:

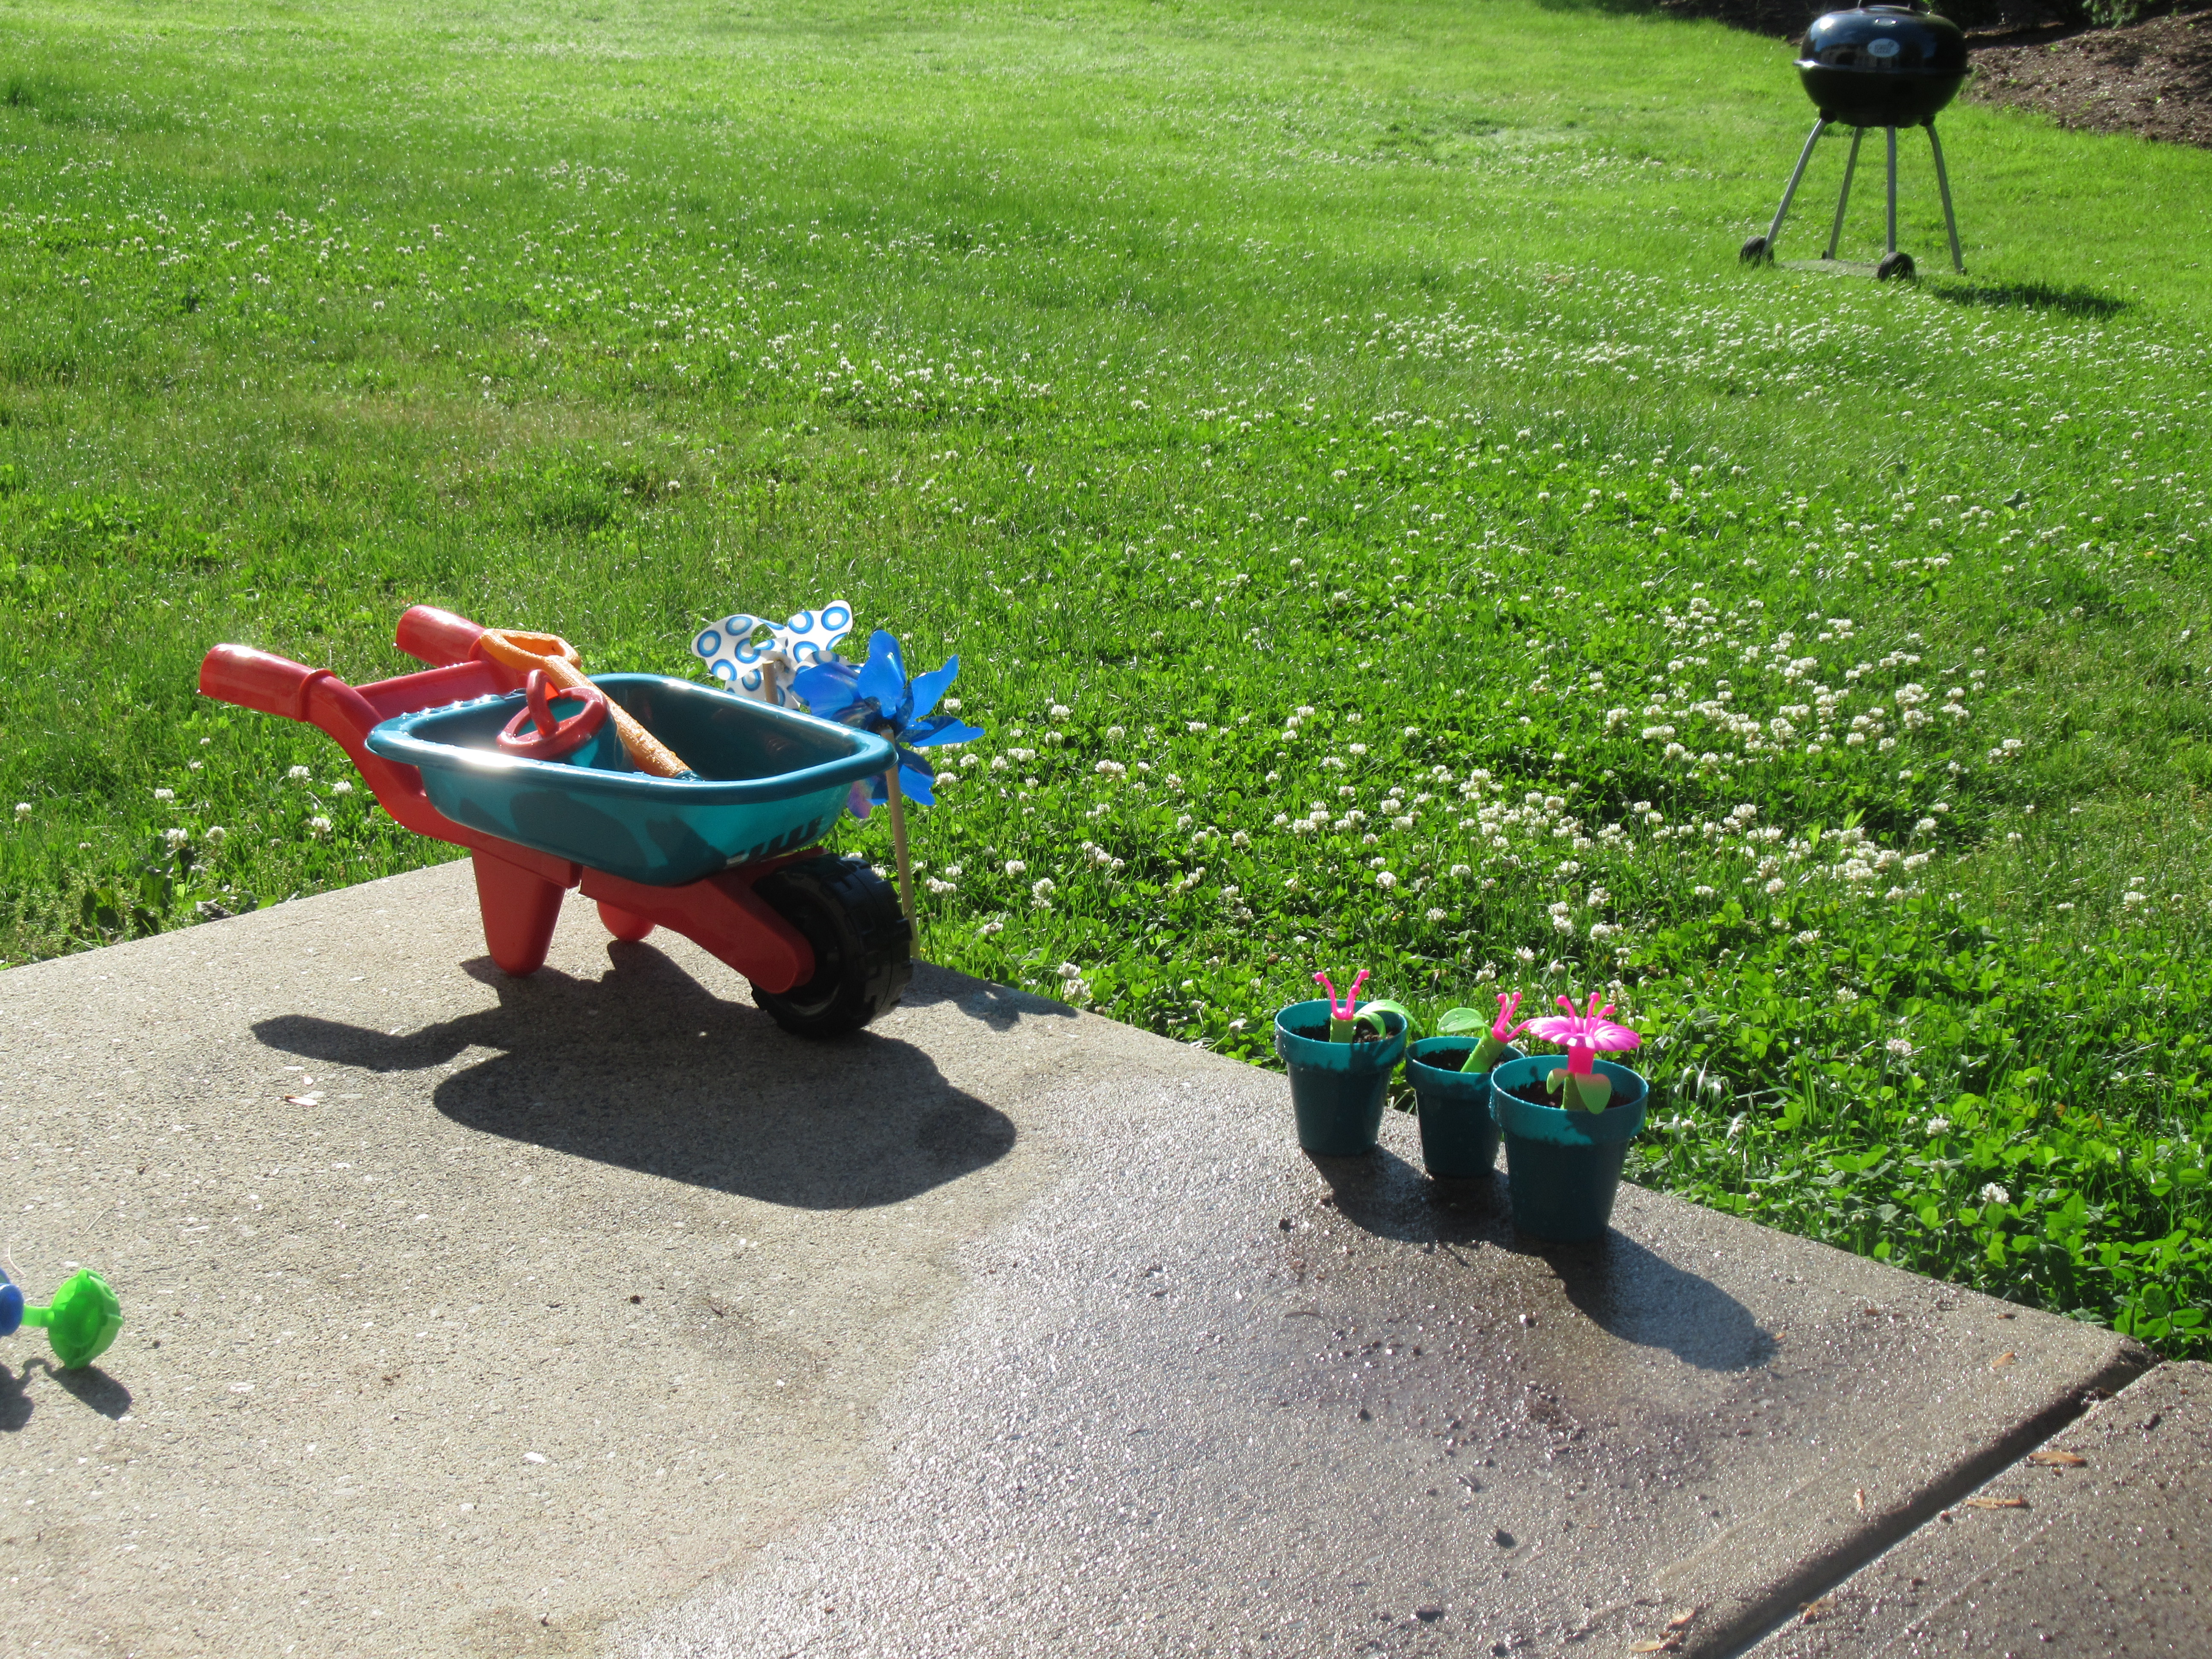
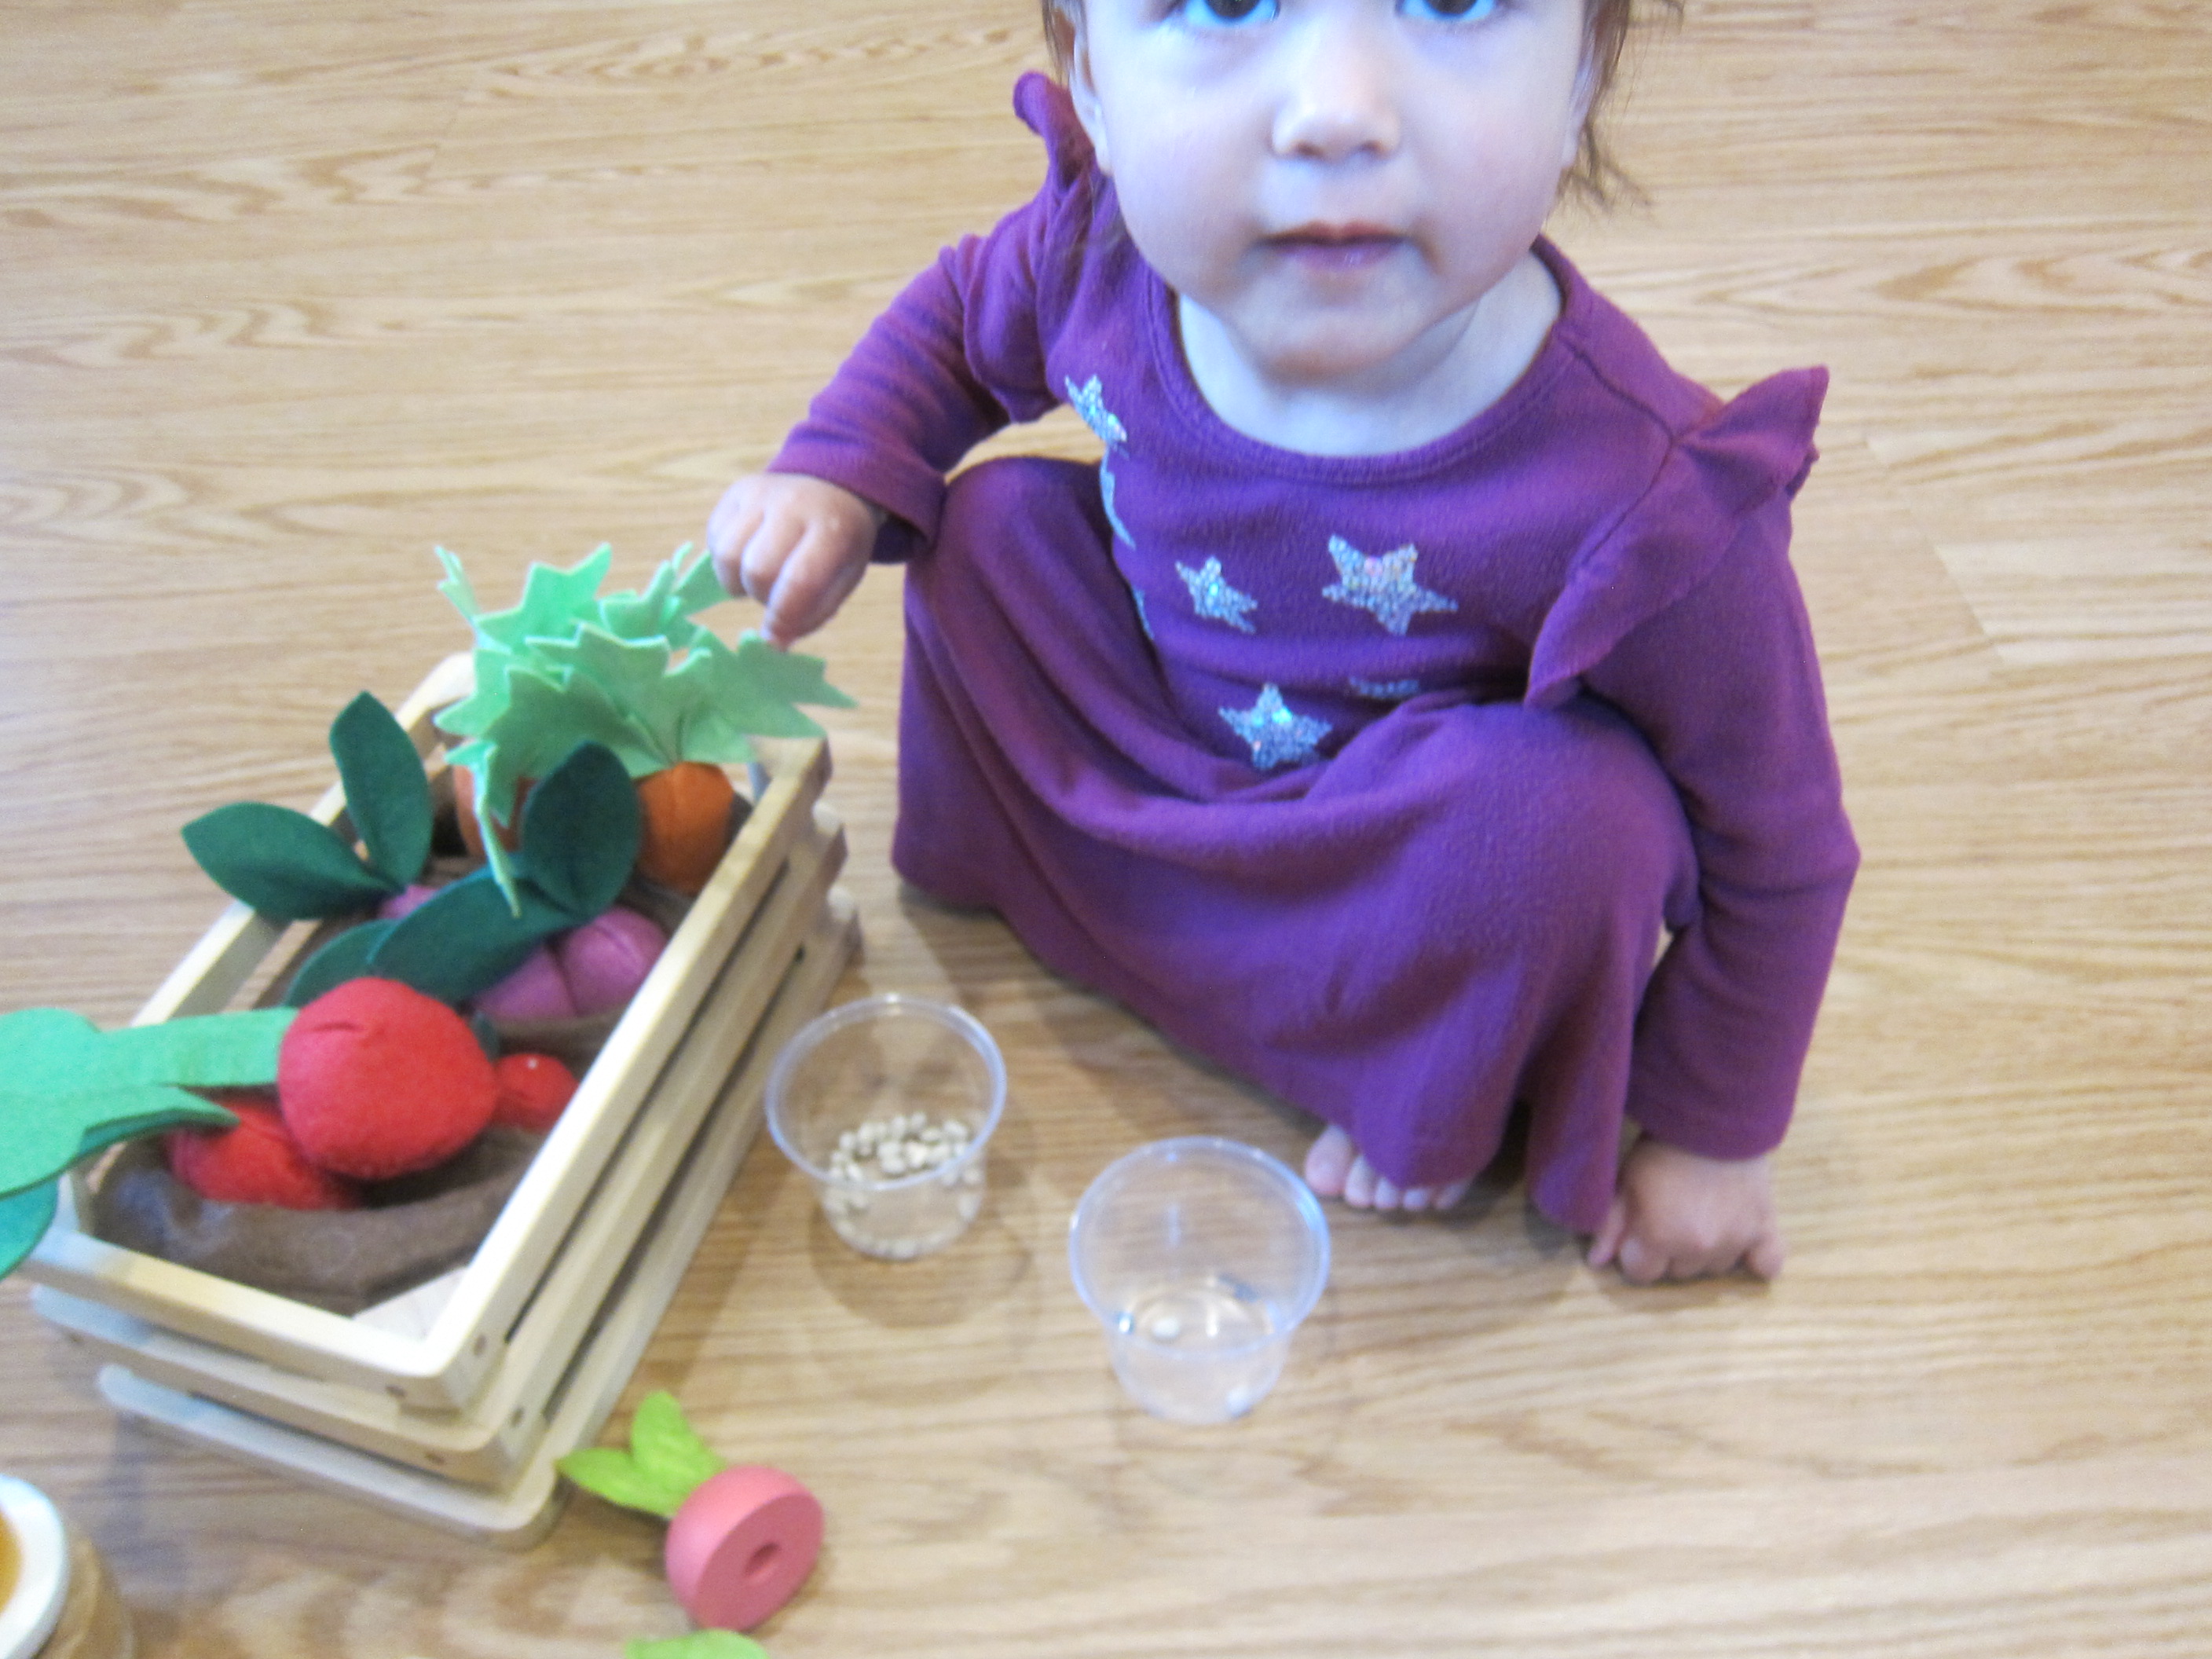
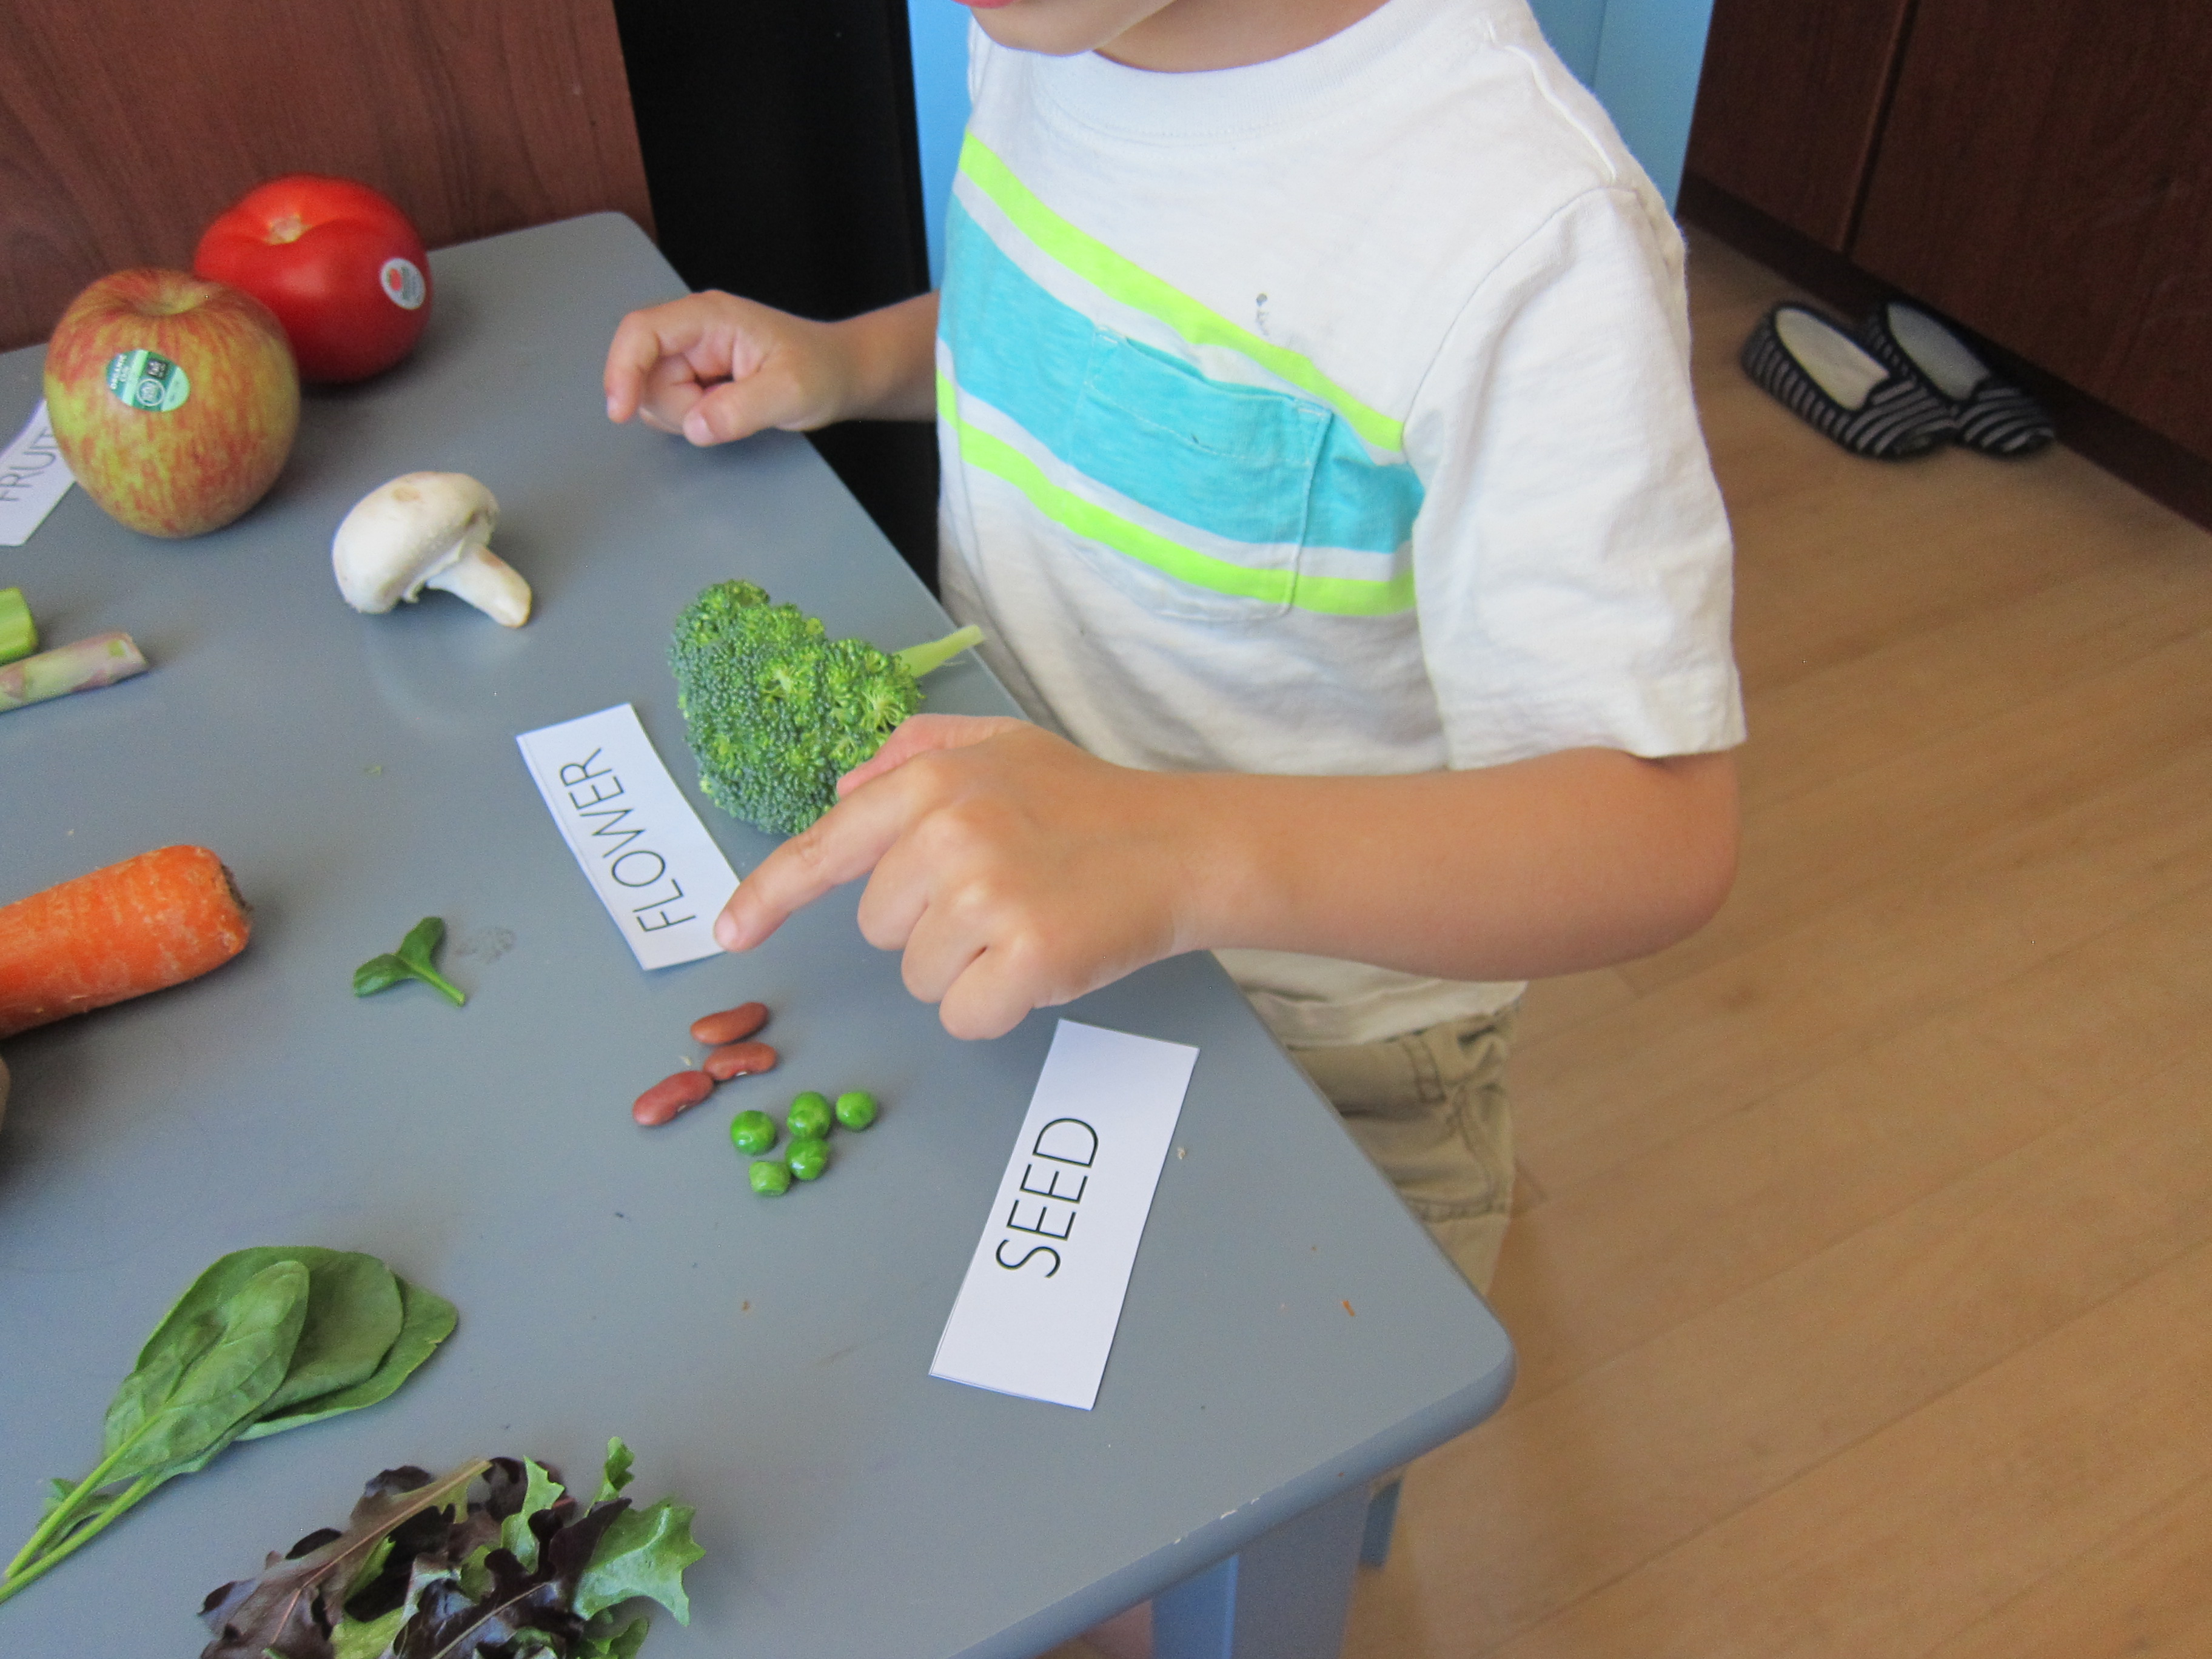
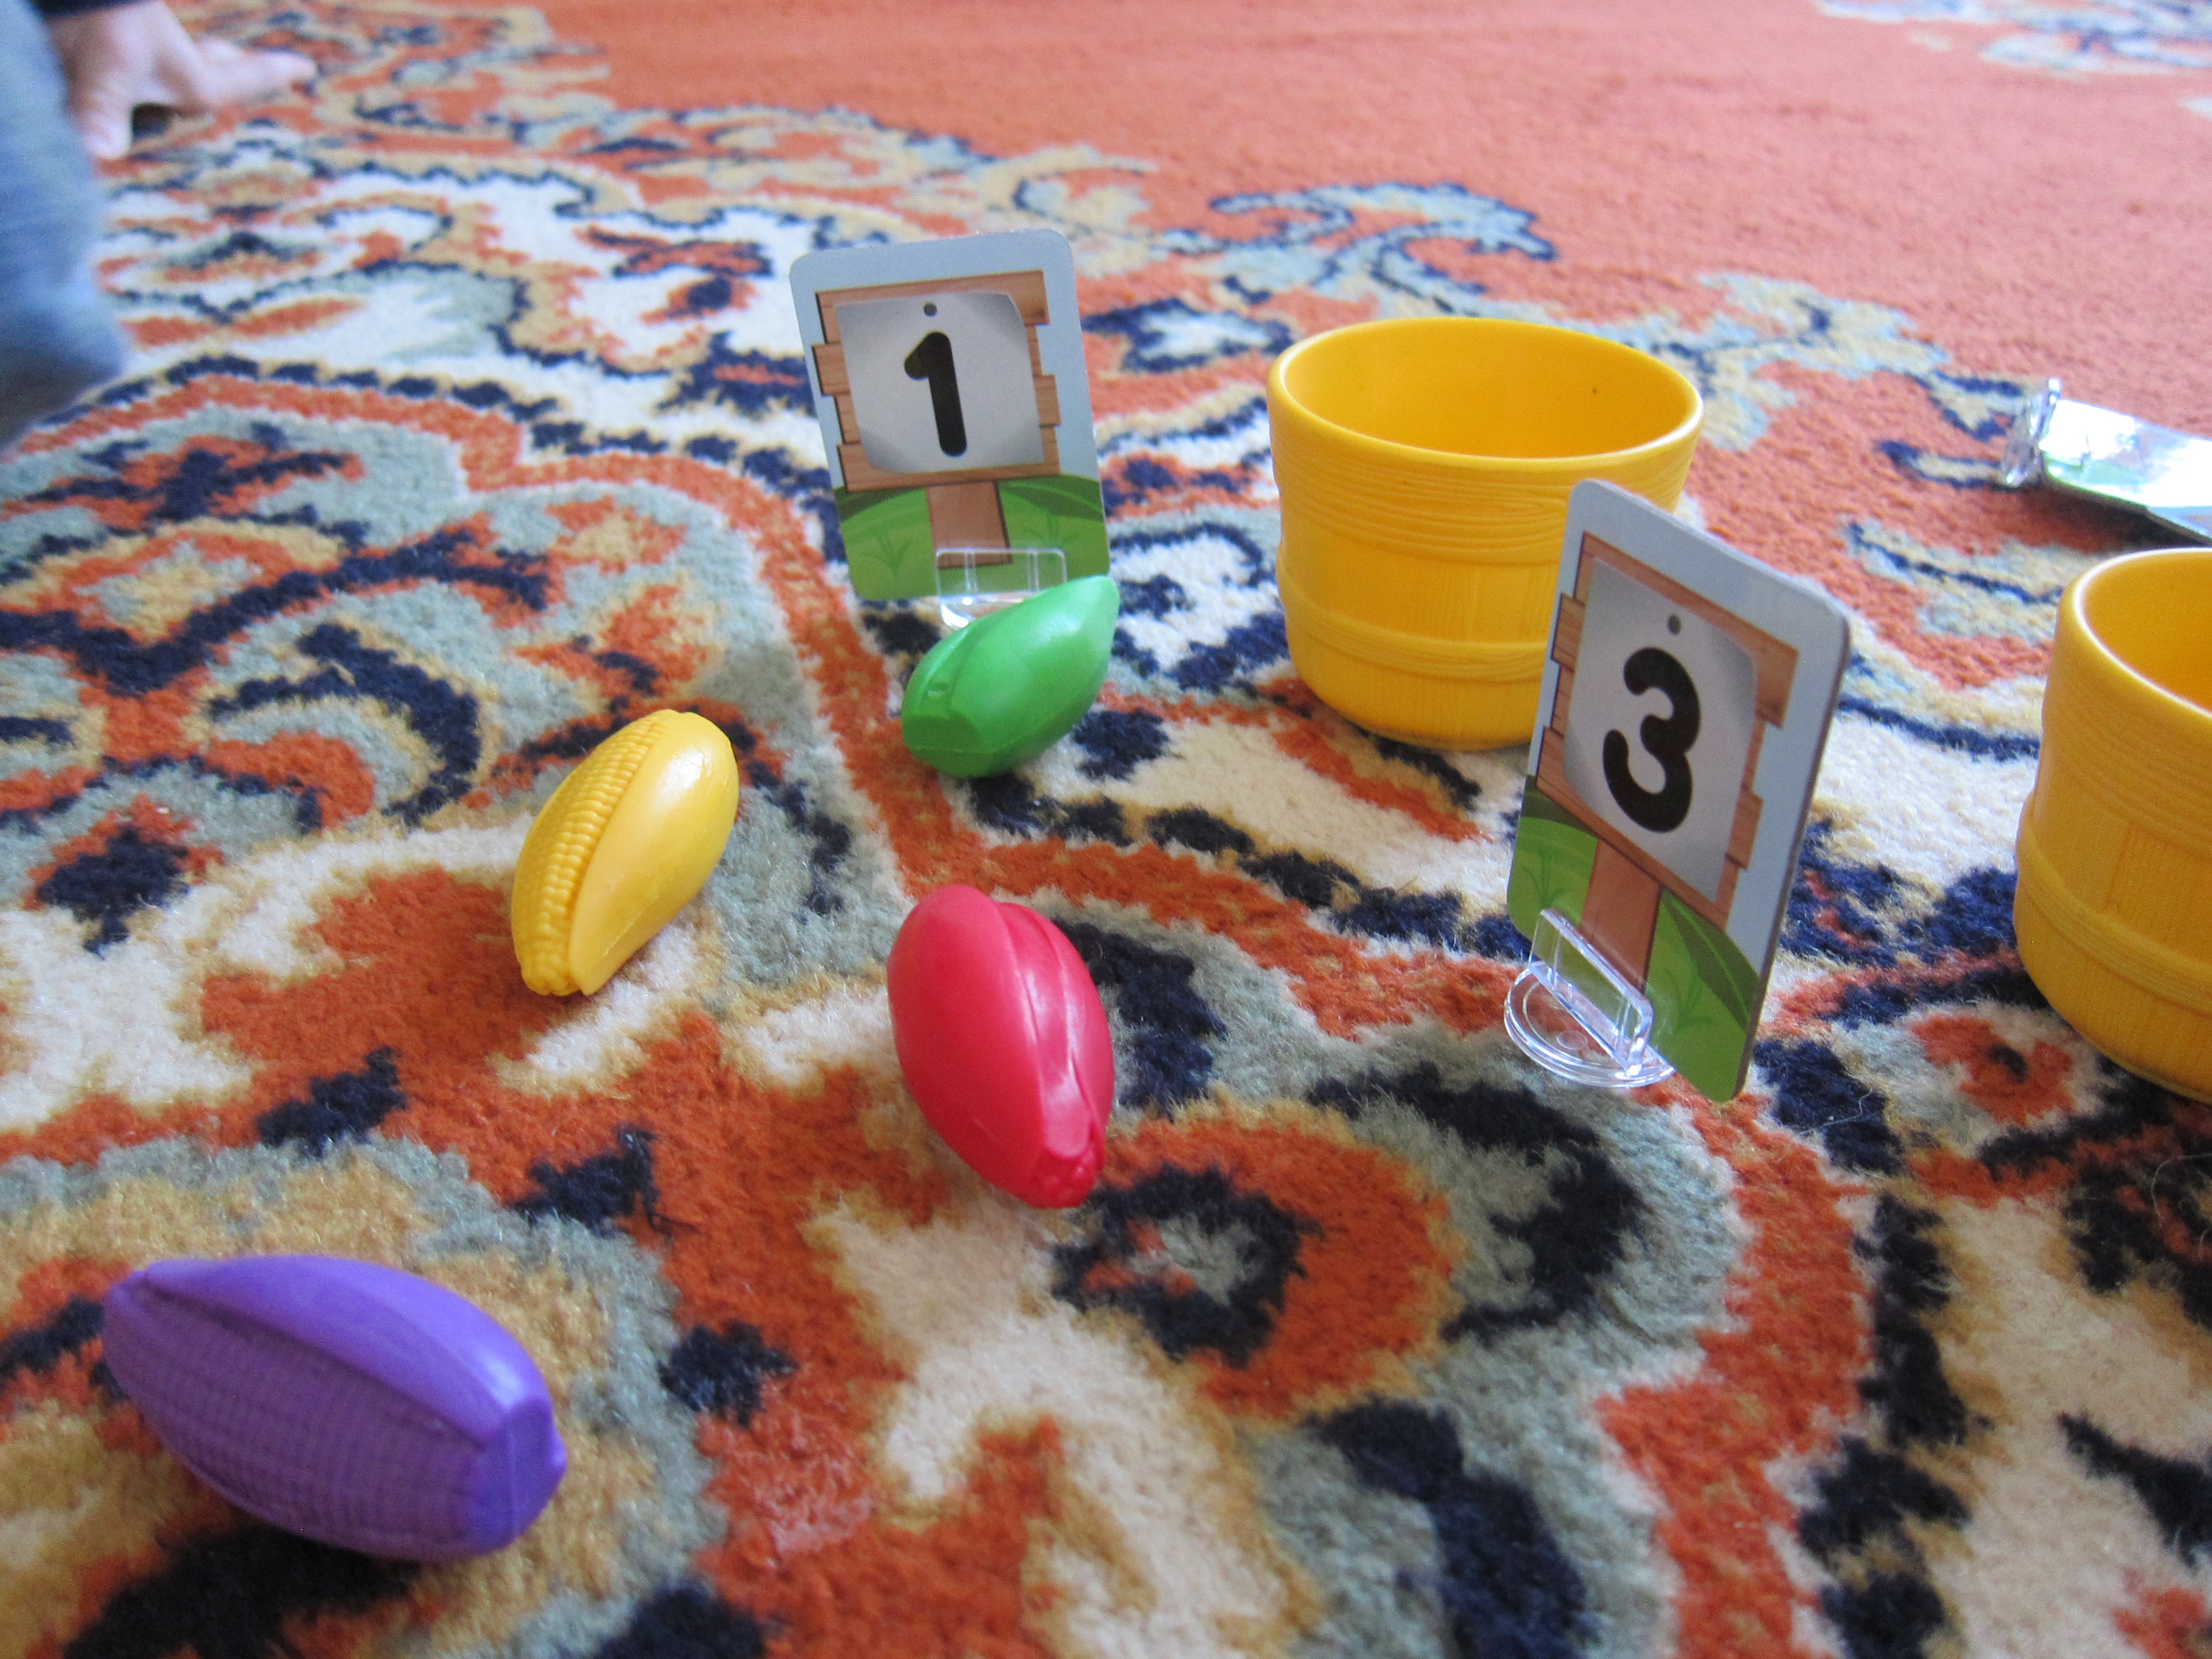
I had previously purchased a game from Little Passport’s website on veggie sorting, and this was the perfect time to trot it out; Travis was delighted by the vegetables he could “plant.”

LP Plants (14)

He loved to play with it, and as a parent, i appreciated the various math concepts we could explore, such as counting out by type or color, or simple math equations.

LP Plants (13)

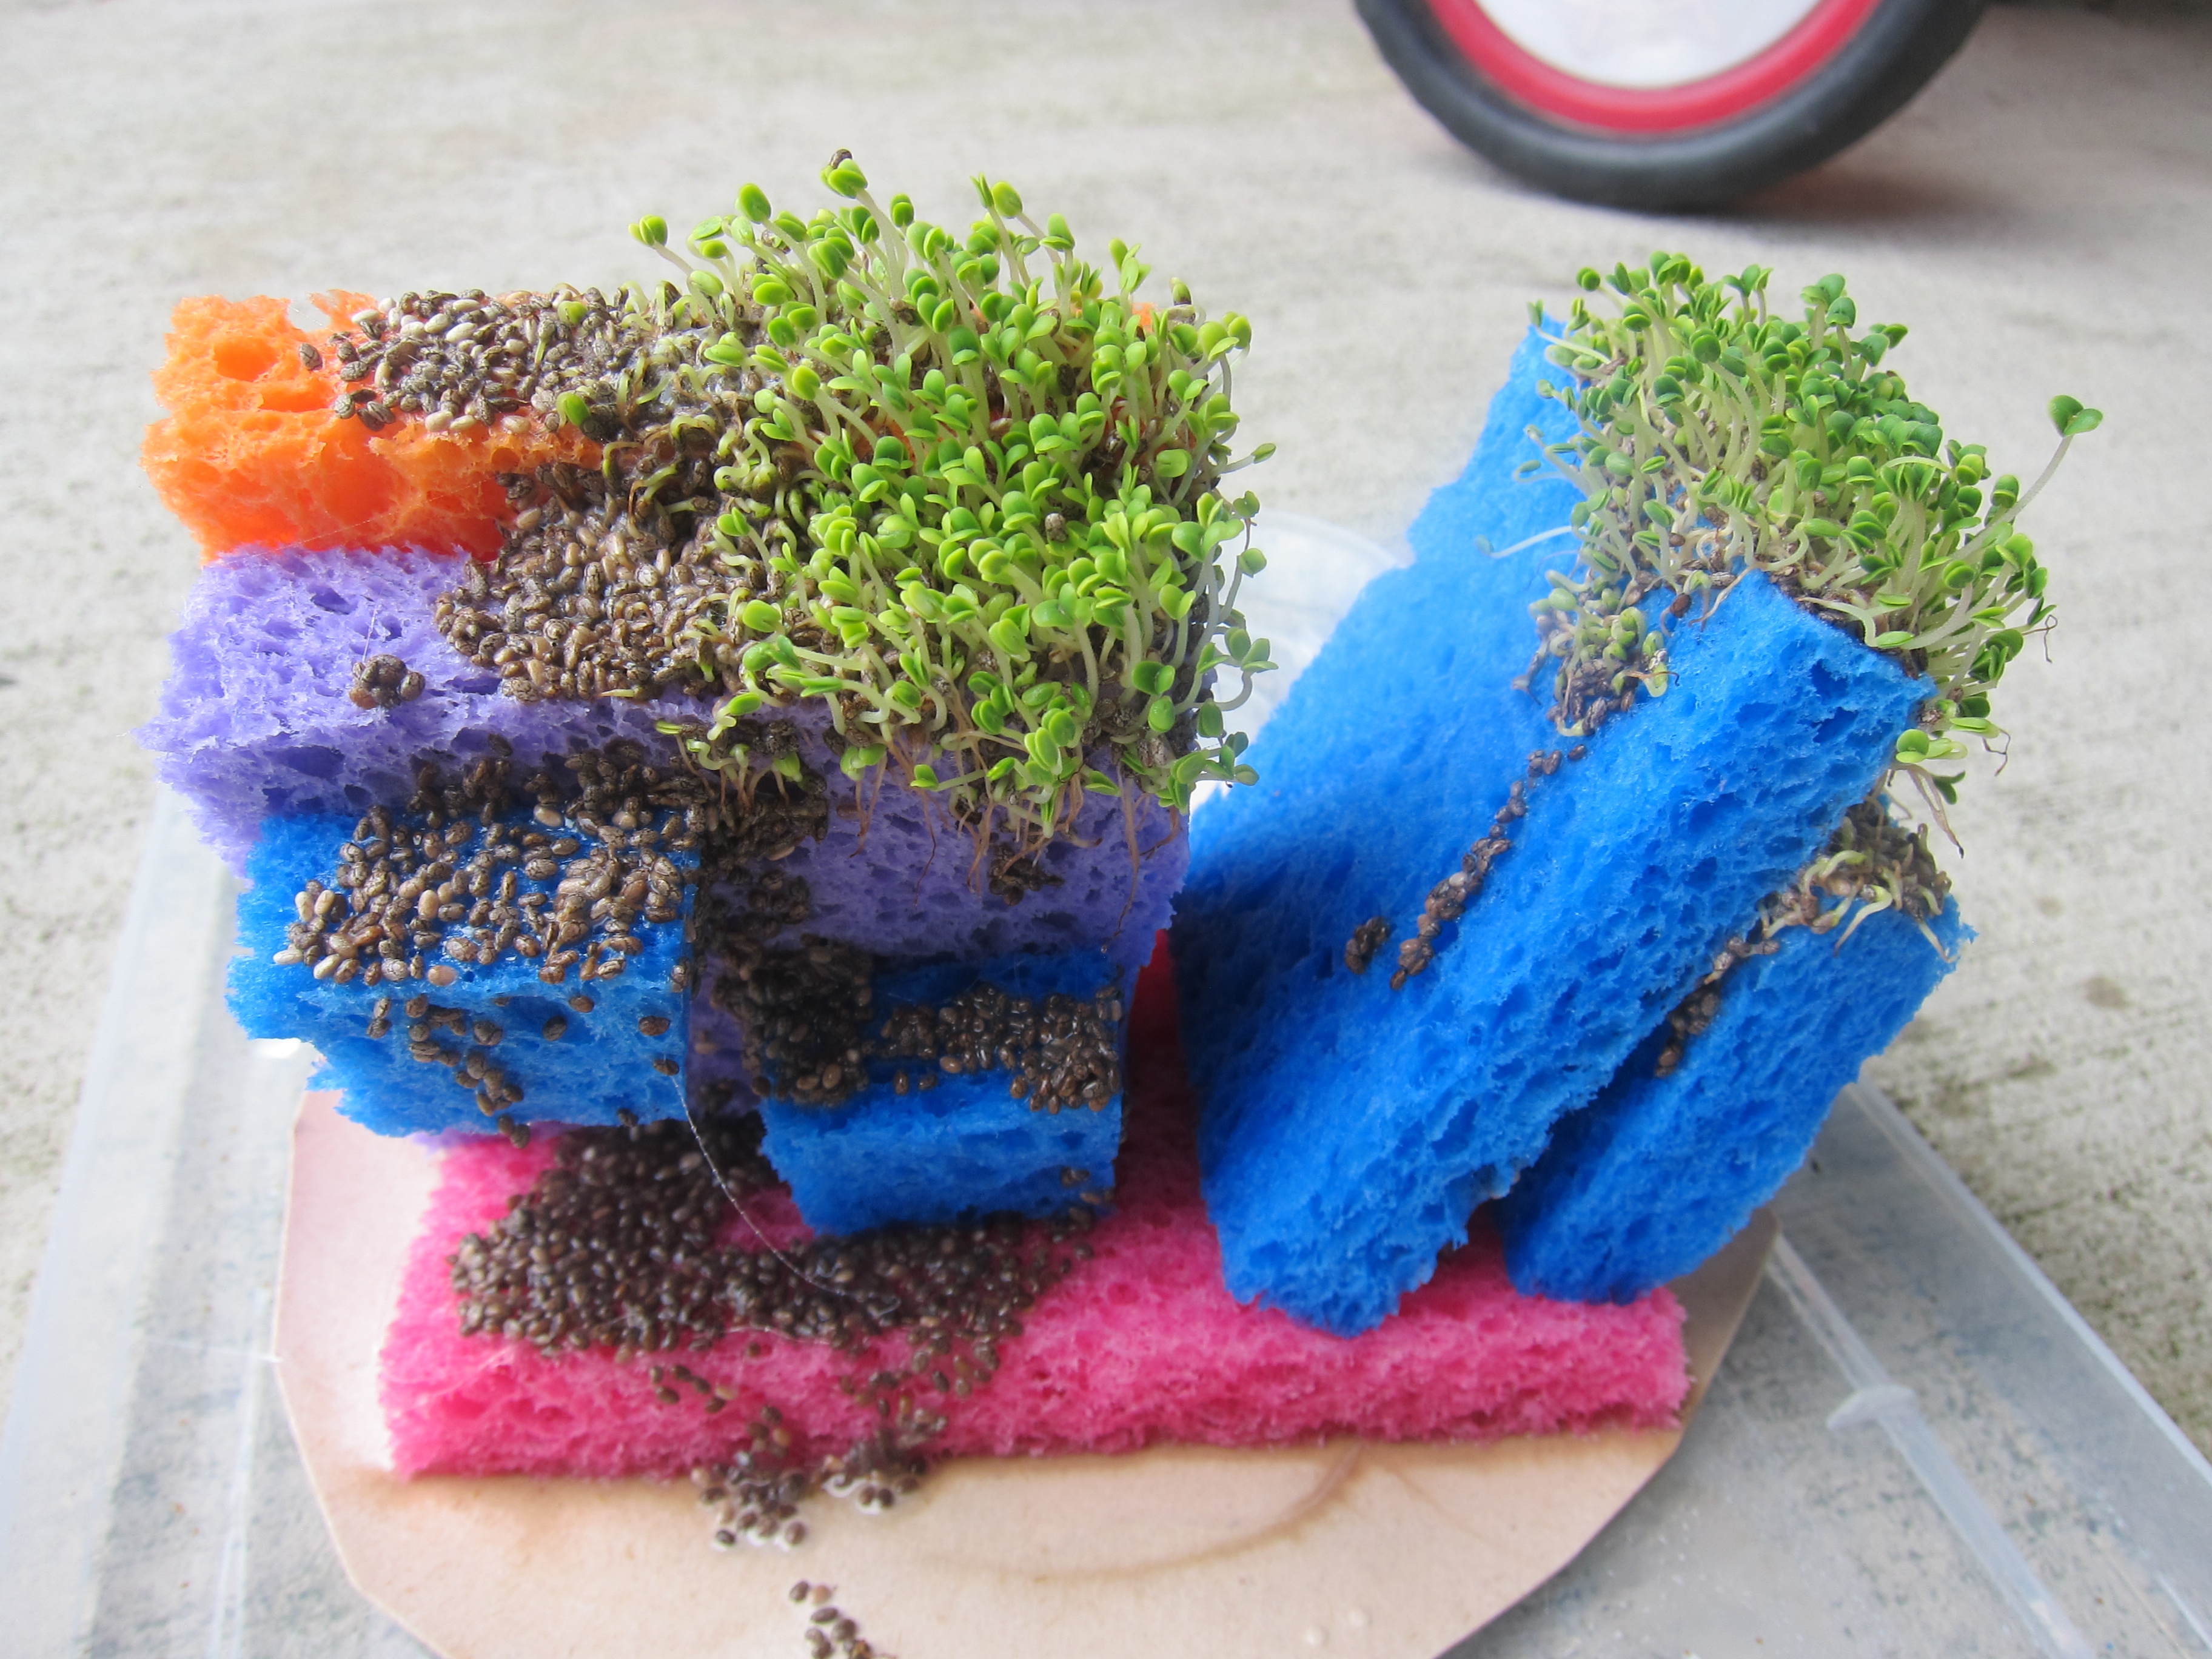
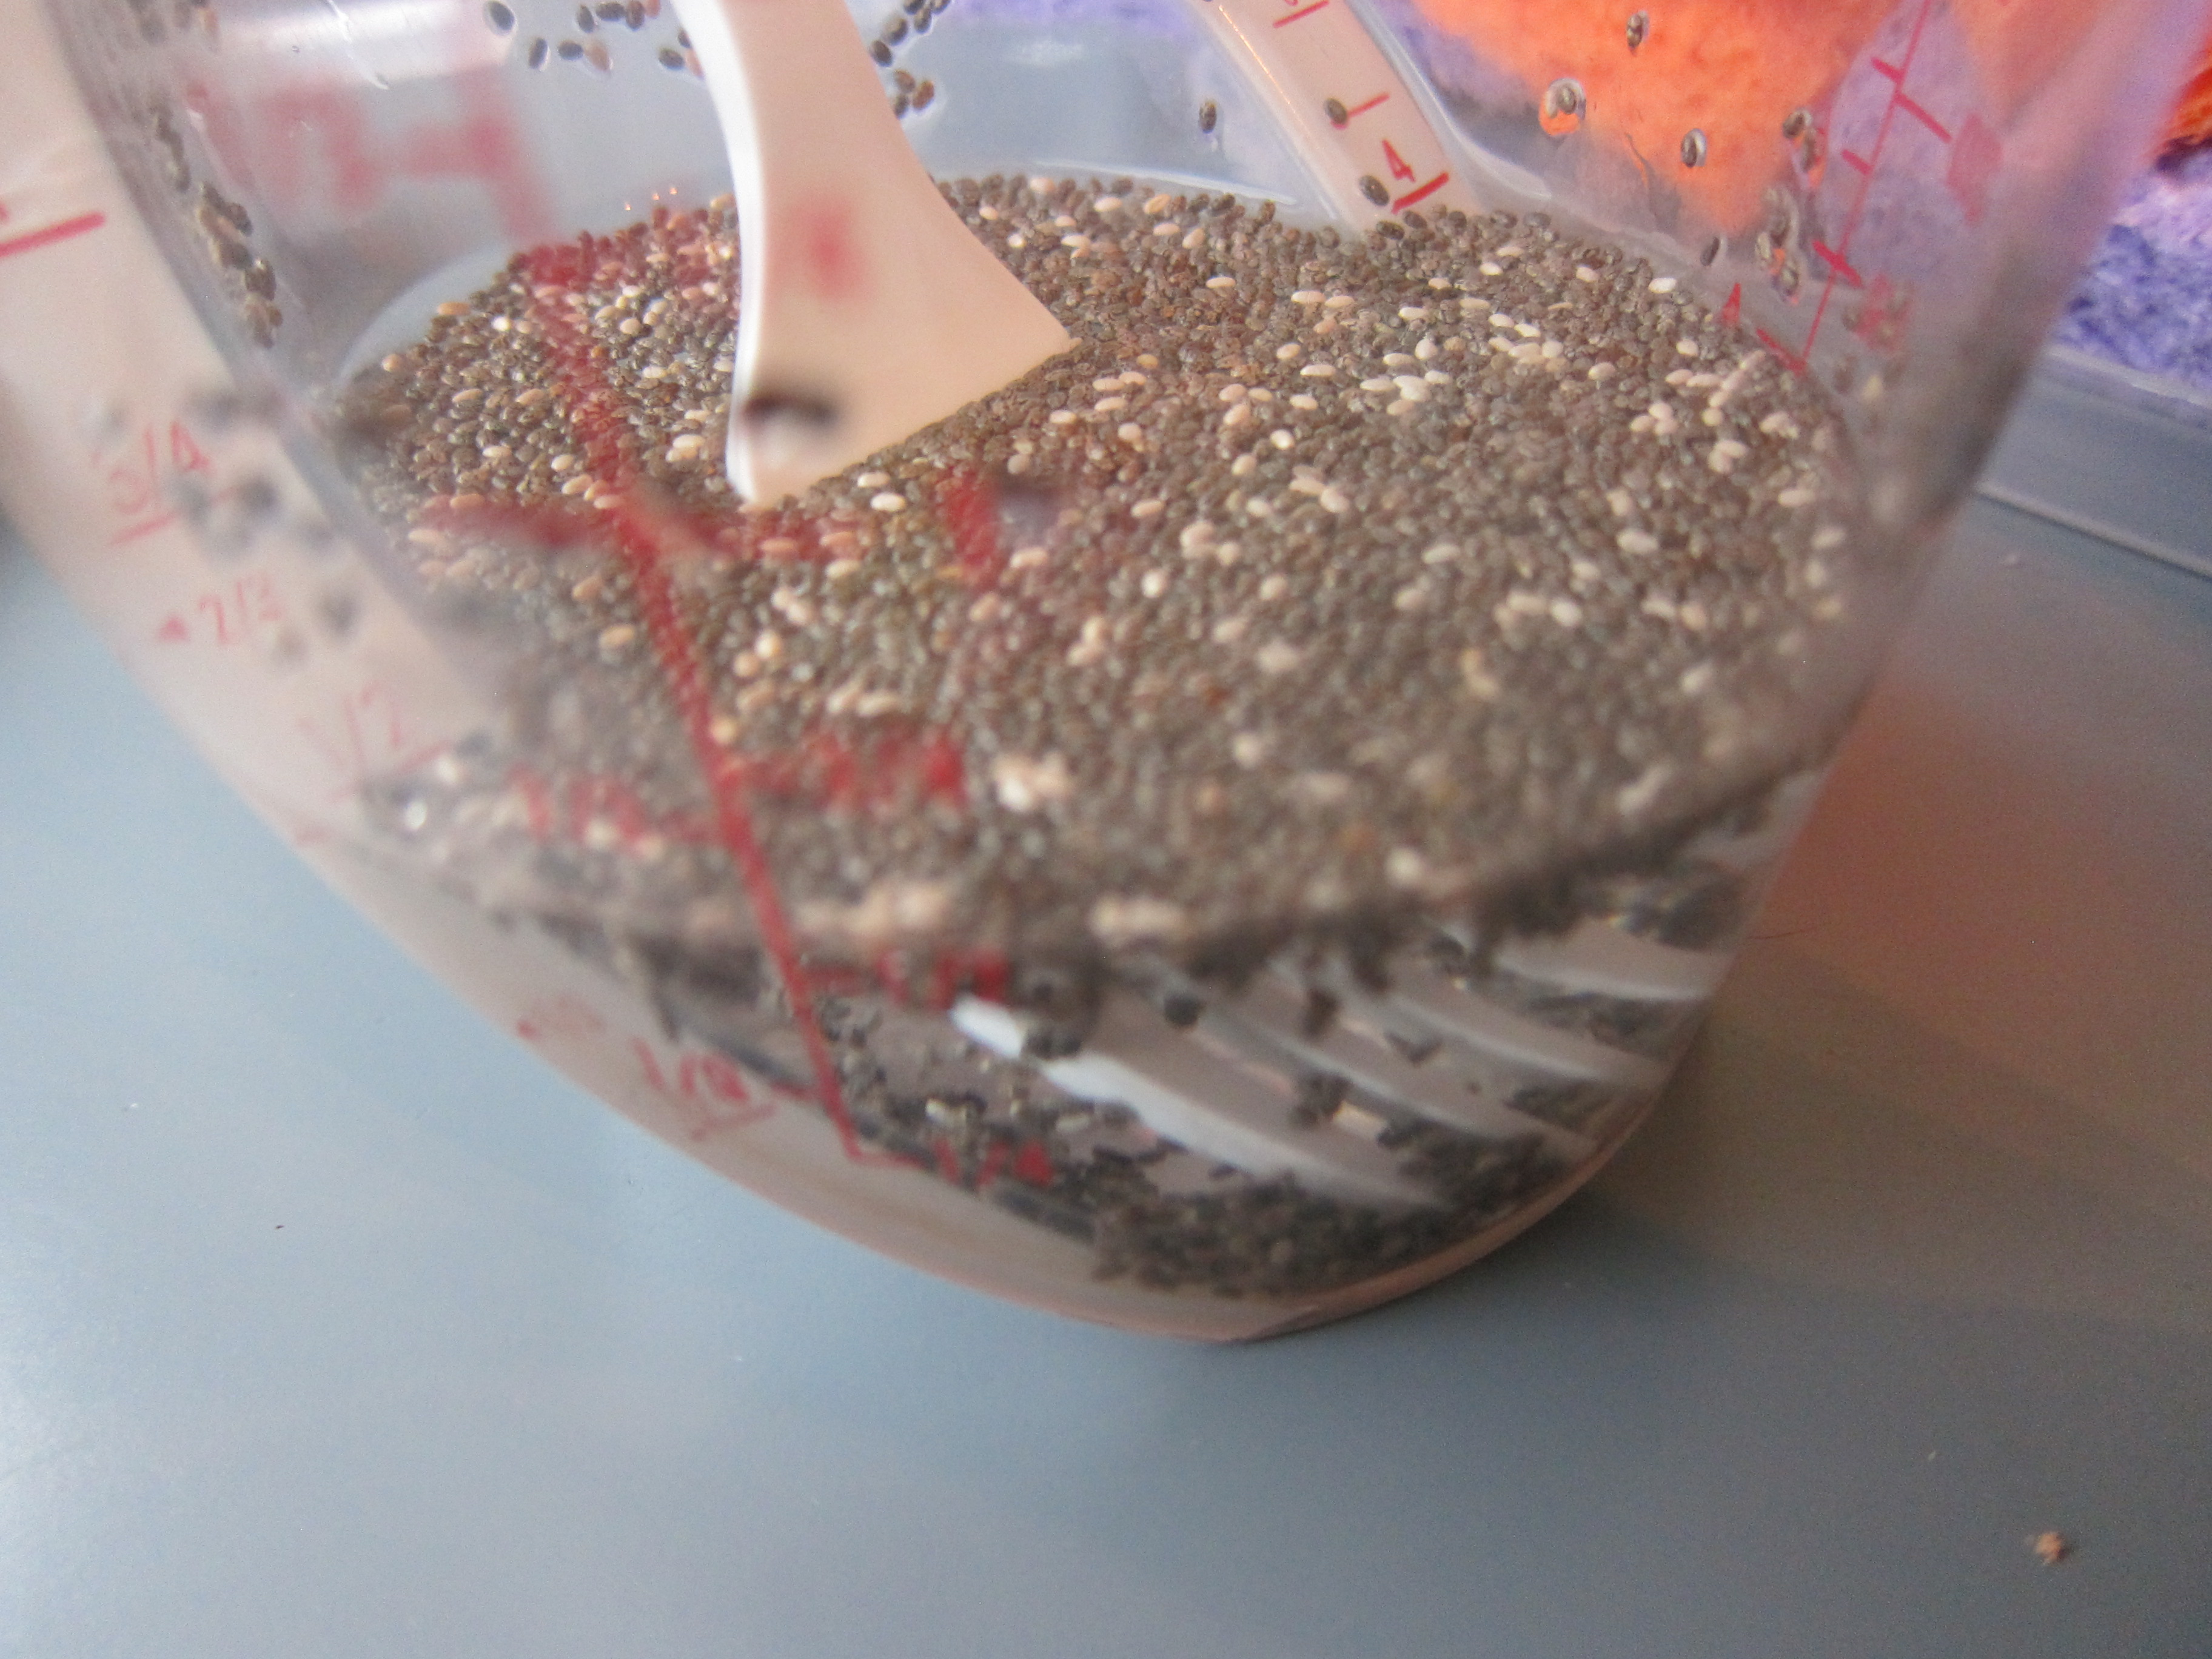
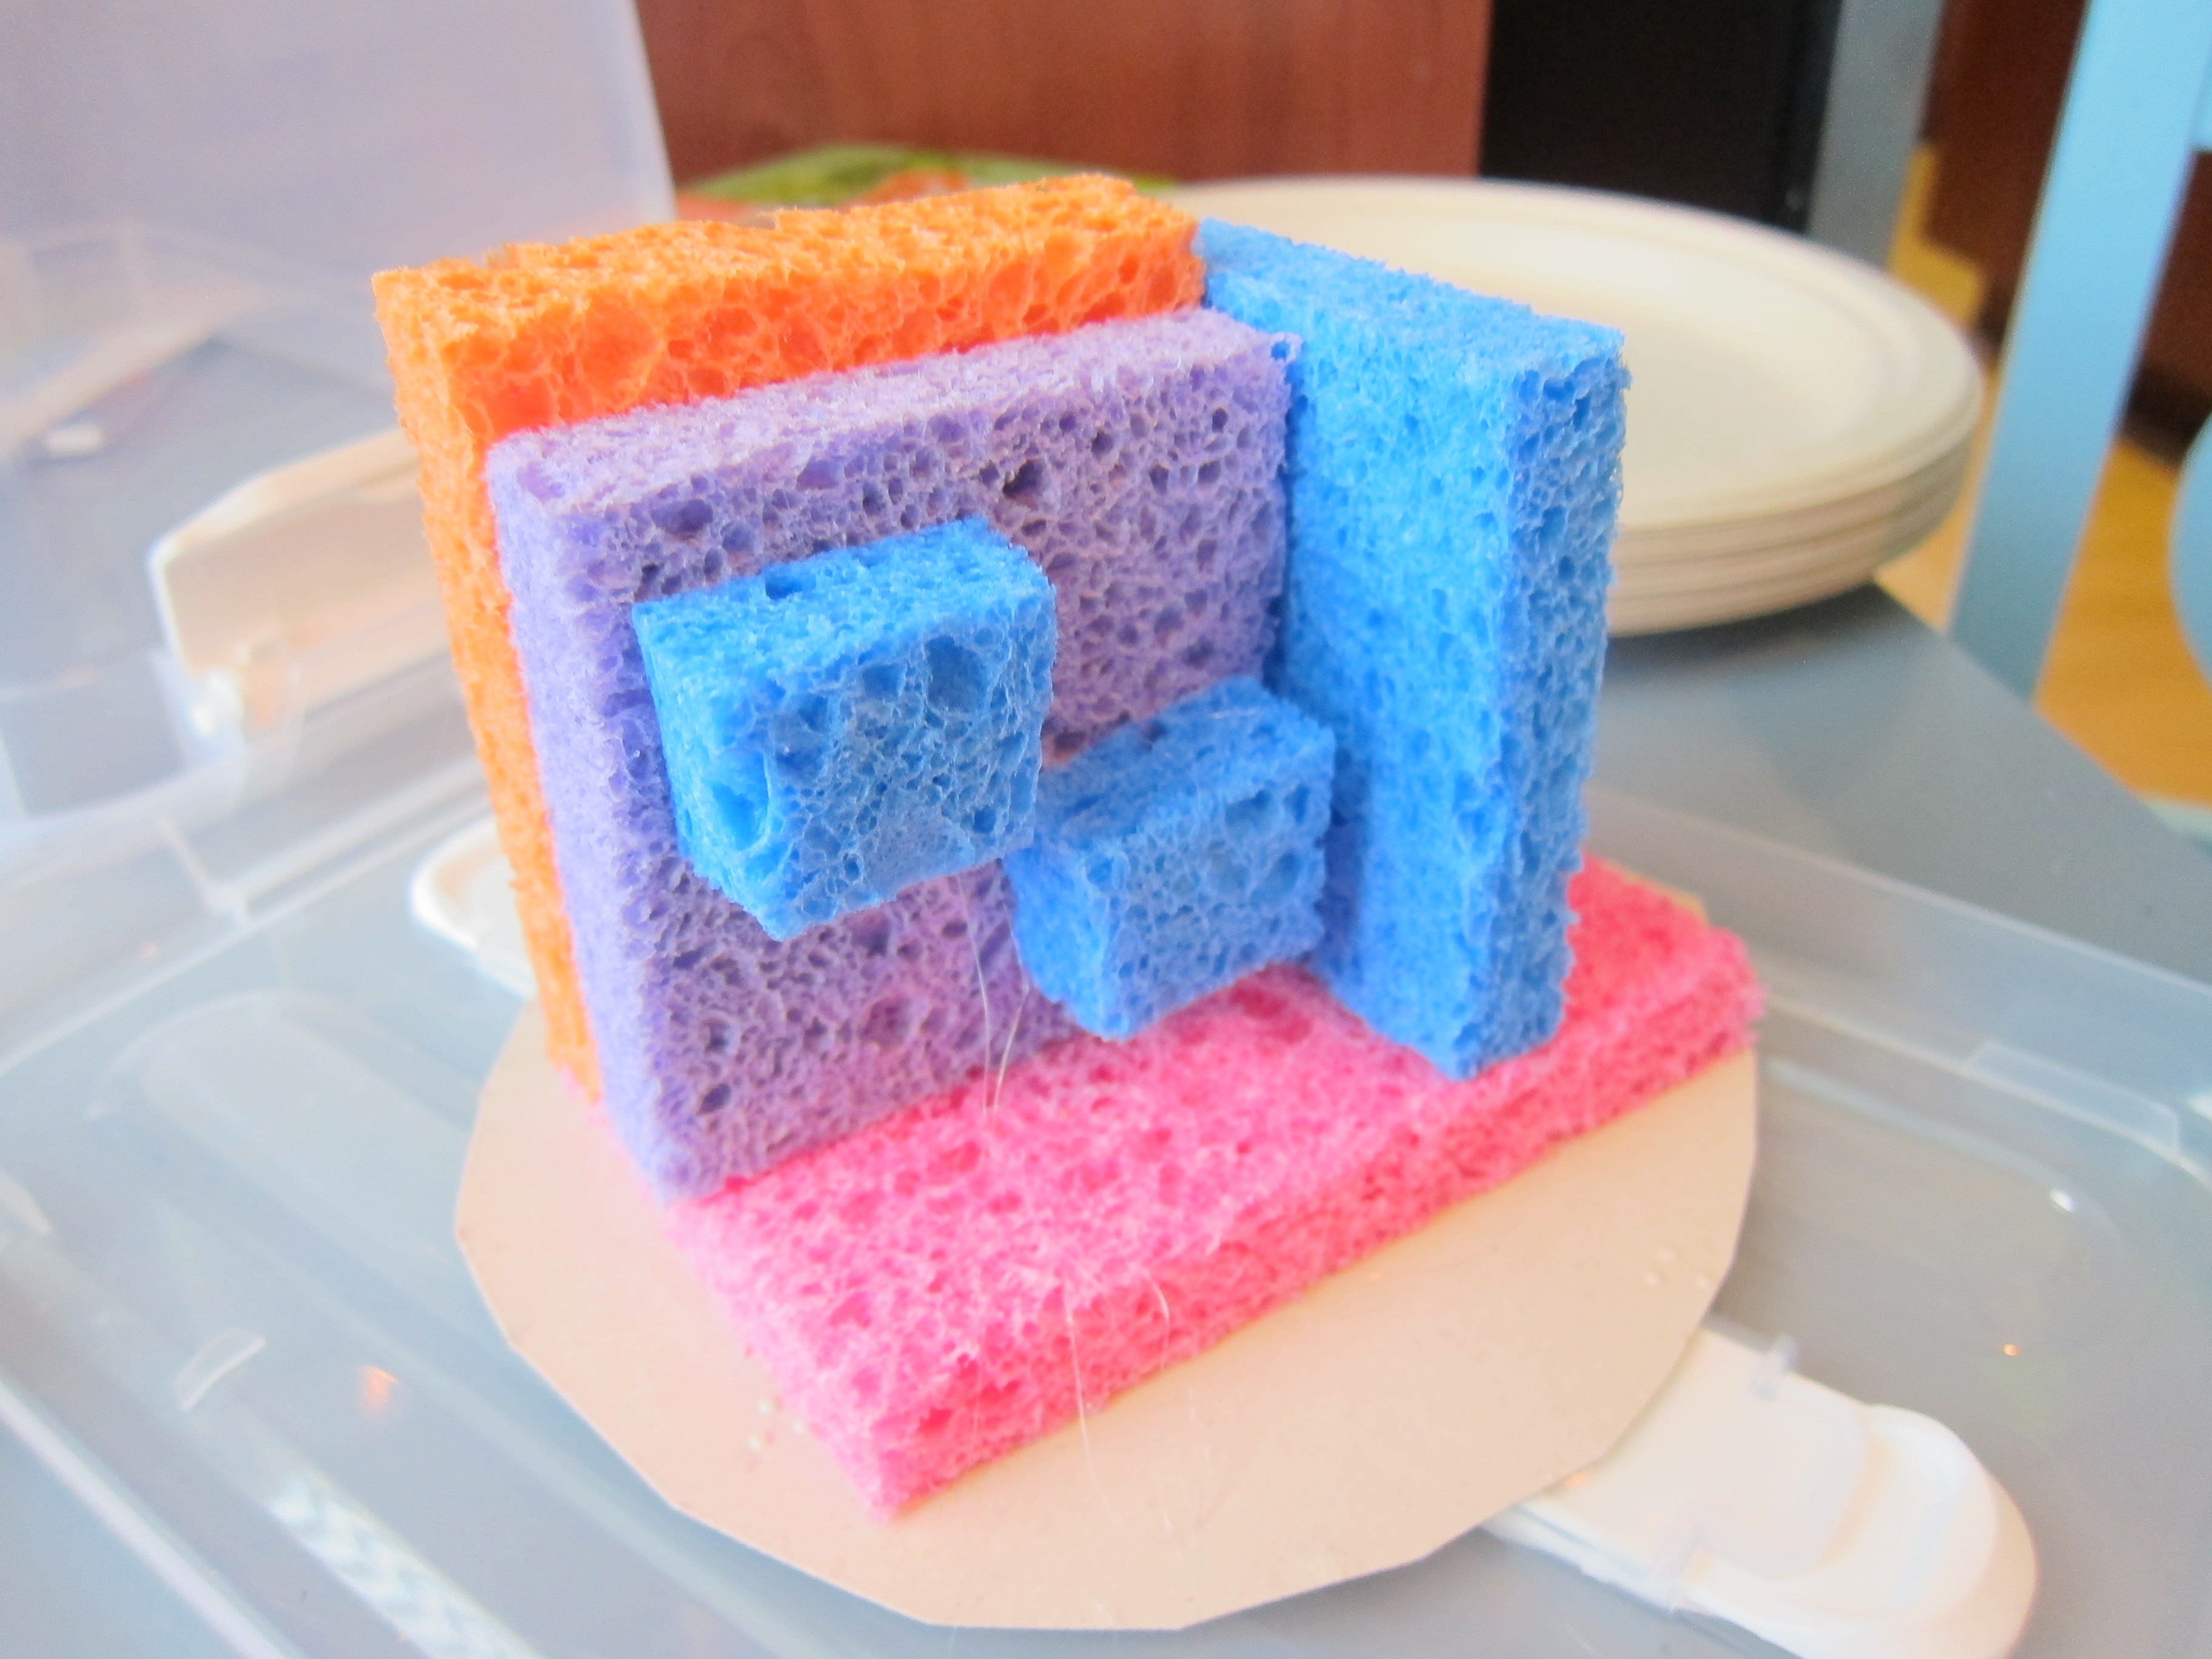
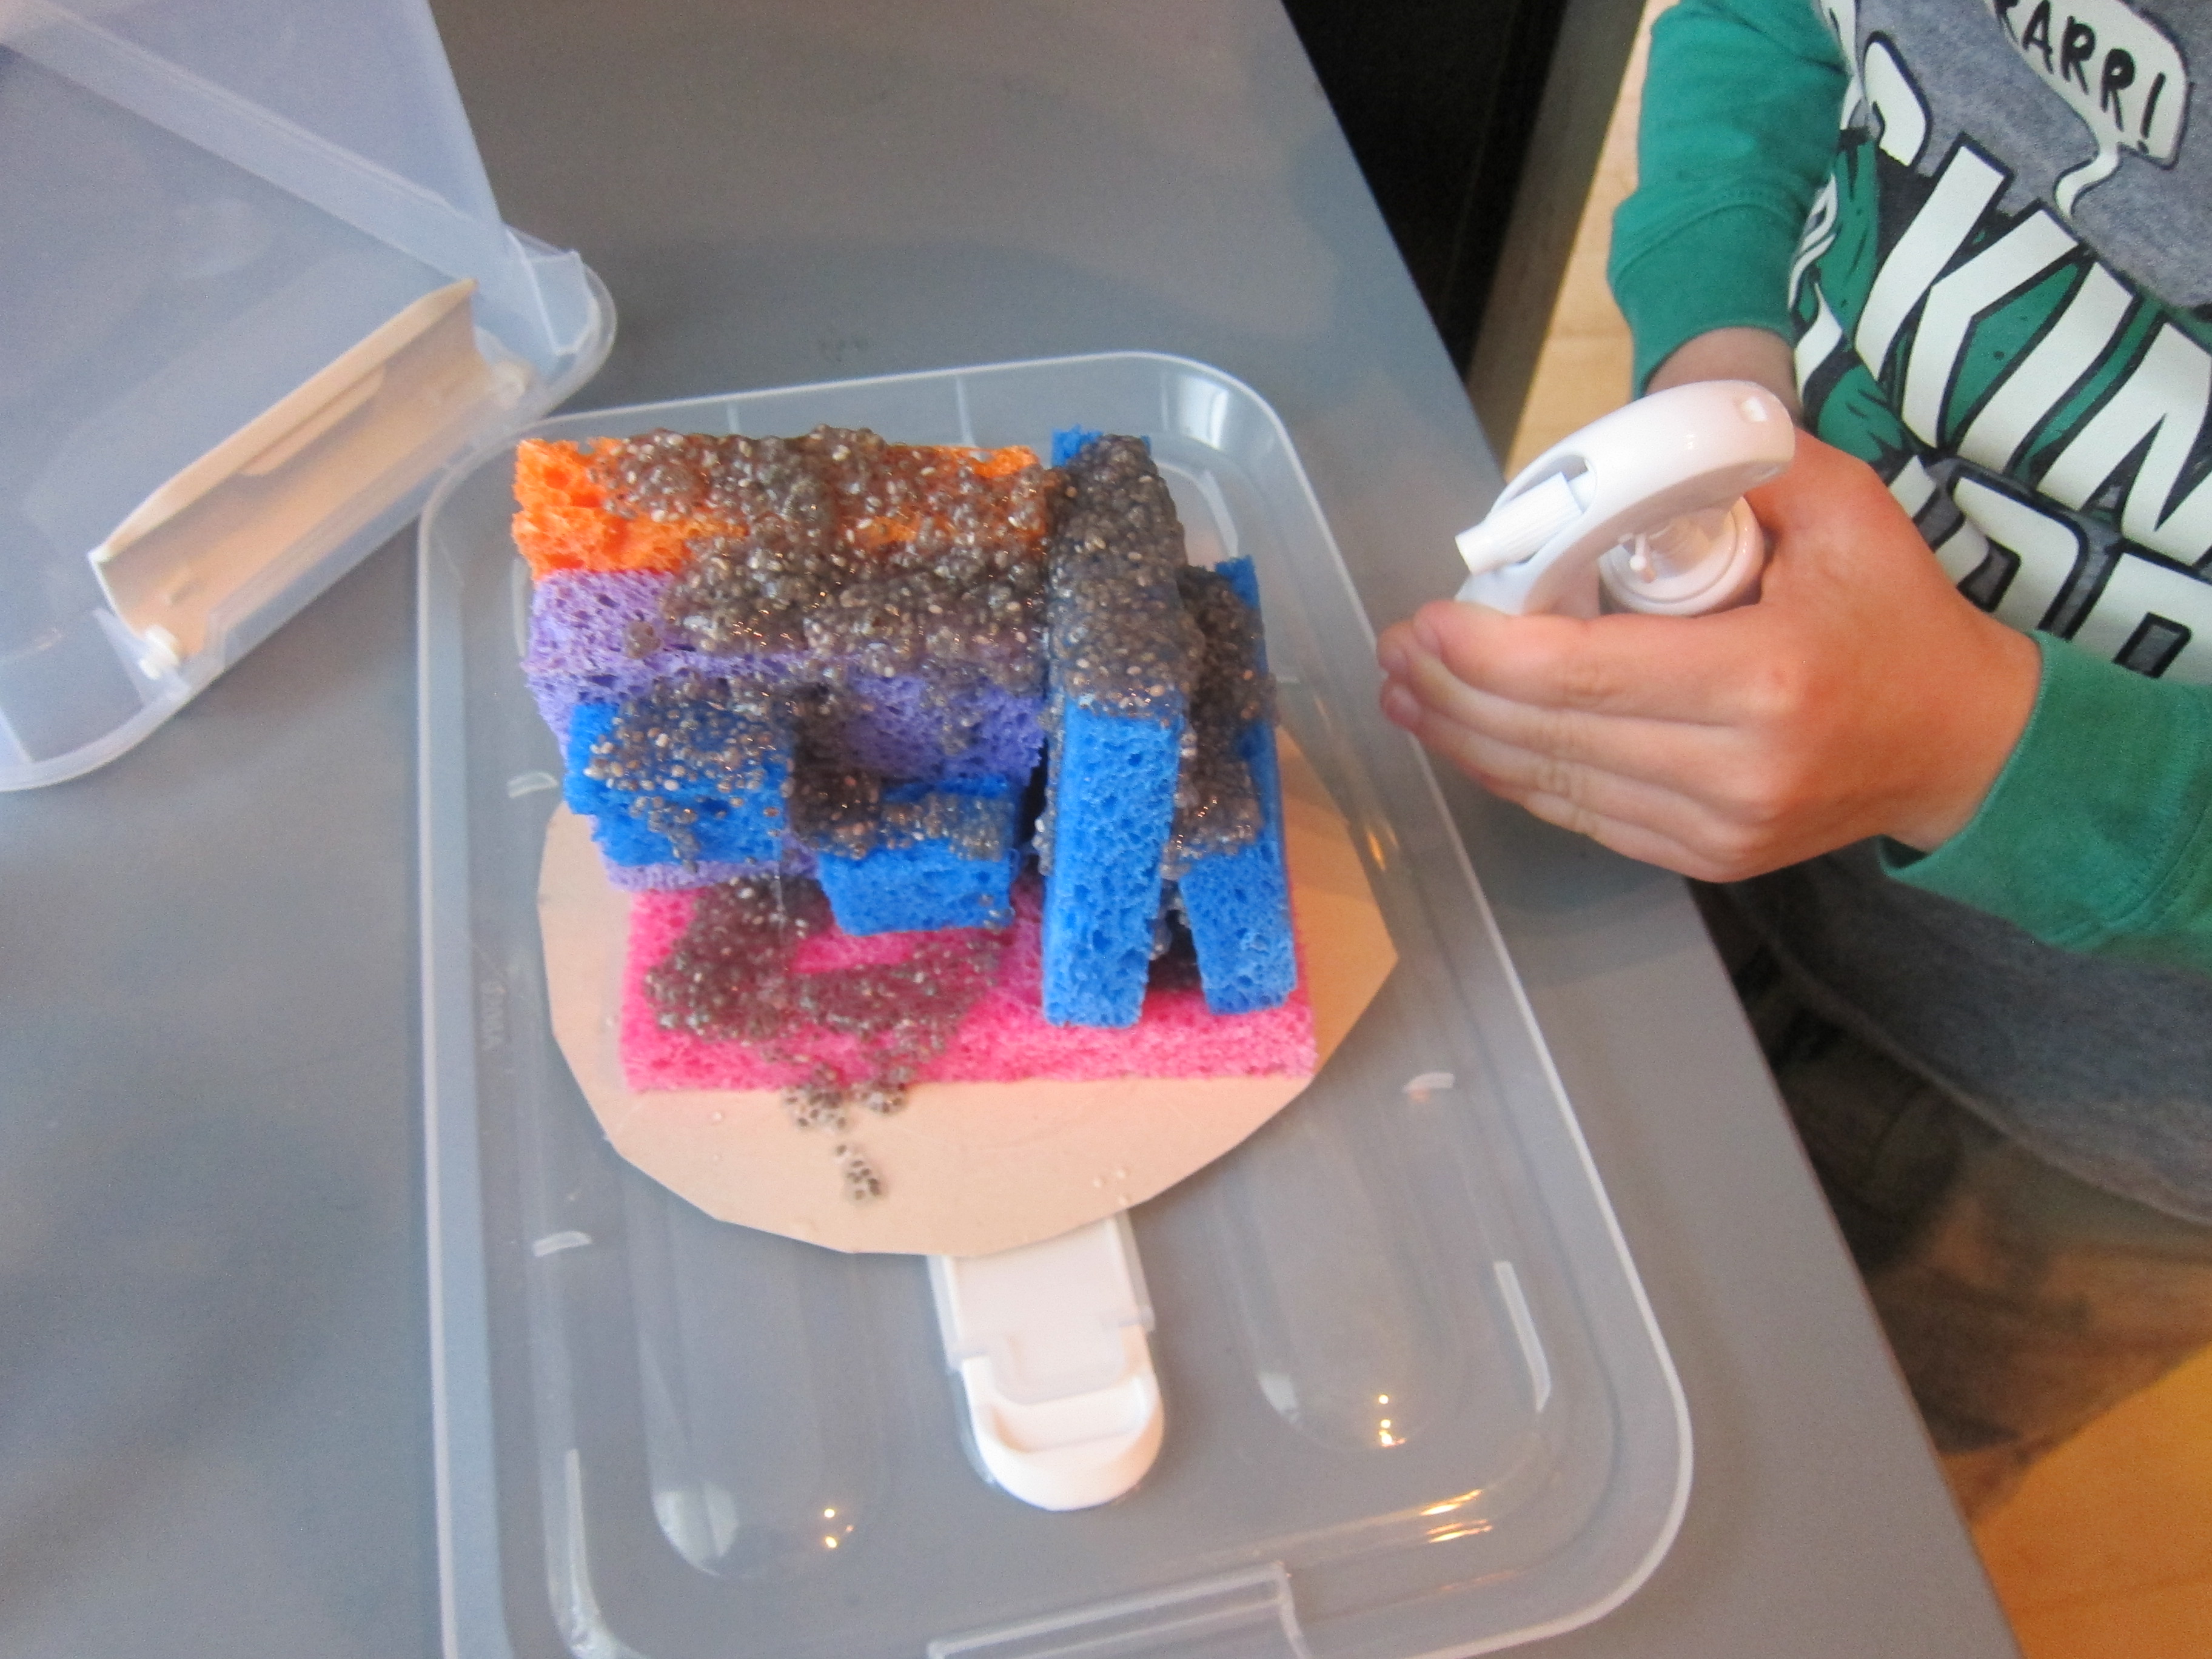
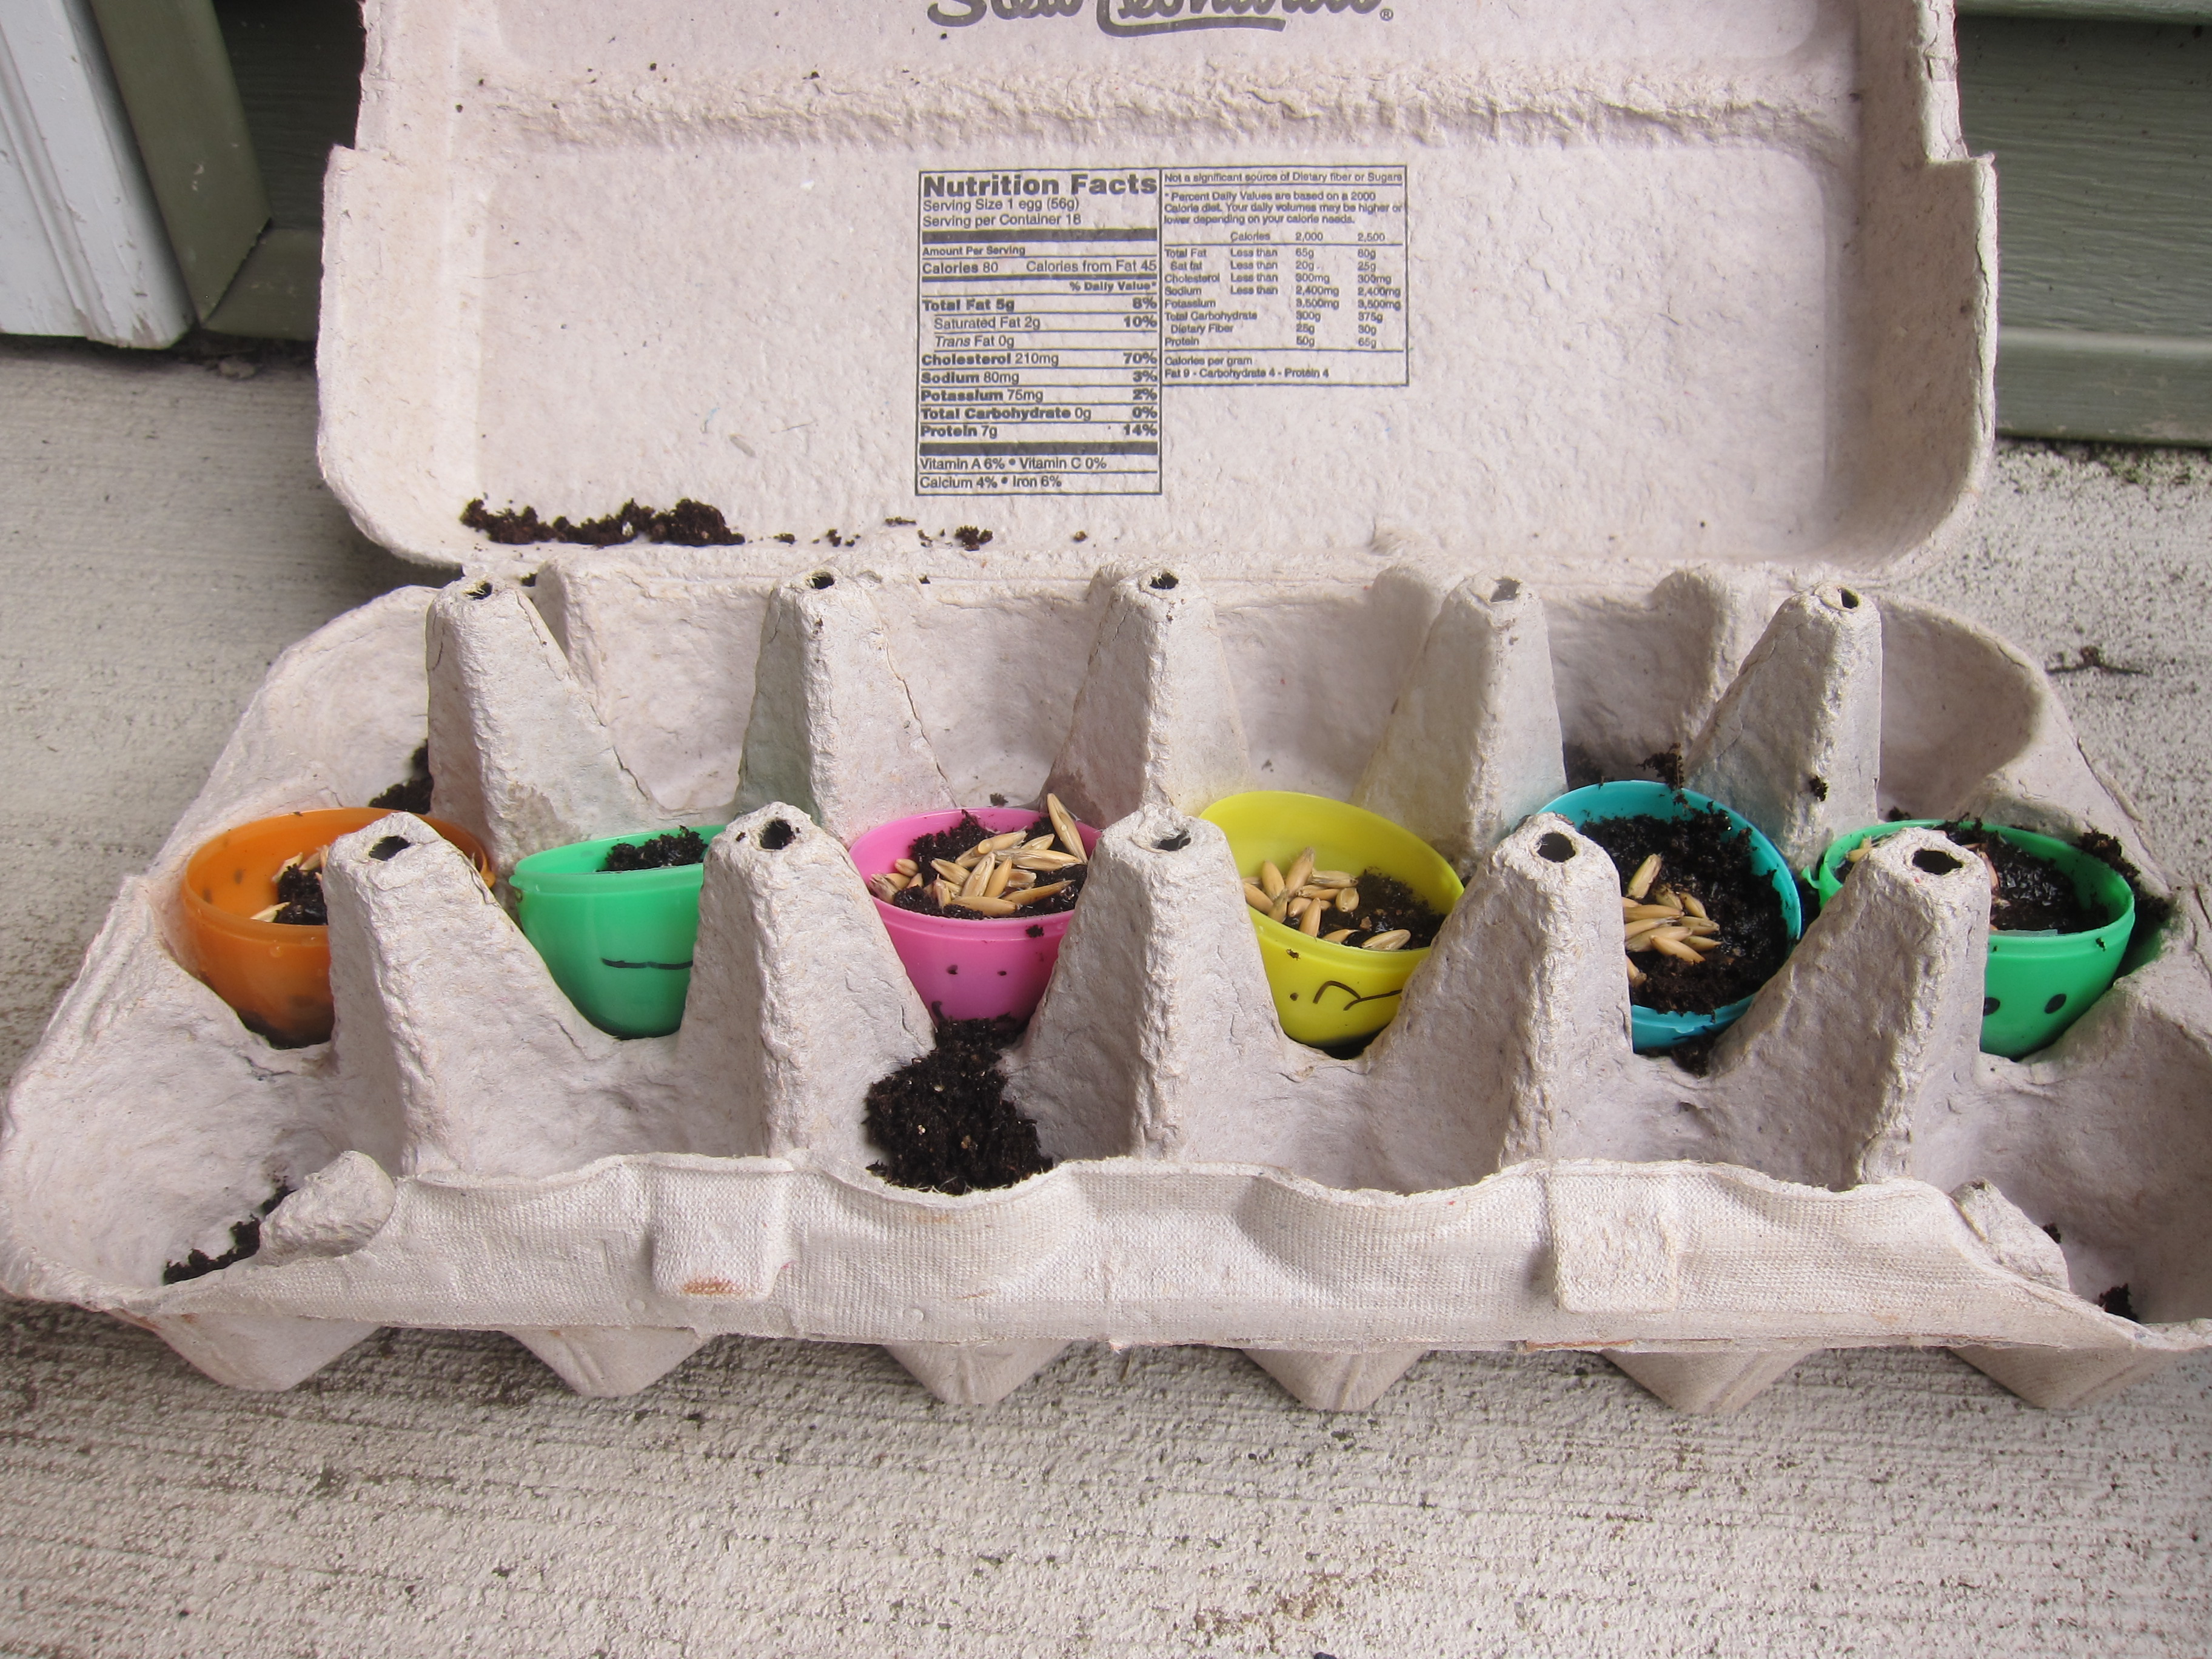
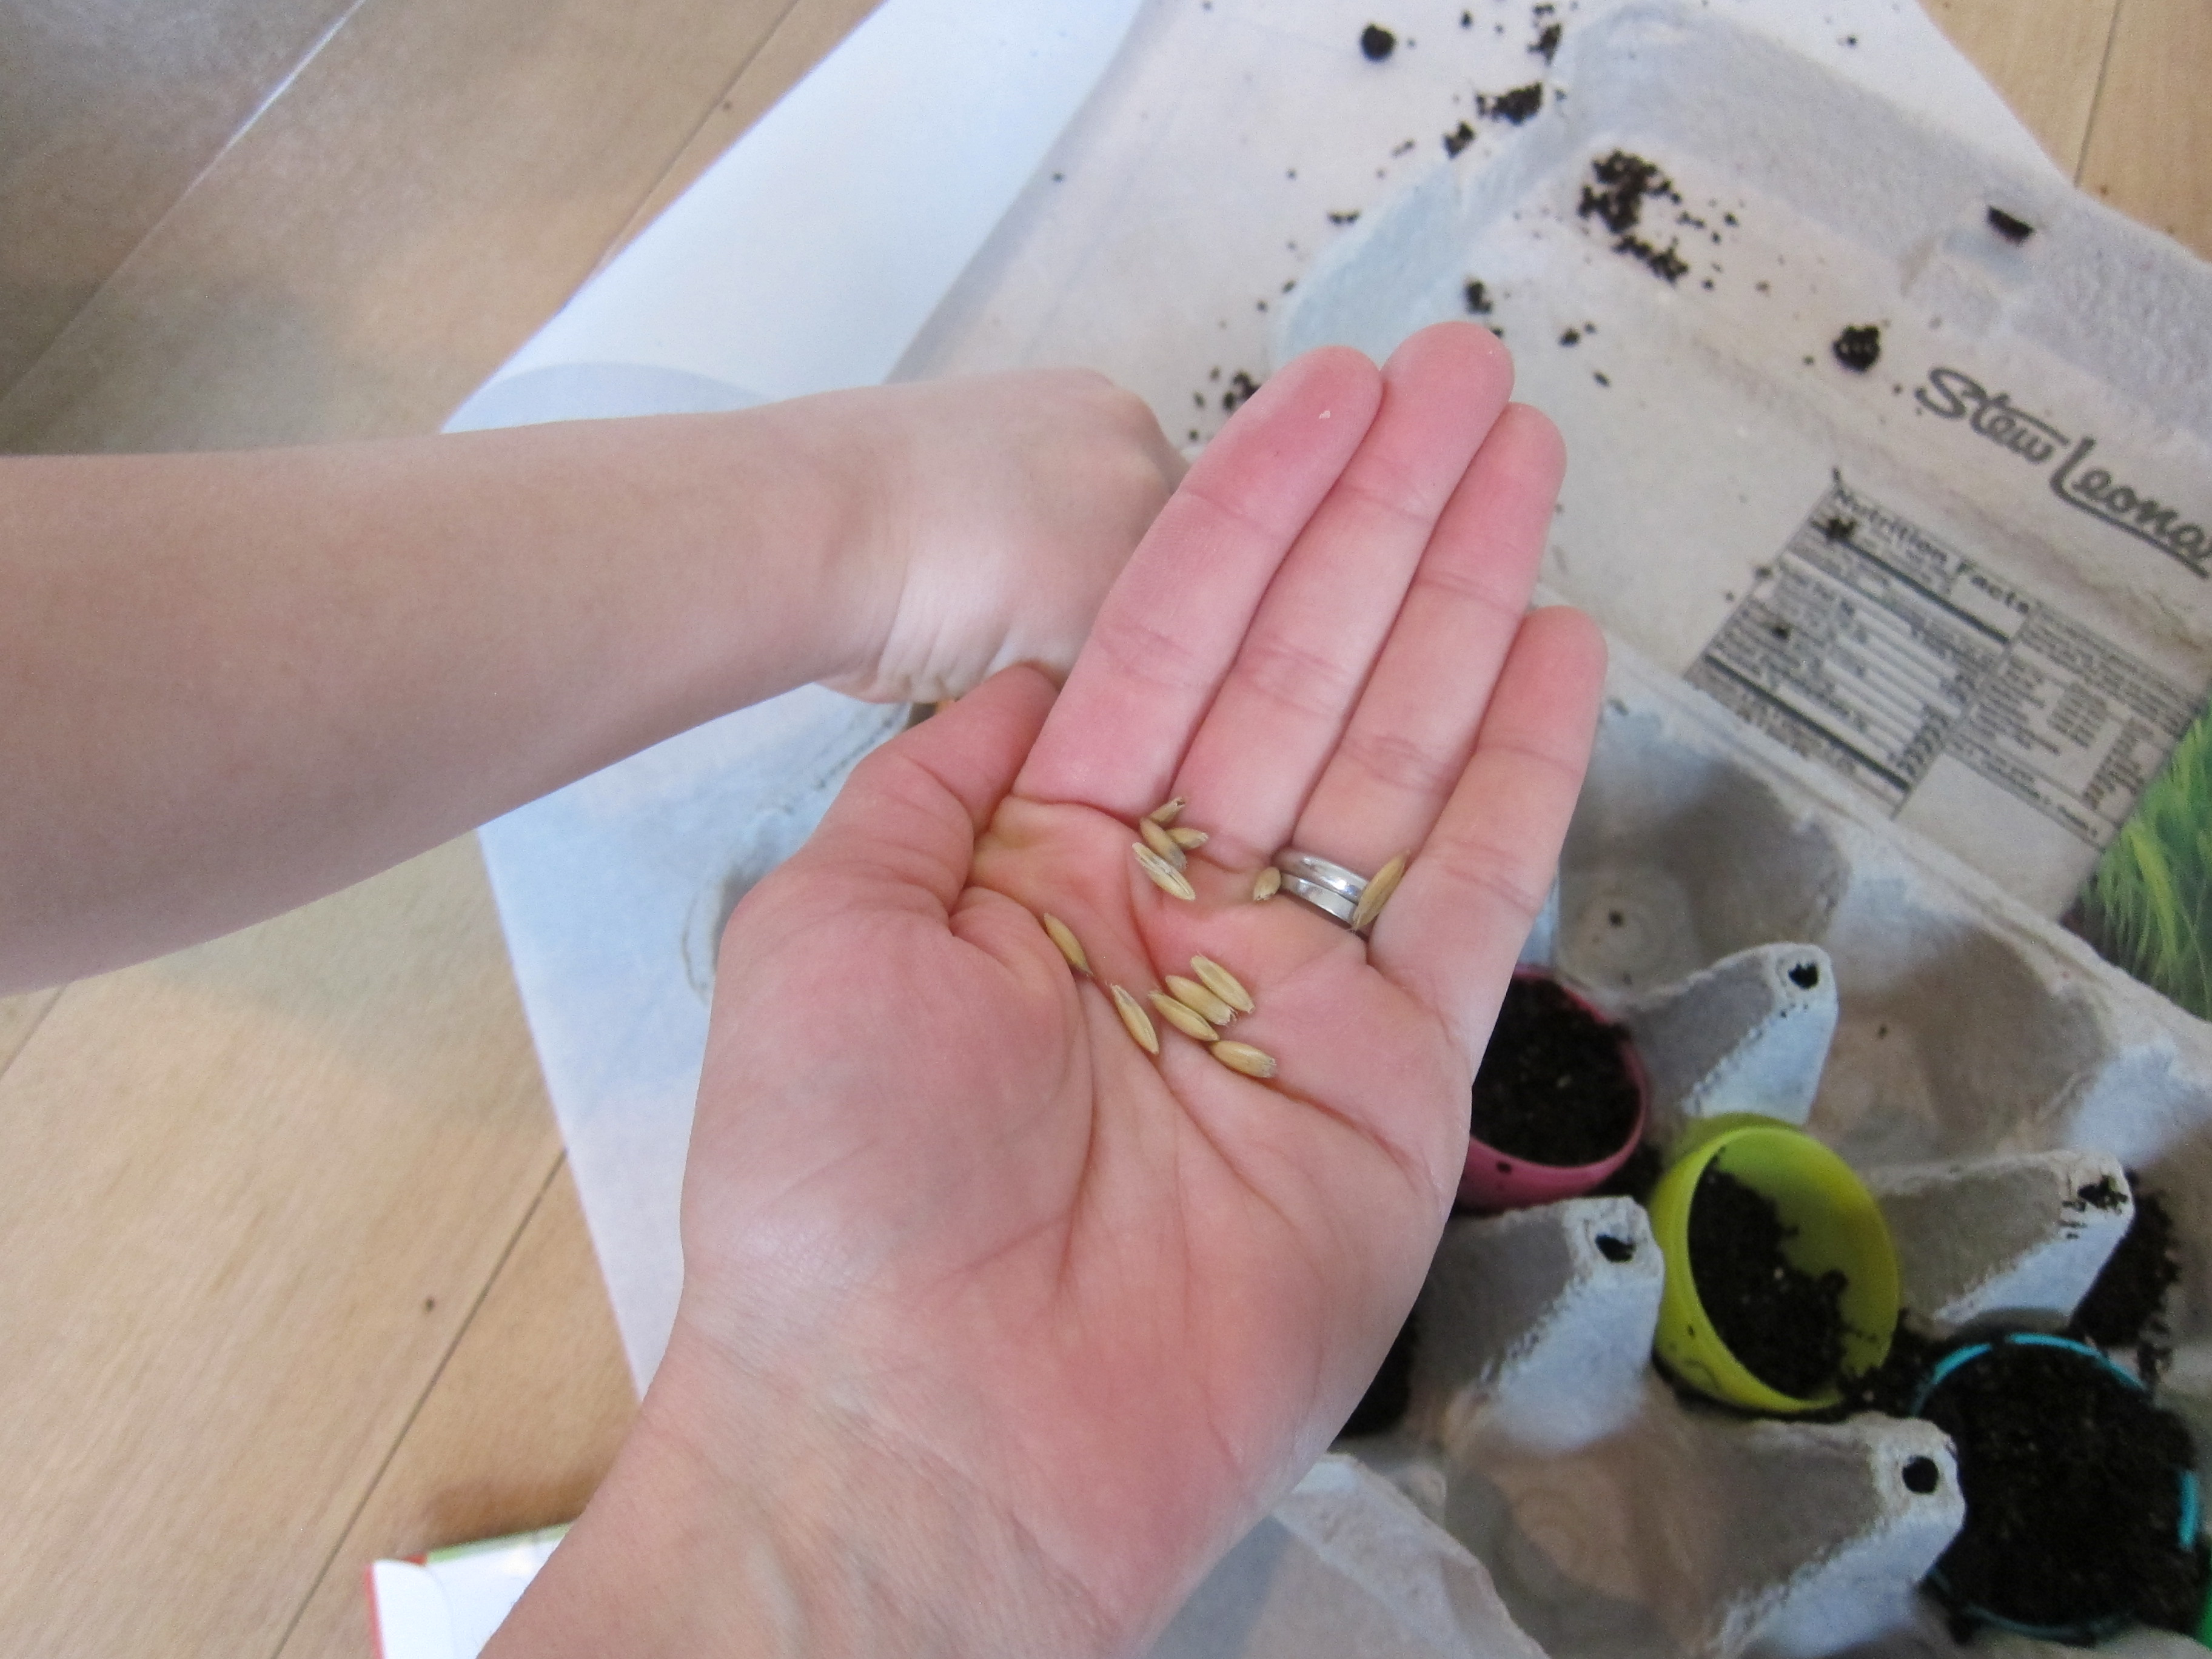
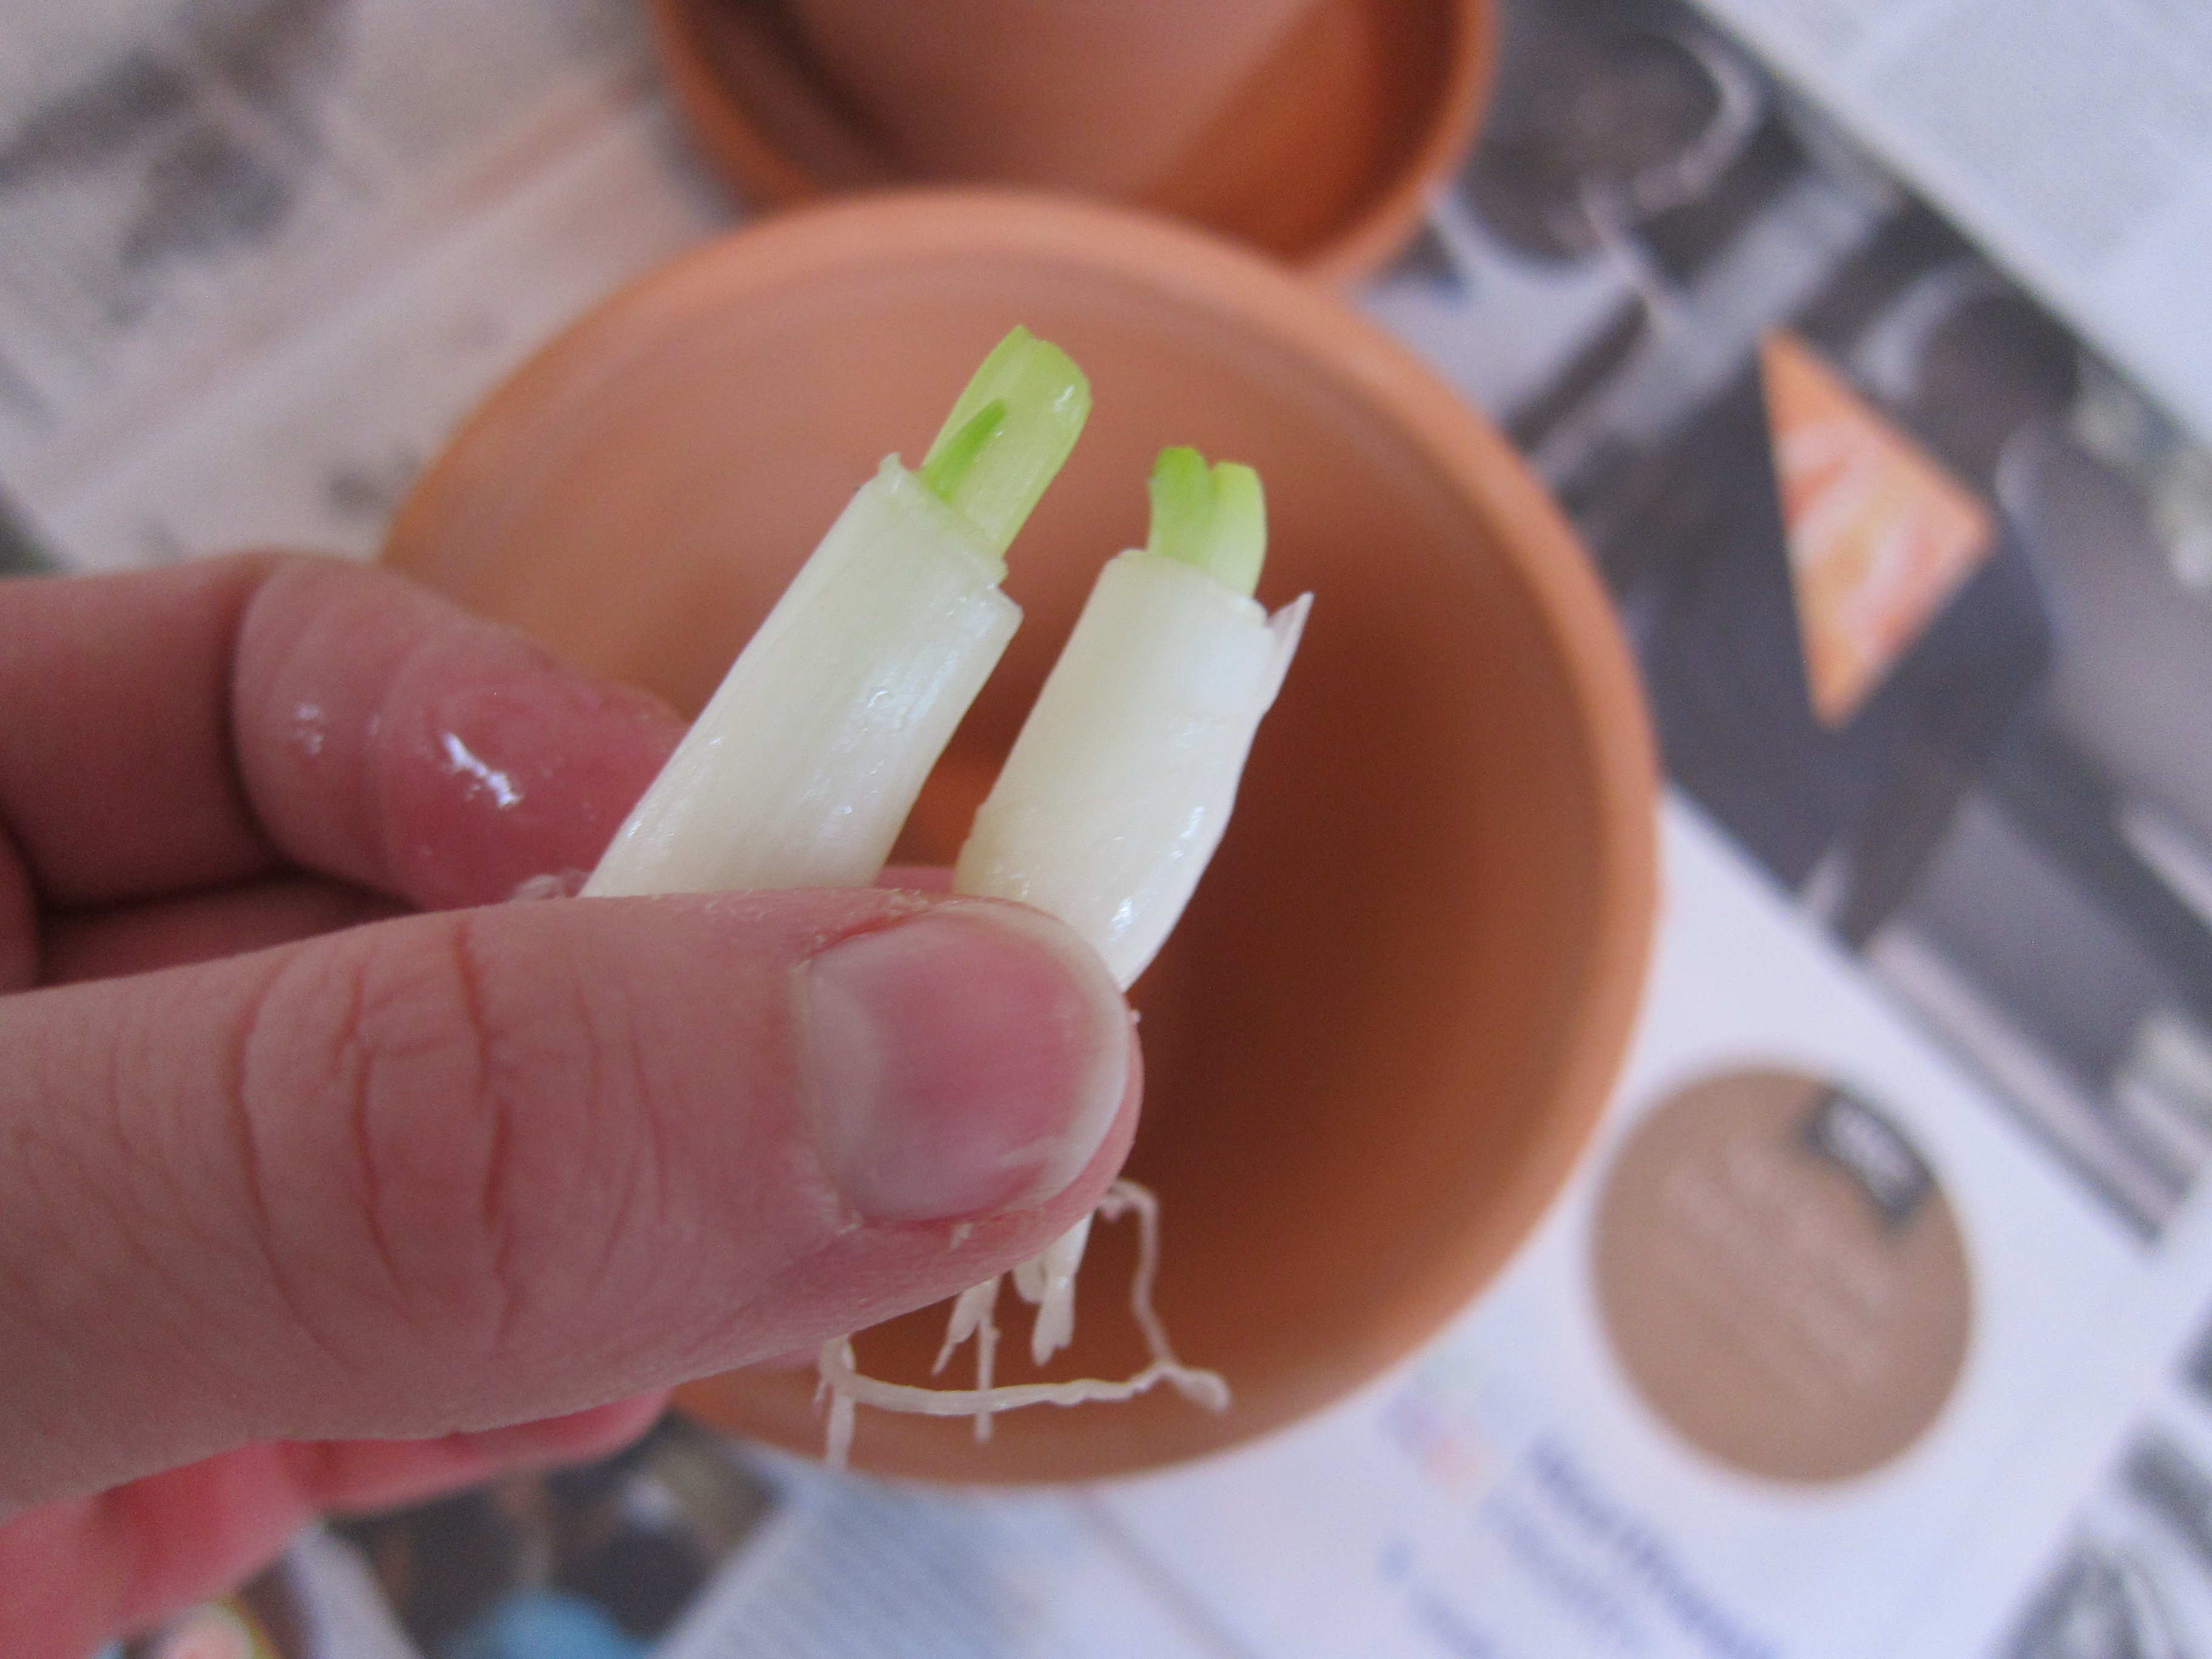
When that fun was done, we also tried out the celery experiment with potatoes and green onions. It turns out the green onions worked best!

LP Plants (17)

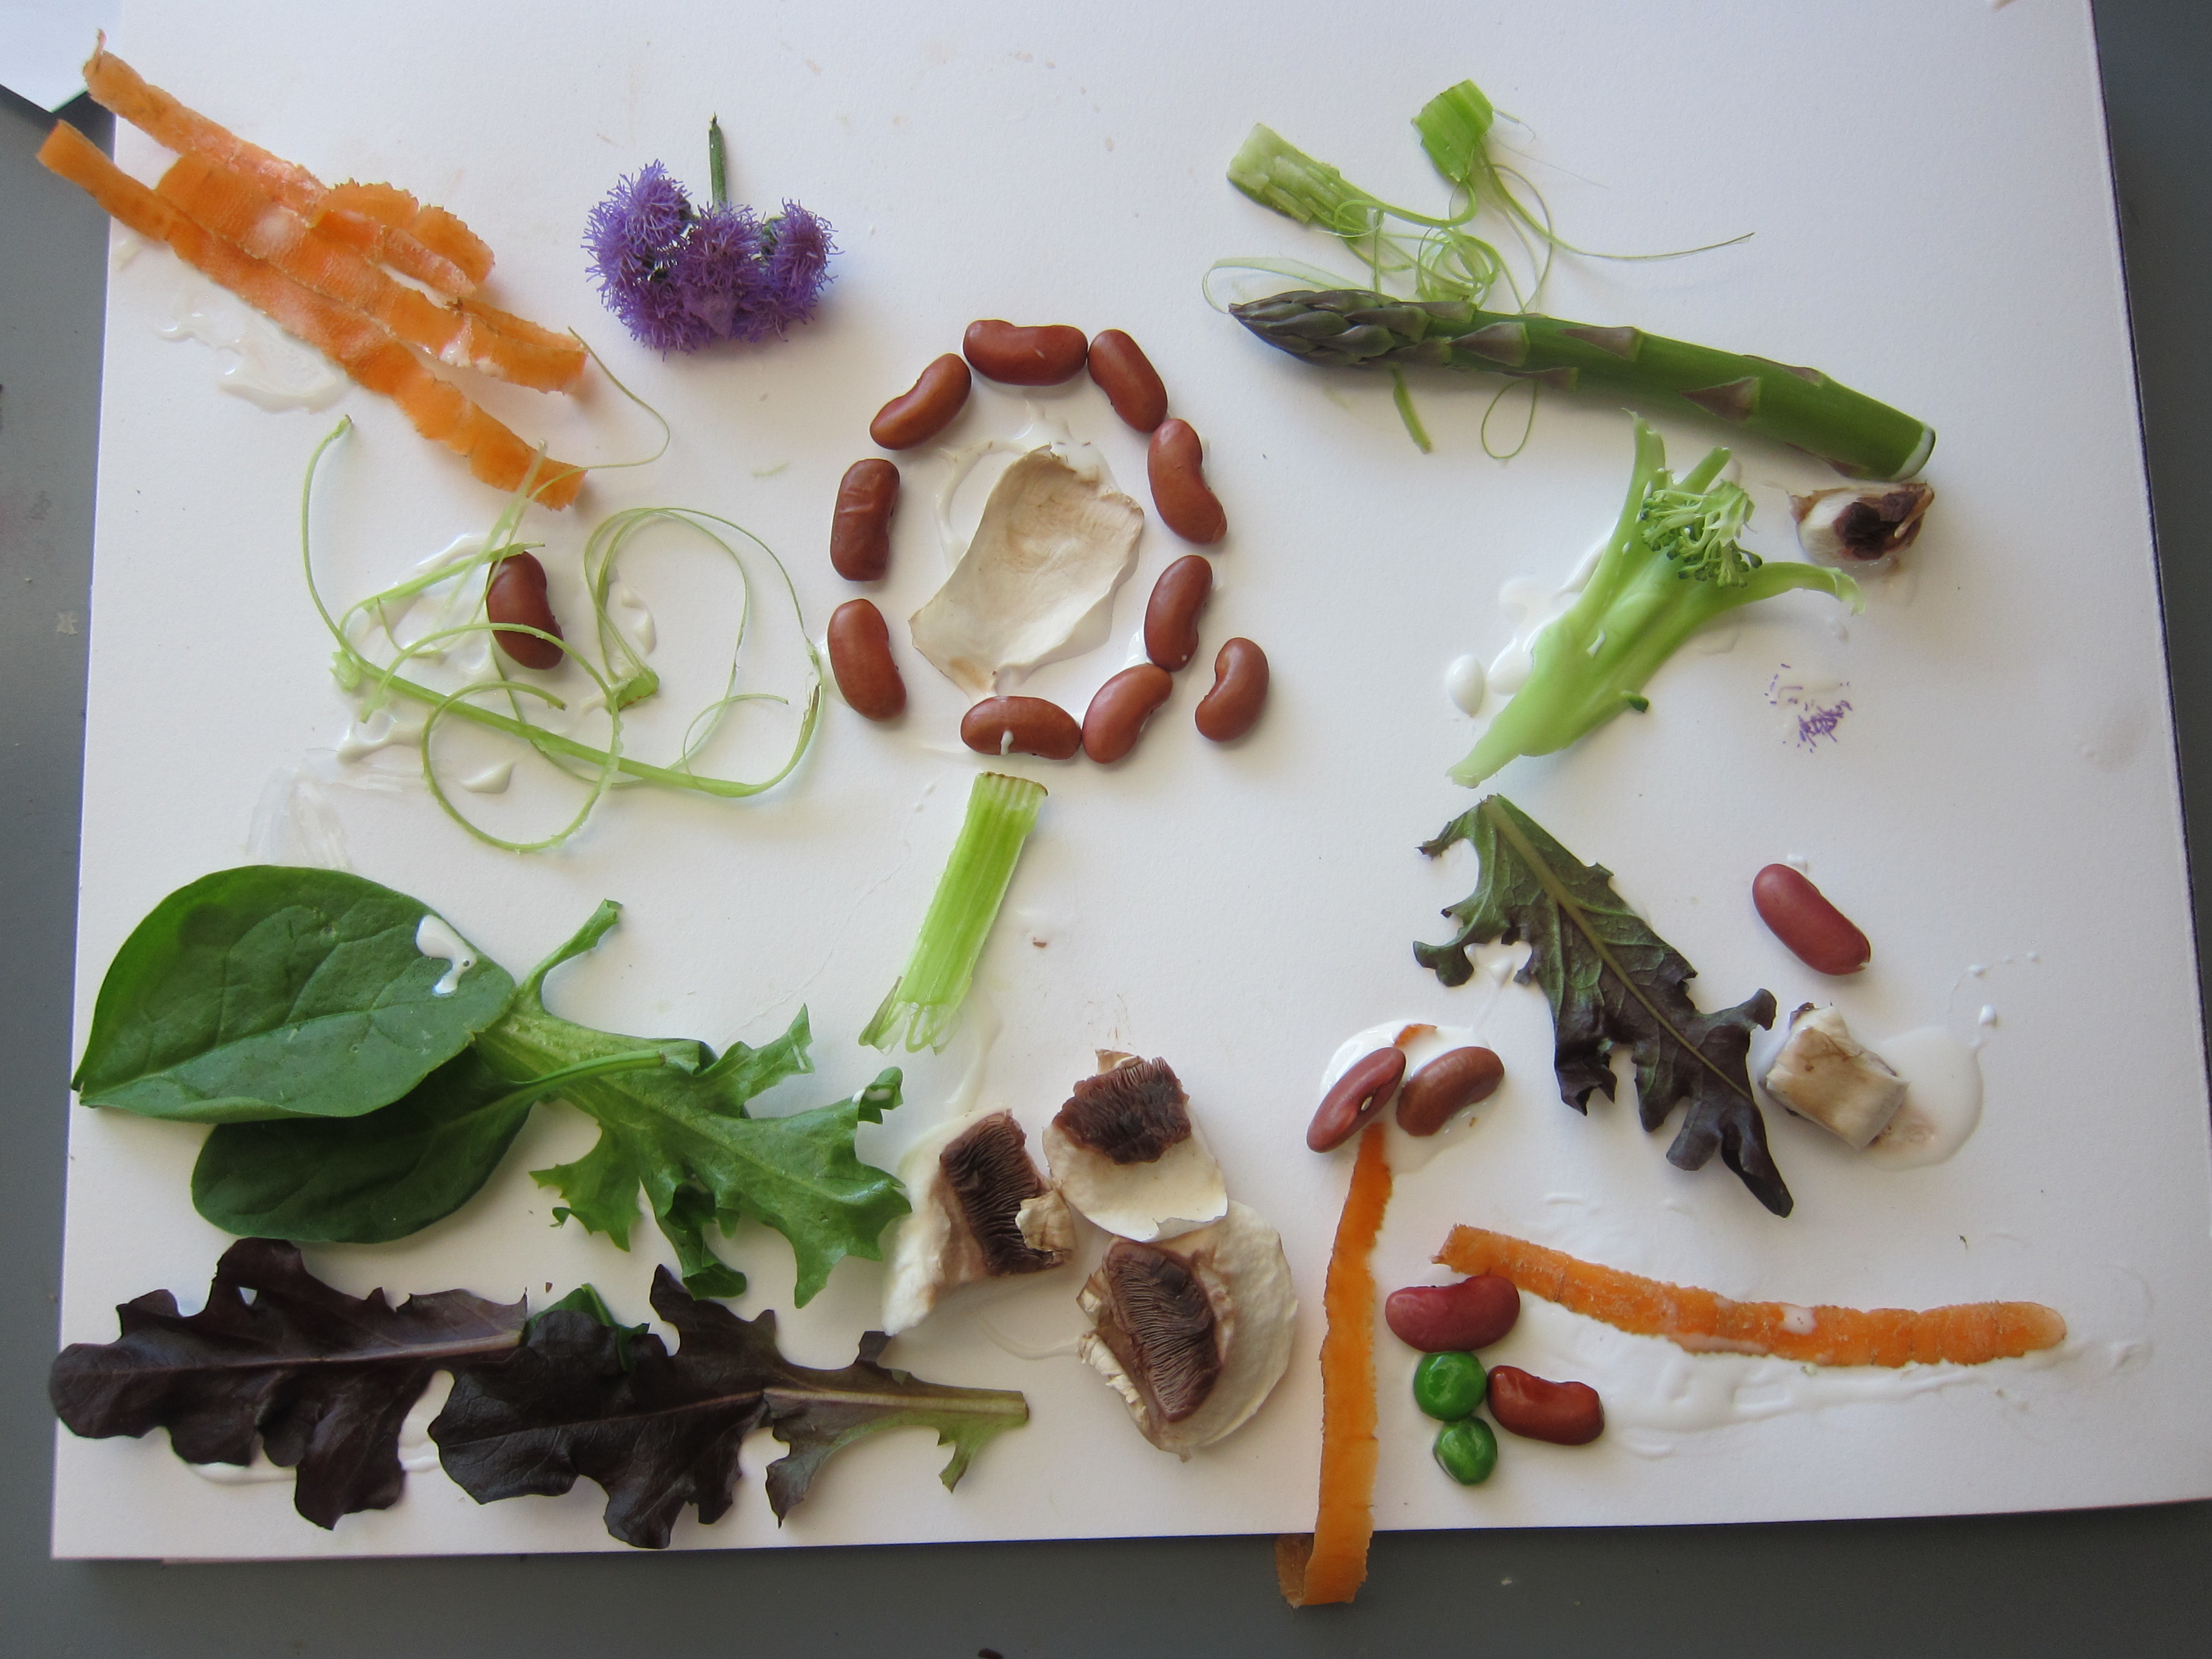
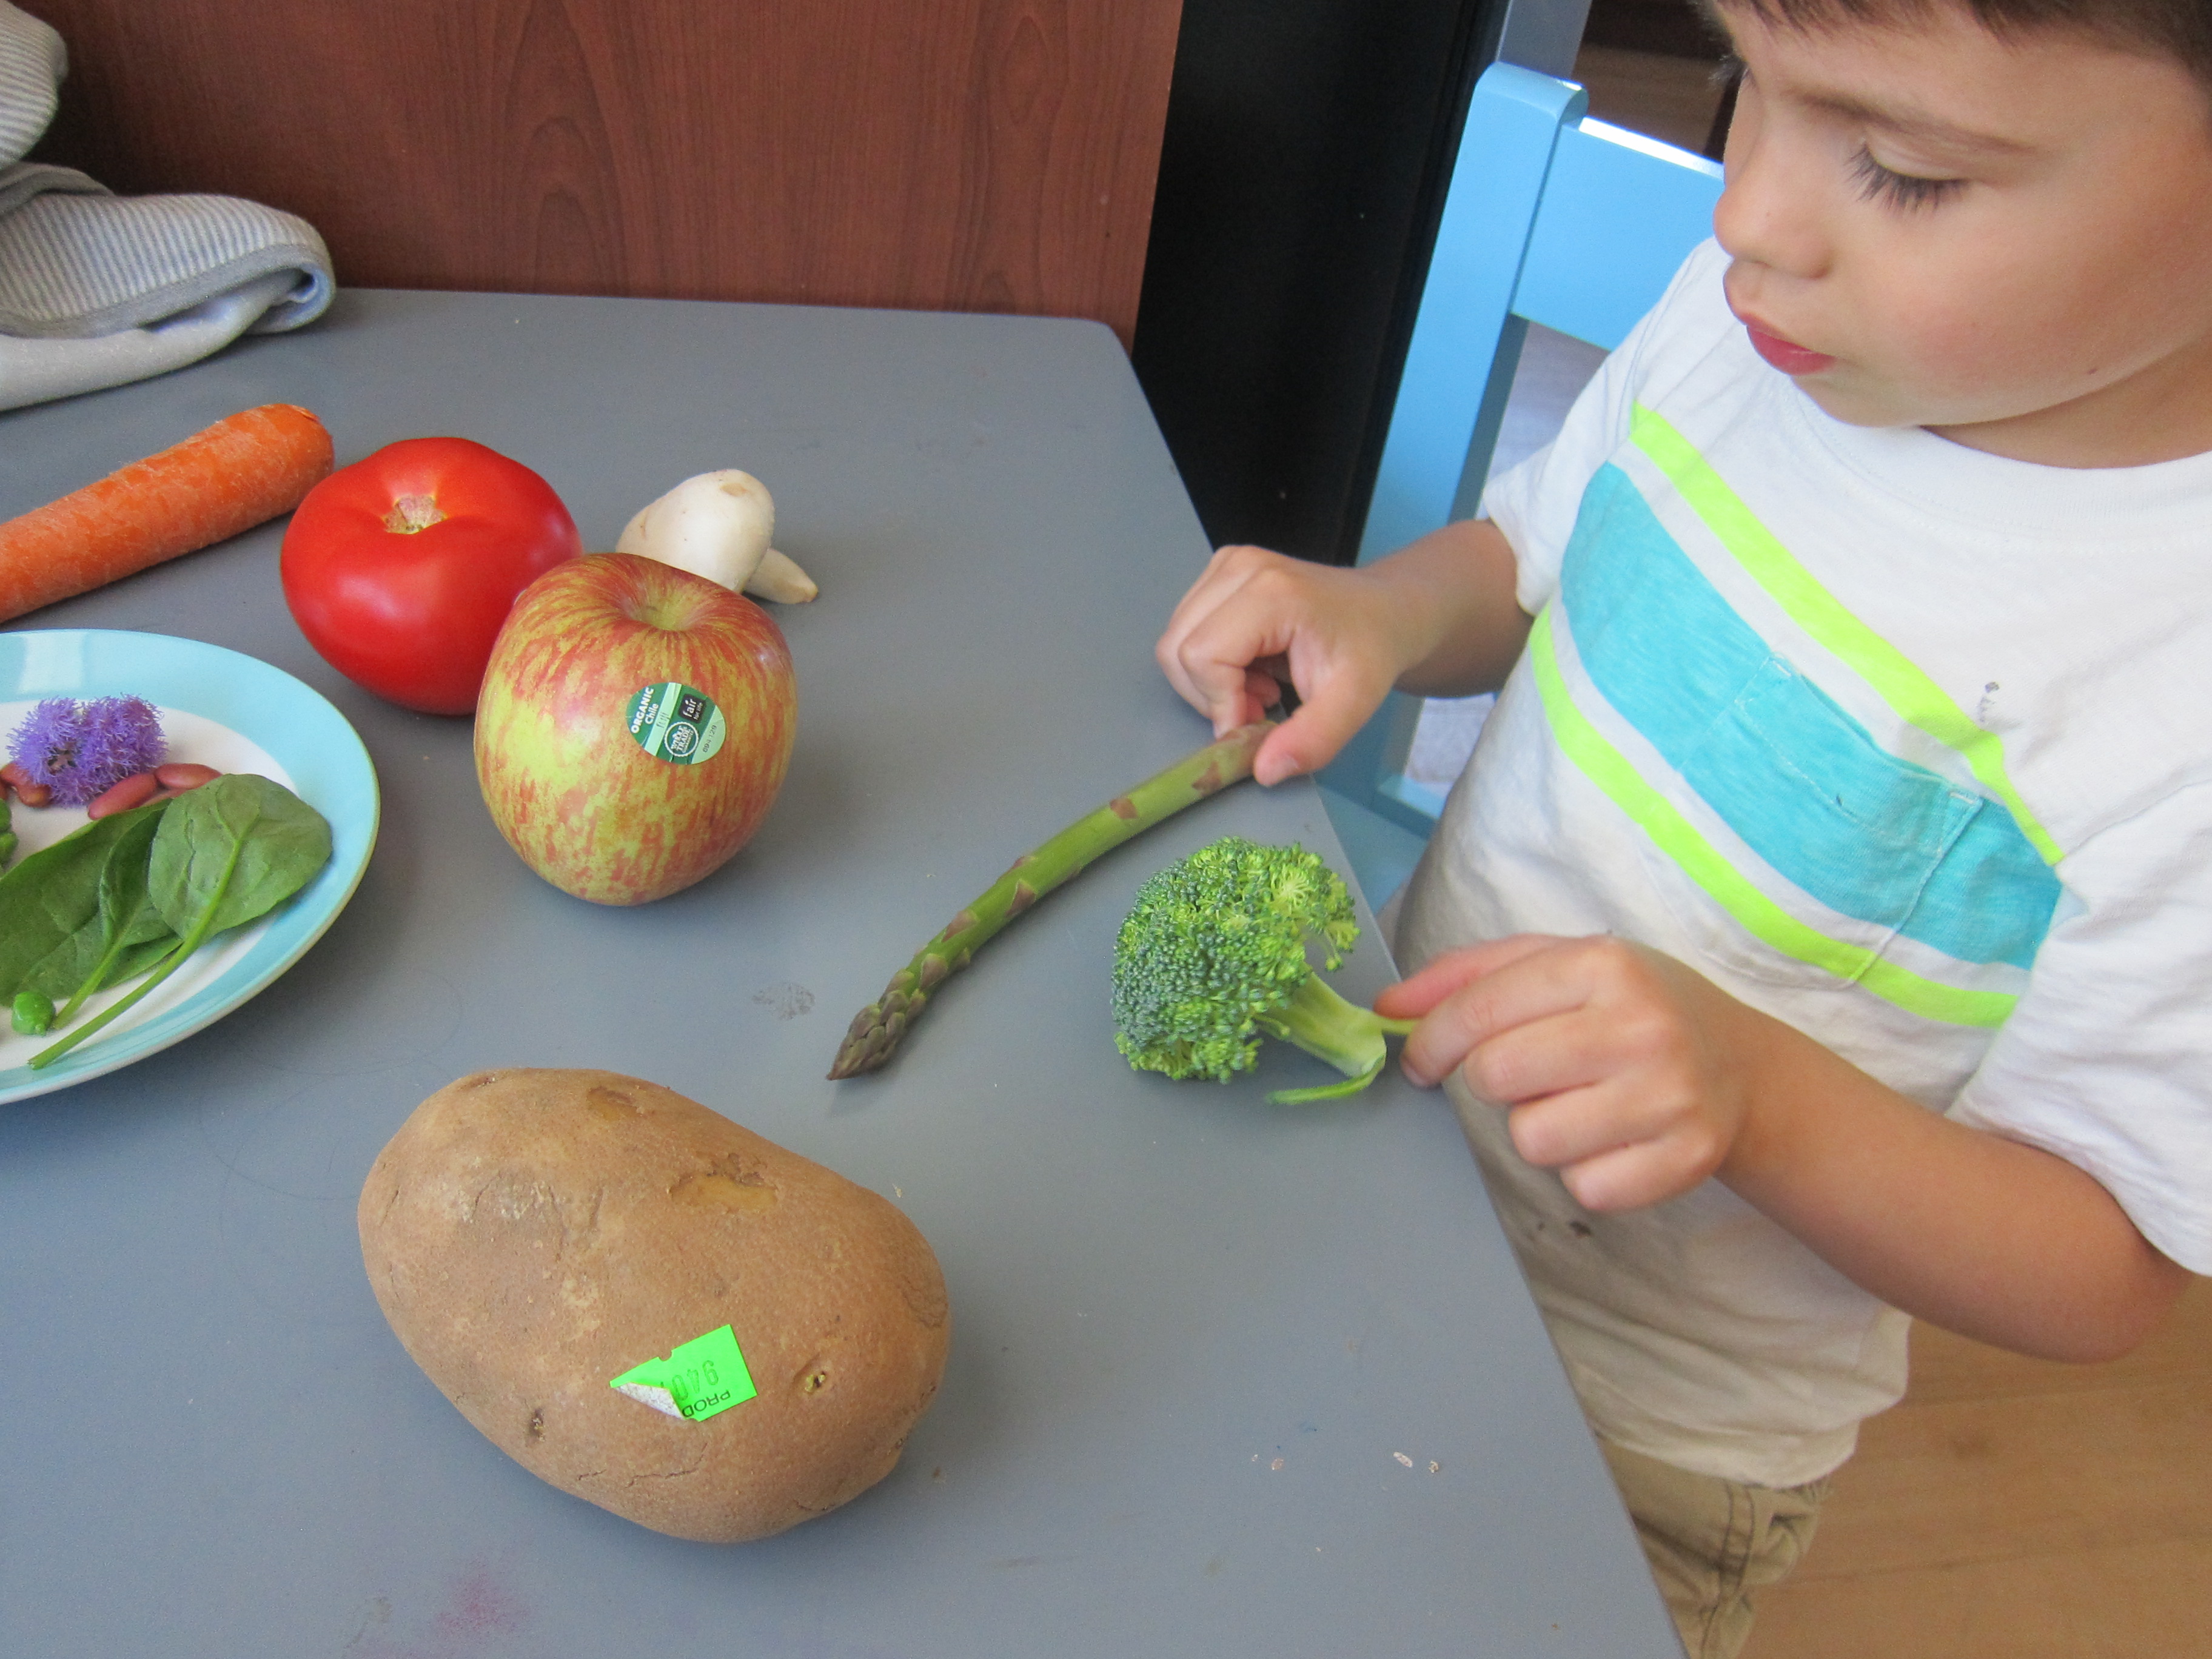
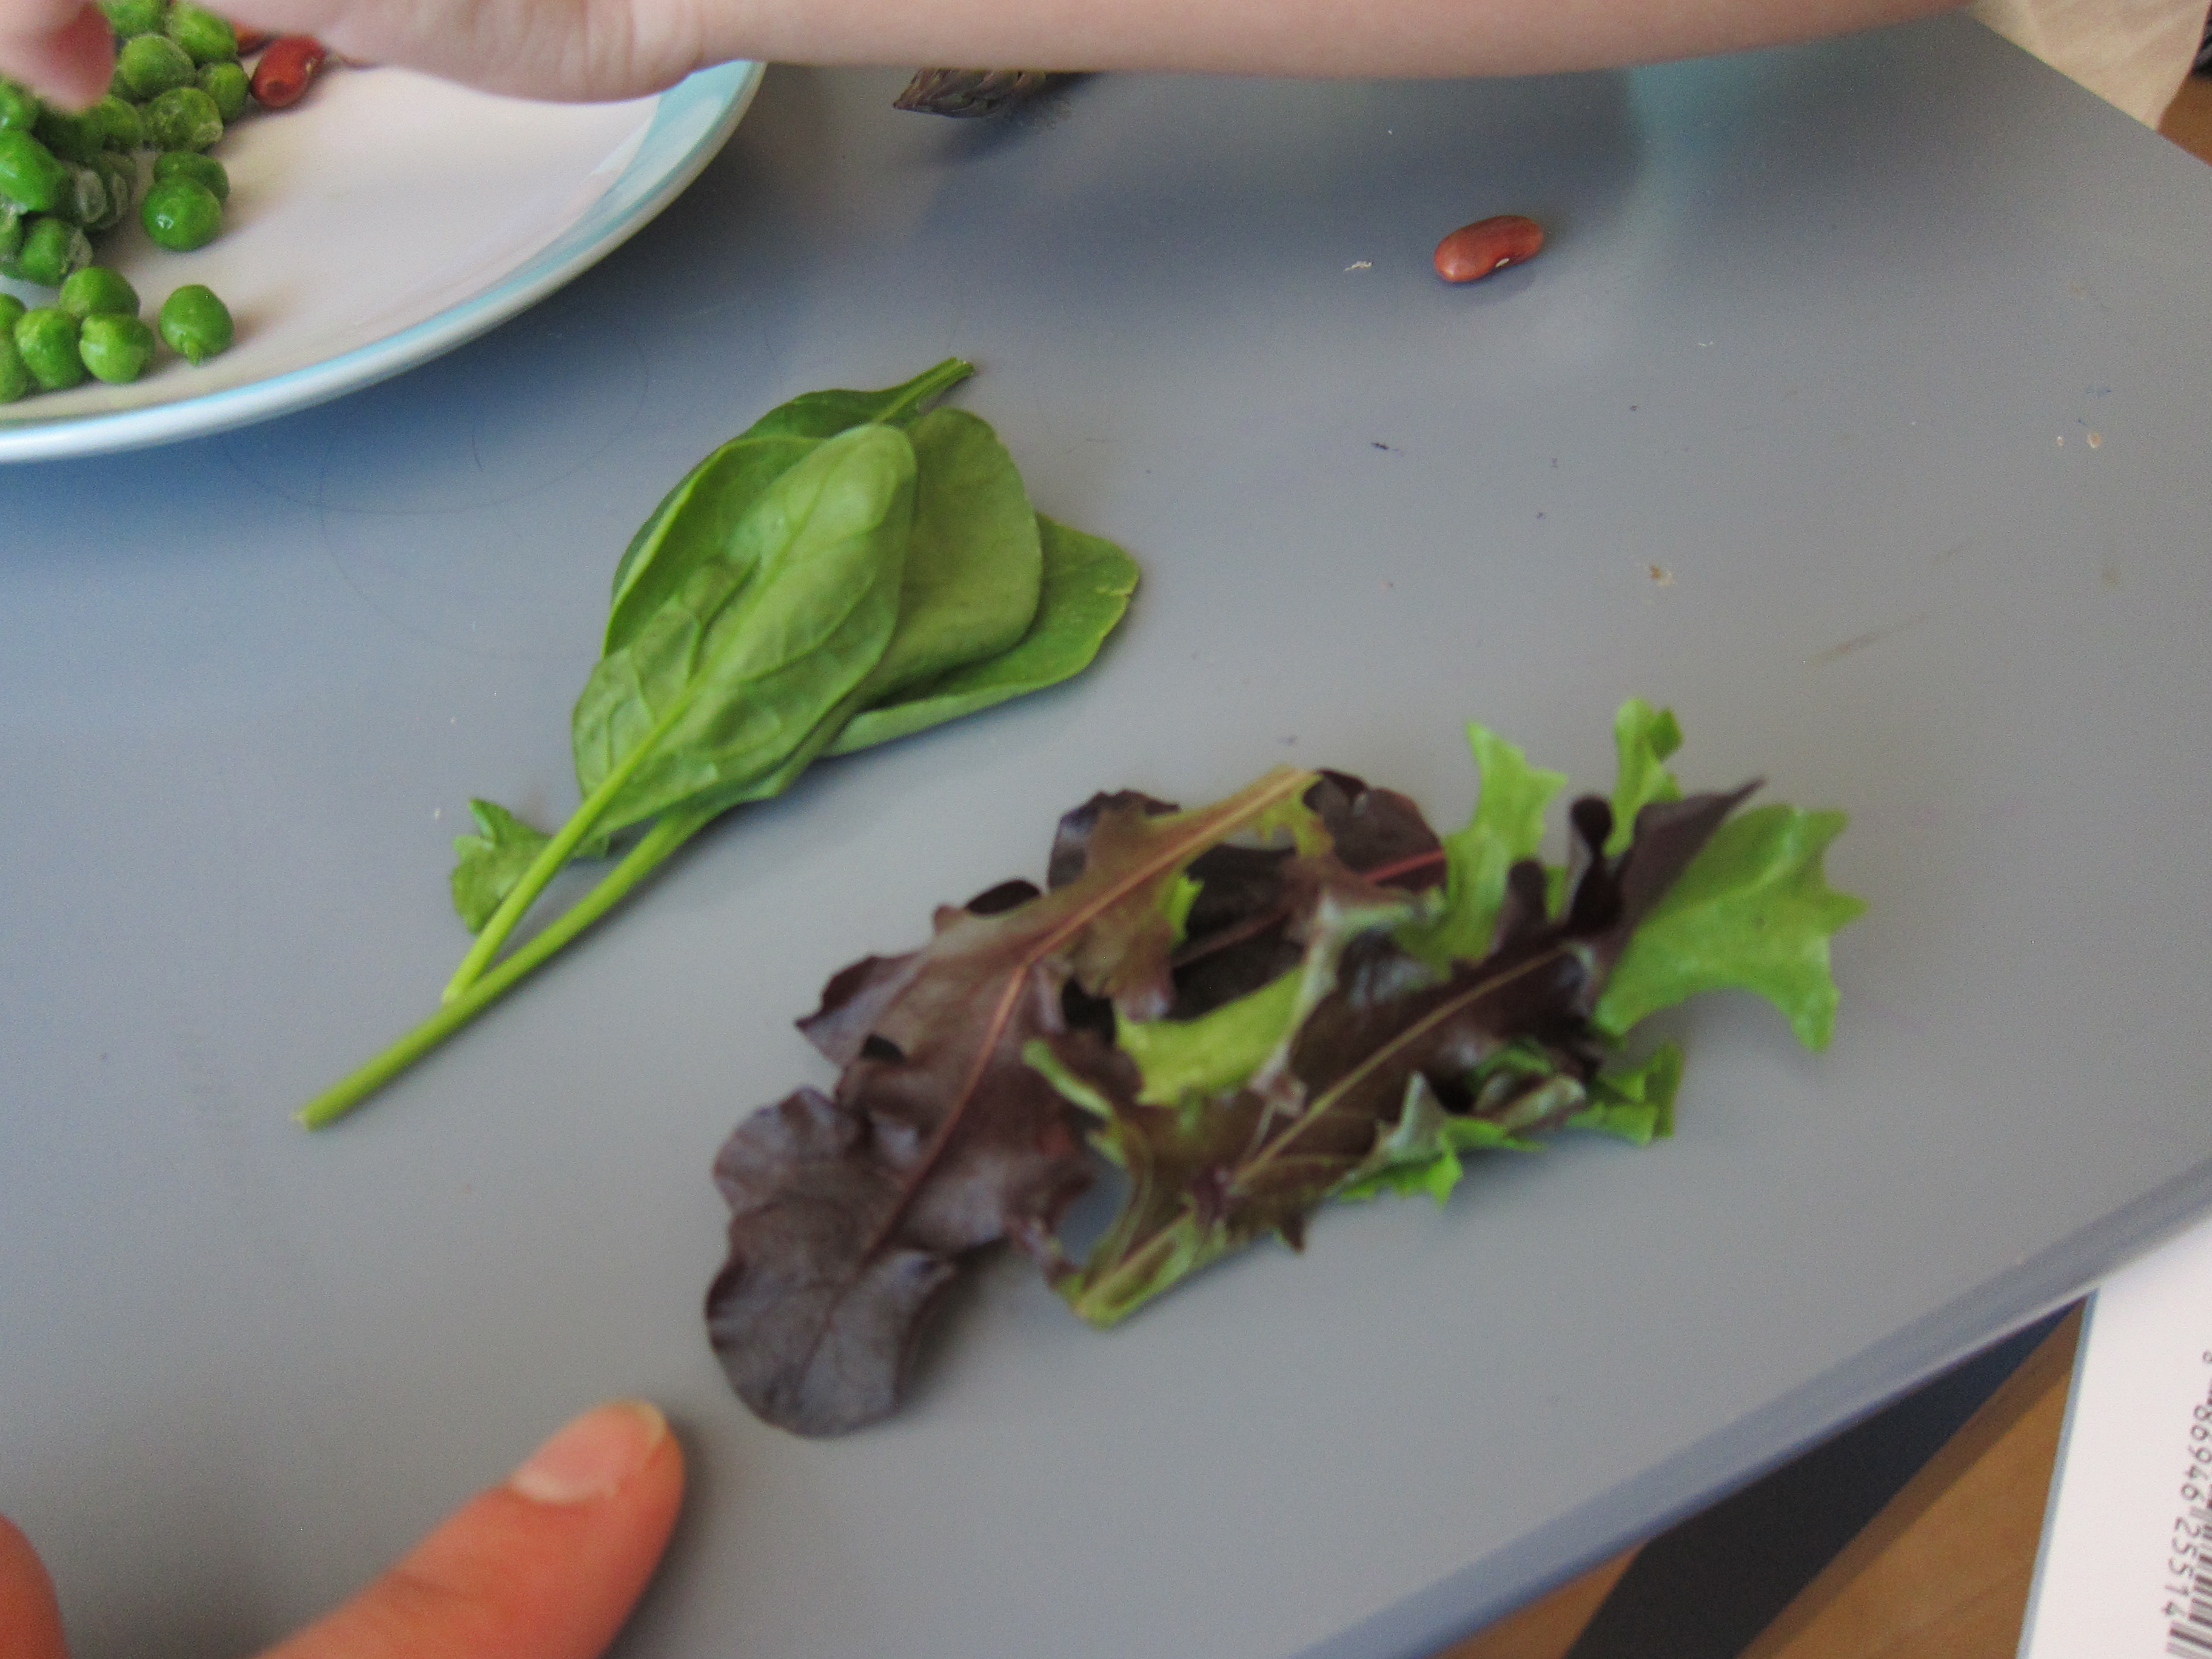
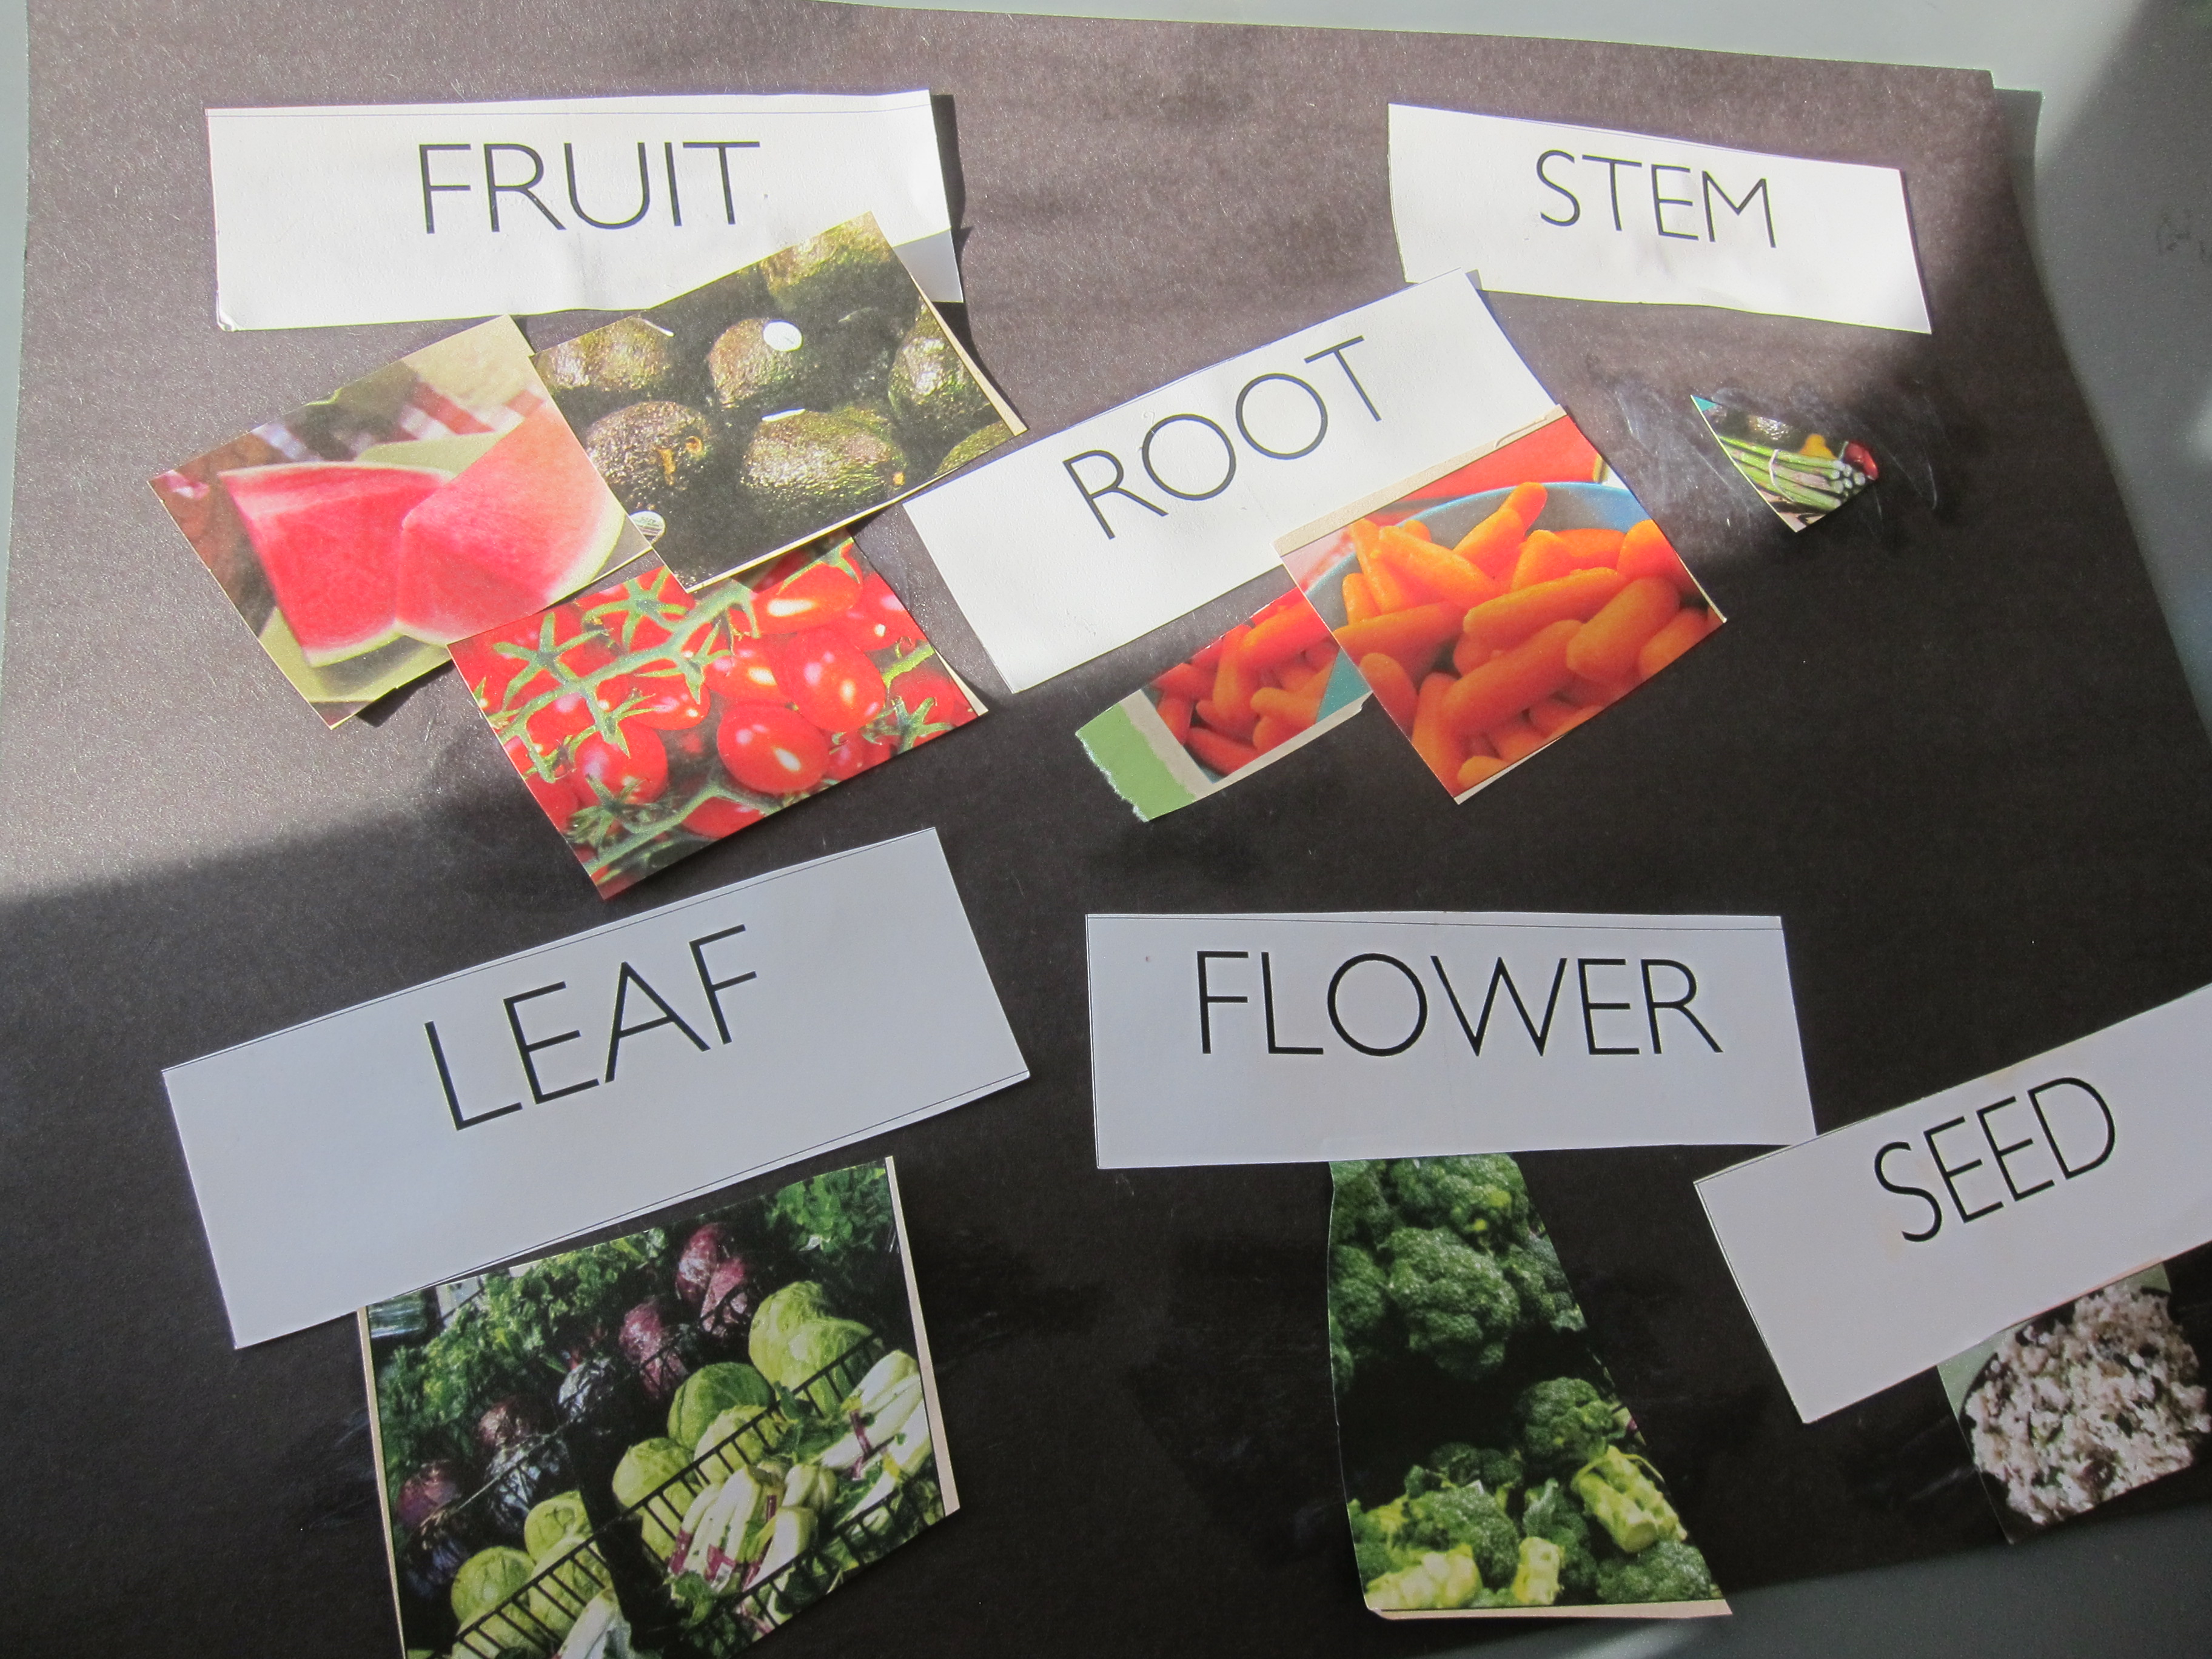
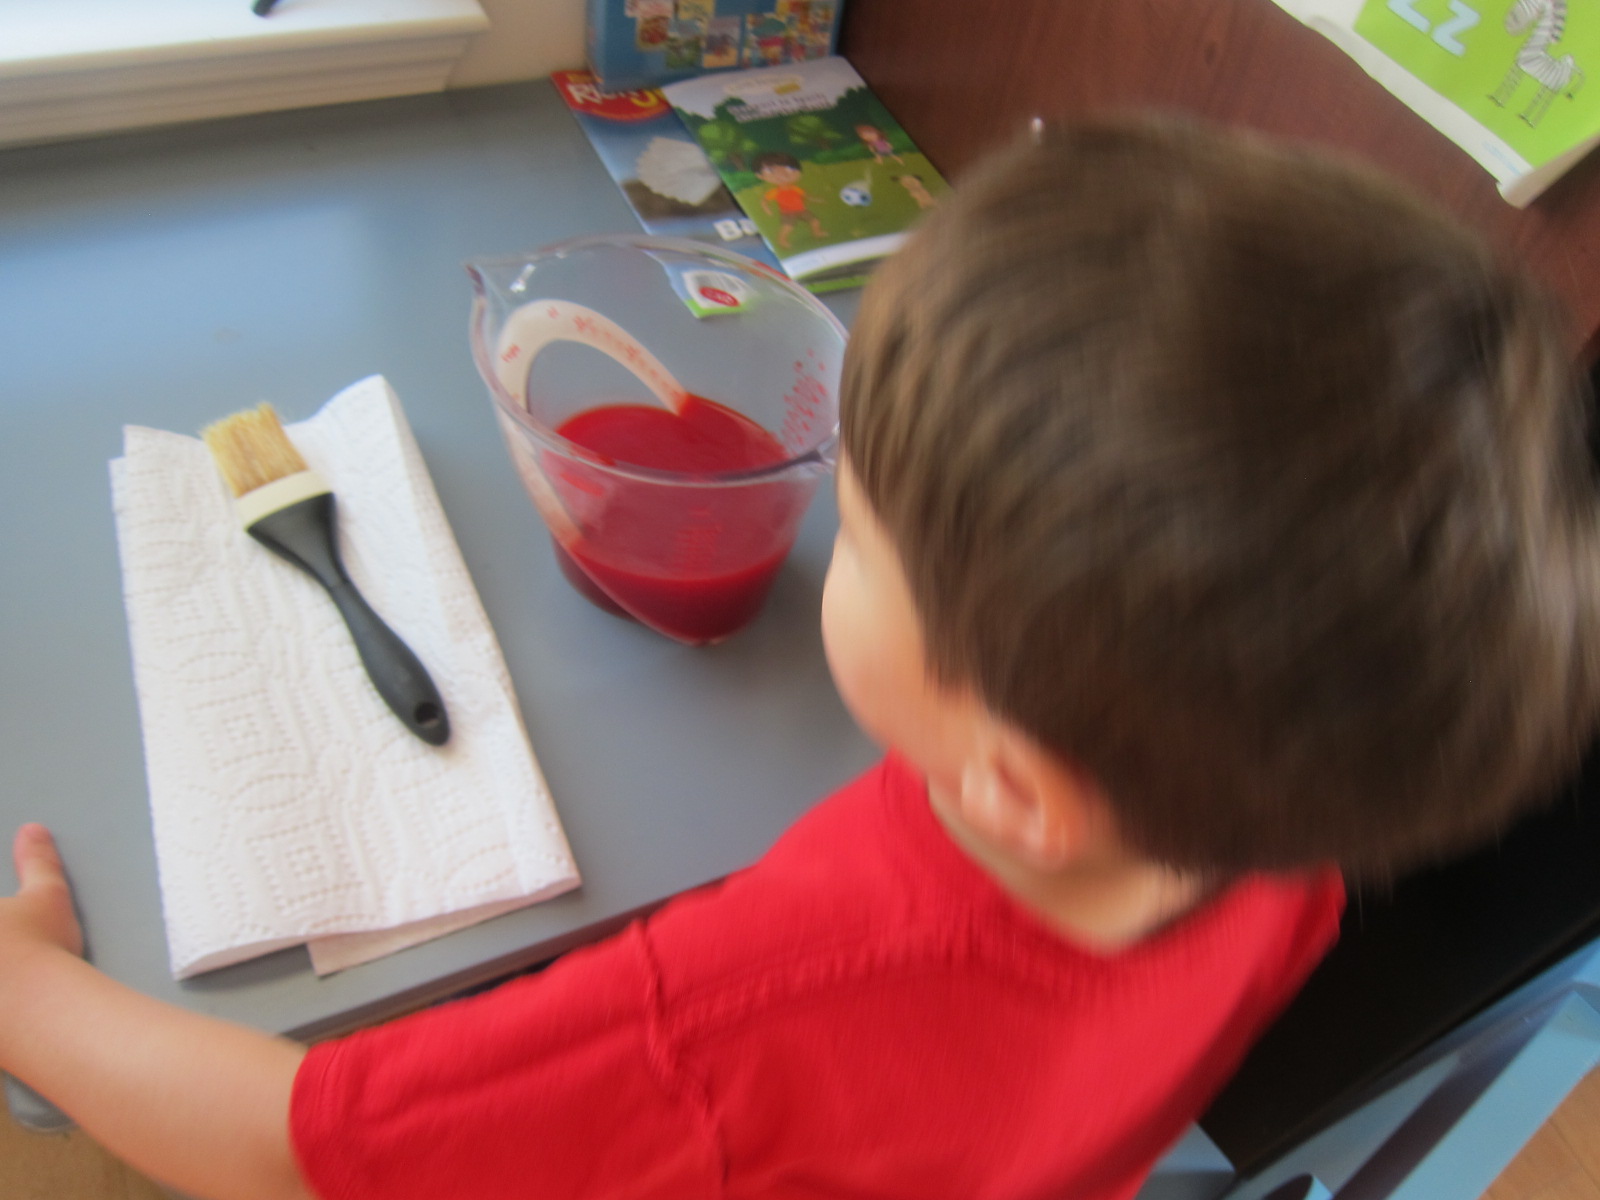
A vibrant bright bean salad was the perfect chance to count the plant-based foods on our plate, especially because it contained multiple plant parts – spinach leaves, corn seeds, potato roots, and more!

Bright Bean Salad (6)

Travis was also eager to try some of the foods he’d read about in the booklet, so this week I picked up bamboo and corn pupusas at the market.

LP Plants alt.JPG

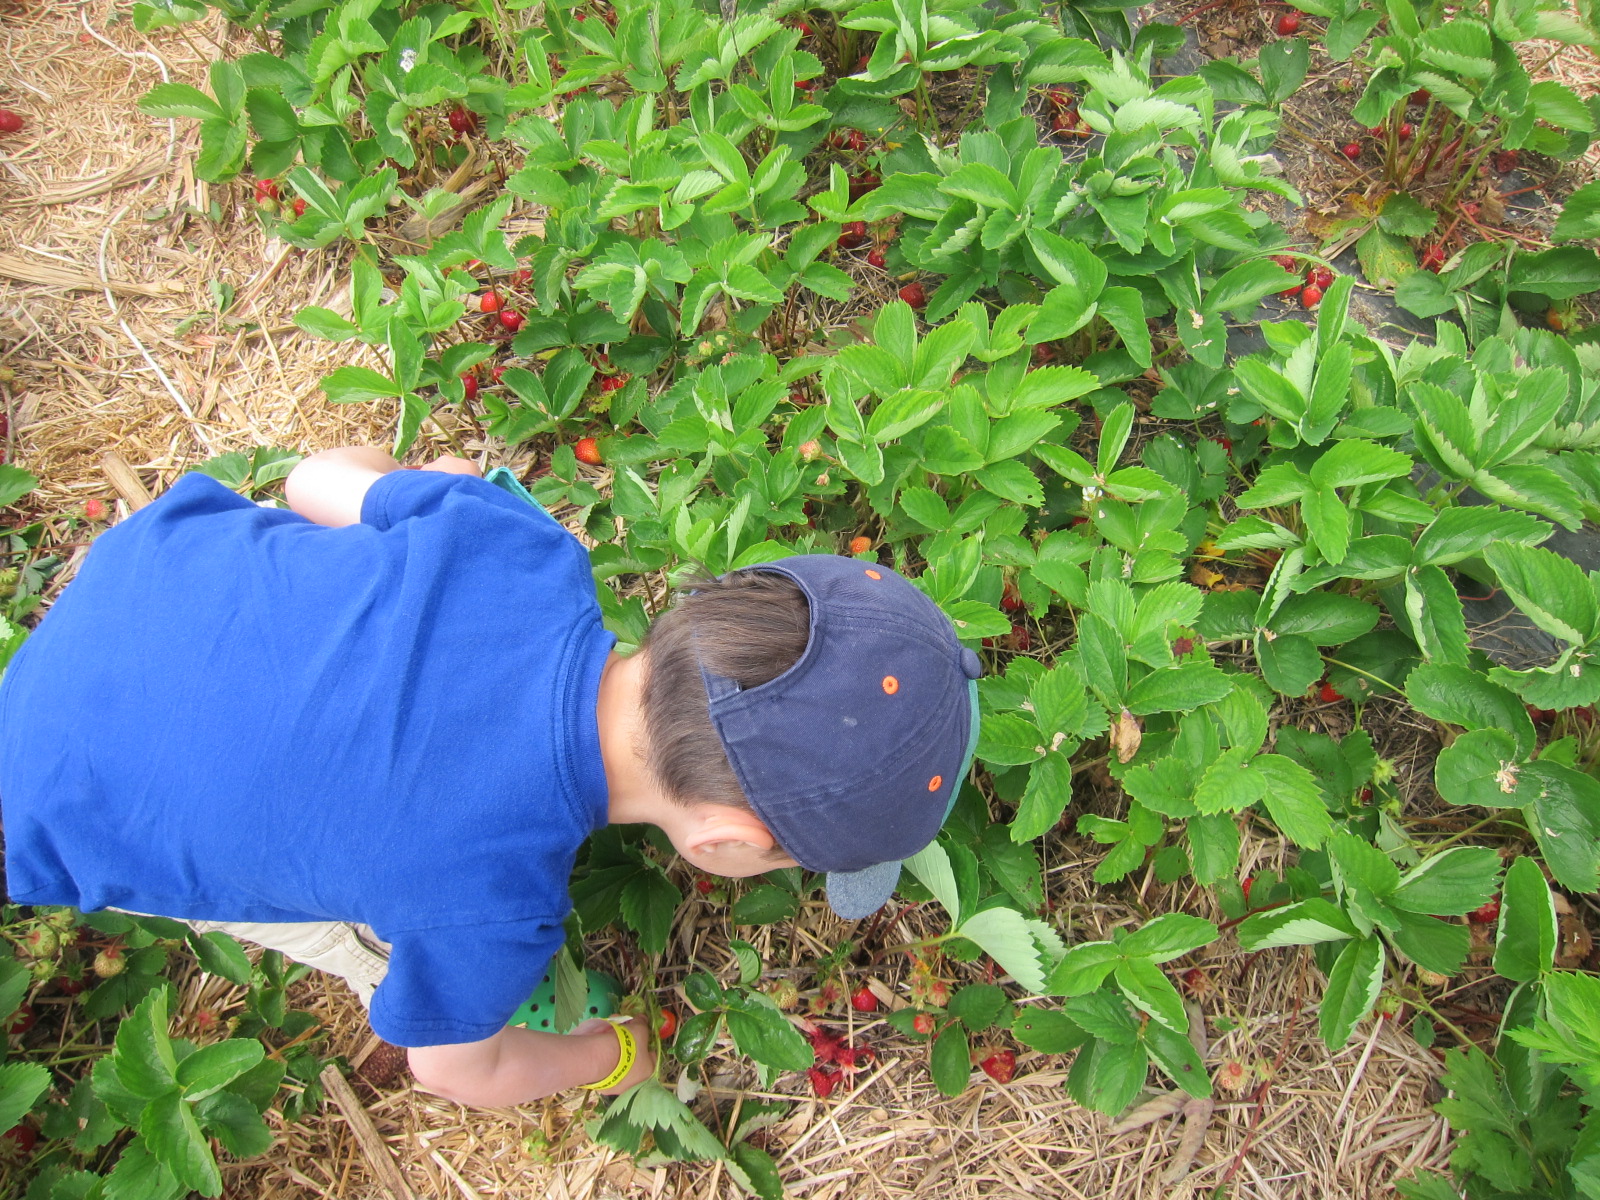
We also took the suggestion to count the plants in our neighborhood. This was interesting for mom, too! Our apartment complex is lined with low bushes, and it turns out there are so many varieties we lost count!

LP Plants (29)

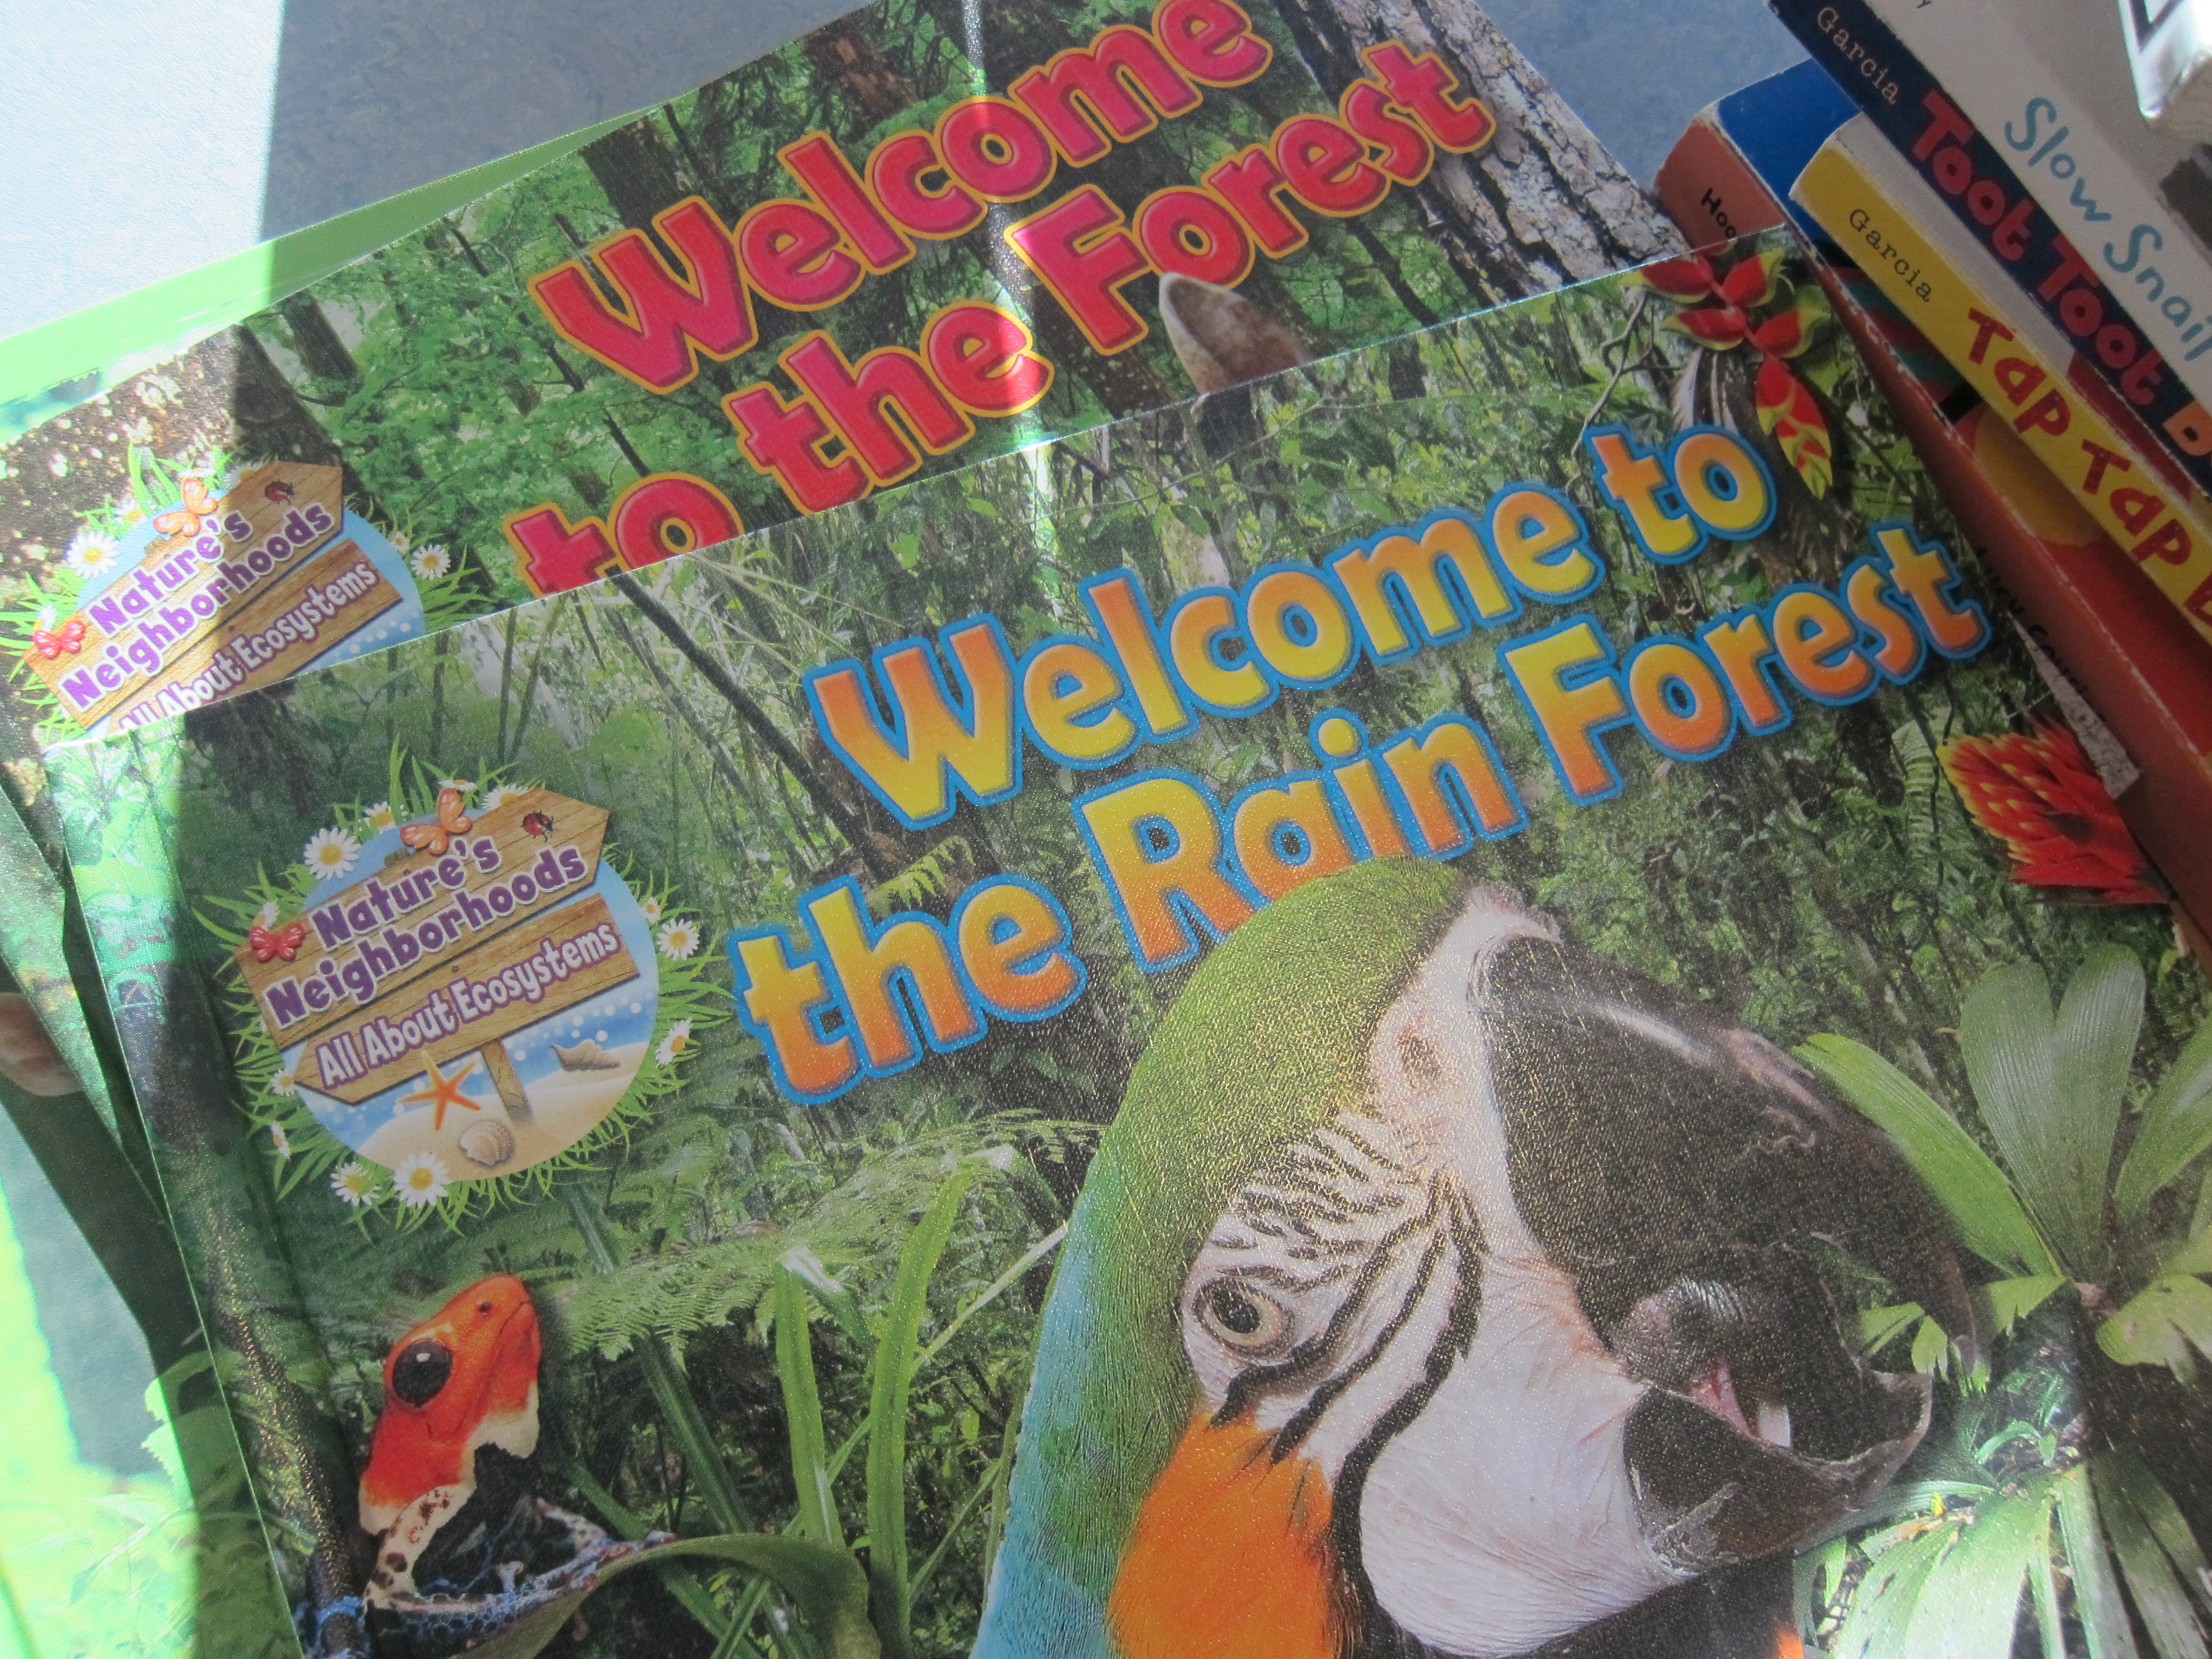
Finally, we headed to the library for a few books on plants. Check your non-fiction section, and see what you find!

LP PLants var


Summer Bucket List Part II

Summer 2 (c)

About a month ago, we came up with a bucket list of activities to enjoy before summer ended. Turns out it didn’t take us long to tick through the whole list – we already have ideas for next summer! But before I get ahead of myself, here’s a run-down of the fun we had.

June 4 – Catch a Minor League Sports Game

Thanks to discount tickets through our local library, we were quickly motivated to check this one off the list, taking in a minor league baseball game. The game didn’t start until 7 p.m., meaning this was a treat to stay up late, drink lemonade, and watch some ball while the sun set!

Ducks (1).jpg

June 6 – Dye Your Hair with Kool-Aid

The final week of nursery school featured “crazy hair day”, so how could we not try out the kool-aid method? We followed the instructions from Down Home Inspiration, which unfortunately didn’t work quite as well on short boy hair as on long hair.

Summer Bucket (1)

But we got a hint of dark color that lasted just long enough for the school day, and Travis got a kick out of it!

Summer Bucket (2)

June 9 – Go Berry Picking

Travis was officially out of school for the summer, and we celebrated with berry picking at a local organic farm.

Summer 2 (b)

Since we picked blueberries last year, this year was all about strawberries!

June 9 – Eat Dinner al Fresco

We capped off a busy summer day (see berry picking above) with food and drinks on the patio. Eating al fresco for kids always feels slightly taboo, slightly invigorating, and definitely full of summer.

Summer 2 (f)

June 16 – Spot Shapes in the Clouds

One of our favorite words from the recently-published Big Words for Little Geniuses is nephelococcygia or “finding familiar shapes in clouds,” so we were psyched to spot shapes over a weekend vacation with big cousins. Some of the kids thought this was a man o’ war or a fish.

summer bucket (7)

We even spotted a T for Travis!

summer bucket (5)

June 16 – Temporary Tattoos

Having the whole family together meant everyone got a temporary tattoo – moms, uncles, aunts, and kids included!

summer bucket (6)

June 19 – Play Hopscotch

When I first pulled out the chalk, Travis wanted to do his own thing, drawing buildings and then spritzing them with water.

summer bucket (11)

Meanwhile I drew us a hopscotch board. I finally coaxed him into tossing little tokens and jumping his way to them, at which point he declared, “I didn’t think I’d like this game, but now I do.”

summer bucket (12)

He got a kick out of watching mom jump, too!

summer bucket (14)

June 30 – Visit a Local Farm

For us, a farm has to mean a sanctuary, the perfect way to show vegan kids (or any kids!) that animals can live out their natural lives under human care. We’re lucky enough to have one just 15 minutes up the road. He loved the turkeys best.

farm (5)

June 30 – Catch Fireflies

The suggestion to go backyard camping from Ranger Rick Jr. was a perfect excuse to cross another item off our list – fireflies! We didn’t catch any that night, but we loved watching them from the tent, and I even managed to catch a spark on film.

camping (10).JPG

Wouldn’t you know, a few weeks later we had a firefly in the house, and got a chance to observe it before sending it back outside.

summer bucket (20)

July 3 – Enjoy an Outdoor Concert

Check your town’s local listings; there is almost certain to be music or kids’ entertainment somewhere in a park near you before the summer is over. We had a magical evening at a local park, including a fun performance from a Grammy-winning kids’ song writer, Italian ice, and warm summer breezes.

summer bucket (17)

July 8 – Paddle a Canoe

Alas, this one was not a hit. We canoed across a beautiful lake in New Hampshire, and here’s Travis excited before we began!

summer bucket alt.JPG

Soon, though, he was terrified, so it turned into paddling across as fast as we possibly could.

NH (17)

July 8 – Skip Rocks

Better than that darn canoe was skipping rocks once we reached the pebbly beach at the lake’s other side! A moment of peace with Daddy and one of life’s simpler pleasures.

summer bucket (19)

July 13 – Plant Something and Watch It Grow

The final notch in our summer belt was to do some planting. We love ladybugs (and are firm believers that they bring good luck) so thought these ladybug seed bombs would be perfect on our patio.

Summer Bucket (23)

We also planted a few flower bulbs into recently decorated pots, and Travis sported his new kid-sized gardening gloves. Our patio has never looked prettier!

Summer Bucket (21)

Jeweled Garden Sticks

Jewel Sticks (5)

We’re proud of the little garden we’ve managed to create on our patio this summer (a goal from our Bucket List!), with everything from chalkboard planters to little coiled snakes as decorative guests. Now we wanted to make sure pests stayed away, and I read a tip online that shiny items act as a deterrent.

Travis was a pure imp putting this project together, but luckily I had our work surface well covered! First, cover jumbo craft sticks with glue.

Jewel Sticks (1)

Add sequins or any other shiny items (such as beads or buttons) from your craft bin. I thought Travis might want to place pieces on deliberately or in a pattern, but no… dumping the bag of sequins was much more fun!

Jewel Sticks (2)

This method worked surprisingly well. When we shook off the excess, we had shiny jeweled sticks left over.

Jewel Sticks (3)

Let dry completely before heading outside to put in the dirt near any plants you want to protect.

Jewel Sticks (4)

We’ll see if it works!