This little project is sort of a DIY chia pet, but you get to control what it looks like! It’s a neat way to introduce kids to the concept of a greenhouse, too.
To set up our “greenhouse,” Travis and I first spooned about 2 teaspoons chia seeds into a measuring cup, and filled with 1/2 cup water. Let sit while you put together the sponge structure.

We glued two sponges to a paper plate as a base, then built upwards using other colored sponges.
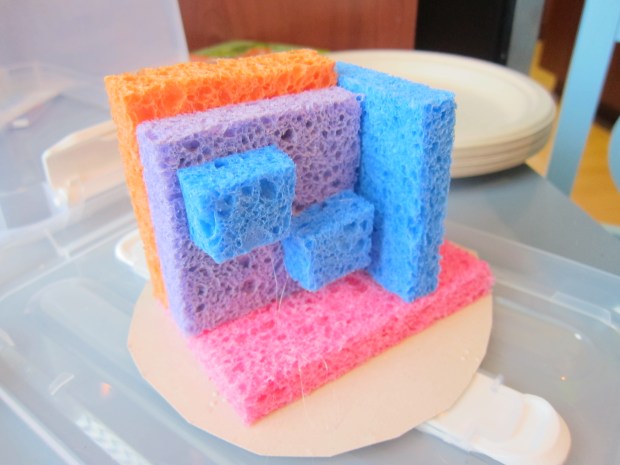
Have fun cutting some of the sponges into smaller pieces or shapes, or perhaps getting architectural with your design!

Note: We found that hot glue worked best for holding the sponges in place; a few of them had a slight tower-of-Pisa lean when we tried to use white glue.
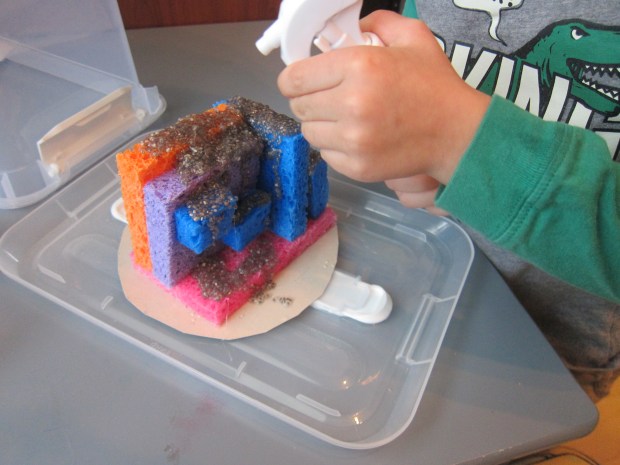
Spoon your chia mixture over the sponges. Travis thought it was so goopy!

We spritzed with a water bottle until the sponges and chia seeds were nicely saturated.
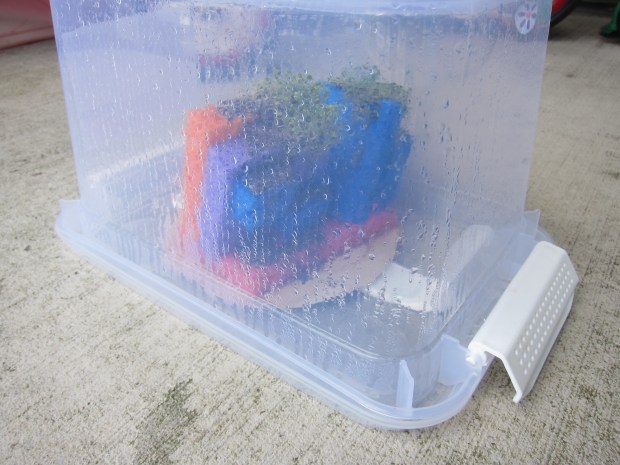
Place inside a clear plastic container (this is your “greenhouse”) and set the container some place with plenty of sunshine.
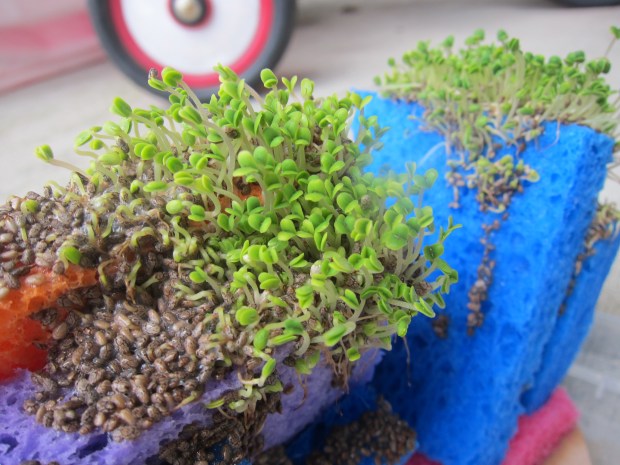
We made sure to spritz at least twice daily and within about four days, we had some sprouts!

By one week, it was looking quite sculptural! Definitely a neat experiment.