Snow Storm in a Jar

Snowstorm Jar (4)

We’re always up for a glittery and bubbly project, and this one seemed well worth a try; I’ve seen this one popping up (pun intended!) all over the internet lately. The secret to creating a blizzard inside is a simple little Alka-Seltzer tablet.

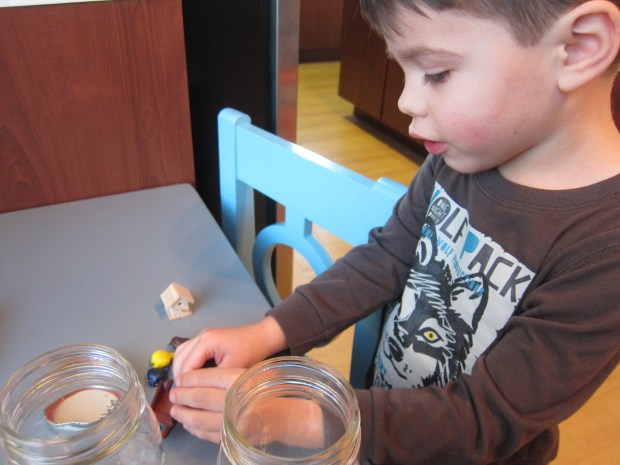
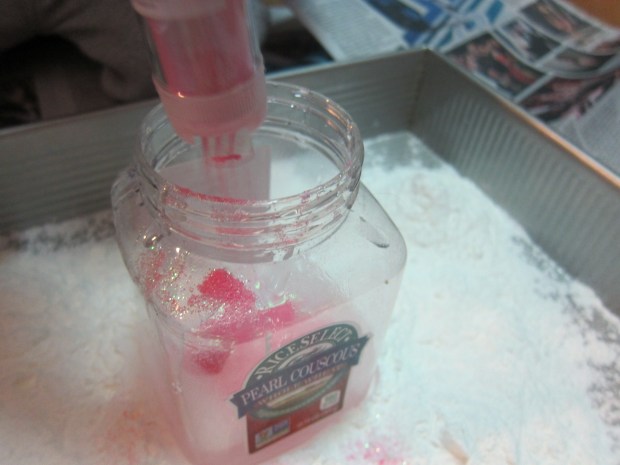
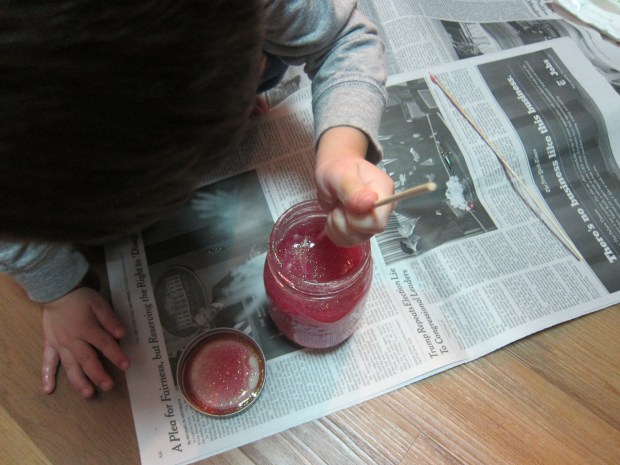
First, we needed to mix together 1/4 cup water with enough white paint to make a nice, saturated color. Pour this mixture into the bottom of a glass jar.

Snowstorm Jar (1)

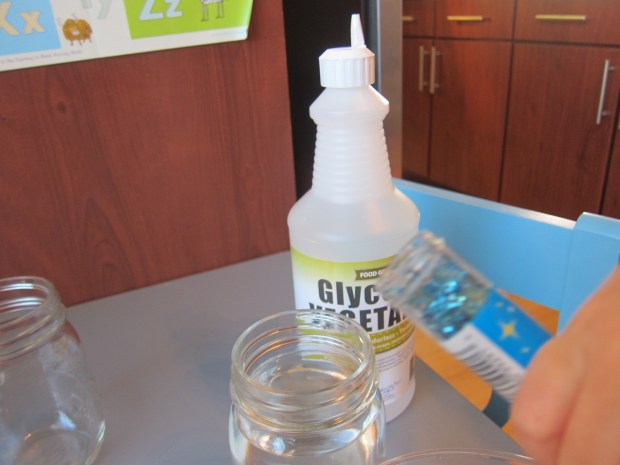
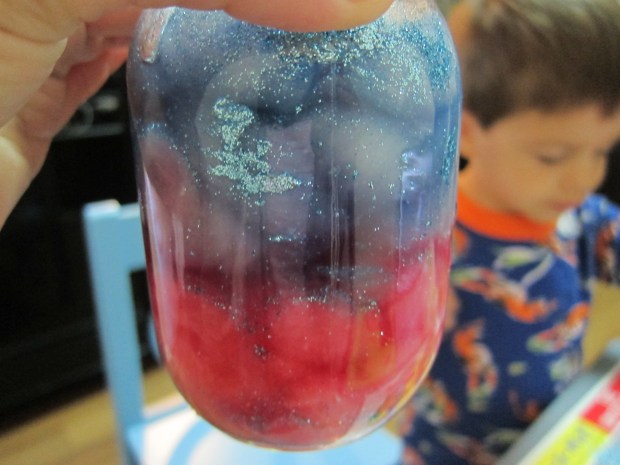
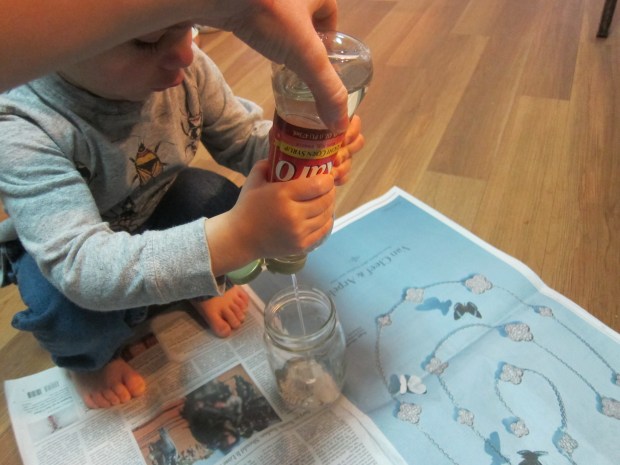
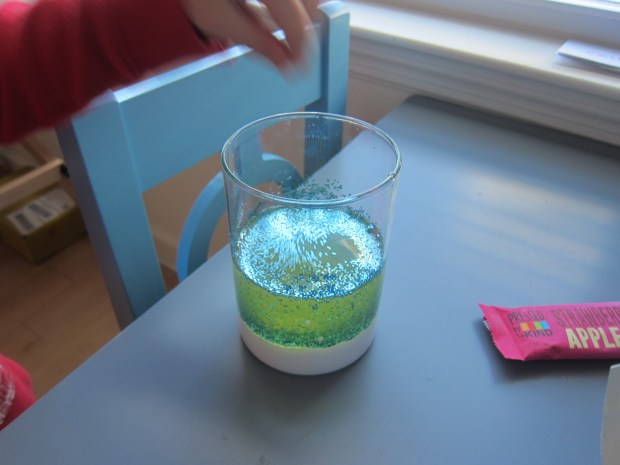
Fill the jar with 1 cup baby oil – the oil will sit on top of the water, which is precisely what makes this experiment work, the fact that water and oil won’t mix.

Snowstorm Jar (2)

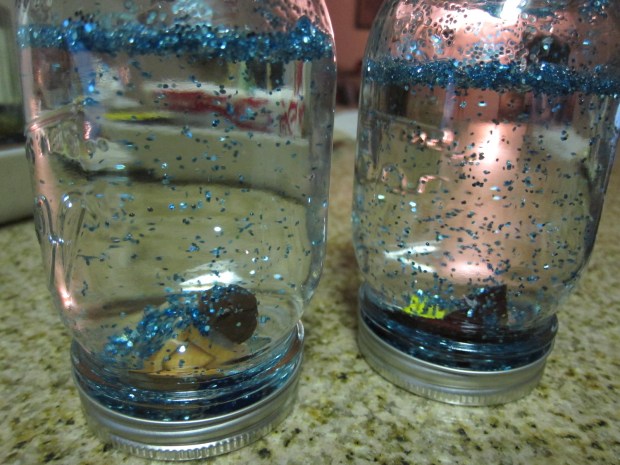
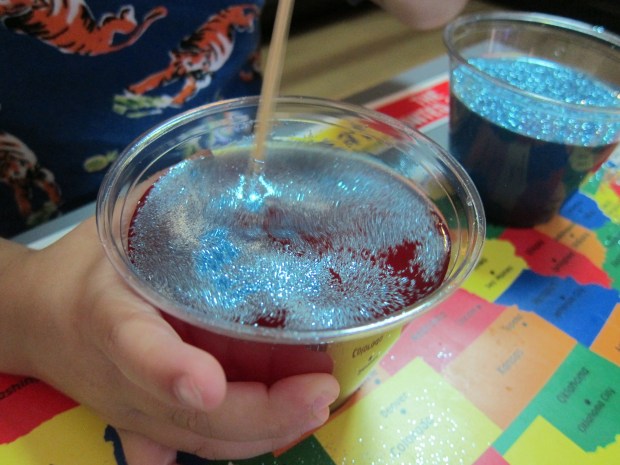
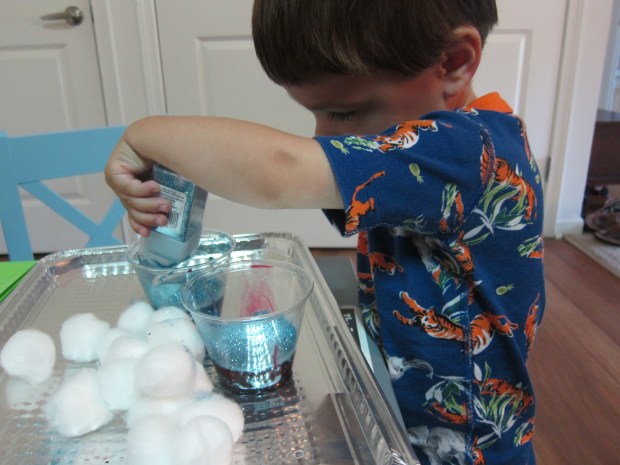
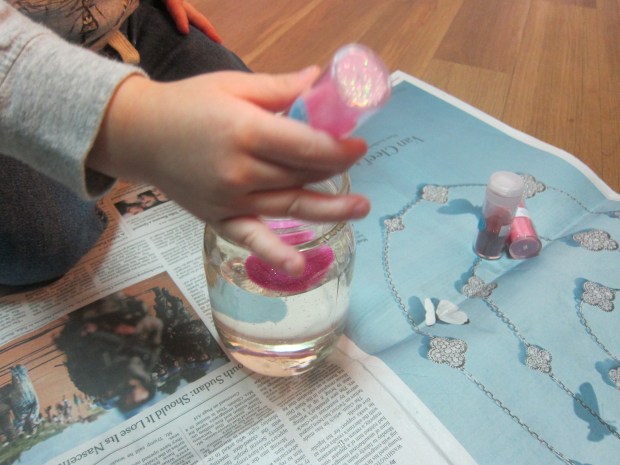
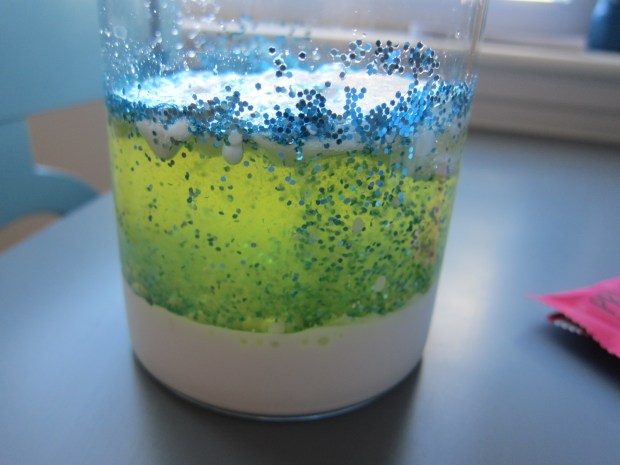
Next we added glitter. Ideally, we would have used white glitter to be snowflakes, but our storm had blue glitter. Travis dumped in a whole lot more than I intended before I could stop him, oh well!

Snowstorm Jar (3)

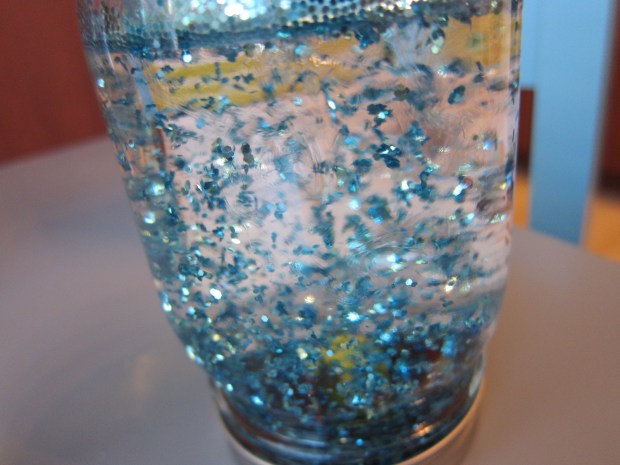
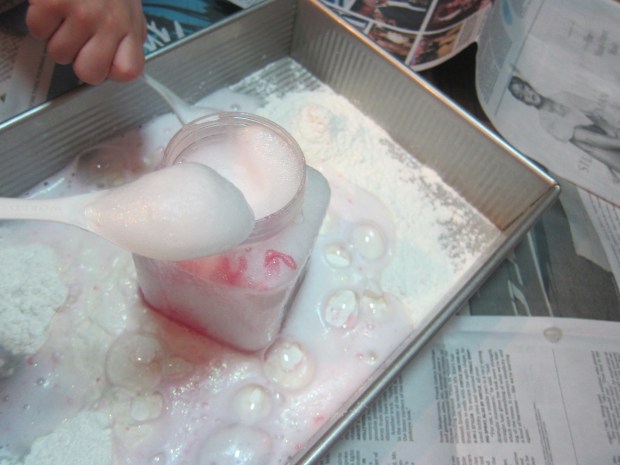
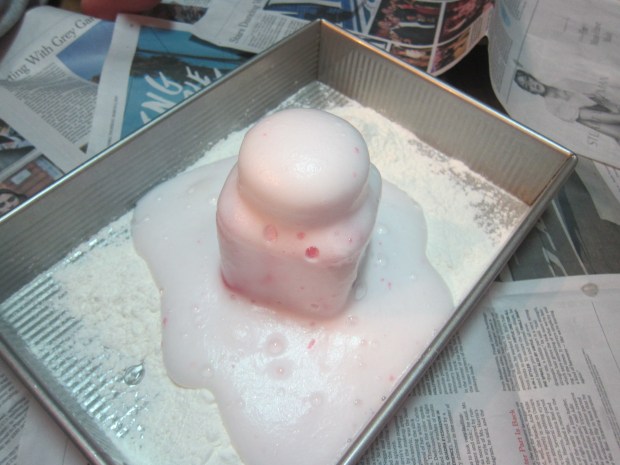
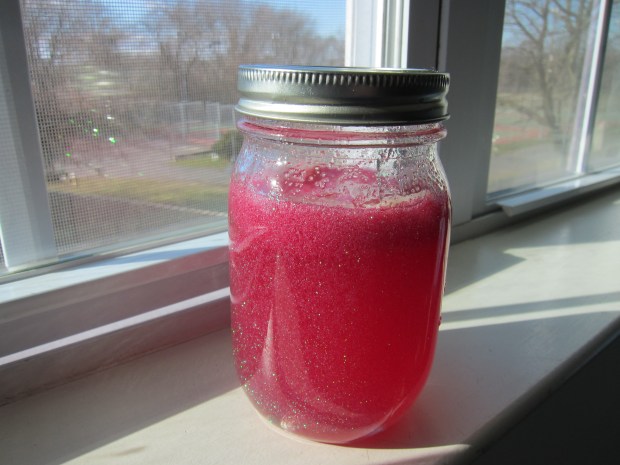
To make the storm happen, simply drop in an Alka-Seltzer tablet. The tablet will create pressure upwards, which makes the water rise, but then the oil pushes it back down again. The carbon dioxide generated by the tablet and the water also keeps things nice and bubbly.

Snowstorm Jar (6)

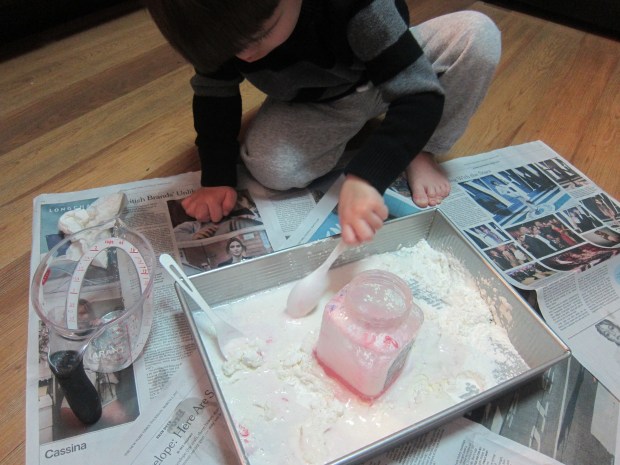
And your child gets to watch beautiful snowflakes and snowdrifts while learning that little bit of science!

Snowstorm Jar (5)

A moving project like this demanded a quick video, so enjoy!


Snow Globes

Snow Globe (5)

Our snowy themed indoor fun continues, as negative wind chills are still keeping us mostly indoors. These snow globes didn’t turn out as pretty as the kind you’d buy in a store, but we enjoyed making them!

First, you’ll need to arrange little figures or miniatures, and glue to the lid of a mason jar. We had fun sorting through cute bird-themed figures we had at home, which looked great when we affixed them (I used hot glue, a grown-up step).

Snow Globe (1)

Next time though, I would use something taller, since these didn’t really stick far up enough into our swirling “snow.” But more on that later.

Snow Globe (2)

Help your child pour water into the mason jars until they are almost full. Then it’s time for the secret ingredient: vegetable glycerin. Travis loved the goopy texture. Add 1 teaspoon to each mason jar.

Snow Globe (3)

Finally, we needed to add snow…. glitter that is! Don’t overdo it, or you won’t really be able to see your figures in the jar. We might have been a little too heavy-fisted.

Snow Globe (4)

Now give them a shake to create a beautiful indoor snowfall! These would make great gifts if you want to save the idea for the holidays.


Snow Globes alt.JPG

Here it is snowing on our little birdhouse:

Snow Globe (6)

Galaxy in a Bottle

Galaxy Jar (6)

This project is reminiscent of our Glitter Star Jars, but we liked the results and the making of it even better!

It all began when we found gorgeous pictures of galaxies and star clusters on NASA’s website – so cool to skim through and to teach your child a bit about the cosmos, even if the larger details are lost on a preschooler.

After our picture-gazing was done, we began the real fun – putting together our own glittery universe.

We dyed water with food coloring in two separate cups, one red and one blue.

Galaxy Jar (1)

To the red cup, we added a judicious amount of glitter. In the blue cup, we went wild with lots of glitter!

Galaxy Jar (2)

To assemble your universe, tear cotton balls apart slightly, and fill a clear glass or plastic jar.

Galaxy Jar (3)

We poured in the red cup, which fully saturated the cotton balls. After adding a second layer of cotton balls, we poured in the blue cup. The two layers stayed perfectly separated, which made for a gorgeous effect!

Galaxy Jar (4)

Travis had so much fun that he soon became a little scientist, concocting universes out of food coloring and glitter for quite some time.

Galaxy Jar (5)

A great start to the morning!

Galaxy Jar (7)

Stop That Germ!

ST science (1)

This game gives an adorable visual to kids who are learning about germs, or when to wash their hands, or good hygiene. I recommend doing the game soon before bathtime – you’re going to need to clean off after, anyway!

When I told Travis we were going to play with glitter, he couldn’t wait to start. I asked him what makes us sick, only half expecting an answer, and was so pleased when he announced, “Germs!”

I told him our glitter was going to represent germs, and we were going to see how quickly they spread. Pour glitter onto your child’s hand, and then shake hands with them. Oh no, now mommy is sick with germs too!

ST science (2)

Of course we had to repeat with a second color of glitter on his other hand.

ST science (3)

And then we had to dump glitter on the ground for a while. Eventually, we got to the key part of the lesson. How could we stop the glittery germs from spreading? By washing our hands of course!

ST science (5)

You can keep up the play with other variations. Fill a spritz bottle with water, pretend to sneeze, and spritz your child. It’s another great, visual lesson on how quickly germs can spread. How will you stop the germs this time? By covering your mouth when you cough or sneeze!

ST science (4)

Glitter Volcano

glitter-volcano-7

Travis has been obsessed with volcanoes ever since we made one a couple of weeks back… so much so that if he sees me cooking with vinegar now, he asks if we’re about to make another. The only problem? We ran out of playdough!

No playdough? No problem! Set up this neat “volcano” in any old plastic container. If anything, the bubbles are even more spectacular, even though you don’t have an exact volcanic shape for your “lava” to run down.

First, fill a baking pan with cornstarch (about 1 to 2 cups) and set aside.

In your container, have your child help you combine 1/3 cup water, 6 teaspoons baking soda, and 2 teaspoons dish detergent.

glitter-volcano-1

Next we added pink glitter for a fiery and sparkly effect. Isn’t every project better with a little glitter?

glitter-volcano-2

Now for the explosion! Carefully pour 1/2 cup vinegar into the mixture – and watch it erupt.

There were lots of bubbles:

glitter-volcano-4

First we had fun scooping off the foam, and mixing that into the cornstarch around the pan.

glitter-volcano-5

In fact, as the lava mixture combines with the cornstarch, you’ll get something pretty close to… ooblek!

glitter-volcano-6

Then we had to do it a second time; luckily we had just enough ingredients for round two. If you like, keep repeating until your vinegar runs out!

glitter-volcano-3

Glitter Star Jars

IMG_0003.JPG

On a whim, we put together this glowing glittery project today, after spotting some glow-in-the-dark stars at the grocery store checkout.

First, I showed Travis the shooting stars in the package, which he already thought were cool enough. When I asked him if he wanted to make a galaxy for the stars to float in, he couldn’t wait to get started.

glitter-star-jars-1

Step one, filling a mason jar with corn syrup, was right up a 2 and 1/2 year old’s alley. Travis had to help with the gooey squeezing, and in fact ended up filling our jar a little too high (more on that later). Make sure you leave enough space at the top for your stars to fit.

glitter-star-jars-2

Next we needed star dust aka glitter. We might have gotten a little too carried away with the glitter, but Travis insisted on dumping in a lot.

glitter-star-jars-3

Next we shook up our galaxy, and watched as the glitter dispersed through the oozing corn syrup – Travis thought this part was too cool.

glitter-star-jars-4

Finally it was time to add the stars.

glitter-star-jars-5

Although your glittery jar will work best with the stars on the surface of the corn syrup, Travis’s favorite part of the whole activity was stirring the stars deep into the glittery goop, so we did that for quite a while (prepare to get a little sticky!).

glitter-star-jars-7

Once the contents of the jar settled, the stars rose back up again, and at that point you’ll be able to “charge” your stars, whether by lamp or sunlight, so they glow at night. In the meantime, the jar is gorgeous just glittering by day in the sunshine! As mentioned, Travis made our jar very full of corn syrup, meaning less light could reach our stars, but the effect still worked beautifully.

glitter-star-jars-6

This might make a neat project for a child who’s afraid of the dark, since the beautiful sparkles make a dark, bedtime room feel magical.