Our snowy themed indoor fun continues, as negative wind chills are still keeping us mostly indoors. These snow globes didn’t turn out as pretty as the kind you’d buy in a store, but we enjoyed making them!
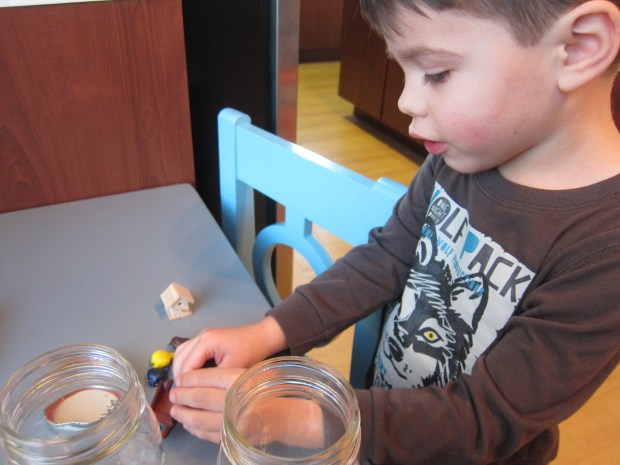
First, you’ll need to arrange little figures or miniatures, and glue to the lid of a mason jar. We had fun sorting through cute bird-themed figures we had at home, which looked great when we affixed them (I used hot glue, a grown-up step).
Next time though, I would use something taller, since these didn’t really stick far up enough into our swirling “snow.” But more on that later.

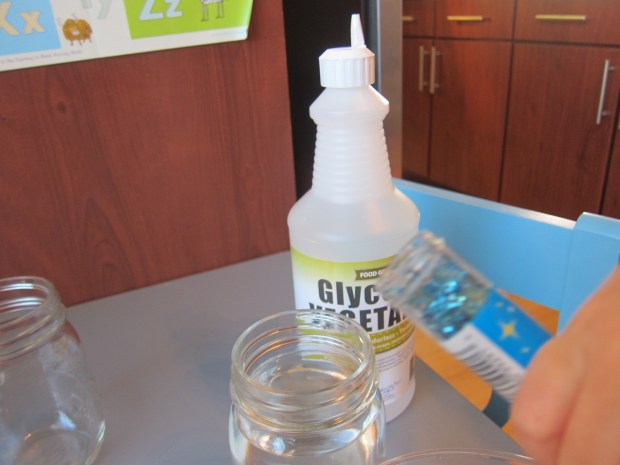
Help your child pour water into the mason jars until they are almost full. Then it’s time for the secret ingredient: vegetable glycerin. Travis loved the goopy texture. Add 1 teaspoon to each mason jar.

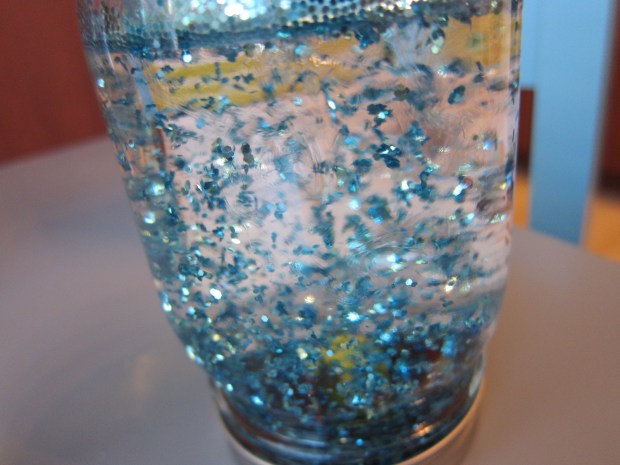
Finally, we needed to add snow…. glitter that is! Don’t overdo it, or you won’t really be able to see your figures in the jar. We might have been a little too heavy-fisted.
Now give them a shake to create a beautiful indoor snowfall! These would make great gifts if you want to save the idea for the holidays.
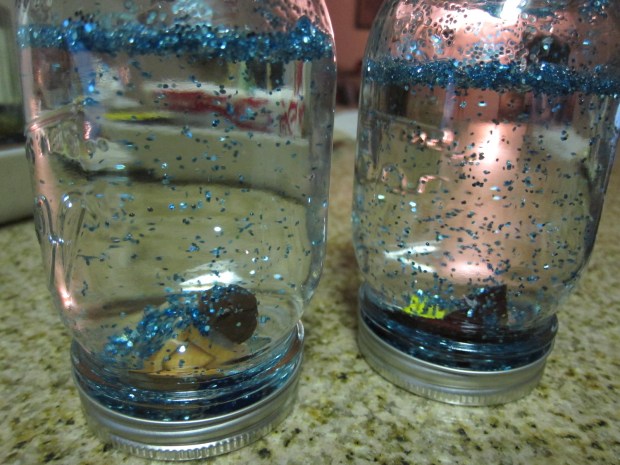
Here it is snowing on our little birdhouse:


Wow! What a great idea 😀
LikeLiked by 1 person
If you want the figure or scenic item (such as your wheelbarrow or birdhouse) to be more visible, first glue a small plastic bottle cap to the inside of the jar lid, THEN glue the figurine to the cap. It will be raised up a bit more and the details won’t be hidden by the edges of the jar lid. You can use a screw-off plastic top from a soda or water bottle, for example.
(I’m a professional snow globe artist.)
LikeLike
Thank you so much for the professional tip! We’re never going for perfection around here 🙂 mostly fun, but I’m glad to know there’s a way to fix this problem if we make snow globes in the future.
LikeLike