Glow Bottle Bowling

Glow Bottle Bowling (6)

Long summer nights are tailor-made for staying up late, and I love finding activities to heighten the excitement. So on the heels of a few other glow-in-the-dark sports, tonight it was time to go bowling!

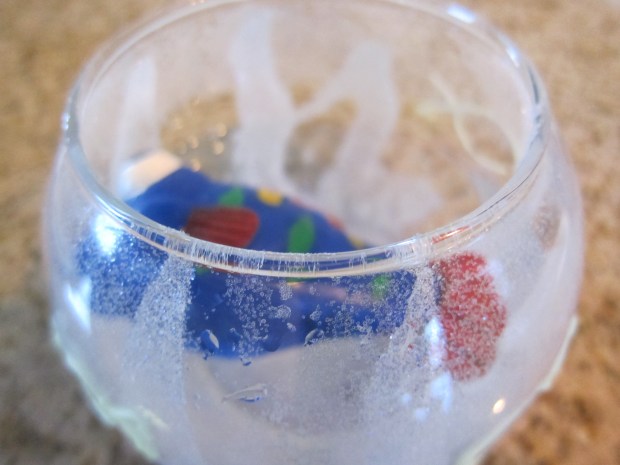
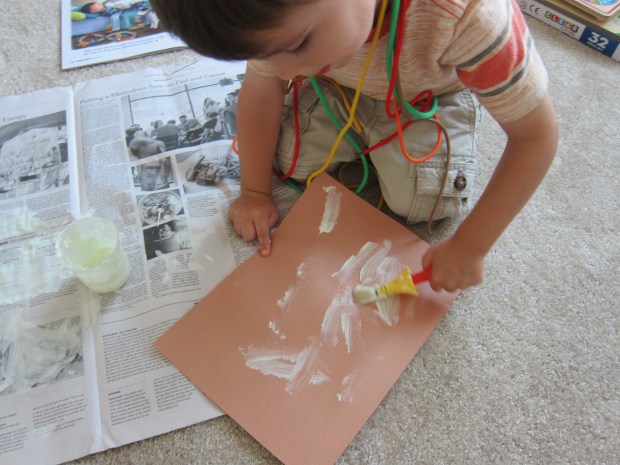
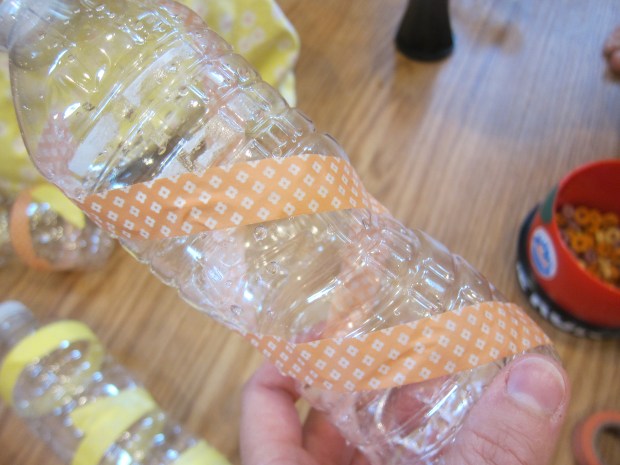
During the day, we decorated empty plastic water bottles with colorful tape. You could also use paint markers, but Travis preferred just to use the tape. He loved making diagonal stripes on his!

Glow Bottle Bowling (1)

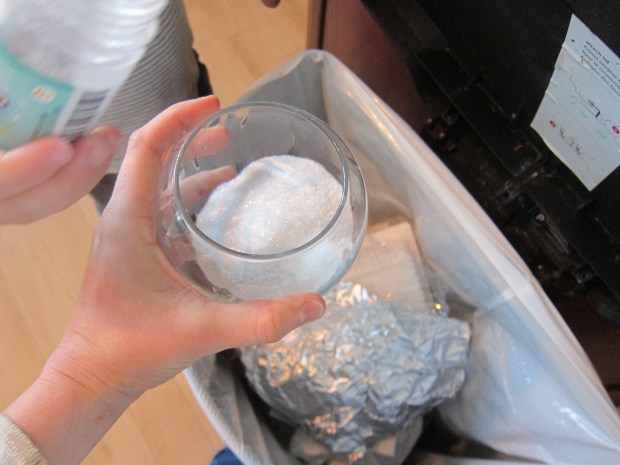
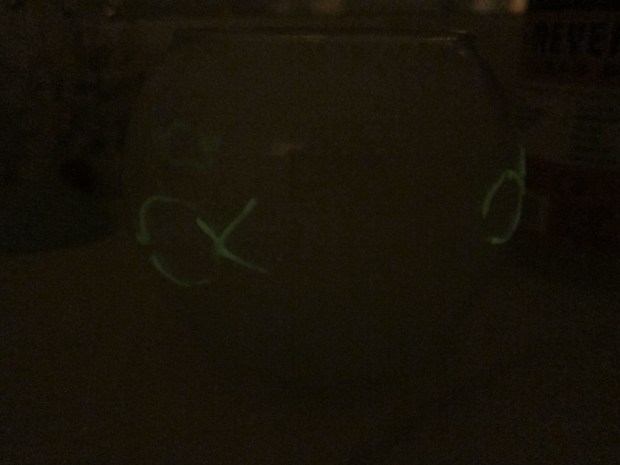
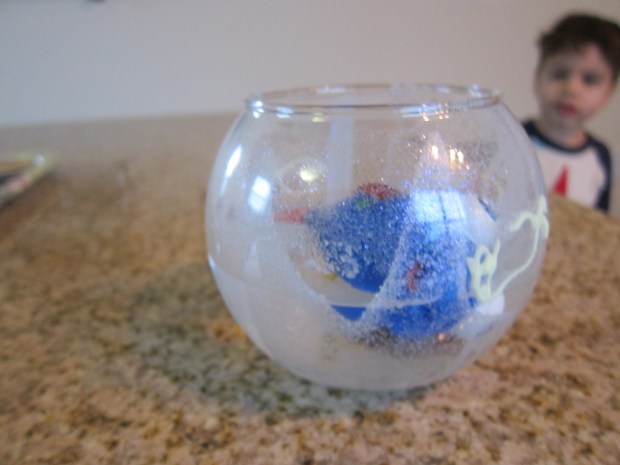
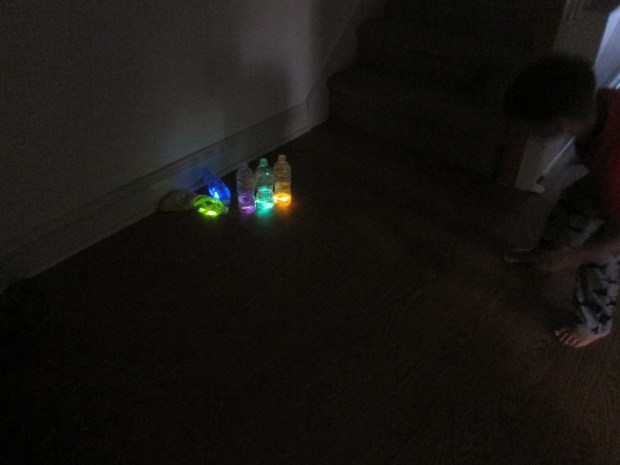
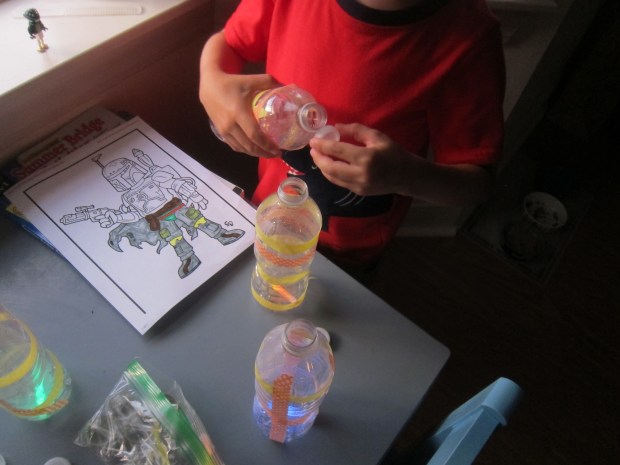
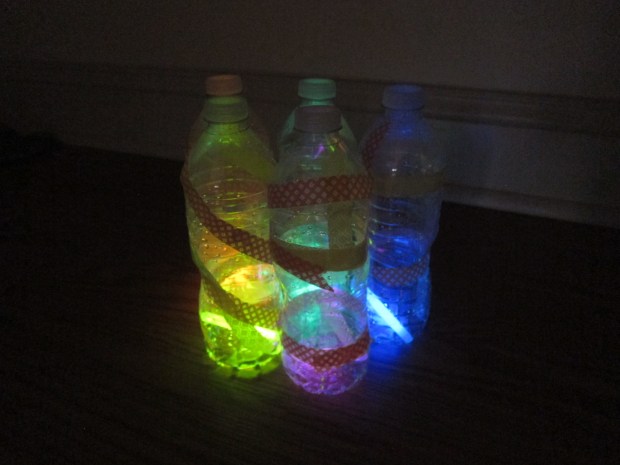
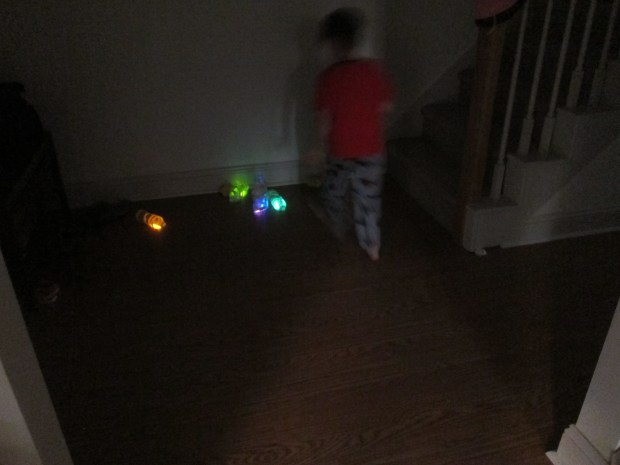
After dark, we activated glow sticks and dropped one in each bottle.

Glow Bottle Bowling (2)

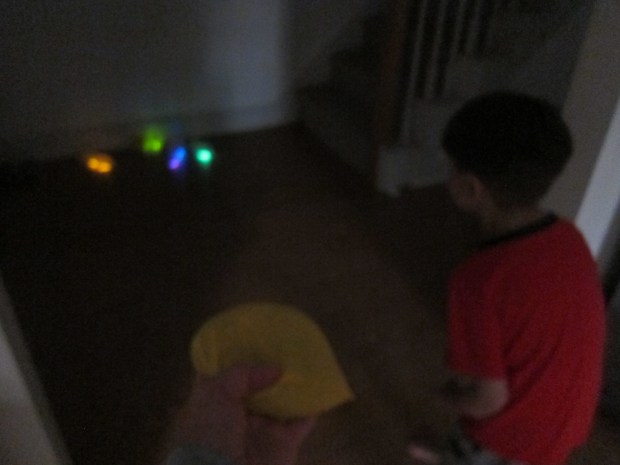
Line up in bowling formation, then take aim with bean bags! You can use regular bean bags, or glowing ones leftover from a bean bag toss.

Glow Bottle Bowling (3)

Travis loved it so much he insisted on multiple rounds. We played several variations, like lining them up in different ways or sliding the bean bags along the floor instead of throwing them.

Glow Bottle Bowling (4)

I think we’ll need a new set of glow sticks so we can play again tomorrow night!

Glow Bottle Bowling (5)

If your kids are older and want a greater challenge, fill the bottles with water to make them harder targets.

Glow-in-the-Dark Croquet

Glow Croquet (9).JPG
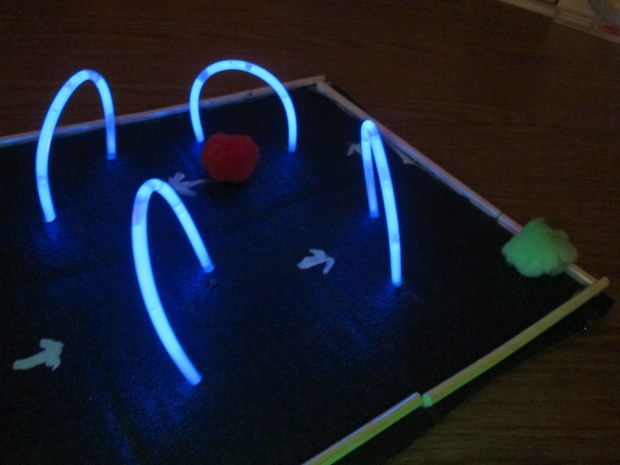
Nights are getting longer, which means finally the sun sets before Travis goes to bed. That opens up whole realms of possibility for games we can play! To wit, put those glow-in-the-dark-sticks and bracelets (ubiquitous this close to Halloween!) to novel use with this game of mini croquet.

First, we painted a piece of large cardboard. Travis chose a sparkly blue, thinking that would look like a starry night sky against our glowing wickets. Paint two coats and let dry.

Glow Croquet (1)

Glue on paper straws around the entire rim of the cardboard as bumpers; let dry.

Glow Croquet (2)

At first, we made straw mallets by cutting a 2-inch piece of straw and gluing crosswise on a second straw to form a T. These didn’t hold up well, so read on for our quick fix.

Glow Croquet (3)

To make the wickets, poke holes in the cardboard. Activate 4 glow bracelets (or up to 8 if you want more wickets!) and insert into the holes, bending each one into an upside-down U.

Glow Croquet (4)

Add arrows with white-out or white paint showing the direction of play.

Glow Croquet (5)

Have each player select a different color pom pom for their ball. Now take turns whacking through the wickets and see who reaches the end first!

Glow Croquet (6)

As mentioned, our straw mallets didn’t hold up well. No problem! We snapped a few regular glow sticks to activate them, and used these as the mallets.

Glow Croquet (7)

Needless to say, Travis was smitten with the game. Anything that glows is always a hit!

Glow Croquet (8)


Glowing Fishbowl

Glowing Fishbowl (5).JPG

Although I don’t advocate keeping real fish as pets (it’s a sad existence to travel around and around a bowl for years on end), fake fish can make adorable companions! On a recent trip to a local fish hatchery, Travis picked up a plastic fish and turtle. We thought it would be cute to make them a little habitat to stay in. What’s better than a fishbowl home? A glowing fishbowl home!

First we squirted glue into the insides of the a clear glass bowl with a wide mouth, intending to make lines that looked like seaweed. Our glue was very runny, so didn’t work as well as we hoped, but we still then managed to dump in a whole can of glow-in-the-dark glitter and swirl the bowl until it coated the “seaweed.”

glowing fishbowl (2)

Definitely do this step over a trash can!

I then piped on a few fish with additional glow-in-the-dark paint and we set it aside to dry.

The glitter, disappointingly, didn’t show up as glowy as we hoped, but the fish were cute glowing in the dark.

glowing fishbowl (3)

Once we filled the bowl with water, it was the perfect home for our fish and turtle.

glowing fishbowl (4)

Create Your Own Constellation

Constellations (8)

Late summer nights are the perfect chance to star gaze, look for shooting stars, and teach your kids a little about the constellations (although my own knowledge pretty much ends at the Big Dipper and Orion!).

We took the fun inside the next day with this cute idea from High Five magazine, using some recent rocks from a day of collecting at the beach. Wash and dry your rocks before beginning.

Constellations (2)

Paint the rocks black, and let dry completely.

Constellations (3)

Once dry, we painted on white stars. Although Travis didn’t quite master the shape of a star, it was fun to teach him how to draw one.

Constellations (4)

We let the white paint dry, then added a layer of glow-in-the-dark puffy paint.

Constellations (6)

Leave your rocks in the sun to activate the paint.

Constellations (7)

At night, move your rocks to the darkest spot in your house (that meant our bathroom, away from any windows!) to see them glow. I encouraged Travis to arrange them in fun shapes and make his own constellation.

Constellations (9)

A cute new way to “star gaze.”

Glow-in-the-Dark Constellation Cards

Constellation Cards (6).JPG

This project is such a neat update on simply sticking glow-in-the-dark stars on your child’s wall or ceiling as décor. Turn it into a mini astrology lesson – as well as an art project! – and you have homemade constellations.

First, we needed to find images of constellations as inspiration. I’m no artist, so relied heavily on the ones we found in our Usborne Book Big Book of Stars and Planets.

Constellation Cards (1)

Set out dark paper and glow-in-the-dark paint and recreate the star patterns. Older kids can draw the outlines and stars themselves. Younger kids may be happier filling in the dots if you draw circles where the stars go first.

Constellation Cards (3)

In fact, Travis was happy painting his own invented “constellation” while I did the more meticulous detail of recreating what was in the book – just fine for a three year old!

Constellation Cards (4)

A couple pointers: If you have dark cardstock instead of construction paper, use that. The paint will show up better. If you’re relegated to porous construction paper like we were, make sure your star dots are quite thick, or the paint won’t show up once it’s lights out.

Constellation Cards (2)

We let the paint dry, then I connected the stars with white crayon. I added the name of each constellation in crayon as well.

Constellation Cards (5)

Note: If you prefer, you can also paint the lines between stars with glow-in-the-dark paint, but I liked the idea that Travis would see just the stars in the dark, and the constellation lines by day.

Next up was mounting the cards on the ceiling – uh oh, could mama reach that high? Thanks to a stool, she could! I positioned them directly above the lamp in Travis’s bedroom so they could “charge.”

Constellation Cards (7)

At lights out, we saw the best starry night sky! My camera could barely capture it, but do you see the glow?

Constellation Cards (8)


Glow-in-the-Dark Jars, Two Ways

Glow Lantern (14).JPG

We seem to be having endless fun with our glow-in-the-dark paint lately. To add to a budding collection of gleaming creations, we put two additional mason jar projects together! Basically this is just two different methods of using the same two materials, so I’ve combined the crafts into one post.

First, we made a glow-in-the-dark lantern. This one was simple as can be, but giddy fun. Squirt glow-in-the-dark paint into a mason jar.

Glow Lantern (1)

Now seal the lid, and shake shake shake, like it’s a maraca!

GLow Lantern (2)

Travis loved seeing how this dispersed the color. Once your jar is coated, you can make a handle out of pipe cleaners: Twist one pipe cleaner in a U-shape in the center of the other.

Glow Lantern (12)

Wrap the long pipe cleaner around the jar’s neck securely.

Glow Lantern (13)

Charge up, and enjoy the lantern! This would be fun to add to any Halloween patio scene.

Glow Lantern (8)

For the second version of jar + glow paint, we wanted to replicate the old tradition of collecting fireflies in a jar – without harming any fireflies!

Put glow-in-the-dark paint into containers; a few different colors will make the prettiest result.

Glow Lantern (9)

Dip your paint brush into one color, and place in a mason jar; tap against the jar (almost like you’re ringing a bell), so the paint splatters.

Glow Lantern (10)

Repeat with the remaining colors – very Jackson Pollack-esque!

GLow Lantern (11)

Set your jar under direct light so your “fireflies” glow once the sun goes down.

Night Sky Mobile

Night Star Mobile (8)

How perfect that our September issue of High Five magazine included this decoration for a child’s bedroom – we’ve just moved to a new home, and making this craft not only made Travis so proud to decorate his new space, but also feel safer at night in the unfamiliar setting.

To start, I drew a crescent moon and two stars on white craft foam and cut them out.

Night Star Mobile (1)

No pinterest worthy shapes here, but Travis didn’t mind an askew star or two, plus wanted to try doodling his own!

Night Star Mobile (2)

Then came the novelty factor of the project: glow-in-the-dark paint! The only non-toxic version I could find was actually face paint, but it seemed to do the trick.

Night Star Mobile (5)

Travis loved painting on a layer before we let the shapes dry, and then repeated with a second layer.

Night Star Mobile (4)

In fact, he thought the paint was so neat that he wanted to make a glow-in-the-dark picture before we put it away.

Night Star Mobile (6)

Next up was punching a hole in the top of each shape once they were dry.

I mostly did the final assembly solo, threading string through each shape and attaching to the perfect stick we had found on a walk in the new neighborhood. This step would be great knot-tying practice for little fingers.

Night Star Mobile (7)

Finally, tie a long piece of string to both ends of the stick, and hang from a peg in your child’s room. Ideally, it will be some place that the sun hits during the day, for optimal glowing at night.

Night Star Mobile (9)

Sweet dreams!