Puking Pumpkin Science

Kids won’t be able resist a Halloween-themed STEM project that’s all about, yes, throw up! Needless to say, this holiday crate from Kiwi Co was a big hit.

You’ll need to start with a carved jack o’ lantern, which is not provided in the crate itself but certainly not a problem in the fall! We picked a medium pumpkin at a local farmstand and the kids loved first gutting their victim (er, scooping out the pumpkin seeds). Little did poor Jack know he was about to get sick!

Travis helped prepare the pumpkin according to the crate’s instructions: three scoops of provided baking soda, 1 scoop of foaming gel, and the color of choice (he picked blue).

In the provided beaker, the kids shook together 1 scoop of citric acid and another spoonful of color.

Add water and then slowly pour the contents of the beaker over the baking soda mixture in the pumpkin and… poor Jack!

He clearly was not feeling well.

Needless to say, the kids were entranced. They loved scooping up the bubbly foam and pouring it back into our poor patient.

And then of course they needed a repeat. This time Travis decided to mix yellow and blue for green puke. Poor Jack was up to his eyeballs!

Grown-ups might have to get over the “ick” factor on this one, but kids are guaranteed to love it.

Light-Up Haunted House Kiwi Crate

We haven’t unboxed a Kiwi Crate in a long time, but couldn’t resist this Halloween-themed crate for some spooky STEM learning: a Light-Up Haunted House. I would recommend this particular project for ages 5 and up.

To start, Travis loved being in charge of the electronics, which meant inserting the battery into the provided battery pack, attaching wires into the LED strip, and then switching the on-off button to test it out. Sure enough, the LED lights glowed an eerie green!

The house comes together easily thanks to provided cardboard sides, a foam base, and vellum sheets that attach over the window openings with clear stickers.

The roof was a bit trickier, requiring some grown-up assistance to fold the gabled rooftop and then attach to wooden roof pieces with pieces of sticky foam.

While I put the finishing touches on the roof, Travis and little sister Veronika both loved using the provided markers to color in the spooky paper shapes: bats, pumpkins, cats, gravestones, ghosts, and more!

Truly the house is meant as decoration, but the kids loved it more to “play” haunted house, moving the ghost and cat figures in and out of the creaky front door.

Kiwi provided a few other elements to raise the spooky factor, including a cotton ball to pull apart for cobwebs and rickety wooden fence pieces to place out front.

Whether to play with or just for haunted decor, we give this kit a big thumbs up.

Bubbling Cauldron

Bubbling Cauldron (10)

Halloween-themed crates from Kiwi Co have been a huge hit in the past, and this year’s did not disappoint!

This year we opted for a witch’s Bubbling Cauldron, which relies on that old trick of baking soda plus an acid (in this case citric acid) to make a bubbly explosion.

The first step was to Make the Witch of course. Travis helped fold the provided felt pieces into her cape and hat, which he decorated with spooky stickers (bats!), and which then slide onto the wooden peg body.

Bubbling Cauldron (1)

A pipe cleaner forms her warty nose and we added spooky features with black marker.

Bubbling Cauldron (2)

Next he needed to Build the Witch’s Lair. Decorate the provided backdrop with more stickers, then attach to the base with sticky foam dots.

Bubbling Cauldron (3)

The witch and her cauldron are then attached to the base with additional sticky foam.

Bubbling Cauldron (5)

An air pump is then threaded through the back of the scenery. One hose dangles down into the base, and the other dangles into the cauldron (these are helpfully color-coded red and black so your child can be sure the pump is going to flow in the right direction).

Bubbling Cauldron (6)

It’s time for some bubbly science! Pour the provided packets of citric acid and baking soda (colored green!) into the provided cup and mix well.

Bubbling Cauldron (7)

Add 4 scoops to the cauldron; Travis loved being in charge of his own “potion” here. Pour 1 and 1/2 cups water into the holes of the base, and then start squeezing the air pump…

Bubbling Cauldron (8)

…and marvel at the bubbling cauldron that results!

Bubbling Cauldron (9)

This was so cool and eerie and scientific and magical all at once. And needless to say, pretty soon there were poor Lego fellows drowning in the witch’s pot.

Bubbling Cauldron (11)

A definite win for a Halloween project.

Science of Air Kiwi Crate

Kiwi Air (10)

Travis latest crate from Kiwi Co. focused on the science of air, using a game of homemade air hockey to illustrate that air has matter, weight, can push things around, and more. This kit earns high marks for both the Science and Art components of the STEAM acronym.

First, we made the various parts of Balloon-Powered Air Hockey. The mallets are a simple matter of attaching felt to the bottom of provided cardboard circles, with a foam donut on top as the handle.

Kiwi Air (1)

The puck was a touch complicated to rig together, with a balloon stretched over a tube on top of a smooth clear disk. There is a hole to insert the provided air pump and inflate the balloon. Travis loved doing this and wanted to practice over and over, before we even set it down on a table.

Once on a table, the air is released from the balloon, which then propels the disk forward.

Kiwi Air (2)

To make Spray-Art Scoreboards, we again needed to use the crate’s air pump. Now, it attaches to the lid of the Kiwi Crate (or any shoebox) with a sticky foam piece. Attach a provided ink marker just below where the air will come out.

Kiwi Air (4)

We then affixed number stencils to the paper on the provided scorecard pads. When you squeeze the air pump (hard!), it blows on the marker so forcefully that ink sprays down onto the paper around the stencil.

Kiwi Air (5)

This had definite wow factor. You do need to pump the air quite hard, so some grown-up assistance was required. Repeat until you’ve covered all the scorecards, then remove the number stencils.

Kiwi Air (6)

Now it was time play! We rigged our regular table into an air hickey table which form the alleyways on either side that will stop the puck from flying off sideways.

Kiwi Air (8)

Pump up the balloon and play!

Kiwi Air (9)

I do have a few small quibbles with this crate. It comes with two balloons, but both had an air leak after only one round of air hockey. Also, because the balloon puck lasts under a minute each time you inflate it, you really can’t get into a rhythm of playing the game.

But in terms of illustrating the science of air, it made its point. And my 6 year old liked beating mommy at the game!

We turned to the Explore magazine for a few final experiments. First up was an oldie-but-goodie (a Coat Hanger Balance), that gives an easy visualization that air has weight. Attach two balloons to either end of a hanger, one inflated and one not. Suspend the hanger from a pencil and notice the slight tilt.

Kiwi Air (11)

Then we made a Marshmallow Squasher! Add mini marshmallows to an empty plastic water bottle until it is about half full. Insert the air pump into the bottle, sealing around the top of the bottle with play dough so no air can escape.

Kiwi Air (13)

Hold the play dough firmly with one hand and squeeze the pump with the other… and watch the marshmallows squish down!

Kiwi Air (14)

Cartography Kiwi Crate


Kiwi Maps alt

Kiwi Co terms this their Treasure Hunt crate, based around a treasure chest and search for pirate booty. The projects are an excellent jumping off point to teach kids all about the science of cartography, a.k.a. map making. Thanks to the treasure chest and gold pieces, this one is sure to appeal to kids of pretty much any age!

Kiwi Maps (4)

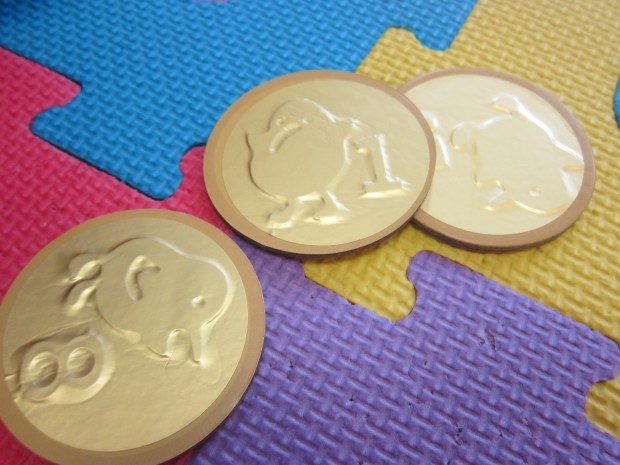
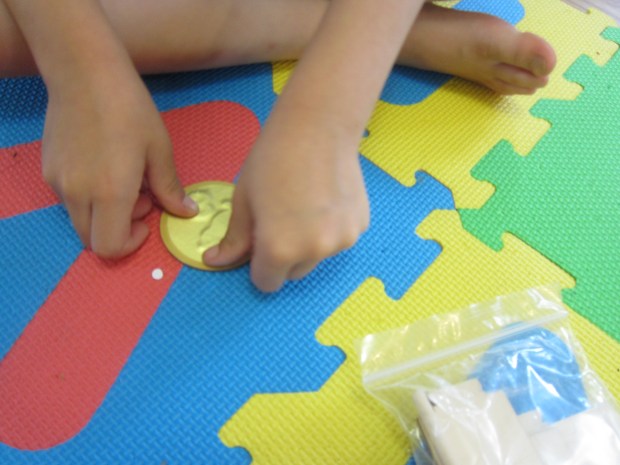
First up was making the treasure, Embossed Coins. Travis pondered very seriously how best to design each of the 3 provided gold coins, popping out templates of Steve the Kiwi and numbers.

Kiwi Maps (1)

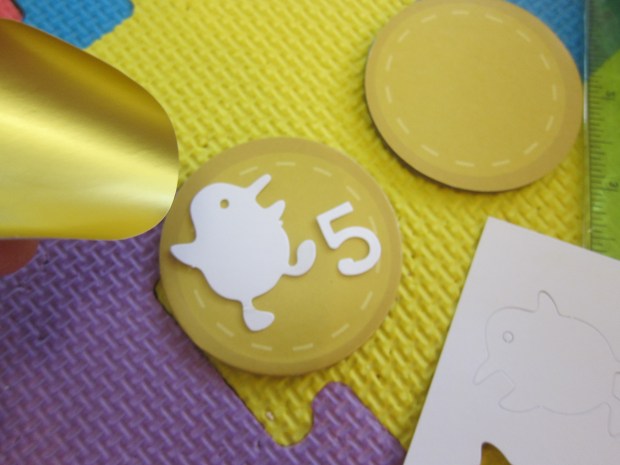
He didn’t quite understand how these could become coins until we covered his design with a gold sticker. Press down and – voila! – the design underneath appears!

Kiwi Maps (2)

This had definite wow factor, even more so once running over the design with a q-tip for better embossing.

Kiwi Maps (3)

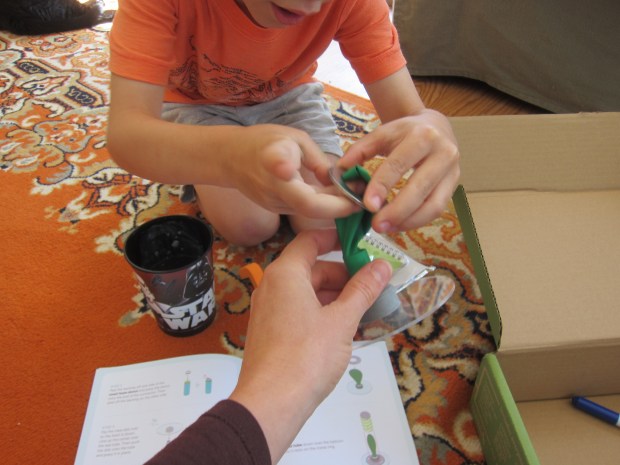
Next, he traded coin minting for carpentry, and put together the Treasure Chest. He was a bit distracted looking ahead (a key! a lock!) but I guided his attention back to building the chest first. This involved slotting together pieces for the base and lid, and lining up letters to make sure each piece was in the right slot. I appreciated how intuitive Kiwi Co made this step!

Kiwi Maps (5)

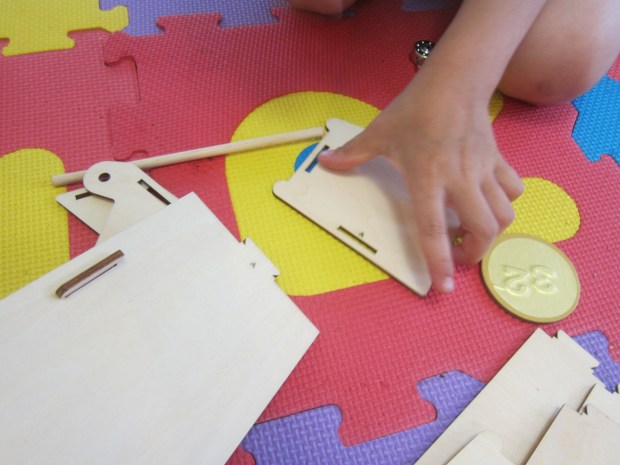
A wooden dowel is then inserted to hold the lid to the base.

Kiwi Maps (7)

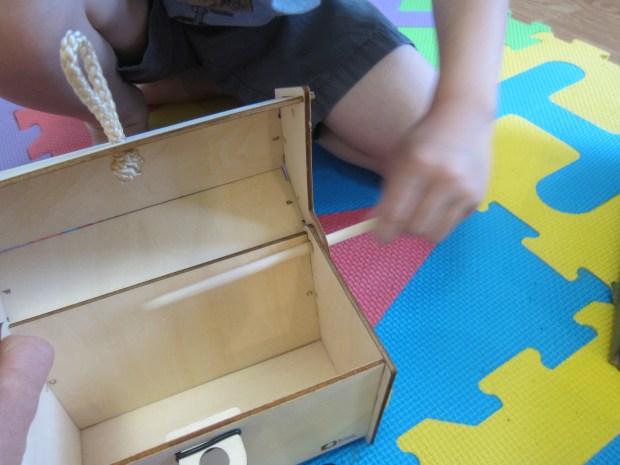
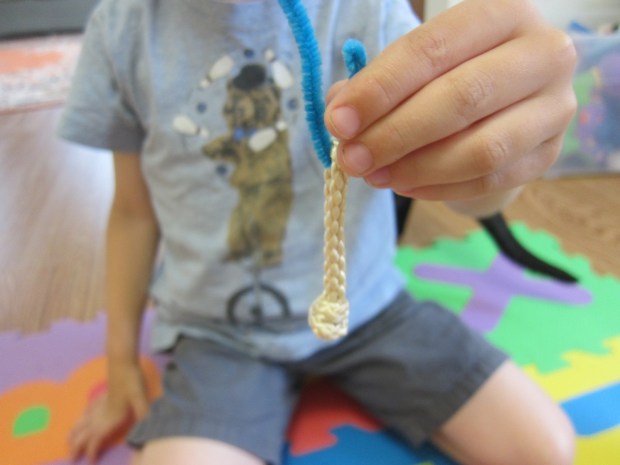
To add a swashbuckling touch, use a pipe cleaner to thread the provided rope through the chest’s latch. Add the silver lock. Travis loved practicing with the key over and over!

Kiwi Maps (6)

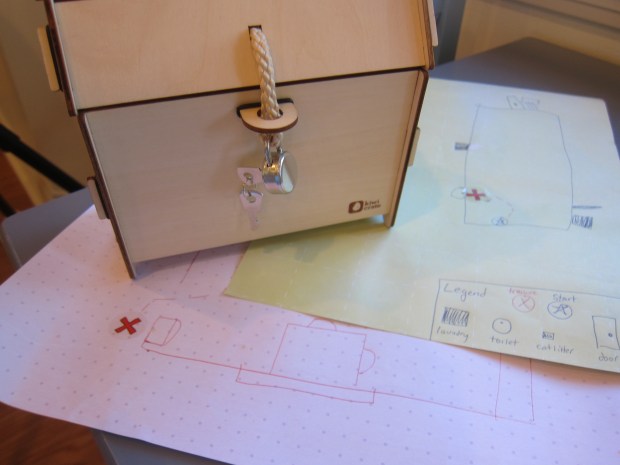
We securely locked away our gold coins and it was time to Make a Treasure Map. This activity was absolutely fantastic for getting Travis to think about how objects look from above. (I had him imagine he was a bird; in what shape would the bird perceive our couch, our coffee table, etc.).

Kiwi Maps (9)

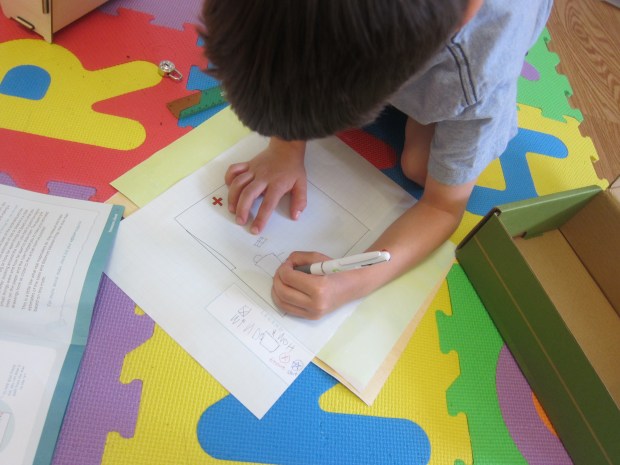
There was a marked difference between his first effort (mapping our living room)…

Kiwi Maps (10)

…and his second attempt (mapping the hallway).

Kiwi Maps (11)

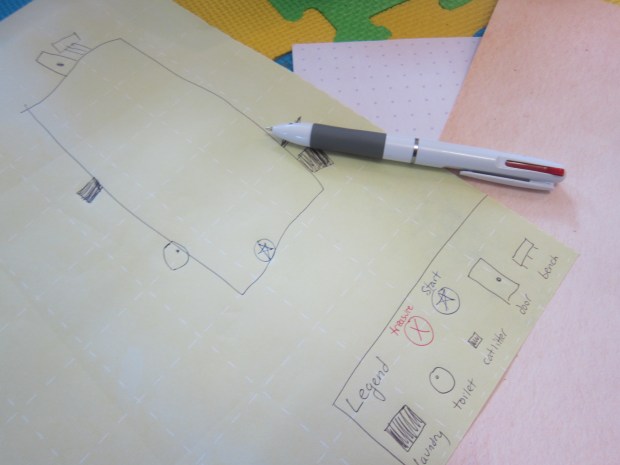
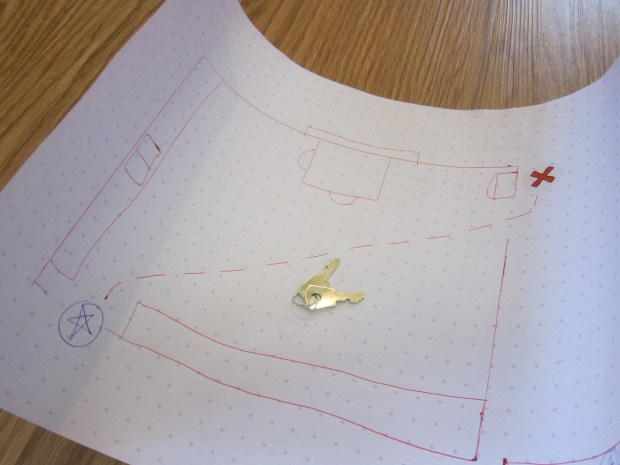
The provided pen is one of those fun ones with 3 colors of ink. We added a red X on each map for the treasure and a blue star for the start. He loved then hiding the treasure chest and sending me on a hunt.

Kiwi Maps (12)

Then we flipped roles; I made a map of the kitchen and he had to puzzle it through.

Kiwi Maps (13)

The booklet had a great explanation for kids about how they’re using math in this activity, everything from transferring 3D objects (solids) into 2D pictures, to the ideas of estimation and measurements.

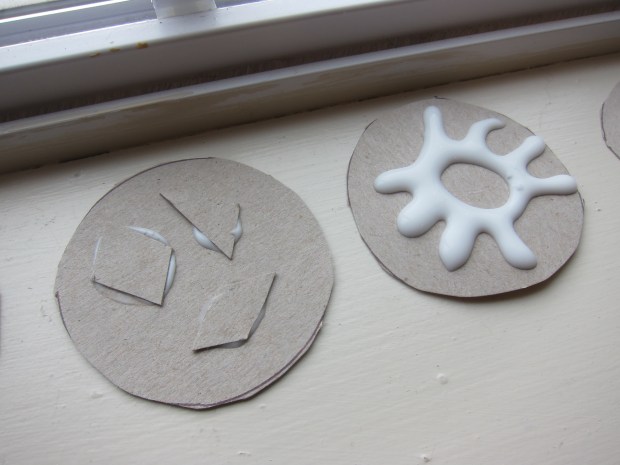
As a bonus, we made Silver Pirate Coins for extra booty. Cut circles from thin cardboard (like a cereal box), then add other pieces of cut cardboard or patterns in glue on top.

Silver Pirate Coins (4)

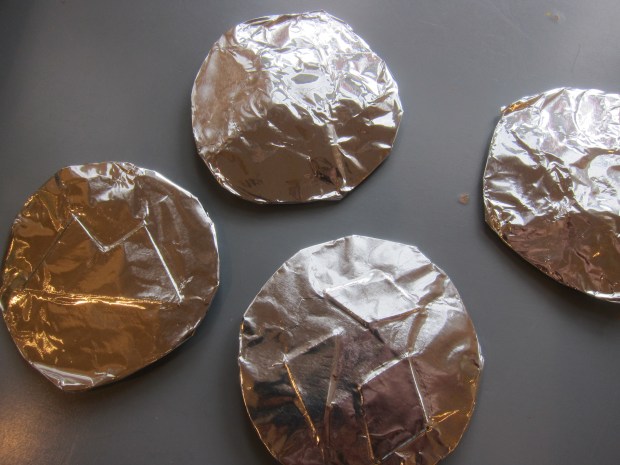
Let dry, then cover with foil and use a q-tip again to make your design stand out. We decided this worked way better on the cut cardboard version rather than the glue version.

Silver Pirate Coins (5)

As always, Explore magazine had loads more information and activities to try, including another map to draw according to a provided legend.

For some fun reading to compliment this crate, check out Mapping & Navigation by Cynthia Light Brown or Small World: Maps and Mapmaking by Karen Romano Young.

My Gingerbread House Kiwi Crate

GIngerbread House (9)

Travis’s kindergarten class is doing a unit on gingerbread houses, featuring everything from social studies (types of houses) to literature (stories featuring gingerbread boys and girls) to math (patterns and shapes). Who knew so much could go into a holiday project! So I purchased Kiwi Co.’s special holiday gingerbread kit to augment the theme. Travis was so proud of his creation.

To start, fold up the cardboard house and secure with a clear plastic sticker. Travis helped glue on the rectangle roof with the provided glue stick.

GIngerbread House (1)

Now the decorations are really up to your little creator! Travis and I followed some of the suggestions, including cutting white felt stickers into half circles for a “Snowy Rooftop”.

GIngerbread House (4)

Travis wanted to add colorful pom poms and felt shapes on the roof as well.

GIngerbread House (6)

You can also make “Gingerbread Candy Canes” by twisting together the provided red and white pipe cleaners. Travis decided ours should be straight, instead of curving into a hook.

GIngerbread House (5)

Next we made “Paper Candies” by twisting a sheet of provided tissue paper around a pom pom. We glued one just above the gingerbread house door.

GIngerbread House (2)

Finally, our window could be “Stained Glass” by gluing a sheet of tissue paper (Travis chose blue) to the inside.

Glue down white felt on the cardboard base for a snowy scene. Travis also wanted to glue green felt to the cardboard tree, which slots together.

GIngerbread House (8)

He loved wrapping the two provided gingerbread people in ribbon as decoration, and was particularly proud of himself for this idea.

GIngerbread House (3)

Additional pom poms and crumpled bits of tissue paper finished our gingerbread scene. We love that this creation will last, unlike houses meant to be eaten!

GIngerbread House (10)