Dirt Day!


Armed with a giant bag of potting soil, Veronika and I had a day all about dirt! Here are three ways we played.

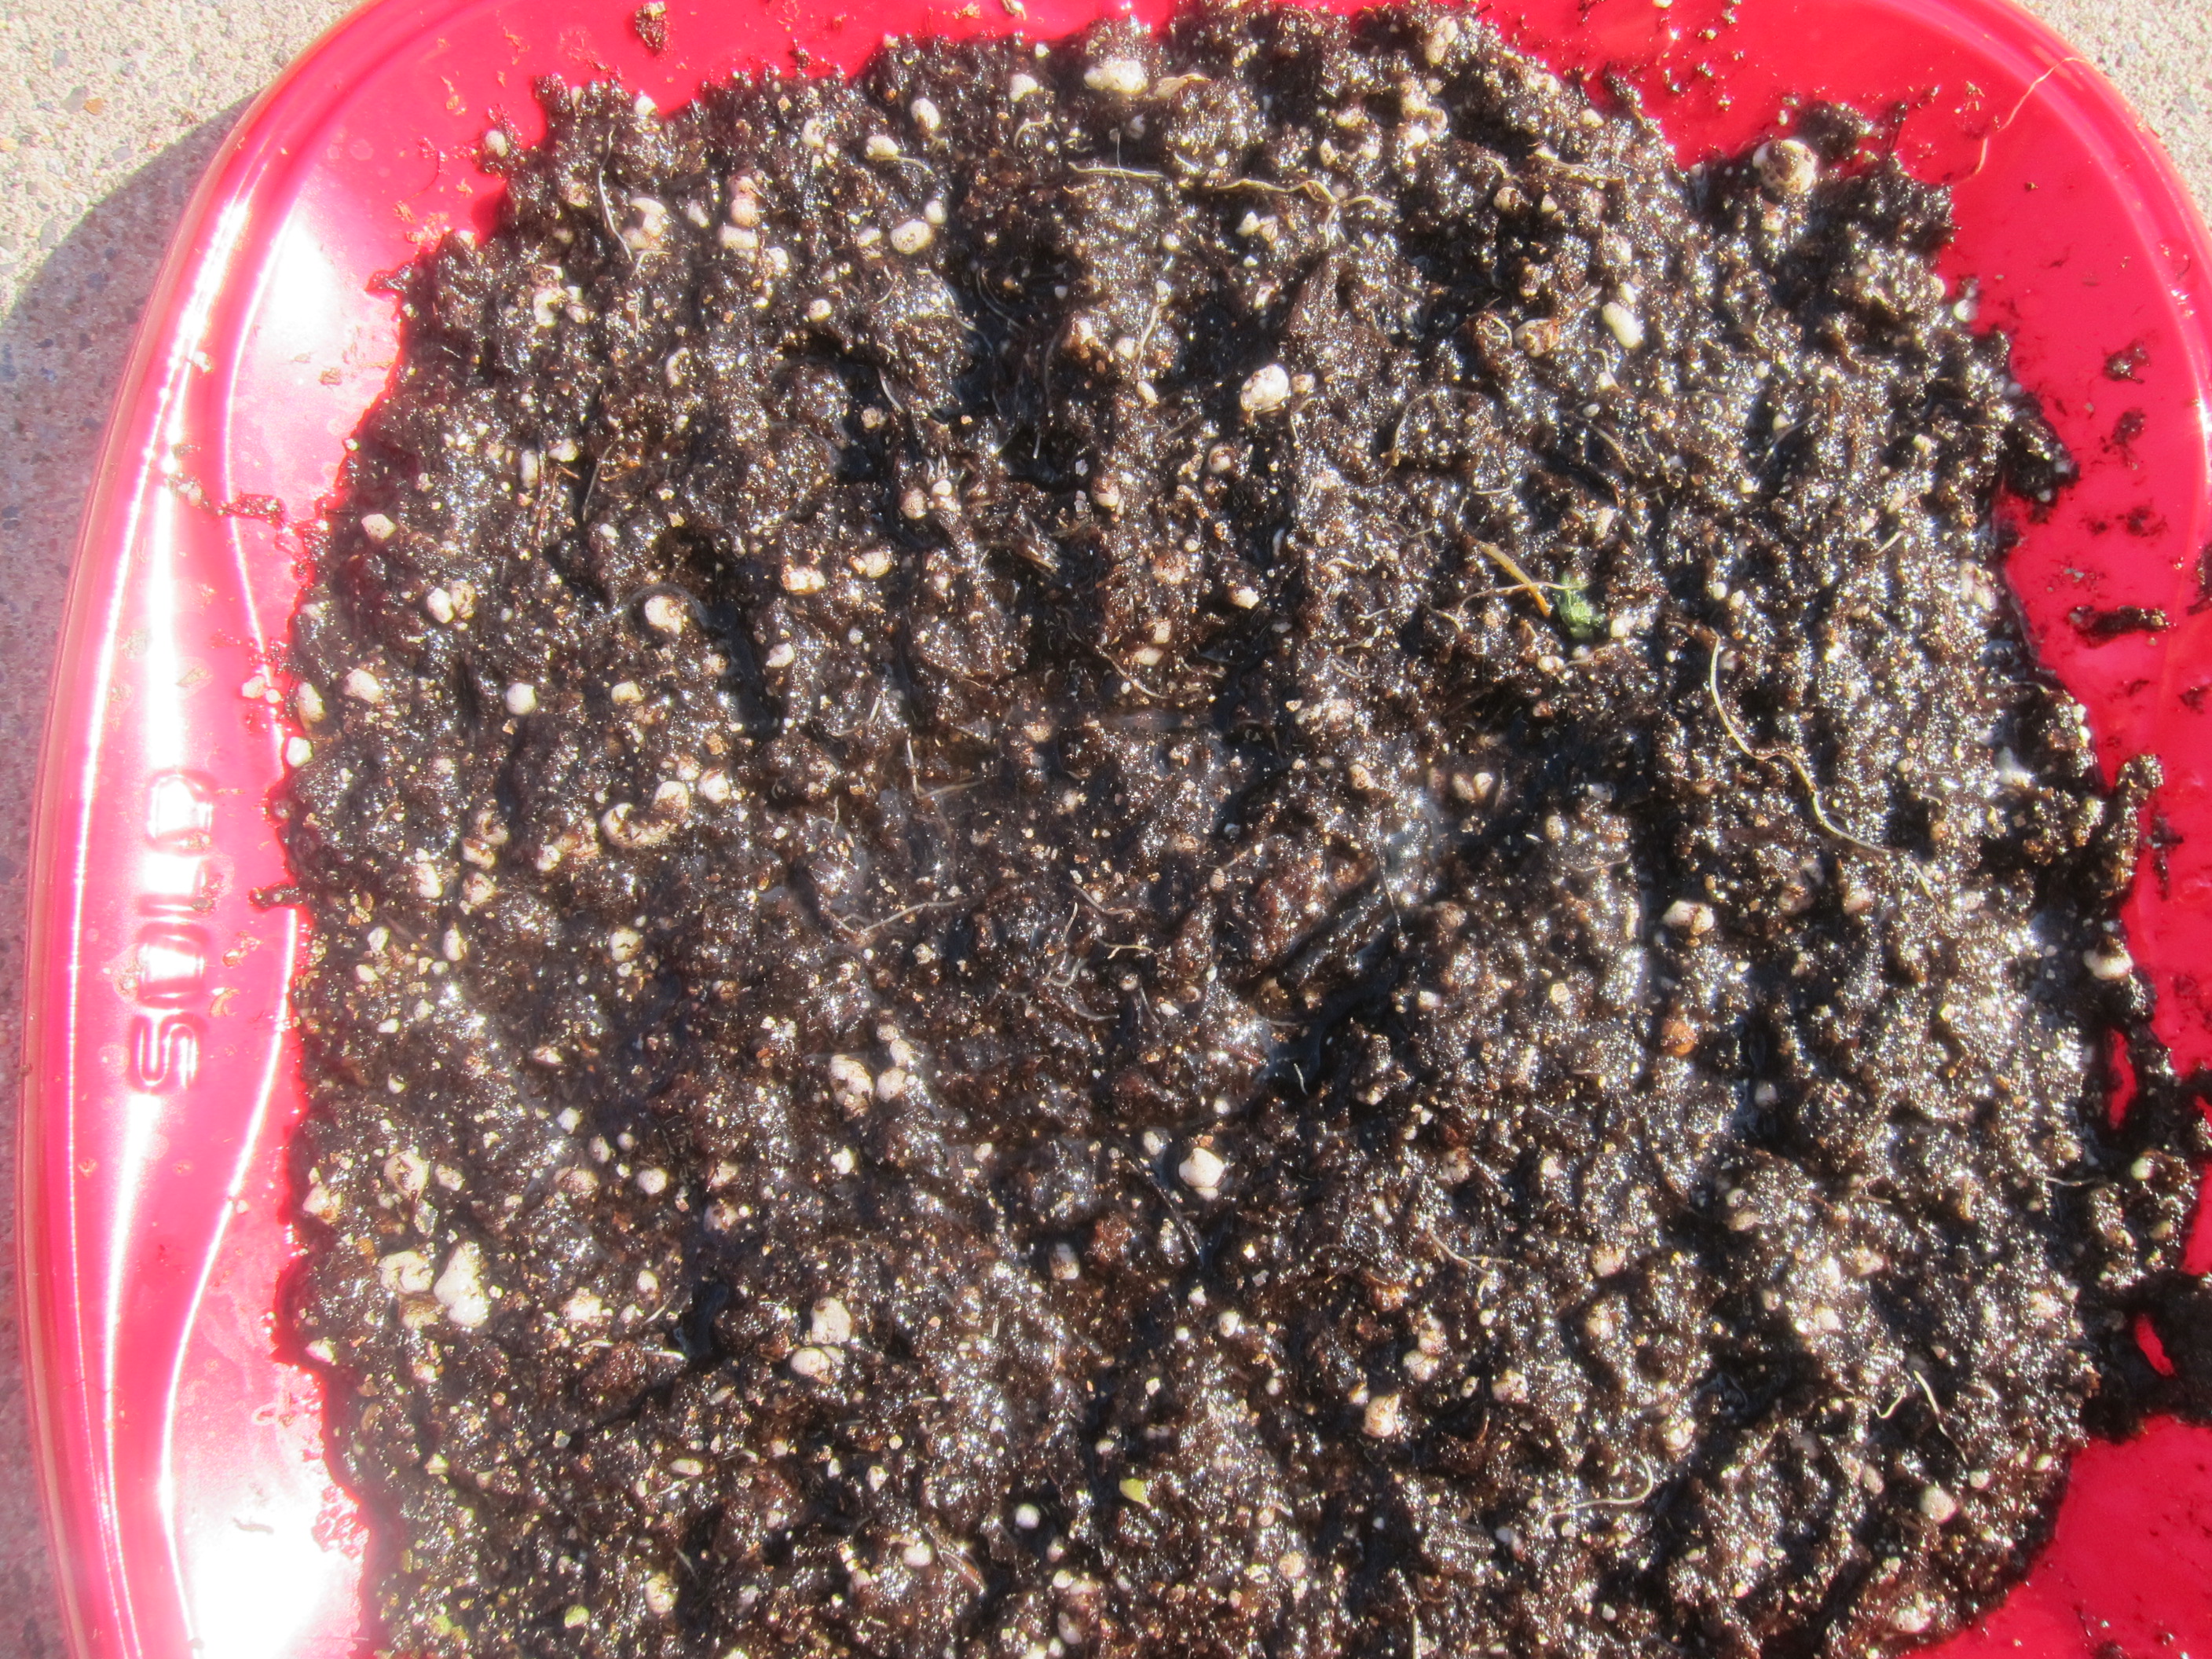
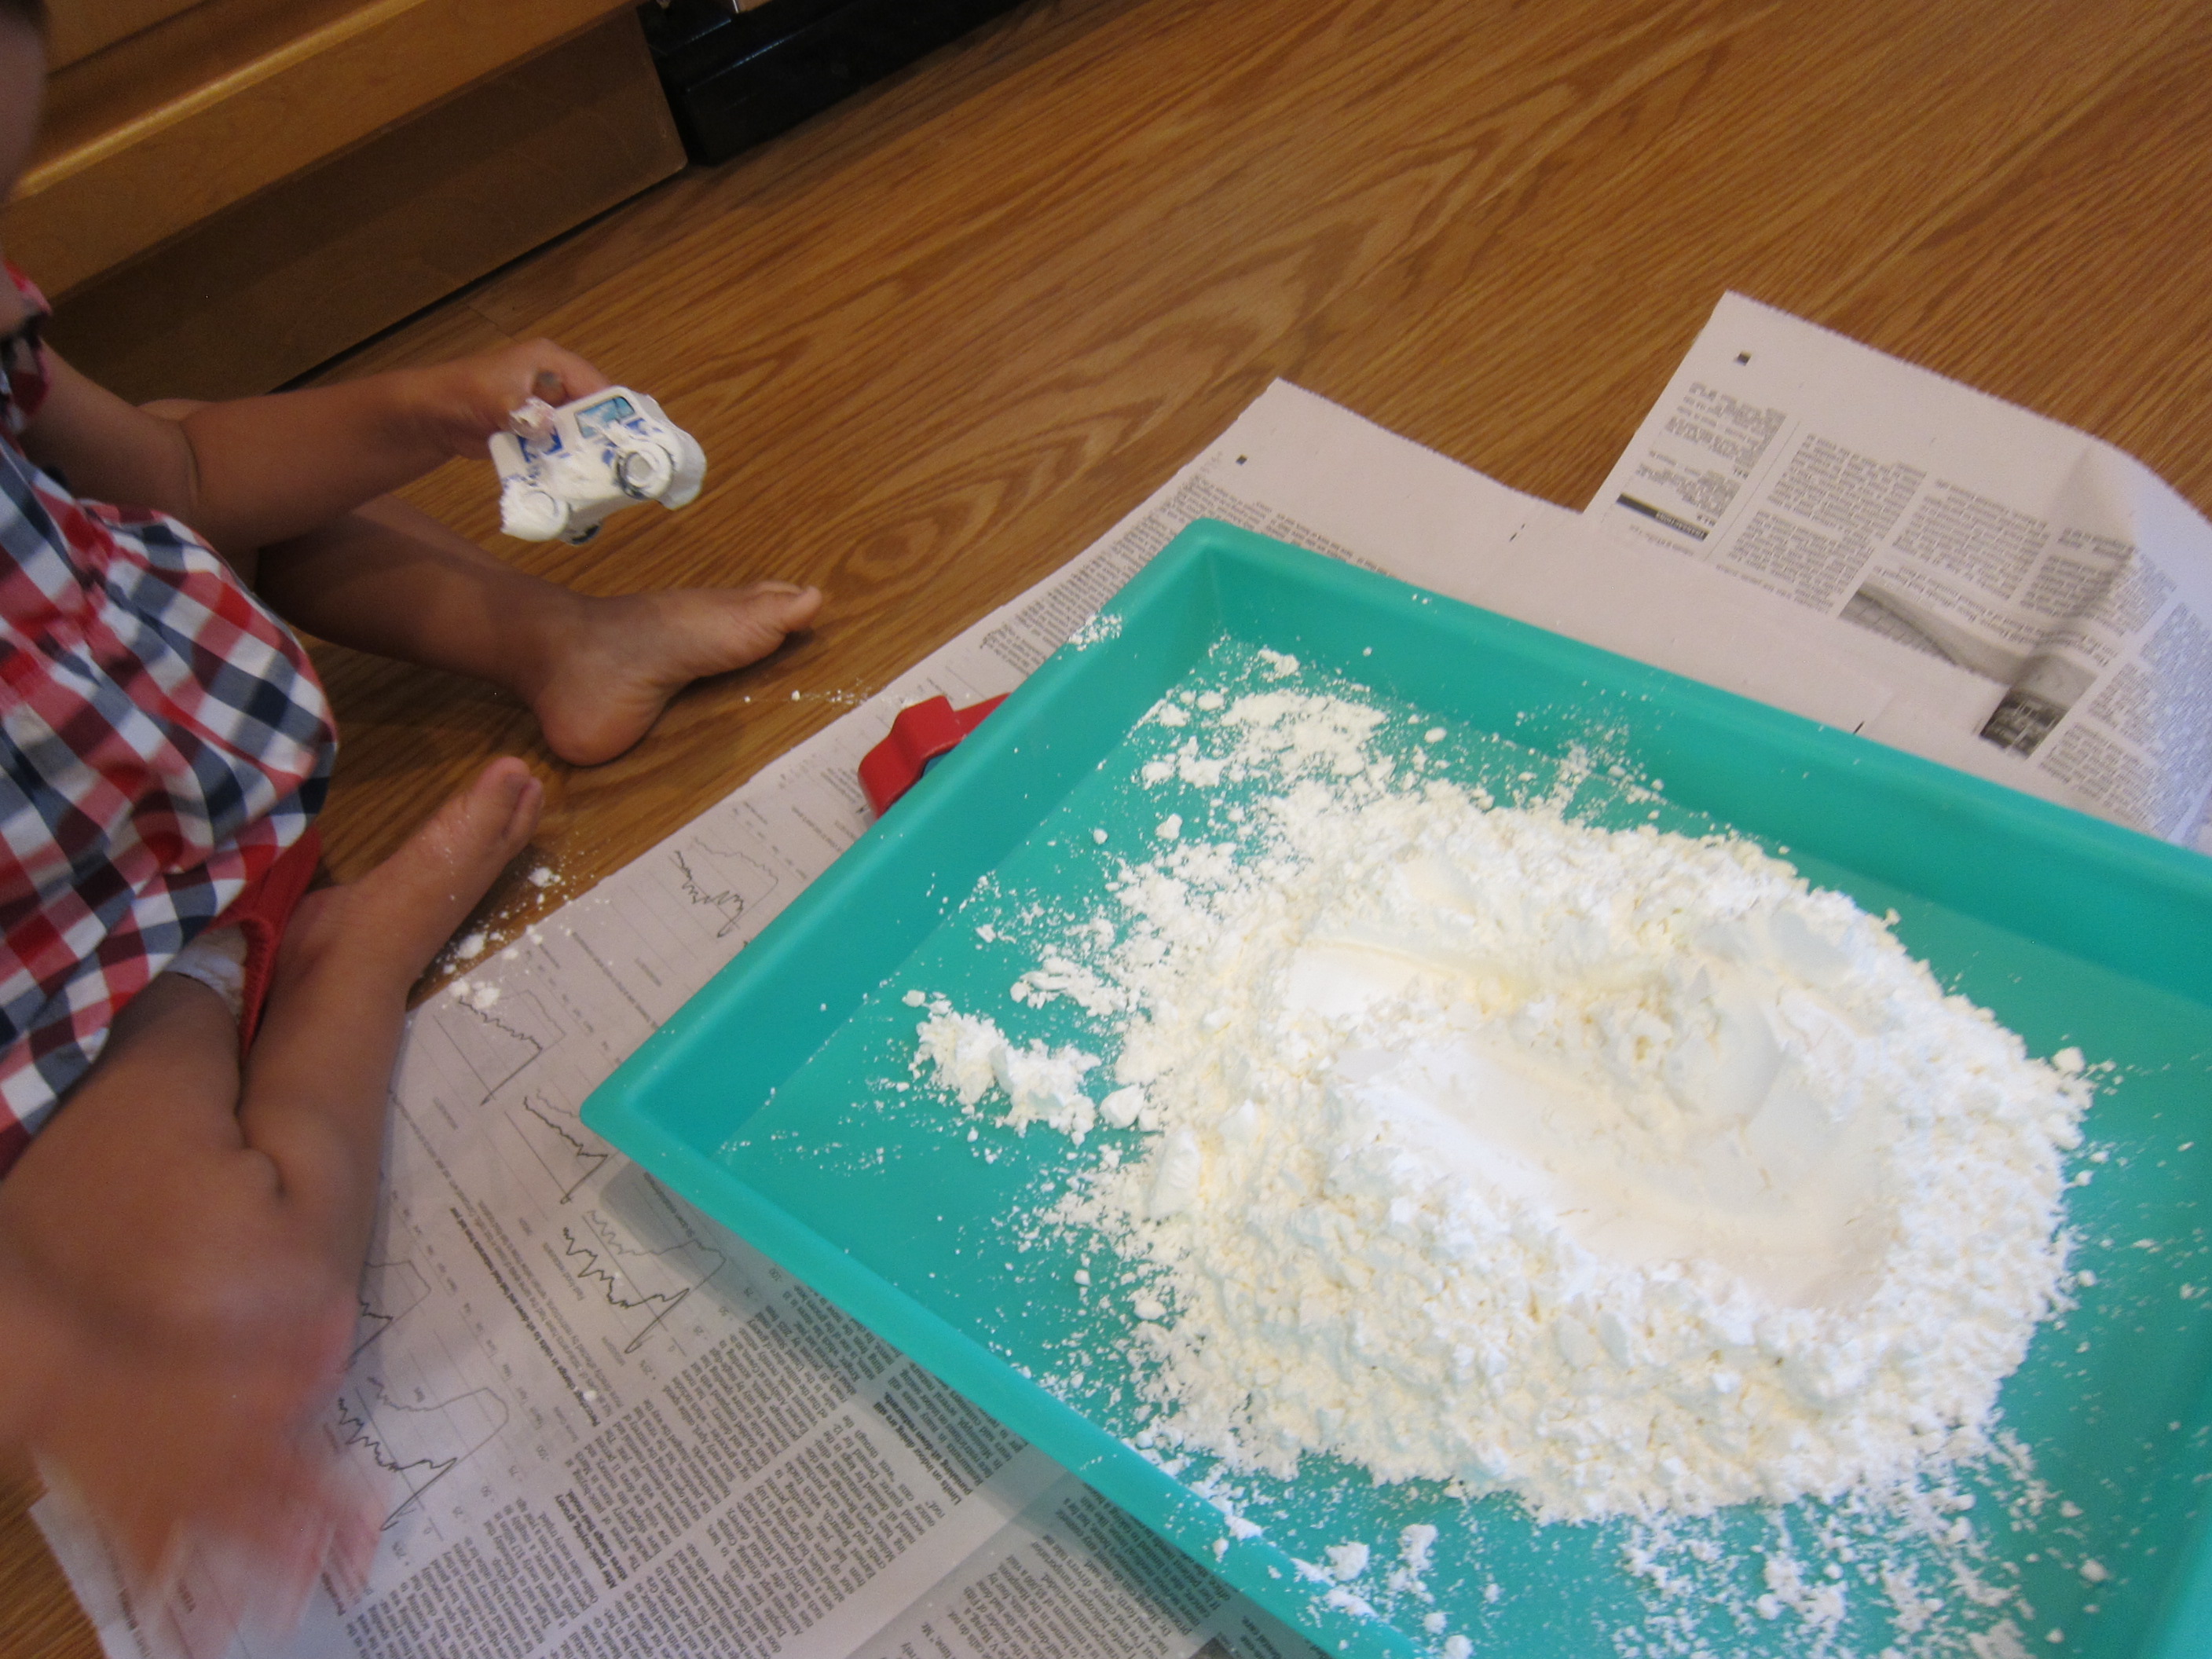
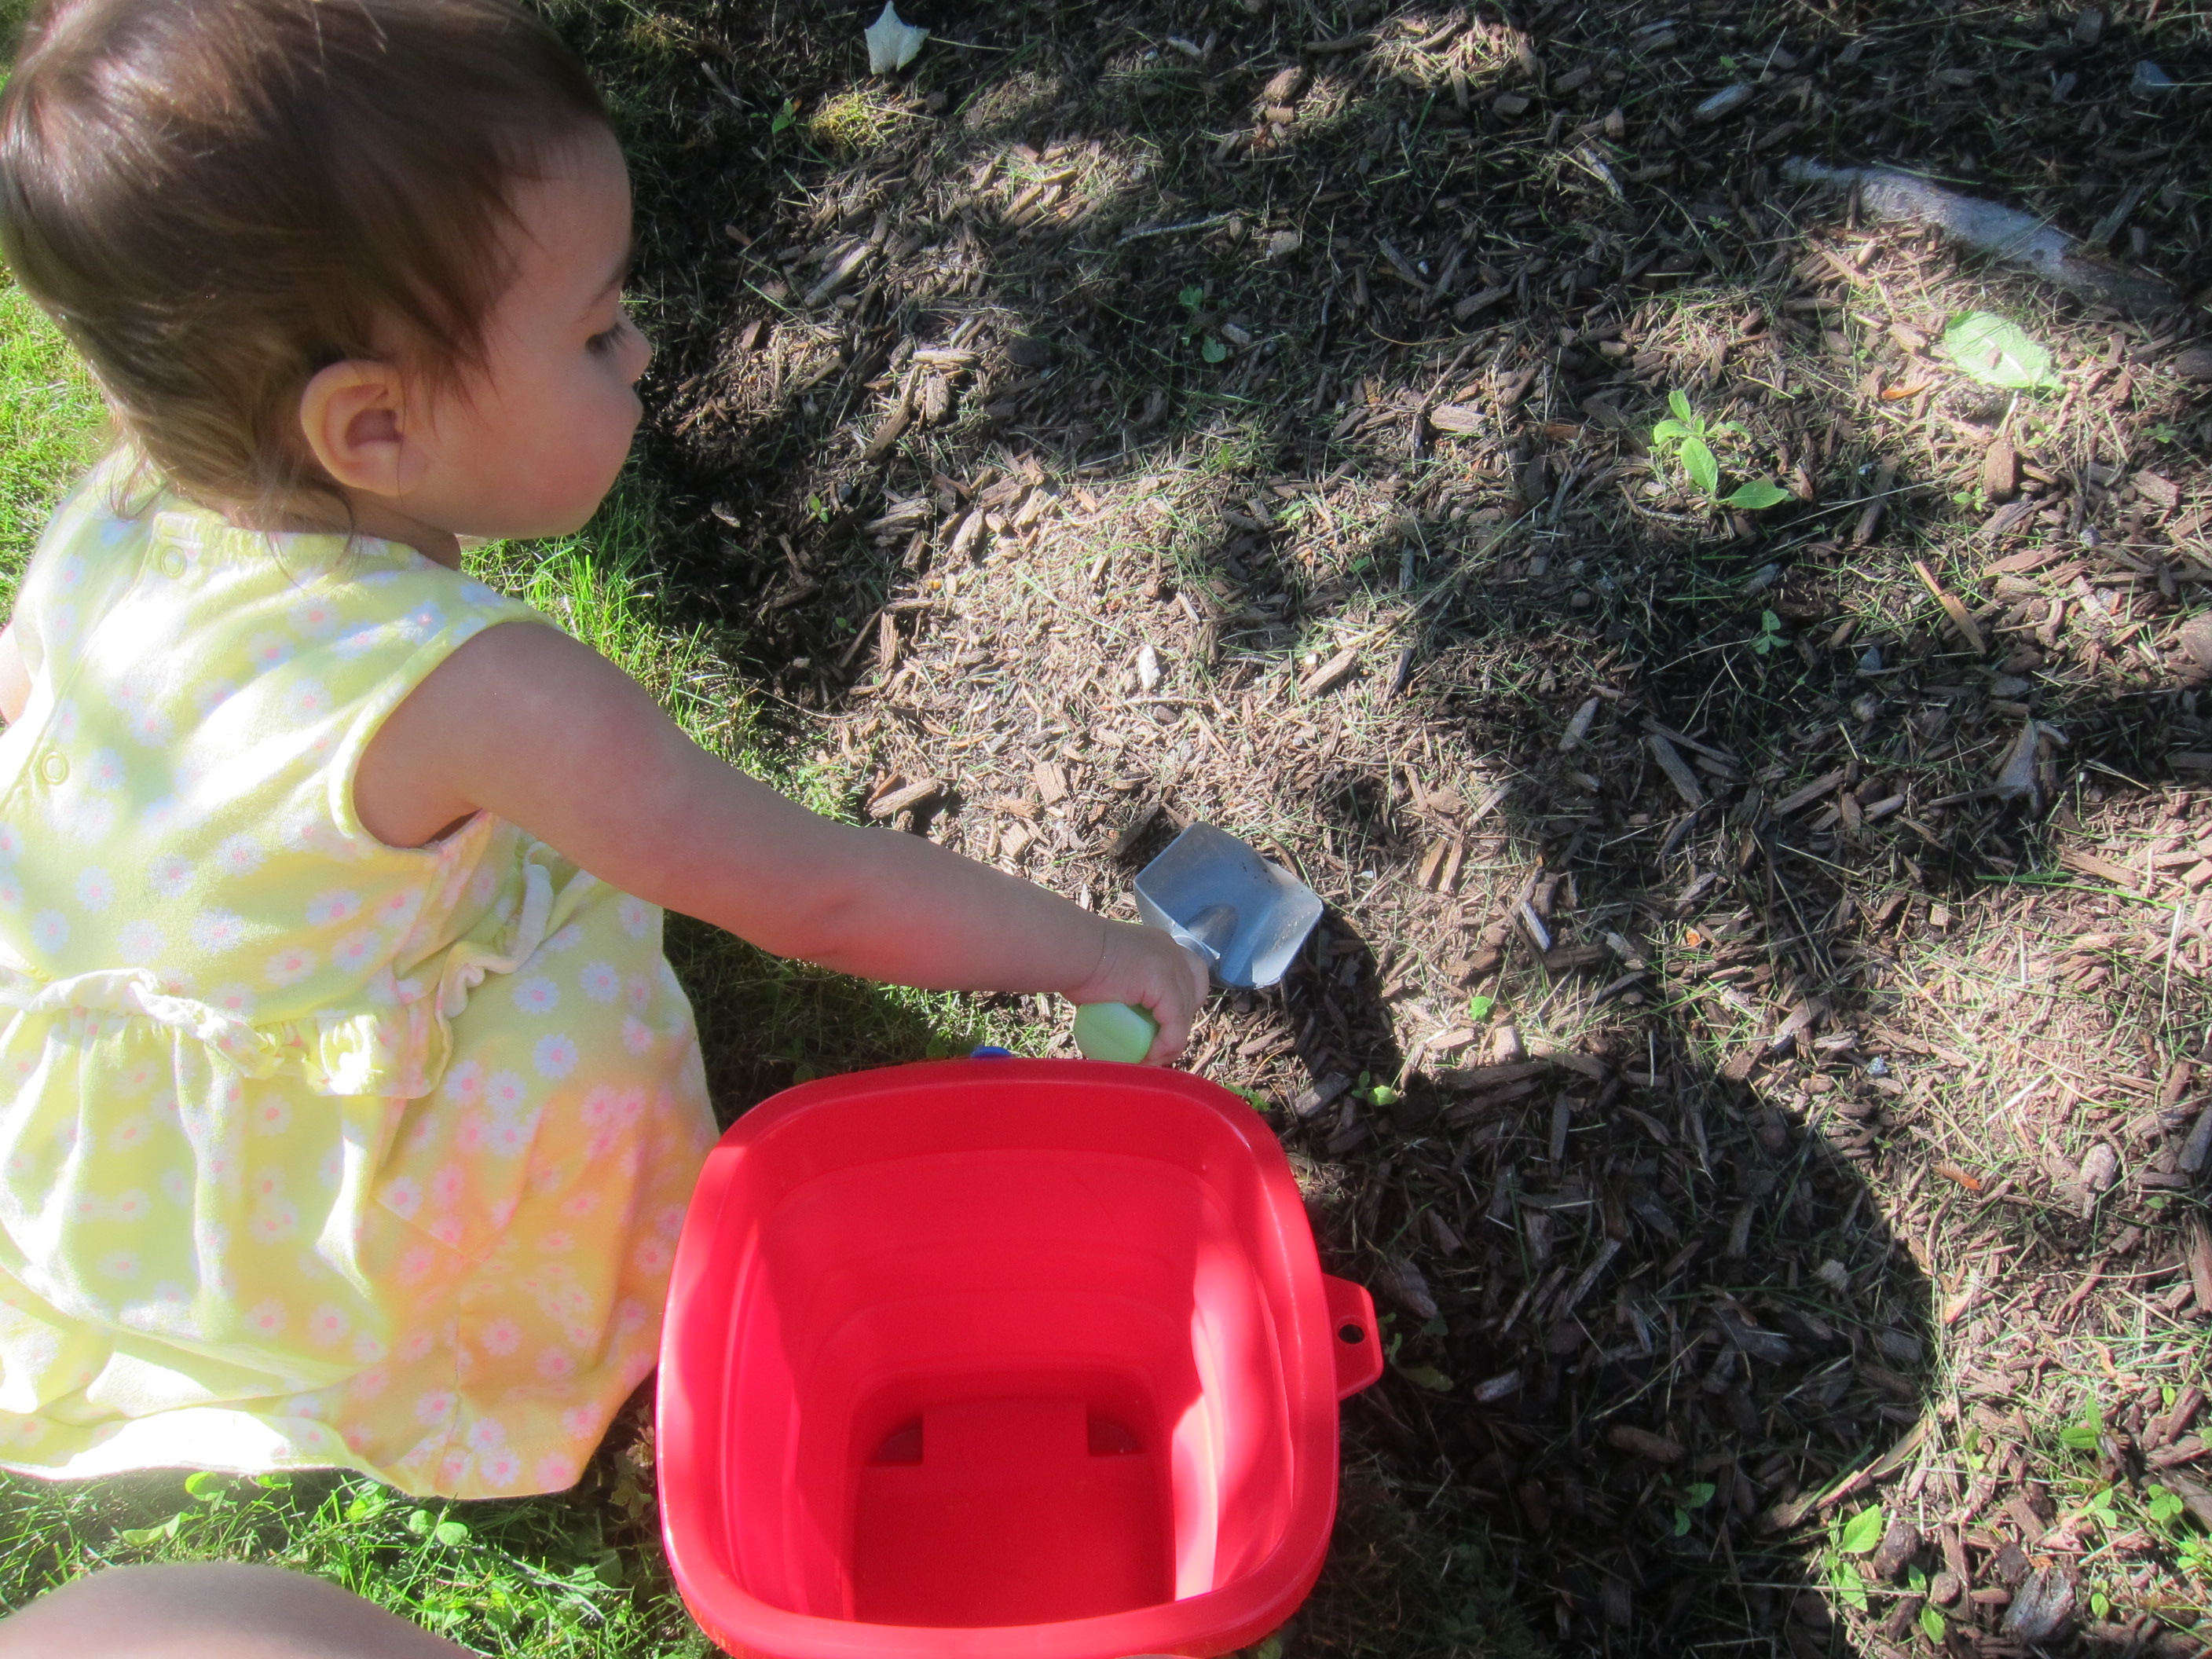
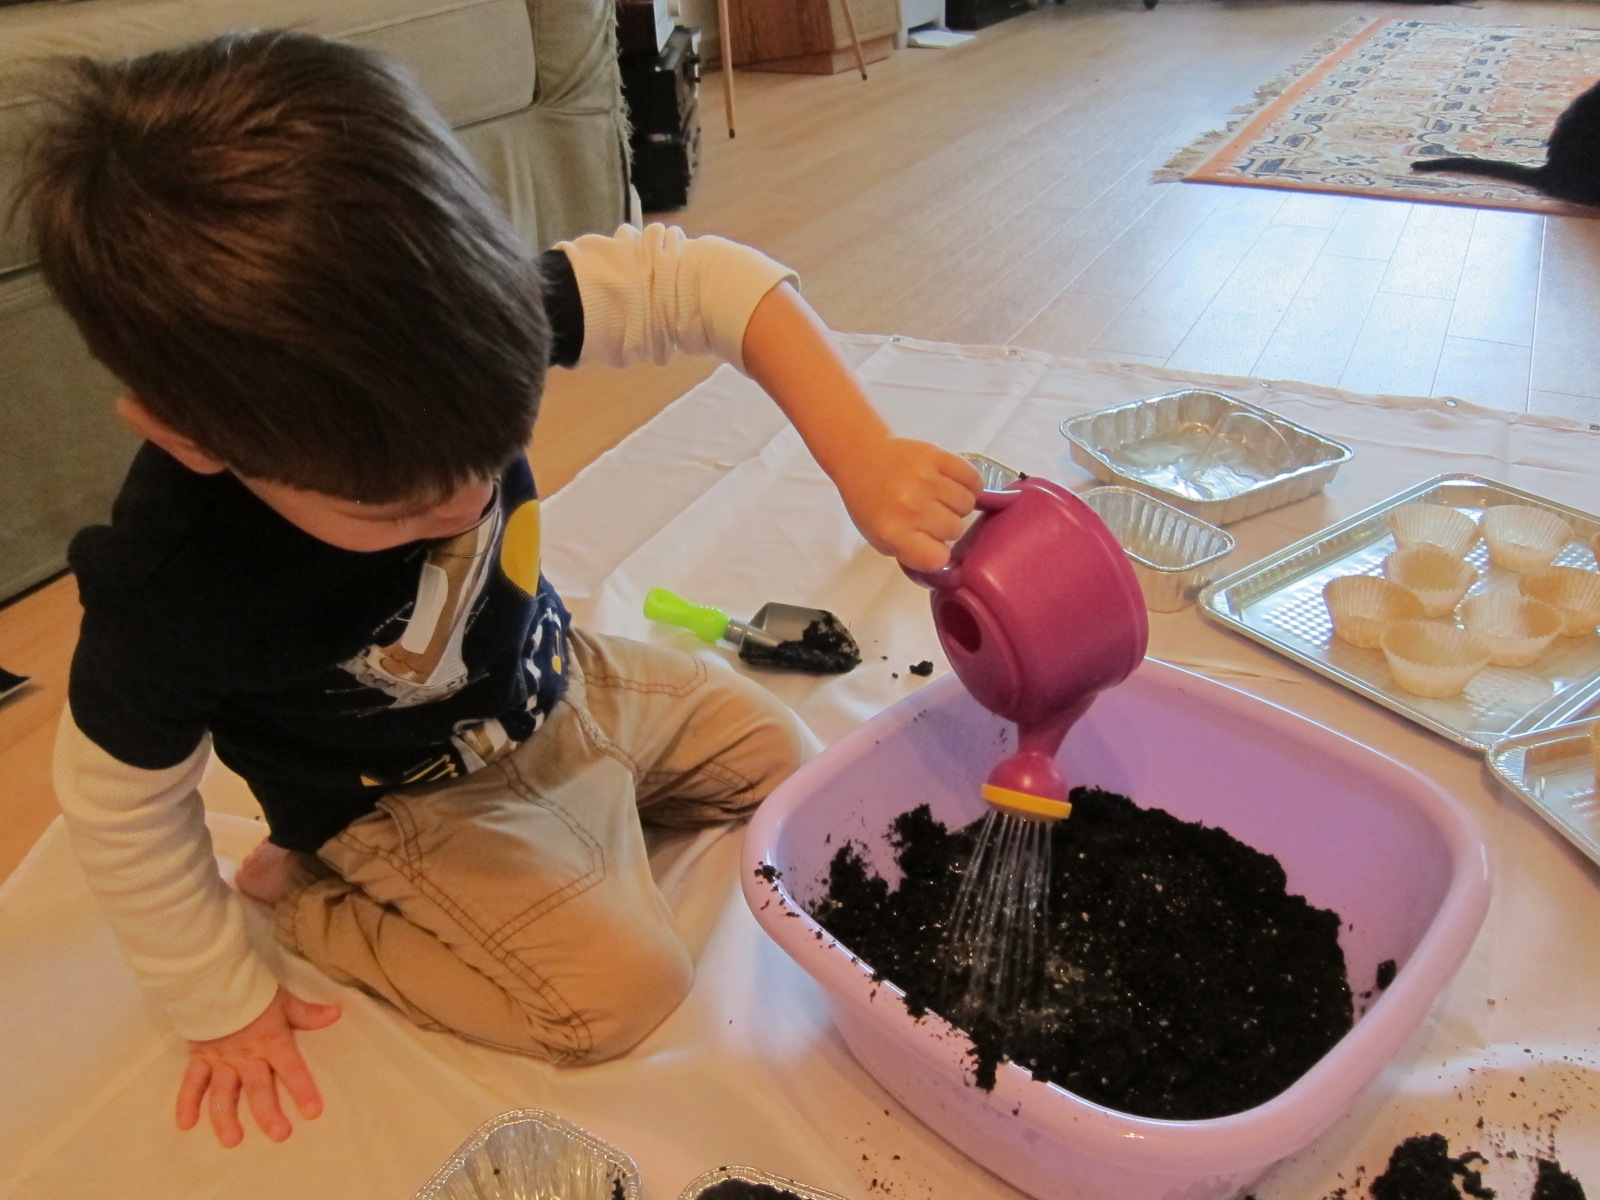
We started out inside, with a giant Mud and Dirt Sensory Box. Pour in dirt (or the above-mentioned potting soil), and add a few items that are fun to get, well, dirty! That meant a few of Veronika’s toy construction trucks, plastic cups for scooping and dumping, and some marbles.

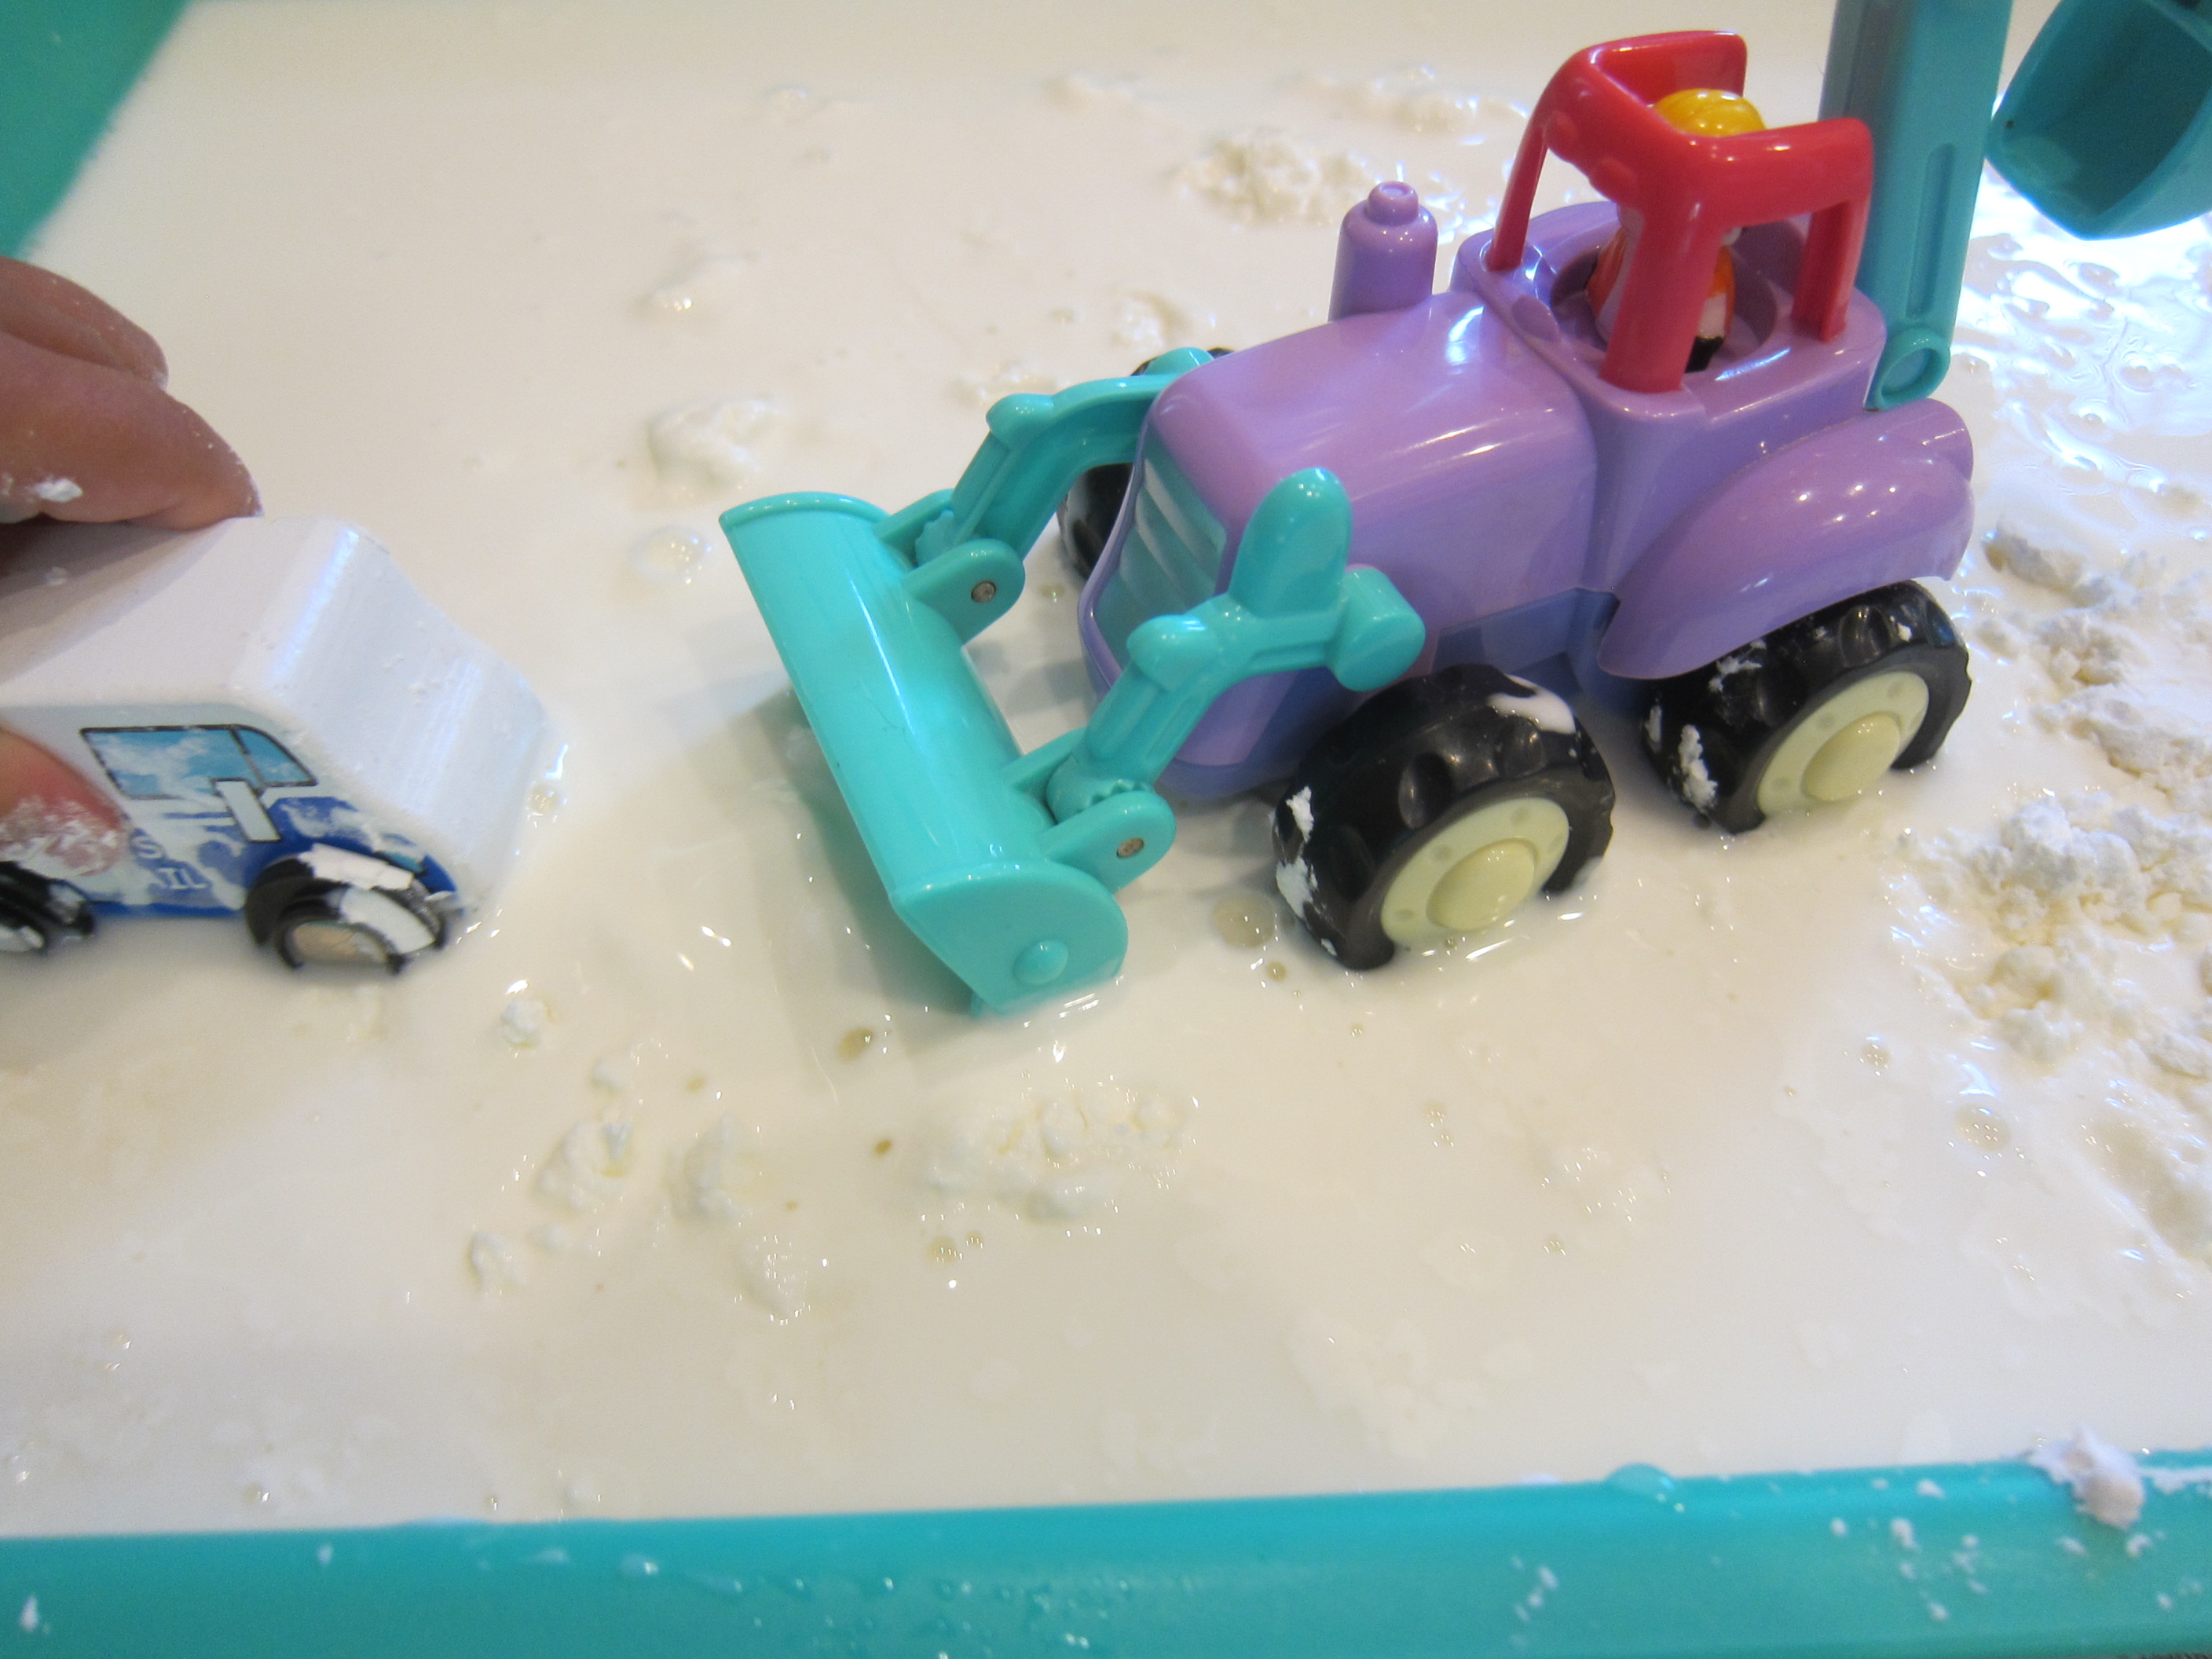
First she explored with the trucks. She loved digging through the dirt with the bulldozer and then dumping into one of the cups.

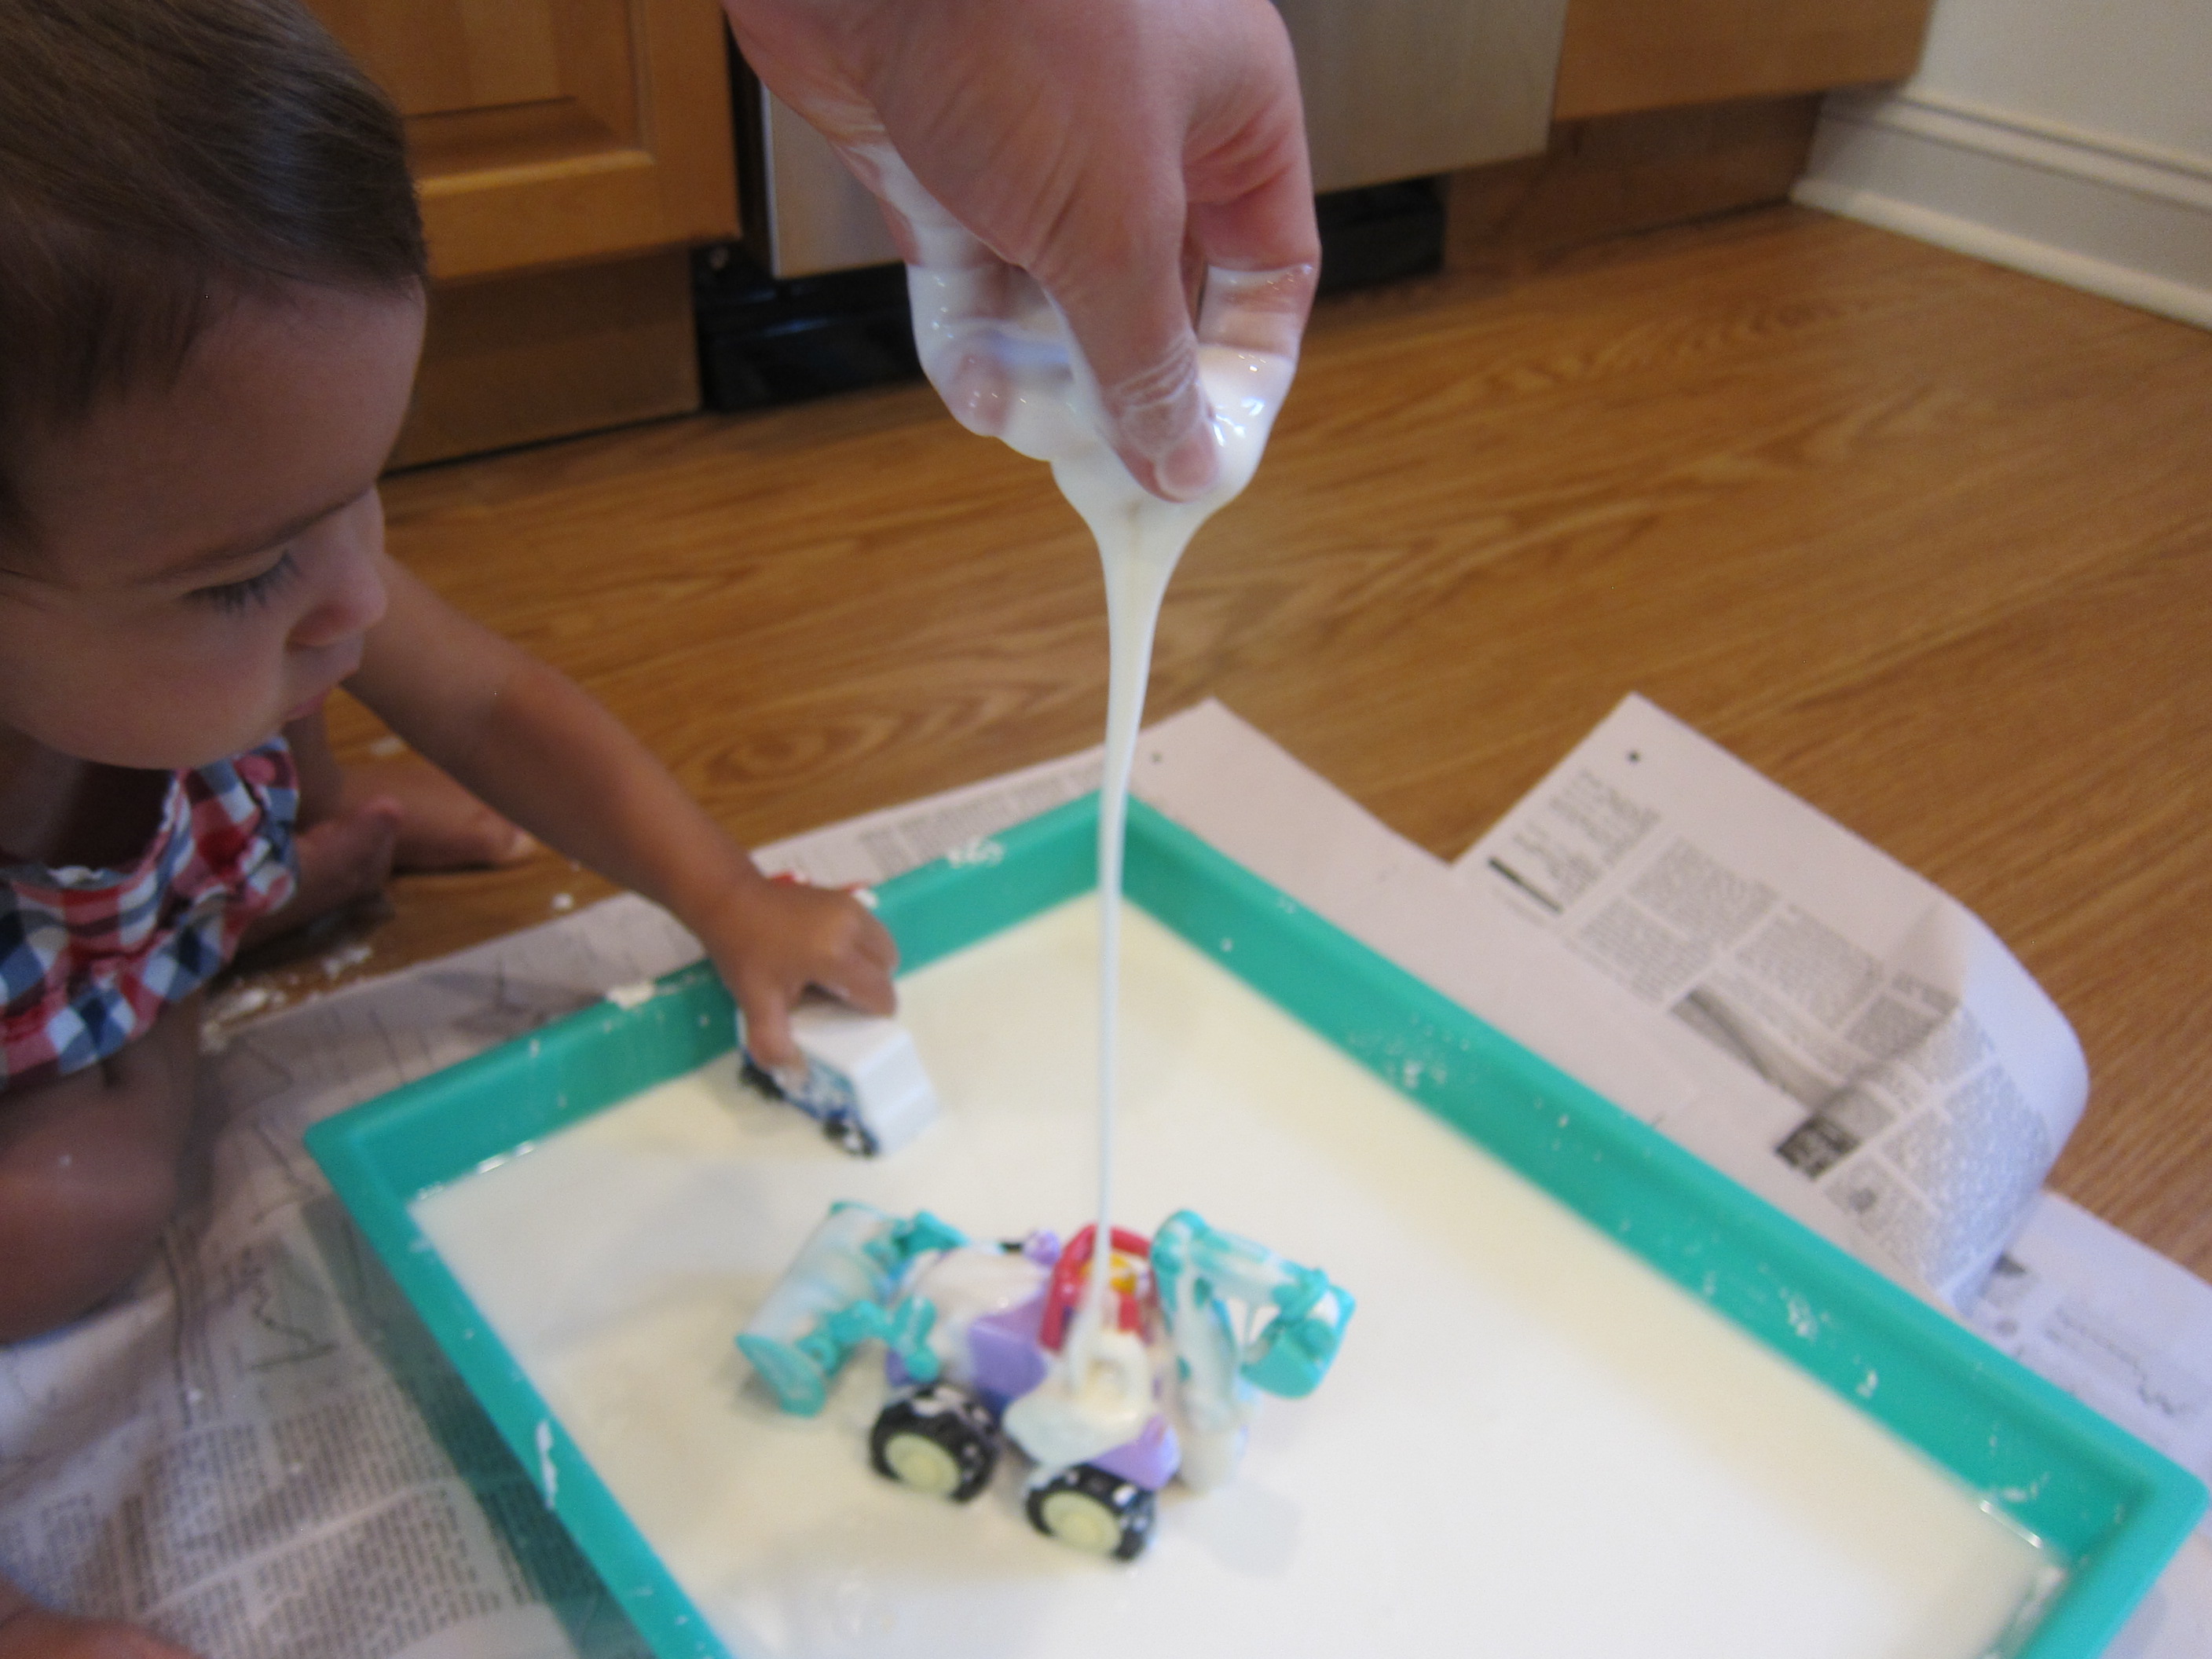
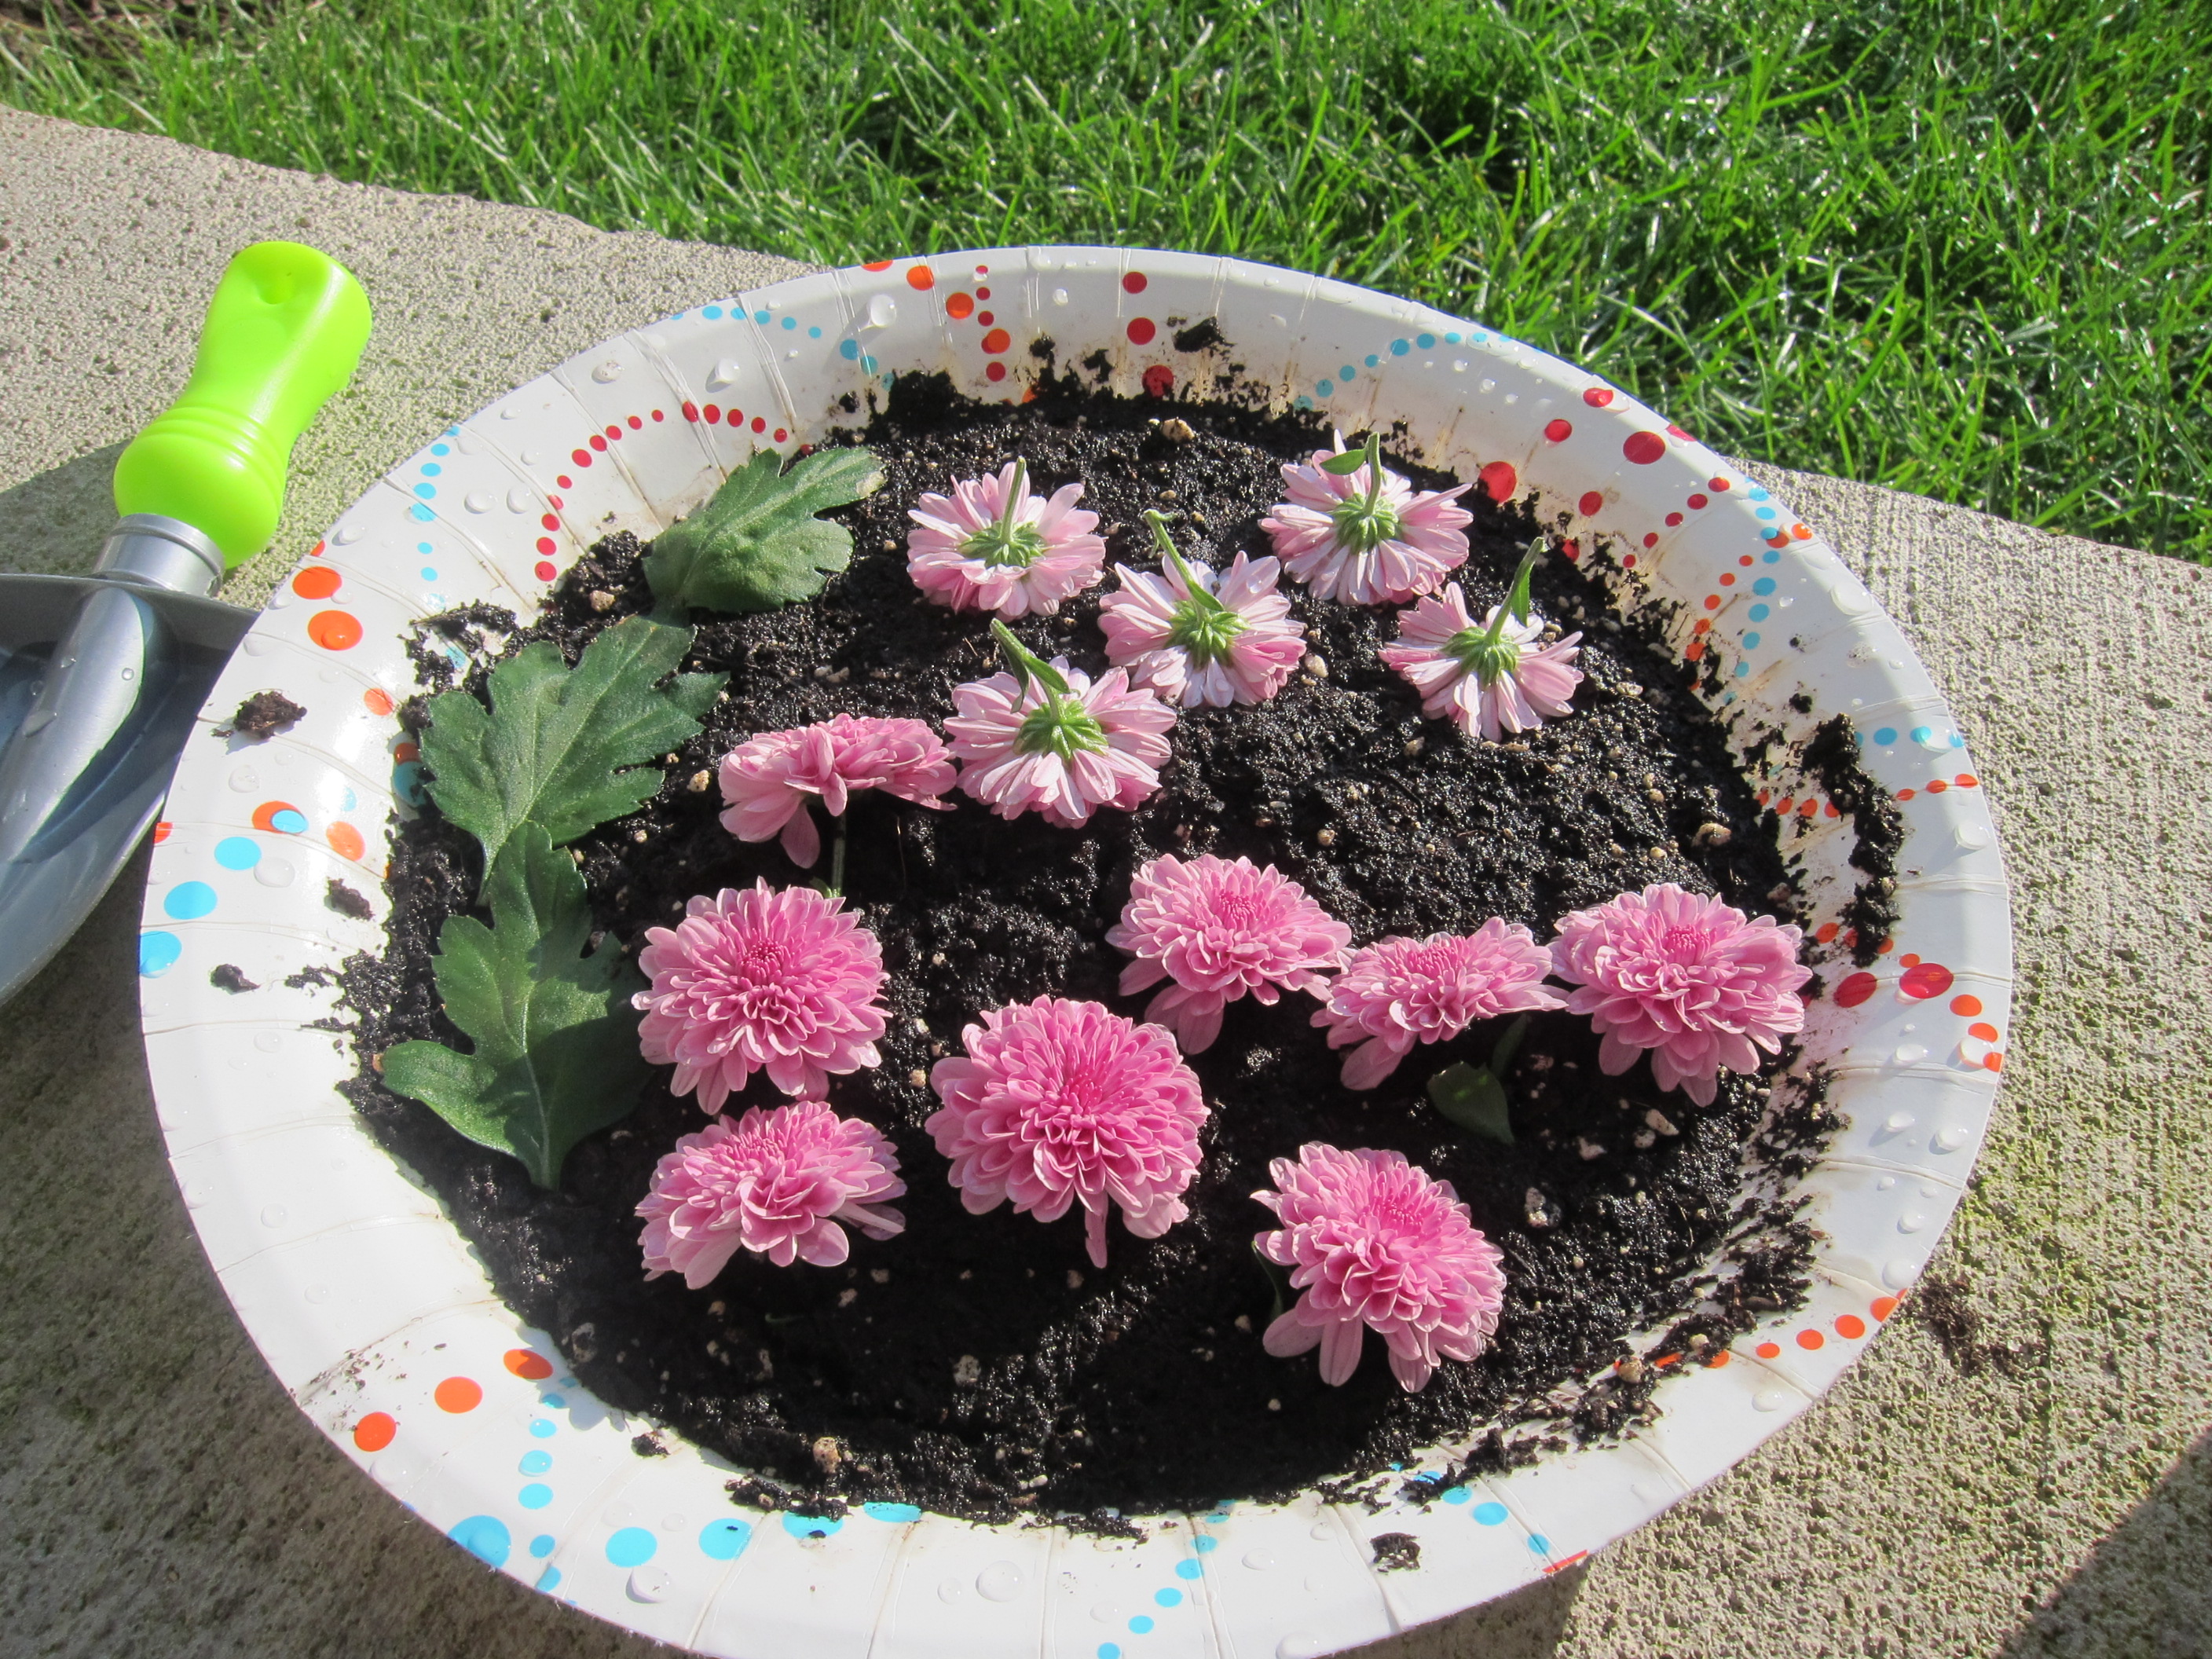
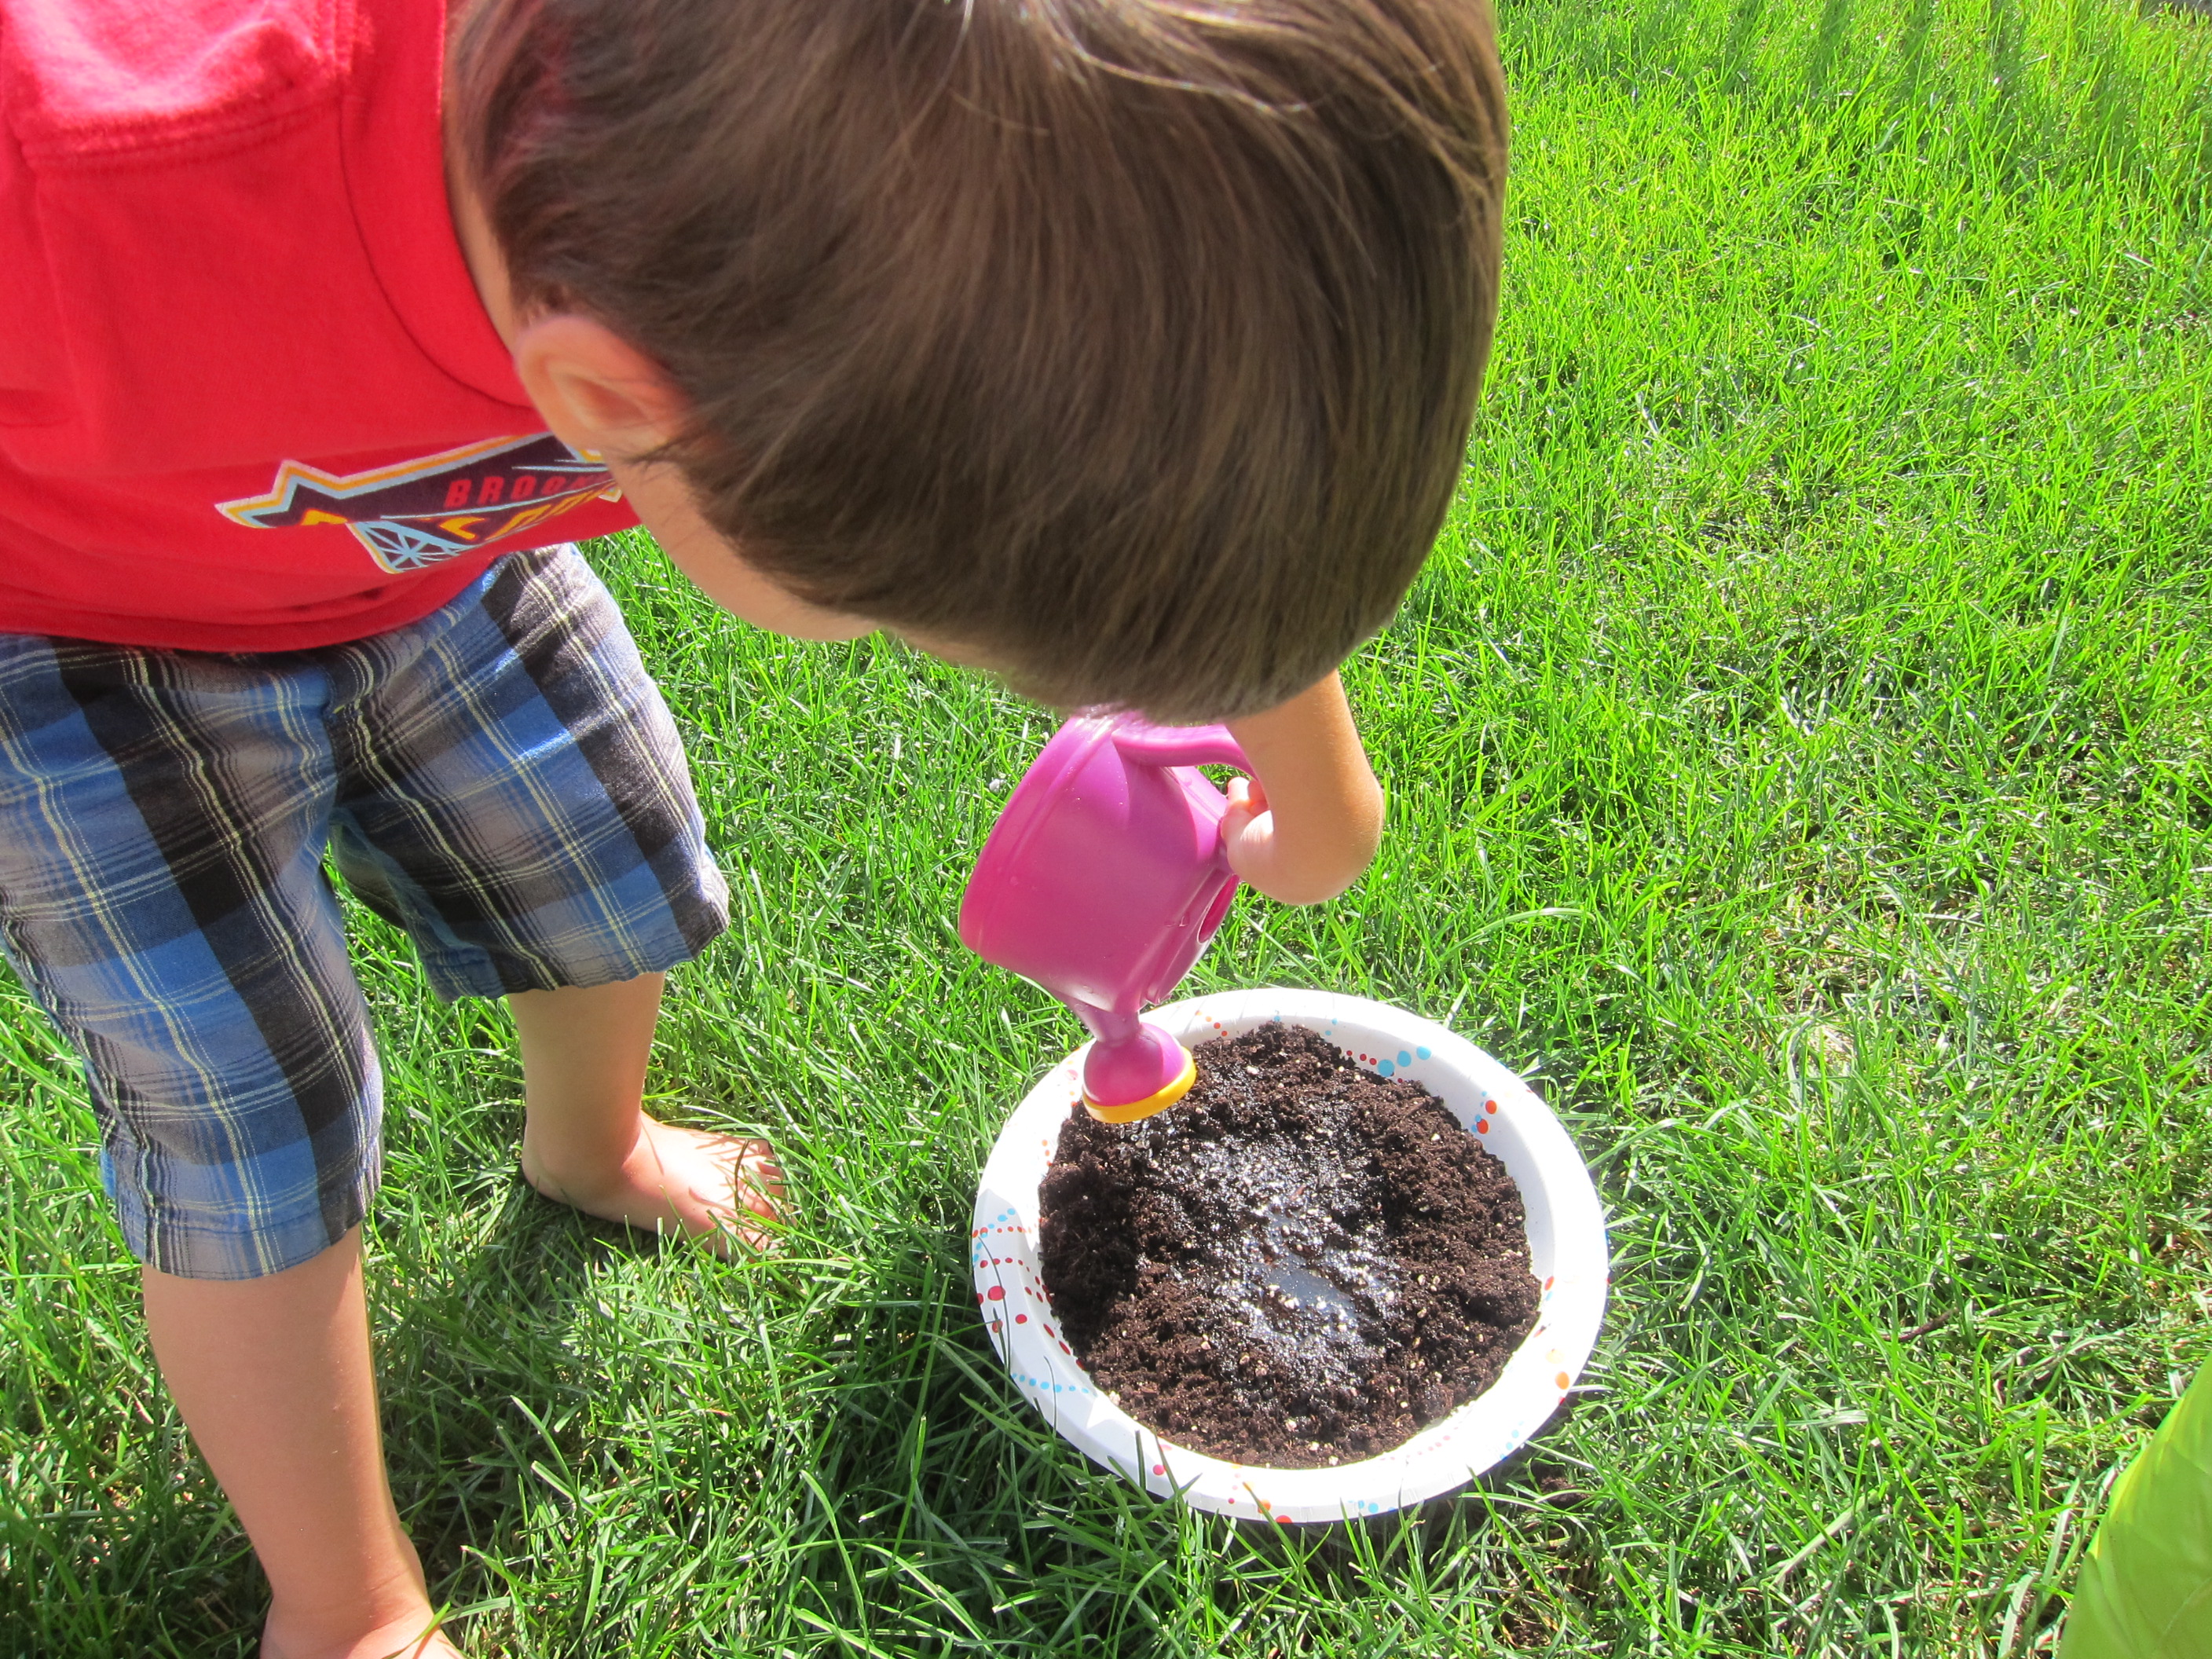
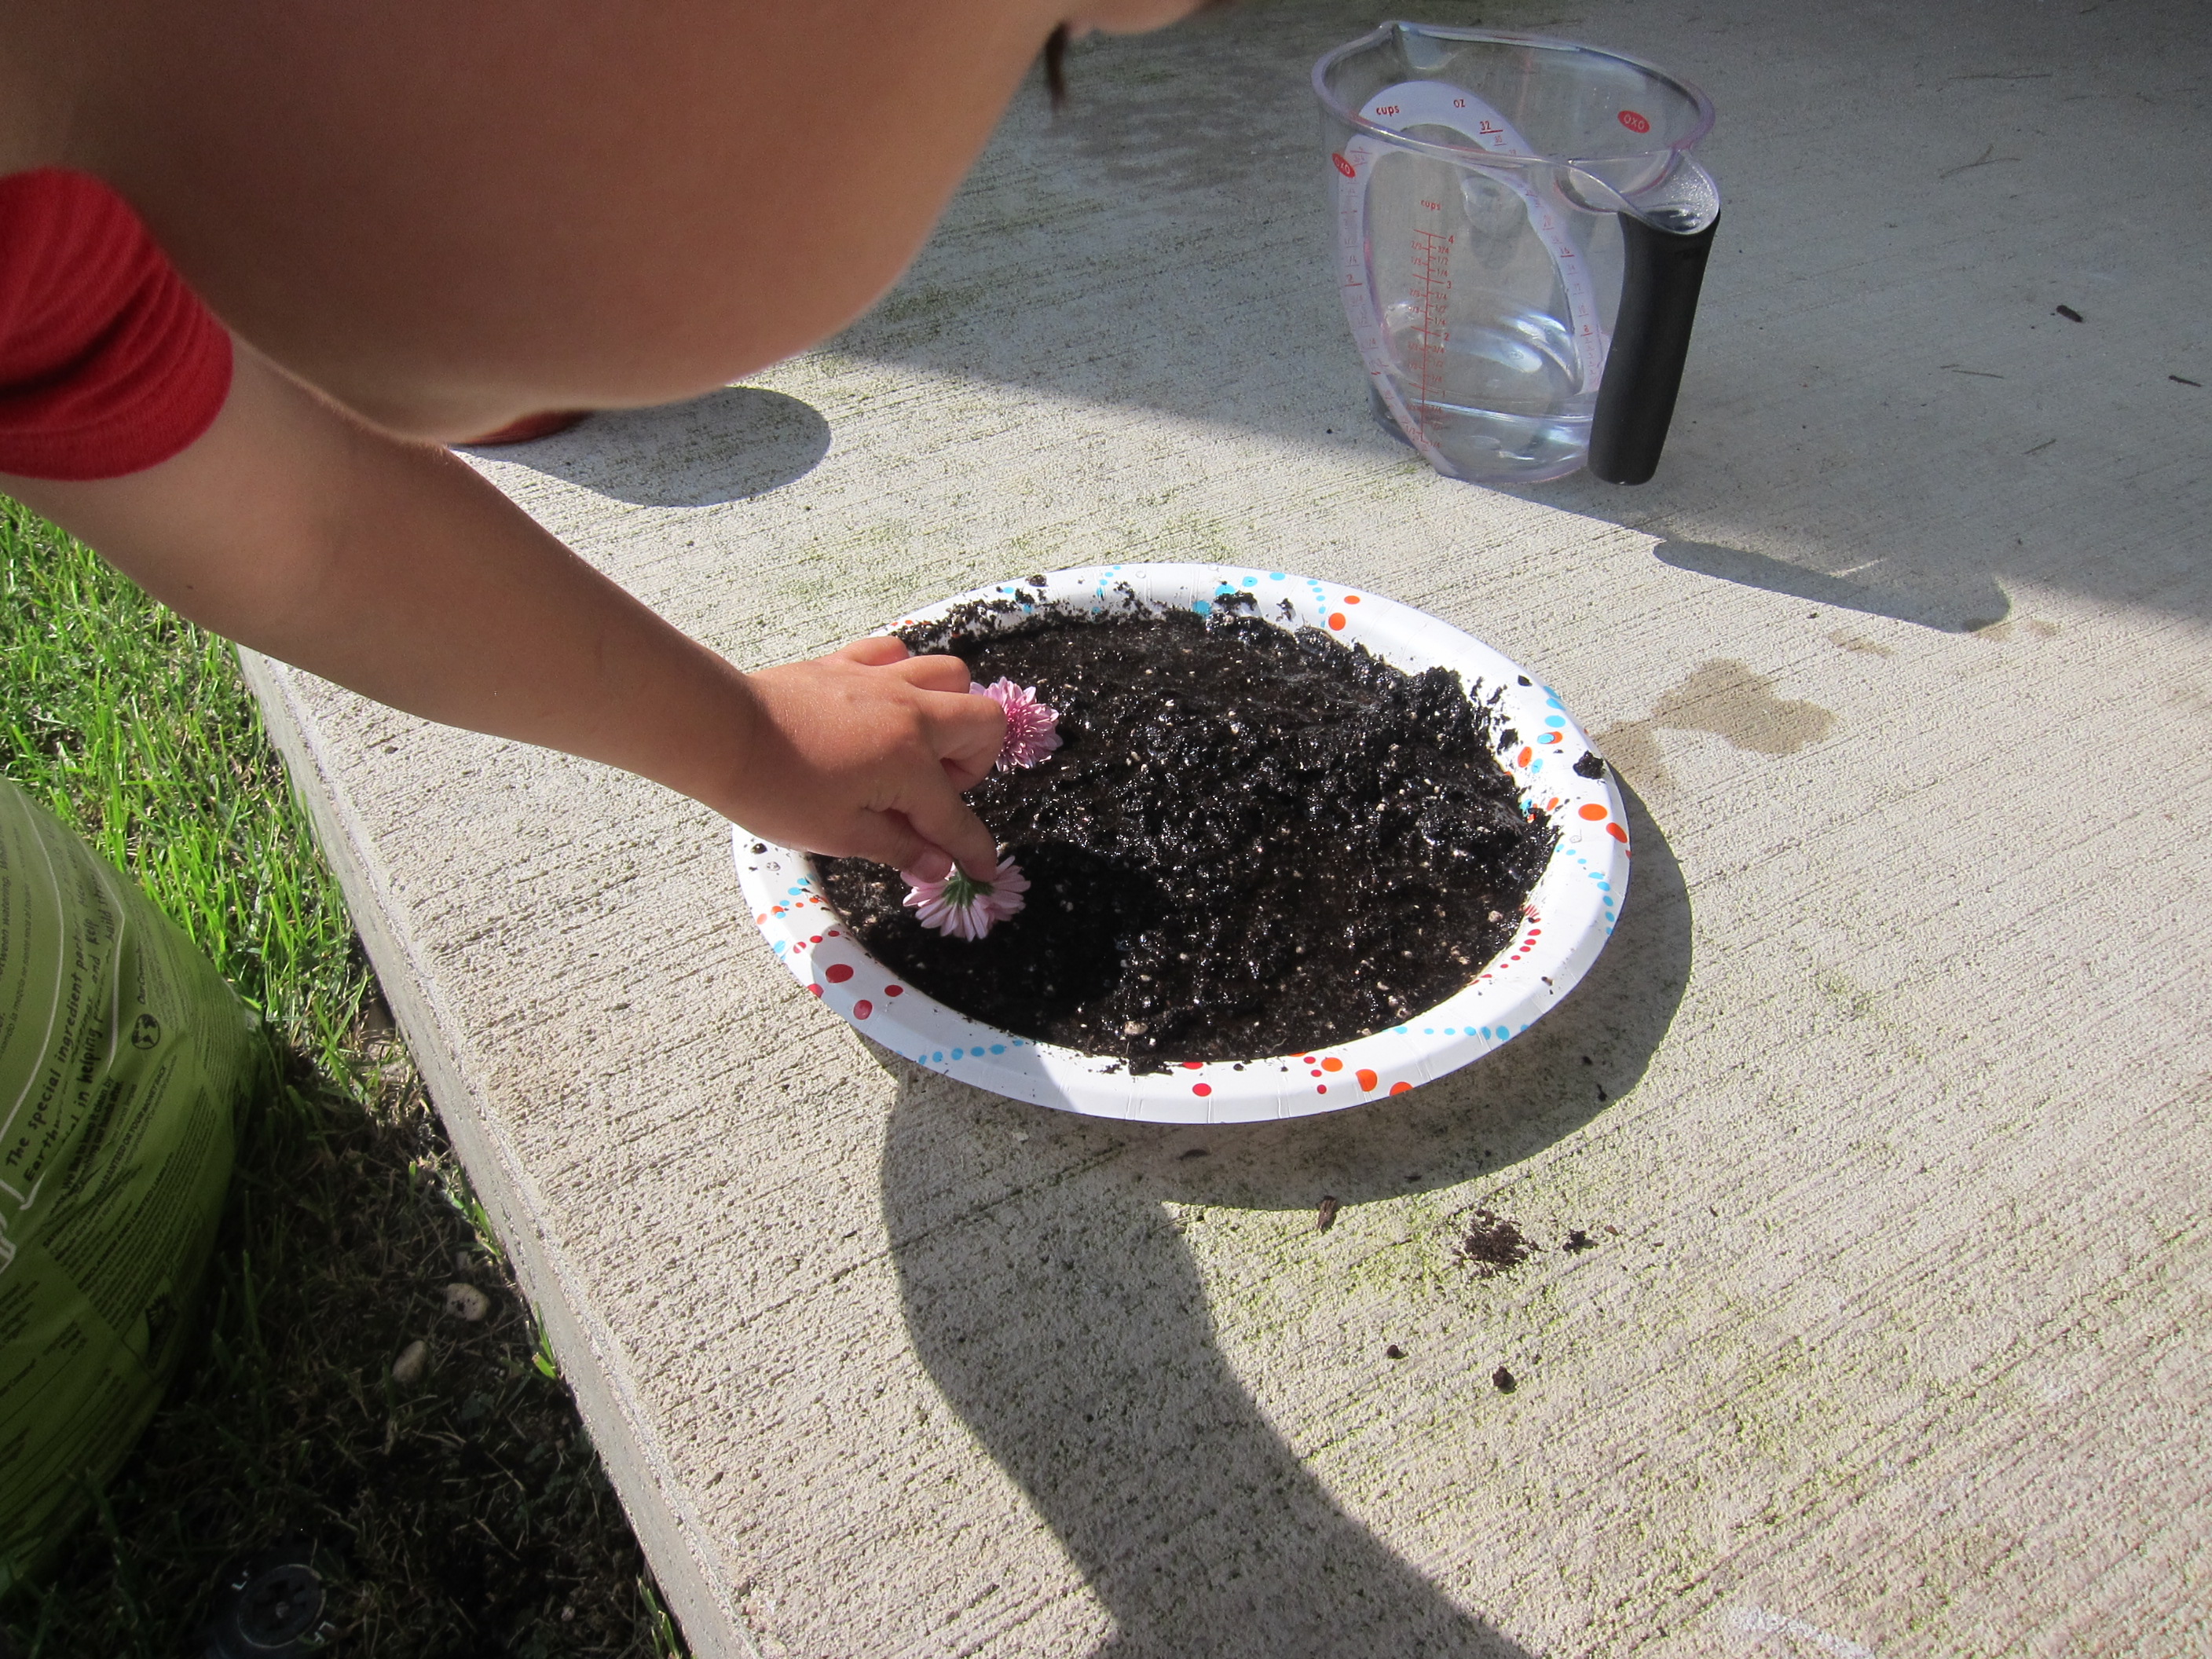
We then pretended that the marbles were little seeds for planting, perfect imaginative play for springtime! She loved digging holes with a spade and pressing the marbles down in the dirt. Then we decided to make some of the dirt into mud; simply pour in a few cups of water and stir. Veronika marveled at the new consistency, as well as the earthy smell that resulted right away! When you’re done, take that sensory bin outside for a rinse down with a hose.

But we weren’t done yet with the dirt! I made a few circles with chalk on the back patio, labeled with point values. Older kids can play a classic game of bullseye, with concentric circles. For Veronika, I spaced the circles all over the patio with different point values based on their size.

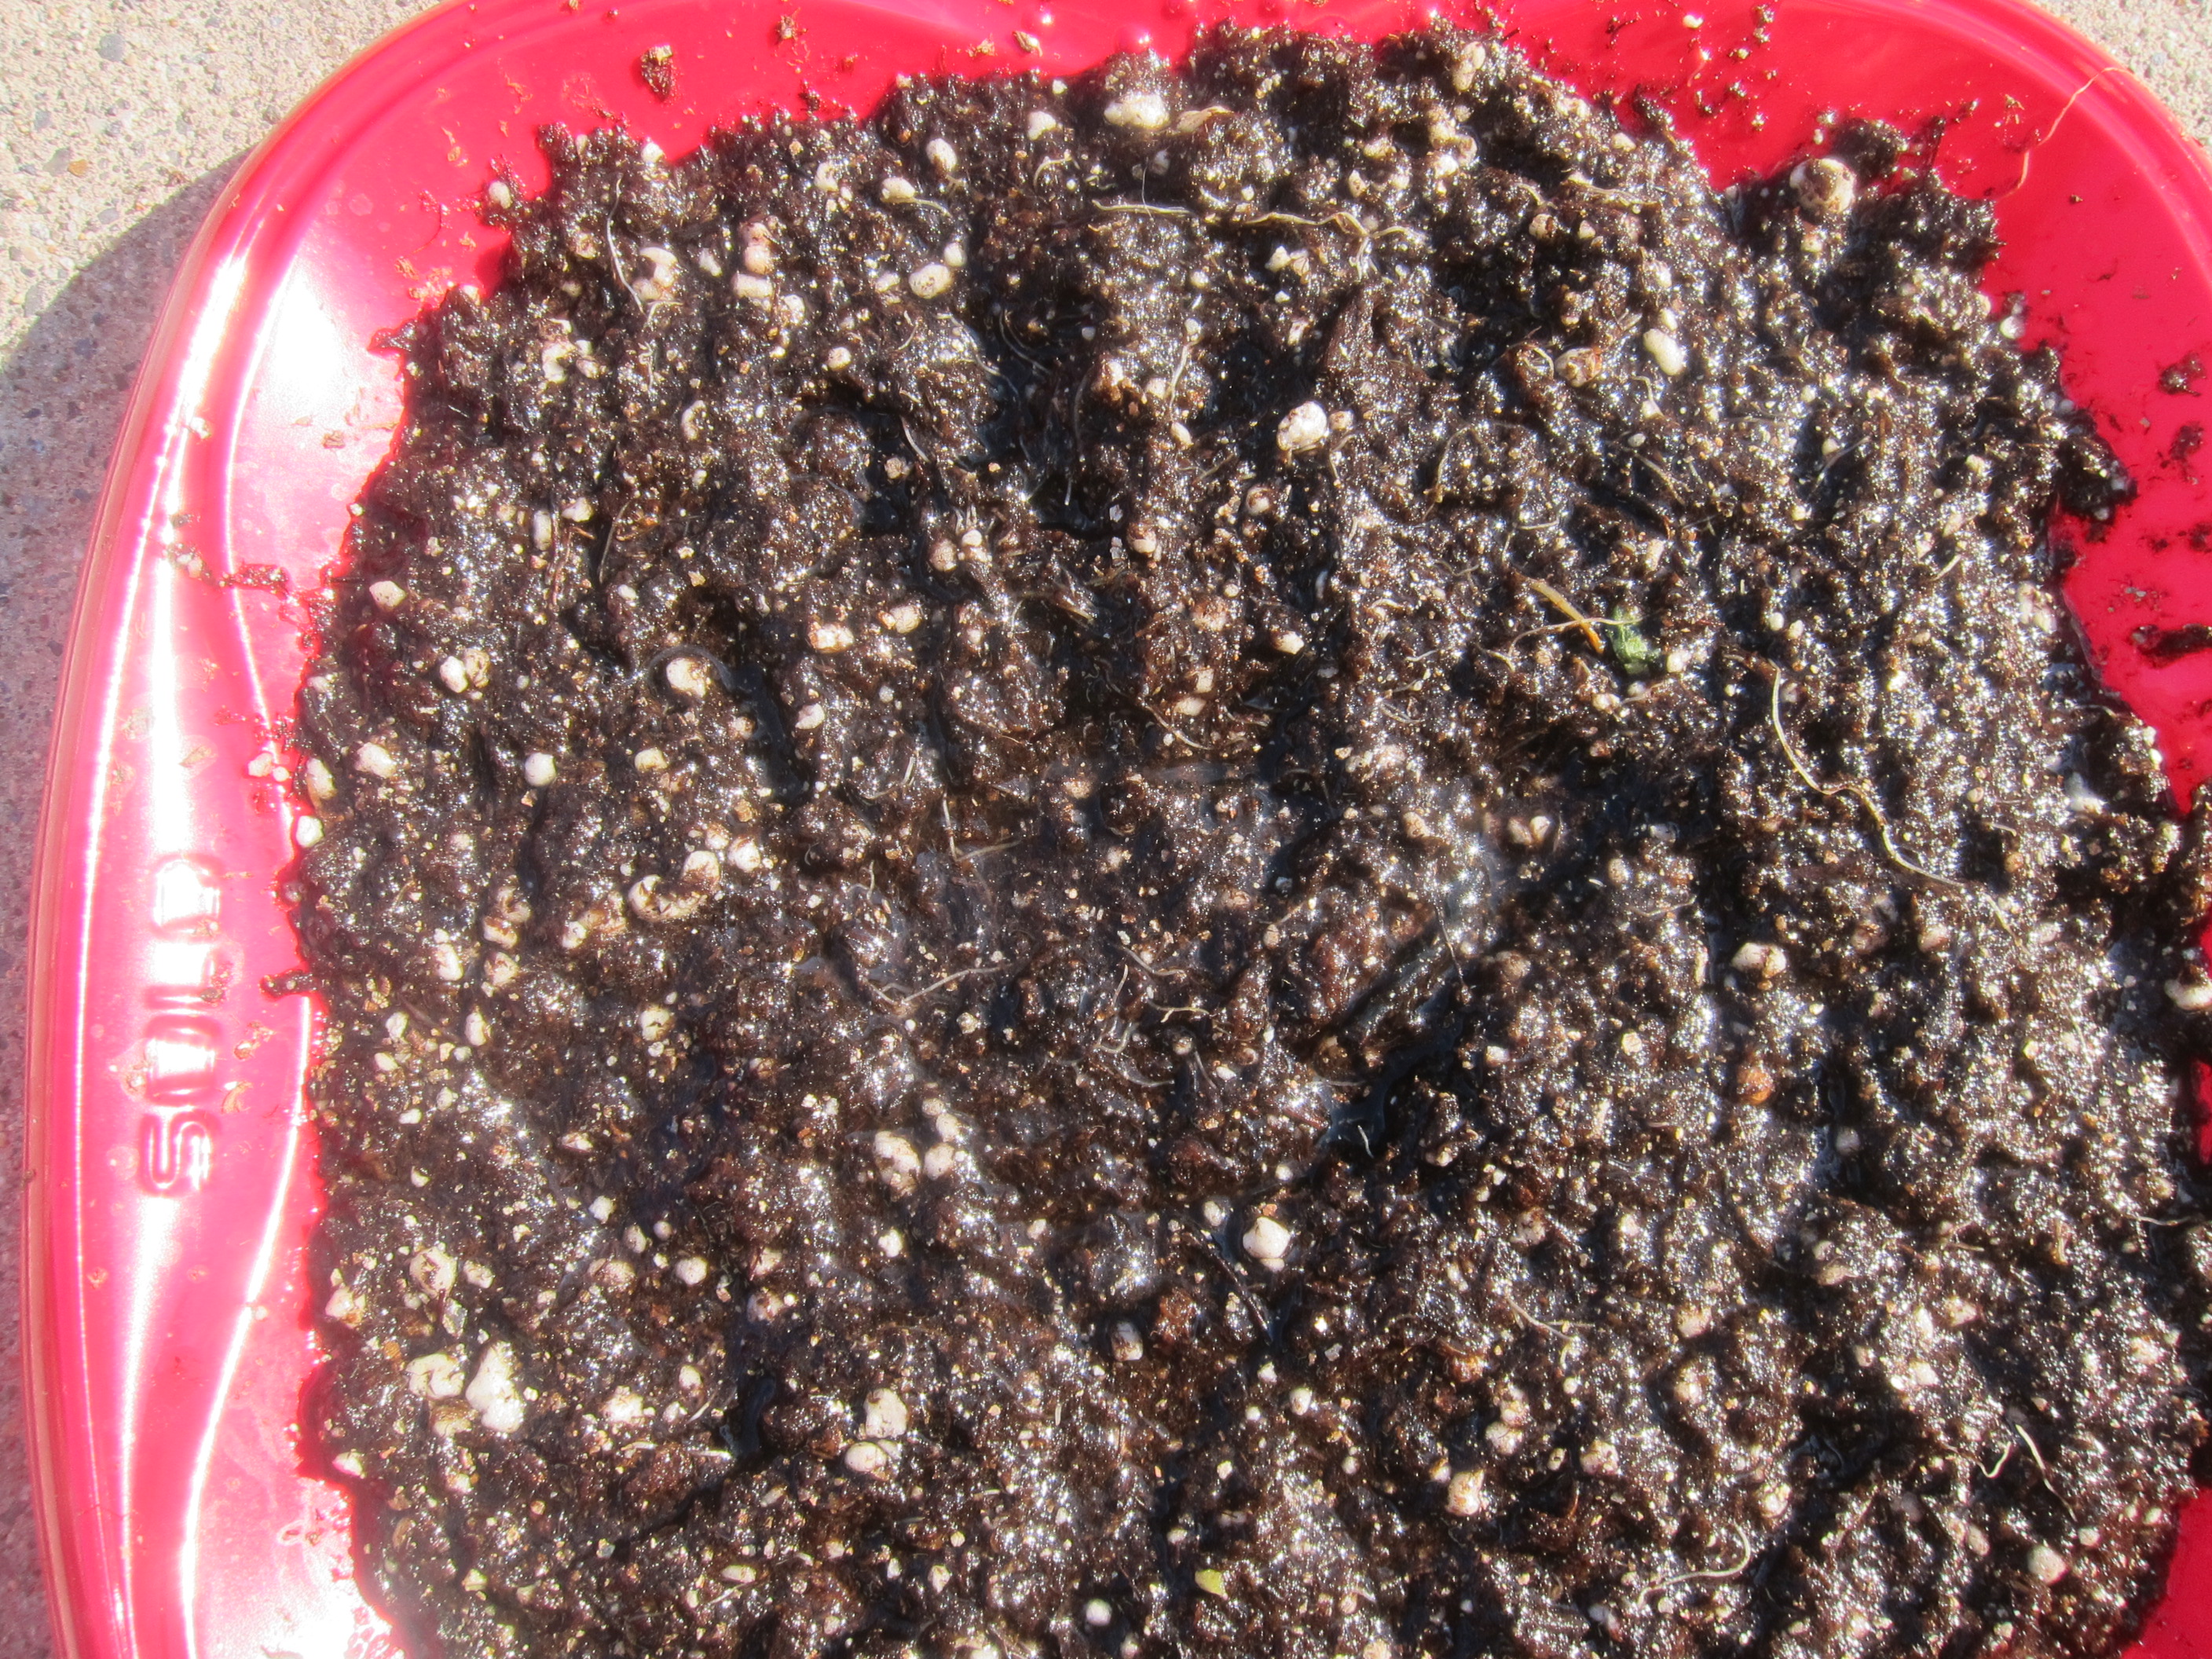
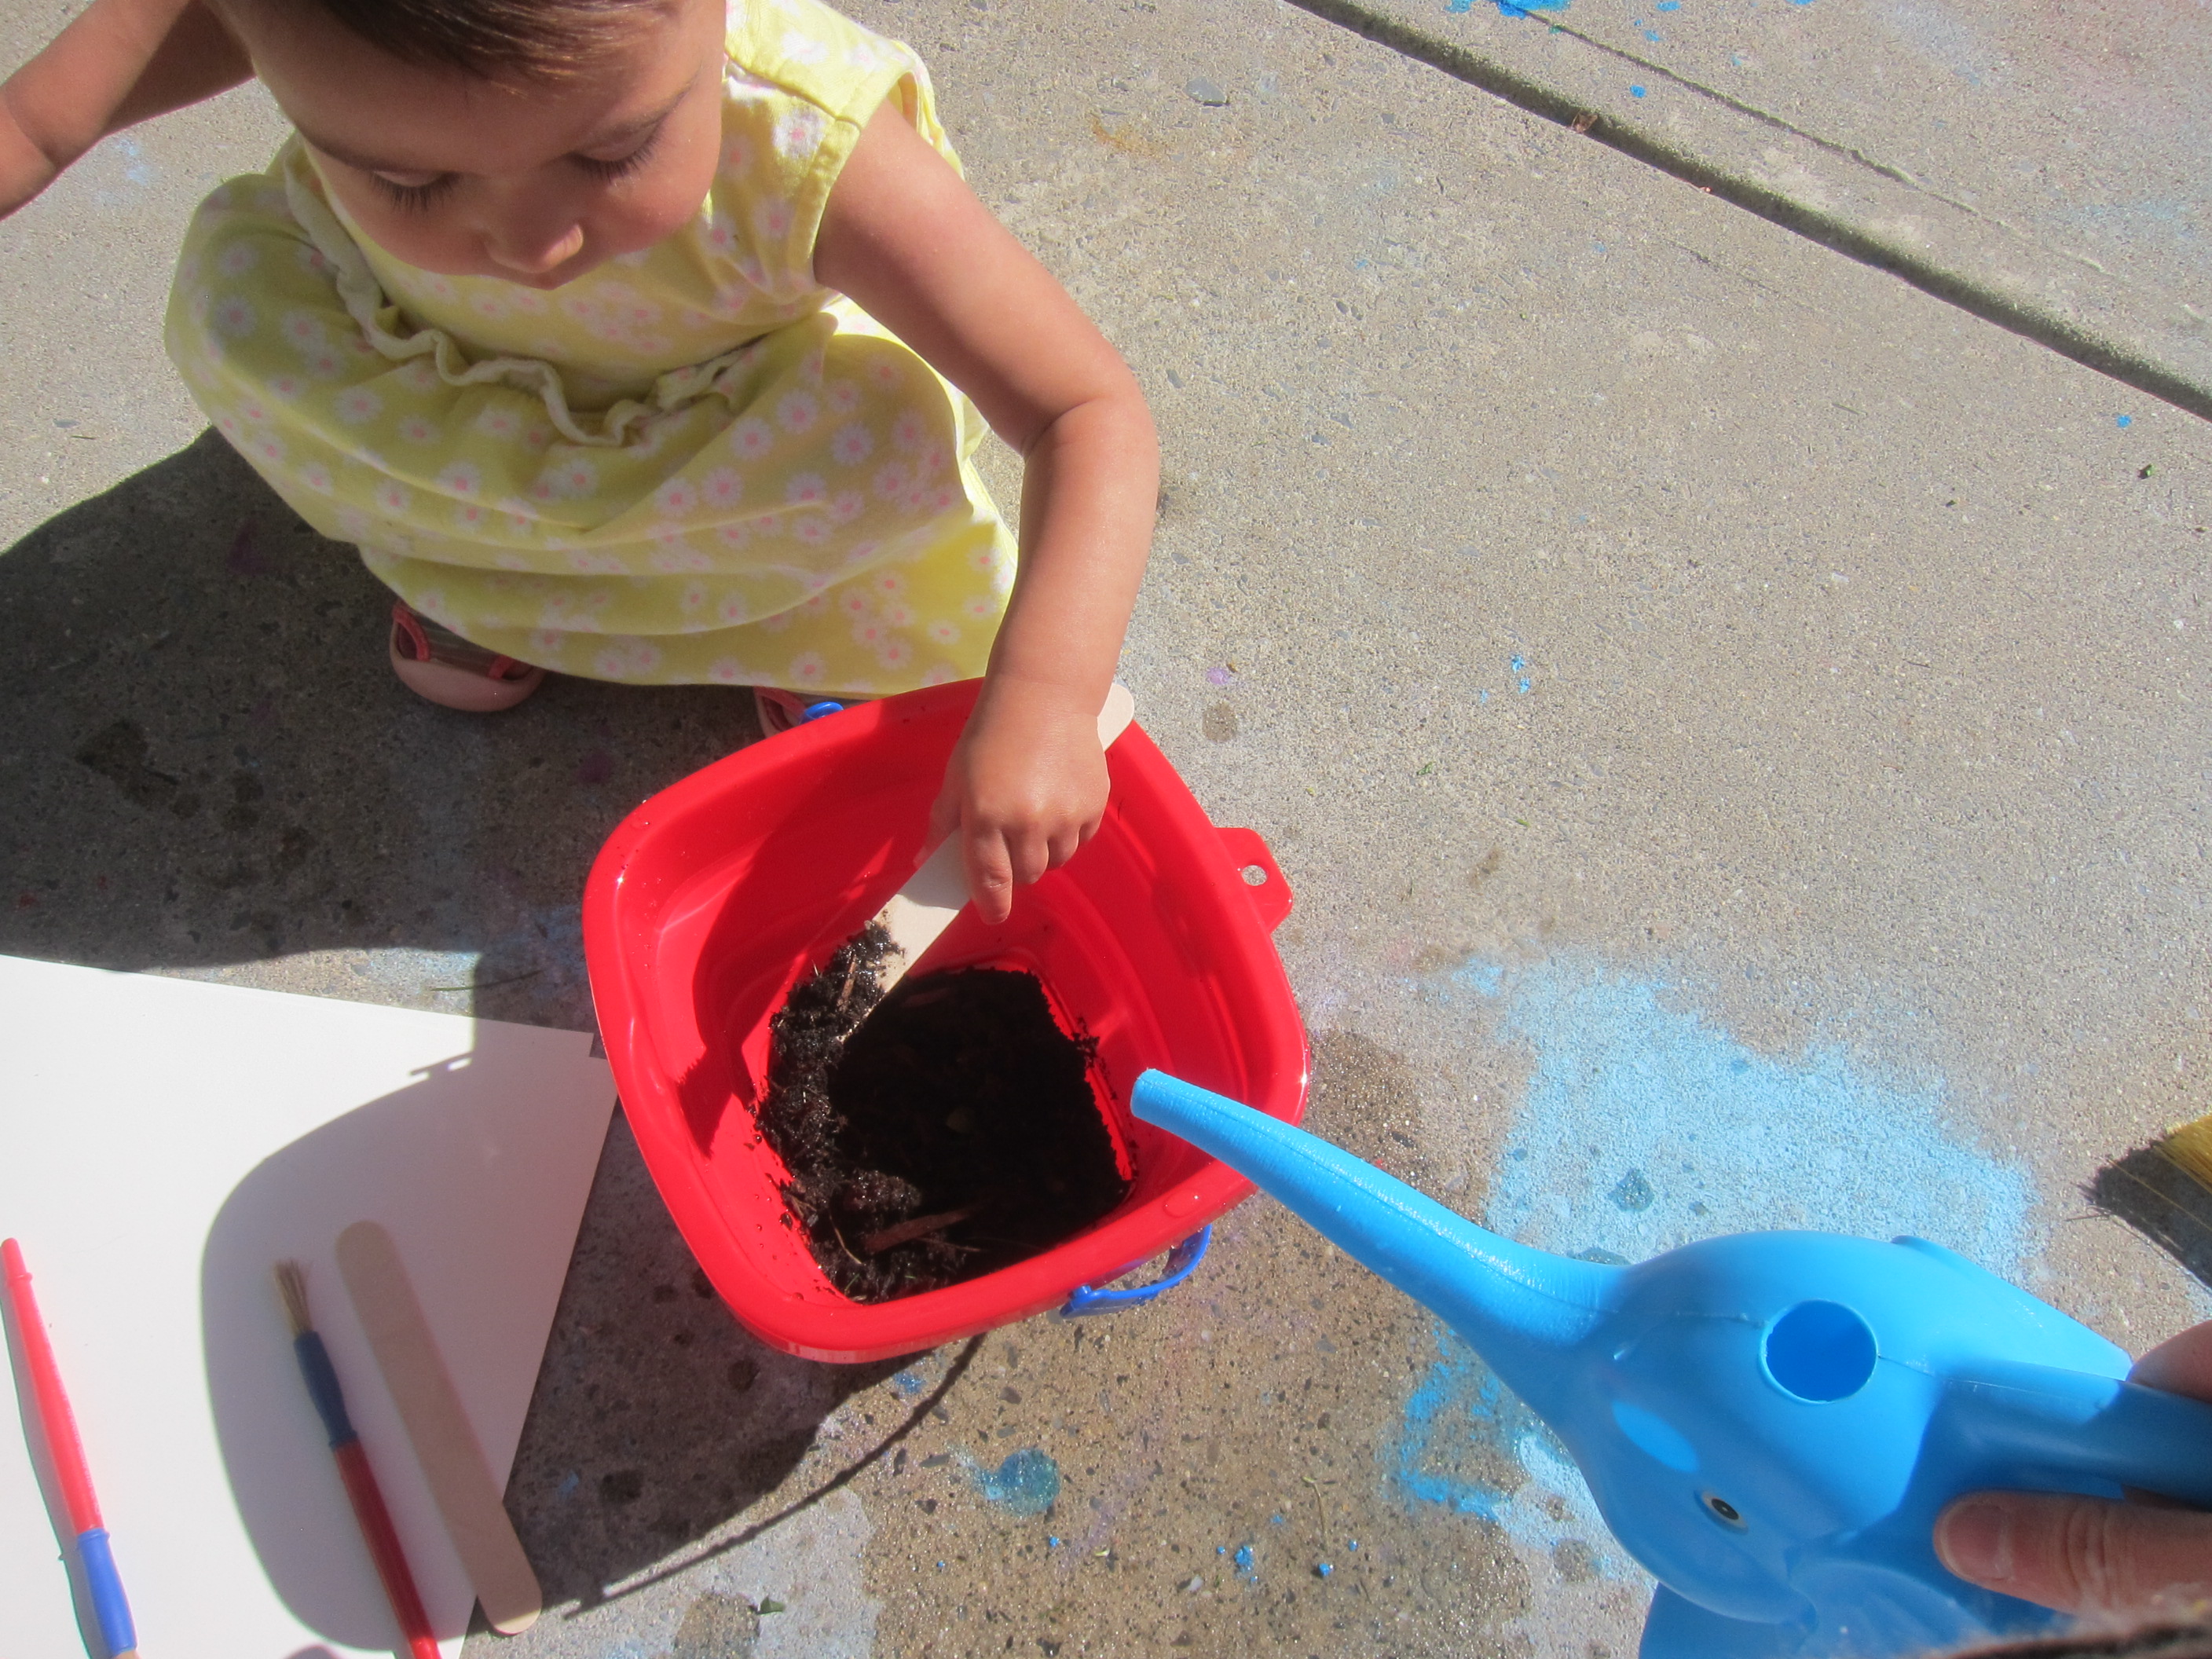
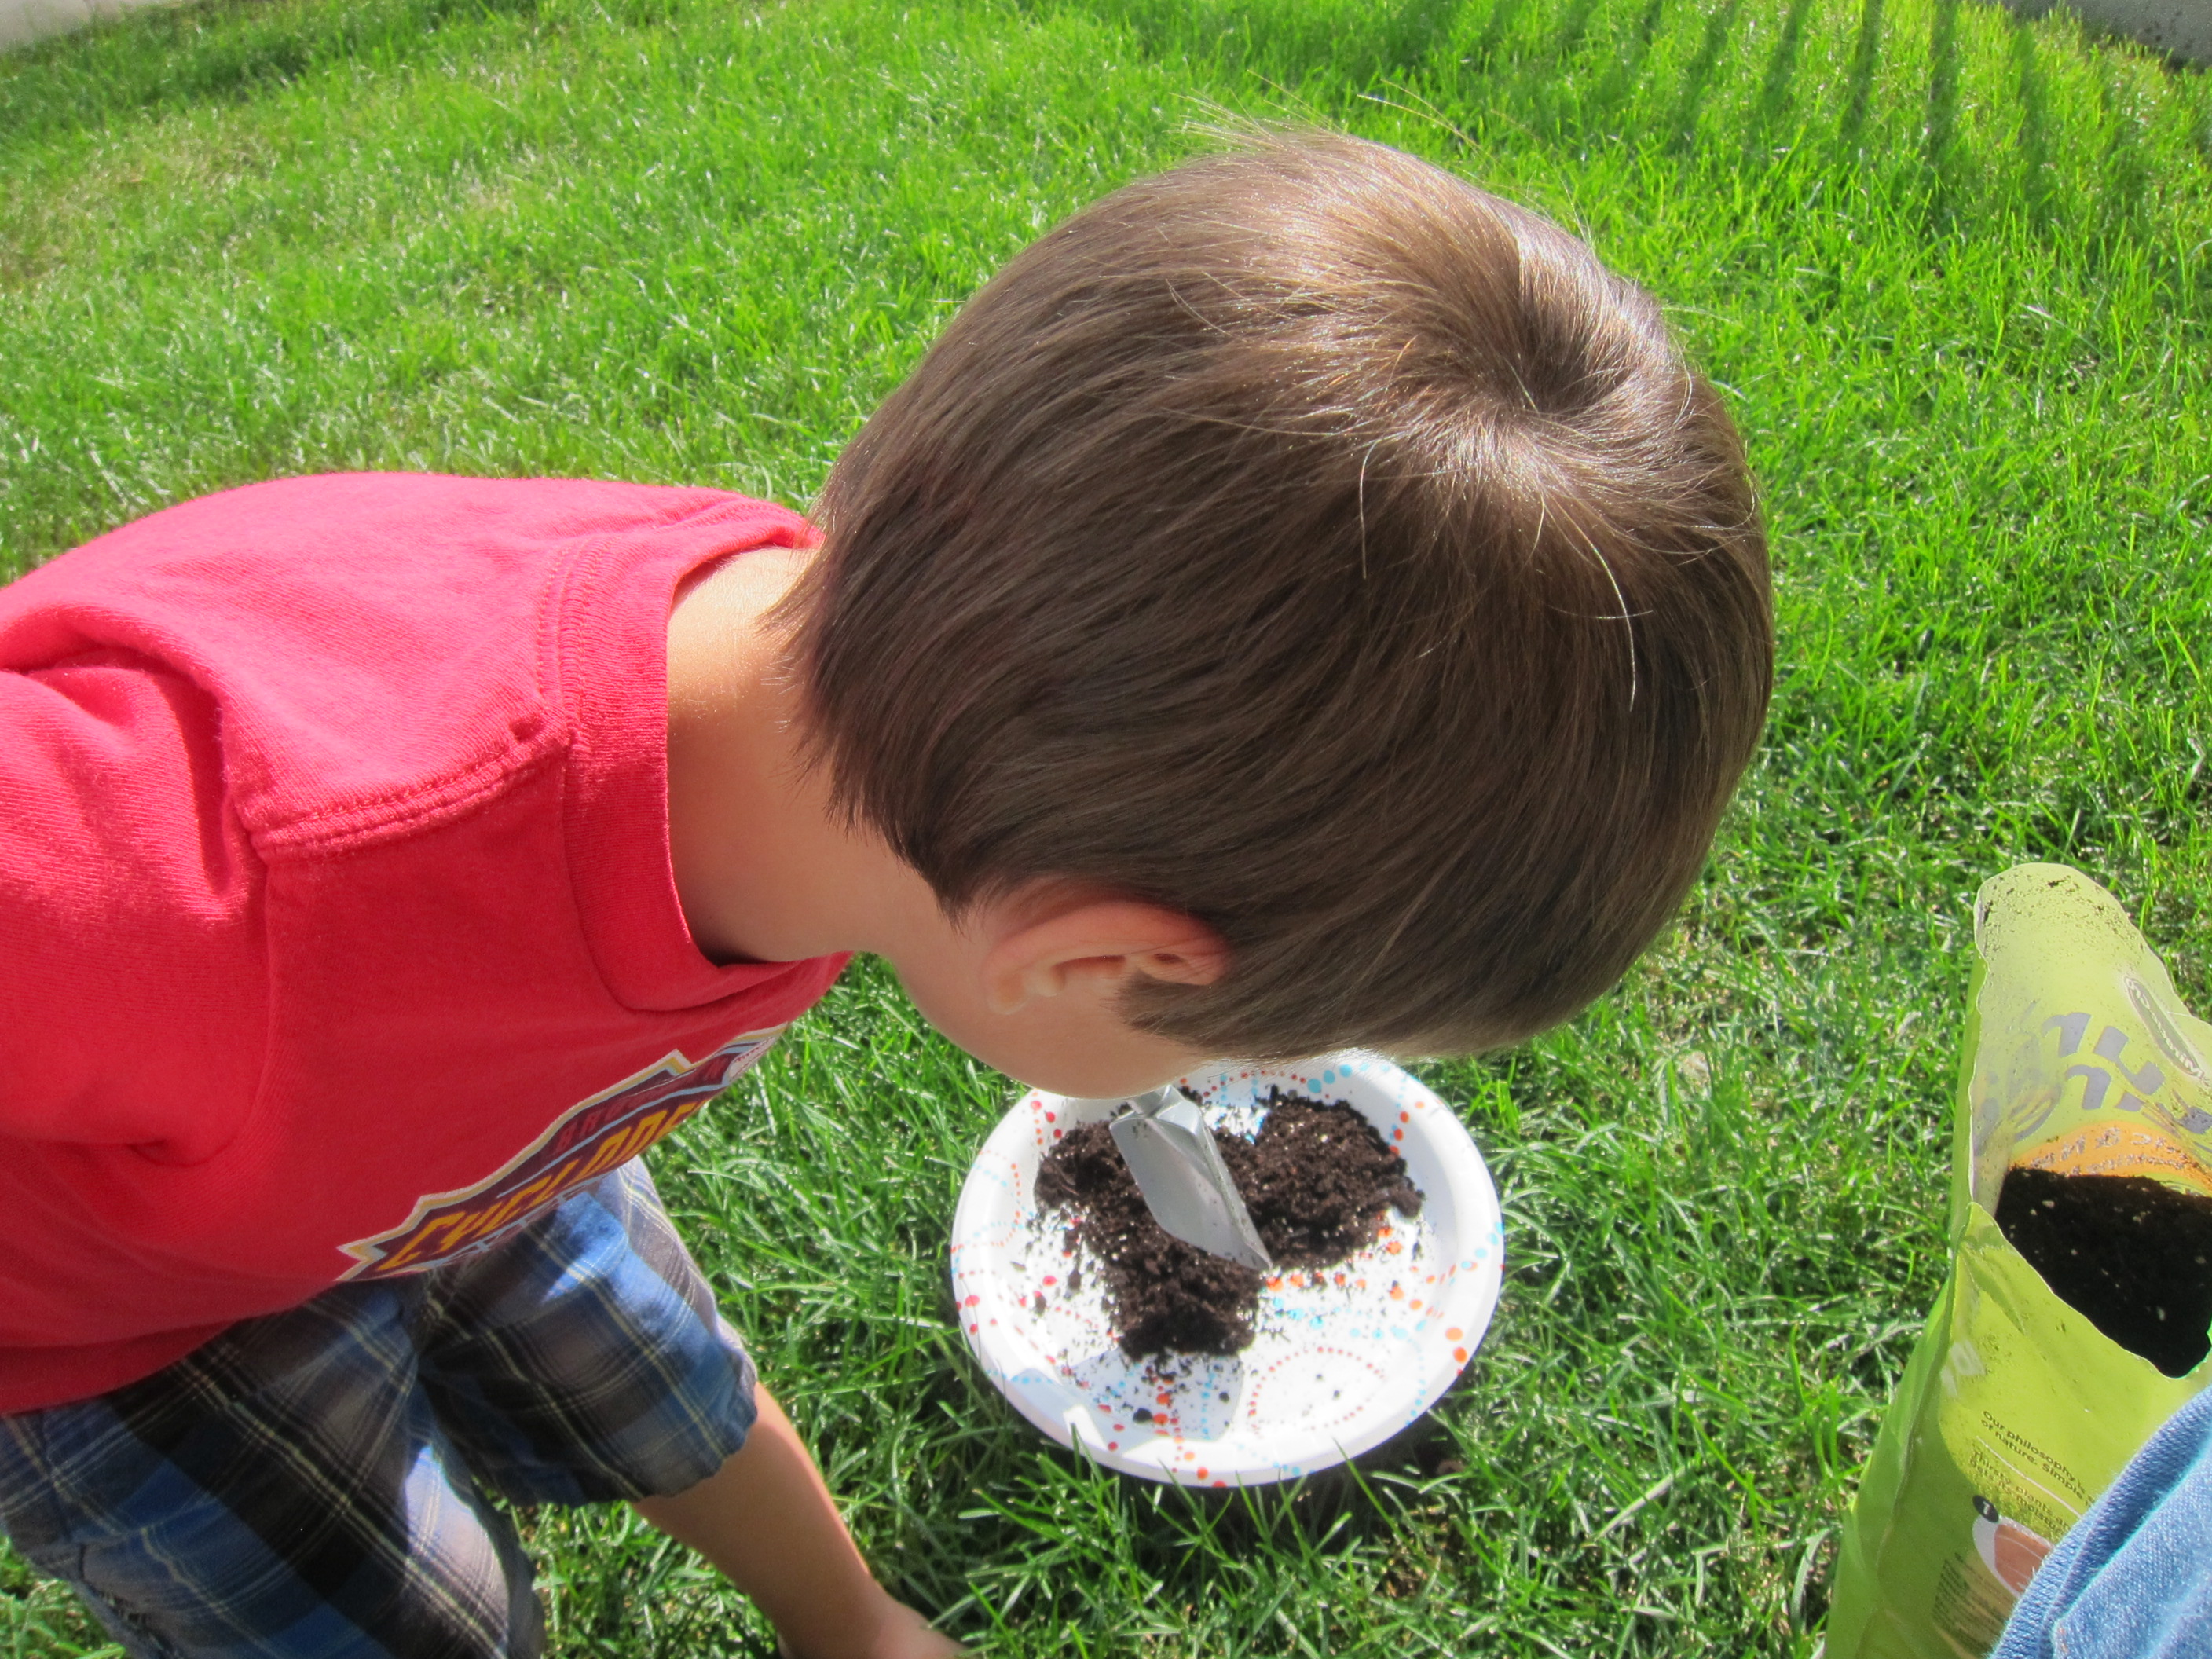
Now we needed mud! I scooped some potting soil into a cup and we poured in water. Veronika was in charge of stirring until it was thick and goopy.

Big kids can now stand back, pick up handfuls, and take aim!

Veronika preferred to scoop up the mud with our spade and dribble it over the point values, delighting in the splat of the mud hitting the patio.

Bullseye!

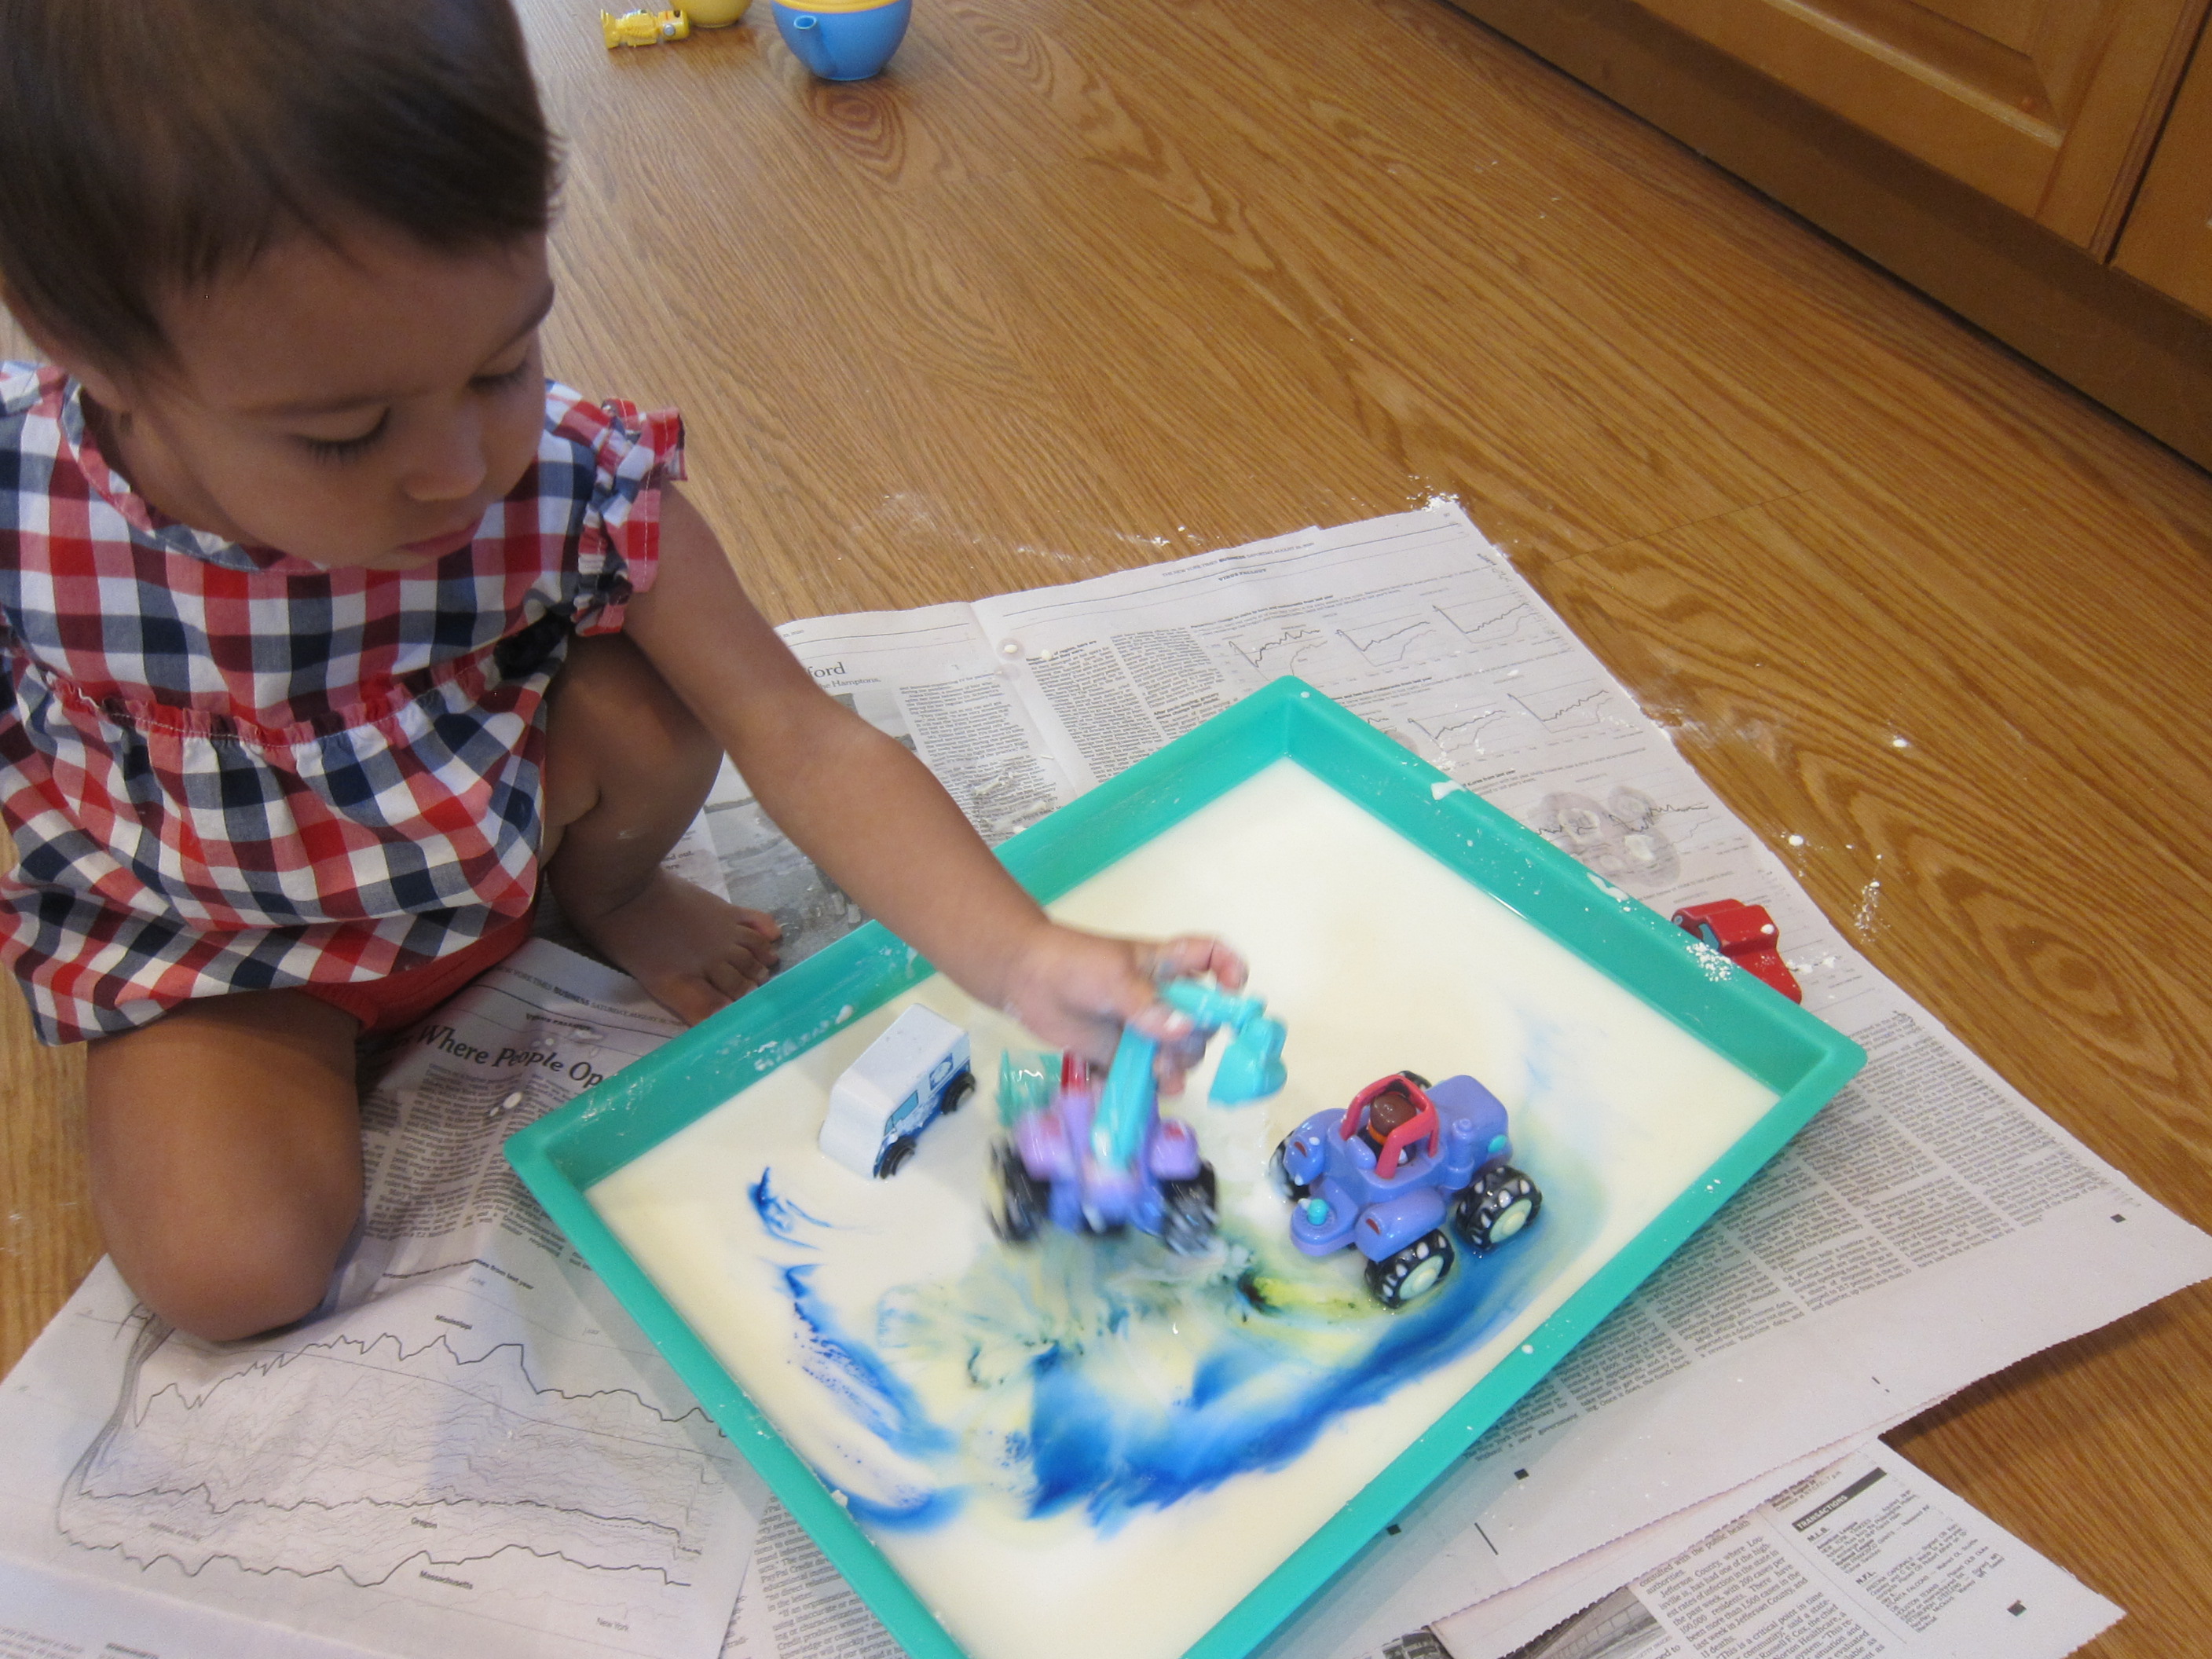
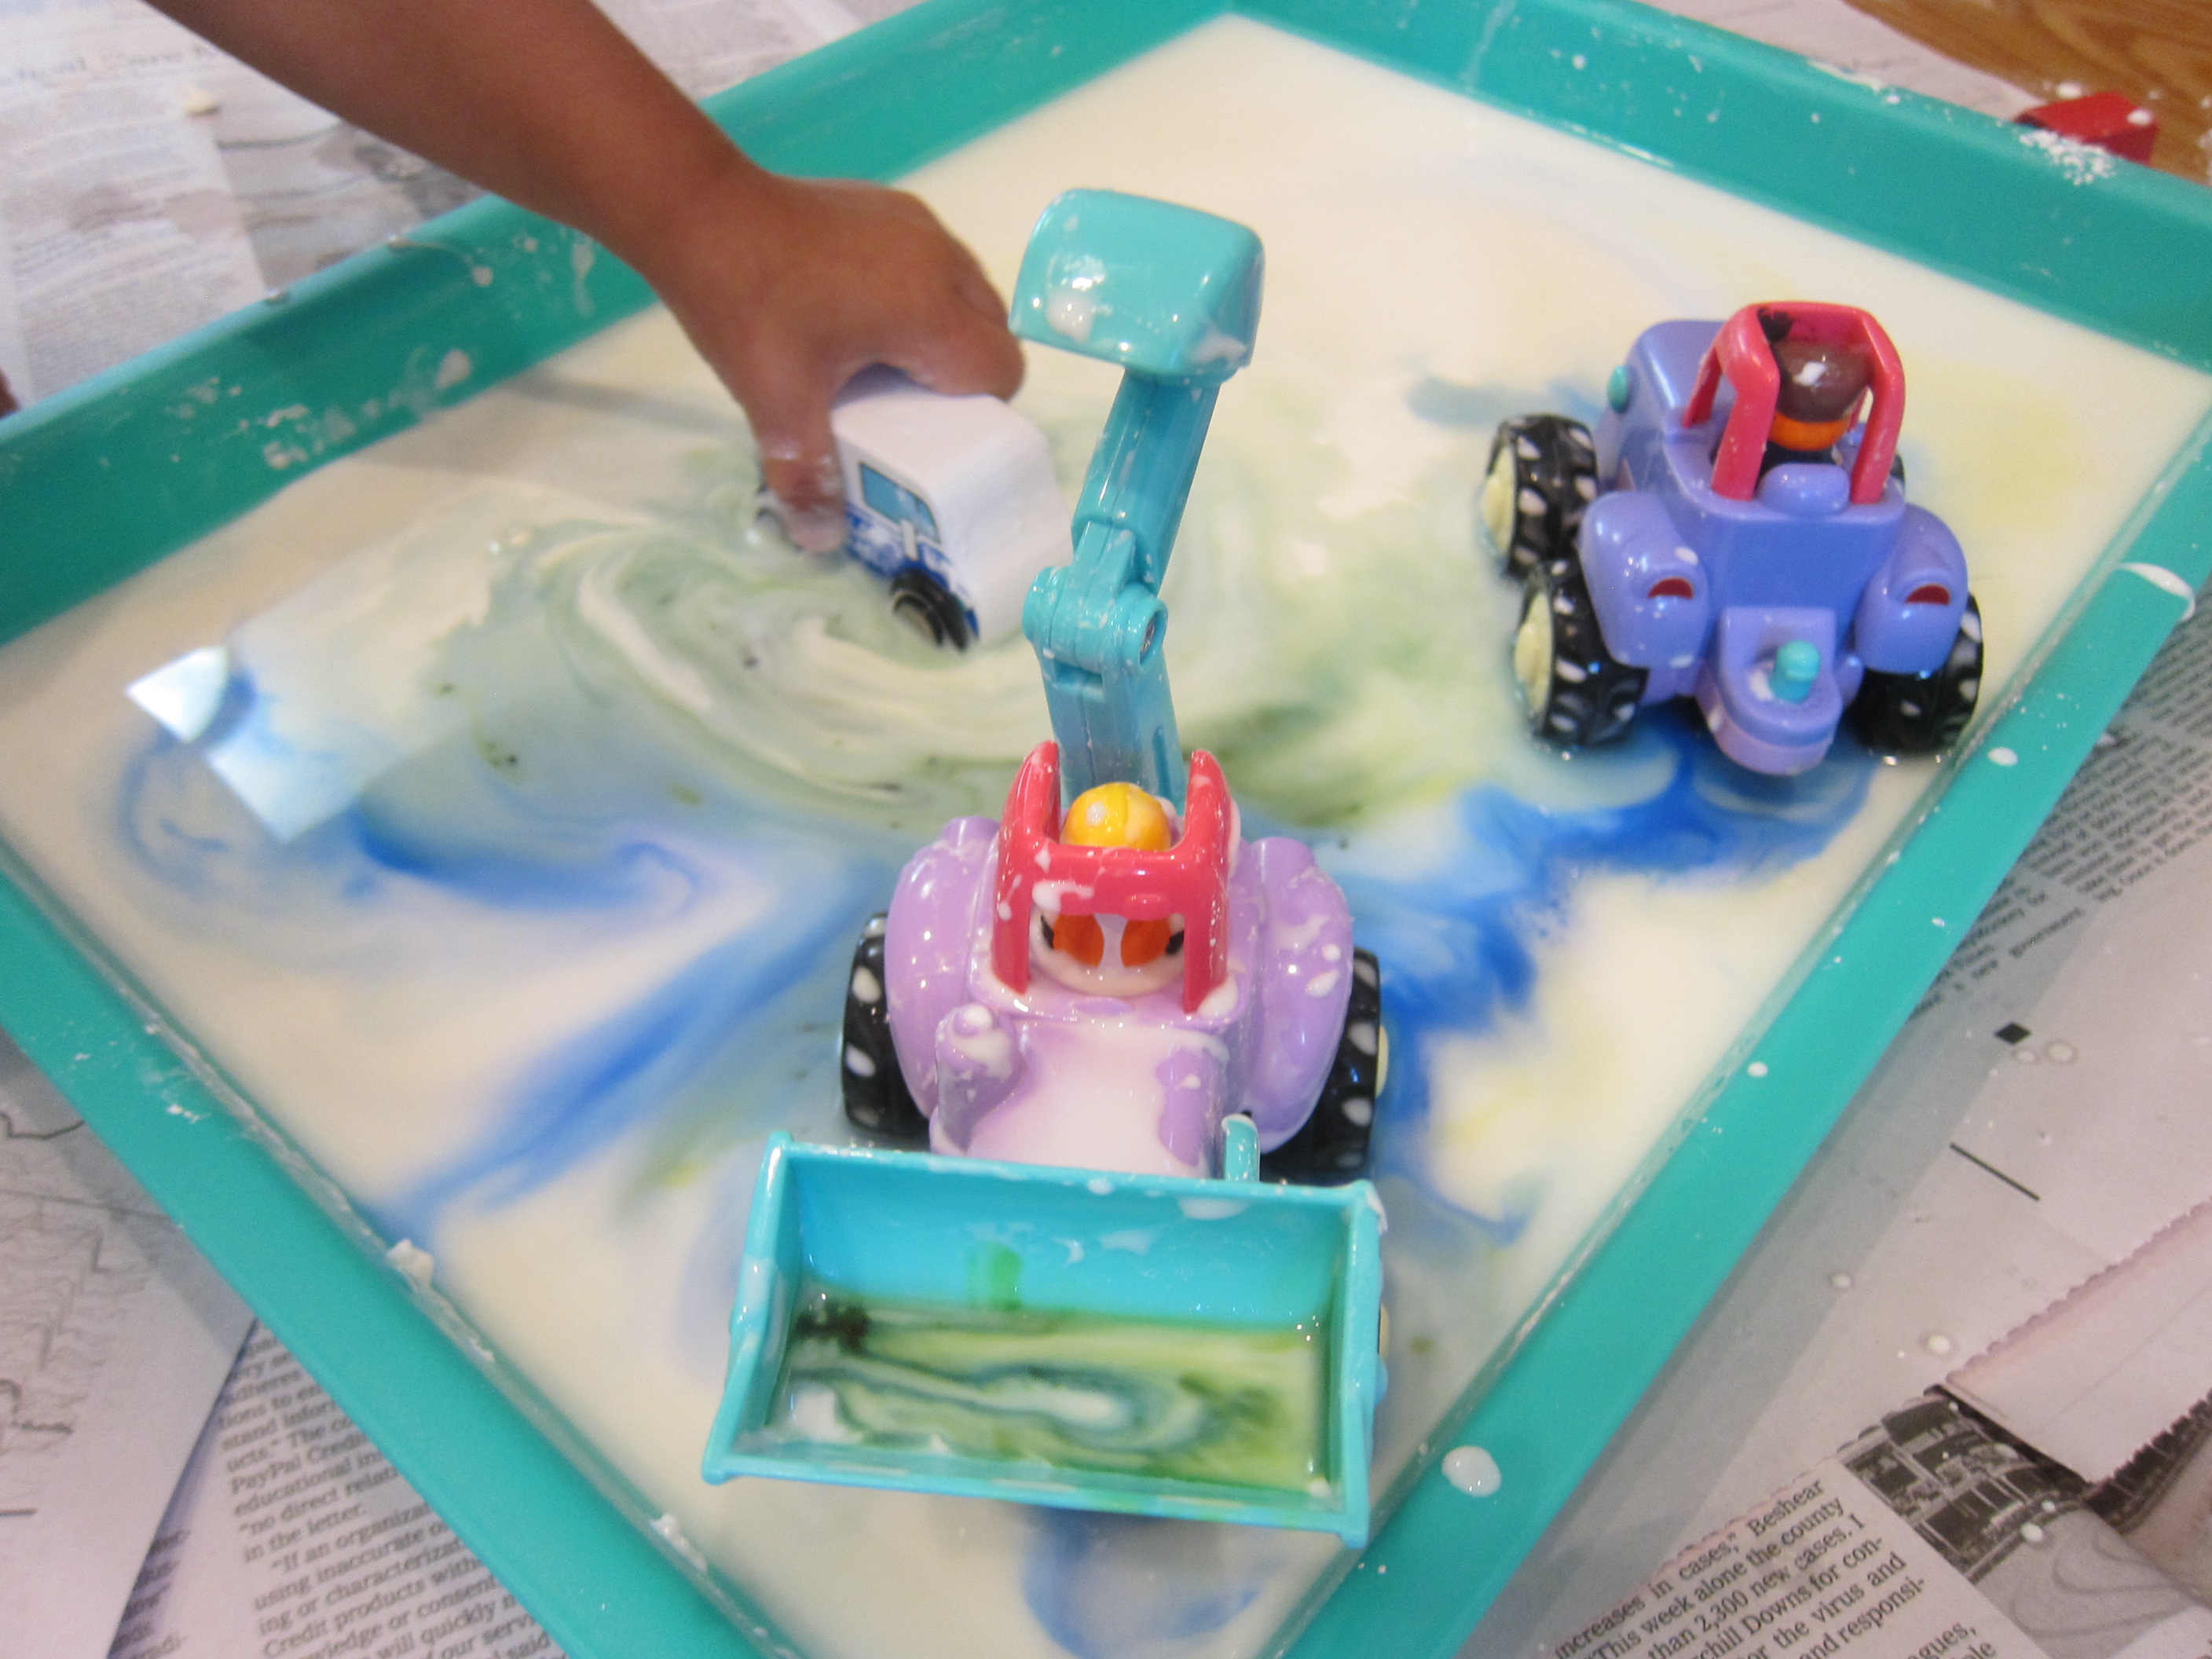
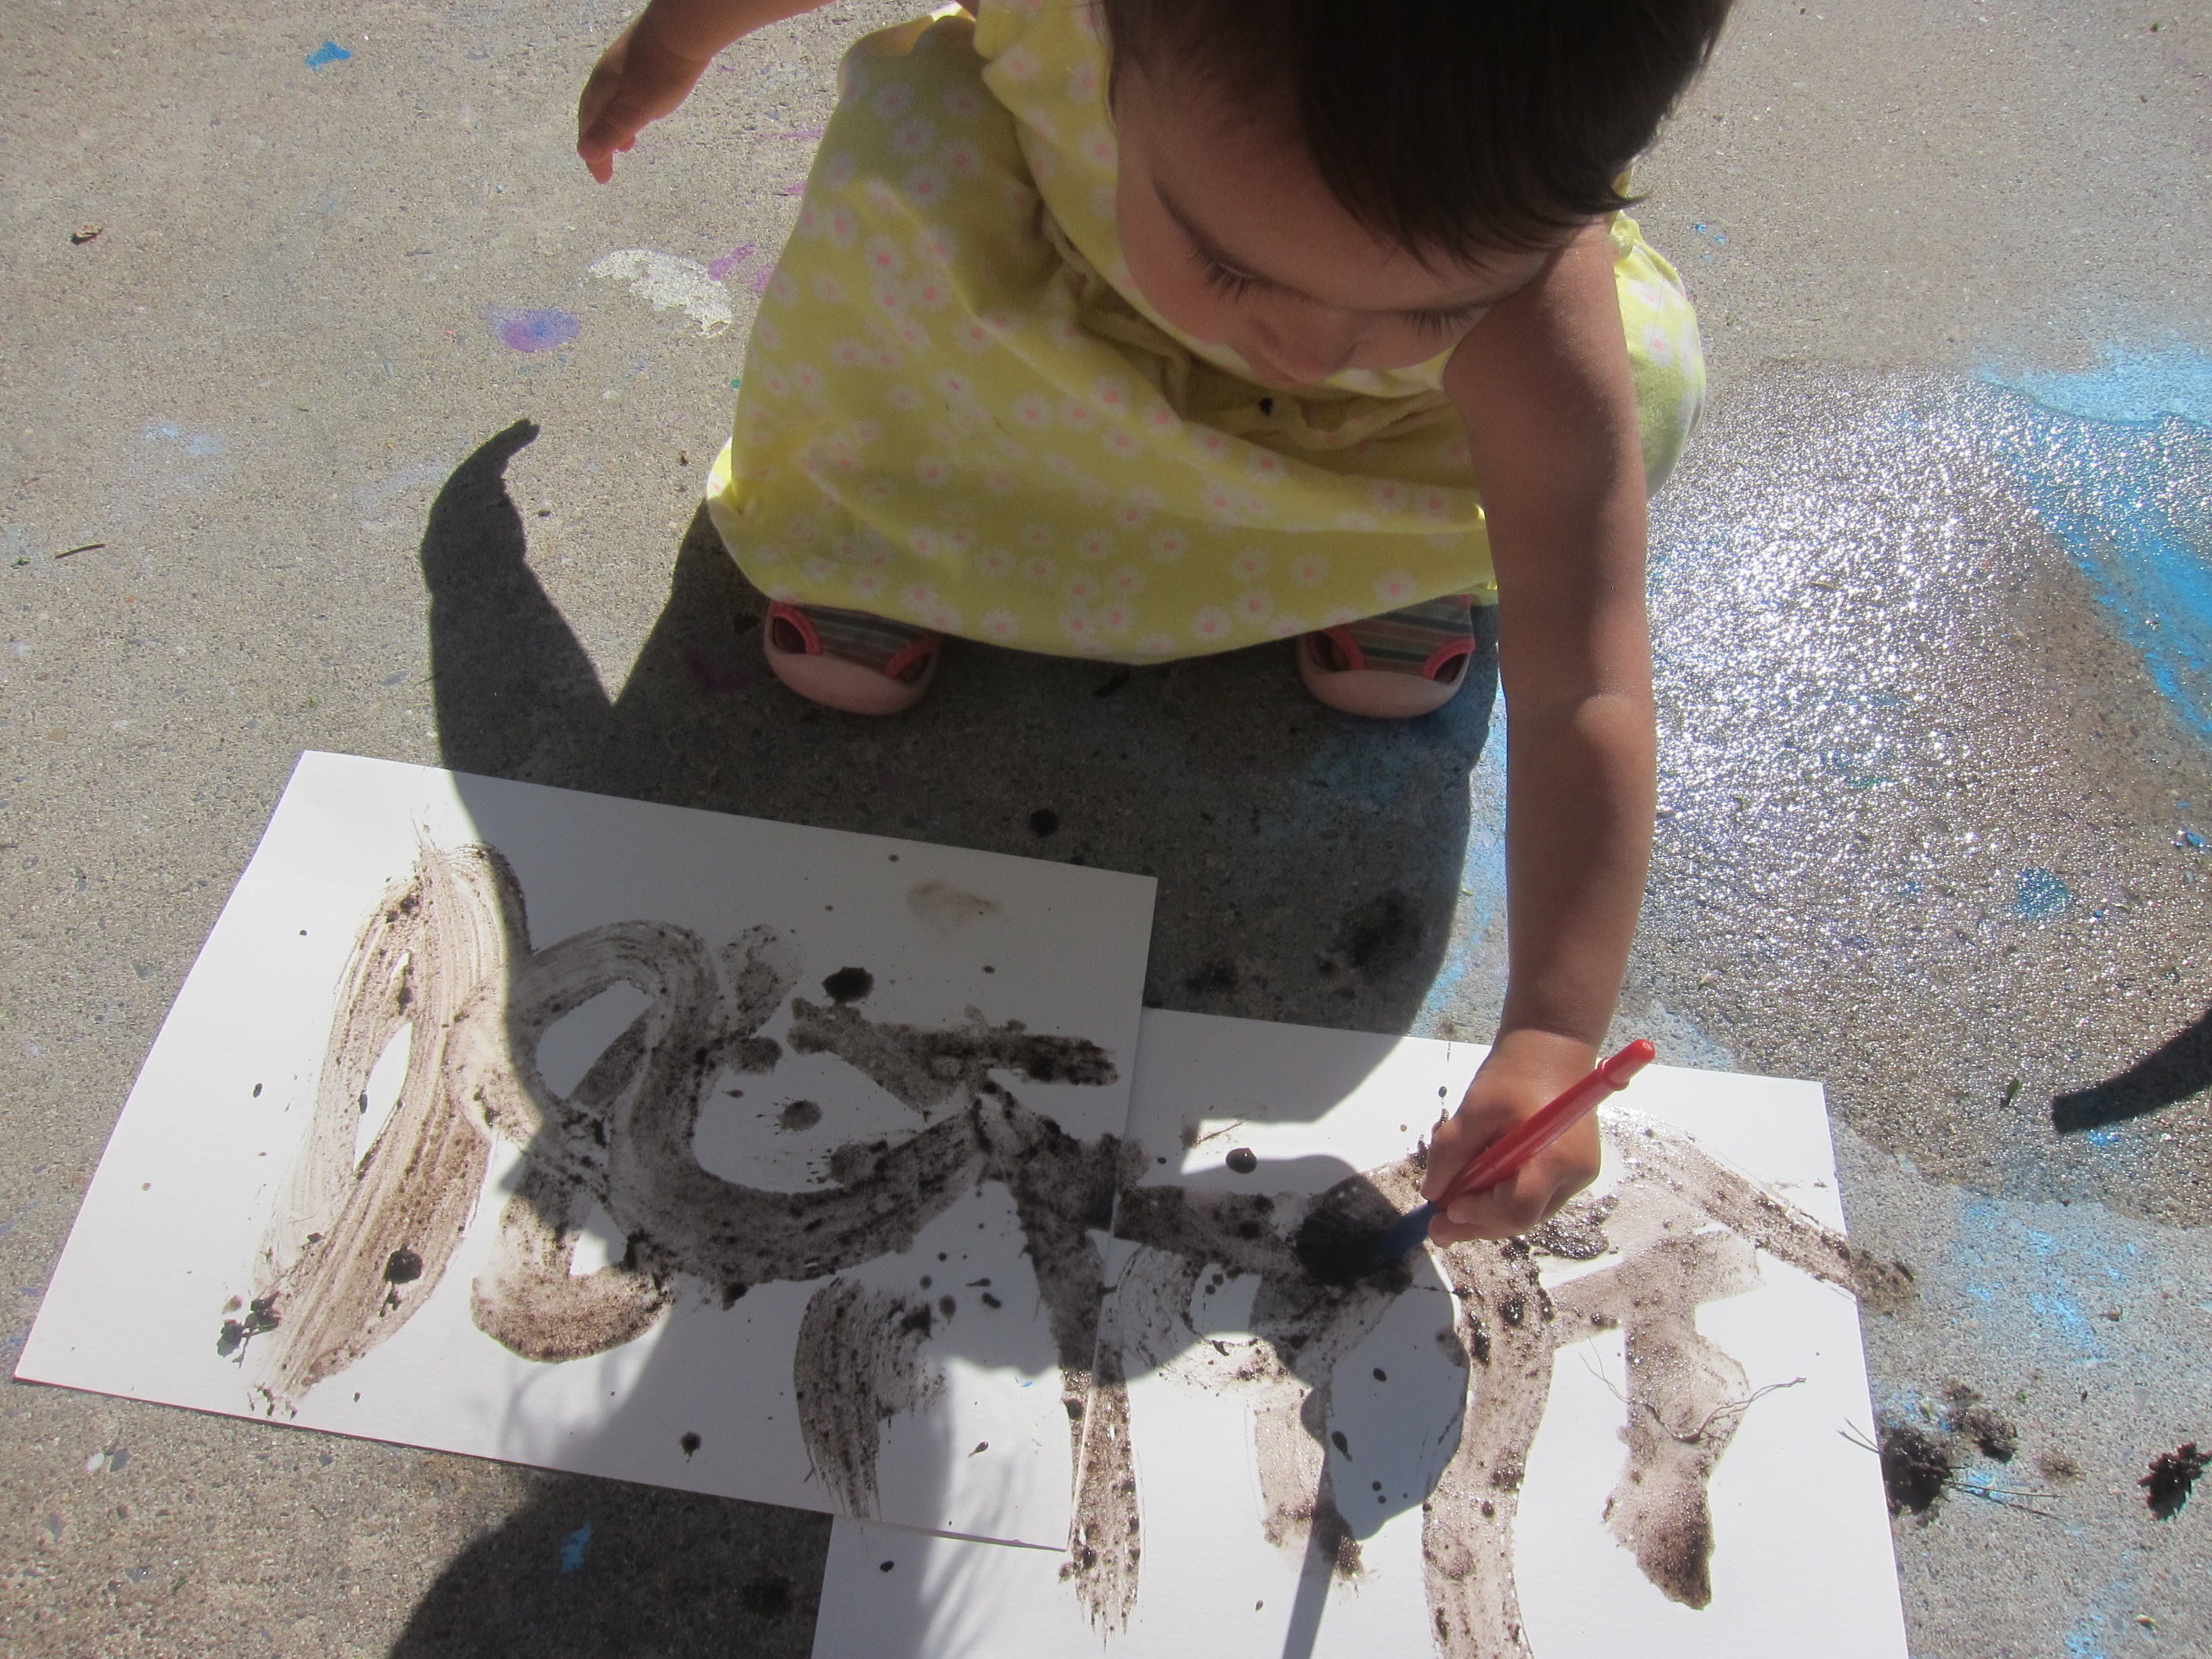
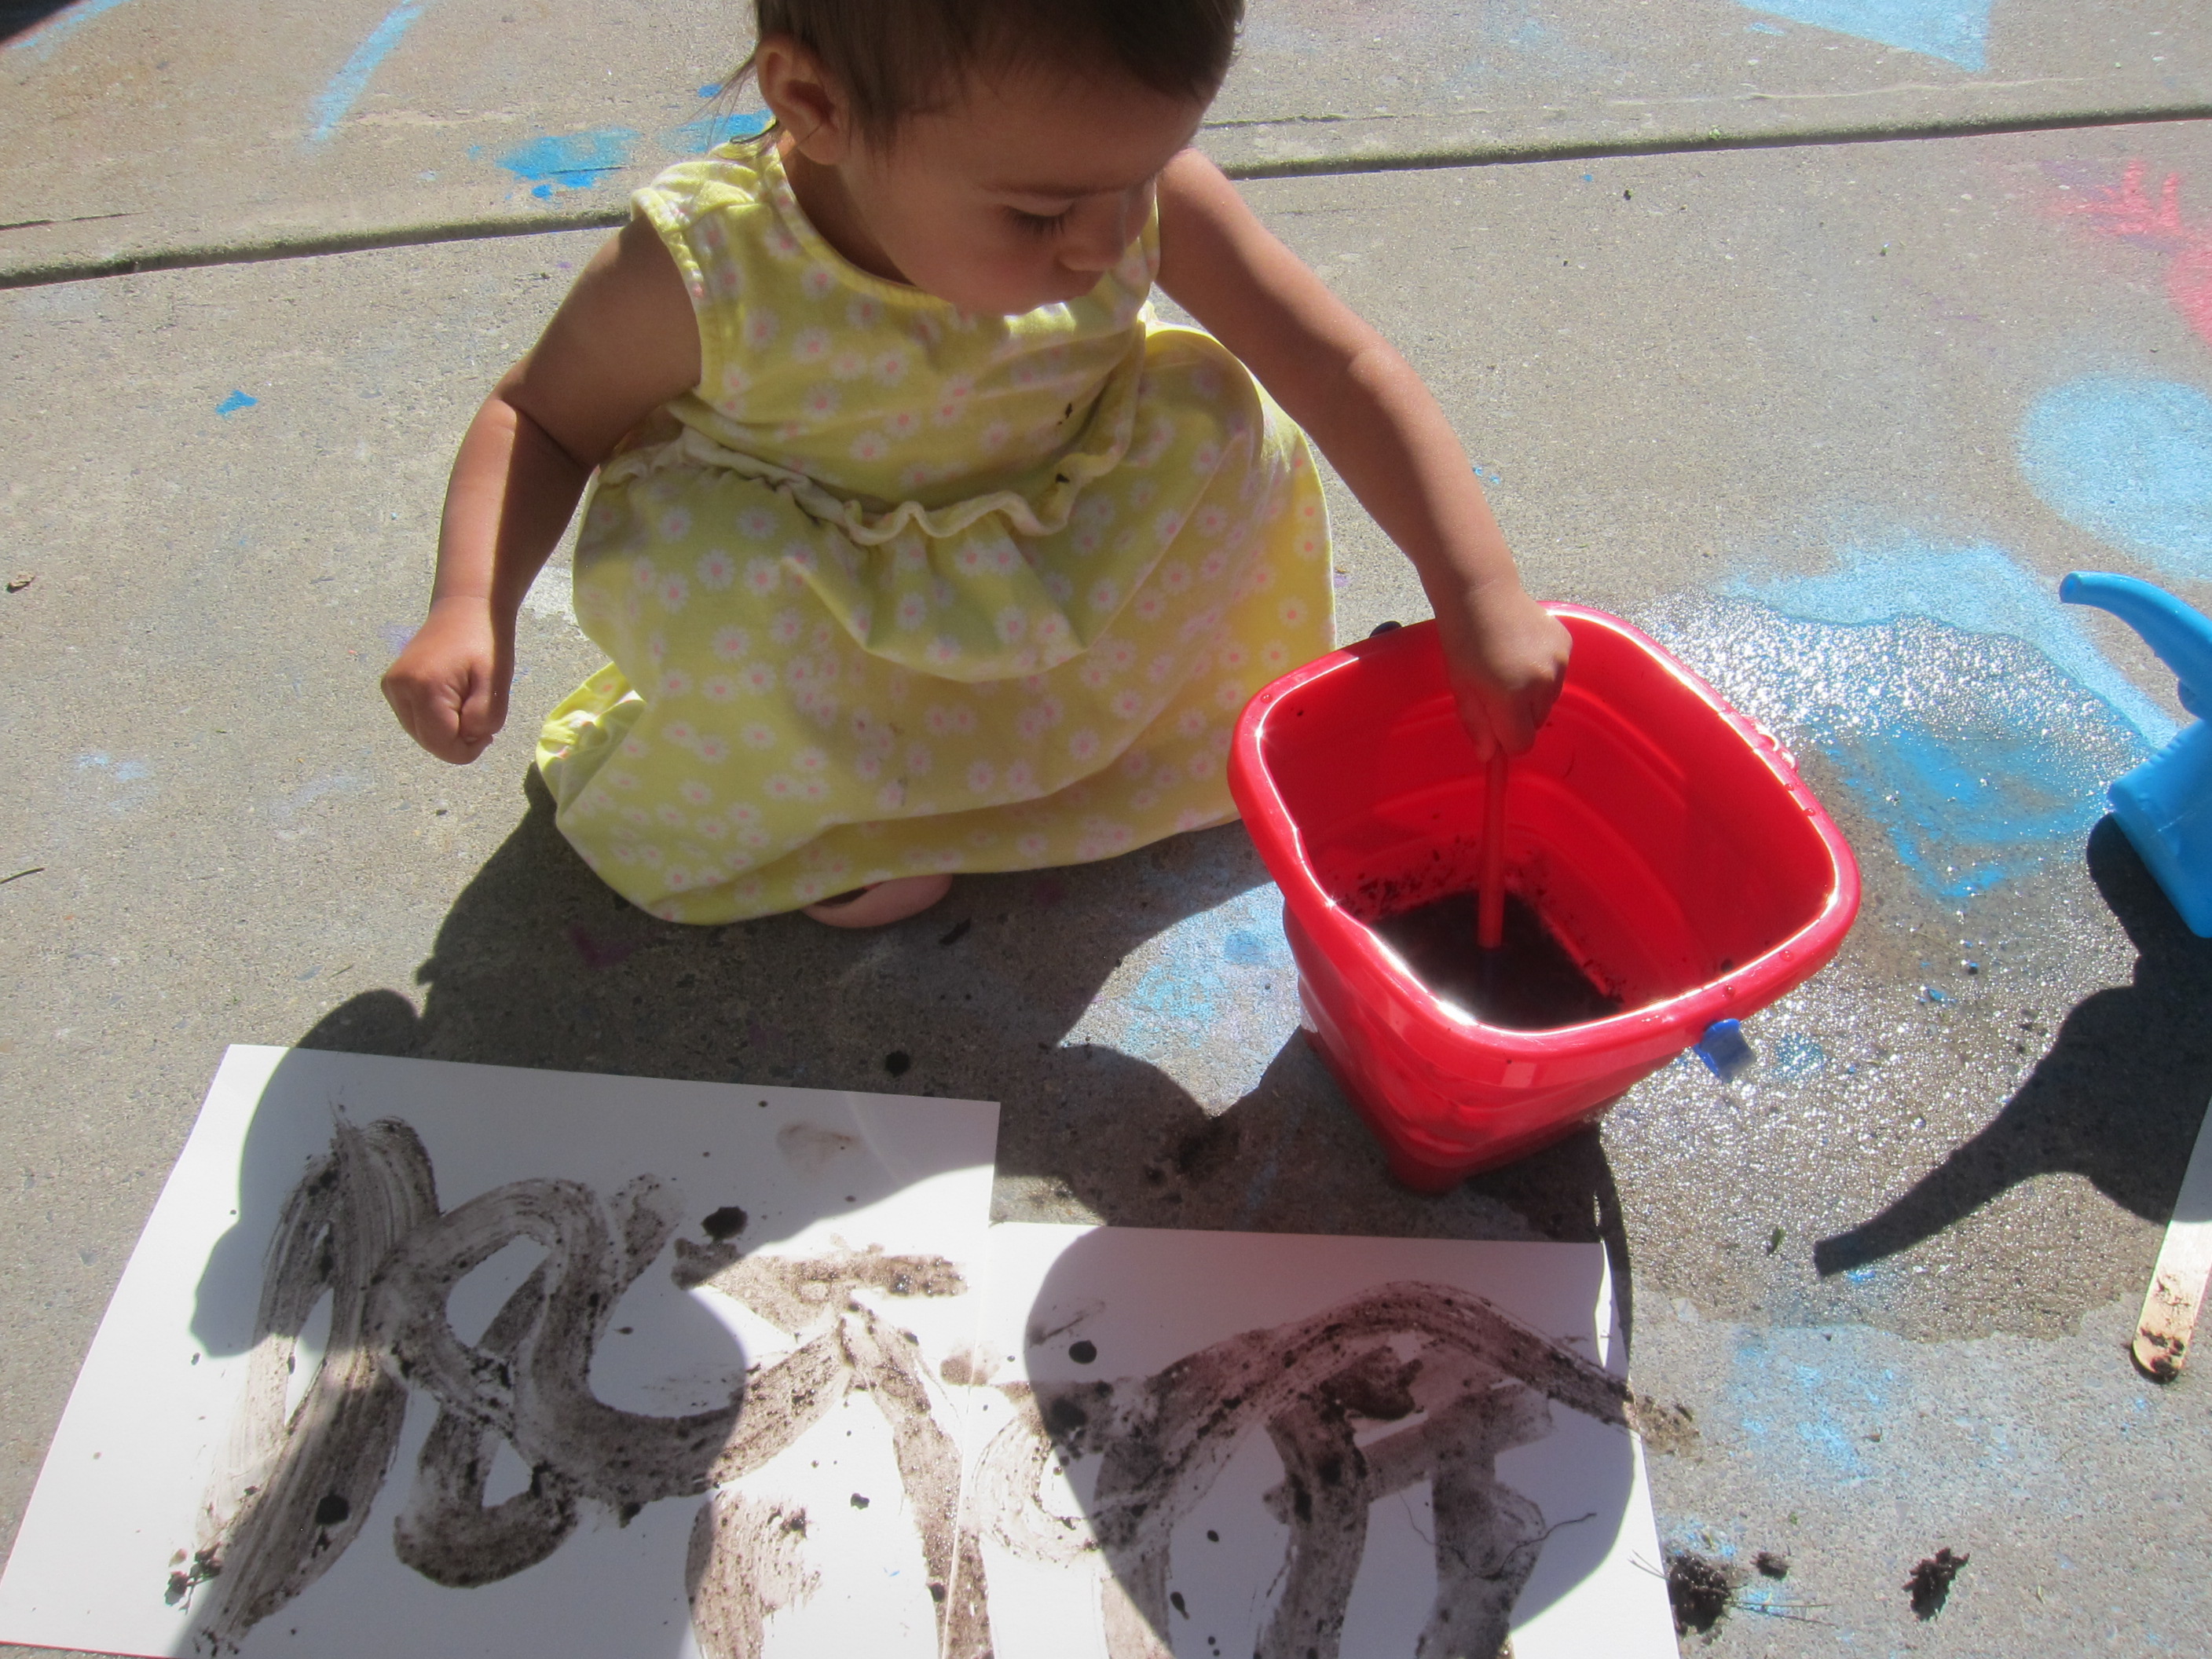
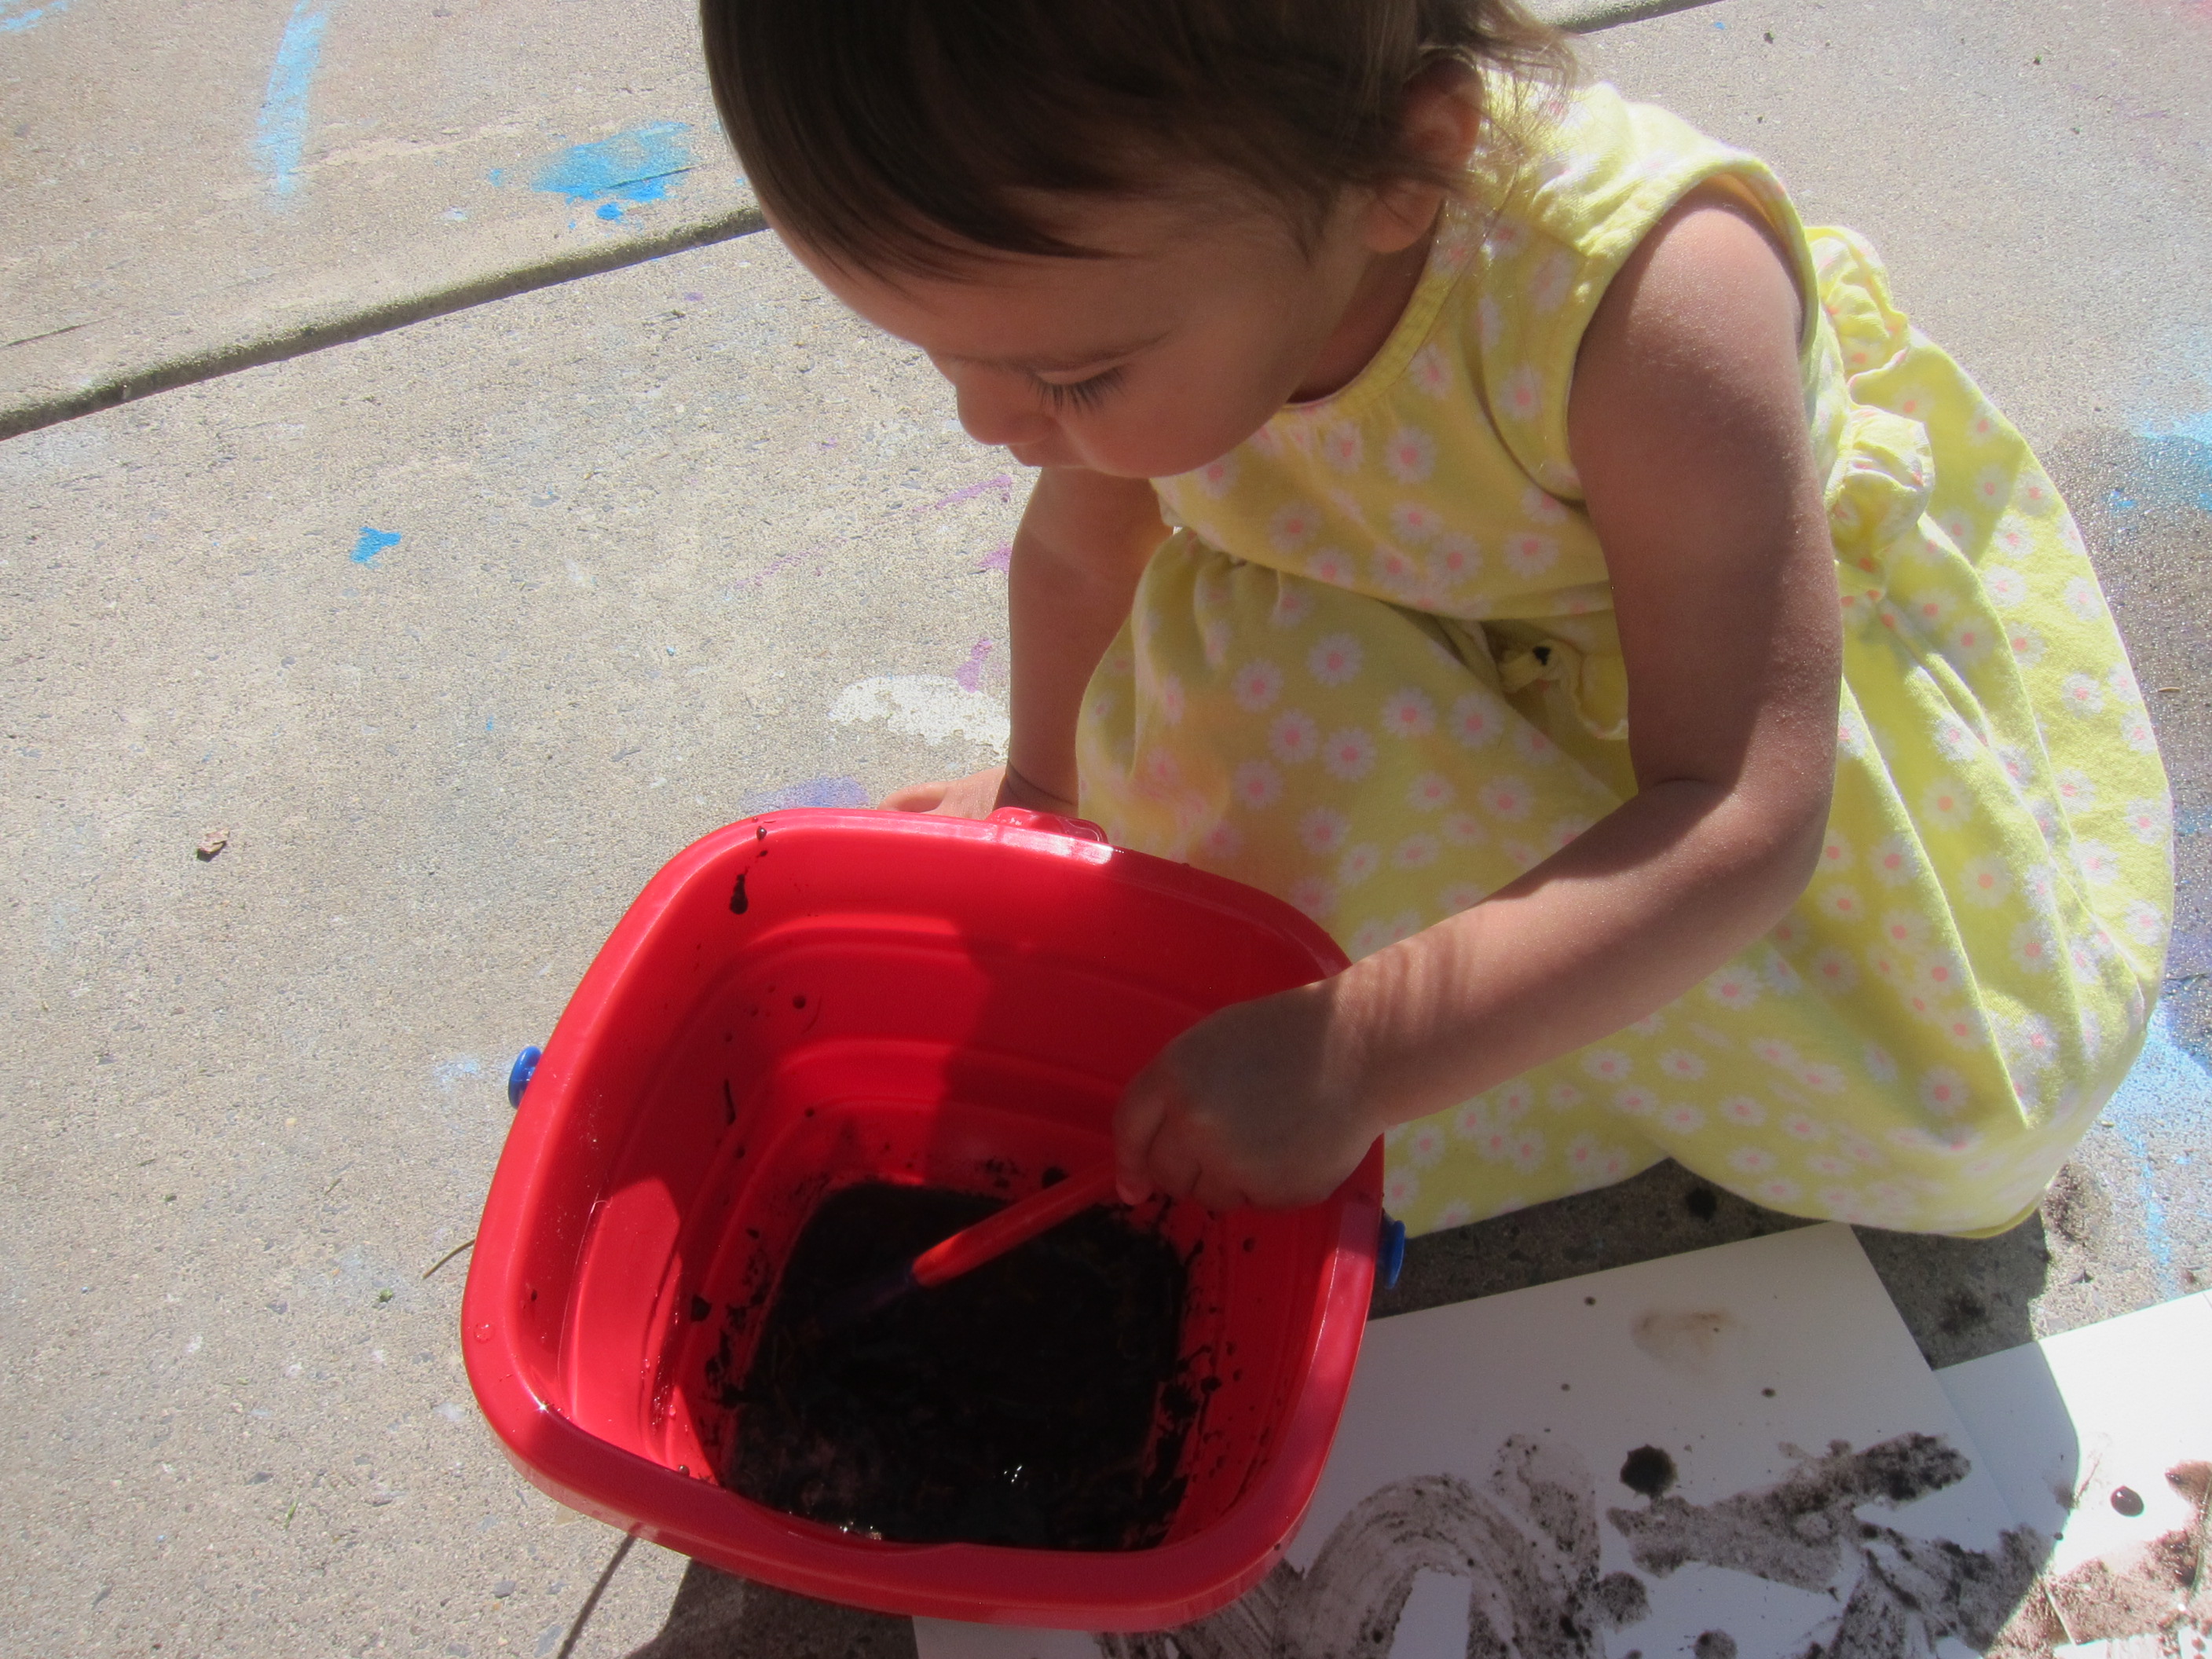
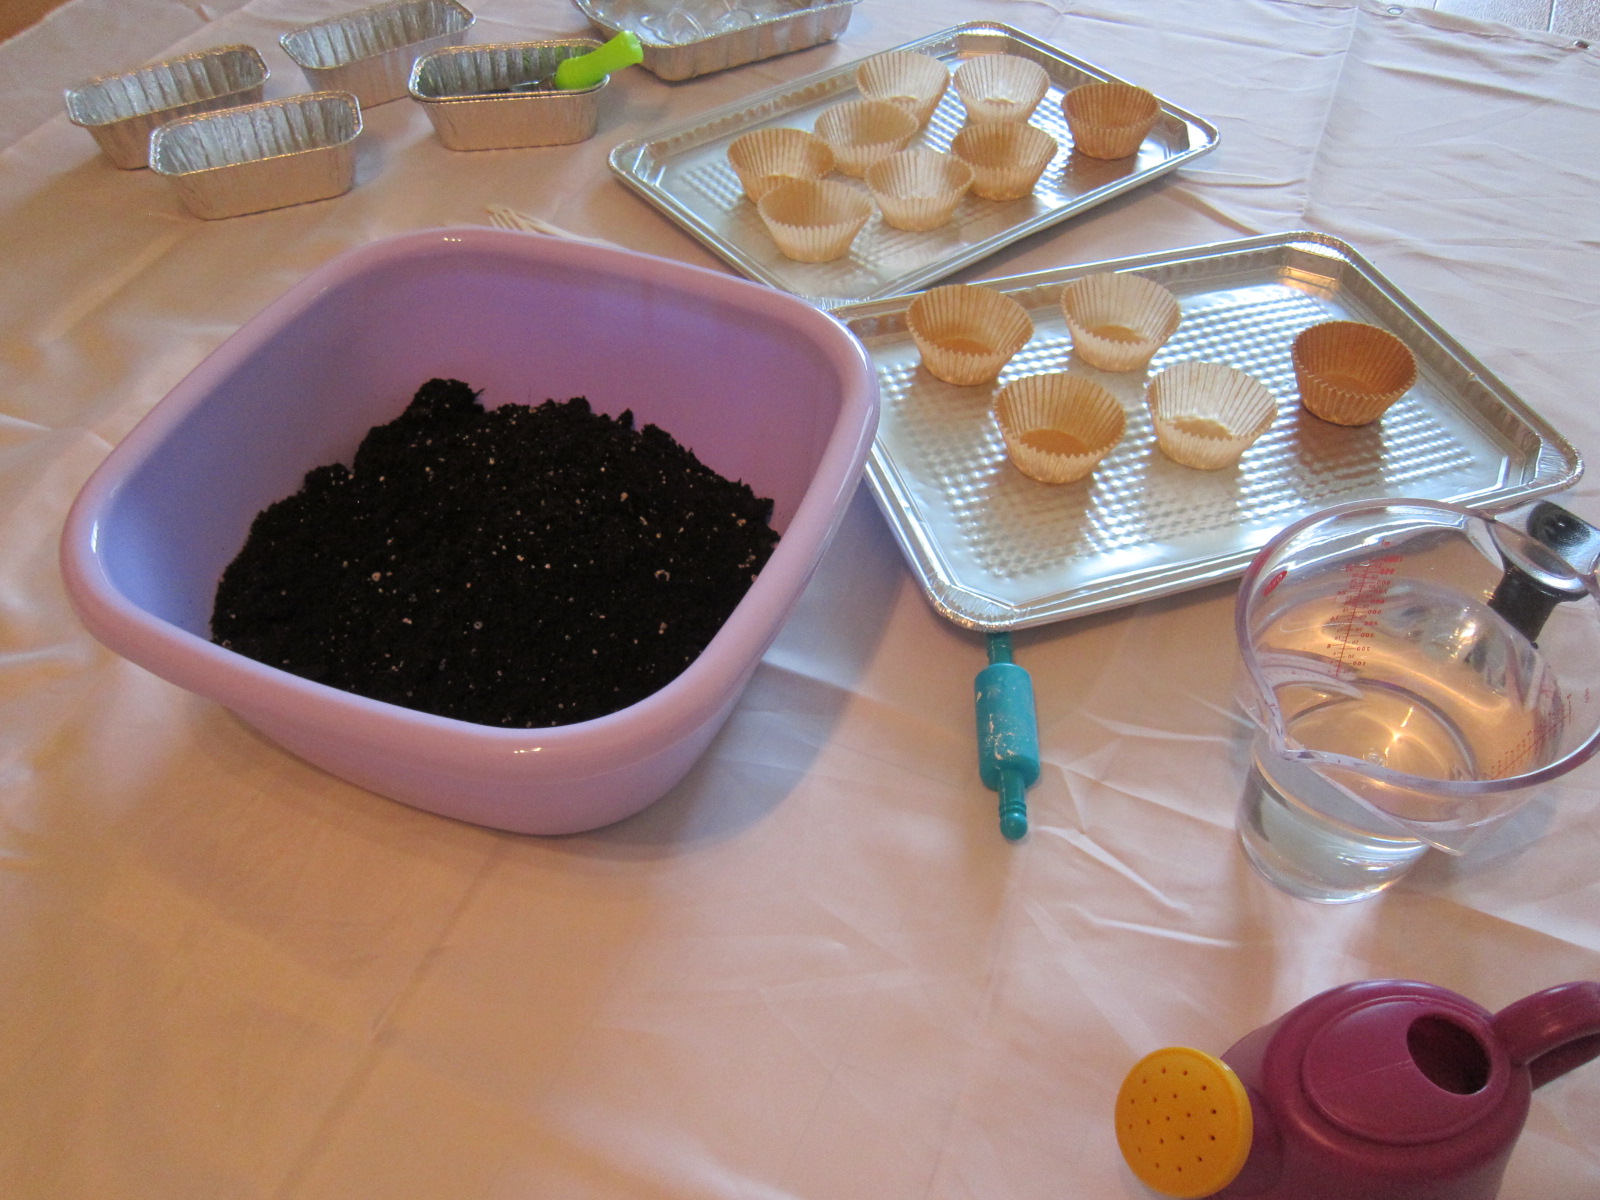
Finally, we took some of that mud and decided to make art! I divided the mixture among 4 plastic cups and we squirted a generous amount of food coloring into each.

Dip in paintbrushes, and brush onto thick white paper. This made surprisingly beautiful colors, from vivid yellow…

…to a deep blue.

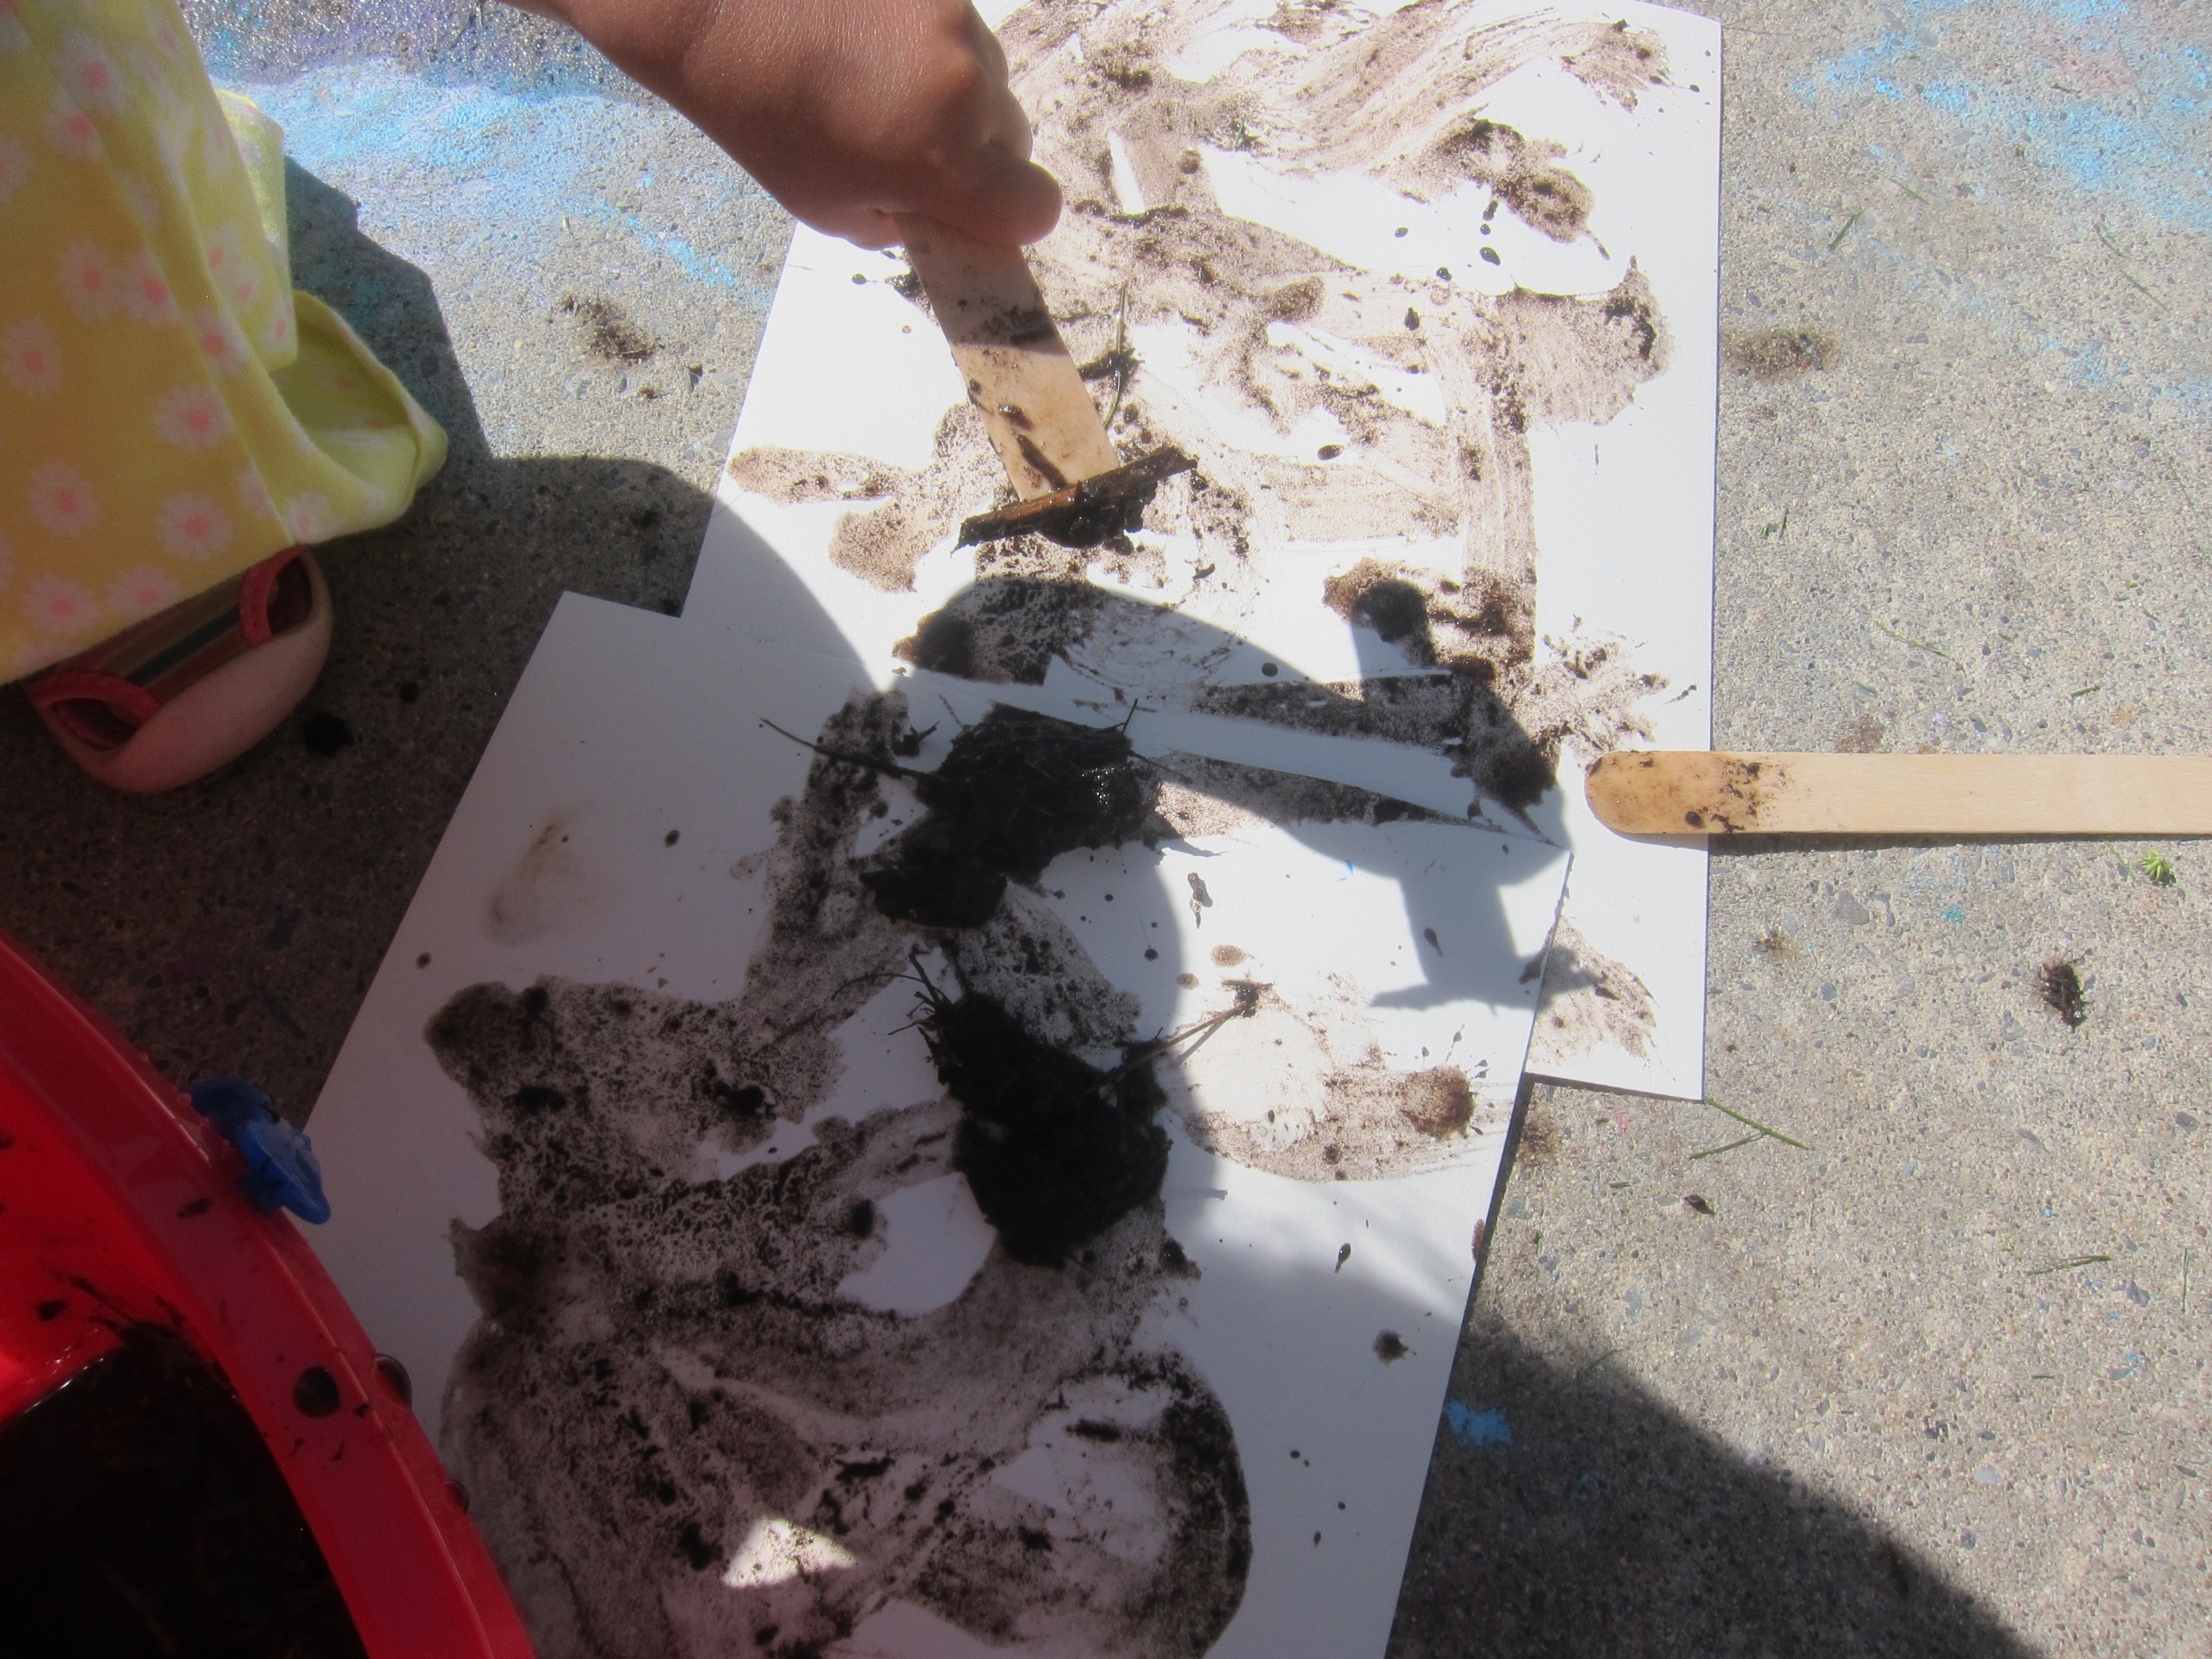
Veronika loved pouring and mixing the “paints”, too, or sometimes pouring them directly over the paper and then scribbling through with a paintbrush.

Older kids (and grown-ups!) can have fun making artistic paintings, like this little fishy fellow.

In sum, we had fantastic fun on this dirt-y day!

Mud Games, Two Ways

Mud Handprints (3)

It’s no secret that toddlers love getting muddy, so today Veronika and I played with mud in two separate ways. The first was fake mud, and the second time was real!

For the fake version, we really were making ooblek, but I told her it was “mud” which she immediately loved. I dumped a box of cornstarch into a craft tray, then added 2 cups water.

Magic Mud (1)

Mix with your fingers until you have that strange ooblek state of matter that is somewhere between a liquid and a solid. For novelty, we added cars and trucks to the “muddy” construction site!

Magic Mud (3)

Veronika loved zooming cars through it. We also discovered that the tires would stick if you let them sit in one place for a few minutes.

Magic Mud (2)

It was fun to watch the ooblek dribble and drizzle over the vehicles.

Magic Mud (4)

I then added a little food coloring, which she swirled around by driving the truck wheels through it.

Magic Mud (5)

And scooping it up!

Magic Mud (6)

Next it was time for real mud. We mixed up a little potting soil and water on a plastic plate until we had a thick mud.

Mud Handprints (1)

Press your little one’s hand into the center of the plate (I recommend having water nearby for a quick rinse), then leave in the sun to dry.

Mud Handprints (4)

Obviously these prints are neither permanent nor as apparent as versions in clay or plaster of Paris, but they sure are fun.

Mud Handprints (2)

Mud Painting

Mud Painting (5)

Instead of getting your patio or driveway messy with paint that needs to be washed off, stick with nature and paint with… mud instead!

The first thing you’ll need to do for this project is make the mud, which in and of itself was a delight for Veronika. She took my hand and toddled over to the trees with me to scoop some dirt into a bucket.

Mud Painting (2)

Once back on the patio, we added water to the bucket and stirred with a craft stick until the mixture was very muddy. If it gets too thin and watery, just add a little more dirt.

Mud Painting (3)

Then I provided Veronika with paintbrushes and thick paper, treating the mud like it was real paint.

Mud Painting (4)

At first, stirring the mixture in the bucket was such a joy that she focused on that. But then I showed her how to move her paintbrush over the paper, and soon she was happily swirling and dotting with her brown “paint”.

Mud Painting (7)

She eventually discovered she could use the craft sticks to scoop out thicker globs of mud from the bottom of the bucket and smear onto the canvas.

Mud Painting (8)

In fact when I moved one sheet of “painted” paper aside to dry in the sun, she started carrying blobs of dirt over to it to carefully balanced on her craft stick. Clearly the artist wasn’t done!

Mud Painting (9)

This kept her so busy in the sunshine for quite a while. Perfectly dirty and messy fun!

Mud Painting (6)


Mud Pie Kitchen

Mud Kitchen (2)

In an ideal world, we would have done this activity outdoors in beautiful summer weather; it’s the kind of activity that can keep your kids happily occupied while you garden or do other outdoor chores. But if a kid needs dirt in the winter, then you bring the dirt inside!

To set up our “kitchen”, I spread an old shower curtain liner on the floor to contain any mess. I then set up a variety of kitchen items. We used disposable foil pans, but you can also use items from a flea market or thrift store. Add in spatulas, spoons, ladles, or other kitchen utensils.

Mud Kitchen (1)

If it’s summer, simply scoop up dirt from your yard and get to work! Here in the winter, we used a leftover bag of potting soil. Travis loved adding water, until we had a nice muddy consistency.

Mud Kitchen (6)

Then it was time to make mud loaf cakes!

Mud Kitchen (5)

Cupcake liners were a whimsical touch, so we baked a batch of mud muffins.

Mud Kitchen (8)

Travis kept up an imaginative narrative as he played; here is a cake inside of an “oven.”

Mud Kitchen (9)

When he was done, I simply folded the old shower curtain over the muddy pots and pans and put everything into a trash bag – easy as mud pie!

Mud Kitchen (7)

Mud Pies

Mud Pies (7).JPG

Kids usually don’t need any excuse to play with dirt, but at least with this project you get a lovely result! This game was yet another beautiful suggestion from our Barefoot Books Kids’ Garden kit.

To start, fill a pie plate or paper plate with soil using a hand trowel, leaving room on top. We’re new to having a backyard of our own, so Travis is loving all the play with shovels and dirt lately!

Mud Pies (1)

Slowly add water to the soil, stirring until you have a wonderful goopy mud. Travis loved this step of course.

Mud Pies (2)

Now we needed to decorate our “pies.” Add any pretty flower clippings, leaves, or petals, and let your “baker” decorate to his or her heart’s content. I placed a few flowers facing up, but Travis preferred his facing down – a whimsical little element.

Mud Pies (4)

Leave your mud pie to bake in a sunny spot. We checked it again after 4 hours, but since the day had clouded over, it was mostly set, but still a bit mushy.

Mud Pies (6)

Continue checking on your mud pie for about a week to observe any changes. It might turn to mud again if you get a rainy day!

Mud Pies alt

At the end of the week, simply tip it into your garden as compost. How’s that for easy clean up?

Mud Pies (9).JPG